12 June 2020

Spellbinders Small Die of the Month Kit | Handing You a Smile

Hello there, today I have two cards to share with you using the Spellbinders June 2020 Small Die of the Month Club Kit. This month it is called Handing You A Smile and consists of flowers and stems that can be layered up, along with a hand that can hold the flowers. I went simple with my cards and just used the flowers and stems.
 

For my cards, I started off by die cutting the flower heads and stems. I cut the stems from FSJ Limeade Splash Cardstock and then blended on a little Tim Holtz Mowed Lawn Distress Ink on the leaves. The purple flowers were cut from FSJ Pretty Pansy and Lavender Fusion Cardstocks.
 
 
I added Tim Holtz Wilted Violet Distress Ink on to the lighter purple cardstock. I then cut the yellow flowers from FSJ Summer Days and Pineapple Smoothie Cardstock. I added Tim Holtz Wild Honey Distress Ink to the outer edges of the main flower piece.
 
 
The flower stems were added to the back of the flower heads with a little tape and then the leaves added to the stems with liquid glue, as well as the inside portions of the yellow flowers and the front and side pieces of the purple flowers. I took A2 white card bases and added a panel of Hero Arts Decorative Woodgrain Cardstock to the front.
 
 
The flowers, stems and leaves were then added on top. I added a thin foam square behind the flower heads and then adhered the stems and leaves flat with liquid glue. I took the sentiment from the Spellbinders Everyday II Glimmer Hot Foil Plates set and foiled it on to black and white cardstock using Spellbinders Silver Glimmer Hot Foil Roll. They were cut in to strips and added to the card with foam tape.
 
 
To finish off, I added Lucy's Grape Mix Jewels to the purple flowers card and Hero Arts Sunset Enamel Dots to the centres of the yellow flowers.  
 
SUPPLIES:

Here are the links to what I have used on the card. Affiliate links are used on some products. This means that if you make a purchase after clicking on my link, I receive a small commission with no extra cost to you. I truly appreciate your support when using these links. Please click on the logo below the product to shop at your favourite store. All products were personally purchased except those from Clearly Besotted, Hero Arts or those marked with an asterisk (*) which were kindly sent to me to use. You can read my full disclosure here.
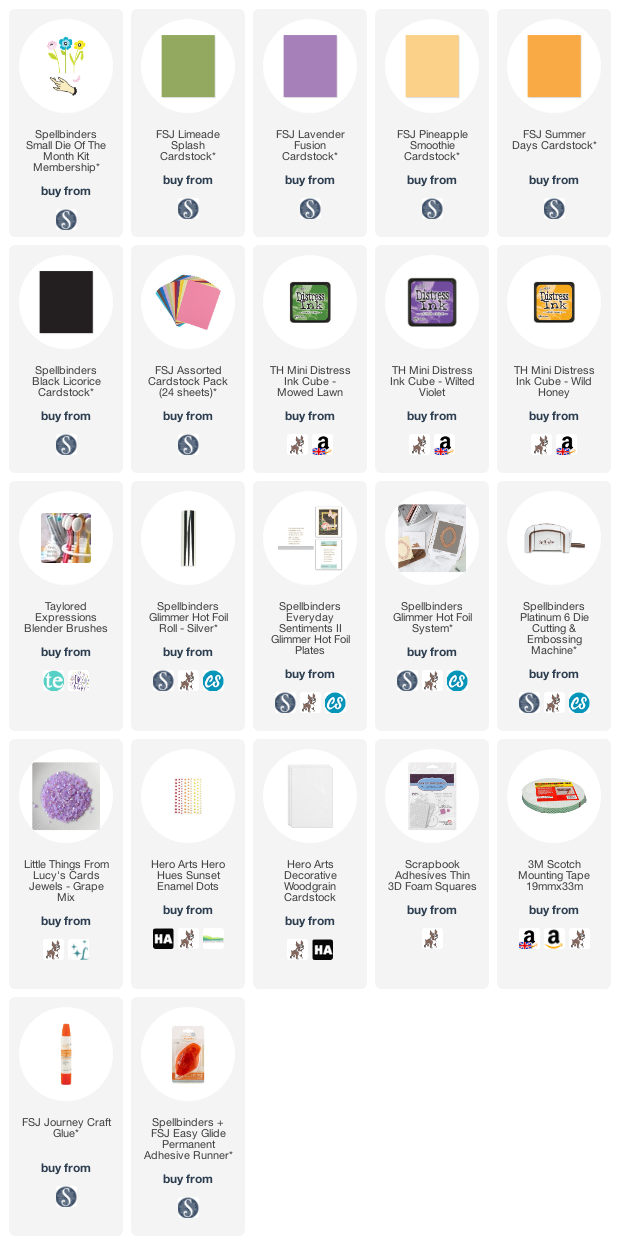
 
 
I hope you will check out the Spellbinders Small Die of the Month Kit. It is a monthly subscription where you receive the kit each month. If you do become a member, you will also receive other Spellbinder benefits too. For more information, please see here. You can also purchase previous kits separately but the price is increased for those. You can see them here. Thanks so much for stopping by today, I really do appreciate it. I hope you have a lovely day!

11 June 2020

Galaxy Focal Point

Hello there, I am over on the Hero Arts Blog today creating a galaxy focal point using the new You're My Universe set. Although I love whole galaxy backgrounds, I wanted to contain it to bring your eye in to the sentiment.
 
 
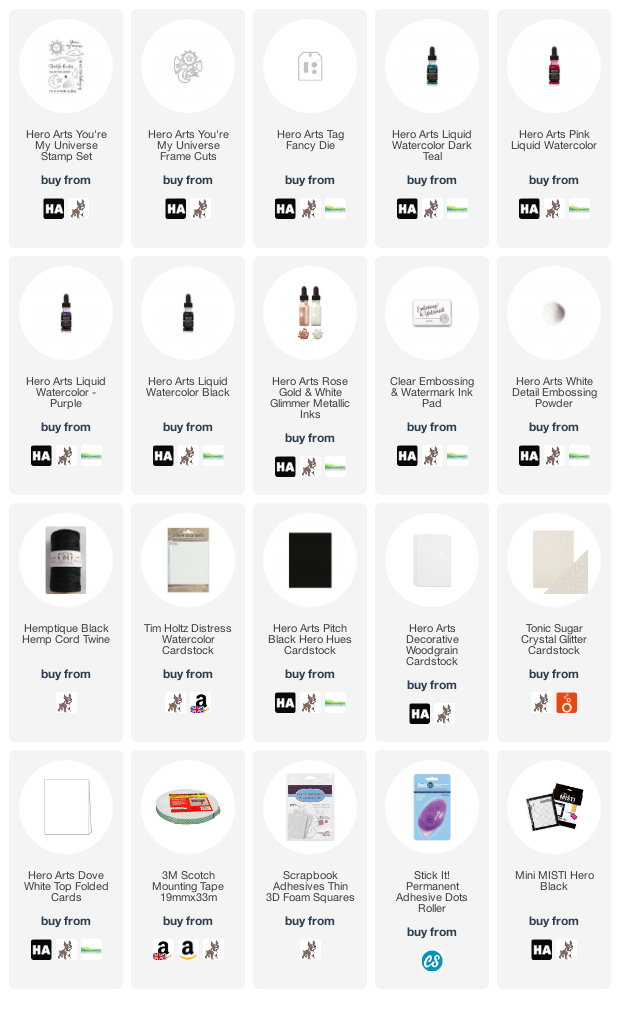
I first cut the Hero Arts Tag Fancy Die from watercolour paper and then added Hero Arts Liquid Watercolors on top to create the galaxy. Once dry, I splattered on some Hero Arts White Glimmer Metallic Ink and then set it aside to dry. Once dry, it was added to a card base with a panel of Hero Arts Decorative Woodgrain Cardstock on the front.
 
 
I stamped the sentiment from the Hero Arts You're My Universe Stamp Set and heat embossed it in white. It was added to the card with foam tape and then I die cut the stars from the Hero Arts You're My Universe Frame Cuts from glitter cardstock. They were added to the card with thin foam tape.
 
SUPPLIES:

Here are the links to what I have used on the card. Affiliate links are used on some products. This means that if you make a purchase after clicking on my link, I receive a small commission with no extra cost to you. I truly appreciate your support when using these links. Please click on the logo below the product to shop at your favourite store. All products were personally purchased except those from Clearly Besotted, Hero Arts or those marked with an asterisk (*) which were kindly sent to me to use. You can read my full disclosure here.
 
 
For more information on how I made the card, please head over to the Hero Arts Blog Post. Thanks so much for stopping by today, I hope you are well and staying safe. Take care :)

8 June 2020

Hero Arts June 2020 My Monthly Hero Release Blog Hop + Giveaway

Hello there and welcome as we celebrate the release of the Hero Arts June 2020 My Monthly Hero Kit. This kit is really wonderful, it consists of a fabulous background stamp that can be used as a sky and/or sea background, landscape dies and a clear stamp set that works well with both. If you are following along in the hop, you should have arrived here from Mariana, but I have the full list of participants below.
 

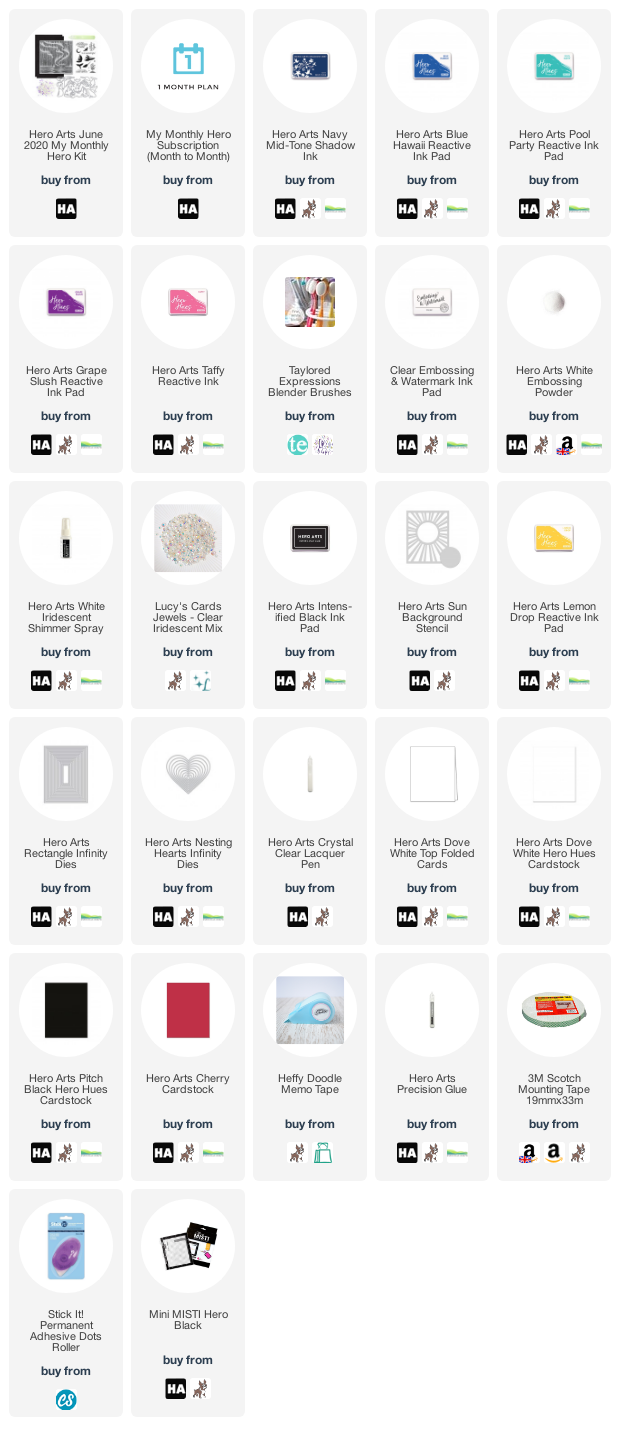
To start off with, I wanted to share the card that I made for the Hero Arts Blog. For this one, I used the log cabin and trees landscape die (Fancy Scene Dies), along with the sentiment from the clear stamp set. I started off by taking a panel of white cardstock and blending inks on to the top half to create a Northern Lights effect.
 

I used Navy, Blue Hawaii, Pool Party, Grape Slush and Taffy inks for this and a blending brush. I then splattered on some water, followed by Hero Arts White Iridescent Shimmer Spray and set it aside to dry. Once dry, I stamped the sentiment from the clear stamp set in the kit in the top right hand corner using Hero Arts Clear Embossing & Watermark Ink. I applied Hero Arts White Embossing Powder and heat set it. The panel was adhered to an A2 white card base with tape runner.
 

I then took a panel of white cardstock and first cut the cabin and trees die completely. I then placed it on to another panel of white cardstock and partially cut this one, so that I just had the top part of the trees but they were still connected to the panel. The fully cut one was adhered on top of the panel piece and then adhered on to the card base using foam tape. To finish off, I added a few Lucy's Iridescent Jewels.
 

My second card uses the lighthouse Fancy Scene Die from the kit. I first took a panel of white cardstock and embossed a Hero Arts Rectangle Infinity Die in the centre. I added memo tape around the edges to mask them off. I then cut the lighthouse from Hero Arts Pitch Black Cardstock.
 
 
Using the lighthouse piece as a guide I then placed the Hero Arts Sun Background Stencil on top of the panel and masked off the sections so that I could use just one ray. I then moved this around the panel to create rays of light coming from the top of the lighthouse using Hero Arts Lemon Drop Reactive Ink and a blending brush.
 
 
I took the sentiment from the clear stamp set in the kit and stamped in to the left hand corner using Hero Arts Intens-ified Black Ink. The panel was then adhered to a top folding A2 card base with tape runner. The lighthouse was added on top with foam tape. I then took the smallest heart from the Hero Arts Hearts Infinity Dies and cut this from Hero Arts Cherry Cardstock. It was adhered on to the card and then covered with Hero Arts Crystal Clear Lacquer Pen to finish.
 
SUPPLIES:

Here are the links to what I have used on the card. Affiliate links are used on some products. This means that if you make a purchase after clicking on my link, I receive a small commission with no extra cost to you. I truly appreciate your support when using these links. Please click on the logo below the product to shop at your favourite store. All products were personally purchased except those from Clearly Besotted, Hero Arts or those marked with an asterisk (*) which were kindly sent to me to use. You can read my full disclosure here.
 
THE KIT:
 
 
The Hero Arts June 2020 My Monthly Hero Kit contains a 4" x 6" Clear Stamp Set, 6" x 6" Northern Lights Cling Stamp, 3 Fancy Scene Dies, 10 Coordinating Frame Cuts, 2 5.5" x 8.5" Sheets of Black Handmade Watercolor Paper, Glow In the Dark Lacquer Pen and Shiny Silver Stars. The kit values at $74 but you can get it for $34.99 (approximately £28 depending on exchange rate). The kits are limited edition and often sell out quickly. You can subscribe here so that you never miss a kit. International subscribers get a discount of shipping too!
 
A MESSAGE FROM HERO ARTS:

We are working on restarting our operations in a safe manner, bringing back our production and shipping teams with social distancing, and keeping our warehouse cleaned under the strictest standards. We are first focusing on all of the orders in-house for all of our wonderful and patient customers, subscribers, and international customers, and hope to get back to regular shipping times once we are through what was delayed. We estimate June kits and add-ons will begin shipping on Friday, June 19, after all previous orders have gone out.
 
ADD-ONS:

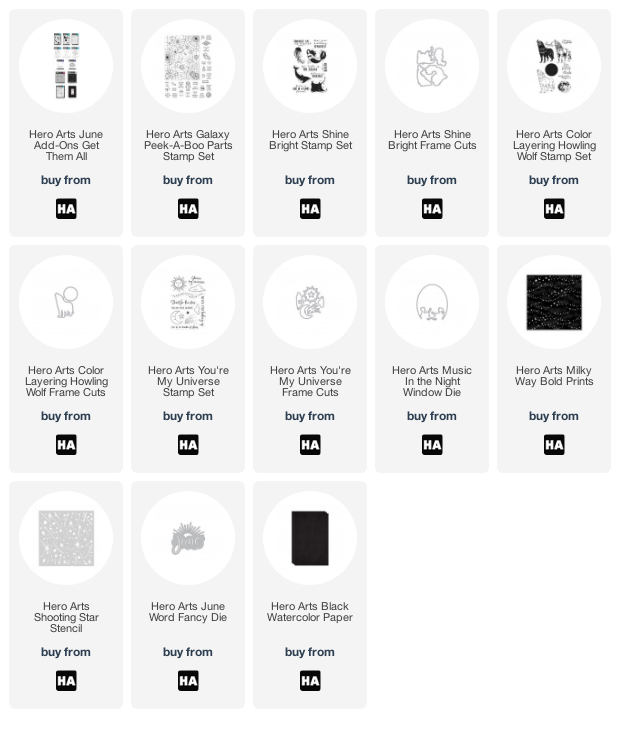
There are lots of wonderful add-on products releasing this month too. These can be purchased along with your kit from Hero Arts, or from your favourite Hero Arts retailer. Here is a look at them:
 
 
BLOG HOP:
 
Here is the full list of participants taking part in the hop today:
 
Hero Arts
Amy Kolling
Channin Pelletier
Daniel West
Debi Adams
Ilina Crouse
Janette Kausen
Jennifer McGuire
Jessica Frost-Ballas
Julee Tilman
Laurie Willison
Lydia Fiedler
Maria Willis
Mariana Grigsby
Michelle Short
Nichol Spohr
Seeka
 
GIVEAWAY:
 
Hero Arts are giving away one £50 gift certificate to one lucky winner. The winner will be picked from all of the comments left across all of the stops in the hop. The more you comment, the more chances you have to win. Enter by 14th June at 11.59 PDT and the winner will be announced on the Hero Arts Blog the following week. Good luck!
 
Next on the hop is the wonderful Nichol. Thank you so much for stopping by today, I really do appreciate it. I hope you enjoy the rest of the hop!

Reverse Confetti 7th Birthday Blog Hop

Hello there, I am delighted to be joining Reverse Confetti today to celebrate their 7th Birthday. Not only are the releasing lots of amazing products, we are also celebrating with a fun blog hop filed with lots of inspiration. If you are following along in the hop, you should have arrived here from the fabulous Tricia, but if you get lost along the way I have the full list of participants below.


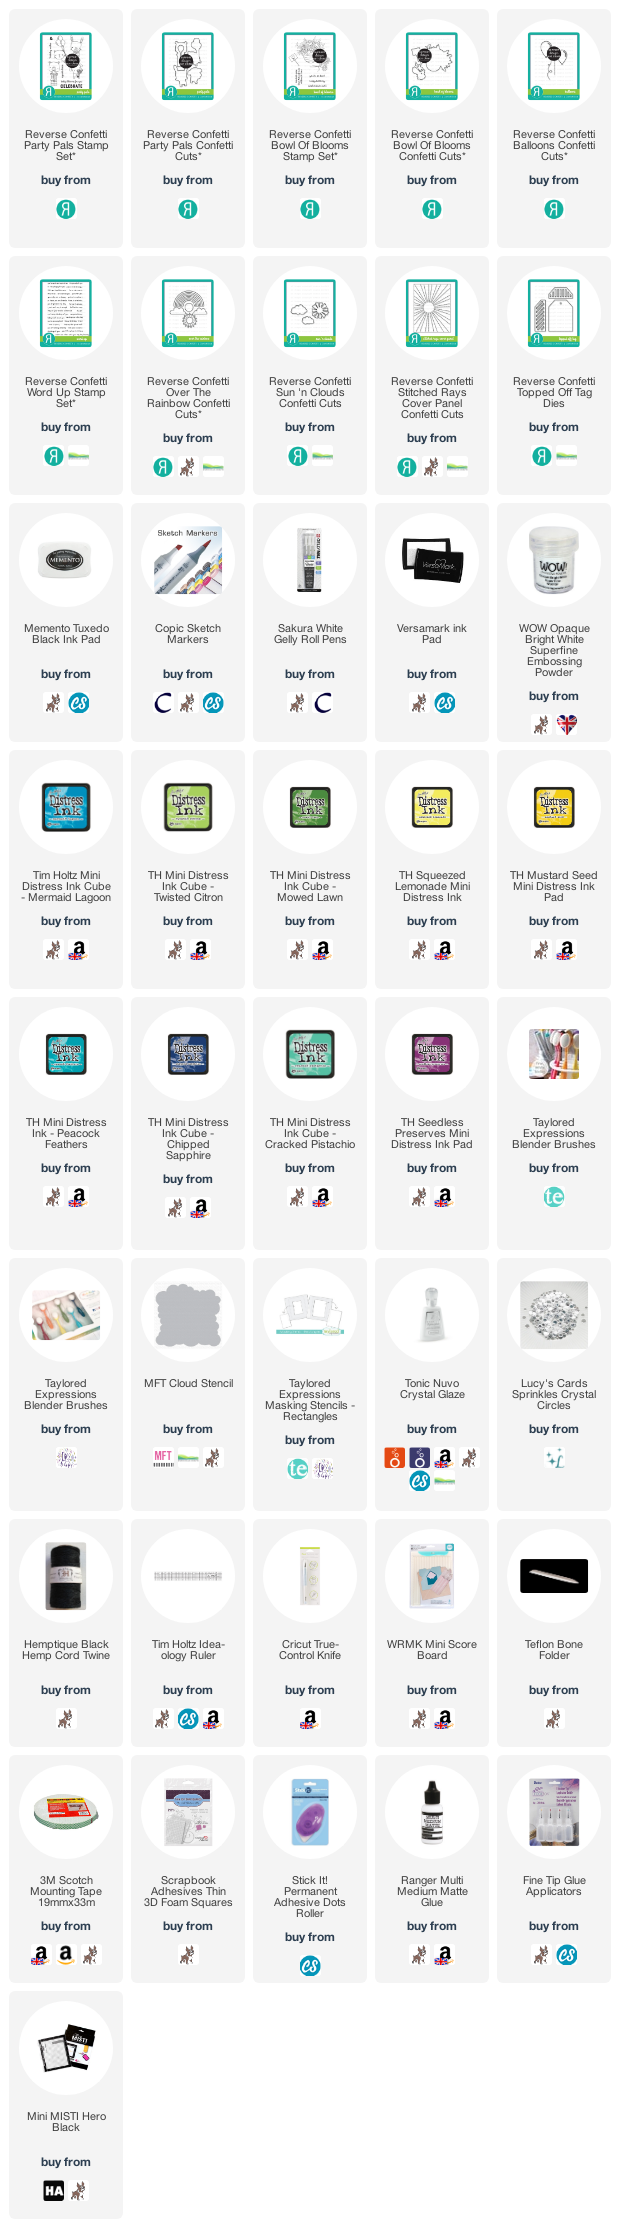
My first card uses the new Reverse Confetti Party Pals Stamp Set. This is such a cute set filled with adorable little critters. I started off by stamping the bunny from the set on to white cardstock with Memento Tuxedo Black Ink. I then coloured her using Copic Markers (the colours that I used are listed below the supplies area) and cut her out using the Reverse Confetti Party Pals Confetti Cuts.
 

I then took a panel of white cardstock and cut it in to a banner shape using a craft knife and ruler. For the top half, I placed the MFT Cloud Stencil on top and using a blending brush, blended on Tim Holtz Mermaid Lagoon Distress Ink. For the grass, I blended on Tim Holtz Twisted Citron and Mowed Lawn Distress Inks. I then took the sun die from the Reverse Confetti Sun N Clouds Confetti Cuts and cut it from white cardstock. I blended on Tim Holtz Squeezed Lemonade and Mustard Seed Distress Inks and then adhered it in the top right corner of the panel with tape runner.

 
I cut a cloud from the Reverse Confetti Over The Rainbow Confetti Cuts from white cardstock and adhered that on top. The panel was adhered to the front of an A2 white card base with foam tape. The bunny was then added on top with thin foam tape. I took the sentiment from the Reverse Confetti Word Up Stamp Set and stamped it on to black cardstock with Versamark Ink. I applied white embossing powder and heat set. It was cut in to a strip and added to the card with more thin foam tape. To finish off, I added Crystal Glaze to the heart on the cupcake.


My second card uses the same Reverse Confetti Party Pals Stamp Set but this time I used the adorable bear image. I stamped the bear sitting on the presents on to white cardstock using Memento Tuxedo Black Ink. I then coloured him using Copic Markers and cut him out using the Reverse Confetti Party Pals Confetti Cuts.

 
I took an A2 white card base and placed the Taylored Expressions Rectangle Masking Stencil on top. Using an ink blending brush, I blended on Tim Holtz Peacock Feathers Distress Ink.  I removed the stencil and then stamped the sentiment from the Party Pals set on top. The bear was then adhered on top using foam tape. To finish off, I added white gel pen highlights to the bear and Crystal Glaze to the heart.


My third card uses the new Reverse Confetti Bowl Of Blooms Stamp Set. I started off by stamping the bowl of blooms image on to white cardstock with Memento Tuxedo Black Ink. I then coloured it using Copic Markers and cut it out using the Reverse Confetti Bowl Of Blooms Confetti Cuts.
 

I took a panel of white cardstock and cut it using the Reverse Confetti Stitched Rays Cover Panel Die and adhered it to the front of an A2 white card base. The image was added on top with foam tape. I took the sentiment from the stamp set and stamped it on to black cardstock with Versamark Ink. I applied white embossing powder and heat set.

 
It was cut in to a strip and added to the card with foam tape and tape runner. To finish off the card, I added a few Lucy's Crystal Circles Sprinkles.


For my final card, I took the new Reverse Confetti Balloons Confetti Cuts and die cut them from white cardstock. You get two sizes of balloons in the set so I cut two larger ones and one smaller one. Using ink blending brushes, I blended Distress Inks on to them. I used Chipped Sapphire, Cracked Pistachio and Seedless Preserves.
 

I took the Reverse Confetti Topped Off Tag Confetti Cuts and die cut the main tag from white cardstock. I then cut the balloon strings in to it from the Balloons Confetti Cuts set. The balloons were adhered to the tag using tape runner. I added twine through the top of the tag and adhered it on to an aqua card base (it has scored lines on it but it is a little difficult to see them in the photos) with foam tape.

 
I took the sentiments from the Reverse Confetti Word Up Stamp Set and stamped them on to black cardstock with Versamark Ink. I applied white embossing powder and heat set. They were cut in to strips and added to the card with thin foam tape.


SUPPLIES:

Here are the links to what I have used on the card. Affiliate links are used on some products. This means that if you make a purchase after clicking on my link, I receive a small commission with no extra cost to you. I truly appreciate your support when using these links. Please click on the logo below the product to shop at your favourite store. All products were personally purchased except those from Clearly Besotted, Hero Arts or those marked with an asterisk (*) which were kindly sent to me to use. You can read my full disclosure here.


COPIC MARKERS: Bunny - W7, W5, W3, W1, W0, R12, R00, R000. Cupcake - R85, R83, R81, R0000, E53, E51, E50. Heart - V17, V15, V12. Bear - E59, E57, E55, E53, E49, E47, R00. Presents - BG49, BG13, BG11, V17, V15, V12, B16, B04, B02. Flowers - B39, B18, B16, B12. Leaves - G29, G46, G43, YG00. Bowl/vase - C3, C1, C0, C00.

BLOG HOP:


Here are all the participants taking part in the hop today:

 
Wishing Reverse Confetti a very happy 7th Birthday! Next on the hop is the wonderful Lisa. Thanks so much for visiting me today, I really appreciate it. I will be back later with the Hero Arts My Monthly Hero Hop. Have a great day!

1 June 2020

VIDEO | Clearly Besotted June 2020 Release Preview

Hello there and happy Clearly Besotted release day! The June 2020 release has a very cute feel to it this month but the sets are perfect for lots of different occasions.
 
 
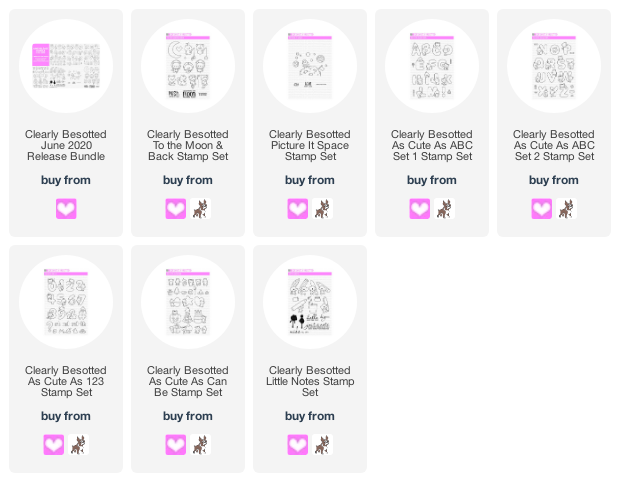
There are seven sets releasing this month and you can purchase them individually or as a bundle (with savings and free gifts). They release today at 8pm BST over at the Clearly Besotted Shop or over at Simon Says Stamp. Here is a look at the new sets, plus a recap of the samples that I have made:


If you are viewing this post via email subscription, you can watch the video HERE on YouTube.
 
SUPPLIES:

Here are the links to what I have shared in the video. Affiliate links are used on some products. This means that if you make a purchase after clicking on my link, I receive a small commission with no extra cost to you. I truly appreciate your support when using these links. Please click on the logo below the product to shop at your favourite store. All products were personally purchased except those from Clearly Besotted, Hero Arts or those marked with an asterisk (*) which were kindly sent to me to use. You can read my full disclosure here.
 
 
Aren't the sets just adorable? Thanks so much for joining me these last few days for the release teasers. I have really enjoyed sharing my projects with you. For more inspiration, please head over to the Clearly Besotted Blog and Keren has one last teaser to share with you today too. Hope you have a lovely day!

31 May 2020

Clearly Besotted Teasers | Little Note

Hello there and welcome to day four of the Clearly Besotted June 2020 Teasers. Release day is tomorrow but I have one last teaser to share with you today, before the big reveal tomorrow. I am using the super cute Little Notes set. There are lots of adorable elephants in the set using writing implements to send notes to their loved ones - so cute!
 

I started off my card by stamping the elephant with the quill, as well as the ink jar from the Clearly Besotted Little Notes Stamp Set on to white cardstock with Memento Tuxedo Black Ink. I coloured them with Copic Markers, adding a little coloured pencil lines on the feather (the colours that I used are listed below the supplies area). They were then fussy cut out with scissors and set aside.
 
 
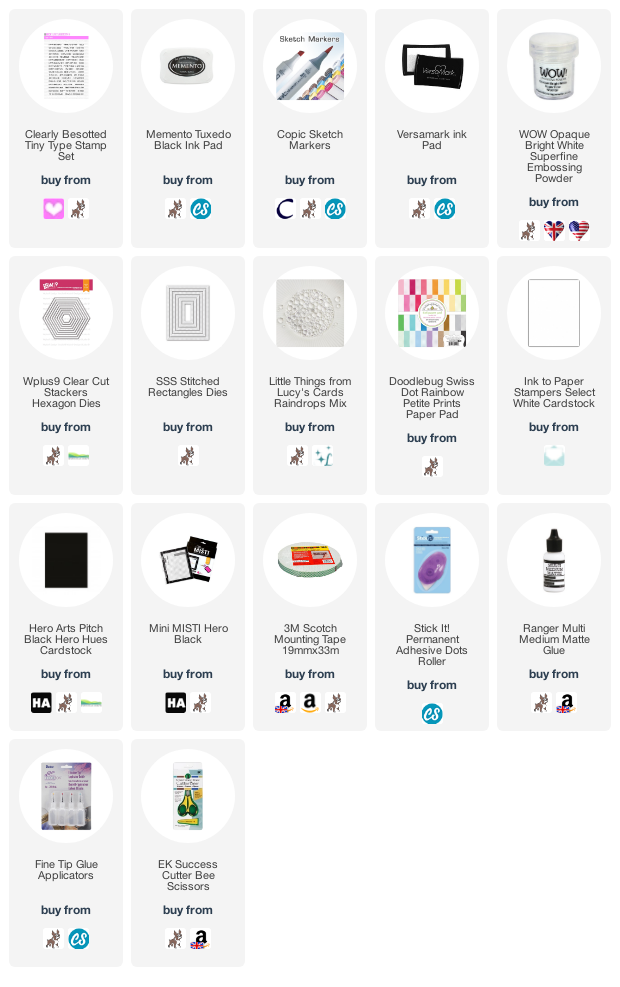
I took pieces of black and aqua paper from the Doodlebug Swiss Dots Rainbow Petite Prints Paper Pad and die cut them using the WPlus9 Clear Cut Stackers Hexagon Dies. I cut the black piece down further using the edge of a SSS Stitched Rectangle Die. The black piece was adhered on to the aqua piece and then the aqua piece adhered to a white piece cut from the next largest hexagon die.
 
 
The hexagons were added to an A2 white card base with foam tape. I then added the ink pot with tape runner, followed by the elephant with more foam tape. I took the sentiment from the Clearly Besotted Tiny Type Stamp Set and stamped it on to black cardstock with Versamark Ink. I applied white embossing powder and heat set. It was cut in to a strip and added to the card with more foam tape. To finish off, I added a few Lucy's Raindrops around the sentiment.
 
SUPPLIES:

Here are the links to what I have used on the card. Affiliate links are used on some products. This means that if you make a purchase after clicking on my link, I receive a small commission with no extra cost to you. I truly appreciate your support when using these links. Please click on the logo below the product to shop at your favourite store. All products were personally purchased except those from Clearly Besotted, Hero Arts or those marked with an asterisk (*) which were kindly sent to me to use. You can read my full disclosure here.
 
 
COPIC MARKERS: Elephant - W7, W5, W3, W1. Quill - E53, E50, BG11, BG10, Polychromos 156. Ink - C10, C8, C6, C5, C3, C1.
 
I hope you have enjoyed seeing my teasers this month, I certainly enjoyed making them! For more inspiration, please head over to the Clearly Besotted Blog, as well as Keren and Lisa. Thanks so much for joining me today, I will be back tomorrow with a look at the whole release. I hope you have a lovely rest of the weekend!

30 May 2020

Clearly Besotted Teasers | As Cute As Can Be

Hello there and welcome to day three of the Clearly Besotted June 2020 Teasers. Not long to wait now, the new sets release on Monday, 1st June. For my card today, I am using the new As Cute As Can Be set. Let me tell you, this set really is as cute cute as can be! It consists of adorable little critters and images for lots of different occasions all year round - birthdays, Christmas, Halloween, Easter, Graduation .. the list is endless! I thought I would make a birthday card today with the adorable kittens!
 

I started off my card by stamping the kitten with cake, separate kittens (plus one that I did a bit of masking on) and the present image from the Clearly Besotted As Cute As Can Be Stamp Set on to white cardstock with Memento Tuxedo Black Ink. I then coloured them with Copic Markers (the colours that I used are listed below the supplies area) and fussy cut out with scissors.
 
 
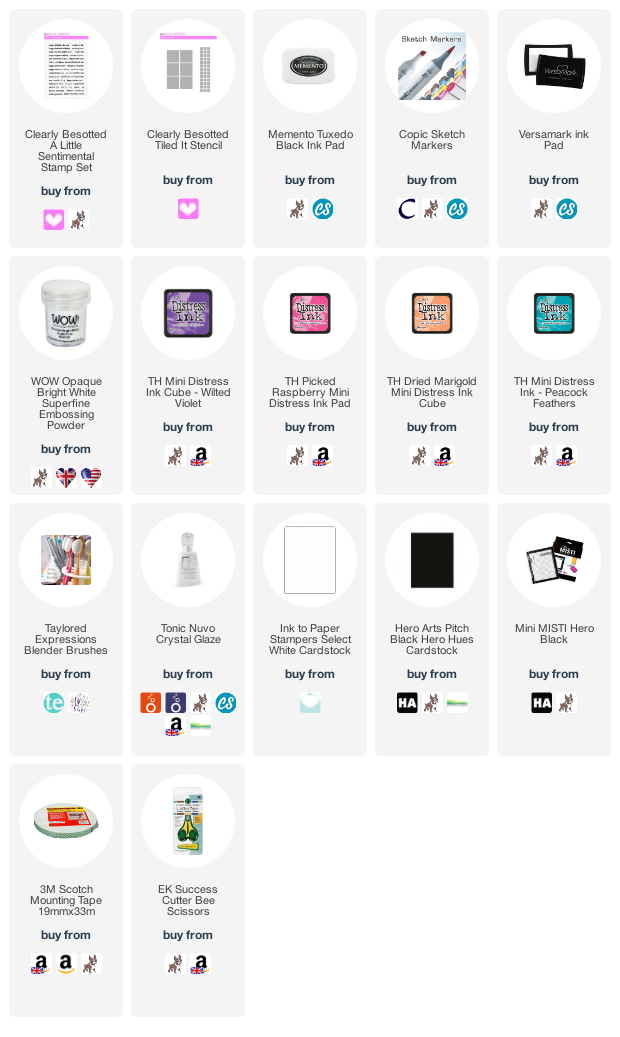
I then took an A2 white card base and placed the Clearly Besotted Tiled It Stencil on top, securing in place with memo tape. I blended Distress Inks through four of the squares. I used  Peacock Feathers, Picked Raspberry, Wilted Violet and Dried Marigold. 
 
 
I took the sentiment from the Clearly Besotted A Little Sentimental Stamp Set and stamped it on to black cardstock with Versamark Ink. I applied white embossing powder and heat set. It was cut in to a strip and added to the card with foam tape. I then added all the kitten images and present with foam tape too. To finish off, I added Tonic Nuvo Crystal Glaze to the flames on the candles.
 
SUPPLIES:

Here are the links to what I have used on the card. Affiliate links are used on some products. This means that if you make a purchase after clicking on my link, I receive a small commission with no extra cost to you. I truly appreciate your support when using these links. Please click on the logo below the product to shop at your favourite store. All products were personally purchased except those from Clearly Besotted, Hero Arts or those marked with an asterisk (*) which were kindly sent to me to use. You can read my full disclosure here.
 
 
COPIC MARKERS: Kittens - W7, W5, W3, W1. Cake - E55, E53, E51, E50, R00, R000, R000, BG13, BG11, BG10, Y15, Y11. Present - RV19, RV55, RV52, V15, V12, V01.
 
I cannot wait to use the other critters in the set! For more inspiration using the new release, please head over to the Clearly Besotted Blog, as well as Keren and Lisa. Thanks so much for stopping by, I really do appreciate it. I hope you have a lovely day!

29 May 2020

VIDEO | Nuvo Glacier Paste Techniques

Hello there, today I am over on the Tonic Studios Craft Room Blog today sharing three techniques using Nuvo Glacier Paste. If you haven't used Glacier Paste before, it is an embossing/texture paste filled with tons of mica flakes which give a lovey metallic/pearlescent finish.
 
 
I am sharing lots of information about the pastes over on the blog post but I also wanted to share the techniques over here on my blog too. Here is the video showing the techniques:


If you are viewing this post via email subscription, you can watch the video HERE on YouTube.
 
 
NUVO GLACIER PASTE WITH STENCILS
 
 
My first technique is a simple one, using Glacier Paste with stencils. Because Glacier Paste is different than other pastes, it does give a different look depending on what surface you add it to. In the video, I show an example on black cardstock. You get a completely different look!
 

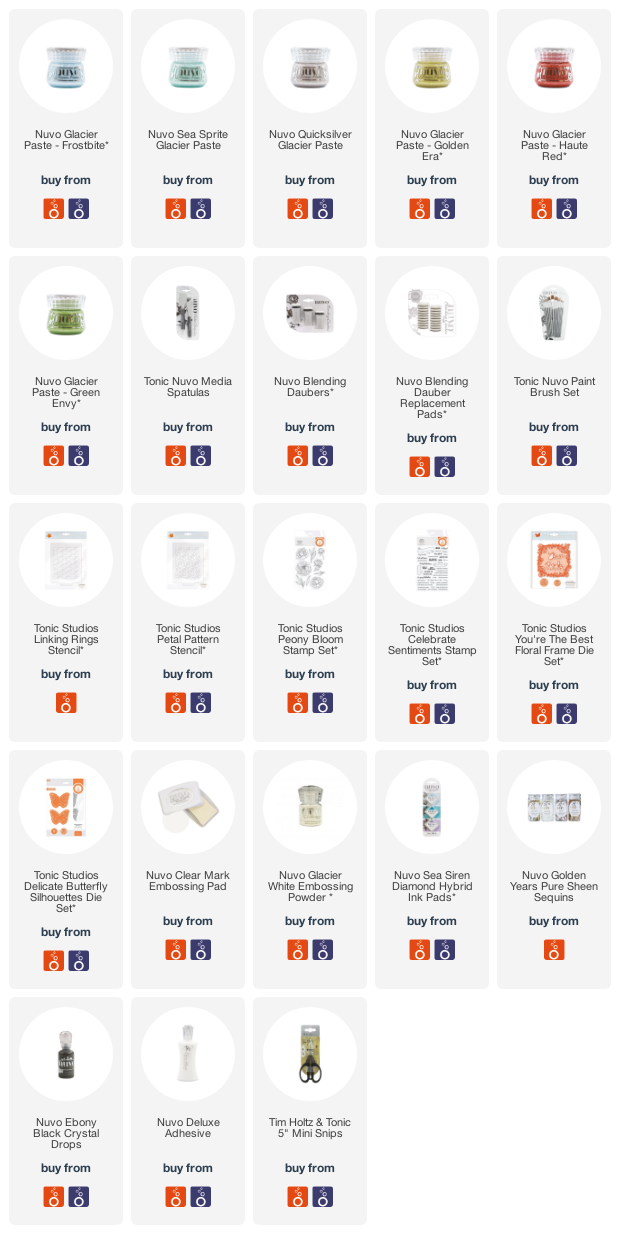
For this tag, I used Nuvo Frostbite Glacier Paste with the Tonic Studios Linking Rings Stencil on white cardstock. As you can see, it gives a lovely metallic finish. I took the small peony from the Tonic Studios Peony Blooms Stamp Set, stamped it in black and coloured it using markers and pencils. I then fussy cut out and added it to the tag with foam tape.
 
 
The sentiment from the Tonic Studios Celebrate Sentiments Stamp Set was heat embossed in white on to black cardstock. To finish off, I added Diamond sequins from the Nuvo Golden Years Pure Sheen Sequins Collection.
 

NUVO GLACIER PASTE WITH INK BLENDING
 
 
The next technique also uses stencils but can be used without too. It can also be used without ink blending too, you can see that in the video above. The technique is to apply the Glacier Paste with a Blending Dauber. You cannot see much of the colour with this application, but those mica flakes really shine!
 

For the card, I first added a layer of Laguna Bay ink from the Nuvo Sea Siren Diamond Hybrid Ink Pads collection using a Nuvo Blending Dauber, through the Tonic Studios Petal Patten Stencil. Using the same dauber sponge, I applied Nuvo Sea Sprite Glacier Paste. Once the panel was dry it was added to an A2 white card base with foam tape.
 

I took the leaf image from the Tonic Studios Peony Bloom Stamp Set and heat embossed that on to vellum. It was fussy cut out and added to the card using the sentiment from the You're The Best Floral Frame Die Set to hold it in place. To finish off, I added Nuvo Ebony Gloss Crystal Drops.
 

DIE CUTTING WITH NUVO GLACIER PASTE
 

You can also paint Glacier Paste on to surfaces to give a different look. This works really well if you want to add Glacier Paste to die cuts. I found the best way to do it was to add a layer first, let it dry (or heat set it) and then add another on top. You do need to leave it for 24 hours to properly dry but then it die cuts beautifully!
 

For this card, I added two layers of Nuvo Golden Era Glacier Paste to white cardstock using a Nuvo Paint Brush. I then die cut it out using the two inside layers of the Tonic Studios Delicate Butterfly Silhouettes Die Set. This was simply added to a white card base, with scoring lines on, with small dabs of Nuvo Deluxe Adhesive.
 
 
The sentiment from the Tonic Studios Celebrate Sentiments Stamp Set was heat embossed in white on to black cardstock and added to the card with foam tape. To finish off, I added Nuvo Ebony Black Crystal Drops.  
 

SUPPLIES:

Here are the links to what I have used on the card. Affiliate links are used on some products. This means that if you make a purchase after clicking on my link, I receive a small commission with no extra cost to you. I truly appreciate your support when using these links. Please click on the logo below the product to shop at your favourite store. All products were personally purchased except those from Clearly Besotted, Hero Arts or those marked with an asterisk (*) which were kindly sent to me to use. You can read my full disclosure here.
 
 
Nuvo Glacier paste is currently part of the weekend saver bundle over at Tonic Studios. You can purchase the bundles here in the UK and here in the US.

Thank you so much for visiting me today. I hope you will check out the new Tonic Studios Craft Room Blog, it is full of information and inspiration! Have a wonderful day!
End of code