10 March 2020

VIDEO | Spellbinders - Layered Die Cutting

Hello there, I am delighted to be over on the Spellbinders YouTube Channel today sharing three cards made using the new Cutting Edge Project Kit. The kit consists of three layering die sets, a sentiment stamp set plus embellishments and cardstock, as well as ideas and supplies for four projects. Every month, designers like myself share other idea for using the kit with you. The kit has been out for a little while but you can now purchase the sets individually too.
 
 
I love that all of these dies are layering dies so you can customise them and really create some different looks. My first card uses the Spellbinders Shapeabilities Kaleidoscope Tile Etched Dies.
 

DIE CUT LAYERING
 
 
The colour combinations are endless with this set but I went with peaches for my card today. I die cut the bottom layer from FSJ Orange Creamsicle Cardstock, the middle with FSJ Peaches and Cream Cardstock and the top with FSJ Banana Cream Cardstock. I added Stick It Adhesive to the back of the cardstock before cutting and then layered them up one on top of another.
 
 
I took the piercing die from the Spellbinders Nestabilities Scored & Pierced Squares Etched Dies and die cut this on the front of a 4.75" x 4.75" white card base. I then added the Kaleidoscope Tile in the middle. I took the sentiment from the kit stamp set and stamped it on to white cardstock with FSJ Clear Pigment Ink. I applied FSJ Journey Gold Embossing Powder and heat set. It was cut in to a strip and added to the card with foam squares. To finish off, I added a jewel at the top and bottom of the tile.
 
DIE CUT INLAY

 
My next card uses the Spellbinders Die D-Lites Kimono Etched Dies. This die lets you create different colour combinations for the kimono plus adding detail if you want to as well. I started off by die cutting the kimono from FSJ Gold Mirror Cardstock, as well as the floral details. I then cut it from FSJ Huckleberry Fusion Cardstock. With the blue pieces, I blended FSJ Huckleberry Fusion Ink to the edges for some added dimension and interest.
 
 
The gold outline was adhered to a piece of white cardstock and then I added the blue pieces inside. I also added the gold flowers on top. I cut around the kimono and then added the piece on to a 4" x 5.5" white card base (I did add scoring lines on to it using a score board and bone folder but sadly they do not show up in the video or photos). I then took the sentiment from the Spellbinders Everyday Sentiments II Glimmer Plate Set and foiled it with Gold Foil. It was cut in to strips and added to the card with foam squares. To finish off, I added a few FSJ Fashion Gold Embellishments.

DIE CUT PIECING
 
 
My next card uses the Spellbinders Shapeabilities Sunday Drive Etched Dies. This is a really fun set where you can create a car by piecing the dies together. I cut the main car body from FSJ Blue Lagoon Cardstock, followed by the 'metal' parts in Matte Silver Foil from the FSJ Sparkle Trio Speciality Paper Pack. The light pieces and side trim were cut from FSJ Rock Candy Cardstock and then the steering wheel and hood of the car in FSJ Black Licorice Cardstock.
 
 
For the card base, I cut two of the largest Spellbinders Nestabilities Standard Circles Etched Dies from white cardstock. I then cut another from FSJ River Stone Cardstock. I cut this piece down further to create a road for the card to drive on. I added small pieces of white cardstock for the lines in the road and then adhered it all together. The car was added on top and then I made two balloons from silver glitter cardstock (also in the Sparkle Trip Speciality Paper Pack) and thin lines of black cardstock for the strings. The sentiment from the FSJ Sweet Birthday Wishes Stamp Set was stamped on to white cardstock with Cave Black Squid Ink. It was cut in to a strip and added to the card with foam squares.
 
VIDEO:

Here is the video showing how I made the cards:


If you are viewing this blog post via email subscription, you can watch the video HERE on YouTube.
 
SUPPLIES:

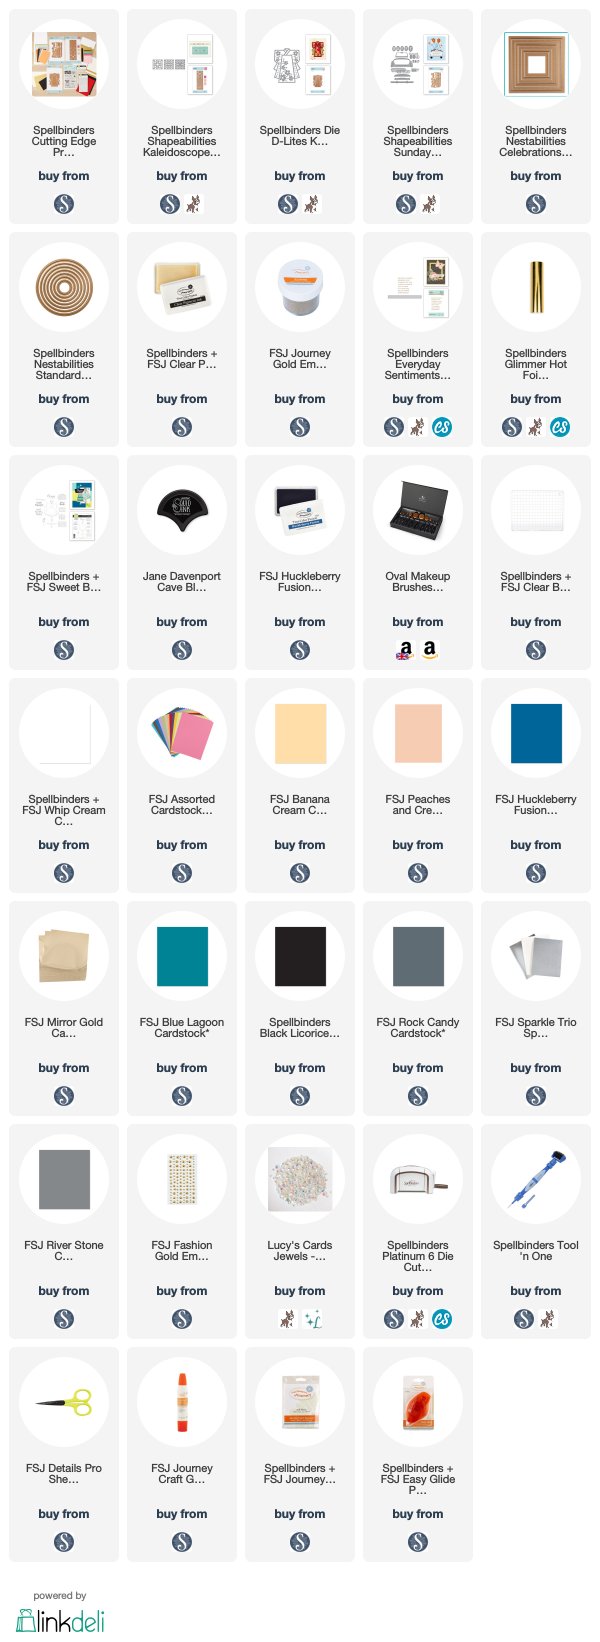
Here are the links to what I have used on the card. Affiliate links are used on some products. This means that if you make a purchase after clicking on my link, I receive a small commission with no extra cost to you. I truly appreciate your support when using these links. Please click on the logo below the product to shop at your favourite store. All products were personally purchased except those from Clearly Besotted, Hero Arts or those marked with an asterisk (*) which were kindly sent to me to use. You can read my full disclosure here.
 
 
For more inspiration using the new sets, please head over to the Spellbinders Blog and YouTube channel. Thanks so much for joining me today, I hope you have a wonderful day!

7 March 2020

Spellbinders | 24 Carrot Small Die of the Month Kit

Hello there, I am delighted to be joining Spellbinders this month to share a project with you using the Spellbinders Small Die of the Month Kit. This month is called 24 Carrot and consists of two cute bunnies, a large carrot, flowers, leaves and much more! I love that it can be used for lost of different occasions but I thought I would create an Easter tag for my project today.
 

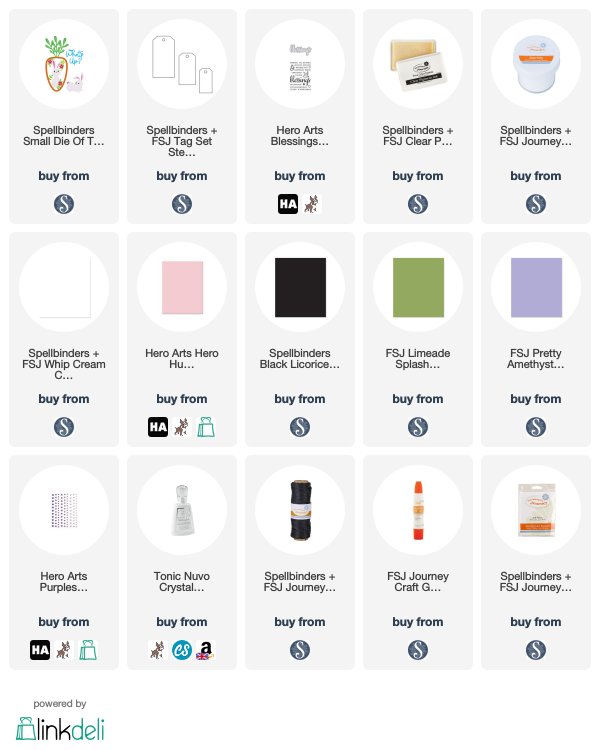
I started off my tag by die cutting the largest tag from the FSJ Tag Steel Rule Die Set from white cardstock. I then die cut the small leaf dies from the Spellbinders Small Die of the Month Kit from FSJ Limeade Splash Cardstock. These were adhered on to the tag to create an oval wreath design. I then added flowers on top, cut from FSJ Pretty Amethyst Cardstock. There is a little die for the centres of the flowers in the kit but I thought it would be fun to use enamel dots instead.
 
 
I then cut the bunny from white cardstock adding small pieces of black and pink cardstock behind the openings of the eyes and nose. I then filled the gaps from the front with Nuvo Crystal Glaze to add some shine to them. The bunny was added to the middle of the wreath with foam squares. Although I didn't use the feature, the arms of the bunny cut out so you can have him hold something, which is so cute!
 
 
I took the sentiment from the Hero Arts Blessings Stamp & Cut and stamped this on to black cardstock with FSJ Clear Pigment Ink. I applied white embossing powder and heat set. It was cut in to a strip and added to the card with more foam squares. To finish off, I added twine through the top of the tag.
 
SUPPLIES:

Here are the links to what I have used on the card. Affiliate links are used on some products. This means that if you make a purchase after clicking on my link, I receive a small commission with no extra cost to you. I truly appreciate your support when using these links. Please click on the logo below the product to shop at your favourite store. All products were personally purchased except those from Clearly Besotted, Hero Arts or those marked with an asterisk (*) which were kindly sent to me to use. You can read my full disclosure here.
 
 
I hope you will check out the Spellbinders Small Die of the Month Kit. It is a monthly subscription where you receive the kit each month. If you do become a member, you will also receive other Spellbinder benefits too. For more information, please see here. You can also purchase previous kits separately but the price is increased for those. You can see them here. I will be sharing another project using this kit later in the month. Thanks so much for visiting me today. I hope you have a wonderful weekend!

5 March 2020

VIDEO | Alcohol Ink Inlay

Hello there, today I have a card and video to share with you using the new Simon Says Stamp Daffodil Stem Die from the Lucky To Know You release which is out today. The die cuts an outline and so it's perfect for the inlay technique and I thought alcohol ink would work well for it.
 
 
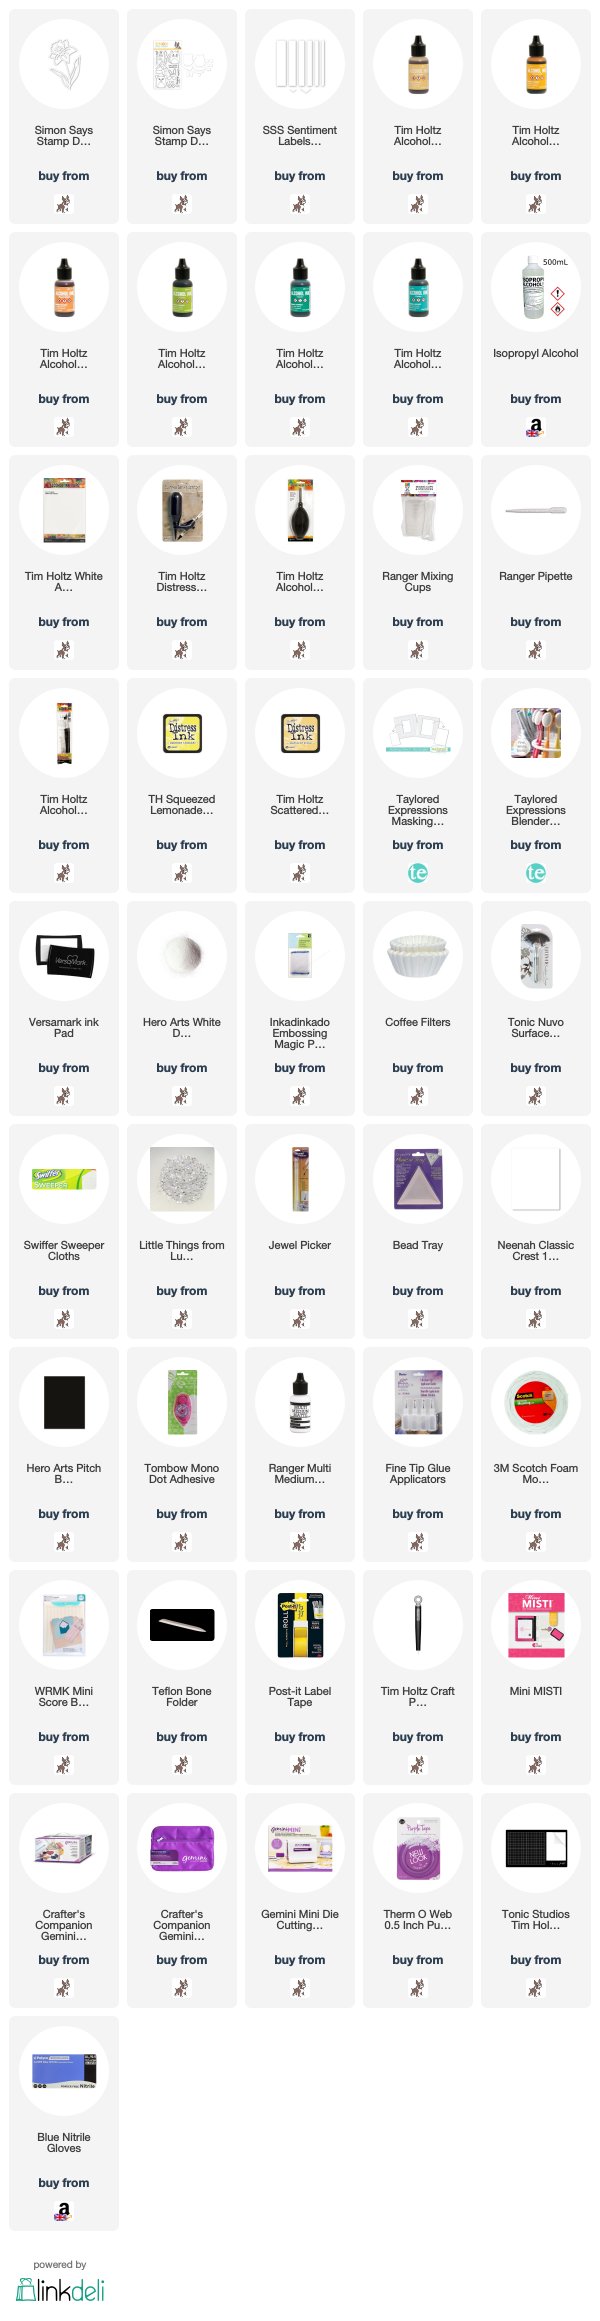
I started off my card by creating the alcohol inked pieces. I took Tim Holtz Alcohol Ink Yupo Paper and added a layer of Isopropyl Alcohol on top using a pipette. I then added drops of Lemonade, Honeycomb and Peach Bellini Tim Holtz Alcohol Ink on top for the daffodil flower head. I moved the alcohol ink around with an air spritzing tool and then added some splatters with a paintbrush. For the leaves, I used Patina, Citrus and Clover Tim Holtz Alcohol Ink.
 

I then took the Simon Says Stamp Daffodil Stem Die and cut the alcohol inked pieces out, followed by three pieces of white cardstock. I took a panel of white cardstock and placed the Taylored Expressions Rectangle Masking Stencil on top, securing at the back with Post-It Tape. I blended on Tim Holtz Scattered Straw Distress Ink on top and then removed the stencil. The panel was then added to the front of an A2 white card base with tape runner.
 
 
I adhered one of the white die cut daffodils (the outline only) on top with Multi Medium Matte Glue. I then took the pieces from the alcohol inked panels (the inside pieces) and added them inside of the daffodil die cut to create the inlay. I then layered up the other two white die cut daffodils on top.
 
 
I took the 'Happy Easter' sentiment from the Simon Says Stamp Dog & Cat Dress Up Set on to black cardstock with Versamark Ink. I applied White Detail Embossing Powder and then heat set. It was cut in to a strip using the Simon Says Stamp Sentiment Labels Dies and then added to the card with foam tape. To finish off, I added a few Lucy's Ice Cube Jewels.
 
VIDEO:

Here is a look at how I made the card:


If you are viewing this blog post via email subscription, you can watch the video HERE on YouTube.
 
SUPPLIES:

Here are the links to what I have used on the card. Affiliate links are used on some products. This means that if you make a purchase after clicking on my link, I receive a small commission with no extra cost to you. I truly appreciate your support when using these links. Please click on the logo below the product to shop at your favourite store. All products were personally purchased except those from Clearly Besotted, Hero Arts or those marked with an asterisk (*) which were kindly sent to me to use. You can read my full disclosure here.
 
 
I hope you will check out the rest of the Lucky To Know You release. There are some beautiful sets in it! Thanks so much for visiting me today. I hope you have a wonderful day!

2 March 2020

Hero Arts March 2020 My Monthly Hero Kit Release Blog Hop + Giveaway

Hello there and welcome as we celebrate the release of the Hero Arts March 2020 My Monthly Hero Kit. The kit this month features a HeroScape stamp set and has a lovely Japanese feel to it. If you are following along in the hop, you should have arrived here from the Hero Arts Blog but if you get lost along the way, I have the full list of participants listed below.

 
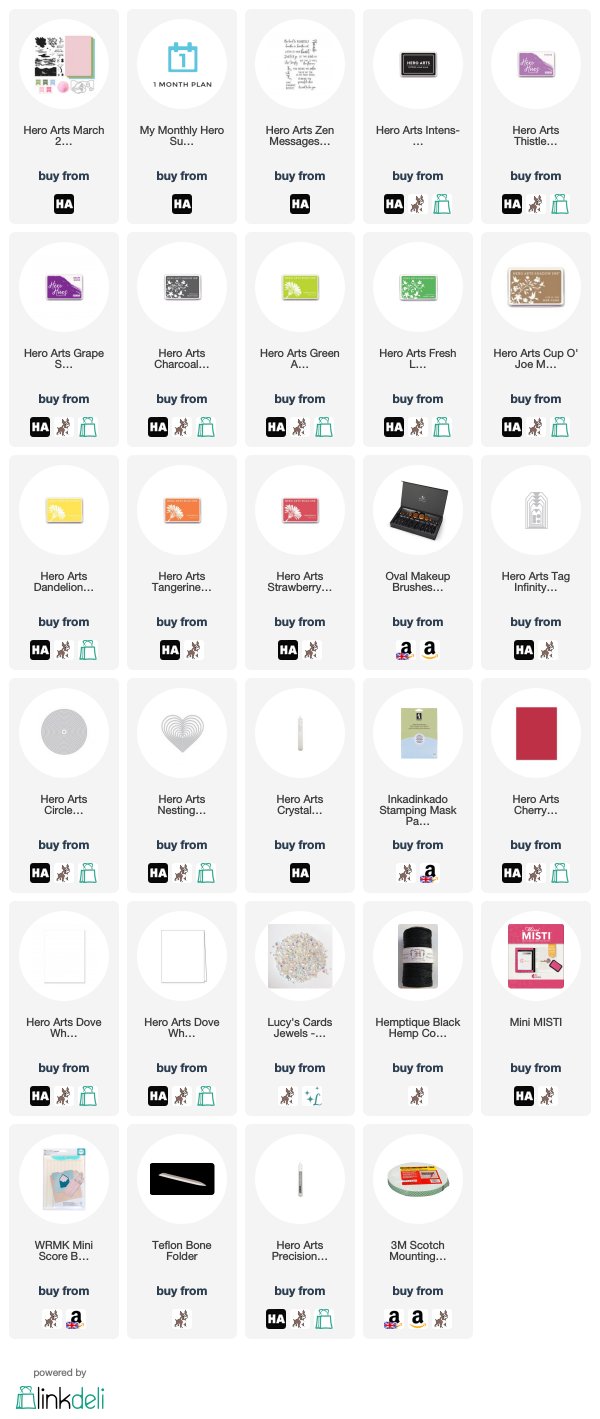
The first project that I am sharing with you is one that I shared over on the Hero Arts Blog yesterday for the countdown. I simply stamped the beautiful tree from the main stamp set on to a panel of white cardstock. I used Hero Arts Charcoal Mid-Tone Shadow Ink for the tree trunk and Hero Arts Thistle and Grape Slush Reactive Inks for the tree top. The sentiment was then simply stamped to the side before adhering to a white card base with foam tape. I finished off with a few jewels.


My next card uses both the tree and the grass from the stamp set. I first took a panel of white cardstock and stamped the grass on to it using Hero Arts Green Apple Bold Ink for the first layer. I then stamped the second layer with Hero Arts Fresh Lawn Mid-Tone Shadow Ink. I stamped the tree top with the same inks, followed by the trunk in Hero Arts Cup O' Joe Mid-Tone Shadow Ink.

 
The sentiment was then stamped with Hero Arts Intens-ified Black Ink. I took the second largest of the Hero Arts Tag Infinity Dies and die cut the panel using it. I then added twine through the top of the tag and tied in a bow. I scored lines in the front of a top folding card base using a score board and bone folder and then added the tag on top with foam tape.


For my last card today I went a little different! I first cut a Hero Arts Nesting Circle Infinity Die from a sheet of mask paper. I placed this on to a panel of white cardstock and then blended inks through it. I used Hero Arts Dandelion, Tangerine and Strawberry Bold Inks. The mask was removed and then the tree stamped with Hero Arts Intens-ified Black Ink.

 
I took the sentiment from the Hero Arts Zen Messages Stamp Set (which is an add-on this month) and stamped it below the tree top to the left. The panel was adhered on to a top folding card base with foam tape. To finish off, I die cut the smallest heart from the Hero Arts Nesting Hearts Infinity Dies set from Hero Hues Cherry Cardstock. It was adhered to the tree with liquid glue and then I added a coating of Hero Arts Crystal Clear Lacquer Pen on the top.


SUPPLIES:

Here are the links to what I have used on the card. Affiliate links are used on some products. This means that if you make a purchase after clicking on my link, I receive a small commission with no extra cost to you. I truly appreciate your support when using these links. Please click on the logo below the product to shop at your favourite store. All products were personally purchased except those from Clearly Besotted, Hero Arts or those marked with an asterisk (*) which were kindly sent to me to use. You can read my full disclosure here.


THE KIT:
 
The Hero Arts March 2020 My Monthly Hero Kit contains a 6" x 8" clear stamp set, 5 coordinating frame cuts, 5 ink cubes (Green Hills, Field Greens, Dusty Blue, Rose Madder, Cotton Candy), 6 5.5" x 8.5" sheets of cardstock (2 each of Peony, Kiwi and Mist) and Pink Puff embossing powder. The kit values at $70.00 but you can get it for $34.99 (approximately £28 depending on exchange rate). The kits are limited edition and often sell out quickly. You can subscribe here so that you never miss a kit. International subscribers get a discount off shipping too!


ADD-ONS:

There are lots of fabulous add-on sets available to purchase this month too. These are not limited edition and can be purchased when you purchase the kit form the Hero Store, or from you favourite Hero Arts retailer.


BLOG HOP:

Here is the full list of participants taking part in the hop today:


Hero Arts
 Michelle Short - you are here!
 Jessica Frost-Ballas
 Caly Person
 Channin Pelletier
 Debi Adams
 Emily Midgett
 Ilina Crouse
 Janette Kausen
 Yana Smakula
 Daniel West
 Jennifer McGuire
 Nichol Spohr
 Laurie Willison
 Lydia Fiedler
 Julee Tilman
 Mariana Grigsby
 Amy Kolling
 Maria Willis
 Seeka

GIVEAWAY:

Hero Arts are giving away a $50 gift card to one lucky blog hop reader. The winner will be drawn from the comments left across all the stops in the hop. The more you comment, the more chances you have to win! The giveaway closes on 8th March 2020 at 11.59pm PST. The winner will be announced the following week on the Hero Arts Blog.

Next on the hop is the fantastic Jessica. Thanks so much for stopping by today, I hope you have a wonderful time on the rest of the hop!

1 March 2020

VIDEO | Clearly Besotted March 2020 Release Preview

Hello there, today is THE day! The new products release from Clearly Besotted today. The new release consists of seven new stamp sets plus if you buy the bundle, you will get a new stencil too!
 
 
The sets release tonight at 8pm over at the Clearly Besotted Shop (UK based) or now over at Simon Says Stamp (US based). Here is a look at the new sets, plus a recap of my projects:


If you are viewing this post via email subscription, you can watch the video HERE on YouTube.

SUPPLIES:

Here are the links to what I have shared in the video. Affiliate links are used on some products. This means that if you make a purchase after clicking on my link, I receive a small commission with no extra cost to you. I truly appreciate your support when using these links. Please click on the logo below the product to shop at your favourite store. All products were personally purchased except those from Clearly Besotted, Hero Arts or those marked with an asterisk (*) which were kindly sent to me to use. You can read my full disclosure here.
 
 
Aren't the new sets fun? I have had a lot of fun playing with them all! For more inspiration using the release, please head over to the Clearly Besotted Blog and I know that Keren has one more teaser to share with you too. Thank you so much for joining me this week, I really do appreciate it. I hope you have a wonderful rest of the weekend!

VIDEO | Cricut Joy - An Introduction

Hello there, today I am delighted to sharing the new Cricut Joy with you that is out today. I was kindly contacted by Cricut to ask if I wanted to have a play with the machine and of course, I said yes!
 
 
The Cricut Joy is a compact and portable electronic die cutting machine with a cut size of 4.5" wide. Using the new Cricut Joy Smart Materials (I will get on to that a little later), you can cut up to 20ft long. The machine works via Bluetooth so can be used on a desktop, tablet or mobile phone. There are no buttons on the Cricut Joy, it is controlled exclusively via Cricut Design Space.
 

It has been designed so that you can quickly and easily create projects within 15 minutes of getting it out of the box and let me tell you, they are right! It is really easy to set up and you will be creating your first cut in minutes!
 
 
So what's different with this machine compared to the Cricut Maker and Cricut Explore? The first thing is obviously the size. This machine is substantially smaller. This does mean that the area of cutting is smaller (except for length) but it also means that it is really portable. You can carry this anywhere! I think it will be perfect for those who attend craft groups. I also think it is perfect to use with children.

 
The second thing that you will notice is that there is only one clamp. Currently there is also only blade that works in the Cricut Joy (which cuts up to 50 different materials). This clamp also holds the new Cricut Joy Pens.
 
 
The Cricut Joy Pens that can write messages, draw images … all sorts! These pens are smaller in size to the pens that you would use in the larger machines, since they are made specifically for the smaller size of the Cricut Joy. There are lots of different types - glitter, gel, metallic, fine point, extra fine point etc. and come in lots of different colours.
 
 
(photo from cricut.com)
 
There are also new Smart Materials that can be used with the Cricut Joy. These can work without using the mat to cut on. The vinyl, for example, has a stronger backing to it so it does not require that mat. This can be used to your advantage to be able to cut up to 20ft in length (for a repeated pattern) which you cannot do in The Maker or Explore.
 
 
(photo from cricut.com)
 
There is also the new Cricut Joy Card Mat and Card Inserts. These allow you to make a card in minutes. These may not necessarily be the type of cards that us card makers will create, but they are great when you are in a rush, or if a loved one wants to create a card for you but doesn't have the same skill as you. These are perfect! There are also ways to customise these ready made cards or completely design you own card using the technology.


CONGRATS CARD WITH THE CARD MAT
 
 
The Cricut Joy Card Mat allows you to cut directly on to the front of a card base but leaves the rest of the card intact. This is so cool and will be perfect to create window cards, shaker cards … the sky is the limit! For my first project, I am creating one of the ready-made designs in Cricut Design Space.
 
 
This card uses a blue card base from the Cricut Joy Insert Cards Fingerprint Sampler as well as the silver holographic insert from the Cricut Joy Gray/Silver Matte Holographic pack. This card came together in five minutes and you can see how I made it in the video below.


THANKS CARD WITH CUTTING & DRAWING
 
 
For my next project, I wanted to create a card that was a little bit more like the style I usually make. I first cut the 'thanks' from white cardstock, as well as Tonic Sugar Crystal Glitter Cardstock and stacked these up. I then cut a heart from vellum (using a premade shape in Design Space) and then drew the accompanying sentiment on to white cardstock with the Cricut Joy Extra Fine Point Pen.
 
 
On to a panel of white cardstock, I blended Distress Inks in Picked Raspberry, Wilted Violet and Blueprint Sketch. This was added to an A2 card base with foam tape. I then added the thanks sentiment on to the vellum heart with tape runner, followed by the written sentiment which was cut in to a strip. I added that with foam tape and then added the heart to the card with liquid glue (adding the glue behind the die cuts on the front). To finish off, I added a few jewels.
 
I love how I could combine my traditional style with the electronic die cutting! With the Cricut Joy being so portable, it was easy just to have on my desk while crafting.


CREATING DECALS WITH SMART VINYL
 
 
My last project is a little different, I thought it would be fun to add a decal on to the front of my mini dustbin/trash can. I purchased the CrazyCraftyLadyCo Craftiness is Happiness SVG on Etsy and uploaded it to Cricut Design Space. I then cut it using the new Cricut Joy Smart Vinyl. I used the black vinyl from the Cricut Joy Smart Vinyl Removable Elegance Sampler.
 
 
Once cut, I weeded the design (removed the excess vinyl from inside the letters) and then added the vinyl to Cricut Joy Transfer Tape. Using the Transfer Tape, I then placed the design on to the dustbin and using the Cricut Joy Starter Tool Set, I removed the Transfer Tape to reveal the decal. I think it looks really nice sitting on my desk!
 

VIDEO:

Here is a look at how I created the cards with the Cricut Joy:


If you are viewing this post via email subscription, you can watch the video HERE on YouTube.
 
I loved creating with the Cricut Joy for these projects! If you already have the Cricut Maker do you need the Cricut Joy too? That depends on what you like to cut. If you want to ability to cut longer then the answer would be yes. If you want to use the new Card Mat, then the answer will be yes. If you need more portability and be able to create anywhere, then the answer will be yes! But it all depends on what you cut.
 
Personally, I do not have a huge amount of desk space, so using the Cricut Joy vs the Maker is so much easier. You really do not need a lot of space with the Cricut Joy which I think is perfect for cardmakers. If you do not already have an electronic die cutting machine then I think this is a perfect machine to get started in the world of electronic die cutting!


SUPPLIES:

Here are the links to what I have used on the cards and in the video. Affiliate links are used on some products. This means that if you make a purchase after clicking on my link, I receive a small commission with no extra cost to you. I truly appreciate your support when using these links. Please click on the logo below the product to shop at your favourite store. All products were personally purchased except those from Clearly Besotted, Hero Arts or those marked with an asterisk (*) which were kindly sent to me to use. You can read my full disclosure here.
 
 
Do you have an electronic die cutting machine? Do you use it for cardmaking? I would love to hear. Thanks so much for stopping by. I will be back later with my Clearly Besotted post.

29 February 2020

Clearly Besotted Teasers | Pawly Plushies

Hello there and welcome to day four of the Clearly Besotted March 2020 Teasers. The new products release tomorrow and I have one last teaser to share with you today. For today's card, I am using the super cute Pawly Plushies set which consists of lovely get well cuties and sentiments.
 

I started off my card by stamping one of the bears from the Clearly Besotted Pawly Plushies Stamp Set on to white cardstock with Memento Tuxedo Black Ink. I coloured him using Copic Markers (the colours that I used are listed below the supplies area) and then fussy cut him out. I then die cut a tag from the Clearly Besotted Tag Along Die Collection using white cardstock.
 
 
I then further die cut a square from the tag before stamping the sentiment below the window using more black ink. I took an A2 white card base and adhered a piece of paper from the Sunny Studio Subtle Grey Tones Paper Pad on the front with tape runner. I tied twine through the top of the tag and then it was added to the card using foam tape. I then added the bear on top with more foam tape.
 
SUPPLIES:

Here are the links to what I have used on the card. Affiliate links are used on some products. This means that if you make a purchase after clicking on my link, I receive a small commission with no extra cost to you. I truly appreciate your support when using these links. Please click on the logo below the product to shop at your favourite store. All products were personally purchased except those from Clearly Besotted, Hero Arts or those marked with an asterisk (*) which were kindly sent to me to use. You can read my full disclosure here.
 
 
COPIC MARKERS: Bear - E59, E57, E55, E53, E51, E50. Plater/band aid - BG13, BG11. Sling - C5, C2.
 
I hope you have enjoyed seeing my teasers this week. There is another set releasing that I haven't used during the teasers which I will share in my release video tomorrow. For more inspiration using the new release, please head over to see Stephanie and Jenny over on the Clearly Besotted Blog, as well as Keren over on her blog. See you tomorrow for release day! I hope you have a wonderful weekend!

28 February 2020

Clearly Besotted Teasers | Prickly Plushies

Hello there and welcome to day three of the Clearly Besotted March 2020 Teasers. Not long to wait until the new release now, the new products release on Sunday.


Today I am using the new Prickly Plushies set. It is an adorable set consisting of lots of cacti and fun sentiments. I thought I would create a card and tag using the set, along with the new Says It All Again and Saying Stuff sentiment sets.
 
 
For the card, I took three of the cacti from the Clearly Besotted Prickly Plushies Stamp Set and stamped them on to white cardstock with Memento Tuxedo Black Ink. They were coloured using Copic Markers (the colours that I used are listed below the supplies section) and fussy cut out with scissors.
 
 
I took a panel of white cardstock and cut it using the largest of the dies from the WPlus9 Gift Card Layers Dies Set. I then placed a homemade circle stencil/mask over the top. The stencil is simply a circle die cut from a sheet of mylar. Using an ink blending brush, I blended on Broken China Distress Ink. I then took the sentiment from the Clearly Besotted Says It All Again Stamp Set and stamped it on to black cardstock using Versamark Ink. I applied white embossing powder and heat set.
 
 
It was cut in to a strip and added to the card with tape runner adhesive. The panel was added to a white A2 card base with tape runner and then the cacti added on top with foam tape. To finish off, I added white gel pen highlights to the cacti and a small gemstone to the girl cacti's flower.
 
 
I thought it would be fun to create a little tag too. It didn't quite go to plan as I couldn't find my speech bubble dies that I wanted to use, but thought I would share it anyway! I started off by stamping, colouring and cutting out another of the cacti images from the Clearly Besotted Prickly Plushies Stamp Set. I then cut a tag from the Clearly Besotted Tag Along Die Collection using Yupo Paper.
 
 
I applied a layer of Isopropyl Alcohol to the tag first, then added drops of Patina and Mermaid Tim Holtz Alcohol Inks. I spritzed the piece using an air spritzer tool and then splattered on some more Isopropyl Alcohol and set aside to dry. I die cut a Hero Arts Nesting Circle Infinity Die from vellum and then placed the cacti image on top with foam tape. I applied tape runner adhesive to the back and then added it to the tag.
 
 
I die cut another tag from white cardstock and stamped the sentiment from the Clearly Besotted Saying Stuff Stamp Set on to it using Memento Tuxedo Black Ink. The two tags were adhered back to back with tape runner and then twine was added through the top. To finish off, I added black glaze pen to the cacti's eyes, as well as white gel pen highlights. I also added a few green enamel dots around the image.
 
There is a sentiment in the Prickly Plushies set that reads 'you can't touch this' and I thought it would be funny to have this in a speech bubble so that the cacti was saying it. As mentioned, I cannot find my speech bubble dies sadly, but once I find them, I will add it to the front of the tag!
 
SUPPLIES:

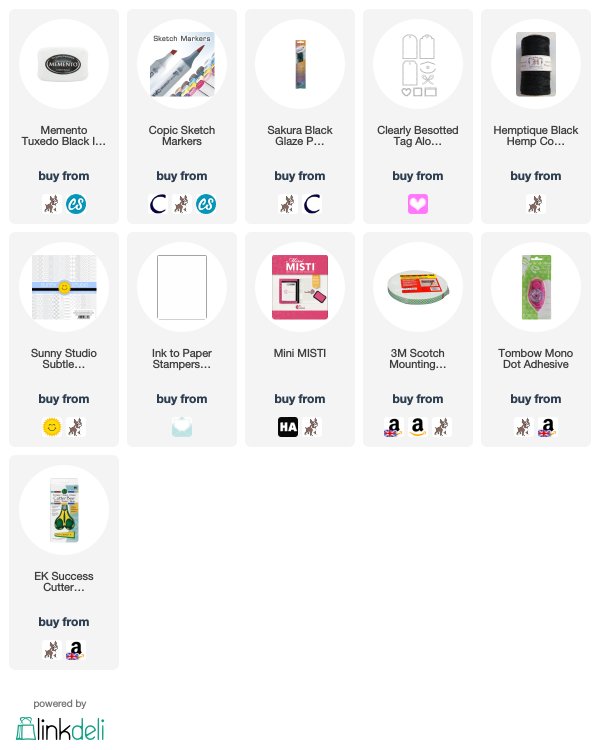
Here are the links to what I have used on the card. Affiliate links are used on some products. This means that if you make a purchase after clicking on my link, I receive a small commission with no extra cost to you. I truly appreciate your support when using these links. Please click on the logo below the product to shop at your favourite store. All products were personally purchased except those from Clearly Besotted, Hero Arts or those marked with an asterisk (*) which were kindly sent to me to use. You can read my full disclosure here.
 
 
COPIC MARKERS: Cacti - G29, G46, YG67, YG17, YG25, YG03, YG01. Flowers - V17, V15, V12. Pots - BG49, BG18, BG15, BG13, BG11.
 
This is such a fun set! For more inspiration using the new release, please head over to Stephanie and Jenny over on the Clearly Besotted Blog, as well as Keren over on her blog. Thanks so much for visiting me today, I really do appreciate it. I hope you have a fantastic day!
End of code