5 February 2020

VIDEO | Card Making Haul - January 2020

Hello there, today I have a haul to share with you for items that I purchased in January 2020. I know that these types of videos aren't for everyone but I haven't done one since October 2019, so I thought it was time to do one! (The reason for not making one for so long is due to Christmas, instead of spending my money on craft supplies, it went on Christmas presents instead!).
 
 
Last month I picked up a few hot foil plates, glitter pens, some watercolours, paper, a storage item and a couple of tools. Not a huge amount, but I will definitely enjoy using them! Here is a look at what I purchased:


 If you are viewing this post via email subscription, you can watch the video HERE on YouTube.
 

SUPPLIES:

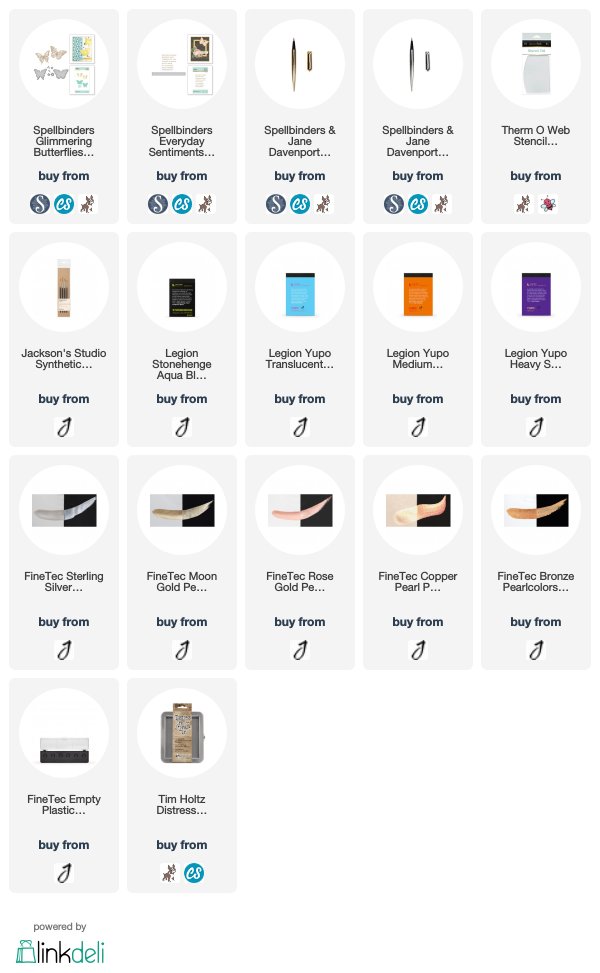
Here are the links to what I shared in the video. Affiliate links are used on some products. This means that if you make a purchase after clicking on my link, I receive a small commission with no extra cost to you. I truly appreciate your support when using these links. Please click on the logo below the product to shop at your favourite store. All products were personally purchased except those from Clearly Besotted, Hero Arts or those marked with an asterisk (*) which were kindly sent to me to use. You can read my full disclosure here.
 
 
Thanks so much for stopping by today, I really do appreciate it. I hope you have a wonderful day!

3 February 2020

Hero Arts February 2020 My Monthly Hero Kit Blog Hop + Giveaway

Hello there, today we are celebrating the release of the Hero Arts February 2020 My Monthly Hero Kit. The kit this month is birthday themed, which is perfect for all year round. If you are following along in the hop, you should have arrived here from the fabulous Maria, but if you get lost along the way, I have the full list of participants below.
 

For my projects today, I have used the main kit (plus one add-on set) to create a card and matching tag. I was immediately drawn to the Teal Icing Lacquer Pen that comes in the kit, so I based my colour theme around that. For the card, I started off by masking off the bottom edges of a Hero Arts Dove White Top Folding Card. I then blended Hero Arts Pool Party Reactive Ink on top, fading out to white at the top.
 

I placed the star stencil from the Hero Arts Sky Stencil Pair on top and then blended more Pool Party ink through it. I then removed the stencil and masks. I took the Cake Fancy Die that comes in the kit and die cut it from Hero Hues Dove White Cardstock. It was added to the card with foam tape.
 
 
I then took the sentiment label from the Hero Arts You're Top Tier Stamp Set (which is an add-on this month) and stamped it on to white cardstock with Hero Arts Intens-ified Black Ink. I coloured it with Copic Markers and then cut it out with the coordinating die from the Hero Arts You're Top Tier Frame Cuts set. It was added to the card with foam tape and tape runner. To finish off, I added small dots of the Teal Icing Lacquer Pen to the cake.
 
 
I thought I would make a little accompanying tag to go with the card. I first die cut the Hero Arts Fancy Tag Die from white cardstock and the topper piece from Hero Hues Pitch Black Cardstock. I again blended on Hero Arts Pool Party Reactive Ink, followed by the star stencilling. I stamped and coloured the cake from the main kit stamp set and then die cut out with the coordinating die. It was added to the tag with foam tape. I added twine through the top of the tag and then finished off by adding a few dots of the Teal Icing Lacquer Pen around the cake.
 
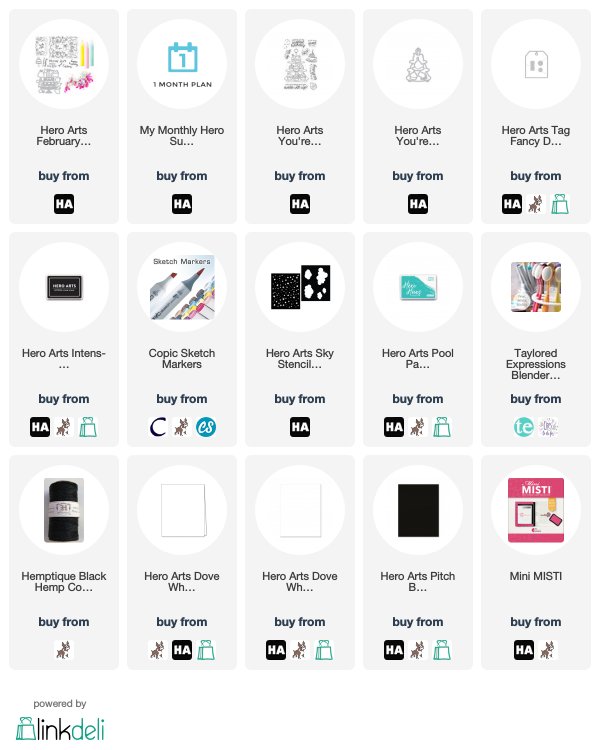
SUPPLIES:

Here are the links to what I have used on the card. Affiliate links are used on some products. This means that if you make a purchase after clicking on my link, I receive a small commission with no extra cost to you. I truly appreciate your support when using these links. Please click on the logo below the product to shop at your favourite store. All products were personally purchased except those from Clearly Besotted, Hero Arts or those marked with an asterisk (*) which were kindly sent to me to use. You can read my full disclosure here.


THE KIT:
 
The Hero Arts February 2020 My Monthly Kit contains a 6" x 8" Clear Stamp Set, 9 Coordinating Frame Cuts, 1 Cake Fancy Die, 3 Lacquer Pens (Pink icing, Teal Icing, Yellow Icing) and Rainbow Spirals & Balloon Sequins. The kit values at $75 but you can get it for $34.99 (approximately £28 depending on exchange rate). The kits are limited edition and often sell out quickly but you can subscribe to the kits so that you never miss out on one. International subscribers also get a discount off shipping. Kits being shipping 7th February 2020.
 

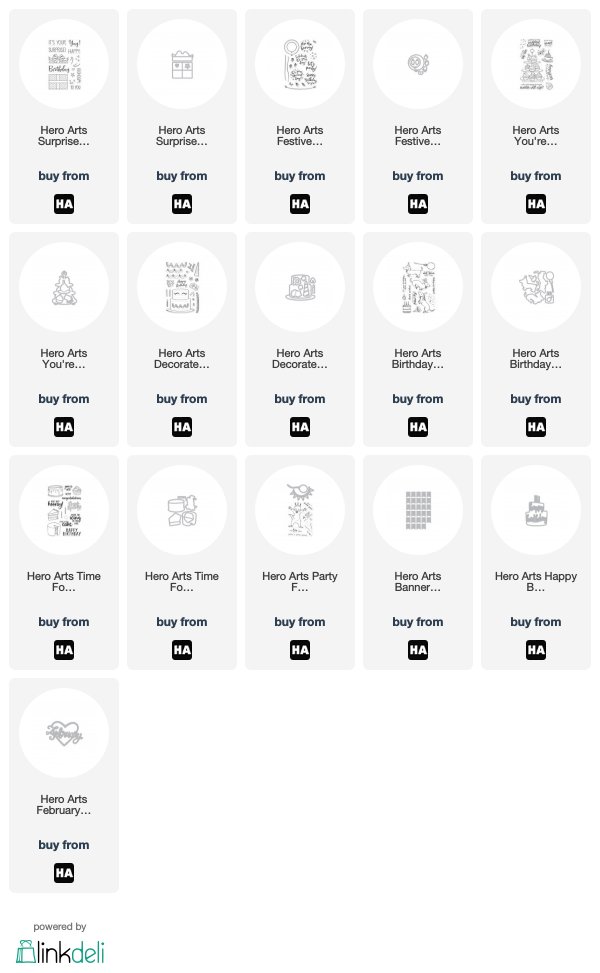
ADD-ONS:
 
There are lots of fabulous add-on sets available to purchase this month too. These are not limited edition and can be purchased alongside the kit from Hero Arts or from your favourite Hero Arts retailer. Here is a look at them:


BLOG HOP:
 
Here are all the participants in the hop today:
 
Hero Arts
Amy Kolling
Caly Person
Channin Pelletier
Chari Moss
Daniel West
Debi Adams
Emily Midgett
Ilina Crouse
Janette Kausen
Jennifer McGuire
Laurie Willison
Libby Hickson
Lydia Fiedler
Maria Willis
Michelle Short - you are here!
Nichol Spohr
Seeka

GIVEAWAY:
 
Hero Arts are giving away a $50 gift card to one lucky blog hop reader. The winner will be drawn from all of the comments left across all of the stops in the hop. The giveaway closes 9th February 2020 at 11.59 pm PST. The winner will be announced on the Hero Arts Blog the following week.
 
Next on the hop is the wonderful Nichol. Thanks so much for stopping by today, I really appreciate it. I hope you have a great rest of the day!

1 February 2020

VIDEO | Clearly Besotted February 2020 Release Preview

Hello there, following on from my last teaser (see below), I am back to share a look at the Clearly Besotted February 2020 release. It is  super cute release this month and if you love the plushies range, you will definitely love these sets.
 
 
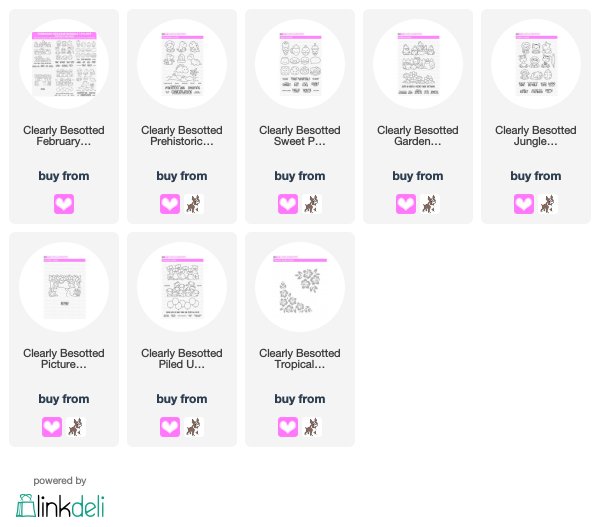
The release includes six new stamps sets, plus one new stencil. They release tonight at 8pm GMT from the Clearly Besotted Shop (UK based) or over at Simon Says Stamp (US based). Here is a look at the release:


If you are viewing this post via email subscription, you can watch the video HERE on YouTube.
 
 
SUPPLIES:

Here are the links to what I have used on the card. Affiliate links are used on some products. This means that if you make a purchase after clicking on my link, I receive a small commission with no extra cost to you. I truly appreciate your support when using these links. Please click on the logo below the product to shop at your favourite store. All products were personally purchased except those from Clearly Besotted, Hero Arts or those marked with an asterisk (*) which were kindly sent to me to use. You can read my full disclosure here.
 
 
So, what do you think of the release? I absolutely love it! Such cute sets, perfect for lots of different occasions and I love the stencil too. Thanks so much for joining me this week for the release, I hope you enjoyed seeing my teasers. For more information on the release, please head over to the Clearly Besotted Blog. I hope you have a wonderful weekend!

Clearly Besotted Teasers | Simply The Best

Hello there and welcome to Clearly Besotted release day! I have one last teaser to share with you before the big reveal a little later. For my last teaser, I am using the new Tropical Travels Stencil. This is a beautiful stencil which has two clusters of flowers on that can be used in lots of different ways. I decided to ink blend and add sparkle paste today.
 

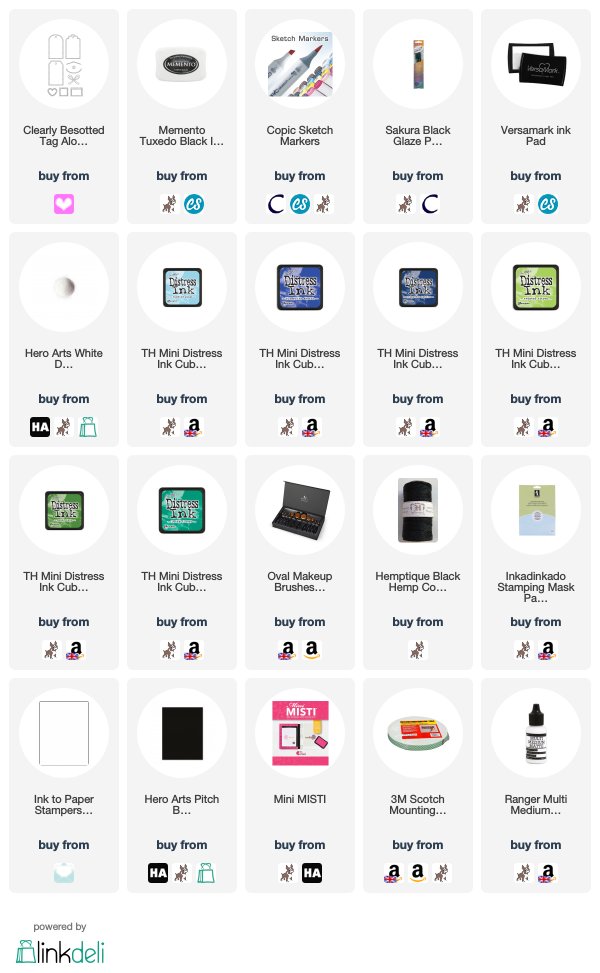
I started off by cutting the rounded tag from the Clearly Besotted Tag Along Die Collection from white cardstock. I then placed the Clearly Besotted Tropical Travels Stencil over the top and secured in place with tape. I first masked off the leaves and blended ink on for the flowers. I used Distress Inks in Peacock Feathers and Wilted Violet. I then masked off the flowers to blend colour on to the leaves. I used Evergreen Bough and Shabby Shutters for those.
 
 
Keeping the stencil in place, I then added a layer of Tonic Nuvo Moonstone Glimmer Paste over the top. I removed the stencil and then set it aside to dry. Once dry, I cut any excess paste from the edges of the tag and added twine through the top. I took an A2 card base made from SSS Lavender Cardstock and scored lines on to the front with a score board and bone folder. The tag was then added on top with foam tape.
 
 
I took the sentiment from the Clearly Besotted Says It All Stamp Set and stamped it on to black cardstock with Versamark Ink. I applied White Detail Embossing Powder and heat set. It was cut in to a strip and added to the card with more foam tape.
 
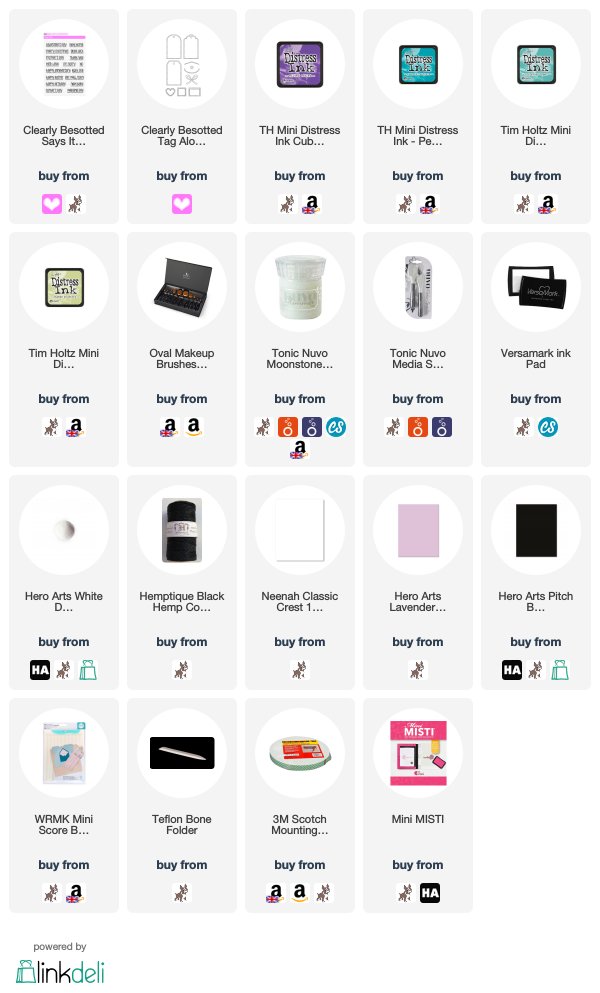
SUPPLIES:

Here are the links to what I have used on the card. Affiliate links are used on some products. This means that if you make a purchase after clicking on my link, I receive a small commission with no extra cost to you. I truly appreciate your support when using these links. Please click on the logo below the product to shop at your favourite store. All products were personally purchased except those from Clearly Besotted, Hero Arts or those marked with an asterisk (*) which were kindly sent to me to use. You can read my full disclosure here.
 
 
I love how sparkly the flowers are but that you can still see the colours of the ink blending through it. For more inspiration using the new sets, please head over to see Stephanie and Jenny on the Clearly Besotted Blog, as well as Keren over on her blog. See you in a little while with my release video. Have a wonderful morning!

31 January 2020

Clearly Besotted Teasers | Jungle Plushies

Hello there and welcome to day four of the Clearly Besotted February 2020 Release. The new sets release tomorrow. Today I am using the new Jungle Plushies set. As you can guess form the name, it is filed with adorable jungle critters plus fun sentiments. I am also using the new Picture It Jungle set too, perfect to use as a background/backdrop for all the critters.
 

For the card, I started off by taking a panel of white cardstock and stamping the hippo from the Clearly Besotted Jungle Plushies Stamp Set on to it using Memento Tuxedo Black Ink. I then went old-skool and decided to cut an aperture around him with a craft knife and ruler. I cut the square window with the craft knife and then went around the hippo with scissors. This makes it so that the hippo remains part of the panel but if you didn't want to go to the effort, you could just cut a square in the panel with a die and add the hippo as a separate layer.

 
I then took another panel of white cardstock and stamped the Clearly Besotted Picture It Jungle Stamp Set on to it using more black ink (the stamp is bigger, I just used the right side of it). I coloured the background and the hippo using Copic Markers (the colours that I used are listed below the supplies area). The background panel was added to the front of an A2 white card base and then the hippo panel added on top with foam tape.
 
 
I took the sentiment from the Clearly Besotted Jungle Plushies Stamp Set and stamped it on to black cardstock with Versamark Ink. I applied White Detail Embossing Powder and heat set. It was then cut in to a strip and added to the card with foam tape. To finish off, I added black glaze pen to the hippo's eyes.
 
 
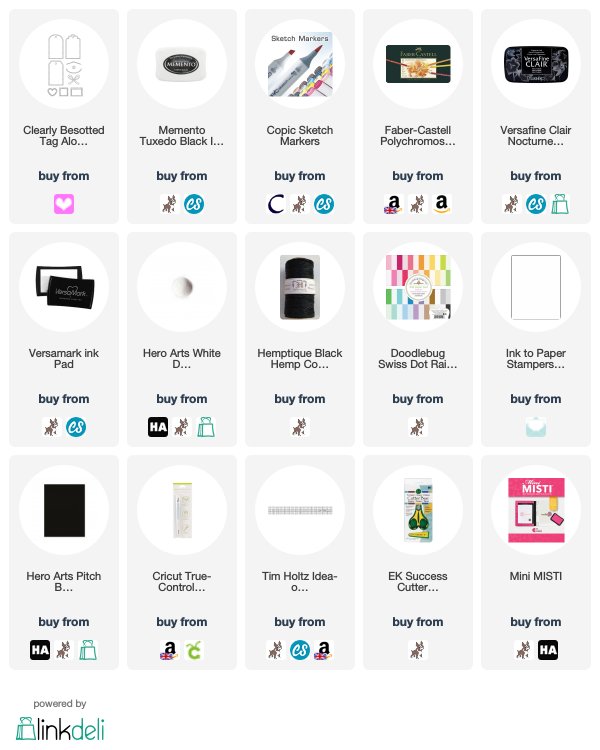
I love the sloth in the set so much that I had to use him on a little tag too! I started off by stamping the sloth and two leaves from the Clearly Besotted Jungle Plushies Stamp Set on to white cardstock with Memento Tuxedo Black Ink. I then coloured them using Copic Markers and Polychromos Pencils (the colours I used are listed below the supplies area). I fussy cut them out and set them aside while I worked on the tag.
 
 
I took the rounded tag die from the Clearly Besotted Tag Along Die Collection and cut it from white cardstock and then a piece of paper from the Doodlebug Swiss Dot Rainbow Petite Prints Paper Pad. I cut the paper piece down and adhered it to the bottom of the tag, followed by a strip of black cardstock. I then stamped the sentiment using Versafine Clair Nocturne Ink. The leaves were added with tape runner and the sloth with foam tape. I added the hole reinforcer (cut from more patterned paper) and then added twine through the top and tied in a bow.
 
SUPPLIES:

Here are the links to what I have used on the card. Affiliate links are used on some products. This means that if you make a purchase after clicking on my link, I receive a small commission with no extra cost to you. I truly appreciate your support when using these links. Please click on the logo below the product to shop at your favourite store. All products were personally purchased except those from Clearly Besotted, Hero Arts or those marked with an asterisk (*) which were kindly sent to me to use. You can read my full disclosure here.
 
 
COPIC MARKERS: Hippo - W7, W5, W3, W2, W1. Trees - E59, E57, E55, G46, YG17, YG25, YG03, YG01. Tall grass - G29, G43, G20. Flat grass/ground - YG17, YG25, YG03, YG01. Lake/river - B16, B12. Sky - B01, B00, B000, G20, YG11.
 
COPIC MARKERS + POLYCHROMOS: Sloth - W7, W5, W3, W1 + 177, 176. R01, R00 +151. Leaves - YG17, YG25, YG01 + 158, 112, 171.
 
I hope that you are loving the plushie sets so far? I have something different to share with you in the morning before my release video, in which I take a look at the new sets. For more inspiration, please do visit the dynamic duo of Stephanie and Jenny over at the Clearly Besotted Blog and the fabulous Keren over at her blog. Thanks so much for visiting me today, I really do appreciate it. I hope you have a wonderful day!

30 January 2020

Clearly Besotted Teasers | Garden Plushies

Hello there and welcome to day three of the Clearly Besotted February 2020 Teasers. The new sets release on the 1st February and today I have two projects to share with you using the new Garden Plushies set.
 

This is such a cute set with four different images with a garden theme that can be used on their own, or combined with other sets, plus lots of fun sentiments. I thought I would use two today - one on a card and the other for a tag.
 
 
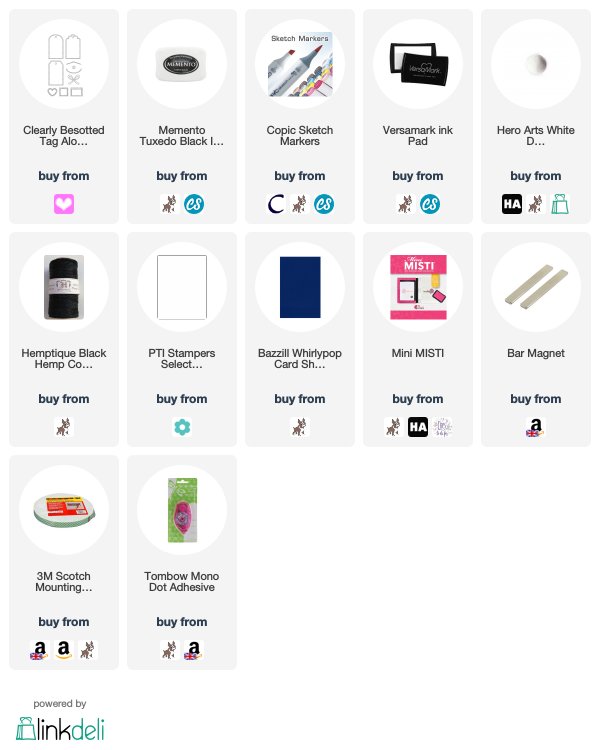
For the card, I started off by taking a panel of white cardstock and stamping the gnome image from the Clearly Besotted Garden Plushies Stamp Set on to it using Memento Tuxedo Black Ink. I then coloured the image using Copic Markers, adding in some grass and a sky (with dot detail). I did use a green Polychromos pencil to help with the grass blades but otherwise I used Copics for this one. The colours that I used are listed below the supplies section.  
 
 
The panel was then adhered flat to a blue A2 card base with tape runner. I took the sentiment from the set and stamped it on to black cardstock with Versamark Ink. I applied White Detail Embossing Powder and heat set. It was cut in to a strip and added to the card with foam tape.
 
 
I couldn't resist the flower image from the set too so I decided to make a little tag using it. I first die cut the tag twice from the Clearly Besotted Tag Along Die Collection from white cardstock. I also die cut the hole reinforcer. On one of the tags, I stamped the flower image from the Clearly Besotted Garden Plushies Stamp Set using black ink. I then coloured the tag using Copic Markers.
 
 
The sentiment, from the same set, was stamped above with black ink. I then adhered this to the other tag back to back (so that you cannot see the Copic Marker bleed through on the back). I coloured the hole reinforcer with Copic Markers and then added that to the tag with glue. To finish off, I added black twine through the top and tied in a bow.
 
SUPPLIES:

Here are the links to what I have used on the card. Affiliate links are used on some products. This means that if you make a purchase after clicking on my link, I receive a small commission with no extra cost to you. I truly appreciate your support when using these links. Please click on the logo below the product to shop at your favourite store. All products were personally purchased except those from Clearly Besotted, Hero Arts or those marked with an asterisk (*) which were kindly sent to me to use. You can read my full disclosure here.
 
 
COPIC MARKERS CARD: Gnomes skin - E13, E11, E00, E50. Beard - W3, W1, W0. Hats and clothes - B39, B18, B16, B12. Rocks - W5, W3, W1. Tree stump - E49, E59, E57, E55. Grass - YG17, YG25, YG03, YG01. Sky - B01, B00, B000, B0000.
 
COPIC MARKERS TAG - Grass and leaves - YG17, YG25, YG03, YG01. Mushrooms/toadstools - E57, E55, E53, R89, R37, R27, R24. Flower - V09, V17, V15, V12, V01, YR24, Y17, Y15, Y13. Sky - B01, B00, B000, B000.
 
I think this set is great for new home cards but also cards for any occasion! For more inspiration using the new release, please head over the amazing duo of Stephanie and Jenny over on the Clearly Besotted Blog as well as the fantastic  Keren over on her blog. Thanks so much for stopping by today, see you tomorrow for day four. Have a wonderful day!

29 January 2020

Clearly Besotted Teasers | Sweet Plushies

Hello there and welcome to day two of the Clearly Besotted February 2020 Teasers. Today we are following along with the Plushies, this time in sweet form! The Sweet Plushies set contains lots of different sweet treats plus lots of fun sentiments.
 

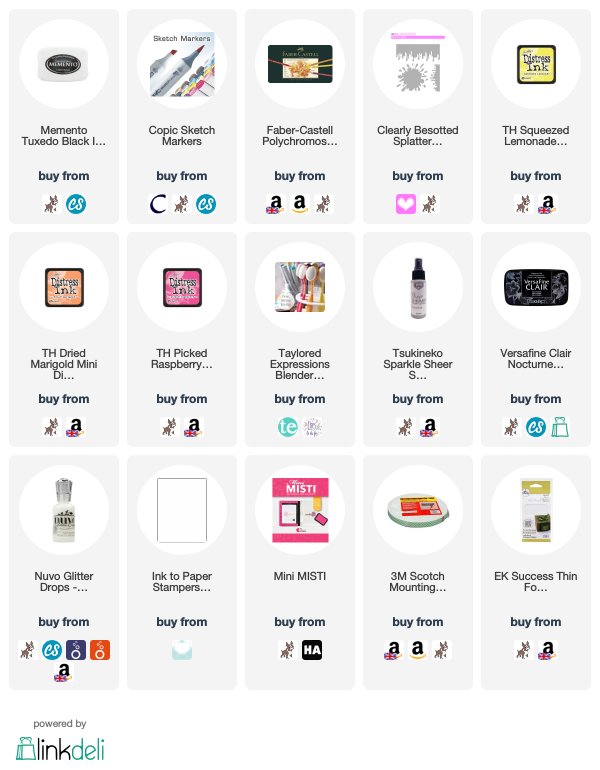
For my card, I first took the doughnut/donut, ice cream and waffle images from the Clearly Besotted Sweet Plushies Stamp Set. I stamped them on to white cardstock with Memento Tuxedo Black Ink. I then coloured them using Copic Markers and Polychromos Pencils before fussy cutting out with scissors.
 
 
I then took a panel of white cardstock and placed the Clearly Besotted Splatter It Stencil on top. I blended on Distress Inks in Picked Raspberry, Squeezed Lemonade and Dried Marigold. Before removing the stencil, I spritzed on some Sparkle Shimmer Spray and then set the panel aside to dry.
 
 
I took the sentiment from the Clearly Besotted Sweet Plushies Stamp Set and stamped this on to the panel with Versafine Clair Nocturne Ink. The panel was added to an A2 white card base with foam tape. I then added the ice cream, doughnut and waffle on top with thin foam tape. To finish off, I added Nuvo Glitter Drops in White Blizzard on to the sprinkles on the ice cream for some more sparkle.
 
SUPPLIES:

Here are the links to what I have used on the card. Affiliate links are used on some products. This means that if you make a purchase after clicking on my link, I receive a small commission with no extra cost to you. I truly appreciate your support when using these links. Please click on the logo below the product to shop at your favourite store. All products were personally purchased except those from Clearly Besotted, Hero Arts or those marked with an asterisk (*) which were kindly sent to me to use. You can read my full disclosure here.
 
 
COPIC MARKERS + POLYCHROMOS PENCILS: Ice cream - E55, E51, E50 + 283, 187. RV55, RV52, RV000 + 129. YR31, YR30 + 102. Waffle -  E55, E51, E50 + 283. Doughnut - E55, E51, E50 +283, RV52, RV000 + 129.
 
I realised after making this card that it looks very similar to this one that my teamie Lisa did last month! I think it shows how well the stencil can work with different themes/occasions. For more inspiration using the new release, please head over to see Stephanie and Jenny over on the Clearly Besotted Blog and Keren over at her blog. Thanks so much for popping by today, I do appreciate it. I hope you have a wonderful day!
28 January 2020

Unbearably Thankful

Hello there, I am over on the Hero Arts Blog today, sharing a card using the Unbearably Thankful set. I fell in love with that big bear, so I had to use him on my card today!
 
 
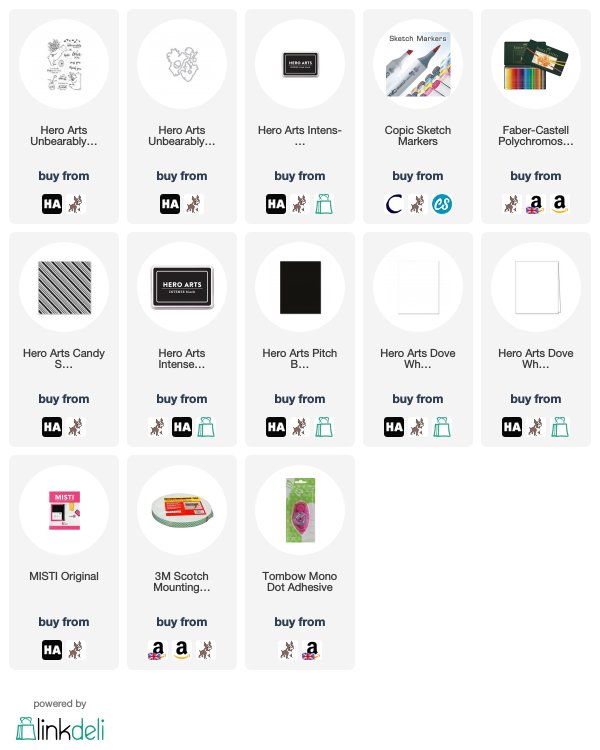
The bear from the Hero Arts Unbearably Thankful Stamp Set was stamped on to white cardstock using Intens-ified Black Ink, coloured using Copic Markers and Polychromos (the colours that I used are listed below the supplies area) and then die cut out. For the background, I used Hero Arts Candy Stripe Bold Prints.
 
SUPPLIES:

Here are the links to what I have used on the card. Affiliate links are used on some products. This means that if you make a purchase after clicking on my link, I receive a small commission with no extra cost to you. I truly appreciate your support when using these links. Please click on the logo below the product to shop at your favourite store. All products were personally purchased except those from Clearly Besotted, Hero Arts or those marked with an asterisk (*) which were kindly sent to me to use. You can read my full disclosure here.
 

COPIC MARKERS + POLYCHROMOS: Bear - E59, E57, E55 + 177, 283. Purple tulips - V12 + 249, 136. Yellow sunflowers - Y11, E77, E71 + 109, 105. Leaves - YG17, YG25, YG01 + 158, 112.
 
For more details on how I made the card, please head over to the blog post here. Thanks so much for stopping by today. I hope you have a great day!

Clearly Besotted Teasers | Prehistoric Plushies

Hello there and welcome to the Clearly Besotted February 2020 Teasers. The new release hits the shops on the 1st February and from now until then, we are sharing teasers using the new products. I have lots to share with you in the next few days, so I hope you enjoy looking!
 
 
Today I am using the new super cute, Prehistoric Plushies. This set consists of lots of dinosaurs, sentiments and a backdrop too. I have made a card and tag using the set.
 
 
For the card, I started off by stamping the backdrop from the Clearly Besotted Prehistoric Plushies Stamp Set on to a panel of white cardstock with black ink. I then made a mask for this (from mask paper) and placed this over the image. I took Distress Inks in Tumbled Glass, Blueprint Sketch and Chipped Sapphire and blended these on for the sky.
 
 
I then blended on Twisted Citron, Mowed Lawn and Lucky Clover for the grass/ground. I removed the mask and coloured the rest of the background using Copic Markers (the colours that I used are listed below the supplies area). The panel was added to a white A2 card base with foam tape. I then took two of the dinosaurs from the set and stamped these on to more white cardstock.
 
 
They were coloured using Copic Markers and then fussy cut out with scissors. They were added to the card with more foam tape. I took the sentiments from the set and stamped them on black cardstock. I applied white embossing powder and heat set. They were cut in to strips and added to the card with foam tape.
 
 
For the tag, I first die cut the tag from the Clearly Besotted Tag Along Set from white cardstock. I then stamped the backdrop again from the Clearly Besotted Prehistoric Plushies Stamp Set, using black ink. I coloured the tag using Copic Markers, adding in a sunset sky. I stamped another of the dinosaurs on to more white cardstock and coloured with Copic Markers before fussy cutting out with scissors.
 

The dinosaur was added to the tag with foam tape. I then stamped the sentiment on black cardstock and heat embossed in white. This was cut in to a strip and added to the card with more foam tape. I cut the tag hole reinforcer from black and added that to the tag with liquid glue, followed by twine through the hole and tied in a bow.
 
SUPPLIES:

Here are the links to what I have used on the card. Affiliate links are used on some products. This means that if you make a purchase after clicking on my link, I receive a small commission with no extra cost to you. I truly appreciate your support when using these links. Please click on the logo below the product to shop at your favourite store. All products were personally purchased except those from Clearly Besotted, Hero Arts or those marked with an asterisk (*) which were kindly sent to me to use. You can read my full disclosure here.
 
 
COPIC MARKERS FOR CARD: Left dinosaur - R24, YR18, YR16, YR15, YR12, R46, R27, R05. Right dinosaur - V09, V17, V15, V12, BG49, BG15, BG11. Mountains - W7, W5, W3, W1. Volcanos - E59, E39, E34, E31, C7, E07, R05. Tree - E57, E55, E53, G29, YG17, YG25, YG03, YG01.
 
COPIC MARKERS FOR TAG - Dinosaur - B18, B16, B06, B04, B02, BG18, BG49, BG15, BG11. Tree - E57, E55, E53, G29, YG17, YG25, YG03, YG01. Mountains - W5, W3, W1. Volcanos - E59, E39, E34, E31, C7, E07, R05. Ground - YG17, YG25, YG03, YG01. Sky - V15, V05, R32, YR15, YR12, Y15.
 
Aren't they so cute? I love them! For more inspiration using the new sets, please head over to the amazing Stephanie and Jenny at the Clearly Besotted Blog and the fabulous Keren. Thanks so much for popping by today, I will be back later with a Hero Arts card. Until then, have a wonderful day!

24 January 2020

Monarch Butterfly

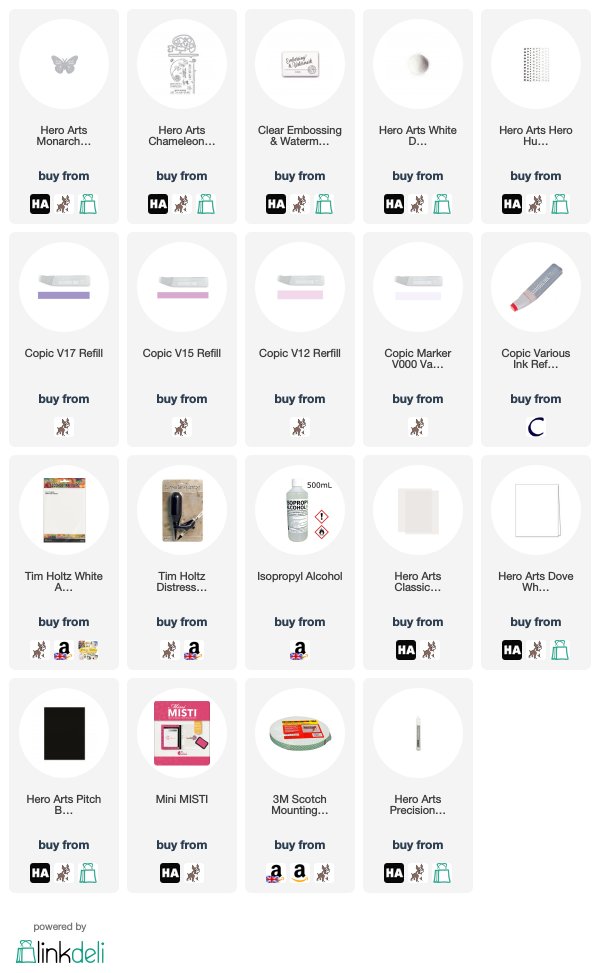
Hello there, today I have a card to share with you using the Hero Arts Monarch Butterfly Fancy Die. This is one of my favourite dies from last year. It is so beautiful! I thought it would look pretty with a simple alcohol ink background.
 

I started off by creating the background. I took a piece of Yupo paper and added a layer of Isopropyl Alcohol on top. I then added drops of Copic Refills on top. I used V17, V15, V12 and V000. I moved them around with an air spritzer and then set aside to dry. Once dry, it was added to the front of a 4" x 5.5" card base with tape runner.


It was cut in to a strip and added to the butterfly with foam tape. I then added black enamel dots from the Hero Hues Neutrals Enamel Dots collection. I added small dabs of Precision Glue behind the enamel dots, as well as behind the sentiment strip and added them to the card.
 
SUPPLIES:

Here are the links to what I have used on the card. Affiliate links are used on some products. This means that if you make a purchase after clicking on my link, I receive a small commission with no extra cost to you. I truly appreciate your support when using these links. Please click on the logo below the product to shop at your favourite store. All products were personally purchased except those from Clearly Besotted, Hero Arts or those marked with an asterisk (*) which were kindly sent to me to use. You can read my full disclosure here.
 
 
The last time I used this die, I also paired it with a purple alcohol ink background (you can see that card here) but they have turned out quite a bit different. I think this one has an airy feel to it. I think that is because I used vellum for the butterfly. Thanks so much for visiting me today, I really do appreciate it. I hope you have a fabulous day and weekend!

22 January 2020

2020

Hello there, today I have another New Year's card to share with you (I know it is rather late, sorry!). I like to send New Year's cards, especially when I haven't had a chance to send a Christmas card, to wish someone all the best for the year ahead.


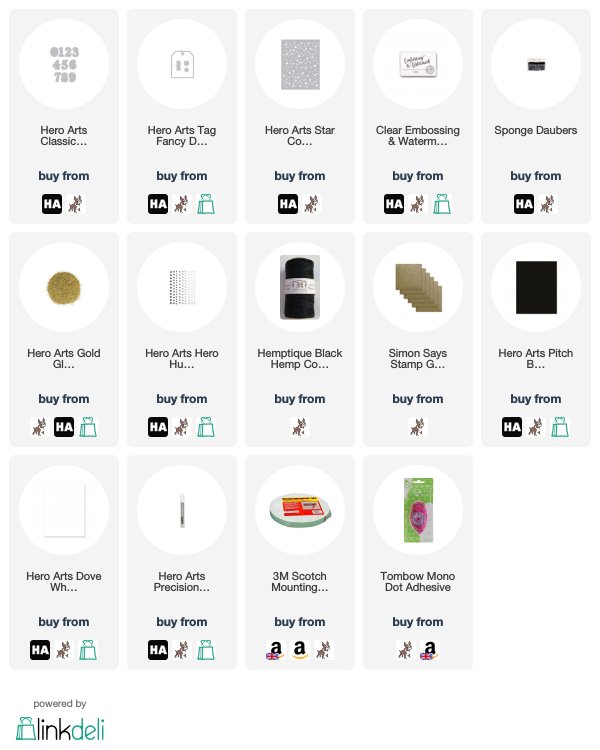
I started off my card by die cutting the Hero Arts Classic Numbers Fancy Dies from white cardstock. Using a dauber, I pounced Hero Arts Clear Embossing & Watermark Ink on the bottom of the numbers. I applied Hero Arts Gold Glitter Embossing Powder and heat set. They were adhered to a tag, cut using the Hero Arts Tag Fancy Die, with foam tape.


I then die cut some stars from glitter paper using the Hero Arts Star Confetti Fancy Die. These were added to the tag with glue and then I also added a couple of black dots from the Hero Hues Neutrals Enamel Dots pack. I added twine through the top of the tag and then adhered the tag on to a black card base with scoring lines on, using tape runner.


SUPPLIES:

Here are the links to what I have used on the card. Affiliate links are used on some products. This means that if you make a purchase after clicking on my link, I receive a small commission with no extra cost to you. I truly appreciate your support when using these links. Please click on the logo below the product to shop at your favourite store. All products were personally purchased except those from Clearly Besotted, Hero Arts or those marked with an asterisk (*) which were kindly sent to me to use. You can read my full disclosure here.
 

Do you make New Year cards? I would love to know! Thank you so much for stopping by today. It is getting rather cold here in London now, so I hope you have better weather where you are! Have a wonderful day!

20 January 2020

Little Piggy

Hello there, I am back with my final card to share that I made last year but didn't post (well, I think it is my last!). This one was for my niece for her birthday, she happens to like pigs, like her aunt, so I thought the MFT Little Piggy would be perfect for her card!


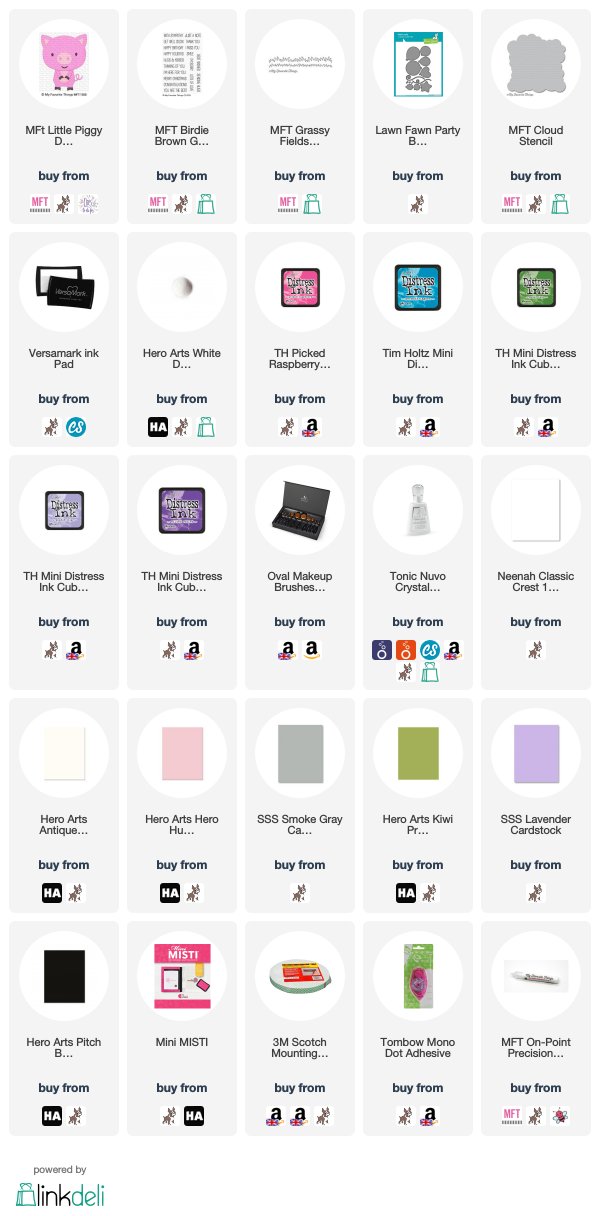
I started off by cutting various shades of cardstock using the MFT Little Piggy Die-namics. I used Hero Arts Peony Cardstock for the main part of the pig, Hero Arts Antique Ivory Cardstock for the tummy, feet, inside of the ears and hands and Simon Says Stamp Smoke Cardstock for the eyes. I blended on a little Picked Raspberry Distress Ink on to the pieces, for some added dimension. The pig was then assembled using liquid glue but I did not add the head on at this point, as I wanted to pop it up.


I then created the background. I took a white A2 card base, placed the MFT Cloud Stencil on top and blended on Mermaid Lagoon Distress Ink. I cut two grass pieces using the MFT Grassy Fields Die-namics from Hero Arts Kiwi Cardstock and then blended on a little Mowed Lawn Distress Ink for some added texture. The pieces were adhered to the bottom of the card with tape runner.

 
I took the Lawn Fawn Party Balloons Die Set and die cut the balloon part from Simon Says Stamp Lavender Cardstock and the string from white. I then blended on Shaded Lilac and Wilted Violet Distress Inks on to the balloon, followed by a layer of Tonic Nuvo Crystal Glaze for some added shine. The pig's body was added flat to the card with tape runner and then I added the head on top with foam tape.


The balloon was added with tape runner and liquid glue (for the string). I took the sentiment from the MFT Birdie Brown Greetings Galore Stamp Set and stamped it on to black cardstock using Versamark Ink. I applied white embossing powder and heat set. It was cut in to strips and added to the card with foam tape. To finish off, I added more Crystal Glaze to the pig's eyes and nose.


SUPPLIES:

Here are the links to what I have used on the card. Affiliate links are used on some products. This means that if you make a purchase after clicking on my link, I receive a small commission with no extra cost to you. I truly appreciate your support when using these links. Please click on the logo below the product to shop at your favourite store. All products were personally purchased except those from Clearly Besotted, Hero Arts or those marked with an asterisk (*) which were kindly sent to me to use. You can read my full disclosure here.


Isn't that pig just adorable? I love him! One of my favourite dies from 2019. Thank you so much for stopping by today, I very much appreciate it. I hope you have a great day and a wonderful week ahead!
End of code