14 June 2019

It's Your Birthday, Treat Yourself!

Hello there, today I have a card to share using the Clearly Besotted Sunny Sundae set that I shared in my June 2019 Release Preview video. I didn't share it as an official teaser but I love this set, it is perfect for birthdays but can be used for lots of different occasions too.
 

I started off by stamping one of the sundaes from the Clearly Besotted Sunny Sundae Stamp Set on to white cardstock with Memento Tuxedo Black Ink. I then coloured the image using Copic Markers (the colours that I used are listed below the supplies area), making sure to keep the ice cream that is showing through the glass lighter in colour. I also went over some of the areas with the Colourless Blender Pen which helps to lighten the colours too. I fussy cut the image out with scissors but there are coordinating dies available.
 
 
I took a panel of white cardstock and blended Distress Inks on to it, using a light hand. I used Picked Raspberry, Tumbled Glass, Cracked Pistachio and Scattered Straw. I then splattered over a little water and set aside to dry. Once dry, I stamped the sentiment from the same Sunny Sundae set on to it using Memento Tuxedo Black Ink. The panel was added flat to an A2 white card base and then the sundae added on top with foam tape.
 
SUPPLIES:

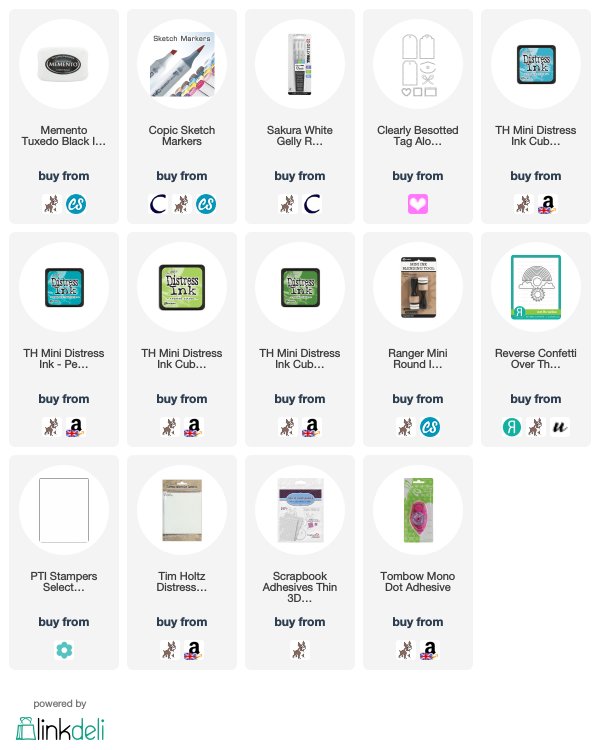
Here are the links to what I have used on the card. Affiliate links are used on some products. This means that if you make a purchase after clicking on my link, I receive a small commission with no extra cost to you. I truly appreciate your support when using these links. Please click on the logo below the product to shop at your favourite store. All products were personally purchased except those from Clearly Besotted, Hero Arts or those marked with an asterisk (*) which were kindly sent to me to use. You can read my full disclosure here.
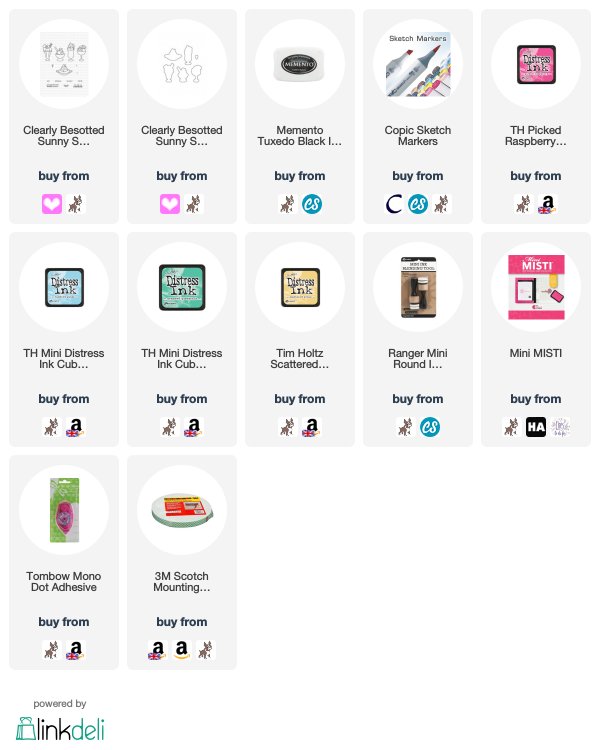
 
 
COPIC MARKERS: Chocolate ice cream - E29, E25, E23. Strawberry ice cream - R85, R83, R81. Vanilla ice cream - YR31, YR30. Mint Ice cream - BG11, BG10. Wafer - E55, E53, E51. Wafer sticks - E59, E57, E55, E53, E51. Strawberry - R39, R37, R35, G28, G43. Glass - C3, C1.
 
The sundaes in this set look yummy … almost good enough to eat! ;) Thanks so much for visiting me today, I very much appreciate it. I hope you have a wonderful day!

12 June 2019

MFT Sketch Challenge | Fairy Good Friend

Hello there, it's time for another Sketch Challenge over at MFT. Today we are on to Sketch 441 and I thought I would create a larger 5" x 7" card today for my fairy scene.
 

I started off by stamping two of the fairies from the MFT Fairy Good Friends Stamp Set with MFT Extreme Black Ink. I then coloured them using Copic Markers (the colours that I used are listed below the supplies area) and cut them out using the coordinating dies. I then worked on my background elements.
 
 
I took one of the MFT Stitched Mini Scallop Square Stax Die-namics and die cut this from white cardstock. I placed the MFT Mini Cloud Edges Stencil over it and blended on Distress Inks. I used Seedless Preserves, Chipped Sapphire and Mermaid Lagoon. I then splattered it using Tsuekineko Sparkle Sheer Shimmer Spritz and set aside to dry. I took a piece of MFT Black Licorice Cardstock and cut this into a square using my guillotine.
 
 
I added the black cardstock square first to the 5" x 7" white card base at an angle, I then added the scallop cloud piece on top. The fairies were then added with foam squares. I took the sentiment from the Fairy Good Friends Set and stamped this with Versamark Ink on to more Black Licorice Cardstock. I applied white embossing powder and heat set. This was then cut in to a strip using the MFT Skinny Strips Die-namics. To finish off, I added shimmer pen to the fairies wings.
 
SKETCH CHALLENGE:

Here is a look at sketch 441:
 
 
Create and share a card for the sketch challenge and you could win a $50 gift certificate to the MFT Store. For more details on the challenge pleased head over to the MFT Blog.
 
SUPPLIES:

Here are the links to what I have used on the card. Affiliate links are used on some products. This means that if you make a purchase after clicking on my link, I receive a small commission with no extra cost to you. I truly appreciate your support when using these links. Please click on the logo below the product to shop at your favourite store. All products were personally purchased except those from Clearly Besotted, Hero Arts or those marked with an asterisk (*) which were kindly sent to me to use. You can read my full disclosure here.
 
 
COPIC MARKERS: Fairies skin - E31, E13, E11, E00, E000, E50, R20. Hair on left hand side fairy - E37, E35, E33, E31. Hair on right hand side fairy - E49, E29, E27, E25, E32, E21. Dress and bow on left hand side fairy - B69, B66, B63. Dress and bow on right hand side fairy - V09, V17, V15, V12, V01. Wings - BG11, BG10.
 
Those fairies are so sweet! Thank you so much for stopping by again today, I really do appreciate it. I hope you have a great rest of the day and check out the challenge.

One Layer Scene

Hello there, today I am over on the Hero Arts Blog sharing a card made using the new Tiger Wisdom Stamp Set. I thought I would create a one layer scene with it. I stamped the images from the set, masking the two tigers and then created a jungle scene around them with Copic Markers.


SUPPLIES:

Here are the links to what I have used on the card. Affiliate links are used on some products. This means that if you make a purchase after clicking on my link, I receive a small commission with no extra cost to you. I truly appreciate your support when using these links. Please click on the logo below the product to shop at your favourite store. All products were personally purchased except those from Clearly Besotted, Hero Arts or those marked with an asterisk (*) which were kindly sent to me to use. You can read my full disclosure here.
 
 
COPIC MARKERS: Tigers - E29, E39, YR27, YR24, E31, E50, R22, R21. Water bank - E43, E42, E41, E40. Grass and foliage - G46, YG17, YG23, YG03, YG01, G24, G82, G21, G40. Water - B41, B00, B000, B0000, G40. Sky - B0000, G40. Dragonfly - BG13, BG11, BG10.
 
For more details on how I made the card, please head over to the Hero Arts Blog Post. Thanks so much for stopping by, I really do appreciate it. I hope you have a wonderful day!

10 June 2019

VIDEO | Rainbow Watercolour Reflections

Hello there, after posting THIS card using the Clearly Besotted Scene It City set, I got a lot of requests to make a video on how I achieved the look. I did not film making the whole card again, but the watercolour stamping part. It is easy to do, just a few scribbles really! Here is a refresh of the card:
 
 
As you will see in the video, I first stamped the London skyline from the Clearly Besotted Scene It City set with various colours of Distress Inks and then filled in the solid areas with the same ink, using  paintbrush and water. To get the simple reflections, I took the same ink on the paintbrush and scribbled it below, letting the colours blend together.
 

VIDEO:
 
Here is the video showing how I did it:


If you are viewing this post via email subscription, you can watch the video HERE on YouTube.
 
It is really is a matter of scribbles. I think you will be disappointed now that you have seen how I did it! I do think that you need to have a loose hand with it, to really get the messy/scribble look.
 

To finish off the card, I stamped the sentiment above the skyline. Took a white card base and added  a strip of patterned paper across the bottom and added the skyline panel on top with foam tape. I then added a thin strip of black cardstock to across the seam.

SUPPLIES:

Here are the links to what I have used on the card. Affiliate links are used on some products. This means that if you make a purchase after clicking on my link, I receive a small commission with no extra cost to you. I truly appreciate your support when using these links. Please click on the logo below the product to shop at your favourite store. All products were personally purchased except those from Clearly Besotted, Hero Arts or those marked with an asterisk (*) which were kindly sent to me to use. You can read my full disclosure here.
 

As I mention in the video, I do think my reflections look better in my original card but I think the water colouring on the buildings looks better in the second. Sometimes when you re-do something you improve, sometimes you are thinking about it too much and you did better the first time! Thanks so much for popping by today, I really do appreciate it. Have a great day!

8 June 2019

VIDEO | Card Making Haul - April, May & June 2019

Hello there, it has been a while since I shared a haul with you so I thought I would finally get around to doing it! I purchased an assortment of items over the last couple of months - stamps, dies, embellishments, ink pads, cardstock, alcohol inks and more. Please do bare in mind that these were purchased over the course of the months, not all in one go!
 
 
Some of the items I have already used - the Nocturne Ink and the Skinny Strips but a lot of it I haven't and I can't wait to try them out! Here is a look at what I purchased:


If you are viewing this post via email subscription, you can watch the video HERE on YouTube.

SUPPLIES:

Here are the links to what I have shared in the video. Affiliate links are used on some products. This means that if you make a purchase after clicking on my link, I receive a small commission with no extra cost to you. I truly appreciate your support when using these links. Please click on the logo below the product to shop at your favourite store. All products were personally purchased except those from Clearly Besotted, Hero Arts or those marked with an asterisk (*) which were kindly sent to me to use. You can read my full disclosure here.
 
 
Thanks so much for popping by today, I really do appreciate it. I hope you have a wonderful weekend!

6 June 2019

VIDEO | Sparkly Spotlight Stamping

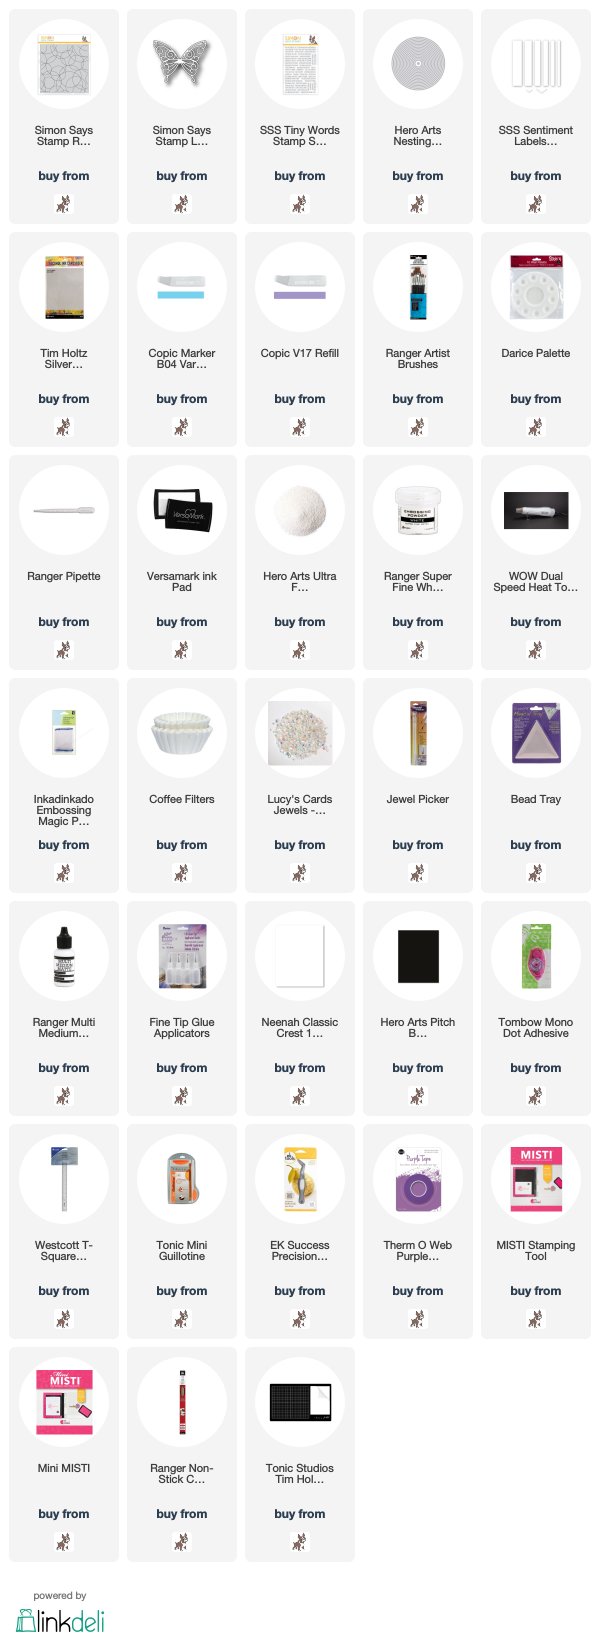
Hello there, today I have a card to share with you using the new Simon Says Stamp Round and Round Background stamp from their new Rest and Refresh release, which is out today. I am using the stamp to create a spotlight stamping effect - having the background pattern go across the entire card base, as well as the circle element.
 
 
I started off by stamping the Simon Says Stamp Round and Round Background Stamp on to a panel of white cardstock with Versamark Ink. I applied Hero Arts Ultra Fine Clear Embossing Powder and heat set. In real-life you can see this well but sadly, in the video and photos, it is very difficult to see.
 

I then set this aside while I worked on my spotlight piece. I took a piece of TH Silver Sparkle Alcohol ink Cardstock and added Copic Refills on to it, using a paintbrush to spread the colour around. I used BG23, B04, B06 and V17. The piece was then set aside to dry. Once dry, I die cut the piece using one of the Hero Arts Nesting Circle Infinity Dies.
 
 
I prepped it with an antistatic powder tool and then stamped it using the Round and Round Background Stamp. I applied the same clear embossing powder and heat set. Since the circle will be hanging off the edge of the card base, I added a circle of white cardstock to the back to neaten it up. I added the stamped panel to a 3 6/8" x 5.5" card base and then added the circle piece on top, making sure to line up the pattern on the background so that it continues across the card base and the circle piece.
 
 
I took the Simon Says Stamp Leanna Butterfly Die and cut this from white cardstock. I added it to the circle piece with liquid glue. I took the sentiment from the Simon Says Stamp Tiny Words Stamp Set and stamped it on to black cardstock with Versamark Ink. I applied Ranger Super Fine White Embossing Powder and heat set. This was cut in to a strip using the smallest of the Simon Says Stamp Sentiment Labels Dies and added to the card with foam tape. To finish off, I added a few Lucy's Iridescent Jewels.
 
VIDEO:

Here the video showing how I made the card:


If you are viewing this post via email subscription, you can watch the video HERE on YouTube.
 
SUPPLIES:

Here are the links to what I have used on the card. Affiliate links are used on some products. This means that if you make a purchase after clicking on my link, I receive a small commission with no extra cost to you. I truly appreciate your support when using these links. Please click on the logo below the product to shop at your favourite store. All products were personally purchased except those from Clearly Besotted, Hero Arts or those marked with an asterisk (*) which were kindly sent to me to use. You can read my full disclosure here.
 
 
Like I mention, it is a shame that you cannot see the pattern across the card base in the photos, but it is very pretty in real life! Thank you so much for visiting me today, I really do appreciate it. I hope you have a great day!
5 June 2019

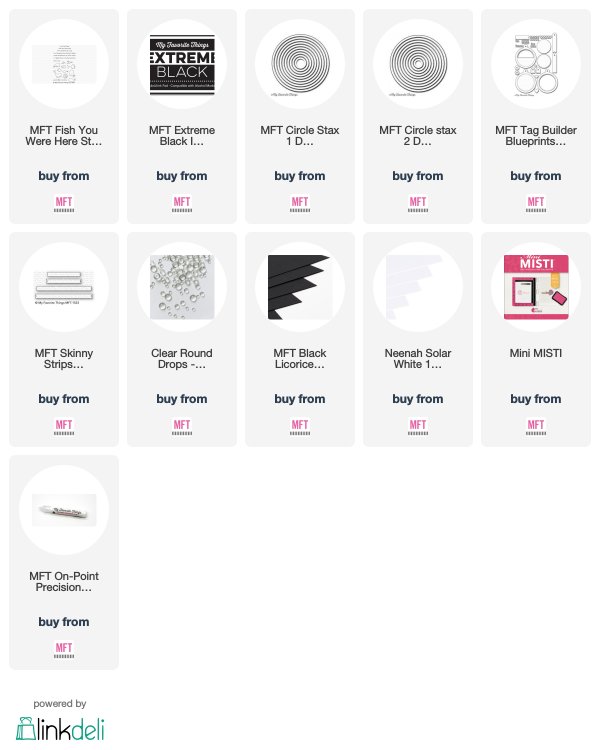
MFT Sketch Challenge | Fish You Were Here

Hello there, I am delighted to be guest designing for the MFT Sketch Challenge this month. The June release is fantastic and I will be sharing cards using it for the sketch challenge every Wednesday. Today's card uses the new Fish You Were Here set. The sketch calls for three circles and I thought it would be fun to make them portholes looking through to the fish in the sea.
 

I started off by die cutting my holes for the portholes. I took a panel of white cardstock and cut circles in to it using the MFT Circle Stax 1 and Circle Stax 2 Die-namics. I then needed to create the porthole frames. I used the same dies and cut the outside circle first and then cut the inside one to create a circle frame. I die cut the little circle pieces from the MFT Tag Builder Blueprints 6 Die-namics from more white cardstock and adhered these on to the frames for the porthole details. These were then added around the apertures on the panel with MFT On Point Precision Glue.
 
 
I placed the panel over a white A2 card base and using a pencil, mapped out where the apertures will be. I took the fish from the MFT Fish You Were Here set and stamped them on to the card base with MFT Extreme Black Ink. I made masks for these and then blended Distress Inks around them to create the sea. I used Broken China, Peacock Feathers, Mermaid Lagoon, Blueprint Sketch and Chipped Sapphire. I splattered the card with water, removed the masks and let sit to dry.
 
 
Once dry, I coloured the fish with Copic markers (the colours that I used are listed below the supplies area). I then placed the aperture/porthole panel of top with foam tape. I took a sentiment from the Fish You Were Here set and stamped it on to MFT Black Licorice Cardstock with Versamark Ink. I applied white embossing powder and heat set. This was cut in to a strip using the MFT Skinny Strips Die-namics set and added to the card with more foam tape. To finish off, I added a few Clear Round Drops around the sentiment.


SKETCH CHALLENGE:

Here is sketch 440, which we are using today:


Create and share a card for the sketch challenge and you could win a $50 gift certificate to the MFT store. For more details on the challenge, please head over to the blog.


SUPPLIES:

Here are the links to what I have used on the card. Affiliate links are used on some products. This means that if you make a purchase after clicking on my link, I receive a small commission with no extra cost to you. I truly appreciate your support when using these links. Please click on the logo below the product to shop at your favourite store. All products were personally purchased except those from Clearly Besotted, Hero Arts or those marked with an asterisk (*) which were kindly sent to me to use. You can read my full disclosure here.
 

COPIC MARKERS: Green fish - YG17, YG23, YG03, YG01. Pink Fish - R85, R83, R81. Yellow Fish - Y17, Y15, Y13, Y11, YR16, YR15, YR12. Purple fish - V08, V17, V15, V12. Aqua fish - BG15, BG13, BG11, BG10. Yellow & orange fish - Y17, Y15, Y13, YR07, YR04, YR02.

I had a lot of fun making this card! Those fish are so cute! I hope you will check out the challenge. Thanks so much for visiting me today. I hope you have a great rest of the day!

4 June 2019

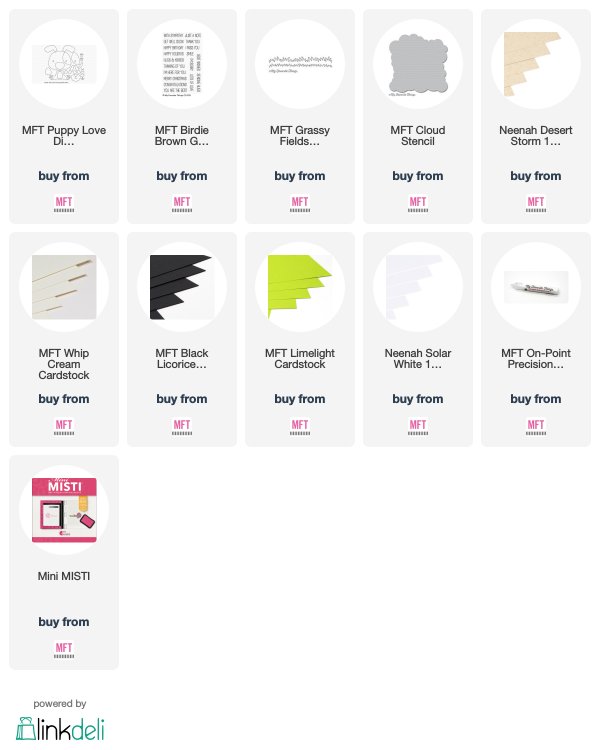
VIDEO | MFT & Friends - Creating A Scene With Die Cuts

Hello there, I am delighted to be joining My Favorite Things for their MFT & Friends feature today. We are sharing inspiration using the June 2019 release. You can see the other designers that are participating today, here.


For my card today, I am using the new Puppy Love Die-namics along with the Cute Cloud Outlines Die-namics, which is the free with $60 set this month.
 
 
I started off my card by creating the puppy. I die cut the Puppy Love Die-namics from Desert Storm cardstock, as well as a few elements from Whip Cream and Black Licorice cardstock. I wanted to add some interest to the die cuts, so I blended on Distress Ink to help them appear not so flat. I used Vintage Photo and Gathered Twigs on to the Desert Storm pieces, as well as the residual ink from the blending brush on to the cream cardstock. For the paw prints and belly, I used Spun Sugar.
 

I then started to assemble the puppy. What I love is that you can assemble the puppy in any which way you like, you can add all the layers or leave some off, you can use whichever colours you like and have the arms and ears placed in different ways. I first added the pieces to the head with On Point Precision Glue and I used tweezers and a jewel picker to help with placement. I adhered the pieces to the body and hands but did not attach these together just yet.
 
 
I set the puppy aside while I worked on the background. I took a 4" x 5.125" white card base and blended a light layer of Tumbled Glass and Broken China Distress Inks to the front. I then placed the Cloud Stencil on top and blended on more ink for some interest. I took the Grassy Fields De-namics and cut two strips of Limelight Cardstock one slightly higher then the other. I then blended on Mowed Lawn Distress Ink before adding to the card with tape runner.
 
 
I added the puppy's body between the grass strips with tape runner and then added on the arms. Before adhering the head, I die cut three clouds from the Cute Clouds Outlines Die-namics and added these to the card with more On Point Precision Glue. I then took the sentiment from the Birdie Brown Greetings Galore Stamp Set and stamped this with Versamark Ink on to Black Licorice Cardstock. I applied white embossing powder and heat set. This was cut in to a strip and added to the card with foam tape.
 
 
I added the puppy's head so that it was hanging of the edge of the card base (hence why the card base is 4" to accommodate it) with foam, tape. To finish off, I added white gel pen highlights on the puppy and Crystal Glaze to the puppy's eyes and nose.
 
VIDEO:
 
Here is the video showing how I made the card:


If you are viewing this blog post via email subscription, you can watch the video HERE on YouTube.
 
SUPPLIES:

Here are the links to what I have used on the card. Affiliate links are used on some products. This means that if you make a purchase after clicking on my link, I receive a small commission with no extra cost to you. I truly appreciate your support when using these links. Please click on the logo below the product to shop at your favourite store. All products were personally purchased except those from Clearly Besotted, Hero Arts or those marked with an asterisk (*) which were kindly sent to me to use. You can read my full disclosure here.
 
 
How adorable is that puppy? So cute! And as I say in the video, I love that you can customise it any which way you like. Thanks so much for stopping by today, I really do appreciate it. I will see you tomorrow for the start of the MFT June Sketch Challenge for which I am guest designing this month. Have a great rest of the day!
3 June 2019

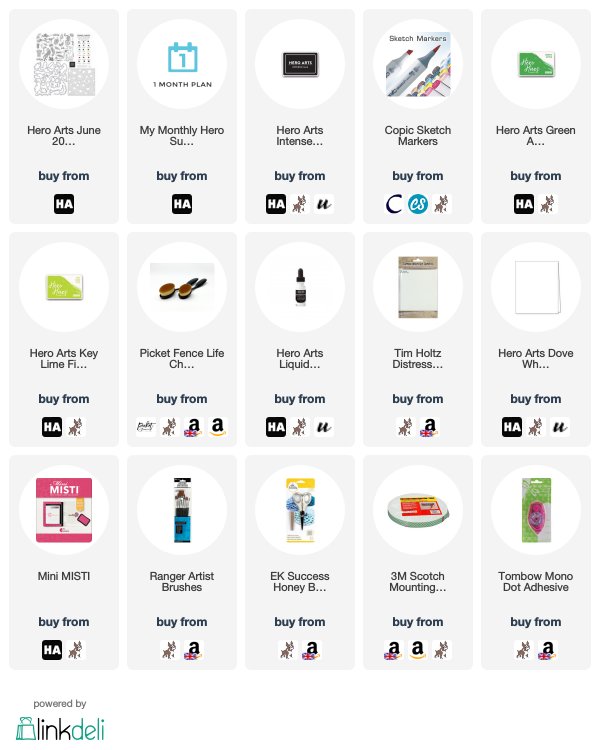
Hero Arts My Monthly Hero | June 2019 - Hello Friend

Hello there, today we are celebrating the release of the Hero Arts June 2019 My Monthly Hero Kit and add-ons. It is a jungle theme this month and perfect for lots of different occasions. We are doing something a little different this month and not having an actual blog hop but there is still tons of inspiration to be had. There will be links to everyone sharing inspiration today, over on the Hero Arts Blog and also a chance to win a kit over there.
 
 
I did share a card over on the Hero Arts Blog using the elephant, coordinating frame cuts and the fabulous stencil that is in the kit. You can see that here. The cards that I am sharing today, use the main kit again, plus Reactive Inks.
 
 
I started off my card by creating the background. I took a panel of watercolour paper and blended the Reactive Inks at the top. I used a light layer of Key Lime Fizz first, blending towards white further down the panel and then Green Apple at the top. I took one of the leaf images from the main stamp set and stamped this across the top with the Green Apple ink, I wanted to keep it fairly subtle so I used a light hand with the ink. I then splattered on some water to get the reaction, followed by White Liquid Watercolor. I then set the piece aside to dry.
 
 
I took the branch and toucan images from the main kit stamp set and stamped these on to white cardstock using Intense Black ink. I coloured them with Copic Markers (the colours that I used are listed below the supplies section) and fussy cut them out with scissors. For my design, I didn't want the white border but there are coordinating frame cuts in the kit if you wanted to use them. I stamped the sentiment from the set on to the background panel and then adhered it flat to a top folding card base. I then added the branch and toucan on top with foam tape.

SUPPLIES:

Here are the links to what I have used on the card. Affiliate links are used on some products. This means that if you make a purchase after clicking on my link, I receive a small commission with no extra cost to you. I truly appreciate your support when using these links. Please click on the logo below the product to shop at your favourite store. All products were personally purchased except those from Clearly Besotted, Hero Arts or those marked with an asterisk (*) which were kindly sent to me to use. You can read my full disclosure here.
 

COPIC MARERS: Toucan - N10, N9, N8, N7, N6, N5, YR18, YR16, YR12, YR31, N0. Branch - E59, E57, E55, YG17, YG23, YG01. Flower - Y11, RV55, RV52.
 
THE KIT:
 
 
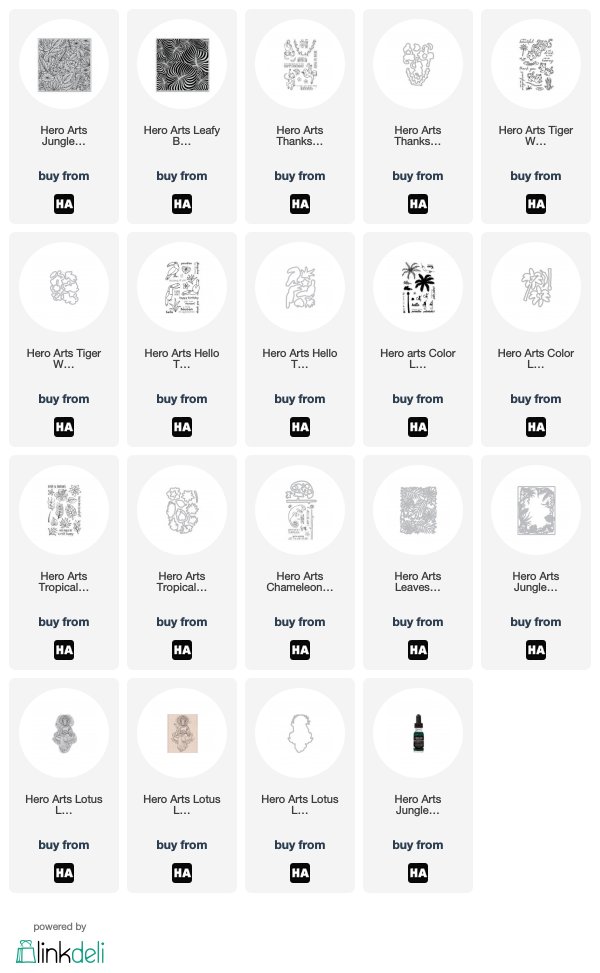
The June 2019 My Monthly Hero Kit contains a 6" x 8" stamp set, 20 coordinating Frame Cuts, 2 Jungle Vine Fancy Dies, 6" x 6" Leaf Pattern Stencil, Watercolor Dot Card and Intense-ified Black Ink Cube. You can get all of this for $34 (approximately £28 depending on exchange rate). The kits often sell out quickly so you can subscribe here so that you never miss a kit.
 
There are some fantastic add-on products as part of the release too. These are not limited edition and can be purchased either from the Hero Arts Store or your favourite Hero Arts retailer. Here is a look at them:
 
 
This is a really fun kit and I am really looking forward to using the add-ons. Thank you so much for visiting me today, I really do appreciate it. Have a great rest of the day!

1 June 2019

VIDEO | Clearly Besotted June 2019 Release Preview

Hello there, I am back today to share a look at the new Clearly Besotted June 2019 Release. I hope you have enjoyed looking at the cards myself and the rest of the DT have made during the teasers. I really love this release, I think there is something for everyone - cute, pretty florals, great sentiments, wonderful stencils.
 
 
The new products release tonight at 8pm BST/3pm EDT. You can purchase them from the Clearly Besotted Shop and also at Simon Says Stamp. Here is a look at the new products:


If you are viewing this post via email subscription, you can watch the video HERE on YouTube.
 
SUPPLIES:

Here are the links to what I have shared in the video. Affiliate links are used on some products. This means that if you make a purchase after clicking on my link, I receive a small commission with no extra cost to you. I truly appreciate your support when using these links. Please click on the logo below the product to shop at your favourite store. All products were personally purchased except those from Clearly Besotted, Hero Arts or those marked with an asterisk (*) which were kindly sent to me to use. You can read my full disclosure here.
 
 
So what do you think of the release? I really love that the cute animals are something different to the stamping world - armadillos and ferrets and of course, those peonies are beautiful! Clearly Besotted always make amazing florals sets. I am really looking forward to using the other stencils too. Thank you so much for visiting me today, I hope you have a great day!

31 May 2019

Clearly Besotted Teasers | Jumping For Joy

Hello there and welcome to day four of the Clearly Besotted Teasers for the June 2019 release. Release day is tomorrow at 8pm BST and today I have one last teaser to share with you. Today I am using the Feisty Ferret stamp set. Oh my cuteness! It is adorable!
 

I started off by stamping one of the ferrets (there are a lot!) from the Feisty Ferret Stamp Set on to white cardstock with Memento Tuxedo Black Ink. I coloured him using Copic Markers (the colours that I used are listed below the supplies section) and fussy cut him out with scissors (but there are dies available if you do not like fussy cutting). He was then set aside while I worked on the background.
 
 
I took the straight topped tag from the Tag Along Die Collection and die cut this twice - once from white cardstock ad once from watercolour paper. I took the watercolour piece and blended Distress Inks on to it to create a sky. I used Broken China and Peacock Feathers and splattered some water on top for some added interest and set aside to dry. I took the white cardstock tag and cut this down using the MFT Grassy Edges Die. I blended on Distress Inks on to this piece using Twisted Citron and Mowed Lawn.
 
 
I took one of the sentiments from the Feisty Ferret Stamp Set and stamped this on to the grass portion. This was then adhered to the full tag piece with tape runner. I die cut two clouds from the Reverse Confetti Over The Rainbow Confetti Cuts Set and added these to the tag with tape runner. The tag was added to a white A2 card base with thin foam tape and then the ferret added on top with more thin foam. To finish off, I added white gel pen to the ferret's eyes.
 
SUPPLIES:

Here are the links to what I have used on the card. Affiliate links are used on some products. This means that if you make a purchase after clicking on my link, I receive a small commission with no extra cost to you. I truly appreciate your support when using these links. Please click on the logo below the product to shop at your favourite store. All products were personally purchased except those from Clearly Besotted, Hero Arts or those marked with an asterisk (*) which were kindly sent to me to use. You can read my full disclosure here.
 
 
COPIC MARKERS: E47, E44, E43, E42, E41, E40.
 
Isn't he just so cute? I love him! For more inspiration using the new release, please do head over to the Clearly Besotted Blog, as well as Keren and Lisa. Thank you so much for joining me today, I really do appreciate it. See you tomorrow for release day. Have a lovely day!

30 May 2019

Clearly Besotted Teasers | Absolutely Fabulous Day

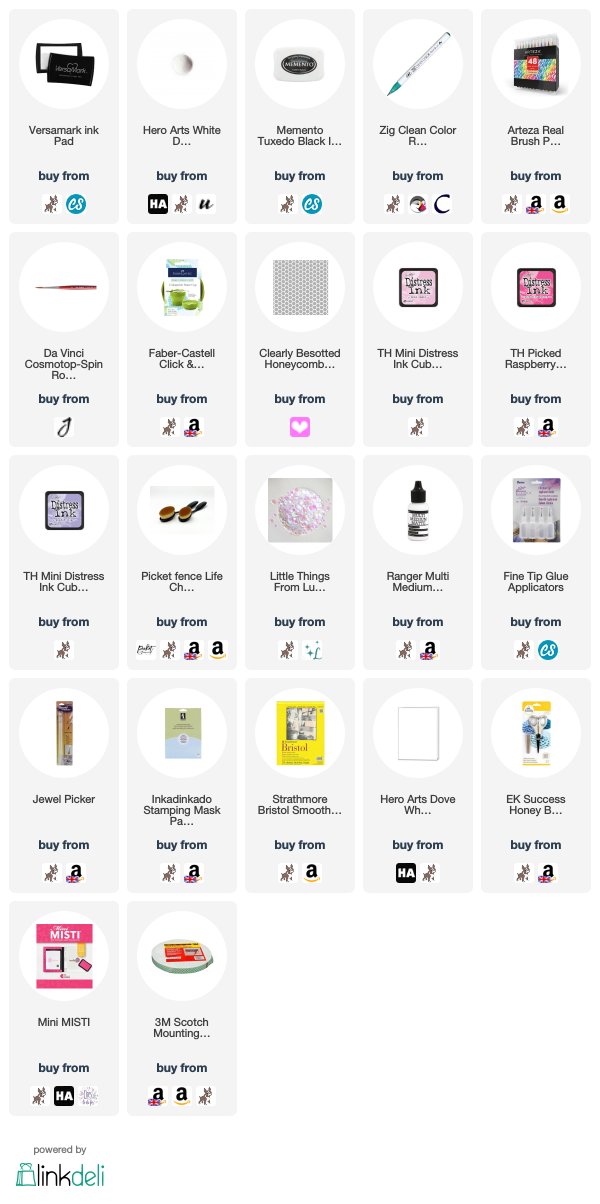
Hello there and welcome to day three of the Clearly Besotted June 2019 Teasers. Not long to go now, the new products release on the 1st June. Today I am using two new sets - Pick A Peony and Simply Said, as well as the new Honeycomb Crunch Stencil.
 

I started of by stamping one of the peony clusters from the Pick A Peony Stamp Set on to a panel of Bristol Smooth cardstock with Versamark Ink. I applied Detail White Embossing Powder and heat set. I then coloured the image with a combination of Zig Clean Color Real Brush Markers and Arteza Real Brush Markers (I have the number of the Zigs listed below but unfortunately, I have an older set of the Arteza pens and there are no colours/numbers on them).
 
 
I first added the colour to the image directly from the pen and then blended this out with water and a paintbrush. I add lighter layers first and then add darker colours for some shading. I used two shades of purple on the petals and two greens on the leaves. Once it was dry, I made a mask for the image from masking paper and added this on top. I first added a light shades of Spun Sugar and Picked Raspberry Distress Inks around the image. I then placed the Honeycomb Crunch Stencil on top and added more of the ink.
 
 
I thought the pink was too bright so I added in some Shaded Lilac Distress Ink over the top to dull it down it a bit. I first added a layer without the stencil and then placed the stencil over the top again before removing the mask. I wanted the stencilling to be fairly subtle but still noticeable. I took the sentiment from the Simply Said Stamp Set and stamped this on to the panel with Memento Tuxedo Black Ink. The panel was added to a white card base with foam tape. To finish off, I added a few Lucy's Pink Moonstone Sequins.
 
SUPPLIES:

Here are the links to what I have used on the card. Affiliate links are used on some products. This means that if you make a purchase after clicking on my link, I receive a small commission with no extra cost to you. I truly appreciate your support when using these links. Please click on the logo below the product to shop at your favourite store. All products were personally purchased except those from Clearly Besotted, Hero Arts or those marked with an asterisk (*) which were kindly sent to me to use. You can read my full disclosure here.
 
 
ZIG CLEAN COLOR REAL BRUSH PENS: Petals - 080 Violet, 083 Lilac. Leaves - 033 Persian Green + Arteza light green.
 
Even though the honeycomb pattern wouldn't usually go with flowers, I thought it worked quite well on this card. And that new sentiment set? It is already one of my favourites! I do need to apologise for the photos, though. My camera was just not playing nice with the colours on this one, sadly. For more inspiration using the new release, please do pop over to the Clearly Besotted Blog, as well as Keren and Lisa. Thanks so much for visiting me today, see you tomorrow for my final teaser card. Have a great day!
End of code