15 May 2018

VIDEO | MFT & Friends Ombre Stencilling

* This is my second post of the day, please see below for my Hero Arts Summer Catalogue Release Hop post*
 
Hello there, today I am delighted to be joining My Favorite Things for the May MFT & Friends. We are sharing more inspiration using the wonderful May release.
 

For my card today, I wanted to use the new Hello, Little One stamp set and Die-namics. It is such a cute set and since I have needed quite a few baby cards recently, I thought it would be great to have another ready to go!
 
 
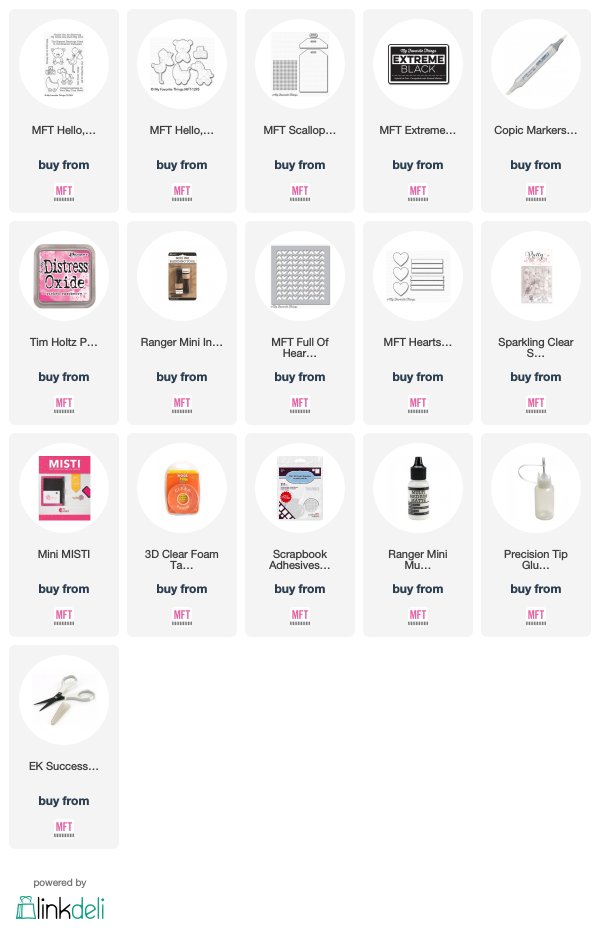
I started off by creating my tag for my images to sit on. I die cut the new Scallop Cross-Stich Tag Die-Namics die from Bristol Smooth Cardstock. Using an ink blending tool, I blended Picked Raspberry Distress Oxide ink on to the tag in an ombre fashion - having the darker colour at the bottom and lighter at the top. I then placed the Full Of Heart Stencil over the tag and blended ink over this too, to create a nice ombre pattern. I added a piece of black ribbon through the top and added this to an A2 white card base with thin foam tape.
 
 
I took the stork image from the Hello, Little One stamp set and stamped this on to white cardstock with Extreme Black ink. I coloured the image with Copic Markers and die cut out with the coordinating die. The sentiment, from the same set, was stamped on to black cardstock with Versamark Ink. I applied white embossing powder and heat set. This is was cut in to a strip using one of the banner dies from the Hearts In A Row Vertical Die-Namics set. I added both of these to the card with more thin foam tape and then to finish, added a few Sparkling Clear sequins around the sentiment piece.
 
VIDEO:
 
Here is the video showing how I made the card:


SUPPLIES:

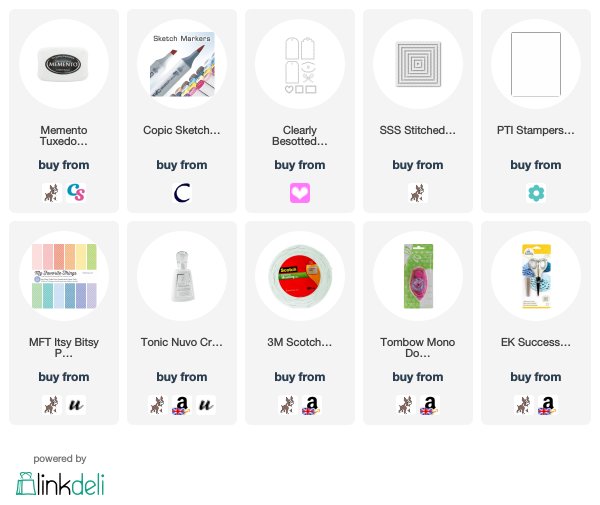
Here are the links to what I have used on the card and in the video. Affiliate links are used on some products. This means that if you make a purchase after clicking on my link, I receive a small commission with no extra cost to you. I truly appreciate your support when using these links. Please click on the logo below the product to shop at your favourite store. Products marked with an asterisk (*) were kindly sent to me to use.
 
 
Please do head over to the MFT Blog to see what the other participants have created. Thank you so much for visiting me today, have a great day!

Hero Arts Summer 2018 Catalogue Blog Hop + Giveaway

Hello there, today is THE day, the new summer 2018 products from Hero Arts are now available to purchase in the Hero store. You can also purchase them from your favourite Hero Arts retailers too! It is such a great release, full of beautiful flowers, fun wild west/desert themed products, summer products and also lots of fabulous accessories. If you are following along in the hop, you should have arrived here from the fabulous May, but if you get lost along the way, the full list of participants are below.
 
 
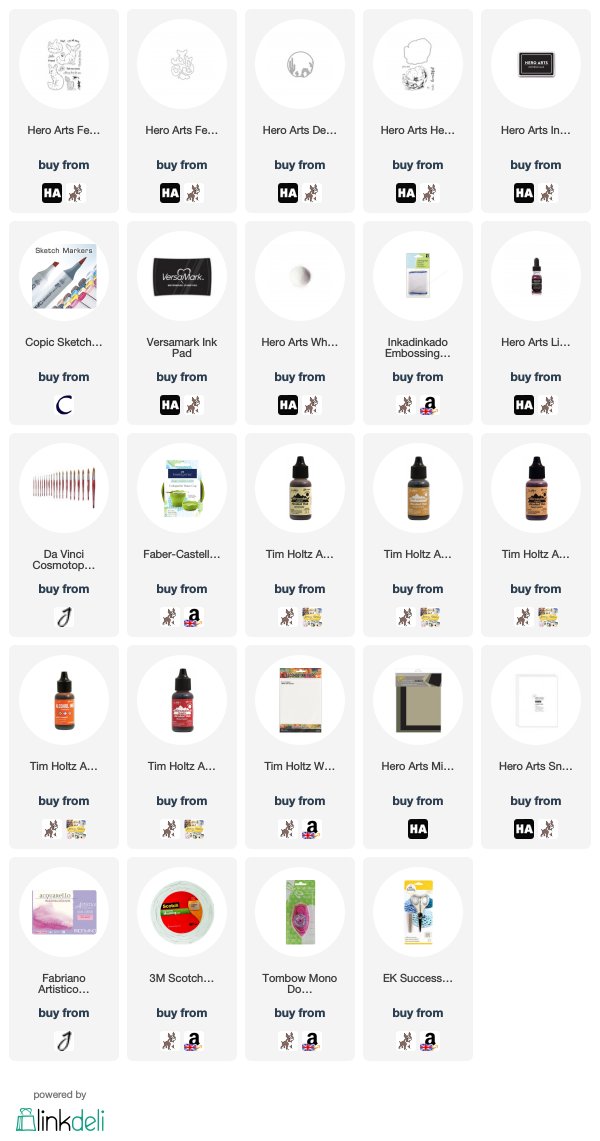
My first card uses some of the products that are more on the western theme. I started off by creating my background. I took a panel of white cardstock and die cut the new Desert Sunset Fancy Die from it to create a window. Behind this I added a panel of alcohol ink background. This was created with Lemonade, Honeycomb, Peach Bellini, Valencia and Watermelon TH Alcohol Inks on to Yupo paper.
 

The alcohol ink background was added to the front of an A2 white card base and then the window piece added on top with foam tape. I took the fox image from the new Fennec The Fox stamp set and stamped this on to white cardstock. I coloured him with Copic Markers and then cut him out with the coordinating frame cuts.
 

He was added on to the card with a combination of foam tape and tape runner (so that he is level on the card). I then took the 'hello' sentiment from the same set and stamped this with Versamark Ink on to white cardstock. I applied white embossing powder and heat set. This was fussy cut with scissors and then added to the card with foam tape also.
 

My next card uses the beautiful new Hero Florals Rose Stamp & Cut. This is a design that has already been released as a wood mount stamp but now available in clear. It is slightly smaller in size than the wood mount set. I am delighted that this card was one that I made for the catalogue and it features in it. I started off by taking a panel of Fabriano Artistico Extra White Hot Press Paper and stamping the flower on it twice with Versamark ink (I masked the first before stamping the second). I applied White Detail Embossing powder and then heat set.
 
 
I took the Mulled Wine Liquid Watercolor and a paintbrush with water and water coloured the image, adding a little colour over the edge of the flowers at the top. I added the colour in layers on the flowers (to create depth) and then set aside to dry. Once dry, the panel was added to an A2 card base with tape runner. I then stamped the hello sentiment from the set on to black cardstock with Versamark Ink. I applied white embossing powder and heat set. It was cut in to a strip and added to the card with foam tape.


SUPPLIES:

Here are the links to what I have used on the card. Affiliate links are used on some products. This means that if you make a purchase after clicking on my link, I receive a small commission with no extra cost to you. I truly appreciate your support when using these links. Please click on the logo below the product to shop at your favourite store. Products marked with an asterisk (*) were kindly sent to me to use.


COPIC MARKERS: E55, E53, E51, E50, R12, R00.


BLOG HOP:

Here is the full list of participants taking part in the hop:


GIVEAWAY:

Hero Arts are giving away two $50 shopping sprees in the Hero Arts Store. The winners will be drawn at random from all of the comments left across all of the stops in the hop. Please comment by 11.59pm PST on Sunday may 20th to enter. The winners will be announced on the Hero Arts blog shortly afterwards. Good luck!

The next person on the hop is the amazing Yana Smakula. Thank you so much for visiting me today, I hope you have a great time on the rest of the hop and a fabulous day!

11 May 2018

Birthday Wishes

Hello there, today I have a card to share using the Pink & Main Pocket of Sunshine stamp set and dies. Pink & Main kindly sent these to me to play with, and I have to say, I am in love!
 

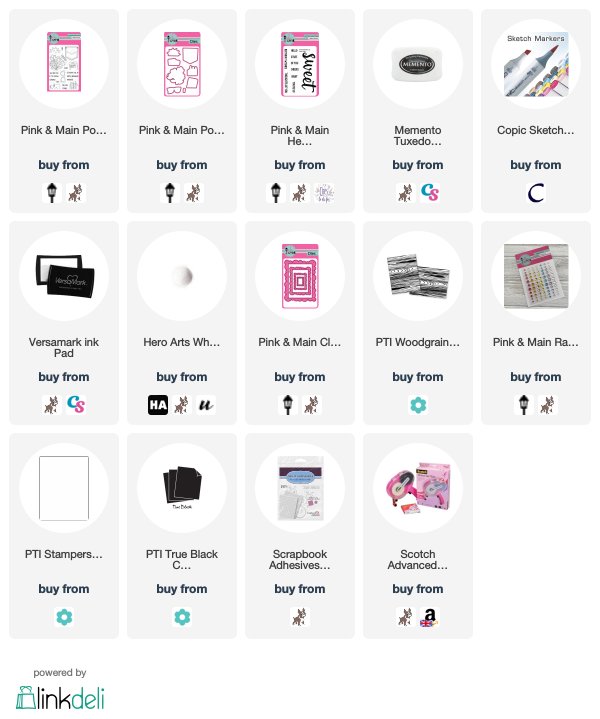
I started off by stamping the flowers from the set on to white cardstock, with Memento Tuxedo Black ink. I coloured them with Copic Markers (the colours I used are listed below the supplies section) and then die cut them out with the coordinating die. I then took the sentiment from the Pink & Main Hello Sweet stamp set and stamped this using Versamark Ink on to black cardstock. I applied white embossing powder and heat set, this was then cut in to a strip.
 
 
I took a panel of white cardstock and embossed this using the PTI Woodgrain Impression Plate. The panel was adhered to a white A2 card base with ATG. I then die cut a Pink & Main Cloudy Frame Die from white cardstock and added this to the card with thin foam squares. The flowers were popped inside with more foam tape. The sentiment was added to the top, again with foam tape. To finish off, I added a few Pink & Main clear/silver Glossy Dots.


SUPPLIES:

Here are the links to what I have used on the card. Affiliate links are used on some products. This means that if you make a purchase after clicking on my link, I receive a small commission with no extra cost to you. I truly appreciate your support when using these links. Please click on the logo below the product to shop at your favourite store. Products marked with an asterisk (*) were kindly sent to me to use.


COPIC MARKERS: Pink flower - R85, R83, R81, YR16, YR12. Purple flower - V17, V15, V12. Yellow flower - Y17, Y15, Y13, Y11. Blue flower - B04, B02, B01, B00. Stems & leaves - YG17, YG23, YG03.

I think these stamps work perfectly for my clean and simple style and I really enjoyed making this card! Thank you so much for visiting me today. I hope you have a great day and a fabulous weekend!

9 May 2018

MFT Wednesday Sketch Challenge | DAD

Hello there, today I am back as a guest designer for My Favorite Things Sketch Challenge. Today we are using sketch 384. I did change the sketch to be a landscape card and not portrait, but I hope you can still see the design elements from the sketch.
 

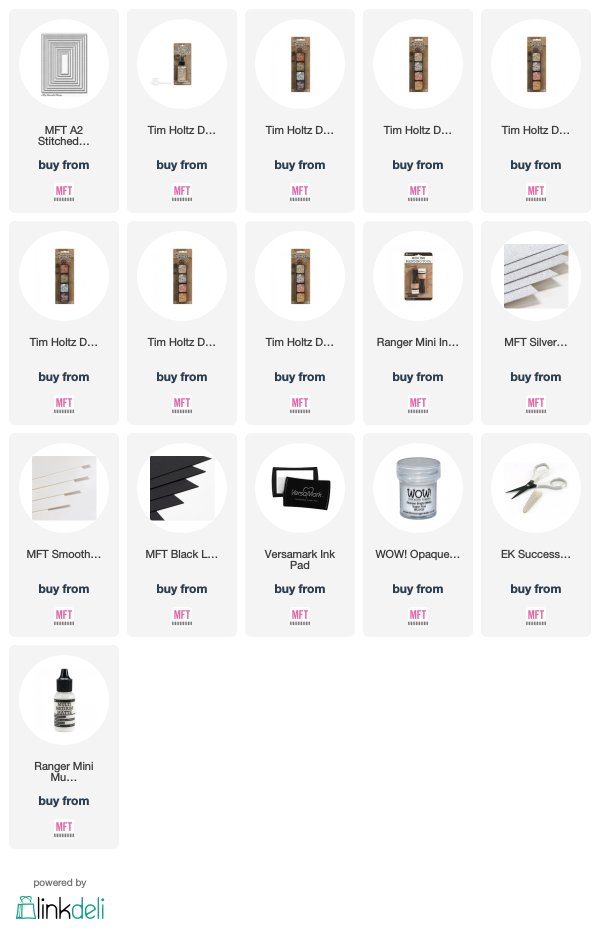
I started off by creating the galaxy background. I took a piece of Bristol Smooth cardstock and sprayed on some Distress Resist Spray. I let this dry and then using an ink blending tool, blended over various shades of Distress Ink. I used Dusty Concord, Wilted Violet, Salty Ocean, Blueprint Sketch and Chipped Sapphire, as well as Black Soot. The Distress Resist Spray resisted the ink and left spots to look like stars. I did splatter the piece with some water too, to create more interest. I really like how it turned out!
 
 
Once dry, I die cut the piece with the second largest of the A2 Stitched Rectangle Stax dies. The piece was added to a white A2 card base with tape runner. I then took the Dad Die-namics and die cut the capital letters 'dad' three times from white cardstock and then once from silver glitter cardstock. These were stacked up with liquid glue. I also die cut three stars from the Happy Birthday Centrepieces die-namics.
 
 
I took one of the sentiments from the All About Dad Stamp Set and stamped this using Versamark Ink on to black cardstock. I applied white embossing powder and heat set. I then cut this in to a strip and cut a banner edge on one side. This was added to the card with foam tape. I then added the 'dad' word/letters above. The stars were added to finish, with foam tape.
 
SUPPLIES:

Here are the links to what I have used on the card. Affiliate links are used on some products. This means that if you make a purchase after clicking on my link, I receive a small commission with no extra cost to you. I truly appreciate your support when using these links. Please click on the logo below the product to shop at your favourite store. Products marked with an asterisk (*) were kindly sent to me to use.
 
 
For more details and to see the sketch, please do check out the MFT Challenge Blog. There is a $50 gift certificate to MFT up for grabs! Thank you so much fro visiting me today. I hope you have a great rest of the day!

7 May 2018

Hero Arts May 2018 My Monthly Hero Kit Blog Hop + Giveaway

Hello there, today we are celebrating the release of the May 2018 My Monthly Hero Kit from Hero Arts. It is a fabulous kit this month that can be used for lots of occasions. Trees feature heavily in the main kit and also the add-ons and they are really beautiful. If you are following along in the hop, you should have arrived here from the amazing Ilina, but if you get lost along the way, the full list of participants are below.
 

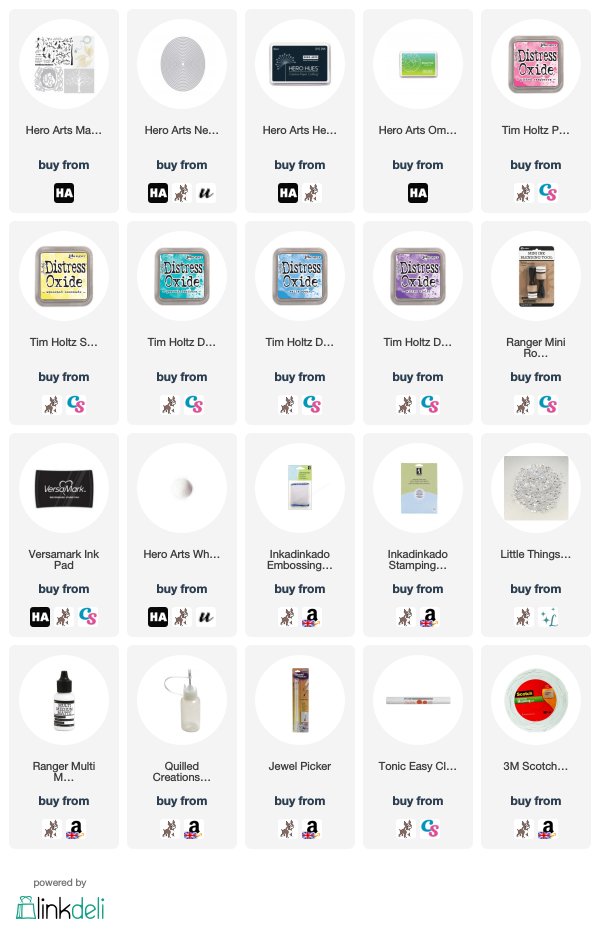
For my card today, I started off with a panel of white cardstock. I took a sheet of mask paper and cut an oval from it using the Nesting Oval Infinity Dies. This was placed over the cardstock panel and then I blended Distress Oxide Inks on the oval, using an ink blending tool. I decided to create a rainbow background to give a fun look.
 
 
I carefully cut the mask so that it was removed from the right side of the oval but still intact on the left side. I then took one of the branch images from the main kit stamp set and stamped this across the top with black ink. I could then remove the rest of the mask. I took the girl on the swing image and stamped this to fit below the branch. Finally, I stamped the sentiment to the right. The panel was then simply adhered to a white A2 card base with foam tape.
 
 
In case you missed it, I wanted to share my countdown card with you too. I used the new Ombre Reactive Spring Day Ink Pad, which is an add-on this month, and blended the three colours from the ink pad on to a piece of watercolour paper. I then splattered on some water to get the reaction from the ink. I used the frame die from the kit (it is so beautiful!) and cut this from white cardstock. This was added on top with foam tape and adhered to a white A2 card base. The sentiment was embossed with white on to black cardstock. To finish off, I added a few clear jewels.
 
SUPPLIES:

Here are the links to what I have used on the card. Affiliate links are used on some products. This means that if you make a purchase after clicking on my link, I receive a small commission with no extra cost to you. I truly appreciate your support when using these links. Please click on the logo below the product to shop at your favourite store. Products marked with an asterisk (*) were kindly sent to me to use.


THE KIT:
 
 
The May 2018 My Monthly Hero Kit contains a 6" x 8" clear stamp set, 13 coordinating Frame Cuts dies, 2 leaf dies, 1 Window Fancy Die with Frame, 1 roll of leaf patterned washi tape (assorted designs), 5 ivory skeleton leaves, 4 5" x 7" sheets of 100% recycled handmade hot pressed watercolour paper (140lb) and 1 5.25" x 6.5" Tree Swirl stencil.
 
The value of the kit is $74 but you can get it for an amazing $34.99 (approximately £27.00 depending on exchange rate). Remember that the kits are limited edition and often sell out quickly. You can subscribe here so that you never miss a kit (if you subscribe now, your subscription will start with the June kit). International subscribers get a discount off shipping too!
 
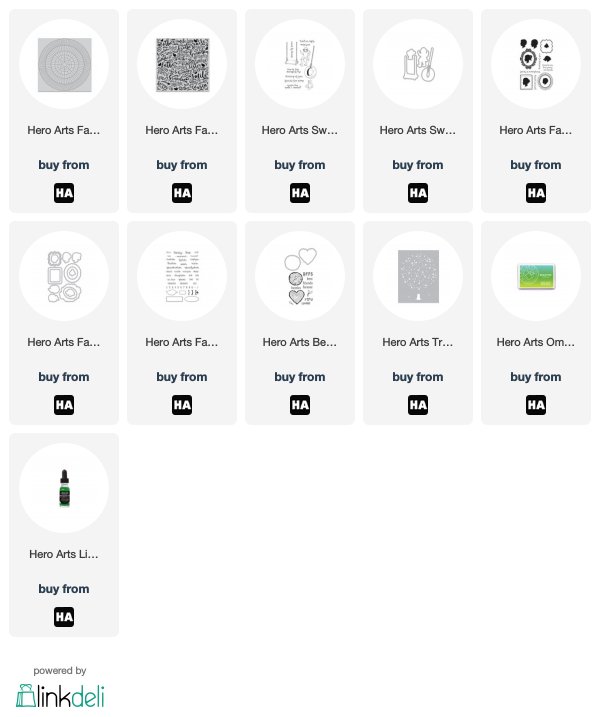
In addition to the main kit, there are lots of wonderful add-on products available to purchase this month too. These are not limited edition and can be purchased from your favourite Hero Arts retailer. Here is a look at them:
 
 
BLOG HOP:
 
Here is the full list of participants taking part in the hop today:
 
Michelle Short - you are here!
 
GIVEAWAY:
 
Hero Arts are giving away one kit to one lucky blog reader - selected from the comments left across all of the blogs in the hop. The giveaway closes Sunday, May 13th at 11.59pm EST and the winner will be announced the following week on the Hero Arts Blog. Good luck!
 
The next person in the hop is the amazing Amy Kolling. Thank you so much for visiting me today, I hope you have a great time on the rest of the hop and a fabulous day!

4 May 2018

Hero Arts May MMH | Thinking Of You

Hello there, Today I am over on the Hero Arts blog, sharing a card I have made with the May My Monthly Hero Kit which is out on Monday. It is such a wonderful kit, that can be used for so many occasions. I am loving the new ombre reactive ink pad which is an add-on this month, too.
 
 
For more details on how I made the card, please head over to the blog post and don't forget to leave a comment over there for a chance to win a kit! Thanks so much for stopping by today, have a great weekend!

3 May 2018

VIDEO | Alcohol Inks 4 Ways

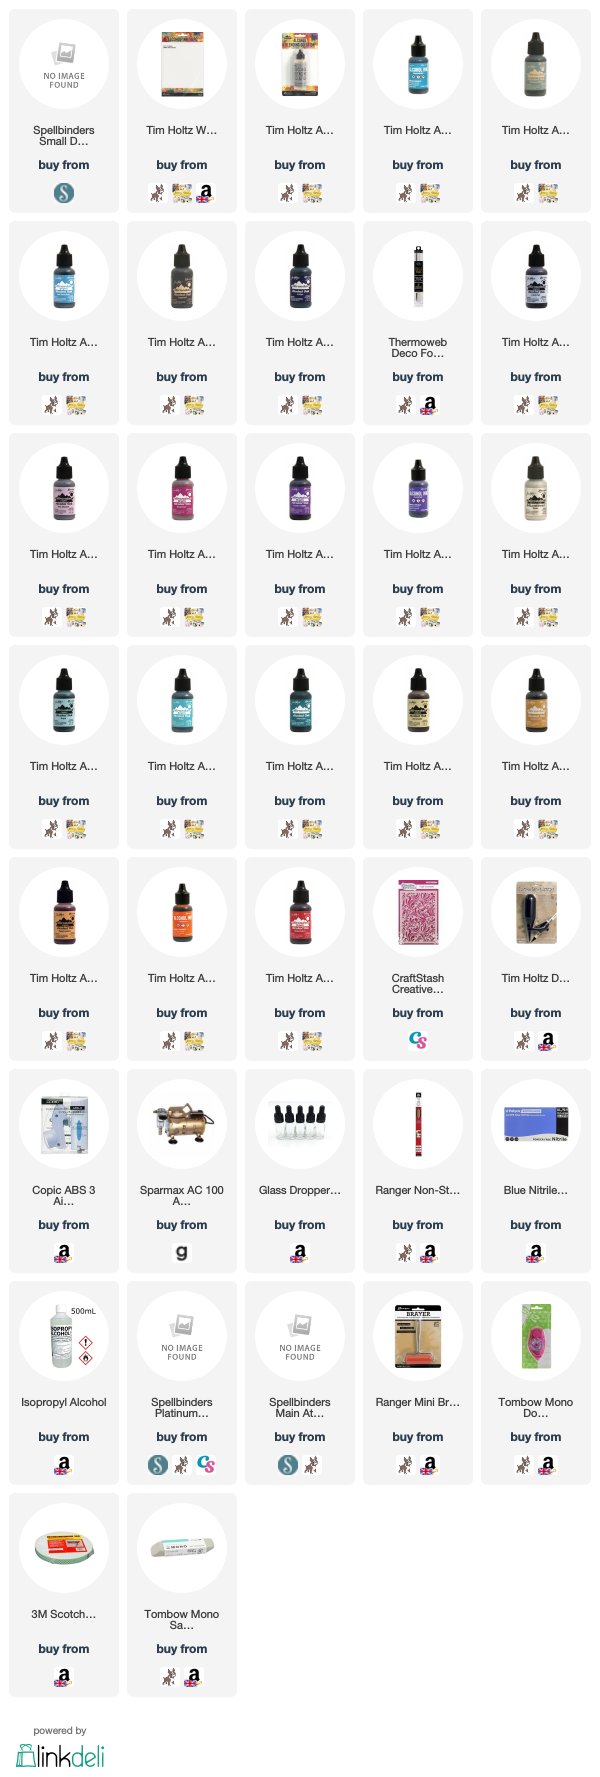
Hello there, today I am sharing a look at using alcohol inks in four different ways, combining backgrounds with the new Spellbinders May 2018 Small Die Of The Month Kit. As you may be aware, I have really been enjoying using alcohol inks. Although I have shared lots of cards using them, I have had requests to use them more in videos, so what better way than sharing four different ways to use them. These are not ground-breaking by any means, but I hope you will enjoy!
 
 
In case you haven't worked with alcohol inks before, there are some precautions that you may want to take. You do need to use these in a well-ventilated area. In my case, I have the window open that is next to my desk. You may also want to protect your workspace. I cover my desk with an old sheet. This does not look pretty but believe me, when you have spent hours cleaning up spots of alcohol ink from all over your desk, it is worth it! ;)
 
 
I also wear gloves when using alcohol inks. This is definitely not necessary (unless your skin reacts to them) but I do find that when cleaning my hands with alcohol, it dries them up quite a lot so I try and avoid that where I can. I also use a craft sheet as my surface. This is not advisable as it does damage it. It will stain it and you cannot get those stains off. I have an old craft sheet that I used for at least 5 years before using it with alcohol inks and now I just use that sheet for alcohol inks only, so it doesn't bother me too much but a glass mat is probably more advisable.
 
ALCOHOL INK WITH FOIL

So let's get into the yummy backgrounds! My first one uses alcohol inks with foil. Often with alcohol inks, a lot of people avoid getting the build up of alcohol inks where it goes sticky. This time, we can use that to our advantage and add foil.
 

The foil sticks to any of those sticky areas without having to add additional adhesive. This way, I feel that it gives the background a more organic look as the foil is added to places at random. For this card, I used Aquamarine, Stonewashed, Sailboat Blue, Eggplant and Indigo alcohol inks on Yupo paper. I added on some droplets of Alcohol ink Blending Solution and then applied Silver Deco Foil. I used a mini brayer to make sure that the foil stuck to the alcohol ink and then lifted off.
 
 
I set the piece aside to dry for a little while and then used a soft brush to brush away any of the excess foil. I really like the look of the silver with the blues. The background was cut down added to an A2 white card base with tape runner. I then cut the celebrate die from the Spellbinders Small Die Of The Month Kit from white cardstock, added foam tape behind and added this to the card.
 
ALCOHOL INK WITH MIXATIVES

My next card uses alcohol inks with mixatives. I applied Cool Peri, Pink Sherbet, Raspberry, Purple Twilight and Amethyst alcohol inks to Yupo paper. I then applied a good amount of Alcohol Ink Blending Solution to this, to mix and blend the colours together.
 

I then took small drops of the Silver Mixative and added these to the panel. I dropped on Alcohol Ink Blending Solution and using a spritzing tool, pushed the colour around. This disperses the mixative and helps it combine with the colours of alcohol ink. I thought this background looked a little like marble (if marble was pink and purple!).
 
 
The panel was cut down and added to a white A2 card base with tape runner. I then cut a panel of white cardstock using the thank you die from the Spellbinders Small Die Of The Month Kit. This was added to the card with foam tape.
 
ALCOHOL INK WITH STENCILS

My next way of using alcohol inks, is with stencils. It is a great way to create more interest and add patterns to alcohol ink backgrounds. For this background, I applied a good coating of Alcohol Ink Blending Solution to the Yupo paper first (this helps to blend the colours and move them easier). I then applied Aqua, Pool and Mermaid alcohol inks and moved them around with a spritzing tool. The piece was then set aside to dry for about 10 minutes.
 

Once dry, I placed the CraftStash Flourish stencil on top. I added some Alcohol ink Blending Solution to an ink blending tool (with foam on the bottom) and smooshed this on to the stencil. This erases some of the alcohol ink and lightens some up. This will work better with some stencils/patterns than others and also some colours of alcohol ink. I really like the effect though.
 
 
The panel was cut down and added to a small white 4-Bar notecard (3.5" x 4 7/8"). I die cut the smile die from the Spellbinders Small Die Of the Month Kit on to a panel of white cardstock and added this to the card with foam tape.
 
INK SMOOSHING WITH ALCOHOL INKS

My final way of using alcohol inks is to use the ink smooshing method. I tend to use this when I want a more soft, blended look. I think it is perfect for ombre looks like sunsets or maybe an ocean.
 

For this piece, I applied Lemonade, Honeycomb, Peach Bellini, Valencia and Watermelon alcohol inks to my craft sheet. I then applied Alcohol Ink Blending Solution. The paper was dipped or smooshed into the ink and then lifted up.
 
 
When the piece dried, the colours blended even more and created a nice sunset look. The panel was cut down and added to a white 4" x 4" card base. I die cut the hello die from the Spellbinders Small Die Of The Month Kit from white cardstock and added this panel to the card with foam tape.
 
VIDEO:

Here is the video showing how I made all of the backgrounds:


SUPPLIES:

Here are the links to what I have used on the cards and in the video. Affiliate links are used on some products. This means that if you make a purchase after clicking on my link, I receive a small commission with no extra cost to you. I truly appreciate your support when using these links. Please click on the logo below the product to shop at your favourite store. Products marked with an asterisk (*) were kindly sent to me to use.
 
 
I really like how these cards came out. I think the alcohol ink backgrounds work really well with the white panels on top. I apologise for the long post but I hope you like the cards! Thank you so much for visiting me today, I hope you have a fabulous day!

2 May 2018

MFT Wednesday Sketch Challenge | Hippo-Bird Day!

Hello there, I am delighted to be guest designing with My Favorite Things this month for their Wednesday Sketch Challenge. Sketches are a great way to get the creative juices flowing and although you do not have to stick to the sketch 100%, it is a good starting point. Today we are using Sketch 383.
 
 
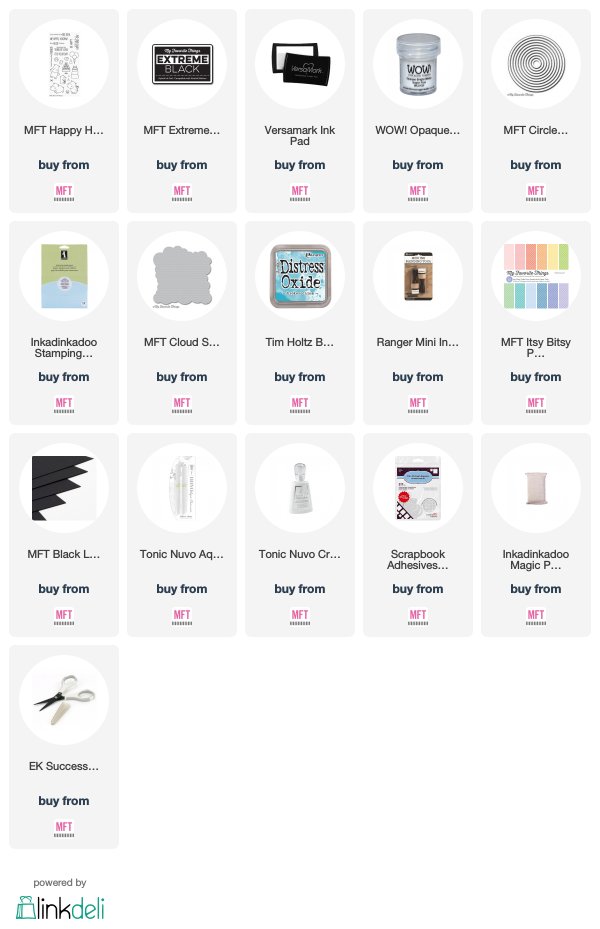
My card today uses the adorable Happy Hippos set which is one of my favourites. As soon as I saw the sketch, I thought the circle piece would make a great sky background. I started off by cutting a square of white cardstock and then stamping the hippo, balloons and bird on to it. I made masks for these and then made a circle window mask. This was added on top of the images and then using Broken China Distress Oxide and the Cloud Stencil I created a sky background.
 

The masks were removed and then the images coloured using Copic Markers (the colours I used are listed below the supplies section). I took a piece of paper from the Itsy Bitsy Polka Dot Pastels Paper Pad and cut the bottom in to a fishtail flag with scissors. This was added to a white A2 card base with tape runner. I then added the image panel on top with foam tape.
 
 
I took the sentiment from the Happy Hippos set and stamped it with Versamark Ink on to black cardstock. I applied white embossing powder and heat set. This was cut in to a strip and added to the card with thin foam tape. To finish, I added Aqua Shimmer pen to the balloons, followed by a coating of Crystal Glaze.
 
SUPPLIES:

Here are the links to what I have used on the card. Affiliate links are used on some products. This means that if you make a purchase after clicking on my link, I receive a small commission with no extra cost to you. I truly appreciate your support when using these links. Please click on the logo below the product to shop at your favourite store. Products marked with an asterisk (*) were kindly sent to me to use.
 
 
COPIC MARKERS: Hippo - W7, W5, W3, W1, W0, W00. Bird - Y17, Y15, Y13, Y11, YR15. Balloons - V25, V22, V20.
 
Do head over to the MFT Challenge Blog for more details on the challenge and sketch, along with lots of inspiration. There is a $50 gift certificate to MFT Stamps up for grabs! Thank you so much for visiting me today, I hope you have a great day!

1 May 2018

VIDEO | Clearly Besotted May 2018 Release Preview

Hello there, today is THE day! All of the new products from Clearly Besotted release tonight at 8pm BST/3pm EST. It is such a wonderful release with something for everyone - florals, cute, funny and a wonderful sentiment set too!
 
 
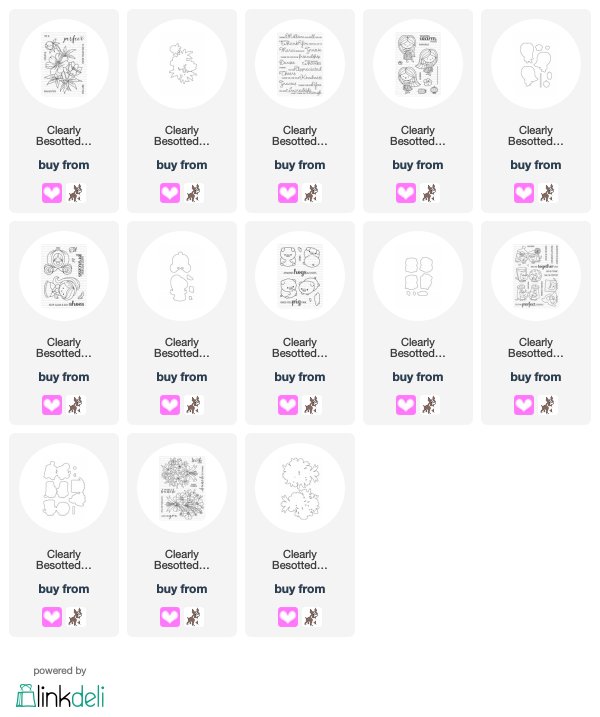
The new products will be available to purchase from the Clearly Besotted Shop (UK based, ships almost worldwide) and Simon Says Stamp (US based, ships worldwide). Here is a look at the new sets and a recap of the cards I made:


SUPPLIES:

Here are the links to what I shared in the video. Affiliate links are used on some products. This means that if you make a purchase after clicking on my link, I receive a small commission with no extra cost to you. I truly appreciate your support when using these links. Please click on the logo below the product to shop at your favourite store. Products marked with an asterisk (*) were kindly sent to me to use.
 

What do you think of the release? I really hope you like it as much as I do. Thank you so much for visiting me today, happy shopping! :)

30 April 2018

Clearly Besotted Teasers | Perfect Pigs

Hello there and welcome to day four of the May Clearly Besotted Teasers. Not long to wait now until the new products are available. They release tomorrow at 8pm BST. For my last teaser, I am using the adorable Perfect Pigs stamp set. Oh my cuteness! I love it!


I started off by die cutting a square panel of white cardstock using the SSS Stitched Squares dies. I then die cut the heart from the Tag Along Die Collection, twice in the centre to create window. I stamped the sentiment from the Perfect Pigs set below the hearts, using Memento Tuxedo Black ink.

 
I created a 4.25" x 4.24" card base from white cardstock and adhered a piece of paper from the MFT Itsy Bitsy Polka Dot Pastels Paper Pad on to the front. I added foam tape to the back of the window panel and added this on top. I then stamped one of the pigs from the Perfect Pigs set with Memento Tuxedo Black Ink on to white cardstock. I coloured him using Copic Markers (the colours used are listed below) and then fussy cut him out (there are coordinating dies available). He was added to centre of the hearts with a combination of foam tape and tape runner. To finish off, I added Crystal Glaze to his snout.

SUPPLIES:

Here are the links to what I have used on the card. Affiliate links are used on some products. This means that if you make a purchase after clicking on my link, I receive a small commission with no extra cost to you. I truly appreciate your support when using these links. Please click on the logo below the product to shop at your favourite store. Products marked with an asterisk (*) were kindly sent to me to use.
 

COPIC MARKERS - E22, E21, E20, E30, R00, R000.
 
Isn't he just adorable? The other pigs in the set are just as cute! For more inspiration, head over to see  what my teamies Stephanie, Lisa and Keren have been up to. Thank you so much for visiting me today. See you tomorrow for release day. Have a great day!

29 April 2018

Clearly Besotted Teasers | Say It With Flowers

Hello there and welcome to day three of the May Clearly Besotted Teasers. Today I am using the beautiful Say It With Flowers set which has two beautiful bouquets in, plus lots of lovely sentiments.
 

I started off by die cutting a panel of cardstock using the rectangle die from the ME Cloud Nine dies. I then took one of the bouquets from the Say It With Flowers set and stamped this on to the panel with Memento Tuxedo Black Ink. I coloured the image using Copic Markers (the colours I used are listed below the supplies section). I wasn't 100% sure on the flowers, I think some of them could be different variety's but I coloured them as tulips, lilies and gerberas.
 
 
The panel was adhered flat to a white A2 card base with tape runner. I took the sentiment from the Tiny Type set (one of my all time favourites!) and stamped this with black ink on to another piece of white cardstock. This was cut in to a strip and added to the card with foam tape. To finish off, I added a few Iridescent Jewels with Multi Medium Matte glue and white dots to the centres of (what I am calling) gerberas.
 
SUPPLIES:
 
Here are the links to what I have used on the card. Affiliate links are used on some products. This means that if you make a purchase after clicking on my link, I receive a small commission with no extra cost to you. I truly appreciate your support when using these links. Please click on the logo below the product to shop at your favourite store. Products marked with an asterisk (*) were kindly sent to me to use.
 
 
COPIC MARKERS: Leaves - YG67, YG17, YG23, YG03. BG78, BG75, BG72. Lilies - R85, R83, R81, R000. Tulips & bow - V17, V15, V12. Gerbera petals - RV69, RV19, RV17. Gerbera middles - RV69, RV99, 110.
 
This is such a wonderful set and I am really looking forward to colouring the other bouquet and maybe watercolour it. For more inspiration, please head over to my teamies Stephanie, Keren and Lisa. Thank you so much for visiting me today. I hope you have a fabulous day!

28 April 2018

Clearly Besotted Teasers | Happy Hula

Hello there and welcome to day two of the May Clearly Besotted teasers. Today, I am using the super cute Happy Hula stamp set, along with the Tag Along and Cloudy Days dies.


I started off by die cutting a tag from the Tag Along Die Collection with white cardstock. I then stamped one of the girls from the Happy Hula set on to it using Memento Tuxedo Black Ink. I coloured her with Copic Markers and then coloured the rest of the tag with Copic Markers to look like she was standing on sand with sea and sky behind her (the colours I used are listed below the supplies section).
 
 
I then die cut a sun from the Cloudy Days Die Collection with yellow cardstock. I coloured this with Copic Markers too. I cut the edges to match with the tag and then adhered it with liquid glue. The sentiment, from the same Happy Hula set, was stamped on to black cardstock with Versamark Ink. I applied white embossing powder and heat set. This was then cut in to a strip and added to the tag with thin foam tape.
 
 
I took an A2 white card base and embossed the front panel using the PTI Guide Lines Grid Impression Plate. The tag was then added on top with thin foam tape.
 
SUPPLIES:

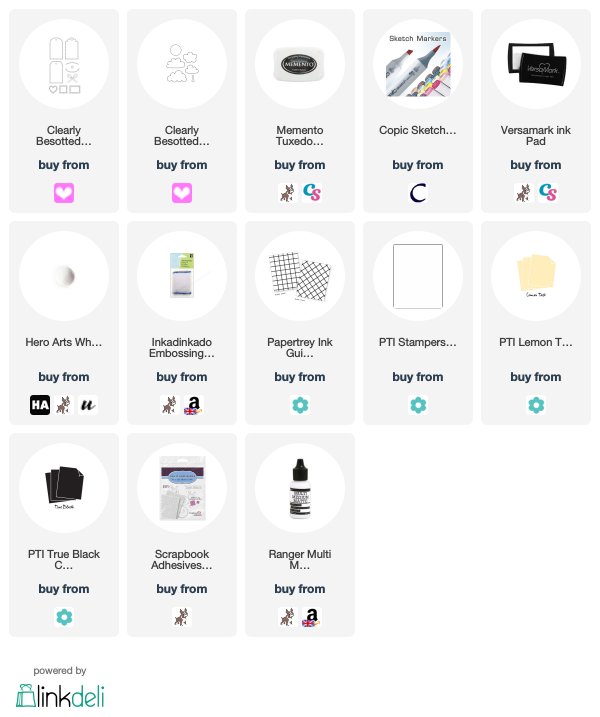
Here are the links to what I have used on the card. Affiliate links are used on some products. This means that if you make a purchase after clicking on my link, I receive a small commission with no extra cost to you. I truly appreciate your support when using these links. Please click on the logo below the product to shop at your favourite store. Products marked with an asterisk (*) were kindly sent to me to use.
 
 
COPIC MARKERS: Girl skin - E13, E11, E00, E0000, E50, R20. Hair - E49, E29, E27, E25, E23, E21. Top - V17, V15, V12. Skirt - E57, E55, E53, E51. Sand - E44, E43, E42, E41. Sea - B14, B12, BG01, BG23, BG11. Sky - B00, B000, B0000. Sun - Y17, Y15, Y13, Y11.
 
Isn't she just adorable? And I thought the sun worked perfectly with the little scene. For more inspiration, please do head over to see my teamies Stephanie, Keren and Lisa. Thank you so much for visiting me today, I hope you have a wonderful day! See you tomorrow.
End of code