8 November 2024

Hero Arts | Hero Studio November 2024 Release Blog Hop + Giveaway

Hello there and welcome as we celebrate the Hero Arts November 2024 Hero Studio release which is out now! 

Did you see the news? Spellbinders Paper Arts have acquired Hero Arts and they will now be one big company but two separate brands. So all that you have come to love about Hero Arts will remain. There will will still be Hero Studio releases, as well as catalogues/catalogs releases. The product designers are staying too, so the same feel/design of the products will remain, but now, all the shipping of products will come from Spellbinders. You can read more here. 

So let's get on to this month's Hero Studio release which features lots of cute critters and festive patterns! 

PLEASE NOTE: This post contains affiliate links. Please see below for my full disclosure.


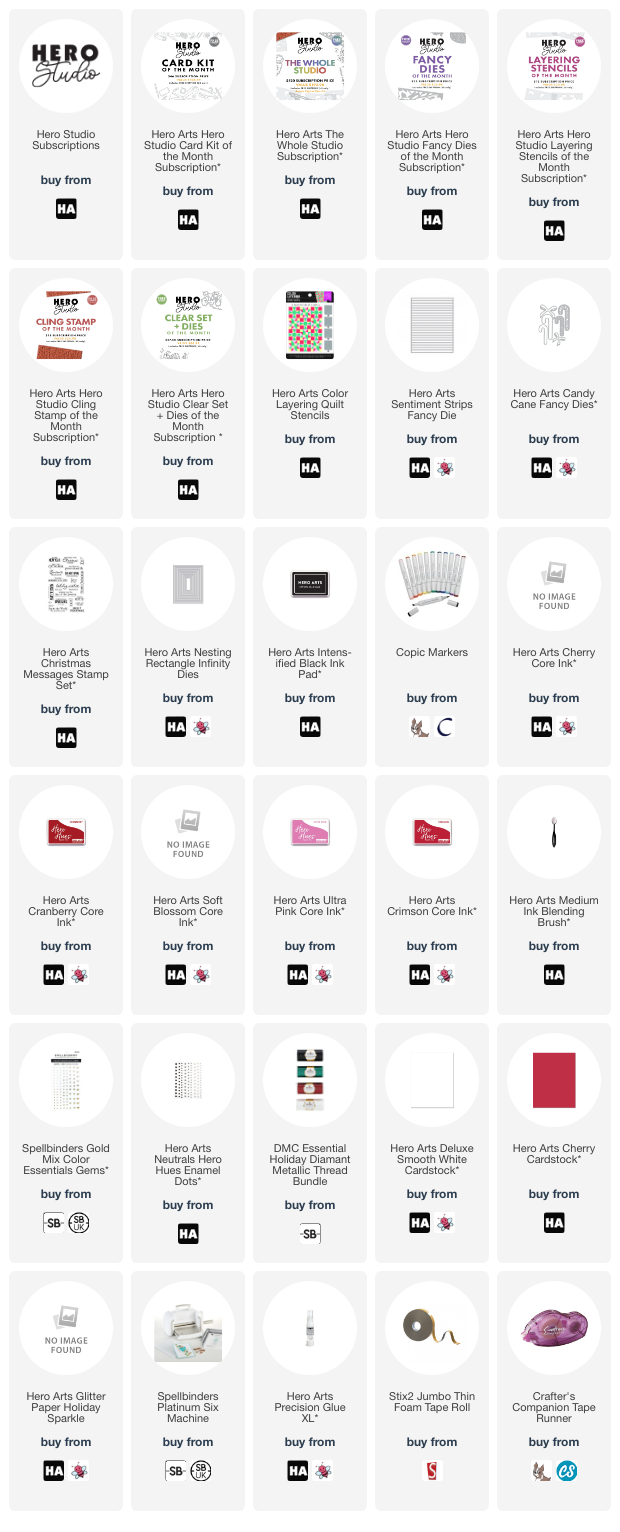
My first card uses the Hero Studio November 2024 Card Kit of the Month. It features lots of critters in stamp form that fit inside different dies - a gift/present, stocking, tea cup etc. I started off my card by stamping the fox and holly/berries from the stamp set onto Hero Arts Deluxe Smooth White Cardstock using Hero Arts Intens-ified Black Ink. I coloured them using Copic Markers (the colours that I used are listed below the supplies area for reference) and die cut them out using the coordinating dies. 


I then die cut the present die twice - once from Deluxe Smooth White Cardstock and once from Gold Hero Arts Glitter Paper Holiday Sparkle. I cut the bow off the gold glitter one (with scissors) and adhered it onto the white one. For the background, I took the Argyle Stencil in the kit and placed it over a panel of Hero Arts Cherry Cardstock before running it through my die cutting machine to emboss the pattern onto the cardstock.  


I added ink blending around the edges of the panel with Hero Arts Cherry and Cranberry Core Inks. The panel was then adhered to a US A2 sized white card base with tape runner adhesive. I adhered the fox onto the base of the present and then adhered both onto the card with thin foam tape. I then adhered the top of the box with thin foam tape also. I popped the holly in behind the fox. 


I stamped the sentiment from the kit stamp set onto white cardstock using Hero Arts Intens-ified Black Ink and then die cut it out using the coordinating die. I also cut the die another two times from white cardstock and adhered them one on top of another for added dimension before adhering onto the card. To finish, I embellished with gold gems. 


In case you missed it, here is the card that I made for the countdown using the Hero Studio November 2024 Fancy Dies of the Month. You can find more information on how I made the card HERE.

My last card for today uses a couple of the Extraordinary Extras from the release. These are not exclusive to Hero like the kits are and can be purchased from your favourite retailer.


I took the Hero Arts Color Layering Quilt Stencils, which is a set of 4, and added ink blending through them to create the quilt pattern using Hero Arts Core Inks and Blending Brushes. For the inks I used:

Stencil 1 - Soft Blossom
Stencil 2 - Ultra Pink
Stencil 3 - Cherry
Stencil 4 - Crimson

The panel was cut down and adhered to a US A2 sized white card base with tape runner adhesive. I die cut the Hero Arts Sentiment Strips Fancy Dies from white cardstock and adhered three onto the card to resemble ribbon. I used one horizontally and two vertically (hiding the seam behind the bow). I die cut the bow from Hero Arts Candy Cane Fancy Dies and adhered it on top. 


For the sentiment, I wanted it to look like it was a tag attached to the gift, so I stamped the sentiment from the Hero Arts Christmas Messages Stamp Set onto white cardstock using Hero Arts Intens-ified Black Ink. I cut it onto a strip first, using the smallest of the Hero Arts Nesting Rectangle Infinity Dies, and then using scissors, cut the top to look like a tag. 


I punched a small hole using a hand held punch before wrapping it around the back of the bow using white metallic thread. To finish, I added a white Hero Hues Enamel Dot to the centre of the bow. I thought this would work great as a gift card/money holder. 

CARD KIT OF THE MONTH


Kit includes:
• Peeking Animals Clear Stamp Set, 6” x 8” • 17 Coordinating Dies • 6 Fancy Dies • 2 Sheets Each of Pine & Cherry Cardstock, 5.5" x 8.5" • 2 Stencils in Argyle & Cable Knit Patterns, 4.75" x 6" • 28 White Die Cut Tags, 4 different styles • White Hero Pearls, 0.6 oz. • Berry Hero Wax, 1 oz.

The Card Kit of the Month costs $46.00 with the subscription program.

Please head over to the November 2024 Hero Studio page HERE for more details on the whole release.

There are some changes to the Hero Studio Subscription moving forward. New subscribers will no longer have to wait until the following month to receive their kit. Subscribe now and get any of the November kits! The sign-up window will be open from the 1st - 27th of each month. If there are any kits left after sending out to those who have subscribed, the kits will be available to purchase from the website without subscription the following month. For more information on subscribing to the kits, please see here.

BLOG HOP:

This post is part of a fun, inspirational blog hop with prizes. For the hop, you should have arrived here from the wonderful Lydia. Next on the hop is the fabulous Natasha. If you get lost along the way or want to start the hop from the beginning, please head over to the Hero Arts Blog. 

GIVEAWAY:

Hero Arts are giving away a $50 gift card, drawn from the comments left across all the stops in the hop. Enter by Sunday 10th November 2024 at 11.59pm PT. The winner will be announced on the Hero Arts Blog the following week.

SUPPLIES:


Here are the links to what I have used on the projects. Affiliate links are used on some products. This means that if you make a purchase after clicking on my link, I receive a small commission with no extra cost to you. I truly appreciate your support when using these links. Please click on the logo below the product to shop at your favourite store. All products were personally purchased except those from Clearly Besotted, Hero Arts or those marked with an asterisk (*) which were kindly sent to me to use. You can read my full disclosure here.


COPIC MARKERS: Fox - E09, YR18, YR14, YR12/E01, E00, E000. Holly - G29, YG17, YG23, YG01. Berries - R89, R39, R37, R35. 

Thank you so much for stopping by today, I really do appreciate it. I hope you have a wonderful day and a great time on the rest of the hop! 

7 November 2024

Altenew | November 2024 Release Blog Hop + Giveaway

Hello there, I am delighted to be joining Altenew today to celebrate the November 2024 release with a fun blog hop. The release is full of new stamps, dies, embossing folders, markers and even socks! I am sharing a few projects using the new products below. 

PLEASE NOTE: This post contains affiliate links. Please see below for my full disclosure.


CRAFT-A-GARDEN: BREEZY PETALS

My first card uses the new Altenew Build-A-Garden: Breezy Petals. This beautiful set consists of a stamp set, stencils, mini blending brush and dies. 


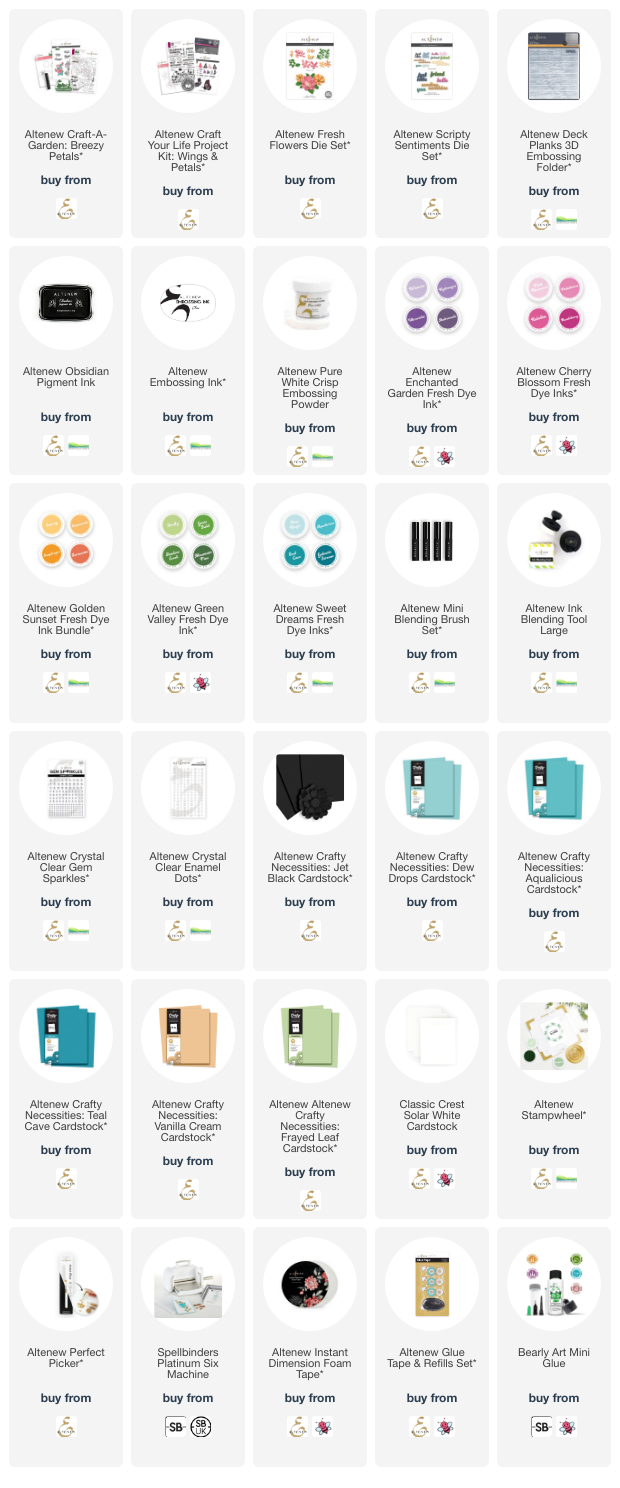
I started off my card by stamping the large floral image from the Altenew Build-A-Garden: Breezy Petals onto white cardstock using Altenew Obsidian Pigment Ink. I then placed the stencils on top, one by one, to add colour to the image using ink blending. I used Altenew Enchanted Garden Fresh Dye Inks for the large flowers, Cherry Blossom Fresh Dye Inks for the small flowers, Golden Sunset Fresh Dye Inks for the flower centres, and Green Valley Fresh Dye Inks for the leaves. 


It was die cut out using the coordinating die and then set aside while I worked on the card base. I placed a panel of white cardstock inside the Altenew Deck Planks 3D Embossing Folder and ran it through my die cutting machine. It was adhered to a US A2 sized white card base with Altenew Glue Tape. The image was adhered on top with Altenew Instant Dimension Foam Tape and the excess cut off the sides. 


I stamped the sentiment from the set onto Altenew Crafty Necessities: Jet Black Cardstock using Altenew Embossing Ink. I applied Altenew Pure White Crisp Embossing Powder and heat set. It was cut into a strip and adhered to the card card with more foam tape. To finish, I embellished with Altenew Crystal Clear Gem Sparkles. 

CRAFT YOUR LIFE PROJECT KIT: WINGS & PETALS

My next two cards use the Altenew Craft Your Life Project Kit: Wings & Petals. This beautiful kit consists of a stamp set, a die set, stencils and an embossing folder. 


For my first card, I took a panel of white cardstock and added ink blending with Altenew Sweet Dreams Fresh Dye Inks and an Altenew Large Blending Brush, focussing the darker colour towards the bottom. 


I then stamped the silhouette image from the Wings & Petals Stamp Set on top with Altenew Obsidian Pigment Ink. I stamped the sentiment from the stamp set onto Altenew Crafty Necessities: Jet Black Cardstock with Altenew Embossing Ink.


I applied Altenew Pure White Embossing Powder and heat set. It was cut out using the coordinating dies. I die cut the die another two times from the same black cardstock and adhered them behind the stamped one, before adhering to the card. 


For my second card, I placed a panel of white cardstock inside the Wings & Petals 3D Embossing Folder and ran it through my die cutting machine. Using the coordinating stencils, I added ink blending to the image with Altenew Cherry Blossom, Golden Sunset and Green Valley Fresh Dye Inks. 


I then die cut the butterfly from the Wings & Petals Die Set from white cardstock for the base and Altenew Crafty Necessities: Jet Black Cardstock for the top layer. There is another piece for this butterfly to create the wing on the other side but I decided to leave it off. I added ink blending to the base layer with Altenew Golden Sunset Fresh Dye Inks and then adhered the detail layer on top. 


I adhered the embossed panel to a US A2 sized white card base with Altenew Glue Tape and then adhered the butterfly on top with liquid glue and foam tape behind the wings. I stamped a sentiment from the stamp set onto white cardstock using Altenew Obsidian Pigment Ink and then die cut it out with the coordinating dies. I cut the die another two times from white cardstock and adhered them behind the stamped one before adhering onto the card. 

FRESH FLOWERS, SCRIPTY SENTIMENTS & NEW CARDSTOCK


I started off this card by die cutting the Altenew Fresh Flowers Die Set using Altenew Crafty Necessities Cardstock in Dew Drops and Teal Cave for the petals, Vanilla Cream for the flower centres and Frayed Leaf for the leaves. 


I added ink blending on top with Altenew Fresh Dye Inks. I used Sweet Dreams for the petals, Golden Sunset for the flower centres, and Green Valley for the leaves. I assembled the flowers using liquid glue and then adhered them and the leaves to a US A2 sized white card base. 


I die cut the 'hello' from the Altenew Scripty Sentiment Die Set from Altenew Craft Necessities: Aqualicious Cardstock for the word three times. I cut the shadow from white cardstock twice. I added ink blending to the word die cut, adding the darker colour towards the bottom for an ombre look. It was adhered to the other layers and then onto the shadow piece before adhering to the card with Altenew Instant Dimension Foam Tape. To finish, I embellished with Altenew Crystal Clear Enamel Dots. 

BLOG HOP:


As mentioned, this post is part of a fun, inspirational blog hop with prizes. Please click on the other participants below to visit their blogs.

You are invited to the Inlinkz link party!

Click here to enter

GIVEAWAY:


$300 in total prizes! To celebrate this release, Altenew is giving away a $100 gift certificate to 1 lucky winner and a $50 gift certificate to 4 winners! Please leave a comment on the Altenew Card Blog and/or each designer’s blog post on the blog hop list below by November 13th for a chance to win. Altenew will draw 5 random winners from the comments left on each stop of this blog hop and announce the winners on the Altenew Winners Page on November 15th, 2024. The winner of the $100 gift certificate will be chosen from comments left on the Altenew blog. 


SUPPLIES:


Here are the links to what I have used on the projects. Affiliate links are used on some products. This means that if you make a purchase after clicking on my link, I receive a small commission with no extra cost to you. I truly appreciate your support when using these links. Please click on the logo below the product to shop at your favourite store. All products were personally purchased except those from Clearly Besotted, Hero Arts or those marked with an asterisk (*) which were kindly sent to me to use. You can read my full disclosure here.


Thank you so much for stopping by today, I really do appreciate it. I hope you have a wonderful rest of the day! 

Simon Says Stamp | Old Fashioned Christmas

Hello there, today I have a card to share using the Simon Says Stamp Old Fashioned Christmas Stamp Set from the Festive Fun release, which is out now! I have to be honest, when the stamp set arrived, I did have to look up what an old fashioned cocktail/drink looked like. I had heard of it but never saw one! 

PLEASE NOTE: This post contains affiliate links. Please see below for my full disclosure.


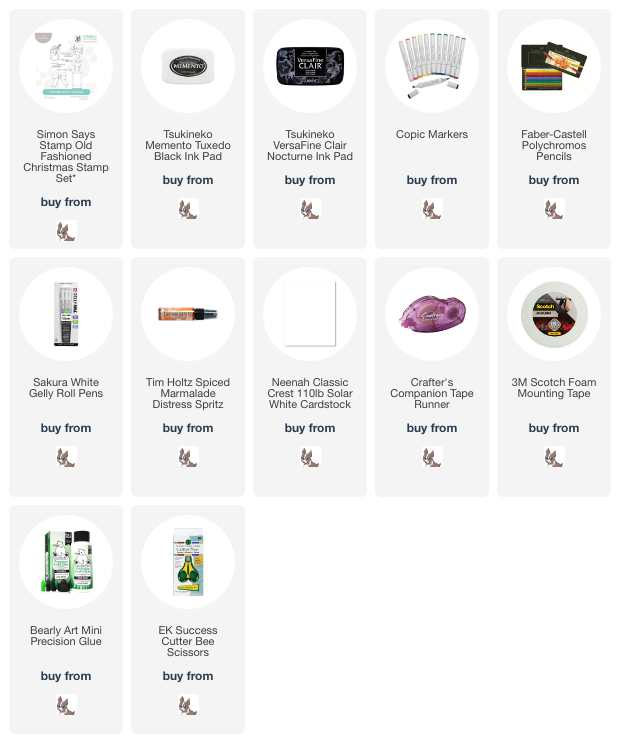
I started off by stamping the old fashioned drink from the Simon Says Stamp Old Fashioned Christmas Stamp Set onto white cardstock using Memento Tuxedo Black Ink. Using the images I saw on Google, I coloured it using Copic Markers. I added in highlights to the glass for reflections with a white pencil and added bubbles/dots with a white gel pen. 


It was fussy cut out with scissors. I then stamped the sentiment from the set onto more white cardstock, this time using Versafine Clair Nocturne Ink. Once dry, it was fussy cut out with scissors also. For the background of the card, I wanted to add some sparkle, so I grabbed my Tim Holtz Spiced Marmalade Distress Spritz and sprayed a little on a panel of white cardstock. 


Unfortunately, it is a little difficult to see the shine in the photos, but you can see it a little better in the one above. When it hits the light, it kind of looks a little like the drink is reflecting on the background! Once the background was dry, it was adhered to a US A2 sized white card base with tape runner adhesive. 


I adhered the drink image and sentiment on top using foam tape. To finish, I embellished with some copper gems from my stash, adhering in place with Bearly Art Glue. 

SUPPLIES:


Here are the links to what I have used on the project. Affiliate links are used on some products. This means that if you make a purchase after clicking on my link, I receive a small commission with no extra cost to you. I truly appreciate your support when using these links. Please click on the logo below the product to shop at your favourite store. All products were personally purchased except those from Clearly Besotted, Hero Arts or those marked with an asterisk (*) which were kindly sent to me to use. You can read my full disclosure here.


COPIC MARKERS: Drink - E09, YR18, YR14, YR12. Orange slice - YR18, YR16, YR15, YR12, Y13. Cherries - R89, R39, R37, R35, R32, R30. Ice cube - YR20, YR000, YR0000. Cinnamon stick - E59, E57, E55, E50. Rosemary - G28, YG17, YG23, YG01. Glass - C5, C3, C1, YR12. 

Glass is always a difficult one to colour and I am not sure I quite got it but I tried my best! Thank you so much for stopping by today, I really do appreciate it. I will be back later with another post but in the mean time, I wish you a wonderful day! 

6 November 2024

Spellbinders | Stitched Bright

Hello there, today I have a Christmas card to share using the Spellbinders Stitched Starfilled Background from the Stitched Bright Collection, which released back in August. I really like Spellbinders stitching dies, they add something extra to a special card. 

PLEASE NOTE: This post contains affiliate links. Please see below for my full disclosure.


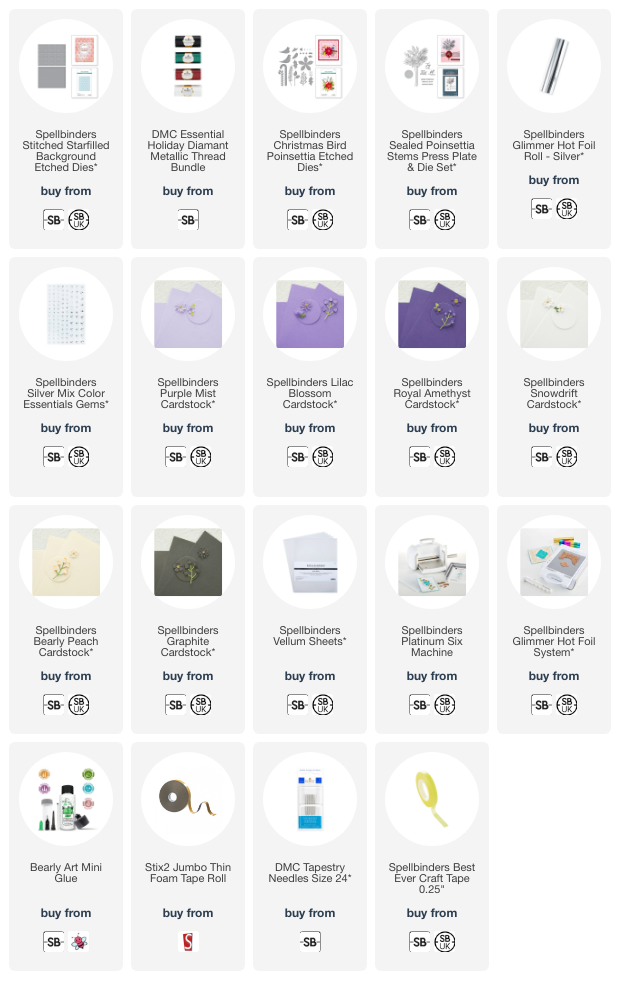
I started off by die cutting the Spellbinders Stitched Starfilled Background Etched Dies from Spellbinders Purple Mist Cardstock twice. I adhered the two pieces together (for extra stability whilst stitching) and then got to work stitching! I love that Spellbinders stitching dies give indentations in the cardstock of where to stitch, I find it really helpful to just follow the lines! 


I used a blunt ended needle and DMC White Diamant Metallic Thread. The thread was secured at the back with Spellbinders Best Ever Craft Tape and then the panel was adhered to a US A2 sized card base made from more Purple Mist Cardstock. 


I die cut the Spellbinders Bird and Poinsettia Etched Dies from various shades of Spellbinders Cardstock - Snowdrift, Bearly Peach, Graphite and Royal Amethyst for the bird and hat, Lilac Blossom for the poinsettia, and snowdrift and vellum for the foliage. I adhered the foliage to the card first, followed by the poinsettia. 


I hot foiled the sentiment from the Spellbinders Sealed Poinsettia Stems Press Plate & Die Set onto white cardstock using Spellbinders Silver Foil and the Glimmer Hot Foil System. It was cut into a strip and adhered to the card using thin foam tape, followed by the bird. To finish, I embellished with Spellbinders Silver Mix Color Essentials Gems. 

SUPPLIES:


Here are the links to what I have used on the project. Affiliate links are used on some products. This means that if you make a purchase after clicking on my link, I receive a small commission with no extra cost to you. I truly appreciate your support when using these links. Please click on the logo below the product to shop at your favourite store. All products were personally purchased except those from Clearly Besotted, Hero Arts or those marked with an asterisk (*) which were kindly sent to me to use. You can read my full disclosure here.


This design would work well in so many different colour combinations. I think I will try and do a traditional red colour one too! Thank you so much for stopping by today, I really do appreciate it. I hope you have a wonderful day! 

5 November 2024

Primrose Garden Birthday Wishes

Hello there, today I have a card to share with you that I made my mum for her birthday. She really loves flowers, so I thought that I would use the Concord & 9th Primrose Garden Die Set for her card. 

PLEASE NOTE: This post contains affiliate links. Please see below for my full disclosure.


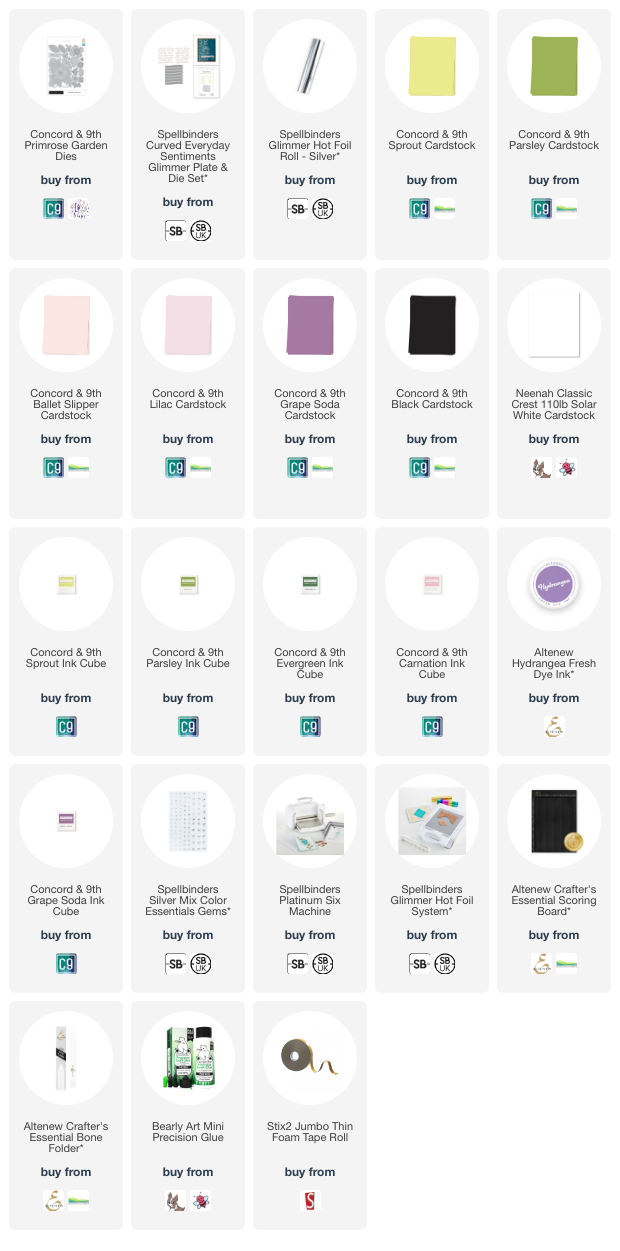
I started off by die cutting the base layer from the Concord & 9th Primrose Garden Die Set twice from Concord & 9th Black Cardstock. I made a score line at the top of one piece and adhered it to the back of the other piece at the top to create a hinge. This created my card base. 

I die cut the flowers in the set from Concord & 9th Lilac, Grape Soda and Ballet Slipper Cardstock. I cut the berries and flower centres from white cardstock and the foliage from Concord & 9th Sprout and Parsley Cardstock. I added ink blending to the pieces using Concord & 9th Grape Soda Ink for the dark purple flowers and Altenew Hydrangea Fresh Dye Ink for the light purple flowers. 

I used Concord & 9th Carnation Ink for the pink flowers and Concord & 9th Sprout, Parsley and Evergreen inks for the foliage/leaves. I adhered the layers to the base using a combination of Bearly Art Glue and thin foam tape. 

I hot foiled the sentiment from the Spellbinders Curved Everyday Sentiments Glimmer Hot Foil Plate & Die Set onto Concord & 9th Grape Soda Cardstock with Spellbinders Silver Foil and the Glimmer Hot Foil System. It was cut into a strip and adhered to the card with foam tape. To finish, I embellished with Spellbinders Silver Color Essentials Gems. 

SUPPLIES:


Here are the links to what I have used on the project. Affiliate links are used on some products. This means that if you make a purchase after clicking on my link, I receive a small commission with no extra cost to you. I truly appreciate your support when using these links. Please click on the logo below the product to shop at your favourite store. All products were personally purchased except those from Clearly Besotted, Hero Arts or those marked with an asterisk (*) which were kindly sent to me to use. You can read my full disclosure here.


I am happy to report that my mum really liked the card! The base probably should be cut from green cardstock for the illusion of more foliage but I went with black for something different! Thank you so much for stopping by today, I really do appreciate it. I hope you have a great day! 

2 November 2024

Hero Arts | Hero Studio November 2024 Countdown to Creativity

Hello there and welcome as we countdown to the release of the Hero Arts November 2024 Hero Studio collection! This month is all about cute Christmas critters and holiday patterns! 

Please note, the Hero Arts website is currently down for maintenance until 4th November, when the November Hero Studio collection releases. 

PLEASE NOTE: This post contains affiliate links. Please see below for my full disclosure.


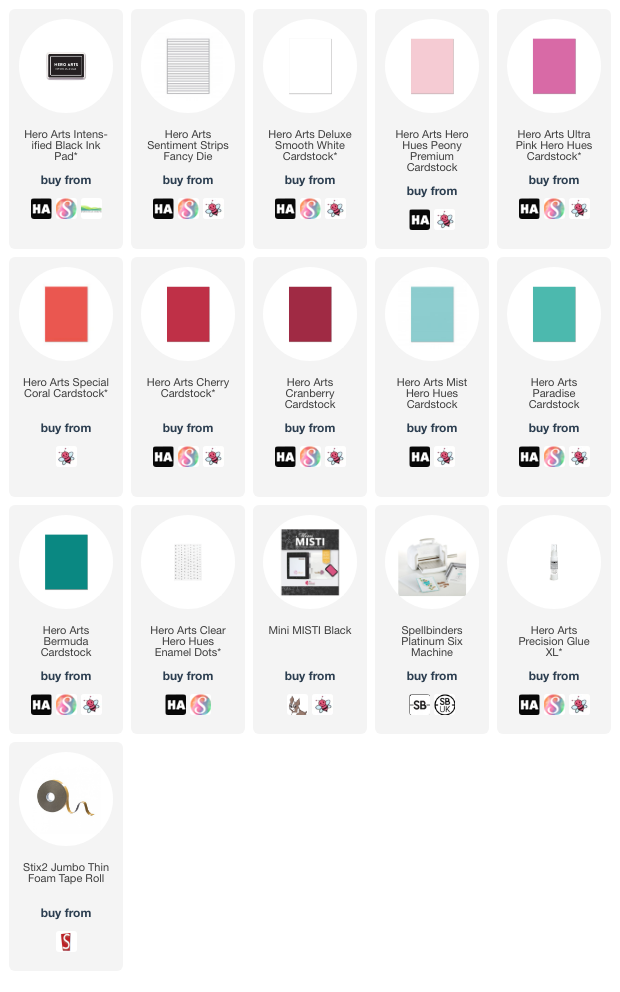
For my card today, I am using the Hero Arts November 2024 Fancy Dies of the Month called Tilted Christmas Tree. I started off by die cutting the frame die from Hero Arts Deluxe Smooth White Cardstock three times. I then adhered them together one on top of another form added dimension. 

For the background, I die cut the Hero Arts Sentiment Strips Fancy Die from Hero Arts Peony, Ultra Pink, Coral, Cherry, Cranberry, Mist, Paradise and Bermuda Cardstock. They were then adhered at an angle to a 4.25" x 5.5" panel of white cardstock using Hero Arts Precision Glue. I cut off any excess from the sides with scissors, before adhering it to a US A2 sized white card base. 

The frame was adhered on top using more liquid glue. I stamped the sentiment from the Hero Arts Winter Foliage Pattern Stamp Set (which is an Extraordinary Extras set this month) onto white cardstock using Hero Arts Intensified Black Ink. It was cut into a strip and adhered to the card using thin foam tape. To finish, I embellished with Hero Hues Clear Enamel Dots. 

SUPPLIES:


Here are the links to what I have used on the project. Affiliate links are used on some products. This means that if you make a purchase after clicking on my link, I receive a small commission with no extra cost to you. I truly appreciate your support when using these links. Please click on the logo below the product to shop at your favourite store. All products were personally purchased except those from Clearly Besotted, Hero Arts or those marked with an asterisk (*) which were kindly sent to me to use. You can read my full disclosure here.


Since the blog is down, please head over to Hero Arts Instagram Page for more inspiration using the November 2024 Hero Studio release. We will be back on Monday celebrating the release with a fun blog hop! Thank you so much for stopping by today, I hope you have a wonderful rest of the weekend! 

1 November 2024

Sunny Studio | More Roly Poly Penguins!

Hello there and happy November to you! For my last two projects guest designing for Sunny Studio Stamps, I have used the Roly Poly Penguins set again. They are just too cute not to use! Today I have a tag and card to share.

PLEASE NOTE: This post contains affiliate links. Please see below for my full disclosure.


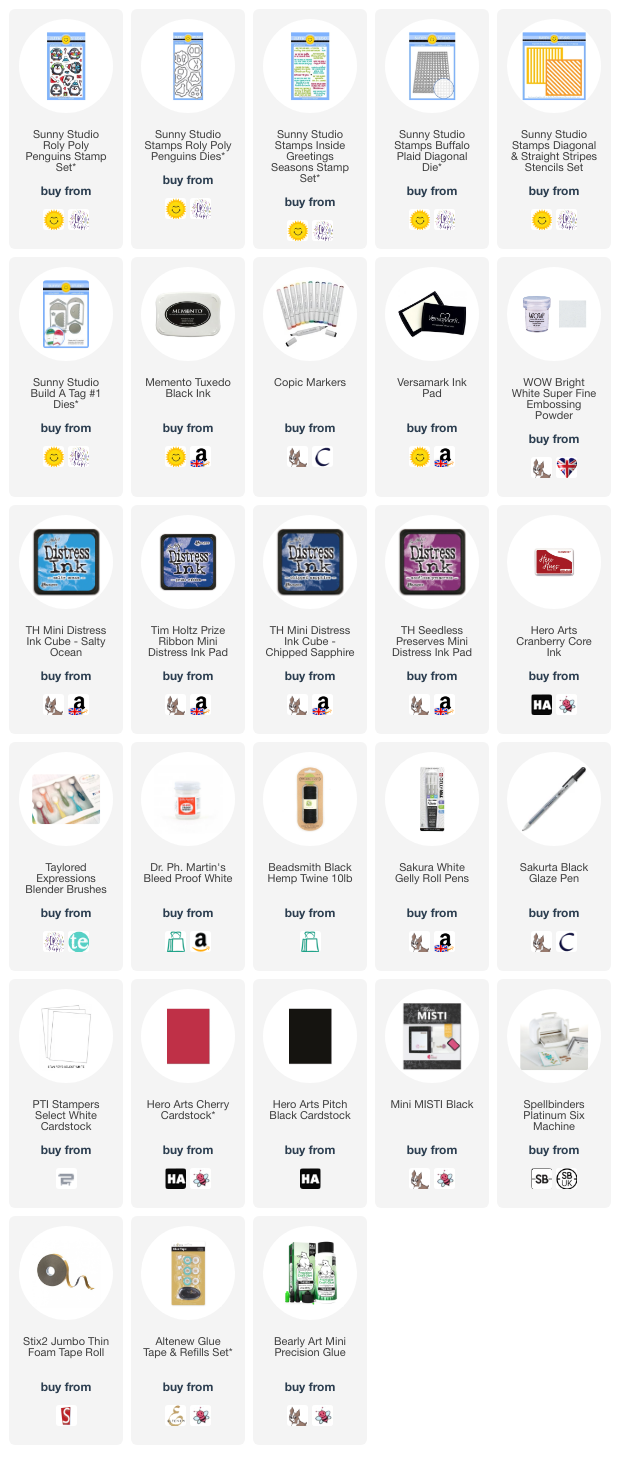
I thought the penguin poking up from behind something from the Sunny Studio Stamps Roly Poly Penguins Stamp Set would look cute at the bottom of a tag, so I stamped him onto white cardstock using Memento Tuxedo Black Ink. I then coloured him using Copic Markers (the colours that I used are listed below the supplies area for reference). 

He was die cut out using the Sunny Studio Stamps Roly Poly Penguins Dies. For the tag, I die cut the Sunny Studio Stamps Build A Tag #1 Dies from white cardstock. I added ink blending to the base layer with Salty Ocean, Prize Ribbon, Chipped Sapphire and Seedless Preserves Distress Inks. I also added this ink blending to the eyelet piece. I then splatted on Dr. Ph. Martin's Bleed Proof White Paint to the base layer for snow and set it aside to dry. 

Once dry, I adhered the top layer of the tag to the base, followed by the eyelet. I stamped the sentiment from the Sunny Studio Stamps Inside Greetings Seasons Stamp Set onto black cardstock using Versamark Ink. I applied white embossing powder and heat set. It was cut into strips and adhered to the tag with thin foam tape, followed by the penguin. To finish, I added twine through the top of the tag and tied in a bow. 

I couldn't resist making one more project using the penguins so stamped another from the Sunny Studio Stamps Roly Poly Penguins Stamp Set onto white cardstock with Memento Tuxedo Black Ink. I coloured him using Copic Markers and then die cut him out using the Sunny Studio Stamps Roly Poly Penguins Dies.

For the card base, I ran a panel of Hero Arts Cherry Cardstock through my die cutting machine with the Sunny Studio Stamps Buffalo Plaid Diagonal Die. I placed the Sunny Studio Stamps Diagonal Stripes Stencil on top and added ink blending with Hero Arts Cranberry Core Ink. I love how this gives a tone-on-tone effect but I am excited to try this with other colour combos in the future! 

The panel was adhered to a US A2 sized card base made from the same Cherry Cardstock and the penguin adhered on top with thin foam tape. The sentiment, from the Sunny Studio Stamps Inside Greetings Seasons Stamp Set, was stamped onto black cardstock and heat embossed in white. It was cut into a strip and adhered to the card with more thin foam tape. To finish, I added white gel pen highlights to the penguin and black glaze pen to his eyes. 

SUPPLIES:


Here are the links to what I have used on the projects. Affiliate links are used on some products. This means that if you make a purchase after clicking on my link, I receive a small commission with no extra cost to you. I truly appreciate your support when using these links. Please click on the logo below the product to shop at your favourite store. All products were personally purchased except those from Clearly Besotted, Hero Arts or those marked with an asterisk (*) which were kindly sent to me to use. You can read my full disclosure here.


As I say, I am hoping to experiment more with the Buffalo Plaid die and stencil, so hopefully you will see that soon! A big thank you goes to Mendi and the Sunny Studio team for having me guest with them and thank you for stopping by, I really do appreciate it. I hope you have a wonderful day! 

End of code