11 September 2023

VIDEO | MFT Long Walk with a Best Friend

Hello there, I am over on the My Favorite Things YouTube channel today, sharing a simple scene card using the YUZU Long Walk with a Best Friend set. 

PLEASE NOTE: This post contains affiliate links. Please see below for my full disclosure.

I started off my card by stamping the girl and dog from the MFT Long Walk with a Best Friend Stamp Set onto white cardstock using black ink. I then took another panel of white cardstock, this time 3.75" x 5" and stamped the sentiment at the bottom and then the greenery/bushes from the set above. 

I stamped one either side, made a mask for them from masking paper, cut them out and placed them on top. I then stamped another one in the middle. I made a mask for that one too and then using an ink blending brush, blended a little Tim Holtz Mermaid Lagoon Distress Ink above, to create a subtle sky. The masks were then removed. 

I coloured the images using Copic Markers (the colours that I used are listed below the supplies area for reference) and then adhered the panel onto an A2 card base made from MFT Grape Jelly Cardstock. The girl and dog were die cut out using the MFT Long Walk with a Best Friend Die-namics and adhered on top with thin foam tape. To finish off, I added Crystal Glaze to the dogs nose and embellished with a few Bubbles. 

VIDEO:

Here is the video showing how I made the card:

If you are viewing this blog post via email subscription, you can watch the video HERE on YouTube. 

SUPPLIES:


Here are the links to what I have used on the project. Affiliate links are used on some products. This means that if you make a purchase after clicking on my link, I receive a small commission with no extra cost to you. I truly appreciate your support when using these links. Please click on the logo below the product to shop at your favourite store. All products were personally purchased except those from Clearly Besotted, Hero Arts or those marked with an asterisk (*) which were kindly sent to me to use. You can read my full disclosure here.
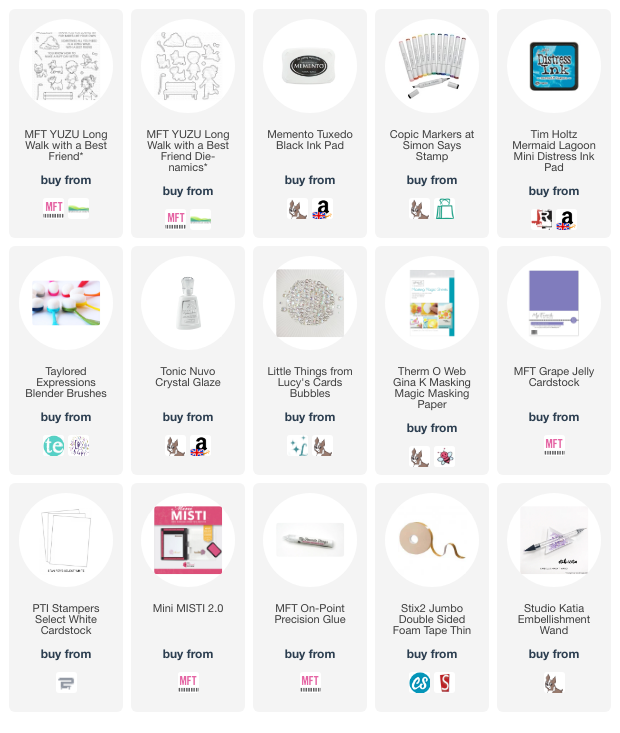

COPIC MARKERS: Girl's skin - E13, E11, E00, E50, R20. Hair - E29, E27, E25, E23, E21. Jeans - B99, B97, B95, B93. Top - V09, V17, V15, V12. Shoes/under top - C5, C3, C1, C00. Dog - C5, C3, C1, C00/R12, R00, R000/C7, C5. Collar - V17, V15, V12/E50. 

Thank you so much for stopping by today, I really appreciate it. I hope you have a wonderful day and a great week ahead!

10 September 2023

VIDEO | NO SPOILERS! Spellbinders 12 Days of Stitchmas 2023 Advent Calendar + Stitch Along Kit

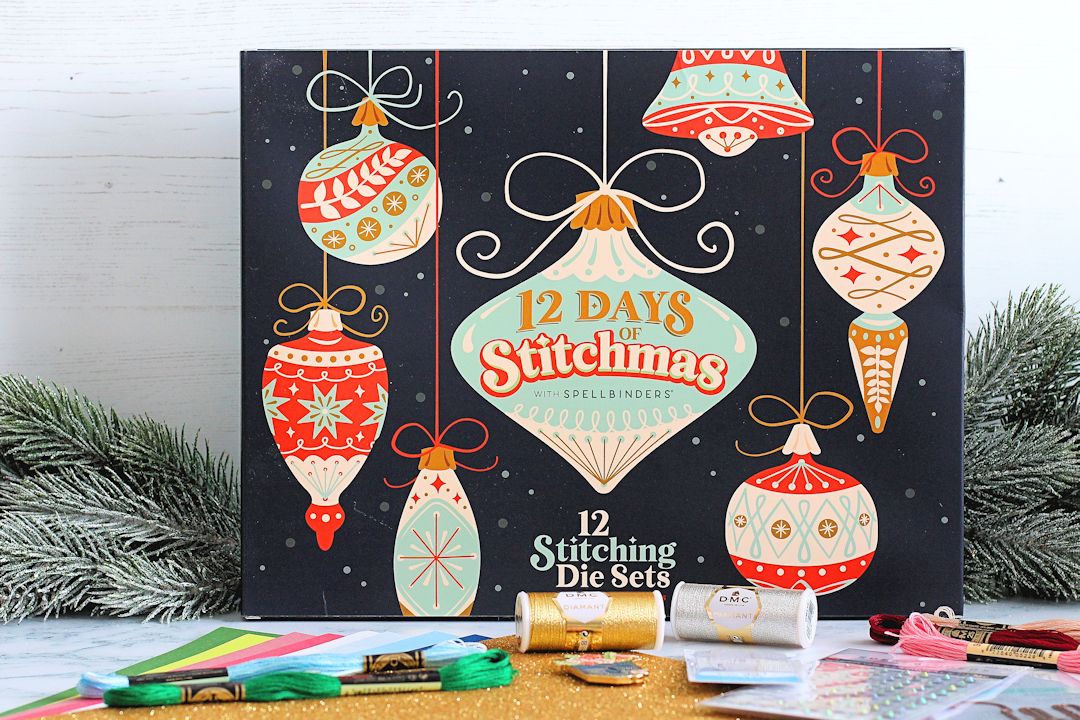
Hello there, today I wanted to share a peek at the Spellbinders 12 Days of Stitchmas 2023 Advent Calendar and 12 Days of Stitchmas Stitch Along Add-on Kit. 

PLEASE NOTE: This post contains affiliate links. Please see below for my full disclosure.

12 DAYS OF STITCHMAS ADVENT CALENDAR


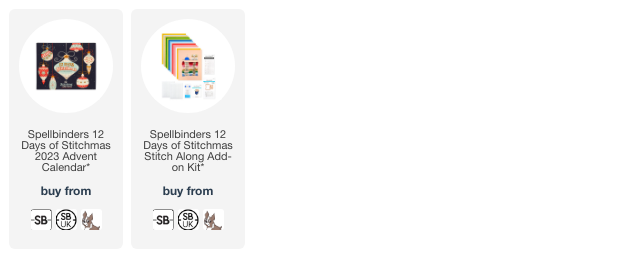
The Spellbinders 12 Days of Stitchmas 2023 Advent Calendar contains 12 sets of dies that are perfect for stitching, however, they can be used without stitching too! The advent calendar isn't necessarily meant to be used like a normal advent calendar in the lead up to Christmas but more of a 12 days of projects that you can make for Christmas.

Each set of dies has a Christmas/holiday theme to it that you can add to cards, tags and ornaments for the Christmas season. Whilst this is more of an investment money wise, you do get 12 sets of dies (each set has multiple dies), so it does work out well for the price. 

12 DAYS OF STITCHMAS STITCH ALONG KIT


There is also the Spellbinders 12 Days of Stitchmas Stitch Along Add-on Kit, which has been made to use with the advent calendar (I am a teacher in the Spellbinders Advent Calendar Class and we all use the kit for our projects) but you can also use it on it's own with any other stitching. 

It contains lots of floss, thread, gems, needles, a needle minder, needle threader, foam squares, a bobbin stamp & die set and also loads of 8.5" x 11" sheets of cardstock. It all comes in a reusable pouch too! I was surprised with how much is in the kit, I think it is great value for money. 

VIDEO:

Here is the video showing the advent calendar and kit. This video contains no spoilers! 


If you are viewing this post via email subscription, you can watch the video HERE on YouTube. 

SUPPLIES:


Here are the links to what I have shared in the video. Affiliate links are used on some products. This means that if you make a purchase after clicking on my link, I receive a small commission with no extra cost to you. I truly appreciate your support when using these links. Please click on the logo below the product to shop at your favourite store. All products were personally purchased except those from Clearly Besotted, Hero Arts or those marked with an asterisk (*) which were kindly sent to me to use. You can read my full disclosure here.


I will be sharing a video where I make two cards using the day 6 set soon. It is part of the Spellbinders Advent Calendar Class which is a free class happening over on the Spellbinders YouTube channel and blog. Thank you so much for stopping by today, I hope you have a great rest of the weekend! 

9 September 2023

Spellbinders | Envelope of Wonder

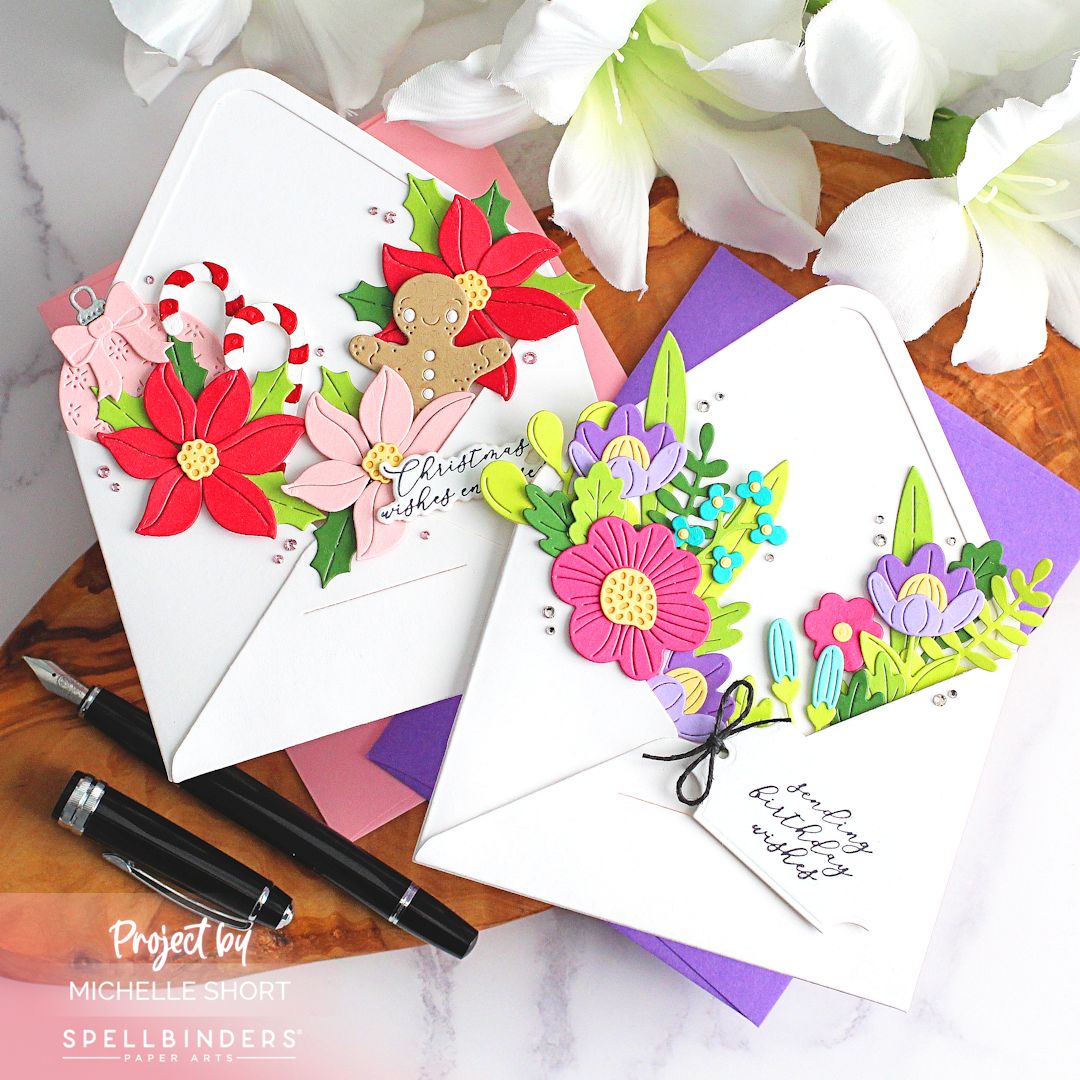
Hello there, I fell in love with this Envelope of Wonder release from Spellbinders as soon as I saw it! The opportunities with this set are fabulous - use with the envelope or without and there are a few ways to make them into a cards too - make the whole envelope a card, add a card on to the back of the envelope or add the envelope onto a card base! You can also just use the envelope as an actual envelope too!

PLEASE NOTE: This post contains affiliate links. Please see below for my full disclosure.


I went down the route of making a smaller rectangular shape card and adding it to the back of the envelope. Since you die cut the pieces for the envelope separately, you need to score the pieces and adhere them to the back piece. I opted to adhere them to the inside, rather than the outside, so that they did not show on the back. 


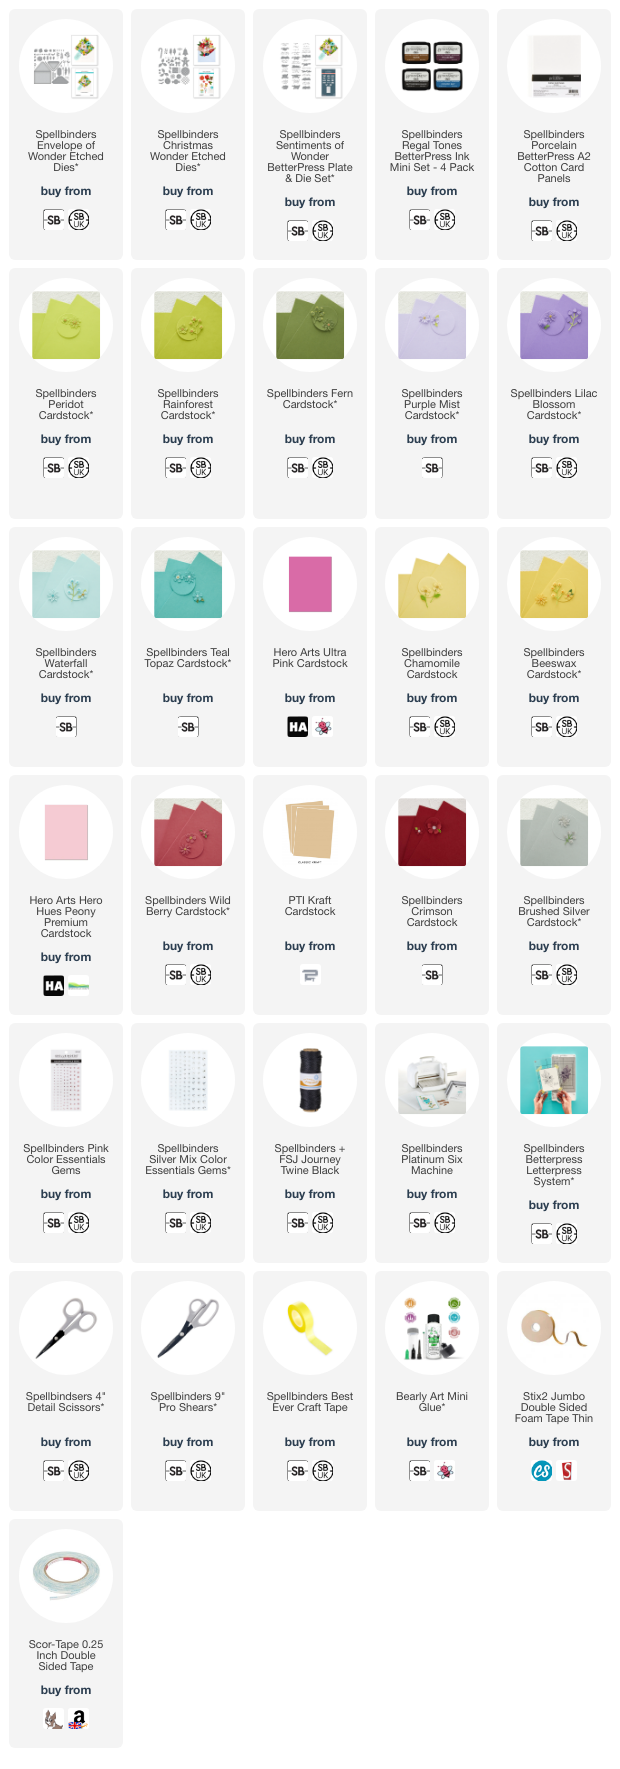
The first card uses the Spellbinders Envelope of Wonder Etched Dies. I created the envelope from white cardstock as above and then die cut all the flowers and leaves from Spellbinders Cardstock and Hero Arts Ultra Pink Cardstock. The flowers were assembled and adhered together using Bearly Art Glue. 


I first added the leaves and flowers to the back of the two sides and then arranged the ones at the front on top. The flowers were adhered with thin foam tape and the leaves with Bearly Art Glue. I wanted to keep a lot of the envelope showing, so I focussed on the two sides, rather than the middle. 


I took the sentiment from the Spellbinders Sentiments of Wonder Betterpress Plate & Die Set and pressed onto Spellbinders Porcelain Betterpress Card with Spellbinders Betterpress Black Ink and the Spellbinders Betterpress Letterpress System. It was cut out using the die in the Spellbinders Envelope of Wonder Etched Dies Set. I added twine through the tag shape and adhered it to the card with thin foam tape. To finish off, I added a few Spellbinders Silver Mix Color Essentials Gems. 


For my next card, I used the envelope from the Spellbinders Envelope of Wonder Etched Dies but decorated it with the Spellbinders Christmas Envelope of Wonder Etched Dies. I die cut the elements from Spellbinders Cardstock, Hero Arts Peony Cardstock and PTI Kraft Cardstock. 


The pieces were assembled and adhered using Bearly Art Glue. I then arranged them inside the envelope, adhering with a combination of Bearly Art Glue and thin foam tape. This time, I added more elements overlapping the bottom of the inside of the envelope to look like they are bursting out!


The sentiment from the Spellbinders Sentiments of Wonder Betterpress Plate & Die Set was pressed like the sentiment above, but this time, I die cut it out using the coordinating dies. I also die cut the die another two times from white cardstock and stacked them up for dimension. To finish off, I embellished with Spellbinders Pink Color Essentials Gems. 

SUPPLIES:


Here are the links to what I have used on the projects. Affiliate links are used on some products. This means that if you make a purchase after clicking on my link, I receive a small commission with no extra cost to you. I truly appreciate your support when using these links. Please click on the logo below the product to shop at your favourite store. All products were personally purchased except those from Clearly Besotted, Hero Arts or those marked with an asterisk (*) which were kindly sent to me to use. You can read my full disclosure here.


I was kindly sent these sets from Spellbinders to use, but I have purchased the autumn set myself as I love that one too! There is also a Halloween set as well. Thank you so much for stopping by today, I really appreciate it. I hope you have a wonderful weekend!

8 September 2023

Hero Arts | Hello There

Hello there, I hope you are well. I am over on the Hero Arts Blog today, sharing a card using the new Ginkgo Leaves Pattern Bold Prints that was released as part of the September 2023 My Monthly Hero release. Whilst Ginkgo leaves usually turn yellow in the autumn, I decided to go with a more warm autumnal colour palette for my card today. 

PLEASE NOTE: This post contains affiliate links. Please see below for my full disclosure.


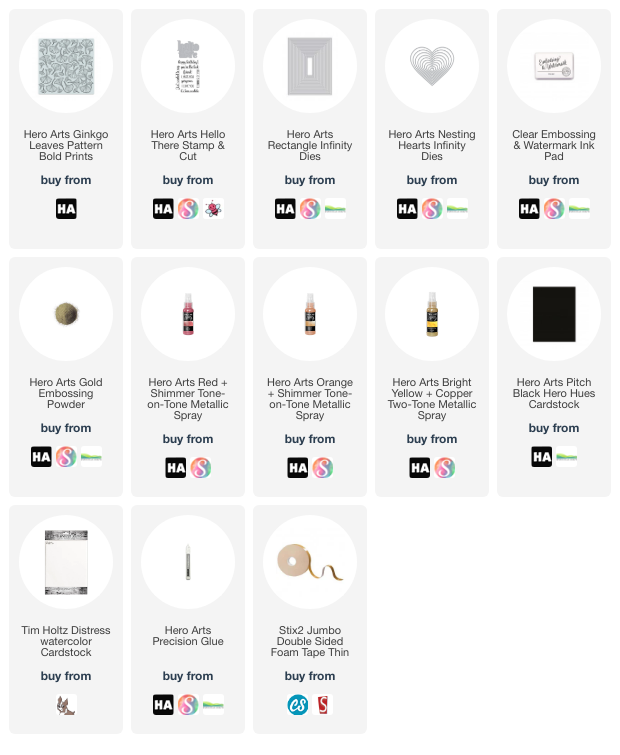
The sentiment from Hero Arts Hello There Stamp & Cut was die cut from Hero Arts Pitch Black Cardstock and I added a little heart on top using a scrap of the background. The panel was then adhered to a US A2 sized black card base with thin foam tape. 

SUPPLIES:


Here are the links to what I have used on the project. Affiliate links are used on some products. This means that if you make a purchase after clicking on my link, I receive a small commission with no extra cost to you. I truly appreciate your support when using these links. Please click on the logo below the product to shop at your favourite store. All products were personally purchased except those from Clearly Besotted, Hero Arts or those marked with an asterisk (*) which were kindly sent to me to use. You can read my full disclosure here.


For the more details on how I made the card, please head over to the Hero Arts blog post here. Thank you so much for stopping by today, I hope you have a great day! 

7 September 2023

Alex Syberia Designs | One Year Anniversary Blog Hop + Giveaway

Hello there, I am delighted to be joining Alex Syberia Designs today to celebrate their one year anniversary. I cannot believe it has been a year already since the first release! Today I have a card and tag to share with you using some products from the September 2023 release. 

PLEASE NOTE: This post contains affiliate links. Please see below for my full disclosure.


My projects are based around the new Thin Stripes Cover Die. This can be used to die cut a coordinating stamp set, or used on it's own to create stripes. I decided to try a different colour scheme than I usually would and I really like how it turned out!


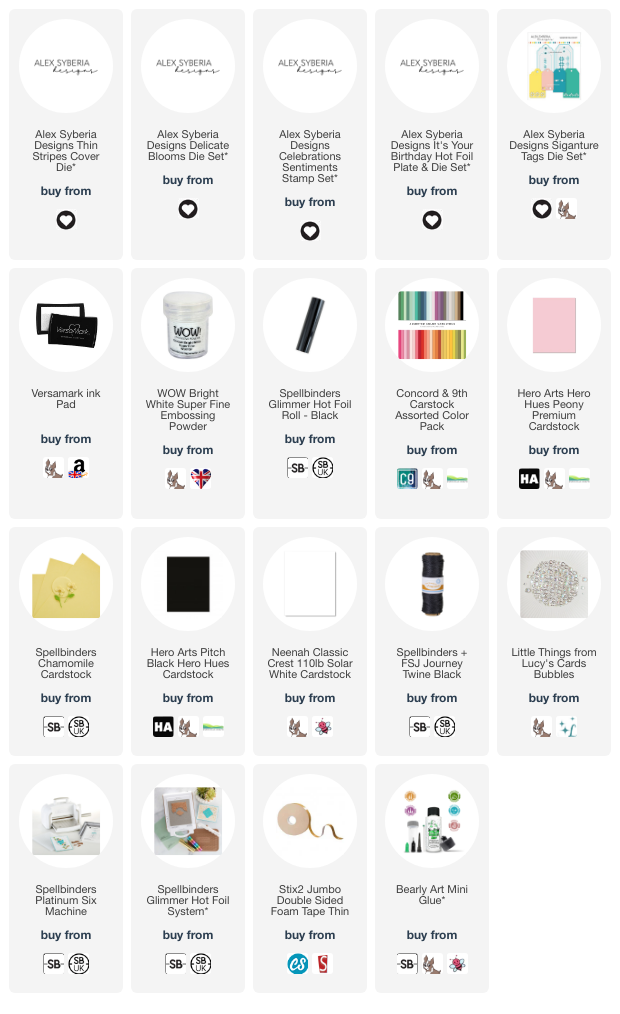
For the card, I started off by die cutting the Alex Syberia Designs Delicate Blooms Die Set from various shades of Concord & 9th Cardstock, as well as Hero Arts Peony Cardstock and Spellbinders Chamomile Cardstock. I created two larger flowers and one smaller. The leaves were die cut from Hero Arts Pitch Black Cardstock. 


The leaves were adhered to a panel of white cardstock first using Bearly Art Glue. The flowers were then assembled and adhered on top using thin foam tape. I took the Alex Syberia Designs Thin Stripes Cover Die and die cut it from Hero Arts Peony, C9 Dragonfruit, Spellbinders Chamomile, C9 Oceanside and C9 Peacock Cardstock. 


The stripes were adhered to the front of a US A2 sized white card base with Bearly Art Glue. The panel was adhered on top using thin foam tape. I stamped the Alex Syberia Designs Celebrations Sentiments Stamp Set onto Hero Arts Pitch Black Cardstock using Versamark Ink. I applied white embossing powder and heat set. It was cut out with the Alex Syberia Designs Thin Stripes Cover Die and adhered to the card with thin foam tape. To finish off, I added a few Bubbles embellishments. 


I had lots of stripes left over, so I thought I would make a coordinating tag. I die cut a tag from the Alex Syberia Designs Signature Tags Die Set from white cardstock. I then adhered the stripes on top and cut off the excess with scissors. 


I hot foiled the Alex Syberia Designs It's Your Birthday Hot Foil Plate & Die Set sentiment onto white cardstock using Spellbinders Black Glimmer Hot Foil and the Spellbinders Glimmer Hot Foil System. It was die cut out using the coordinating die. I cut the die another two times from white cardstock and adhered them together one on top of another for dimension, before adhering to the tag. To finish off, I added Spellbinders Black Twine through the top of the tag and tied in a bow. 

BLOG HOP:


This blog post is part of a fun blog hop with prizes. For the hop, you should have arrived here from Bonnie. I am the last in the hop, so if you want to start the hop from the beginning, please head over to the Alex Syberia Designs Blog. 

GIVEAWAY:


To celebrate their birthday, Alex Syberia Designs has collaborated with a ton of wonderful sponsors to give away a grand total of £800 ($1000) in prizes!

 Alex Syberia Designs: 5x £40 ($50) Gift Cards
Altenew : $50 Gift Card
Auzz Trinklets n crafts : $30AUD Gift Card
Crafty Purple Frog: £25 Gift Card
Dies to Die For : £25 Gift Card
Doeading : 50€ Gift Card (only for EU)
Gina K  : $100 Gift Card
Glitter and ink : $50 CAD Gift Card (only for Canada)
Jennifer McGuire Ink : 1 Share Handmade Kindness goodies bag -$75value
Kit & Clowder : $15 Gift Card
Mennys Bastelshop : 2x 20€ Gift Cards (EU)
Online Card Classes : 3 x free spots to any classes
Paper & i : $25 Gift Card (only for USA)
Pear Blossom press : $25 Gift Card
Scrap Shotz : $25 CAD Gift Card (only for Canada)
Seize the stamp : 2x CHF 25 Gift Cards
Simon Says Stamp : $100 Gift Card
SCT Magazine : $50 Gift Card
The Glitter Hubb : $25 CAD Gift Card
WOW Embossing : 2x $25 Gift Cards

Be sure to leave comments by midnight BST (UK time) on 18th September 2023, for a chance to win. Start your comment by telling us where you're from and what your favourite product is from this September Anniversary release.

All the winners will be chosen at random from the comments left on any of the posts in the blog hop, upcoming YouTube hop, and the three upcoming Instagram hops. Winners will be announced on the Alex Syberia Designs GIVEAWAY WINNERS PAGE on 18th September 2023. Make sure to check if you are a winner. Prizes not claimed within two weeks will be forfeited.

SUPPLIES:


Here are the links to what I have used on the projects. Affiliate links are used on some products. This means that if you make a purchase after clicking on my link, I receive a small commission with no extra cost to you. I truly appreciate your support when using these links. Please click on the logo below the product to shop at your favourite store. All products were personally purchased except those from Clearly Besotted, Hero Arts or those marked with an asterisk (*) which were kindly sent to me to use. You can read my full disclosure here.


I will have another card to share next week using another new product from the release. Thank you so much for stopping by today, I really do appreciate it. I hope you have a wonderful day! 

6 September 2023

Spellbinders | Boo-Licious Fall Cupcake

Hello there, today I have a card to share with you using the Spellbinders September 2023 Large Die of the Month Club Kit. The kit is called "Boo-Licious Fall Cupcake" and you can see why! Halloween not your thing but cupcakes are? There is an add-on set called Seasonal Cupcake Toppers that you can purchase to create cupcakes for all seasons! 

PLEASE NOTE: This post contains affiliate links. Please see below for my full disclosure.


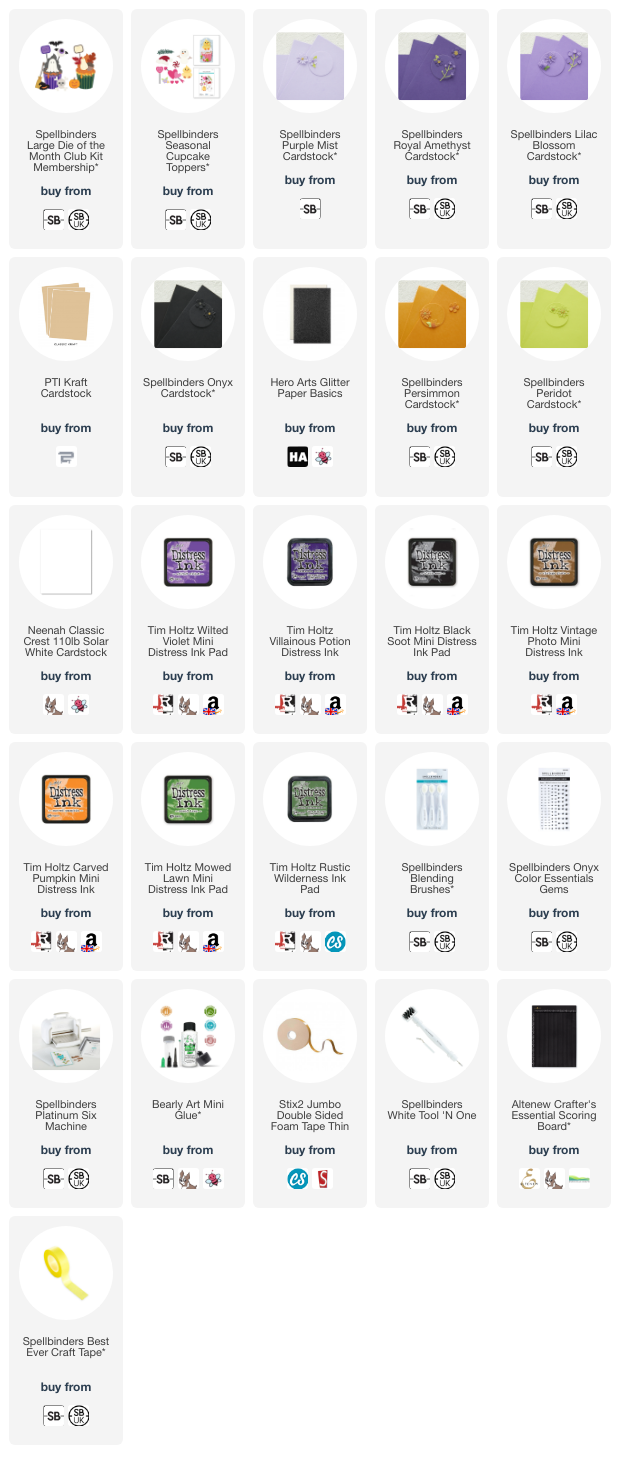
I started off my card by die cutting the elements from the Spellbinders September 2023 Large Die of the Month Club Kit from various shades of Spellbinders Cardstock (all linked in supplies list below). I added ink blending to the cupcake itself, the cupcake frosting, the pumpkin, band on the witch hat and 'boo' sign using Distress Inks and Ink Blending Brushes. I did also cut some of the black layers from black glitter cardstock for some added interest. 


I assembled and adhere the elements together using Bearly Art Glue. I took a panel of Spellbinders Peridot Cardstock and added ink blending around the edges using Mowed Lawn, Rustic Wilderness and Black Soot Distress Inks. I then added score lines using a score board and stylus. It was adhered to a US A2 sized white card base with thin foam tape. 


I adhered the cupcake on top with thin foam tape, followed by the sign and broomstick (using Bearly Art Glue for the sticks and thin foam tape for the other parts). The bat was adhered with more Bearly Art Glue. To finish off, I added a few Spellbinders Onyx Color Essentials Gems. 

SUPPLIES:


Here are the links to what I have used on the project. Affiliate links are used on some products. This means that if you make a purchase after clicking on my link, I receive a small commission with no extra cost to you. I truly appreciate your support when using these links. Please click on the logo below the product to shop at your favourite store. All products were personally purchased except those from Clearly Besotted, Hero Arts or those marked with an asterisk (*) which were kindly sent to me to use. You can read my full disclosure here.


SPELLBINDERS CLUB KITS

To buy the kit - if you are a current subscriber to the Large Die of the Month Club Kit (or any kit), you do not need to do anything. You will be charged as normal on the 5th of the month and your kit will be shipped to you. If you are a new subscriber, you can purchase the kit from the 6th - 27th of September 2023. Members can cancel their membership at any time.

There are lots of other club kits too, like the Small Die of the Month, Clear Stamp & Die of the Month, Embossing Folder of the Month (plus lots more!), so there is something for everyone! If you do subscribe, you will get other benefits from Spellbinders too. Please see here for more information. You can also buy older kits here too. 

Whilst I don't celebrate Halloween myself, this is a really fun set! And it is always a good day when you get to make a purple cupcake! Thank you so much for stopping by today, I really do appreciate it. I hope you have a wonderful day! 

5 September 2023

Hero Arts | My Monthly Hero September 2023 Release Blog Hop + Giveaway

Hello there and welcome as we celebrate the release of the Hero Arts September 2023 My Monthly Hero Kits and add-on products. The release this month is all about fall forest.

PLEASE NOTE: This post contains affiliate links. Please see below for my full disclosure.


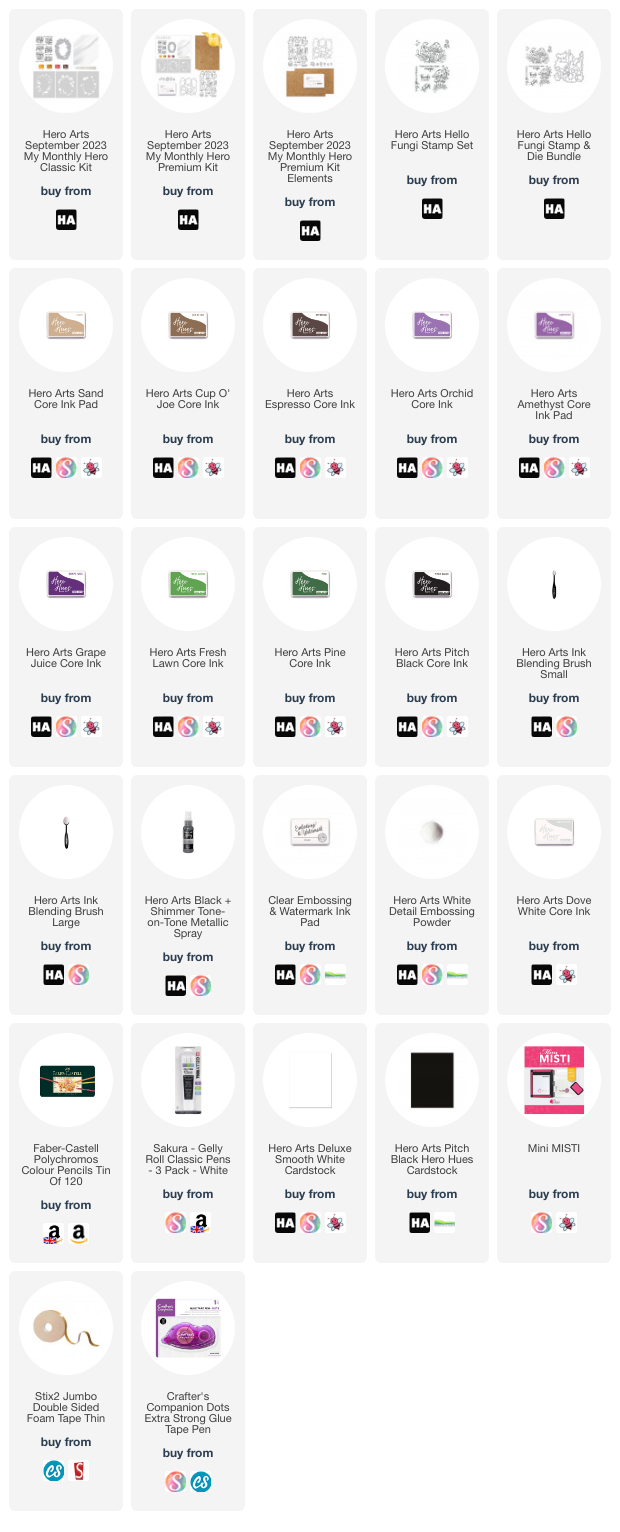
My first card uses the Hero Arts September 2023 My Monthly Hero Classic Kit. I started off my card by die cutting the fall window die from the kit onto a panel of Hero Arts Deluxe Smooth White Cardstock. I then took the Color Layering Stencils in the kit, placed them over the image and added ink blending to the images. 


I used Hero Arts Core Inks in Sand, Cup O' Joe and Espresso for the bottom of the mushrooms, pine cone and acorn. I used Orchid, Amethyst and Grape Juice for the mushroom tops, and Fresh Lawn and Pine for the leaves. I stamped a sentiment from the kit stamp set onto Hero Arts Pitch Black Cardstock using Hero Arts Clear Embossing & Watermark Ink. 


I applied Hero Arts White Detail Embossing Powder and heat set. It was cut into a strip. I took a white A2 sized card base and added ink blending to the front with Hero Arts Pitch Black Core Ink. I then splattered on a little Hero Arts Black + Shimmer Tone-on-Tone Metallic Spray. 


The window panel was adhered on top using thin foam tape, followed by the sentiment. To finish off, I added white gel pen dots to the mushrooms. 


My second card today uses the Hero Arts Hello Fungi Stamp Set, which is an add-on this month. I stamped the larger of the two images from the set onto a panel of Hero Arts Pitch Black Cardstock using Hero Arts Dove White Core Ink. 


The image was coloured using Polychromos Pencils (mushrooms - 177, 283, 199, 141, 249, 136, 138, 101. Leaves - 199, 267, 112, 171, 101. Flowers - 133, 125, 129, 101). I stamped the sentiment below the image using Hero Arts Clear Embossing & Watermark Ink. I applied Hero Arts White Detail Embossing Powder and heat set. 


The panel was adhered to a US A2 sized black card base with tape runner adhesive. To finish, I added a few white gel pen dots and sparkles. 

HERO ARTS MY MONTHLY HERO KITS:


4" x 6" Fall Messages Clear Stamp Set
 3 Color Layering Stencils
Coordinating Fall Window Die
4 Core Ink Cubes (Spicy Mustard, Caramel, Cherry, Espresso)
8 Clear Card Panels
Unicorn Lacquer Pen

The kit is valued at $73 but you can get it for $36.99 ($34.99 if you are a monthly subscriber, $32.99 if you subscribe for 6 months). 


4" x 6" Fall Messages Clear Stamp Set
 3 Color Layering Stencils
Coordinating Fall Window Die
4 Core Ink Cubes (Spicy Mustard, Caramel, Cherry, Espresso)
8 Clear Card Panels
Unicorn Lacquer Pen
4" x 6" Autumn Critters Clear Stamp Set
10 Coordinating Frame Cuts
6 Leaf Fancy Dies
Contour Ink Pad
2 Sheets Bronze Glitter Paper

The kit is valued at $107 but you can get it for $49.99 ($47.99 if you are monthly subscriber, $45.99 if you subscribe for 6 months).


You can also now purchase the Premium Kit Elements separately. This includes just the extra elements in the Premium Kit. It does not include the Classic Kit elements. 

ADD-ONS:

There are lots of add-on products released each month. These work alongside the kit, or work on their own too. These can be purchased from Hero Arts when you order a kit, on their own or from your favourite Hero Arts retailer (these are not exclusive (unlike the kit) and are restocked if sold out). Here is a look at them:

BLOG HOP:

This post is part of a fun, inspirational blog hop with prizes. For the hop, you should have arrived here from the fantastic Lydia. Next on the hop is the amazing Mindy. If you get lost along the hop, or want to start it from the beginning, please head over to the Hero Arts Blog. 

GIVEAWAY:

Hero Arts are giving away a $50 gift card to the Hero Store, drawn from the comments left across all the stops in the hop. Enter by 10th September 2023 at 11.59pm PT. The winner will be announced on the Hero Arts Blog the following week. 

SUPPLIES:


Here are the links to what I have used on the projects. Affiliate links are used on some products. This means that if you make a purchase after clicking on my link, I receive a small commission with no extra cost to you. I truly appreciate your support when using these links. Please click on the logo below the product to shop at your favourite store. All products were personally purchased except those from Clearly Besotted, Hero Arts or those marked with an asterisk (*) which were kindly sent to me to use. You can read my full disclosure here.


Thank you so much for stopping by today, I really do appreciate it. I hope you have a wonderful time on the rest of the hop and a great rest of the day too! 

3 September 2023

Hero Arts | September 2023 My Monthly Hero Countdown to Creativity

Hello there and welcome as we countdown to the release of the Hero Arts September 2023 My Monthly Hero Kit (and add-on products). We are here all weekend sharing inspiration using both the Classic and Premium Kits before the release on Tuesday, 5th September. This month is all about fall forest. 

PLEASE NOTE: This post contains affiliate links. Please see below for my full disclosure.


My card today uses the September 2023 My Monthly Hero Premium Kit. The images on my card are part of the premium kit elements only and the sentiment is from the classic (also in the premium). 


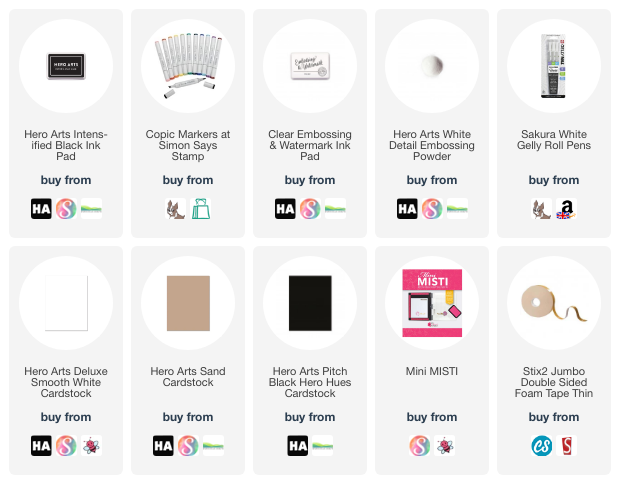
I started off by stamping the images from the Dancing Foxy Animals stamp set onto white cardstock using Intens-ified Black Ink. I coloured them with Copic Markers before die cutting out with the coordinating dies. I wasn't a 100% sure what the animal was, but I coloured him as if he is a bear!


I then took the sentiment from the message stamp set in the kit (both classic and premium) and stamped it onto Pitch Black Cardstock using Clear Embossing & Watermark Ink. I applied White Detail Embossing Powder and heat set. It was cut into a strip. 


I took a panel of Sand Cardstock and adhered it to the front of a US A2 sized white card base with thin foam tape. I then adhered the bear, pumpkins, leaves and sentiment on top using thin foam tape. To finish off, I added a few white gel pen dots. 

SUPPLIES:


Here are the links to what I have used on the project. Affiliate links are used on some products. This means that if you make a purchase after clicking on my link, I receive a small commission with no extra cost to you. I truly appreciate your support when using these links. Please click on the logo below the product to shop at your favourite store. All products were personally purchased except those from Clearly Besotted, Hero Arts or those marked with an asterisk (*) which were kindly sent to me to use. You can read my full disclosure here.


COPIC MARKERS: Bear - E49, E59, E57, E55. Jacket - V09, V17, V15, V12. Pumpkins - YR27, YR24, YR18, YR16, YR15/G28, G24, G28. Leaves - YR27, YR24, YR23/R39, R37, R35/G28, G24, Y82. 

Please head over to the Hero Arts Blog for more inspiration using the kits and be sure to leave a comment over there too, for a chance to win a kit! Thank you so much for stopping by today, I really do appreciate it. Wishing you a great rest of the weekend! 

2 September 2023

Simon Says Stamp | STAMPtember 2023 Party

Hello there, I am delighted to be joining Simon Says Stamp today for their STAMPtember 2023 Party! Loads of designers have come together to celebrate STAMPtember, which kicked off yesterday. 

If you are new to STAMPtember, it is a month long celebration of all things crafty. There are releases, collaborations, giveaways, parties and lots of fun!

For today's party, each designer has a prize/promotion to share, so be sure to stop off at as many party guests you can to find all the prizes! More on that below. 

PLEASE NOTE: This post contains affiliate links. Please see below for my full disclosure.


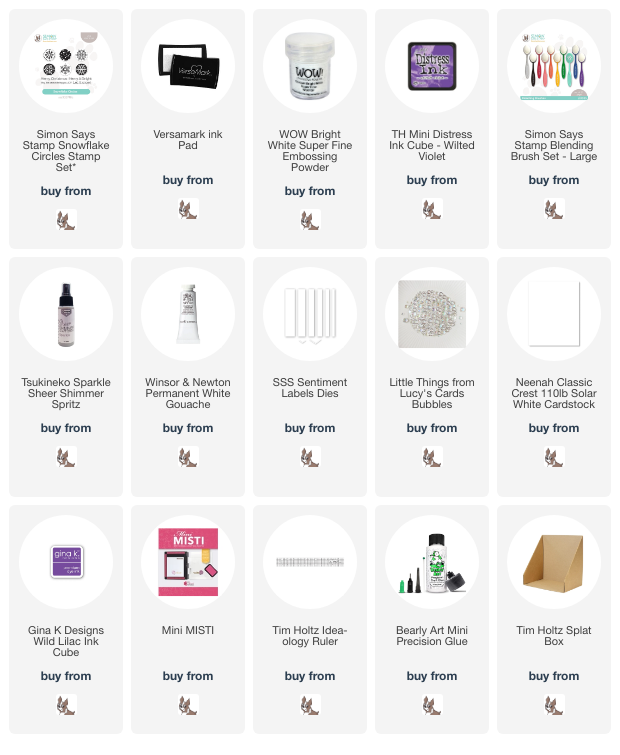
For my card today I am using the new Simon Says Stamp Snowflake Circles Stamp Set. There is also a coordinating die set, that cuts out the circles but I don't have that, so simply used the set on it's own. It is a really versatile one! I stamped the snowflakes from the set onto a panel of white cardstock using Versamark Ink. I applied white embossing powder and heat set. 

Using an Ink Blending Brush, I blended on Tim Holtz Wilted Violet Distress Ink. Focussing the darker colour towards the top of the panel. I then cut the panel into a fishtail banner shape using a ruler and craft knife. I took the panel to my Splat Box and splattered on Tsuekineko Sparkle Sheer Shimmer Spritz and Permanent White Gouache. 

It was set aside to dry before adhering to a US A2 sized white card base with thin foam tape. I heat embossed the sentiment onto white cardstock and then added Wilted Violet ink on top, direct to paper. It was cut into two strips and adhered to the card with more thin foam tape. To finish off, I added a few Iridescent Bubbles. 

I thought I would add a little finishing touch to the envelope too, by simply stamping one of the circle images onto the flap of a Gina K Wild Lilac Envelope using Gina K Wild Lilac Ink. I think these circle images would be great for quick and easy gift tags as well. 

PARTY TIME!

As mentioned, this is a fun party and you are all invited! It is also a scavenger hunt of sorts as you need to find all of the different prizes/promotions. All of the participants in the party today are listed over on the Simon Says Stamp Blog. Visit their blogs/Instagram to find the prizes! My prize/promotion to you is:


SUPPLIES:


Here are the links to what I have used on the project. Affiliate links are used on some products. This means that if you make a purchase after clicking on my link, I receive a small commission with no extra cost to you. I truly appreciate your support when using these links. Please click on the logo below the product to shop at your favourite store. All products were personally purchased except those from Clearly Besotted, Hero Arts or those marked with an asterisk (*) which were kindly sent to me to use. You can read my full disclosure here.


Thank you so much for stopping by today, I really appreciate it. I hope you enjoy the party and have a great rest of the day too!  

End of code