18 January 2023

Hero Arts | Non-Traditional Valentine

Hello there, I am over on the Hero Arts Blog today sharing a non-traditional Valentine's Day card. I also like that this could be used all year round to send to a loved one. 

PLEASE NOTE: This post contains affiliate links. Please see below for my full disclosure.


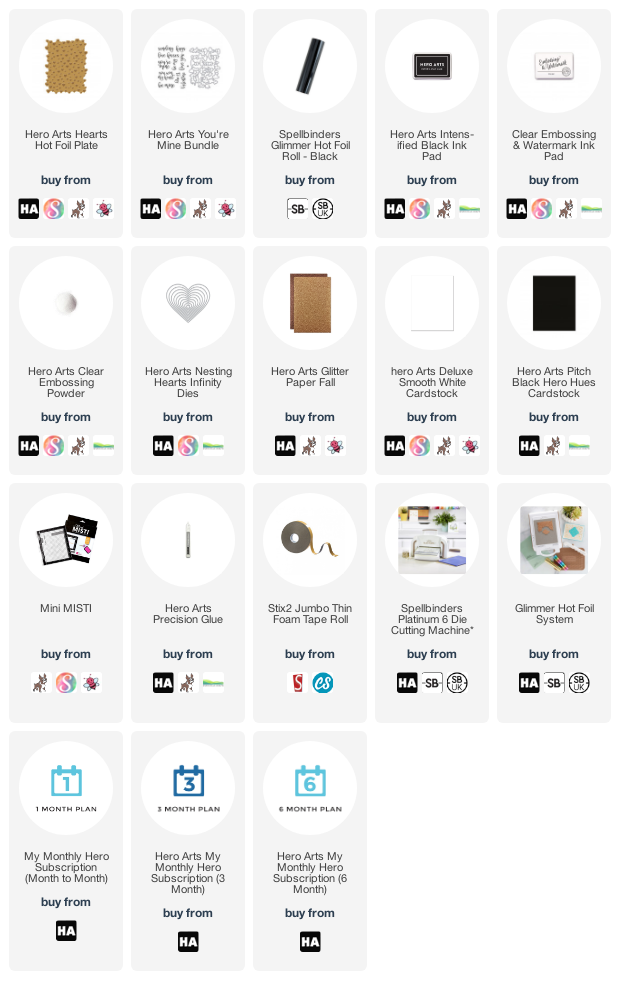
I foiled the Hero Arts Hearts Hot Foil Plate onto white cardstock with black foil. It was cut into a panel and adhered to a slightly bigger panel of copper glitter paper from the Hero Arts Glitter Paper Fall pack. They were then adhered to an US A2 sized black card base with thin foam tape. The sentiment is from the Hero Arts You're Mine set. 

SUPPLIES:


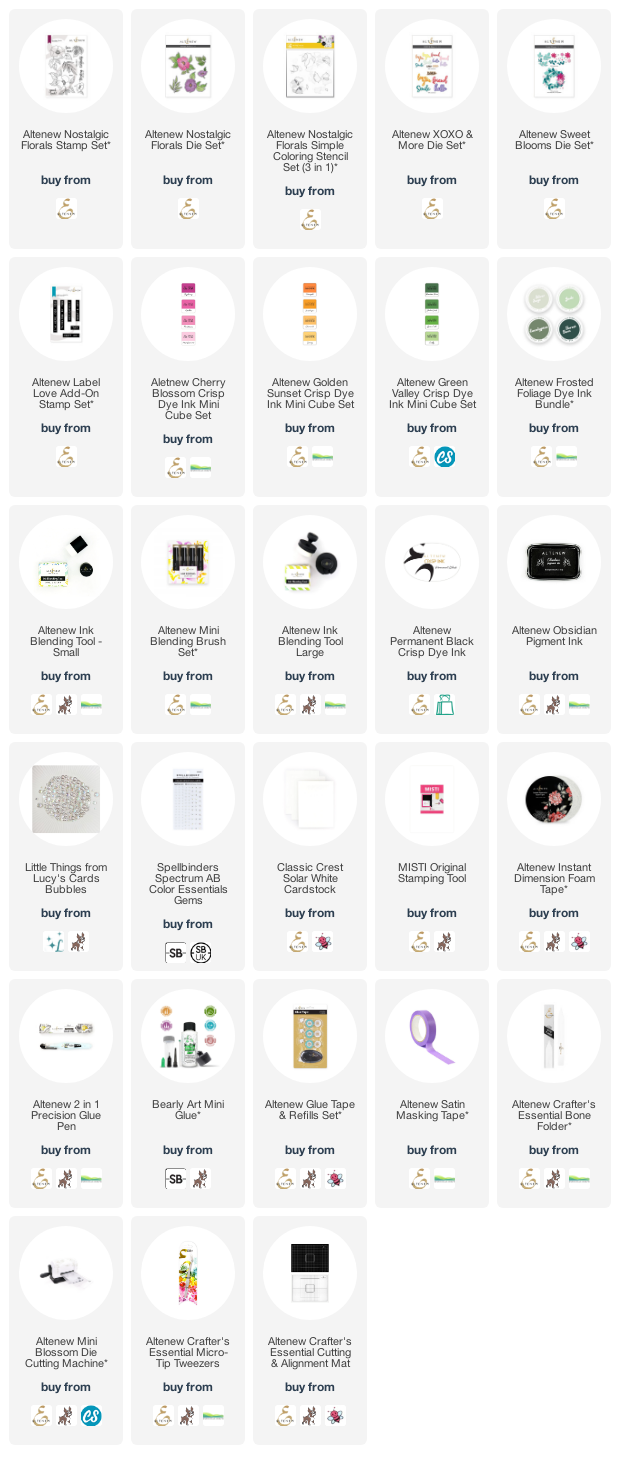
Here are the links to what I have used on the project. Affiliate links are used on some products. This means that if you make a purchase after clicking on my link, I receive a small commission with no extra cost to you. I truly appreciate your support when using these links. Please click on the logo below the product to shop at your favourite store. All products were personally purchased except those from Clearly Besotted, Hero Arts or those marked with an asterisk (*) which were kindly sent to me to use. You can read my full disclosure here.

For more information on how I made the card, please head over to the Hero Arts blog. Before I go, I wanted to tell you about the new Hero Arts Premium My Monthly Hero kit. 


Hero Arts are launching the new premium edition of the My Monthly Hero kits in February (alongside the 'normal' MMH kit). The premiums kits include additional elements for more creative opportunities! If you are a current subscriber (or sign up this month), you will receive the February 2023 premium kit at no extra cost. 

Thank you so much for stopping by today, I really do appreciate it. I hope you have a wonderful day! 

17 January 2023

Altenew | January 2023 Marvelous Monthly Series Release Blog Hop + Giveaway

Hello there, I am delighted to be joining Altenew today to celebrate the release of the January 2023 Marvelous Monthly Series. Releasing today are Build-A-Garden: Grand Carnations, Craft-A-Flower: Orchids, Craft Your Life Project Kit: Meadow Breeze, Mini Delight: Wildly Loved, Paint-A-Flower: Carefree Delight and Spark Joy: Fluttering Butterflies. 

PLEASE NOTE: This post contains affiliate links. Please see below for my full disclosure.

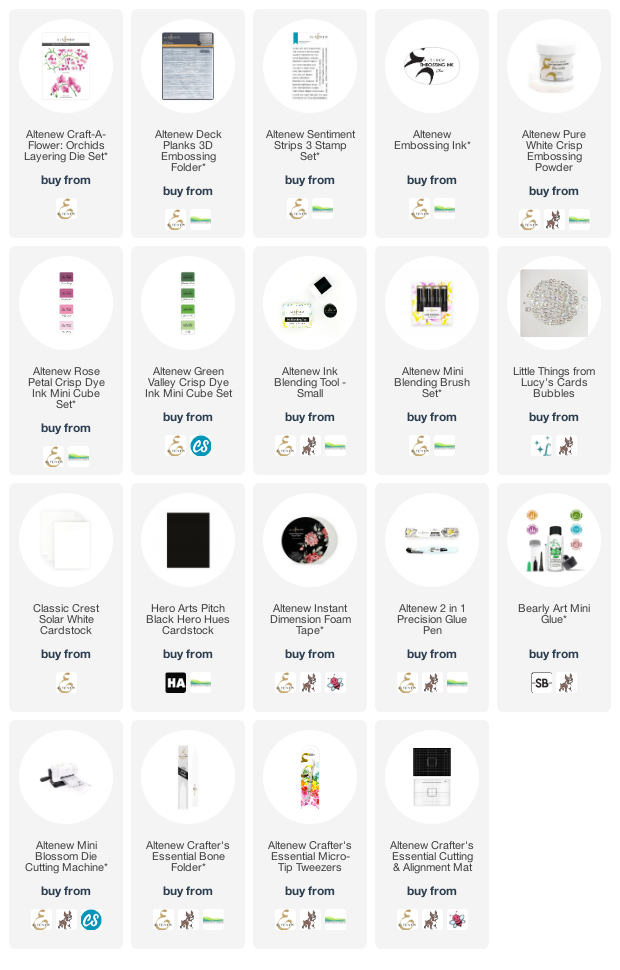
My card today uses the Craft-A-Flower: Orchids Layering Die Set. This includes the flower petals and three different stems. There are also extra flower centres for you to pick and choose. 

I started off by die cutting the Altenew Craft-A-Flower: Orchids Layering Die Set from white cardstock. I then added ink blending to the flowers using Altenew Rose Petal Crisp Dye Inks Collection (the three darkest shades) with Altenew Small Ink Blending Tools and Mini Ink Blending Brushes. For the stem, I used Altenew Green Valley Crisp Dye Inks (the two lightest shades).

The flowers were assembled/layered and adhered with Altenew 2 in 1 Precision Glue Pen. I ran a panel of cardstock through my die cutting machine inside the Altenew Deck Planks 3D Embossing Folder and then adhered it to a US A2 sized white card base with Altenew Instant Dimension Foam Tape

The stem was adhered on top with glue, followed by the flowers with more foam tape. I stamped the sentiment from the Altenew Sentiment Strips 3 Stamp Set on to black cardstock with Altenew Embossing Ink. I applied Altenew Pure White Crisp Embossing Powder and heat set. It was cut into a strip and added to the card with more foam tape. To finish off, I added a few Bubbles embellishments. 

SUPPLIES:


Here are the links to what I have used on the project. Affiliate links are used on some products. This means that if you make a purchase after clicking on my link, I receive a small commission with no extra cost to you. I truly appreciate your support when using these links. Please click on the logo below the product to shop at your favourite store. All products were personally purchased except those from Clearly Besotted, Hero Arts or those marked with an asterisk (*) which were kindly sent to me to use. You can read my full disclosure here.


BLOG HOP:

This post is part of a fun, inspirational blog hop with prizes. Please click on the links below below for all the stops in the hop. 

You are invited to the Inlinkz link party!

Click here to enter

GIVEAWAY:

$300+ in total prizes! To celebrate this release, Altenew is giving away a FULL RELEASE BUNDLE to 1 grand prize winner and a $25 gift certificate to 4 winners! Please leave a comment on the Altenew Card Blog and/or each designer’s blog post on the blog hop list below by January 22, 2023 for a chance to win.


Altenew will draw 5 random winners from the comments left on each stop of this blog hop and announce the winners on the Altenew Winners Page on January 24, 2023. *The grand prize winner will be chosen from comments left on the Altenew Card Blog.

Thank you so much for stopping by today, I really do appreciate it. I hope you have a great time on the rest of the hop and a wonderful rest of the day! Take care! 

13 January 2023

Spellbinders | Showered with Love

Hello there, I am over on the Spellbinders blog today sharing three projects using the new Spellbinders Showered with Love Collection by Vicky Papaioannou. This is such a fun and beautiful collection, perfect for lots of occasions. 

PLEASE NOTE: This post contains affiliate links. Please see below for my full disclosure.


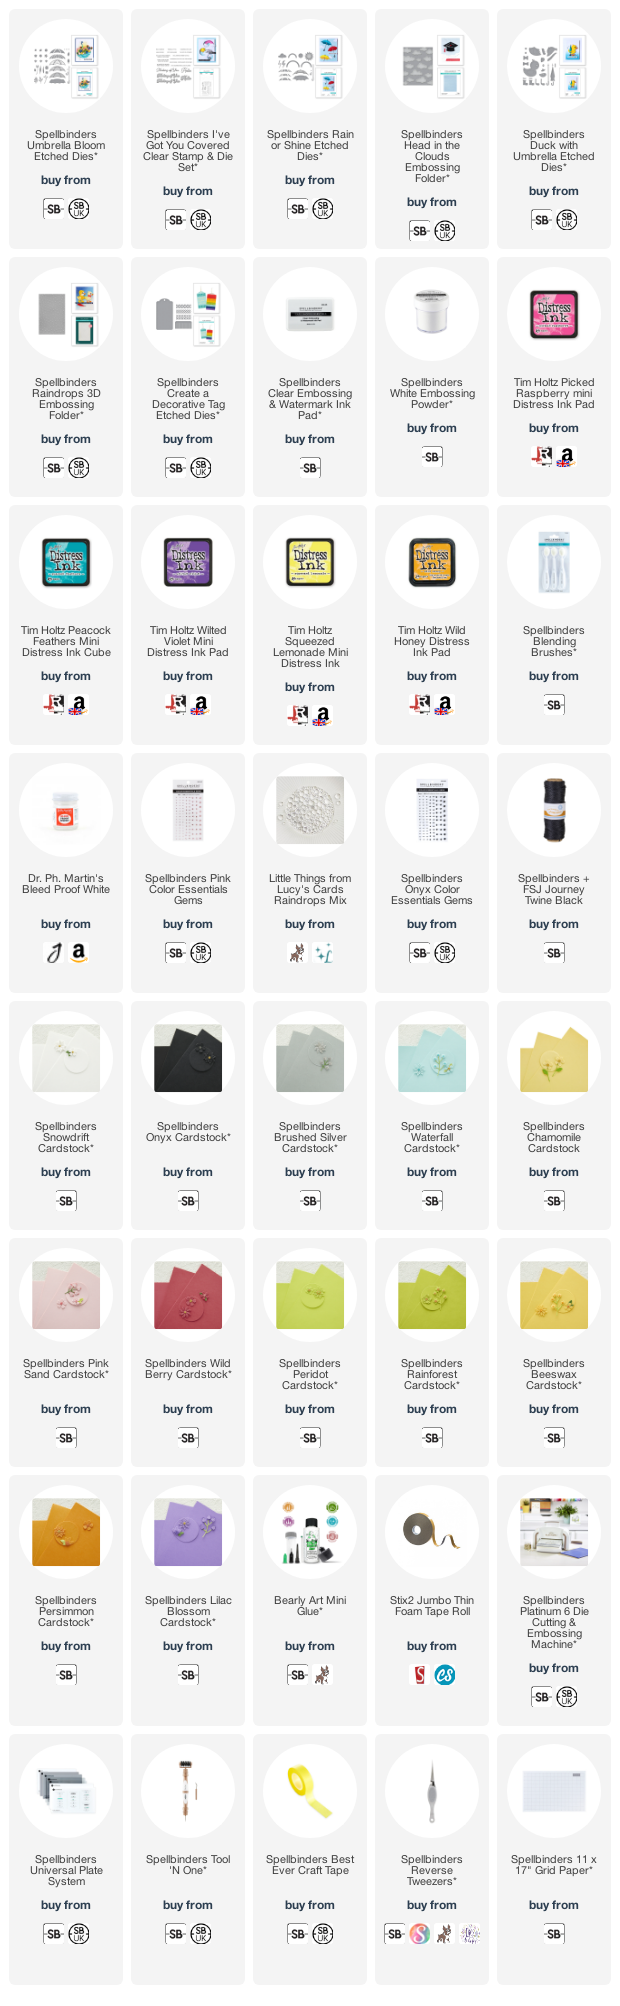
My first project (left) uses the beautiful Umbrella Bloom set. This is a wonderful set where you can add flowers into the umbrella. I wanted to keep that the focus of the card, so I just added a little Distress Ink for the background. The sentiment is from the I've Got You Covered set. 

The second card (top right) uses the Rain or Shine Etched Dies set. This set can be used in so many different ways but for today, I went with a CAS rainbow scene. I used the Up in the Clouds Embossing Folder for a subtle background and the sentiment is from the I've Got You Covered set as well. 

The tag (bottom right) uses the super cute Duck with Umbrella set. You can dress him/her with a raincoat, hat and wellies if you want to - so cute! I simply have him sitting on the sentiment from the I've Got You Covered set and the background uses the Raindrops 3D Embossing Folder

SUPPLIES:


Here are the links to what I have used on the projects. Affiliate links are used on some products. This means that if you make a purchase after clicking on my link, I receive a small commission with no extra cost to you. I truly appreciate your support when using these links. Please click on the logo below the product to shop at your favourite store. All products were personally purchased except those from Clearly Besotted, Hero Arts or those marked with an asterisk (*) which were kindly sent to me to use. You can read my full disclosure here.


For more details on how I made the projects, please head over to the Spellbinders blog post HERE. Thank you so much for stopping by today, I really appreciate it. I hope you have a wonderful day!

10 January 2023

Spellbinders | Anemone Blooms Glimmer

Hello there, today I have two projects to share with you using the new Anemone Blooms Collection by Yana Smakula for Spellbinders, which is out today. The collection is stunning and features two anemone blooms - one die and one foiling. There are also lots of sentiment sets - foiling and dies. I am using three sets today and will share more using the other sets later in the month. 

PLEASE NOTE: This post contains affiliate links. Please see below for my full disclosure.


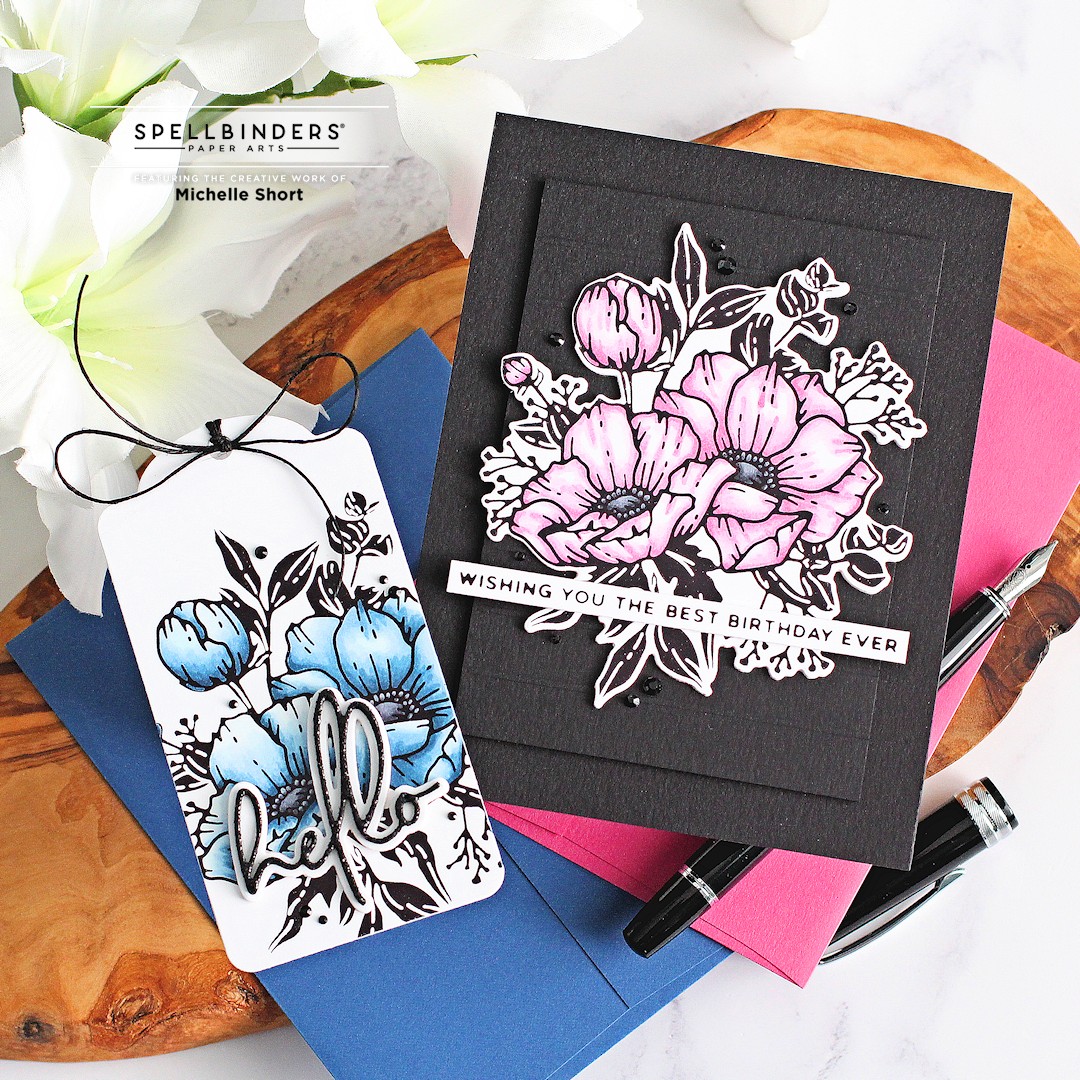
My card an tag today feature the Anemone Blooms Glimmer Hot Foil Plate & Die Set. This is such a stunning image that can be used in lots of different ways. 


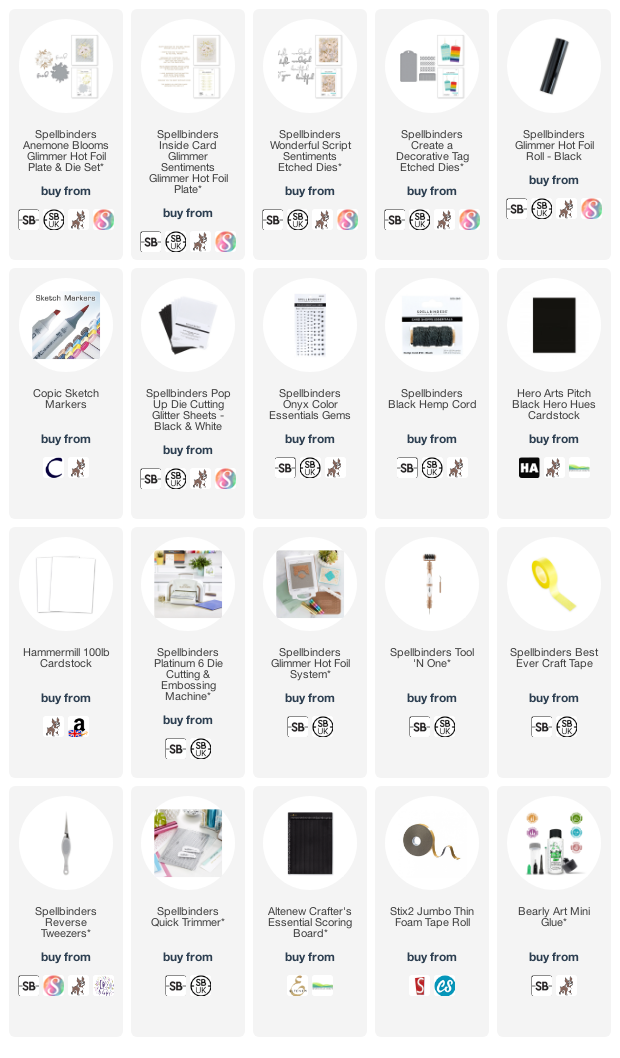
For the card, I started off by foiling the Spellbinders Anemone Blooms Glimmer Hot Foil Plate & Die Set onto Hammermill Cardstock using Spellbinders Black Glimmer Hot Foil Roll and the Spellbinders Glimmer Hot Foil System. I then coloured the image using Copic Markers (the colours that I used will be listed below the supplies area). 


It was die cut out with the coordinating die. Since I find hammermill a little lightweight, I die cut it again and adhered it to the back for added stability and dimension. I took a panel of black cardstock and scored horizontal lines into it. It was adhered to a US A2 sized black card base with thin foam tape. I then adhered the image on top with Bearly Art Glue.


I took the sentiment from the Spellbinders Inside Card Glimmer Sentiments Glimmer Hot Plate set and foiled it onto more white cardstock with black foil. It was cut into a strip and adhered to the card with thin foam tape. To finish off, I embellished with Spellbinders Onyx Color Essentials Gems


You know me, I couldn't resist creating a tag too, so I foiled the Spellbinders Anemone Blooms Glimmer Hot Foil Plate & Die Set onto Hammermill Cardstock again and then die cut it out using the Spellbinders Create a Decorative Tag Etched Dies. I again cut another tag to add to the back for stability. 


I coloured the image with Copic Markers. I then die cut the hello sentiment from the Spellbinders Wonderful Script Sentiments Etched Dies three times from white cardstock for the shadow and then once from Spellbinders Pop-Up Die Cutting Glitter Sheets in black for the actual word die. 


They were adhered together with Bearly Art Glue and then added to the tag. To finish off, I embellished with Spellbinders Onyx Color Essentials Gems and then added Spellbinders Black Hemp Cord through the top of the tag and tied in a bow. 

SUPPLIES:


Here are the links to what I have used on the projects. Affiliate links are used on some products. This means that if you make a purchase after clicking on my link, I receive a small commission with no extra cost to you. I truly appreciate your support when using these links. Please click on the logo below the product to shop at your favourite store. All products were personally purchased except those from Clearly Besotted, Hero Arts or those marked with an asterisk (*) which were kindly sent to me to use. You can read my full disclosure here.


COPIC MARKERS: Pink petals - RV66, RV55, RV52, RV000. Blue petals - B99, B97, B95, B93, B91, B000. Flower centres - C10, C7, C6. 

Unfortunately the photos of my card and tag do not do this collection justice (thanks rainy English weather!), it really is stunning in real-life! Thank you so much for stopping by today, I really do appreciate it. I hope you have a lovely day! 

9 January 2023

Hero Arts | My Monthly Hero January 2022 Release Blog Hop + Giveaway

Hello there and welcome as we celebrate the release of the Hero Arts January 2023 My Monthly Hero Kit and add-on products. I have already shared a card here using the kit and today, I have another card using the kit and also a card using a couple of the add-on products.

PLEASE NOTE: This post contains affiliate links. Please see below for my full disclosure.


This month's My Monthly Hero release, is all about Valentine's Day and love, but a lot of the products can be used for other occasions too. 


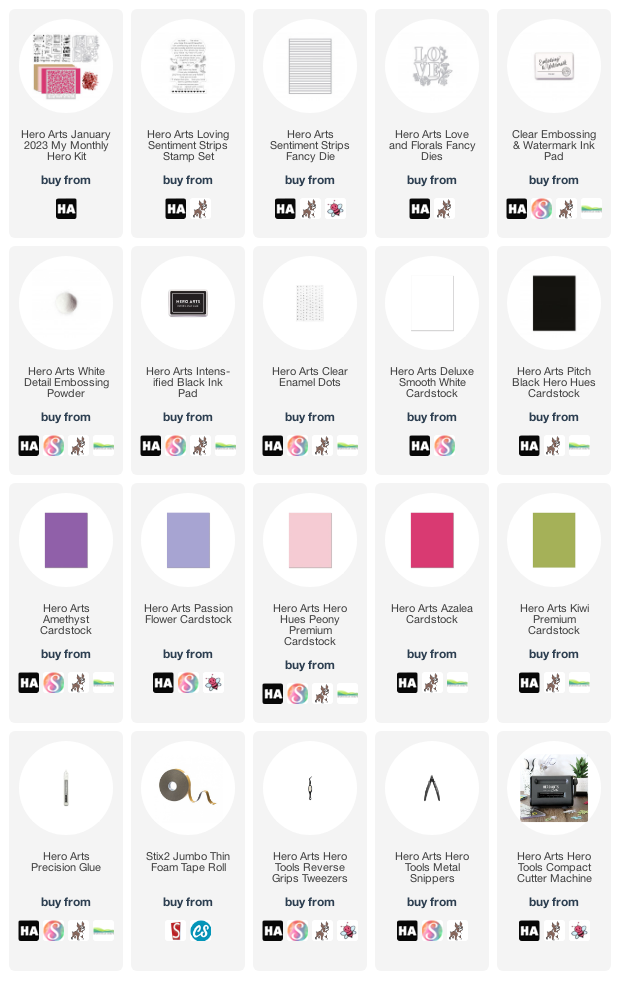
I started off my first card by taking a panel of Hero Arts Deluxe Smooth White Cardstock and stamping the XOXO stamp from the Hero Arts January 2023 My Monthly Hero Kit stamp set on top, using Hero Arts Intens-ified Black Ink. I then die cut three hearts from the kit dies using purple cardstock. I used Hero Arts Amethyst Cardstock for the large heart and Hero Arts Passion Flower Cardstock for the smaller ones. 


Using removeable adhesive, I placed the hearts on the panel and then stamped them again. I moved the XOXO stamp to the side and stamped again. This time I removed the hearts and stamped on the panel. This is so that the hearts have the stamping on, as well as the panel itself so that I can line them back up afterwards for an eclipse look. 


I extended the stamping to either side of the panel and then die cut three further hearts and stacked them up, adhering with Hero Arts Precision Glue. They were placed on top of the panel, lining up with the stamping. The panel was then adhered to a US A2 white card base with thin foam tape. 


I took the sentiment from the Hero Arts Loving Sentiment Strips Stamp Set (the sentiments are attached together in two big stamps so that you can stamp and die cut all in one go) and stamped it on to Hero Arts Pitch Black Cardstock with Hero Arts Clear Embossing & Watermark Ink. I applied Hero Arts White Detail Embossing Powder and heat set. It was cut using the Hero Arts Sentiment Strips Fancy Die and adhered to the card with thin foam tape. 


My second card uses the new Hero Arts Love and Florals Fancy Dies, which is an add-on product this month. I started off by die cutting the LOVE letters onto/into a panel of Hero Arts Deluxe Smooth White Cardstock. I then die cut the flowers from Hero Arts Cardstock in Peony, Azalea and Kiwi


I cut the different pieces apart so that I could layer them up to create colourful flowers. You could just cut them from one colour of cardstock but I liked the different colours and it did not take that long to do. 


I added thin foam tape on to the back of the panel and adhered a piece of Hero Arts Passion Flower Cardstock behind it. It was then adhered to a US A2 sized white card base. The flowers were popped inside the letters and adhered with Hero Arts Precision Glue
 

I took the 'together forever' sentiment that was stamped and cut from the previous card using the Hero Arts Loving Sentiment Strips Stamp Set and adhered it on top with thin foam tape. To finish off, I added a few Hero Arts Clear Enamel Dots.
 

SUPPLIES:


Here are the links to what I have used on the projects. Affiliate links are used on some products. This means that if you make a purchase after clicking on my link, I receive a small commission with no extra cost to you. I truly appreciate your support when using these links. Please click on the logo below the product to shop at your favourite store. All products were personally purchased except those from Clearly Besotted, Hero Arts or those marked with an asterisk (*) which were kindly sent to me to use. You can read my full disclosure here.


MY MONTHLY HERO KIT:


With Valentine's Day right around the corner, the January My Monthly Hero kit celebrates the "perfect match". The centerpiece of this kit is dies to create a faux matchbox, which lies flat on your card or project and can be decorated and filled with the numerous stamps and dies included in the kit. But don't stop there, let your imagination go wild with all of the possibilities this kit contains! Use the images on their own, build repeating patterns, or add them to planner pages, journals, and more! There is a beautiful stencil included, perfect for backgrounds or mixed media projects. The kit is rounded out with a pack of fun heart-themed sequins and five sheets of gorgeous cardstock.

KIT CONTENTS:

6" x 8" Clear Stamp Set
2 Coordinating Frame Cuts
18 Fancy Dies
6" x 6" Heart-Shaped Daisies Stencil
3 Sheets Kraft Cardstock (5.5" x 8.5")
1 sheet of each Azalea and Peony Cardstock (5.5" x 8.5")
Love Mix Sequins

The Hero Arts January 2023 My Monthly Hero Kit is valued at $77 but you can get it for $34.99 (approximately £28 depending on exchange rate, not including VAT/customs charges). The kits are exclusive to the Hero Arts store and often sell out quickly. You can subscribe here so that you never miss a kit. Kits begin shipping 13th January 2023.  

ADD-ONS:

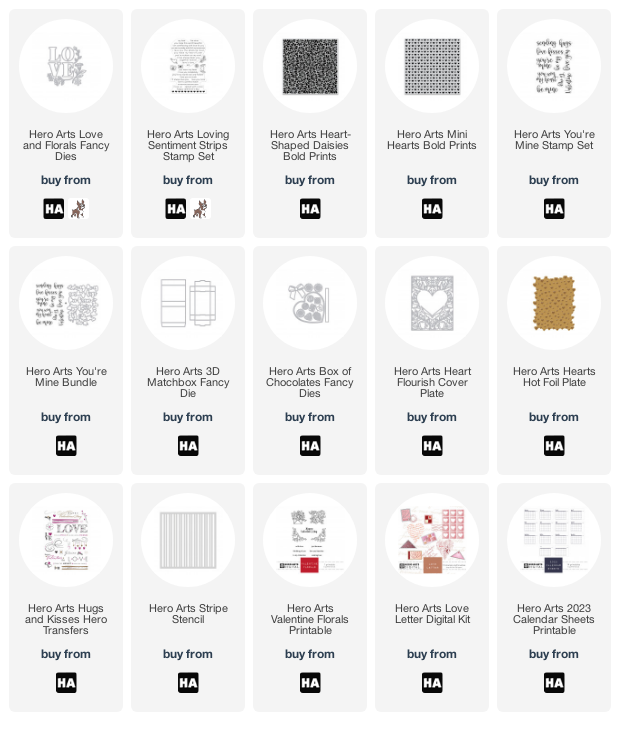
There are lots of add-on products released each month. These work alongside the kit, or work on their own too. These can be purchased from Hero Arts when you order a kit, on their own or from your favourite Hero Arts retailer (these are not exclusive and are restocked if sold out). Here is a look at them:

BLOG HOP:

This post is part of a fun, inspirational blog hop with prizes. For the hop, you should have arrived here from the fabulous Maria. Next on the hop is the fantastic Mindy. If you get lost along the way, or want to start the hop from the beginning, please head over to the Hero Arts Blog

GIVEAWAY:

Hero Arts are giving away a $50 gift card drawn from the comments left across all of the stops in the hop. Enter by 15th January 2023 at 11.59pm PT. The winner will be announced the following week on the Hero Arts Blog.

Thank you so much for stopping by today, I really do appreciate it. I hope you have a lovely time on the rest of the hop and a great rest of the day! Take care! 

VIDEO | MFT Circle Friendship Card

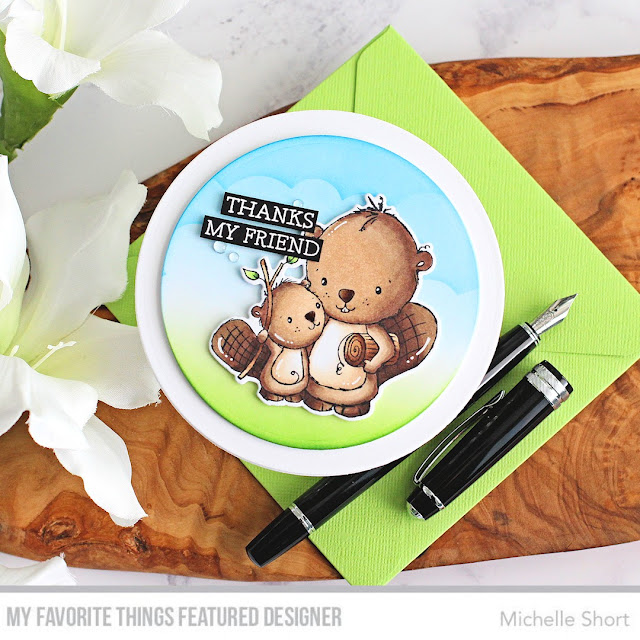
Hello there, I am over on the My Favorite Things YouTube Channel today sharing a circle friendship card. I really like making circle cards and I thought the image that I used today fitted nicely with the shape. 


PLEASE NOTE: This post contains affiliate links. Please see below for my full disclosure.


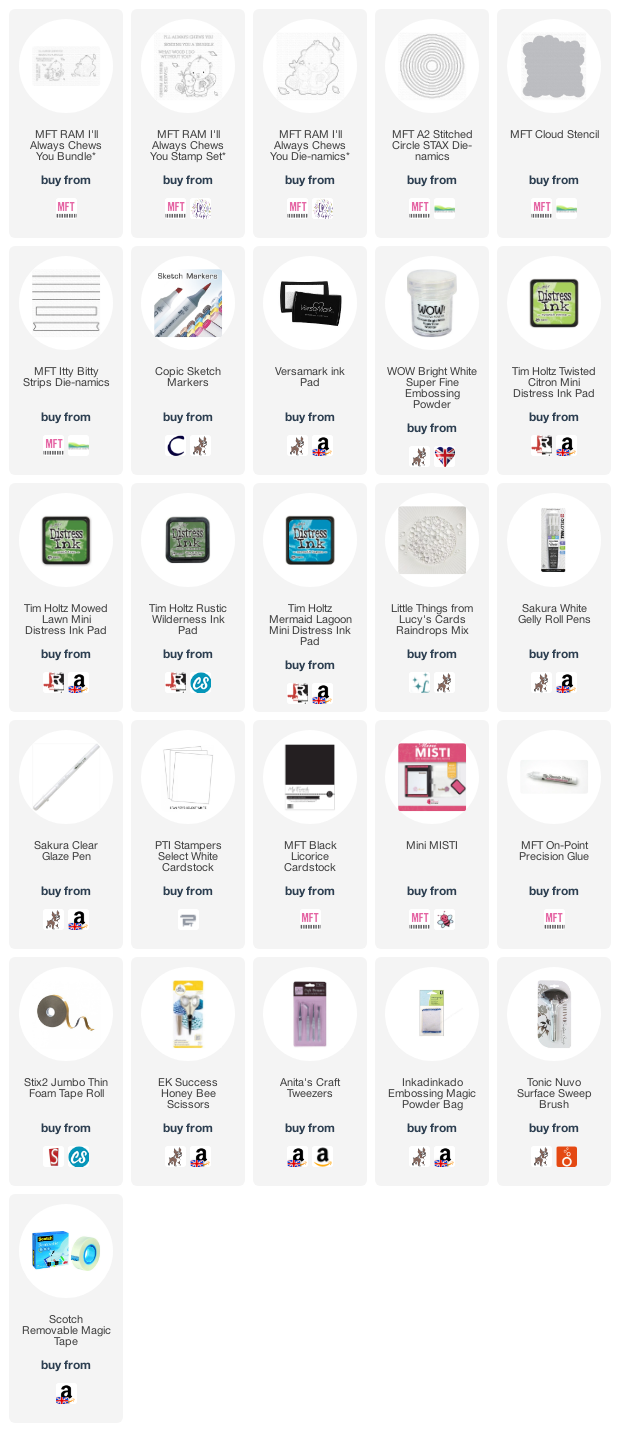
I started off by stamping the image from the MFT RAM I'll Always Chews You Stamp Set onto white cardstock with black ink. I then coloured the image using Copic Markers (the colours that I used are listed below the supplies area). It was die cut out using the MFT RAM I'll Always Chews You Die-namics and set aside.

I die cut a 3.5" circle from white cardstock using MFT A2 Circle STAX Die-namics and then added ink blending on top for a sky and grass. I used Tim Holtz Distress Inks in Twisted Citron, Mowed Lawn and Rustic Wilderness for the grass and Mermaid Lagoon for the sky. 

I placed the MFT Cloud Stencil on top and blended in a couple of clouds for some added interest. The image was adhered on top with thin foam tape. I then die cut the 4" circle die from a top folding A2 card base (so that the fold was intact) to make a circle card base. I am not too keen on the fold showing at the top, so I cut an additional circle layer to pop on top. The image panel was then adhered with more thin foam tape.

I took the sentiment from the set and stamped it on to black cardstock with Versamark Ink. I applied white embossing powder and heat set. It was cut into strips using MFT Itty Bitty Strips Die-namics. They were adhered to the card with thin foam tape. To finish off, I added white gel pen highlights and then clear glaze pen to their noses. I also added some Raindrops around the sentiments. 

VIDEO:

Here is the video showing how I made the card:

If you are viewing this blog post via email subscription, you can watch the video HERE on YouTube. 

SUPPLIES:


Here are the links to what I have used on the project and in the video. Affiliate links are used on some products. This means that if you make a purchase after clicking on my link, I receive a small commission with no extra cost to you. I truly appreciate your support when using these links. Please click on the logo below the product to shop at your favourite store. All products were personally purchased except those from Clearly Besotted, Hero Arts or those marked with an asterisk (*) which were kindly sent to me to use. You can read my full disclosure here.


COPIC MARKERS: Beavers - E49, E47, E44, E43, E42, E41, 0, R01.Branch/log - E59, E57, E55. Leaves - G29, YG17, YG23, YG01. 

Thank you so much for stopping by today, I really do appreciate it. I will be back later with another post but in the mean-time, I hope you have a wonderful day! 

6 January 2023

Hero Arts | January 2023 My Monthly Hero Countdown to Creativity

Hello there and welcome as we countdown to the release of the Hero Arts January 2023 My Monthly Hero Kit. This month is called Matchbox Valentine's and as the name suggests, is perfect for Valentine's Day but can also be used for other occasions too. The kit releases on Monday 9th January and we will be sharing projects using it all weekend long. 

PLEASE NOTE: This post contains affiliate links. Please see below for my full disclosure.


For my card today, I wanted to focus on some of the accompanying dies in the kit. These work alongside the matchbox theme of the kit but also on their own too. I started off by die cutting the dove and envelope and letter dies from Hero Arts Deluxe Smooth White Cardstock twice. I then also cut them from Hero Arts Amethyst Cardstock


I cut the purple pieces apart using scissors, so that I could adhere them on top of the white die cuts. I also adhered the white die cuts two high for some added dimension. I took a US A2 sized white card base and stamped the sentiment from the kit stamp set on top with Hero Arts Intens-ified Black Ink


I adhered the envelope and letter first, using Hero Arts Precision Glue. The dove was then added with thin foam tape and Precision Glue. I die cut the smallest of the Hero Arts Nesting Hearts Infinity Dies from more Amethyst Cardstock and layered it up so that it was two layers high before adhering to to the card. To finish off, I added Hero Arts Clear Lacquer Pen to the hearts. 

SUPPLIES:


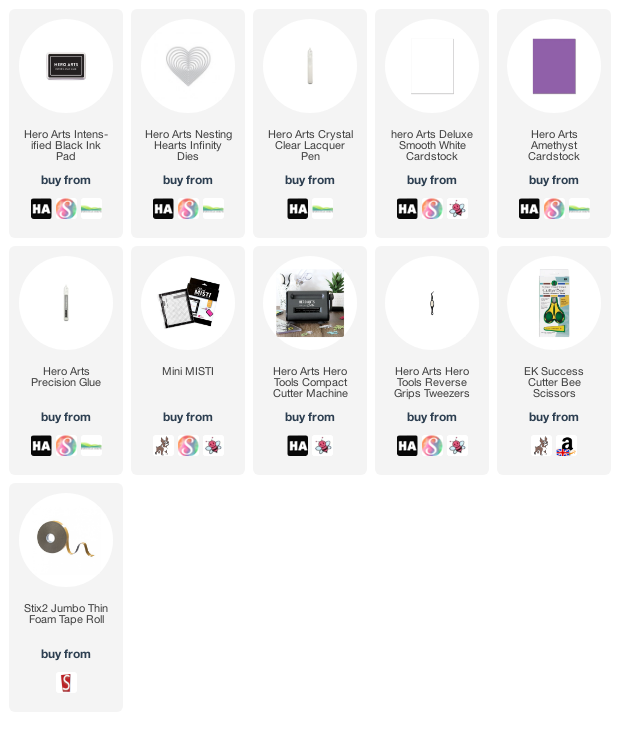
Here are the links to what I have used on the project. Affiliate links are used on some products. This means that if you make a purchase after clicking on my link, I receive a small commission with no extra cost to you. I truly appreciate your support when using these links. Please click on the logo below the product to shop at your favourite store. All products were personally purchased except those from Clearly Besotted, Hero Arts or those marked with an asterisk (*) which were kindly sent to me to use. You can read my full disclosure here.


For more inspiration using the kit, please head over to the Hero Arts Blog. Be sure to leave a comment over there too, for a chance to win a kit! Thank you so much for stopping by today, I really do appreciate it. I hope you have a wonderful day and a great weekend! 

5 January 2023

Spellbinders | Club Blooms

Hello there, I am delighted to be continuing working with Spellbinders this year as part of the Clubs Influencer Program. I will once again be working with the Large Die of the Month Club Kit. Although there are lots of other kits available and some new ones this year too, like the stitching club and the 3D embossing folder club, I really like the large die club and I am excited to continue with it. 

PLEASE NOTE: This post contains affiliate links. Please see below for my full disclosure.


This month's Spellbinders Large Die of the Month Club Kit is called Club Blooms and you can see why! The kit is filled with gorgeous flowers and foliage that can be used in so many different ways. 


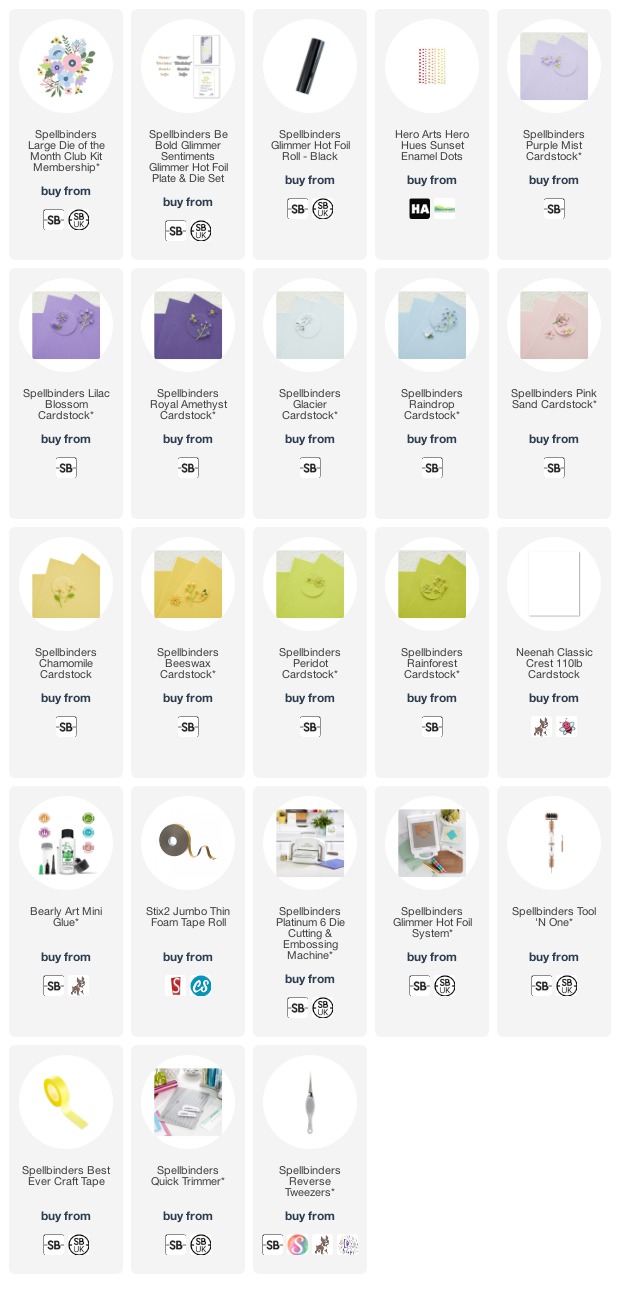
I started off by die cutting the flowers from the kit (a lot of these can be layered up for different looks) from Spellbinders Cardstock in blues, purples and pink. The flower centres use Spellbinders Chamomile and Beeswax Cardstock. I then cut the foliage using Spellbinders Peridot and Rainforest Cardstock. 


I took a panel of cardstock and added horizontal scored lines on to it (not really that visible in the photos but do add a slight extra touch in real life) and then started arranging the flowers and foliage on top, adhering with Bearly Art Glue. The panel was then adhered to a US A2 sized white card base with thin foam tape. 


I took the sentiment from the Spellbinders Be Bold Glimmer Sentiments Hot Foil Plate & Die Set and foiled it on to white cardstock using Spellbinders Black Foil with the Spellbinders Glimmer Hot Foil System. I then die cut it out with the coordinating die and and adhered it to the card with more thin foam tape and Bearly Art Glue. To finish off, I added yellow enamel dots to the centres of the flowers. 

SUPPLIES:


Here are the links to what I have used on the project. Affiliate links are used on some products. This means that if you make a purchase after clicking on my link, I receive a small commission with no extra cost to you. I truly appreciate your support when using these links. Please click on the logo below the product to shop at your favourite store. All products were personally purchased except those from Clearly Besotted, Hero Arts or those marked with an asterisk (*) which were kindly sent to me to use. You can read my full disclosure here.


SPELLBINDERS CLUB KITS

I hope that you will check out the Spellbinders Club Kits. It is a wonderful monthly subscription where you receive the kit each month. Designers like myself share inspiration using the kit at the beginning of the month to show you lots of different ways that you can use it. 

There are also lots of other club kits too, like the Small Die of the Month and Clear Stamp & Die of the Month (plus lots more!), so there is something for everyone! If you do subscribe, you will get other benefits from Spellbinders too. Please see here for more information. You can also buy older kits here too. 

If you do want to get hold of this month's kit, you would need to subscribe by 27th January 2023 to receive it. Subscribers can cancel their membership at any time. 

3 January 2023

Altenew | January 2023 Nostalgic Memories Release Blog Hop #1 + Giveaway

Hello there and welcome to the first of two blog hops to celebrate the Altenew January 2023 Nostalgic Memories release. There are lots of products releasing today - stamps, dies and stencils. I have two cards to share with you today using a few of them. More details on the hop and giveaway below. 

PLEASE NOTE: This post contains affiliate links. Please see below for my full disclosure.


My first card uses the beautiful new Nostalgic Florals stamp, dies and stencils. I started off by stamping the image from the Altenew Nostalgic Florals Stamp Set on to white cardstock using Altenew Permanent Black Ink. I then placed the Altenew Nostalgic Florals Simple Coloring Stencil Set over the top and added ink blending using Altenew Small Ink Blending Tools and Altenew Mini Ink Blending Brushes


The flower petals are blended with Altenew Cherry Blossom Crisp Dye Inks, the centre uses Altenew Golden Sunset Crips Dye Inks and the leaves use Altenew Green Valley Crisp Dye Inks. The image was then die cut using the Altenew Nostalgic Florals Die Set

I took a panel of white cardstock and masked off the top edges using Altenew Satin Masking Tape. I blended on the same pink inks that I used for the flower, removed the tape and adhered the panel to a US A2 sized white card base with tape runner adhesive. 


The flower was adhered on top with Altenew Instant Dimension Foam Tape. I took the sentiment from the Altenew XOXO & More Die Set and cut the word and shadow from white cardstock. The word itself was ink blended and then stacked up three layers high on to the shadow piece. It was adhered to the card and then to finish off, I added a few Iridescent Bubbles. 


My next card uses the new Altenew Sweet Blooms Die Set. This is such a pretty set that can be used in so many different ways. I first die cut lots of the leaves and the mini flowers from white cardstock. I added in blending to the leaves using Altenew Frosted Foliage Fresh Dye Ink


I took a US A2 sized white card base and adhered the leaves to the card in a circle shape to create  a wreath. I then added the flowers on top, followed by teeny gems to the centres. 


I took the sentiment from the new Altenew Label Love Add-On Stamp Set and stamped it on to white cardstock using Altenew Obsidian Pigment Ink. It was cut into a strip and added to the card with foam tape. 

SUPPLIES:


Here are the links to what I have used on the projects. Affiliate links are used on some products. This means that if you make a purchase after clicking on my link, I receive a small commission with no extra cost to you. I truly appreciate your support when using these links. Please click on the logo below the product to shop at your favourite store. All products were personally purchased except those from Clearly Besotted, Hero Arts or those marked with an asterisk (*) which were kindly sent to me to use. You can read my full disclosure here.


BLOG HOP:


For the blog hop, you should have arrived here from the fabulous Mindy Eggen. Next on the hop is the amazing Caly Person. If you get lost along the way, please head over to the Altenew Blog. Ypu can click the links below to go to the stops in the hop:

You are invited to the Inlinkz link party!

Click here to enter

GIVEAWAY:

$300 in total prizes! To celebrate this release, Altenew is giving away a *$100 gift certificate to 1 lucky winner and a $20 gift certificate to 10 winners! Please leave a comment on the Altenew Card Blog and/or each designer’s blog post on the blog hop list below by 8th January 2023 for a chance to win. Altenew will draw 11 random winners from the comments left on each stop of this blog hop and announce the winners on the Altenew Winners Page on 9th January 2023.*The winner of the $100 gift certificate will be chosen from comments left on the Altenew blog. 


Thank you so much for stopping by to see me today, I really do appreciate it. I hope you have a wonderful time on the rest of the hop and a great day! Take care! 
1 January 2023

VIDEO | Clearly Besotted January 2023 Release Preview

Hello there and happy New Year to you and happy Clearly Besotted release day too! I am back today to share the Clearly Besotted January 2023 release with you. There are seven new sets releasing today that can be used for lots of different occasions - love, Valentine's, friendship, birthday's ... the list goes on! 

PLEASE NOTE: This post contains affiliate links. Please see below for my full disclosure.


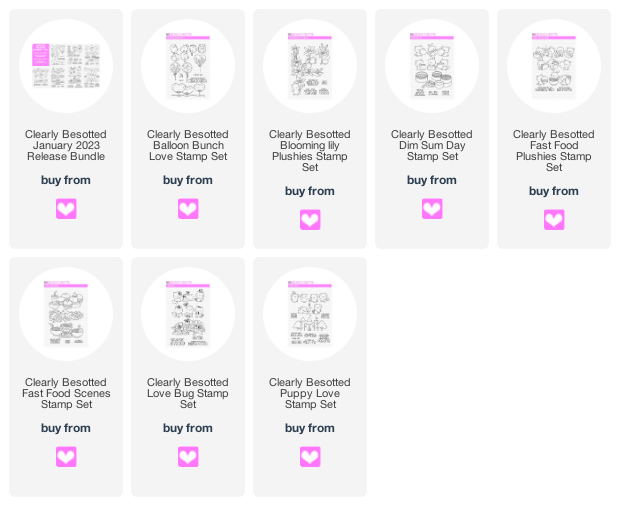
The seven new sets release tonight at 8pm GMT (UK time). You can purchase them as a bundle, exclusively from Clearly Besotted. If you buy the bundle, you receive a 15% saving compared to purchasing the sets separately, plus free gifts of a sentiment stamp set, a stencil and 6 sheets of patterned paper.  Here is a look at the bundle:


You can also purchase the sets individually from the Clearly Besotted Shop (UK based), Simon Says Stamp (US based), Butterfly Reflections Ink (US based), Artcreatiu (based in Spain), Cloud9 Crafts (Netherlands), Card Nouveau (Belgium) and Kreativbunt (Germany). Here is a look at all of the sets up close and a recap of my projects:


If you are viewing this blog post via email subscription, you can watch the video HERE on YouTube. 

SUPPLIES:


Here are the links to what I have shared in the video. Affiliate links are used on some products. This means that if you make a purchase after clicking on my link, I receive a small commission with no extra cost to you. I truly appreciate your support when using these links. Please click on the logo below the product to shop at your favourite store. All products were personally purchased except those from Clearly Besotted, Hero Arts or those marked with an asterisk (*) which were kindly sent to me to use. You can read my full disclosure here.


For more inspiration using the new sets, please head over to the Clearly Besotted Blog and my amazing teamie Keren. We also have the fabulous Kitty, Francine and Alberto joining us too, so please do check out what they have been up to as well. Thank you so much for stopping by today, I really do appreciate it. 

I wish you all an amazing year filled with lots of love, happiness and joy. Oh and some crafting would be good too! ;) 
End of code