6 September 2022

Hero Arts | My Monthly Hero September 2022 Release Blog Hop + Giveaway

Hello there and welcome to the Hero Arts September 2022 My Monthly Hero Release Blog Hop + Giveaway. Both the kit and add-ons are now available in store to purchase. The release this month is called 'Fall Bouquet' and features lots of beautiful fall/autumnal flowers and foliage. I have two cards to share with you today - one using the main kit and the other with one of the add-on products. 

PLEASE NOTE: This post contains affiliate links. Please see below for my full disclosure.


I already shared one card using the main kit, which you can see here. For my card today, I wanted to share a completely different way of using it which involves no colouring but still lots of colour!


I die cut it using the coordinating Frame Cut in the kit and then set it aside to work on my card base. 


I first cut strips of Hero Arts Cardstock in Canary, Papaya, Pumpkin, Cherry and Cranberry and adhered them to a US A2 sized white card base with Hero Arts Precision Glue. The excess was then cut off of the sides using scissors. 


I stamped the sentiment from the kit stamp set on to Hero Arts Pitch Black Cardstock using Hero Arts Clear Embossing & Watermark Ink, applied Hero Arts White Embossing Powder and heat set. It was die cut in to a strip and adhered to the vellum image using foam tape. 

I then added tape runner adhesive on the back of the vellum piece, behind where the sentiment strip is, as well as tiny dots of Precision Glue, just over the thicker areas of the embossing. It was then adhered to the card. 


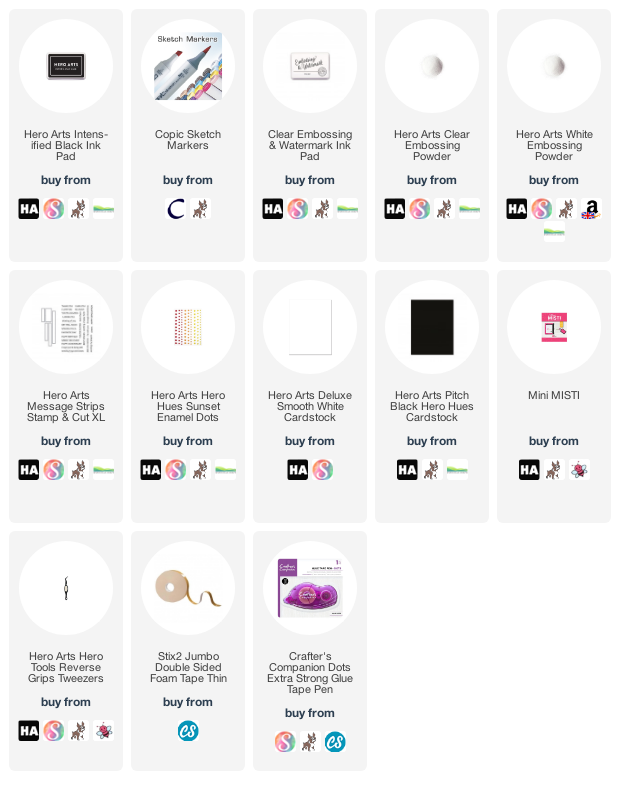
My second card uses the beautiful Hero Arts Artichoke Arrangement Stamp & Die Bundle. I had never really come across artichokes being used in floral arrangements before, so I Googled it and oh my goodness! some of the bouquets are stunning! I saw some artichokes that were mainly purple, with just a tiny bit of green, so I coloured mine like that on the image. 

I stamped the image using Hero Arts Intens-ified Black Ink. Once the image was coloured with Copic Markers, it was die cut using the coordinating Frame Cut. 


I took a panel of white cardstock and masked off the outside edges. Using Hero Arts Ink Blending Brushes, I blended Hero Arts Reactive Inks inside. I used Thistle, Grape Slush and Purple Galaxy

The panel was then adhered to a US A2 sized white card base with tape runner adhesive. The artichoke arrangement was adhered on top with thin foam tape. 


I stamped the sentiment from the set on to Hero Arts Pitch Black Cardstock using Hero Arts Clear Embossing & Watermark Ink. I applied Hero Arts White Embossing Powder and heat set. I then fussy cut it out using scissors before adhering it to the card using more thin foam tape. 

SUPPLIES:


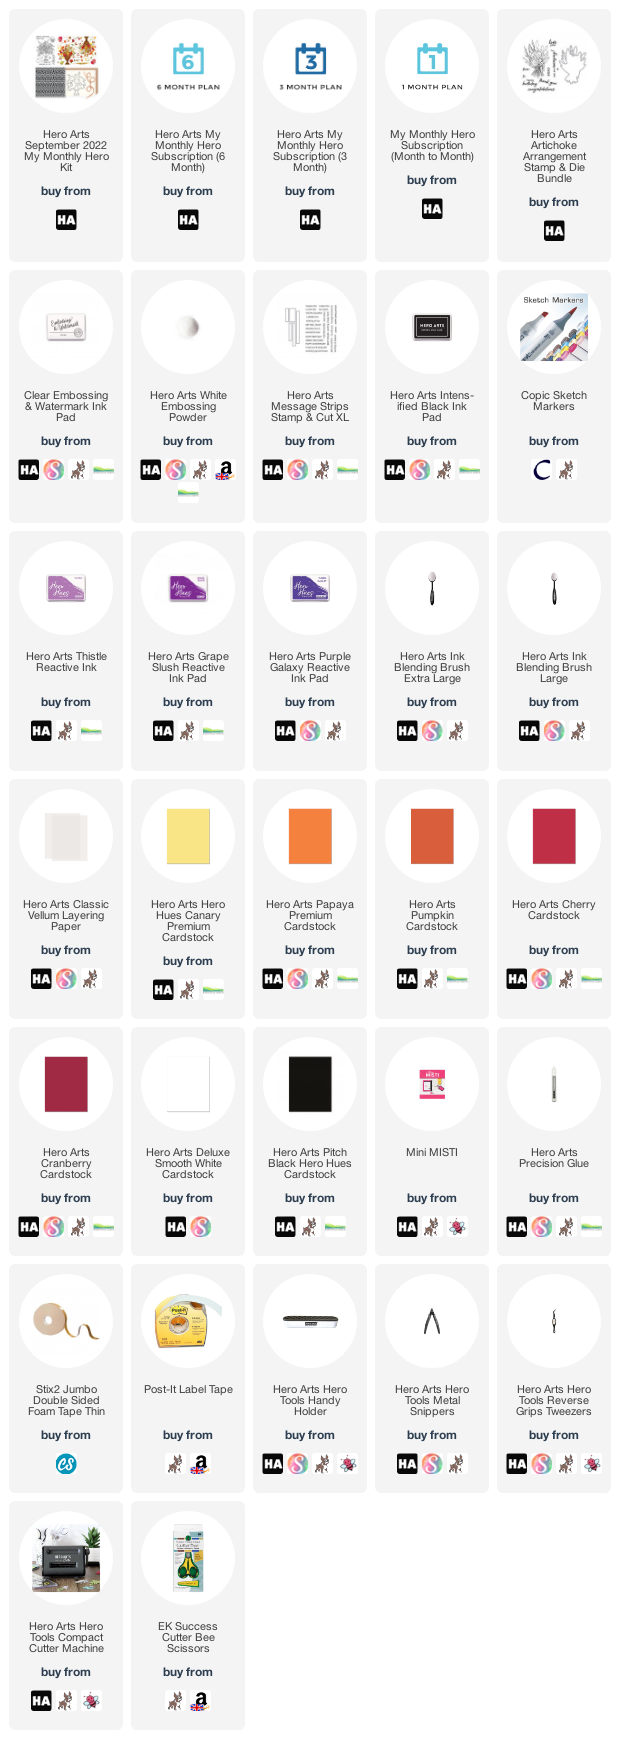
Here are the links to what I have used on the projects. Affiliate links are used on some products. This means that if you make a purchase after clicking on my link, I receive a small commission with no extra cost to you. I truly appreciate your support when using these links. Please click on the logo below the product to shop at your favourite store. All products were personally purchased except those from Clearly Besotted, Hero Arts or those marked with an asterisk (*) which were kindly sent to me to use. You can read my full disclosure here.


MY MONTHLY HERO KIT:


Autumn is a whisper in the air, with hints of cooler weather, falling leaves, and rich colors. Our September My Monthly Hero release takes an elegant path into fall, featuring a gorgeous vase of fall blooms as the focal point for your cards and projects. There’s also a fun new element this month - rub-ons! Use them for quick and easy cards; the coordinating die in the kit perfectly cuts out the rub-on floral arrangement as well as the stamped images. Or try the rub-ons on any smooth surface. The kit is rounded out with a gorgeous new cling stamp, metallic floss and the perfect neutral cardstocks for stamping your autumn-inspired creations.

KIT CONTENTS:

4" x 6" Clear Stamp Set
6 Coordinating Frame Cuts
Rub-On Transfer Sheet
6" x 6" Cling Background Stamp
2 Sheets of Sand & Antique Ivory Cardstock (5.5" x 8.5")
Rose Gold Metallic Floss

The Hero Arts September 2022 My Monthly Hero Kit is valued at $70 but you can get it for $34.99 (approximately £28 depending on exchange rate, not including VAT/customs charges). The kits are exclusive to the Hero Arts store and often sell out quickly, so you can subscribe here, so that you never miss a kit. Kits begin shipping 9th September 2022.

ADD-ONS:

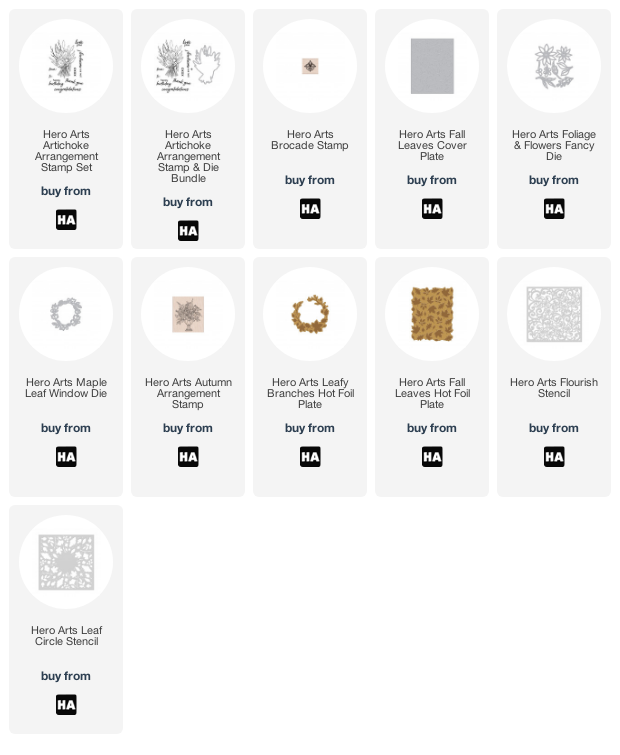
There are lots of add-on products released each month. These work alongside the kit, or work on their own too. These can be purchased from Hero Arts when you order a kit, on their own or from your favourite Hero Arts retailer (these are not exclusive and are restocked if sold out). Here is a look at them:

BLOG HOP:

This post is part of a fun, inspirational blog hop with prizes. For the hop, you should have arrived here from the fabulous Lydia. Next on the hop is the fantastic Mindy. If you get lost along the way, or want to start the hop from the beginning, please head over to the Hero Arts Blog

GIVEAWAY:

Hero Arts are giving away a $50 gift card drawn from the comments left across all of the stops in the hop. Enter by 11th September 2022 at 11.59pm PT. The winner will be announced the following week on the Hero Arts Blog.

Thank you so much for stopping by today, I really do appreciate it. I hope you have a lovely time on the rest of the hop and a great rest of the day too! Take care. 

5 September 2022

VIDEO | Pumpkin Friends Autumn Scene

Hello there, I am over over the My Favorite Things YouTube channel today sharing an autumn/fall scene card using the Happy Pumpkin Season set. Although I would usually use a contrasting colour for the background/sky, I thought I would stick with oranges for my card to really give that autumn vibe!

PLEASE NOTE: This post contains affiliate links. Please see below for my full disclosure.


I started off by stamping the wagon (with the bunny and pumpkins), as well as the two individual pumpkin images (stamping one twice) from the MFT Happy Pumpkin Season Stamp Set on to white cardstock using MFT Extreme Black Ink

I then coloured them with Copic Markers (the colours that I used are listed below the supplies area) before die cutting out using the MFT Happy Pumpkin Season Die-namics


I took the sentiment from the set and stamped it on to MFT Black Licorice Cardstock using Versamark Ink. I applied white embossing powder and heat set. It was cut in to a strip. 

I took a 3.75" x 5" white cardstock panel and using the sentiment strip as a guide, masked off the bottom part of the panel with memo tape. 


I placed the MFT Mini Cloud Edges Stencil on top and secured in place. Using Ink Blending Brushes, I blended on Tim Holtz Dried Marigold Distress Ink for the clouds, moving the stencil down as I went. 

I then blended Tim Holtz Spiced Marmalade Distress Ink around the edges. The sentiment strip was adhered below using MFT On-Point Precision Glue and the excess cut off from the sides with scissors. 


The panel was adhered to a US A2 sized white card base with thin foam tape. The images were then added on top using thin foam tape. To finish off, I added white gel pen highlights to the pumpkins. 

VIDEO:

Here is the video showing how I made the card:


If you are viewing this blog post via email subscription, you can watch the video HERE on YouTube. 

SUPPLIES:


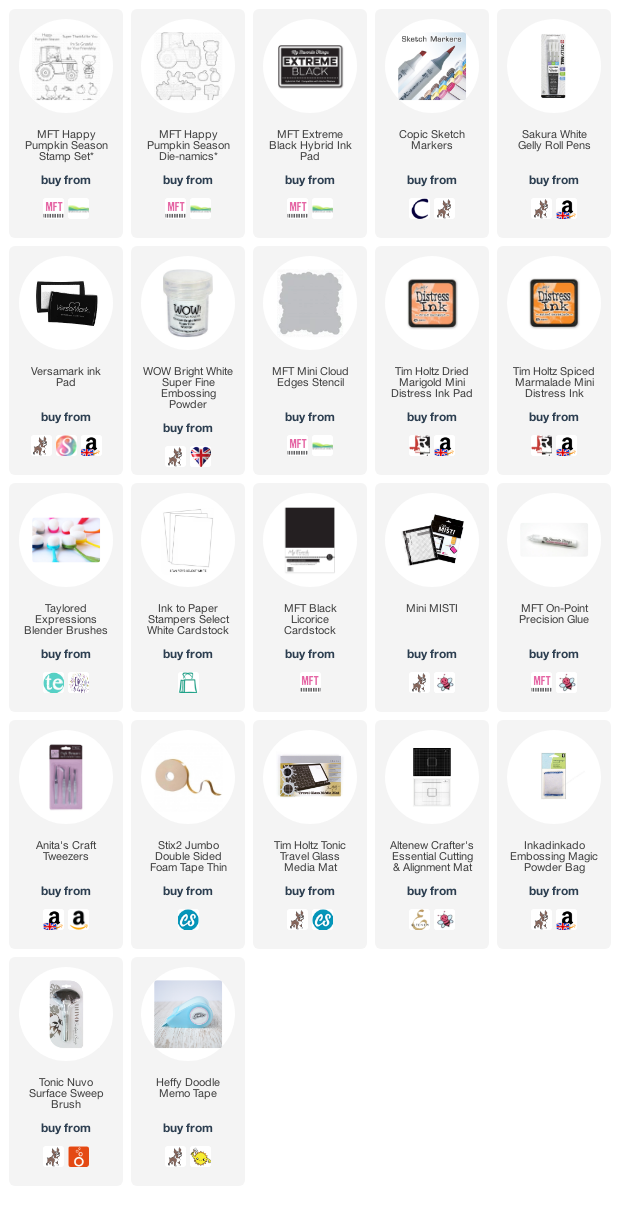
Here are the links to what I have used on the project. Affiliate links are used on some products. This means that if you make a purchase after clicking on my link, I receive a small commission with no extra cost to you. I truly appreciate your support when using these links. Please click on the logo below the product to shop at your favourite store. All products were personally purchased except those from Clearly Besotted, Hero Arts or those marked with an asterisk (*) which were kindly sent to me to use. You can read my full disclosure here.


COPIC MARKERS: Pumpkins - E19, YR18, YR16, YR15, YR12, G82. Bunny - W5, W3, W1, W0, R02, R01, R00/V17, V15, V12. Wagon - E59, E57, E55, E53. 

Thank you so much for stopping by today, I really do appreciate it. I hope you have a fantastic day! 

2 September 2022

Simon Says Stamp | STAMPtember 2022 Party Time!

Hello there, I am delighted to be joining Simon Says Stamp today for their STAMPtember Party! Loads of designers have got together to celebrate STAMPtember, which kicked off yesterday. 

Each designer at the party has a fun prize/promotion to share with you so be sure to stop off at as many party guests blogs as possible to find all of the prizes. More on that below.

PLEASE NOTE: This post contains affiliate links. Please see below for my full disclosure.


For my project today, I am using the new Circle Sayings Stamp Set. This is a great set with different sentiments for all year round. 

I started off my card by stamping the floral image from Simon Says Stamp Spring Bouquets Stamp Set on to white cardstock with Memento Tuxedo Black Ink. It was coloured using Copic Markers (the colours that I used are listed below the supplies) and then fussy cut out with scissors. 

I took a panel of white cardstock and using Simon Says Stamp Ink Blending Brushes, blended Tim Holtz Wilted Violet Distress Oxide Ink from the top left hand corner to the bottom right. 

The panel was then adhered to an A2 white card base with tape runner adhesive and the image added on top with thin foam tape, cutting the excess off the top left hand corner. 

I took the sentiment from the Simon Says Stamp Circle Sayings Stamp Set and stamped it on to black cardstock with Versamark Ink. I applied white embossing powder and heat set. 

It was die cut out using a Hero Arts Nesting Circle Infinity Die and adhered to the card with foam tape. To finish off, I added a few Simon Says Stamp Moonshine Sequins

Before I go, I wanted to share the new Simon Says Stamp Tech Tattoos with you! These vinyl stickers work well on lots of different surfaces. Here I adhered one to a clear phone case. I wasn't sure if the colours would go well with my purple iPhone, but I think they work ok! Since the stickers are made with removable vinyl, they are durable enough to peel off and re-stick multiple times. 

SUPPLIES:


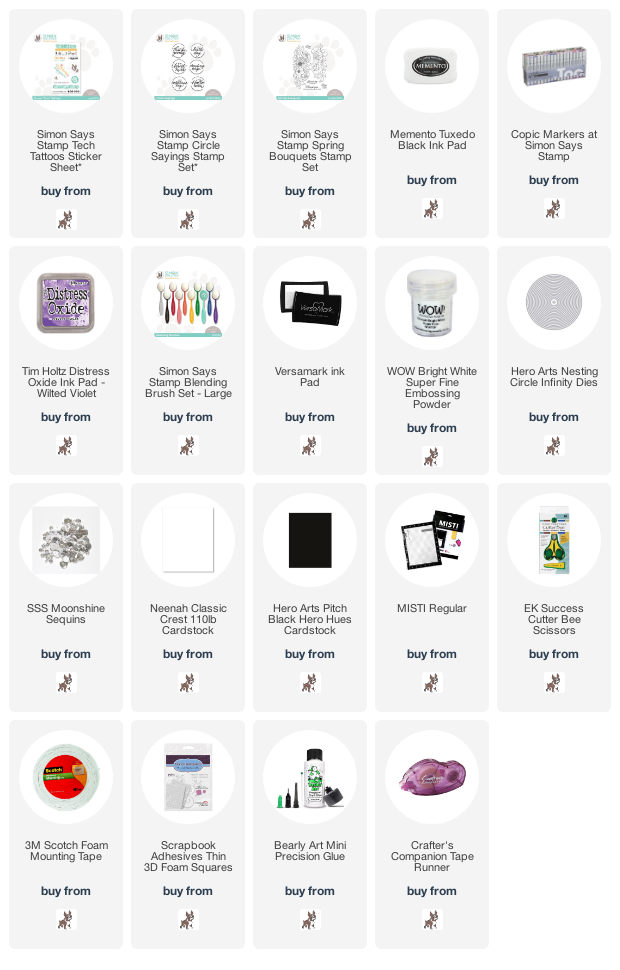
Here are the links to what I have used on the projects. Affiliate links are used on some products. This means that if you make a purchase after clicking on my link, I receive a small commission with no extra cost to you. I truly appreciate your support when using these links. Please click on the logo below the product to shop at your favourite store. All products were personally purchased except those from Clearly Besotted, Hero Arts or those marked with an asterisk (*) which were kindly sent to me to use. You can read my full disclosure here.


PARTY TIME!

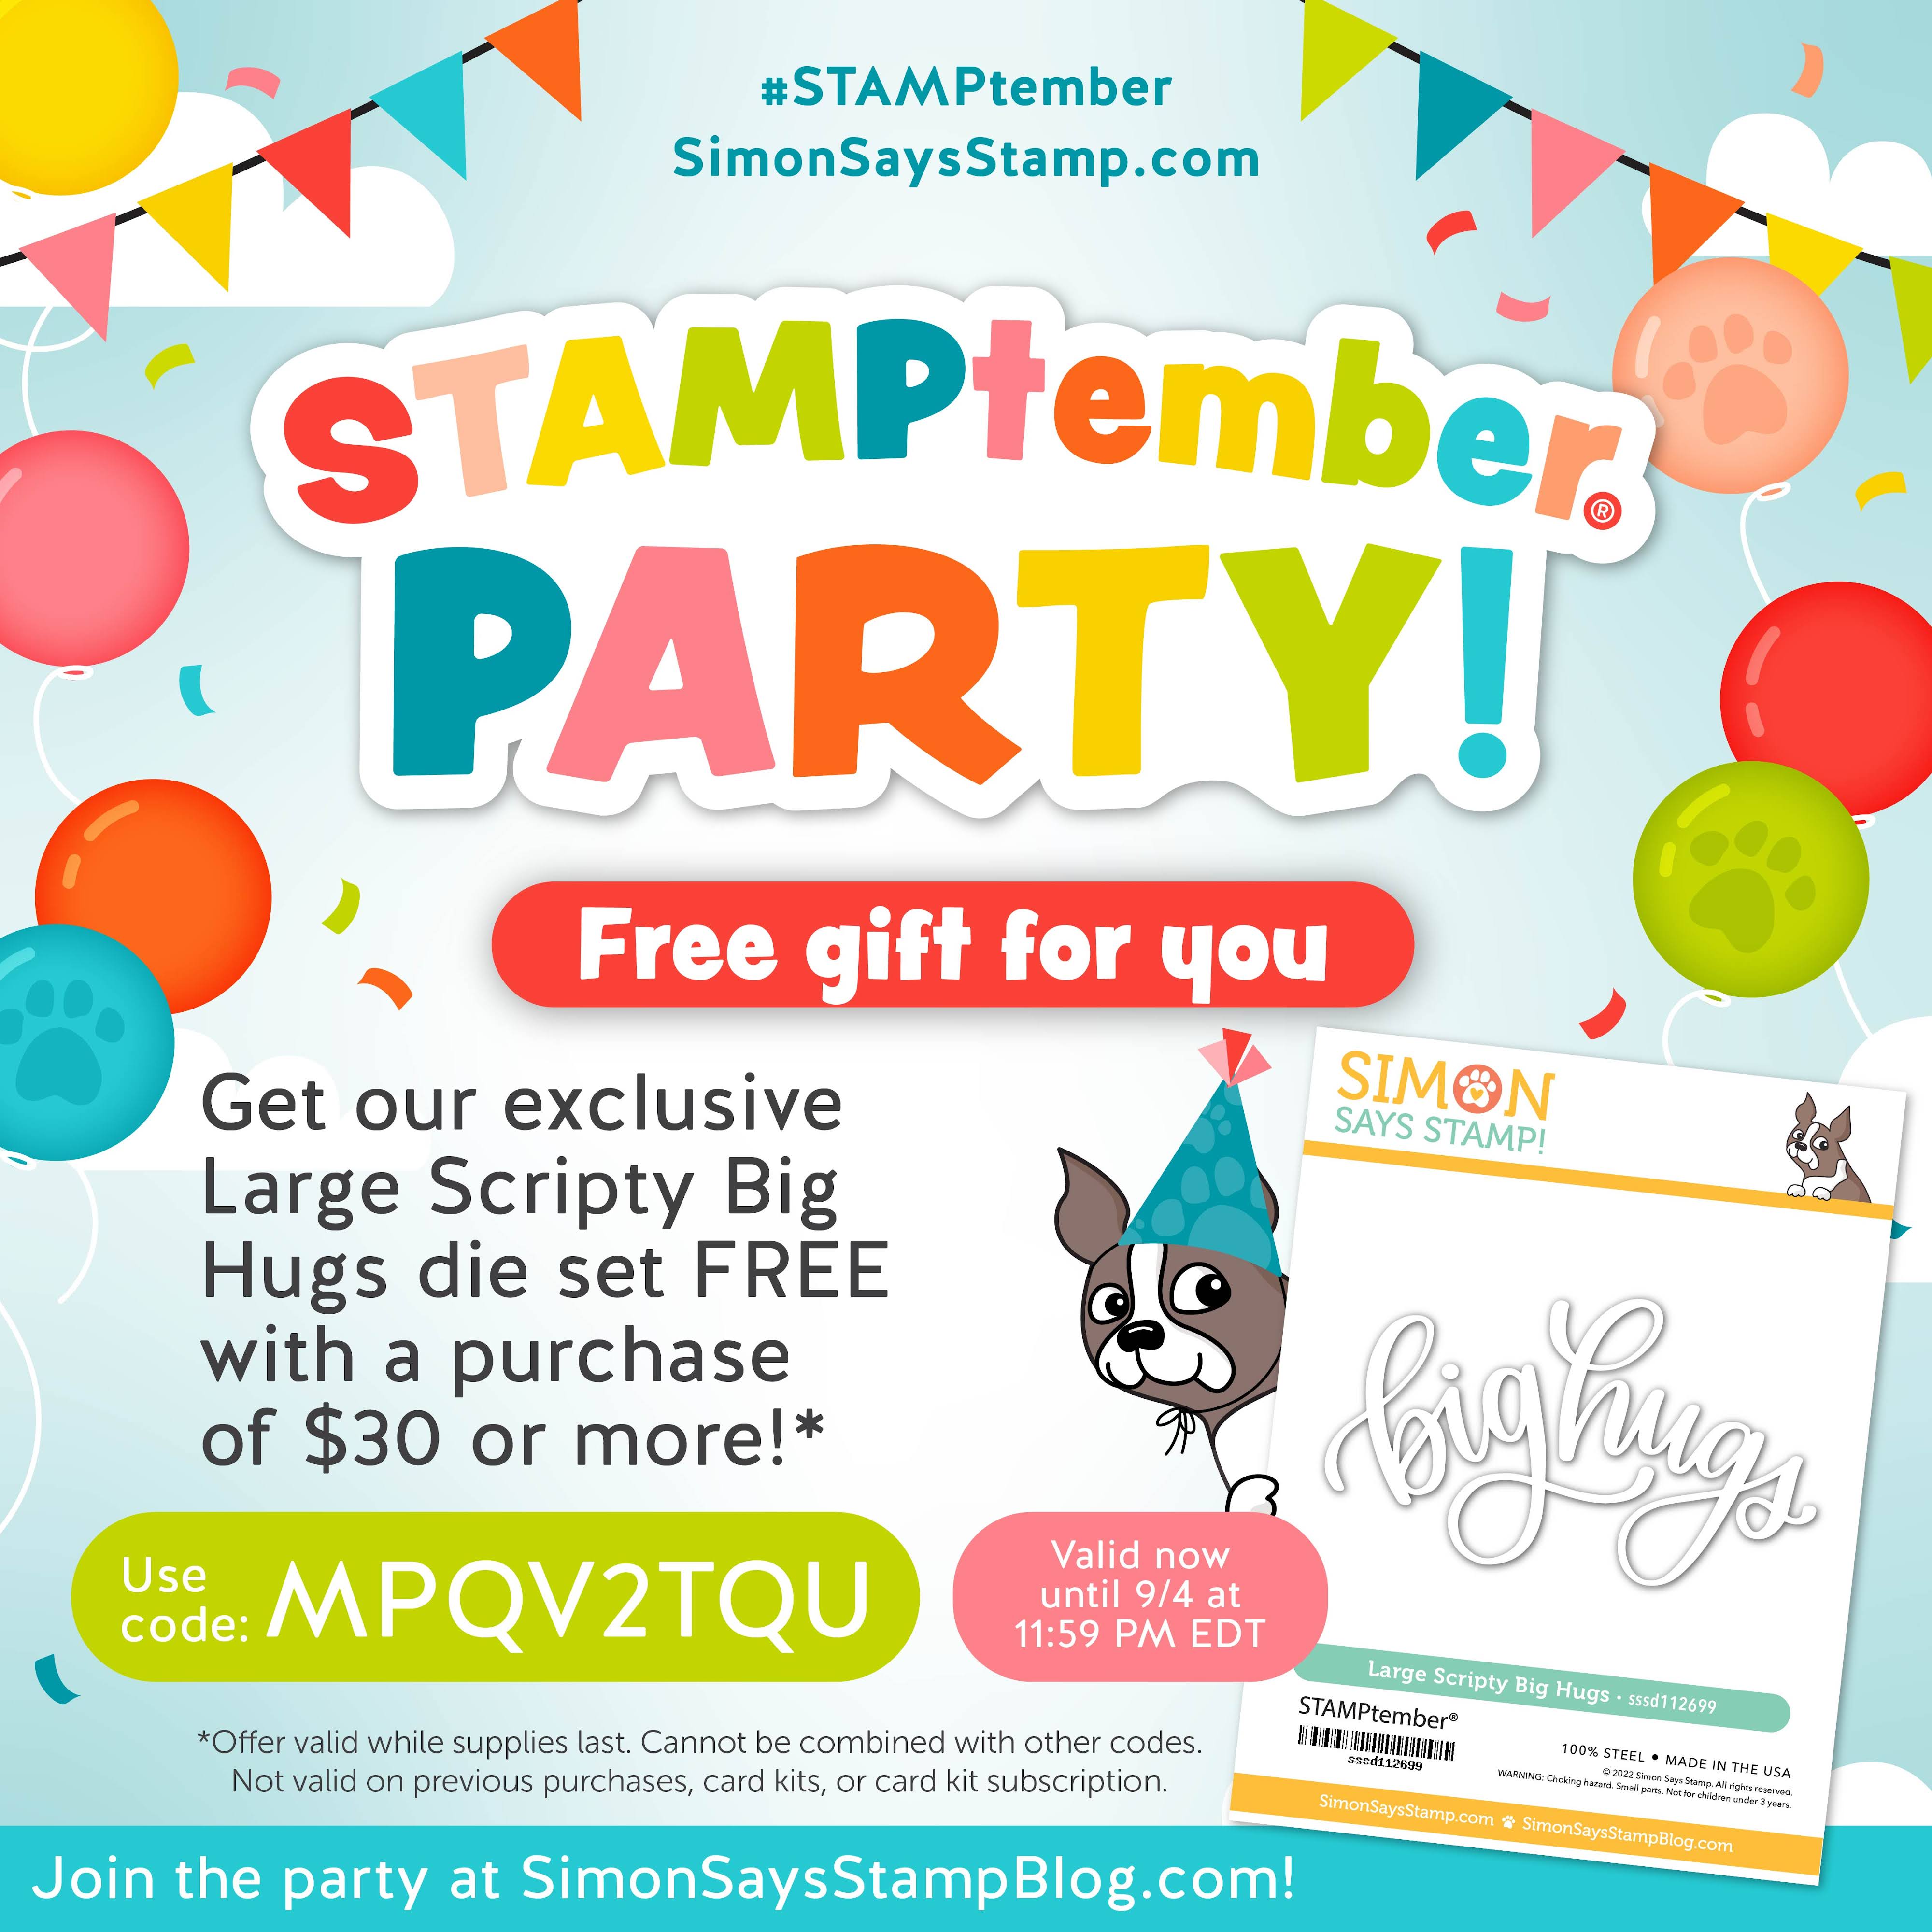
As mentioned, this is a fun party and you are all invited! It is also a scavenger hunt of sorts as you need to find all of the different prizes/promotions. All of the participants in the party today are listed over on the Simon Says Stamp Blog. Visit their blogs/Instagram to find the prizes! My prize/promotion to you is:


Not sure what STAMPtember is? It is a month long celebration over at Simon Says Stamp. It celebrates all things stamping and crafting. Over the month there will be tons of inspiration, as well as new products, giveaways and prizes! Each day in STAMPtember there will also be a special collaboration set released. 

Thank you so much for stopping by today, I really do appreciate it. I hope you enjoy the party, I am off to get a drink and some nibbles! Have a great day! 

Hero Arts | September 2022 My Monthly Hero Countdown to Creativity

Hello there and welcome as we countdown to the release of the Hero Arts September 2022 My Monthly Hero Kit and add-ons.  This month is called Fall Bouquet and is so pretty! We will be sharing inspiration using the kit all weekend long before the release on Tuesday, 6th September 2022. 

PLEASE NOTE: This post contains affiliate links. Please see below for my full disclosure.


I started off my card by stamping the main image from the clear stamp set in the kit on to white cardstock using Hero Arts Intens-ified Black Ink. I then coloured it using Copic Markers before die cutting it out with the coordinating Frame Cut. 

I took a panel of white cardstock and stamped the background cling stamp in the kit on top using Hero Arts Clear Embossing & Watermark Ink. I applied Hero Arts Clear Embossing Powder and heat set. 

Unfortunately this isn't showing in the photos but in real-life, it adds just a subtle detail to the background and catches the light beautifully! 

The panel was adhered to a US A2 sized white top folding card base with tape runner. I then added the bouquet image on top with thin foam tape. 

The sentiment from the clear stamp set was stamped on to Hero Arts Pitch Black Cardstock with Hero Arts Clear Embossing & Watermark Ink. I applied Hero Arts White Embossing Powder and heat set. 

It was cut in to a strip and adhered to the card with more foam tape. To finish off, I added a few Hero Arts Sunset Enamel Dots

SUPPLIES:


Here are the links to what I have used on the project. Affiliate links are used on some products. This means that if you make a purchase after clicking on my link, I receive a small commission with no extra cost to you. I truly appreciate your support when using these links. Please click on the logo below the product to shop at your favourite store. All products were personally purchased except those from Clearly Besotted, Hero Arts or those marked with an asterisk (*) which were kindly sent to me to use. You can read my full disclosure here.


For more inspiration using the Hero Arts September 2022 My Monthly Hero Kit, please head over to the Hero Arts Blog. Make sure to leave a comment over there too, for a chance to win a kit! Thanks so much for stopping by, have a great day! 

1 September 2022

VIDEO | Clearly Besotted September 2022 Release Preview

Hello there and happy Clearly Besotted release day to you! There are six new stamp sets releasing today with a Halloween, mischievous and horror theme. I know these sets aren't for everyone but I hope you have enjoyed seeing my projects over the last few days. 

PLEASE NOTE: This post contains affiliate links. Please see below for my full disclosure.


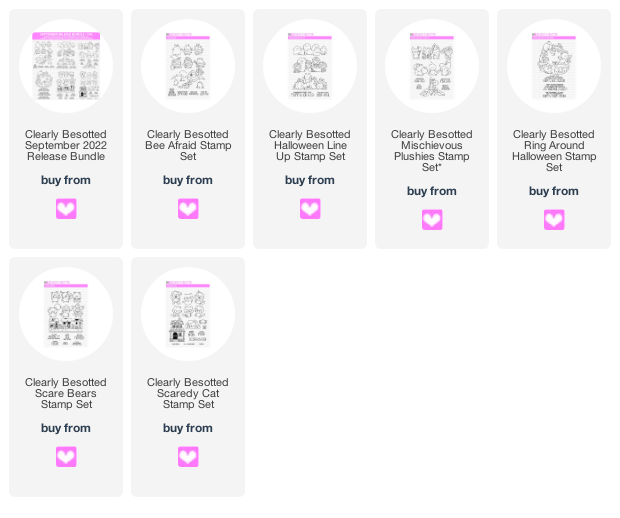
The six new sets release tonight at 8pm BST (UK time). You can purchase them as a bundle, exclusively from Clearly Besotted. If you buy the bundle, you receive a 15% saving compared to purchasing the sets separately, plus free gifts of a sentiment set, a stencil and 6 sheets of patterned paper.  Here is a look at the bundle:


You can also purchase the sets individually from the Clearly Besotted Shop (UK based), Simon Says Stamp (US based), Butterfly Reflections Ink (US based), Artcreatiu (based in Spain), Cloud9 Crafts (Netherlands), Card Nouveau (Belgium) and Kreativbunt (Germany). Here is a look at all of the sets up close and a recap of my projects:


If you are viewing this blog post via email subscription, you can watch the video HERE on YouTube. 

SUPPLIES:


Here are the links to what I have shared in the video. Affiliate links are used on some products. This means that if you make a purchase after clicking on my link, I receive a small commission with no extra cost to you. I truly appreciate your support when using these links. Please click on the logo below the product to shop at your favourite store. All products were personally purchased except those from Clearly Besotted, Hero Arts or those marked with an asterisk (*) which were kindly sent to me to use. You can read my full disclosure here.


For more inspiration using the release, please head over to the Clearly Besotted Blog, my amazing teamie Keren and our fabulous resident guests Francine and Alberto. Thank you so much for stopping by today, I really do appreciate it.

31 August 2022

Altenew | September 2022 Winter Magic Release Blog Hop + Giveaway

Hello there and welcome to Altenew's Winter Magic Release Blog Hop! I have two cards to share with you today using the new Winter Magic release. 

We love celebrating the winter season, and this release includes everything you need to do just that! Let your holiday cards shine with trendy typography, classic poinsettias, or a modern tree. A timeless wreath of mistletoe (with coordinating embossing folder and stencils!), winter florals, and hot foil plates and dies to finish off the release. 'Tis the season!


PLEASE NOTE: This post contains affiliate links. Please see below for my full disclosure.


For my first card, I am using the new Mistletoe Wreath set. There is a stamp set, a die set, matching stencils and an embossing folder in the collection, so you can mix and match to your heart's content with this one! 


I started off by stamping the wreath from the Altenew Mistletoe Wreath Stamp Set on to white cardstock with Altenew Obsidian Pigment Ink. I set it aside to dry for a few minutes while I grabbed the Altenew Mistletoe Wreath Simple Coloring Stencil Set


I placed the stencils over the image, one at a time and blended inks on top to colour in the image. I used Altenew Grass Field, Forest Glades and Volcano Lake for the foliage and Misty Morning for the berries. I also added a dot of alcohol marker to the berries for some added interest. 


The wreath was die cut out using the Altenew Mistletoe Wreath Die Set. I took a panel of white cardstock and ran it through my die cutting machine with the Altenew Deck Planks 3D Embossing Folder. It was then adhered to the front of a US sized A2 card base with tape runner adhesive. 


The wreath was adhered on top with Altenew Instant Dimension Foam Tape. The sentiment from the stamp set was stamped on to black cardstock with Altenew Embossing Ink. I applied Altenew Pure White Crisp Embossing Powder and heat set. It was cut in to a strip and added to the card with more foam tape. 


To finish off, I added Nuvo White Blizzard Crystal Drops to some of the berries and embellished with Little Things from Lucy's Cards Bubbles. 


My next card uses the new Altenew Gingerbread House 3D Embossing Folder which was run through my die cutting machine with a panel of brown cardstock. 


I added white pigment ink to the raised areas and then splattered it with Altenew Pure White Ink Spray before setting it aside to dry. 


I took the 'winter' sentiment from the new Altenew Winter Typography Die Set and die cut it three times from white cardstock and once from Altenew Topaz Glitter Cardstock, layering them up with adhesive one on top of another for dimension. 


I stamped the 'wishes' from the Altenew Winter Typography Stamp Set using Altenew Embossing Ink and applied Altenew Pure White Crisp Embossing Powder. It was heat set until melted and then cut in to a strip. 


I adhered the embossed panel to a US sized A2 white card base with Altenew Instant Dimension Foam Tape. I added the winter on top with liquid glue, followed by the wishes strip below. To finish off, I added  a couple Altenew Antique Gold Sequins


SUPPLIES:


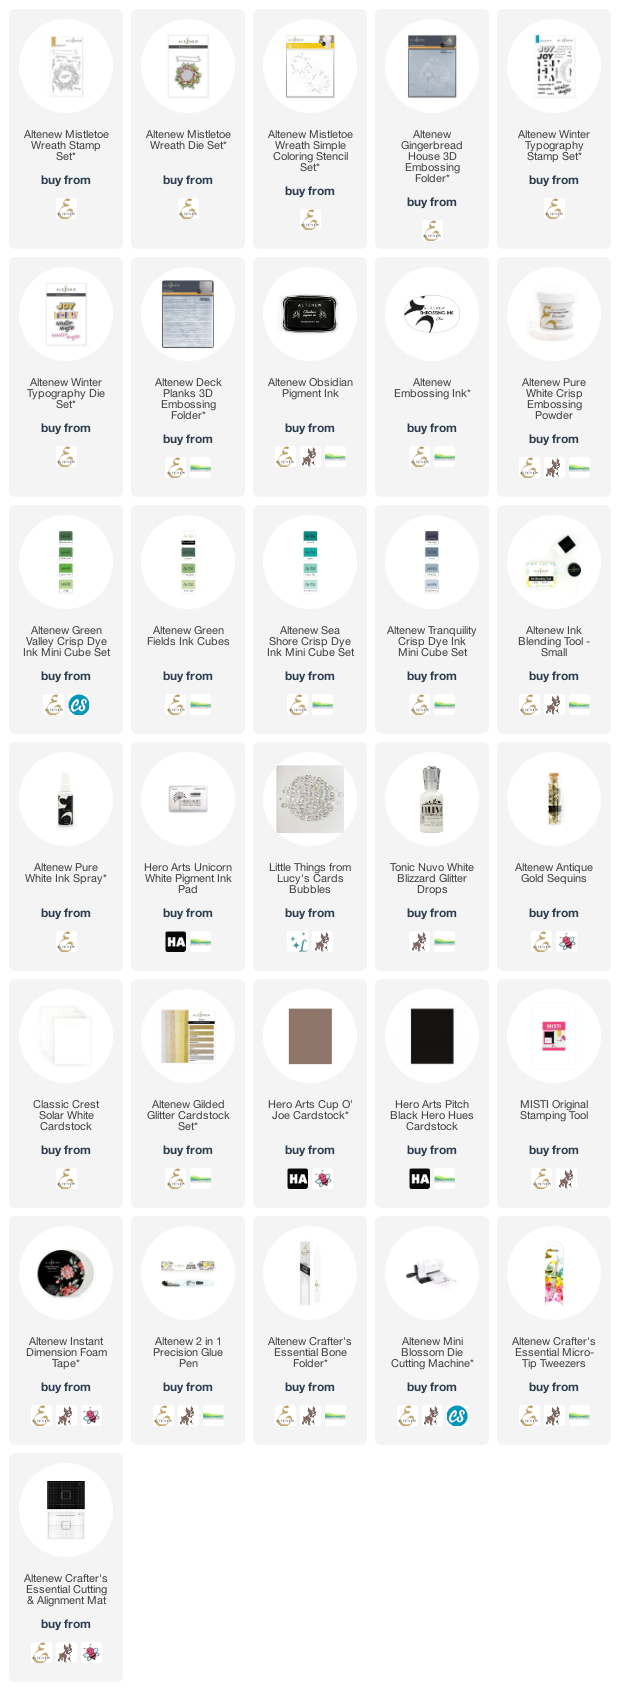
Here are the links to what I have used on the projects. Affiliate links are used on some products. This means that if you make a purchase after clicking on my link, I receive a small commission with no extra cost to you. I truly appreciate your support when using these links. Please click on the logo below the product to shop at your favourite store. All products were personally purchased except those from Clearly Besotted, Hero Arts or those marked with an asterisk (*) which were kindly sent to me to use. You can read my full disclosure here.


BLOG HOP:


This post is part of a fun, inspirational blog hop with prizes. For the hop, you should have arrived here from the fabulous Mindy Eggen. Next on the hop is the wonderful Terri Koszler. If you get lost along the way or want to start the hop from the beginning, please head over to the Altenew Blog

FREE GIFTS:

GIVEAWAY:

$300 in total prizes! To celebrate this release, Altenew is giving away a $50 gift certificate to 2 lucky winners and a $25 gift certificate to 8 winners! Please leave a comment on the Altenew Card Blog and/or each designer’s blog post on the blog hop list below by 6th September 2022, for a chance to win. Altenew will draw 10 random winners from the comments left on each stop of this blog hop and announce the winners on the Altenew Winners Page on 7th September 2022. 

Thank you so much for stopping by to see me today, I really do appreciate it. I hope you have a wonderful rest of the day! 

Clearly Besotted Teasers | Scaredy Cat

Hello there and welcome to day four of the Clearly Besotted September 2022 Teasers. Release day is tomorrow, 1st September 2022 at 8pm BST. I have one last teaser to share with you today using the new Scaredy Cat set. This set features lots of scared cats, as well as a haunted house and lots of punny sentiments. 

PLEASE NOTE: This post contains affiliate links. Please see below for my full disclosure.


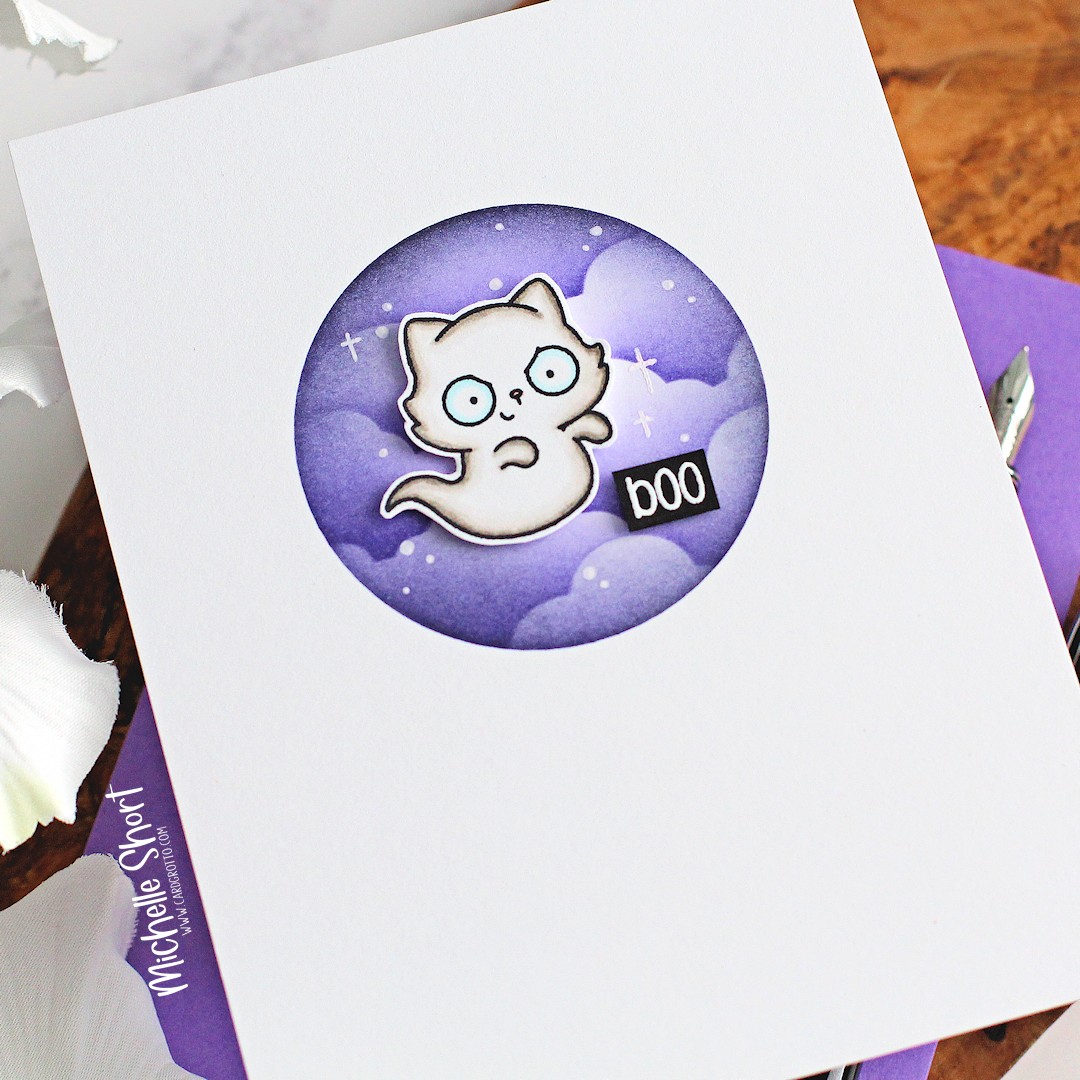
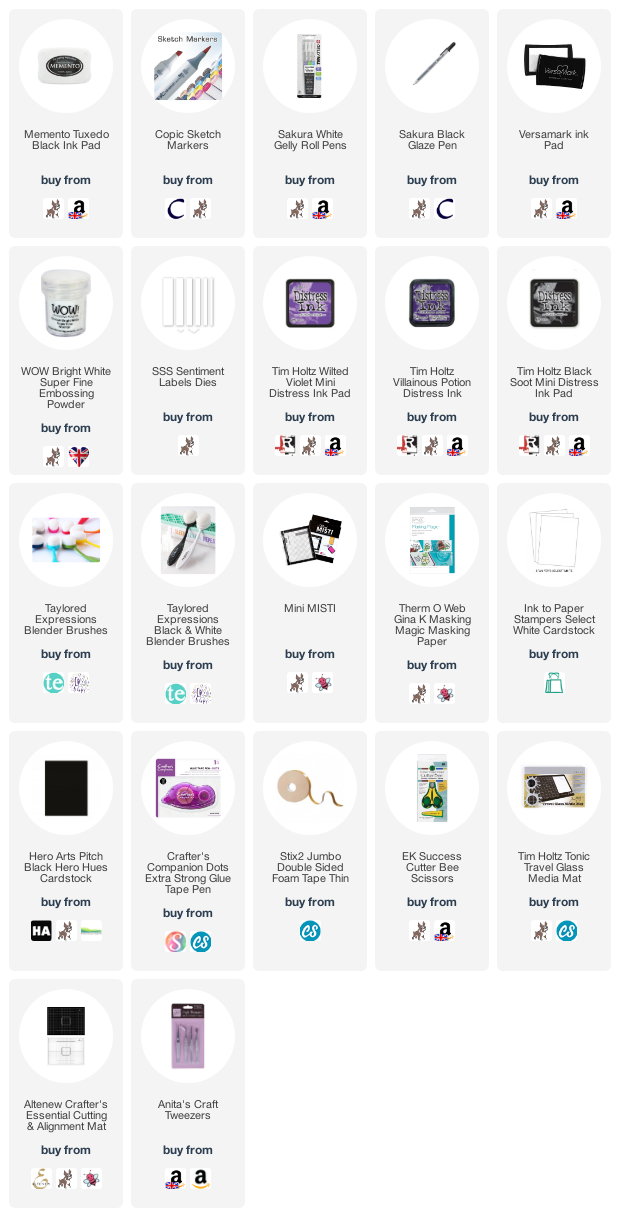
I started off my card by stamping the ghost scaredy cat from the Clearly Besotted Scaredy Cat Stamp Set on to white cardstock with Memento Tuxedo Black Ink. I coloured her/him using Copic Markers (the colours that I used are listed below the supplies area for reference) before fussy cutting them out with scissors. 


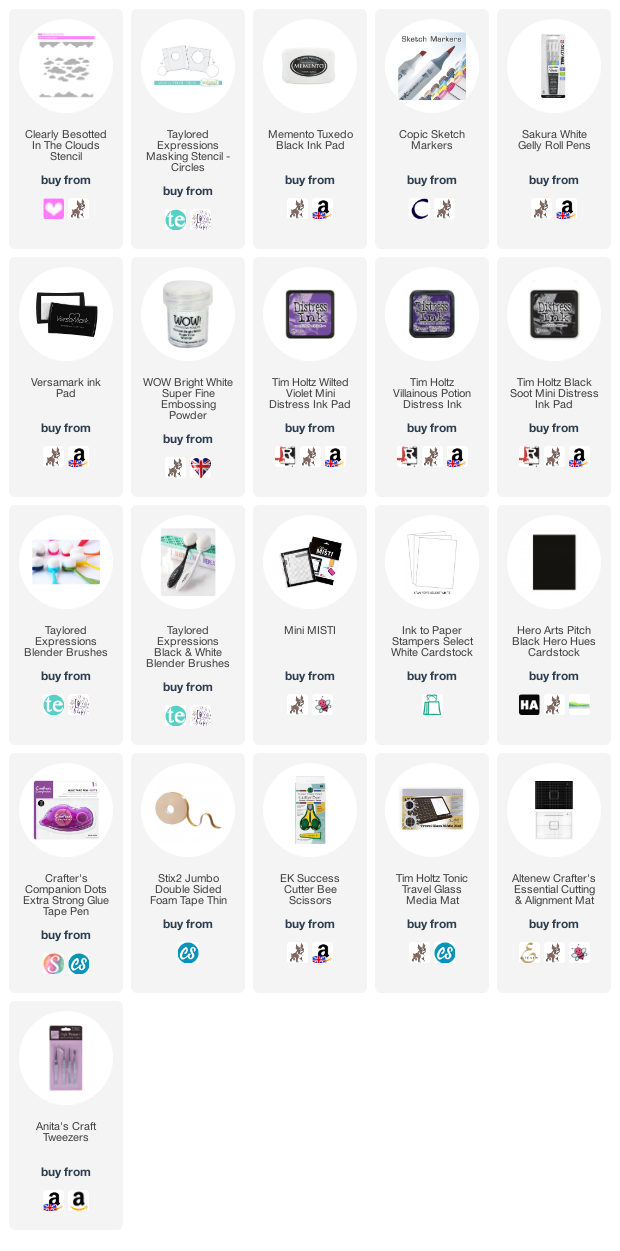
I then took a panel of white cardstock (4.25" x 5.5") and placed a Taylored Expressions Circle Masking Stencil on top (securing with memo tape). I then placed the Clearly Besotted In The Clouds Stencil on top and using Ink Blending Brushes and Distress Inks, blended some clouds on. 

I used Wilted Violet and Villainous Potion for the clouds, moving the stencil down as I went. I removed the cloud stencil and then added a little bit more ink blending around the edges of the circle with Black Soot Distress Ink


The mask was removed and scaredy cat adhered on top with thin foam tape. I took the sentiment from the set and stamped it on to black cardstock with Versamark Ink. I applied white embossing powder and heat set. It was cut in to a strip and added to the card with thin foam tape. To finish off, I added a few white gel pen dots and sparkles to the sky. 

SUPPLIES:


Here are the links to what I have used on the project. Affiliate links are used on some products. This means that if you make a purchase after clicking on my link, I receive a small commission with no extra cost to you. I truly appreciate your support when using these links. Please click on the logo below the product to shop at your favourite store. All products were personally purchased except those from Clearly Besotted, Hero Arts or those marked with an asterisk (*) which were kindly sent to me to use. You can read my full disclosure here.


COPIC MARKERS: W5, W3, W1, W0, 0, B000, R20. 

So my theme for the release is the colour purple! Did you get it? I actually used the same three Distress Inks for all of my projects this month - Wilted Violet, Villainous Potion and Black Soot. A great colour combo for Halloween I think! 

For more inspiration using the release, please head over to the Clearly Besotted Blog, my amazing teamie Keren and out super talented resident guests Francine and Alberto. Thanks so much for stopping by today, I will be back later with another post but in the mean-time, I hope you have a great day! 

30 August 2022

Clearly Besotted Teasers | Best Witches

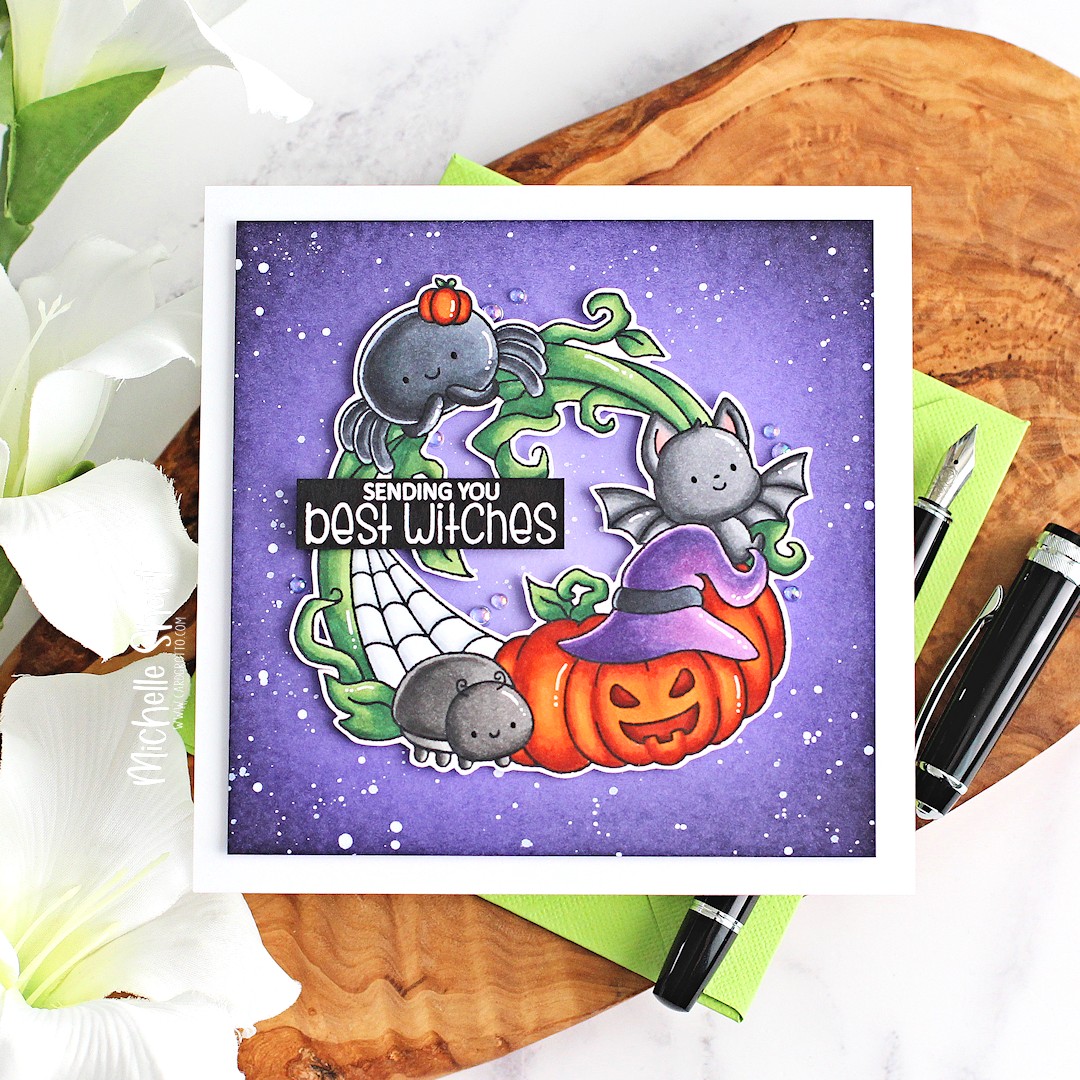
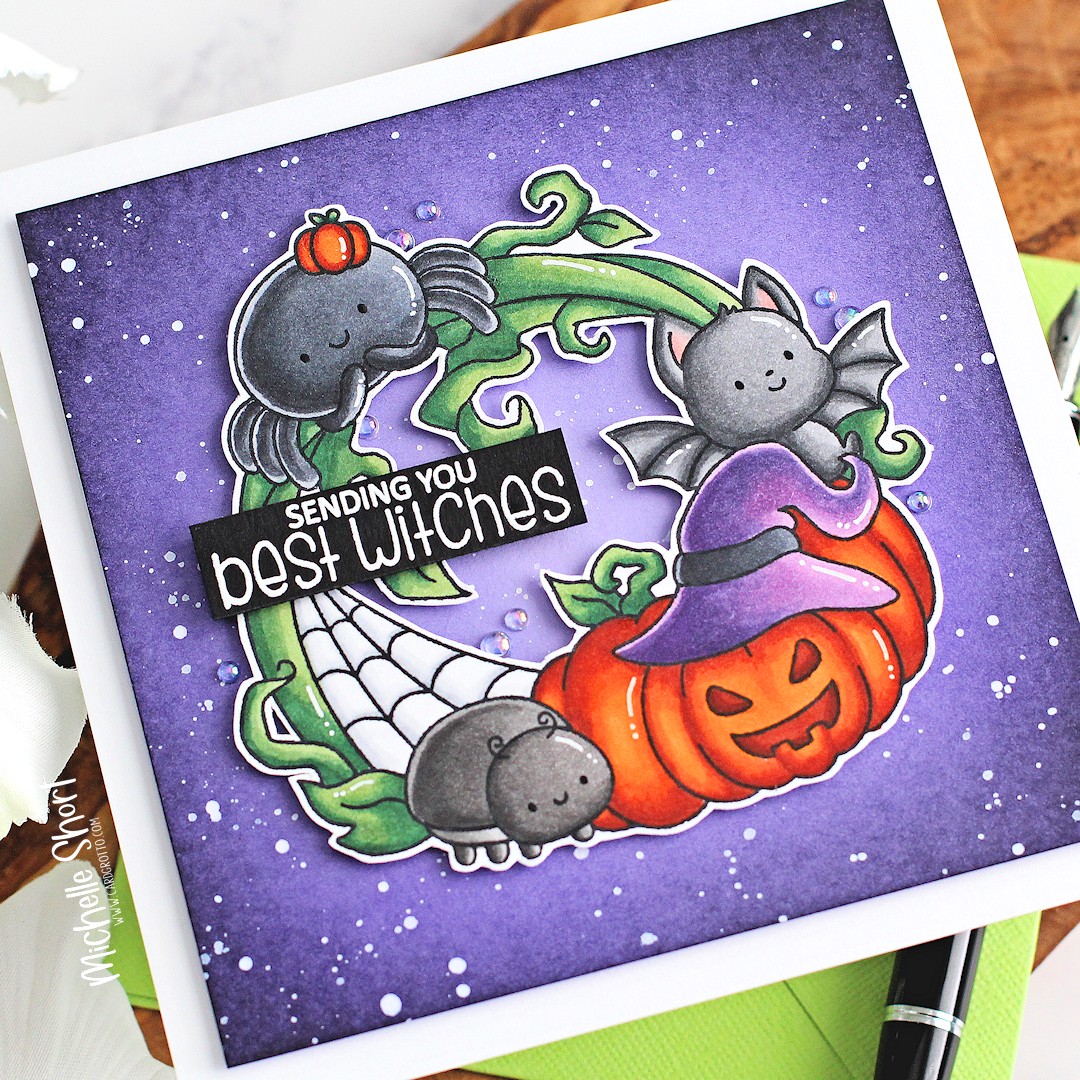
Hello there and welcome to day three of the Clearly Besotted September 2022 Teasers. Release day is 1st September 2022 so we still have a few more teasers to share with you! Today I am using the Ring Around Halloween set. If you aren't familiar with the Ring Around series, they feature beautiful wreaths for all different seasons. This one, as you may have guessed, is Halloween themed!

PLEASE NOTE: This post contains affiliate links. Please see below for my full disclosure.


I started off by stamping the wreath image from the Clearly Besotted Ring Around Halloween Stamp Set on to white cardstock with Memento Tuxedo Black Ink. I coloured it using Copic Markers (the colours that I used are listed below the supplies area for reference) and fussy cut it out with scissors. 


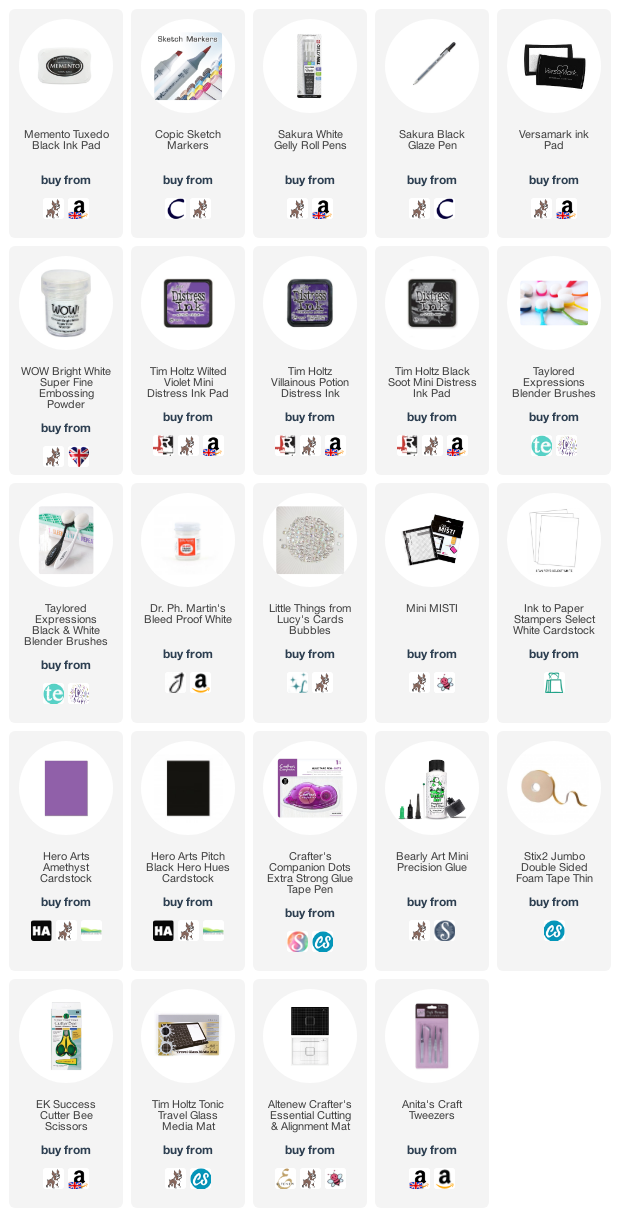
I took a panel of Hero Arts Amethyst Cardstock and added ink blending to it with Ink Blending Brushes. I used Tim Holtz Distress Inks in Wilted Violet, Villainous Potion and Black Soot. I then splattered the panel with Dr. Ph. Martin's Bleed Proof White Paint before setting aside to dry. 


Once dry, the panel was adhered to a 5" x 5" square white card base with thin foam tape. The wreath was then added on top with more foam tape. I took the sentiment from the set and stamped it on to black cardstock with Versamark Ink. I applied white embossing powder and heat set. It was cut in to a strip and added to the card with more thin foam tape. 

To finish off, I added a few Little Things from Lucy's Cards Bubbles and white gel pen highlights on the image. 

SUPPLIES:


Here are the links to what I have used on the project. Affiliate links are used on some products. This means that if you make a purchase after clicking on my link, I receive a small commission with no extra cost to you. I truly appreciate your support when using these links. Please click on the logo below the product to shop at your favourite store. All products were personally purchased except those from Clearly Besotted, Hero Arts or those marked with an asterisk (*) which were kindly sent to me to use. You can read my full disclosure here.


COPIC MARKERS: Greenery - G28, G46, G82. Web - C3, C1, C00. Spider - C10, C8, C6, C5, C3. Beetle - T9, T8, T6, T5, T3. Bat - N8, N7, N6, N4, N3, N2, R32, R20. Pumpkins - E19, YR18, YR16, YR15, YR12. Hat - V09, V17, V15, V12, C10, C8, C6. 

Have you managed to guess my theme for the release yet? I think it is pretty easy but it might not be since I tend to use this theme a lot with my other cards anyway! ;) For more inspiration using the release, please head over to the Clearly Besotted Blog, Keren, Francine and Alberto. Thanks so much for stopping by today. I hope you have a great day! 
29 August 2022

Clearly Besotted Teasers | Bee Afraid

Hello there and welcome to day two of the Clearly Besotted September 2022 Teasers. Release day is 1st September 2022. For my project today, I am using the new super cute Bee Afraid set. This set has lots of bees in different Halloween costumes - a bat, a ghost, a witch, a mummy etc. There is also a fun scene with a haunted/dressed up beehive! 

PLEASE NOTE: This post contains affiliate links. Please see below for my full disclosure.


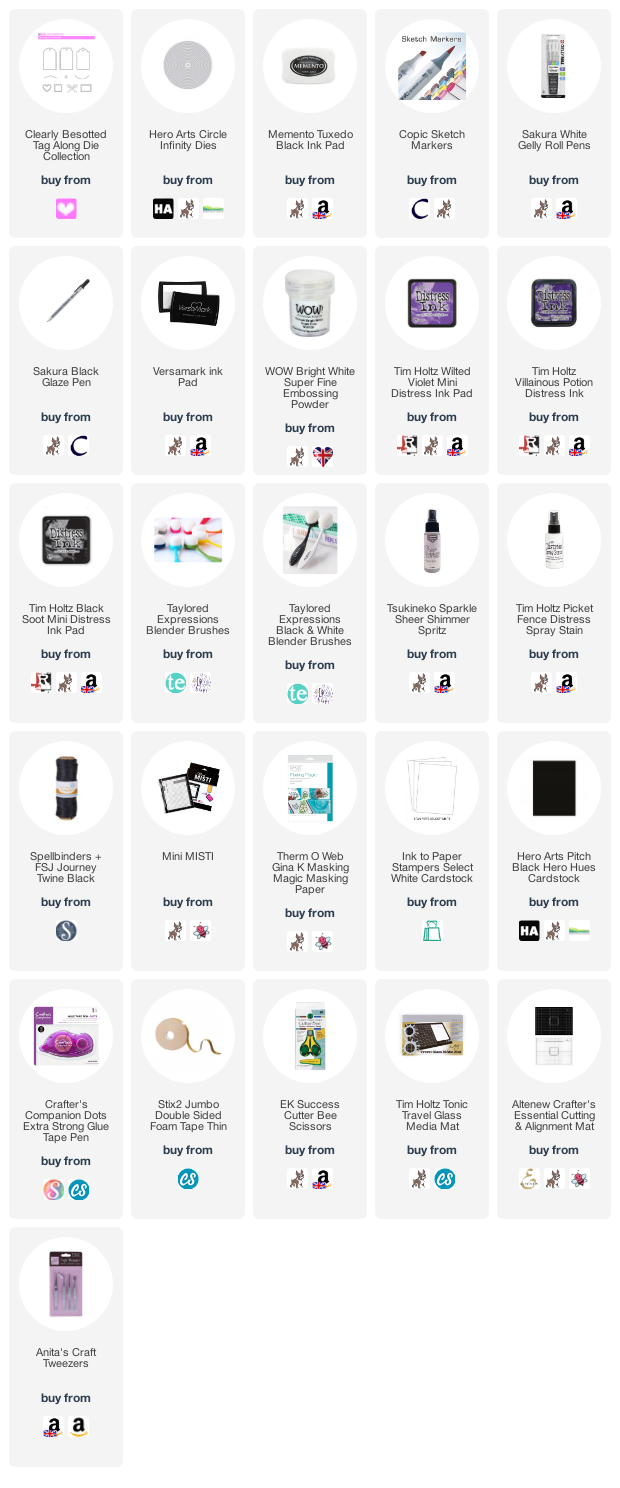
I thought I would create tag today that could go on a sweet bag or given just as is. I started off by stamping the witch bee from the Clearly Besotted Bee Afraid Stamp Set on to white cardstock with Memento Tuxedo Black Ink. I then coloured her using Copic Markers (the colours that I used are listed below the supplies section for reference). 


She was fussy cut out with scissors and set aside while I worked on the tag. I die cut two tags from white cardstock using the Clearly Besotted Tag Along Die Collection. I also die cut a circle die from masking paper and popped that on top to create a moon. 

Using Ink Blending Brushes, I blended on Tim Holtz Distress Inks in Wilted Violet, Villainous Potion and Black Soot. I then added Sparkle Sheer Shimmer Spritz followed by Tim Holtz Picket Fence Distress Spray Stain, removed the mask and set it aside to dry. 


On the other tag, I stamped a sentiment from the set in the middle with more Memento Tuxedo Black Ink and then used the same inks to blend the tag. I also die cut the hole reinforcers from black cardstock and adhered them on top. 

I coloured the moon with Copic Markers and then adhered the tags back to back using tape runner adhesive. Witchy bee was added on top using thin foam tape. 


I stamped another sentiment from the set on to black cardstock using Versamark Ink. I applied white embossing powder and heat set. It was cut in to a strip and added to the tag with more foam tape. 

To finish off, I added twine thought the top of that tag and tied in a bow and added white gel pen highlights to the bee. 

SUPPLIES:


Here are the links to what I have used on the project. Affiliate links are used on some products. This means that if you make a purchase after clicking on my link, I receive a small commission with no extra cost to you. I truly appreciate your support when using these links. Please click on the logo below the product to shop at your favourite store. All products were personally purchased except those from Clearly Besotted, Hero Arts or those marked with an asterisk (*) which were kindly sent to me to use. You can read my full disclosure here.


COPIC MARKERS: Bee - C10, C8, C6, C4, YR27, Y17, Y15, Y13. Hat - V09, V17, V15, V12. Broomstick - E59, E57, E55, E51. 

I wonder if bees fly on broomsticks during Halloween? Would it make them fly quicker?! For more inspiration using the new sets, please head over to the Clearly Besotted Blog, Keren, Francine and Alberto. Thanks so much for stopping by today. As always, I very much do appreciate it. See you tomorrow for day three! 

28 August 2022

Clearly Besotted Teasers | You're Fangtastic!

Hello there and welcome to the start of the Clearly Besotted September 2022 Teasers. Release day is 1st September 2022 at 8pm BST. The release this month is Halloween, mischief and horror themed. From now until then, we will be sharing teasers with you using the new sets. 

For my card today, I am using the new Halloween Line Up set which features three different images in a line - bats and pumpkins, mummy's and tombstones and ghosts in a graveyard, plus lots of fun sentiments. 

PLEASE NOTE: This post contains affiliate links. Please see below for my full disclosure.


I started off my card by taking a panel of white cardstock (4.25" x 5.5") and stamping the pumpkins and bats image from the Clearly Besotted Halloween Line Up Stamp Set using Memento Tuxedo Black Ink. I then made a mask for the image by stamping it on to masking paper and fussy cutting it out. 


It was placed on top of the image and then I blended on Tim Holtz Distress Inks in Wilted Violet, Villainous Potion and Black Soot. The mask was removed and the image coloured with Copic Markers (the colours that I used are listed below the supplies area for reference). 


I took the sentiment from the set and stamped it on to black cardstock with Versamark Ink. I applied white embossing powder and heat set. It was cut in to a strips and adhered with thin foam tape. To finish off, I added black glaze pen to the bat's eyes and white gel pen dots and sparkles to the pumpkins and background. 

SUPPLIES:


Here are the links to what I have used on the project. Affiliate links are used on some products. This means that if you make a purchase after clicking on my link, I receive a small commission with no extra cost to you. I truly appreciate your support when using these links. Please click on the logo below the product to shop at your favourite store. All products were personally purchased except those from Clearly Besotted, Hero Arts or those marked with an asterisk (*) which were kindly sent to me to use. You can read my full disclosure here.


COPIC MARKERS: Pumpkins - E19, YR18, YR16, YR15, YR12. Greenery - G28, G46, G82. Bats - N9, N7, N5, N3, N2, R32. Ground - C9, C7, C5, C3, C1. 

Those bats definitely do not look like the biting kind, they are too cute! Haha! Often, my teamie Keren creates cards for the releases with a theme in mind, like glitter or shaped cards. I thought I would do the same this month and wonder if you can guess what it is!

For more inspiration using the new sets, please head over to the Clearly Besotted Blog, my amazing teamie Keren and our fabulous guests Francine and Alberto. Thanks so much for popping by to see me today, I really do appreciate it. I hope you have a lovely day and great rest of the weekend!
End of code