26 August 2022

VIDEO | Super Birthday Night Time Scene

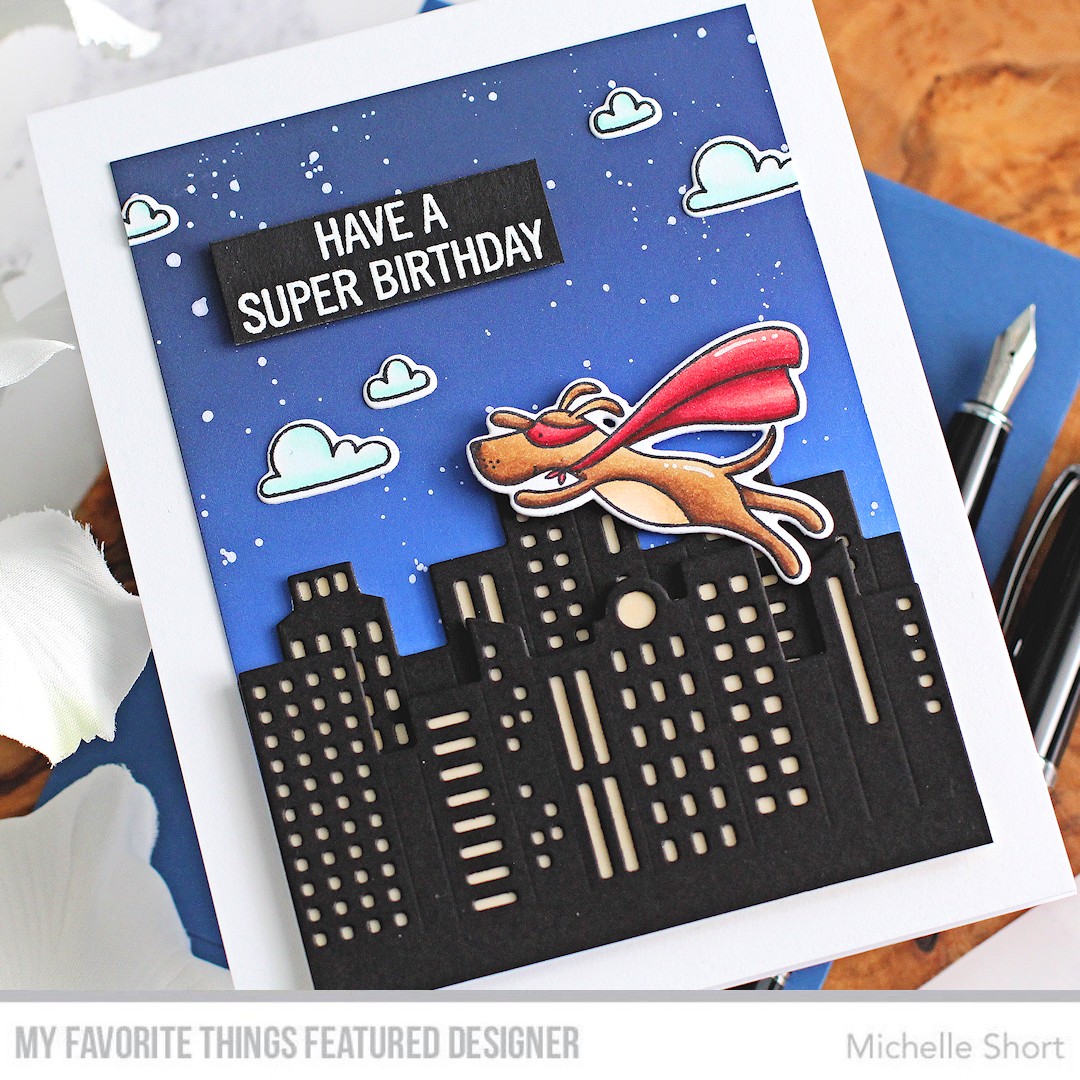
Hello there, I am over on the My Favorite Things YouTube Channel today sharing a card with a night time scene using the To The Rescue Set, which is super cute. It consists of super hero cats and dogs along with some fun sentiments. 

PLEASE NOTE: This post contains affiliate links. Please see below for my full disclosure.


I started off my card by stamping one of the dogs and the clouds from MFT To The Rescue Stamp Set on to white cardstock using MFT Extreme Black Ink. I then coloured them using Copic Markers (the colours that I used are listed below the supplies area) before die cutting out using the MFT To The Rescue Die-namics


I then took a 4.75" x 3.5" panel of white cardstock and added ink blending to it with Ink Blending Brushes. I used Tim Holtz Distress Oxide Inks in Blueprint Sketch, Chipped Sapphire and Villainous Potion. I then added a little Black Soot Distress Ink at the top. 

I splattered on Dr. Ph. Martin's Bleed Proof White Paint and then set the panel aside to dry. Whilst drying, I die cut the buildings from the MFT Outside The Box Cityscape Die-namics from MFT Black Licorice Cardstock


The edge pieces were cut off and then I added a layer of MFT Heavyweight Vellum and MFT Lemon Drop Cardstock behind to give the illusion of lights. The clouds were adhered to the panel first using MFT On-Point Precision Glue, followed by the buildings. 

Super dog was then adhered on top using a combination of foam tape, thin foam tape and liquid glue. 


The sentiment from the set was stamped on to black cardstock with Versamark Ink. I applied white embossing powder and heat set. It was cut in to a strip and added to the panel with more thin foam tape. 

The panel was then adhered to a US A2 sized white card base with tape runner adhesive. To finish off, I added white gel pen highlights to the dog. 

VIDEO:

Here is the video showing how I made the card:


If you are viewing this blog post via email subscription, you can watch the video HERE on YouTube. 

SUPPLIES:


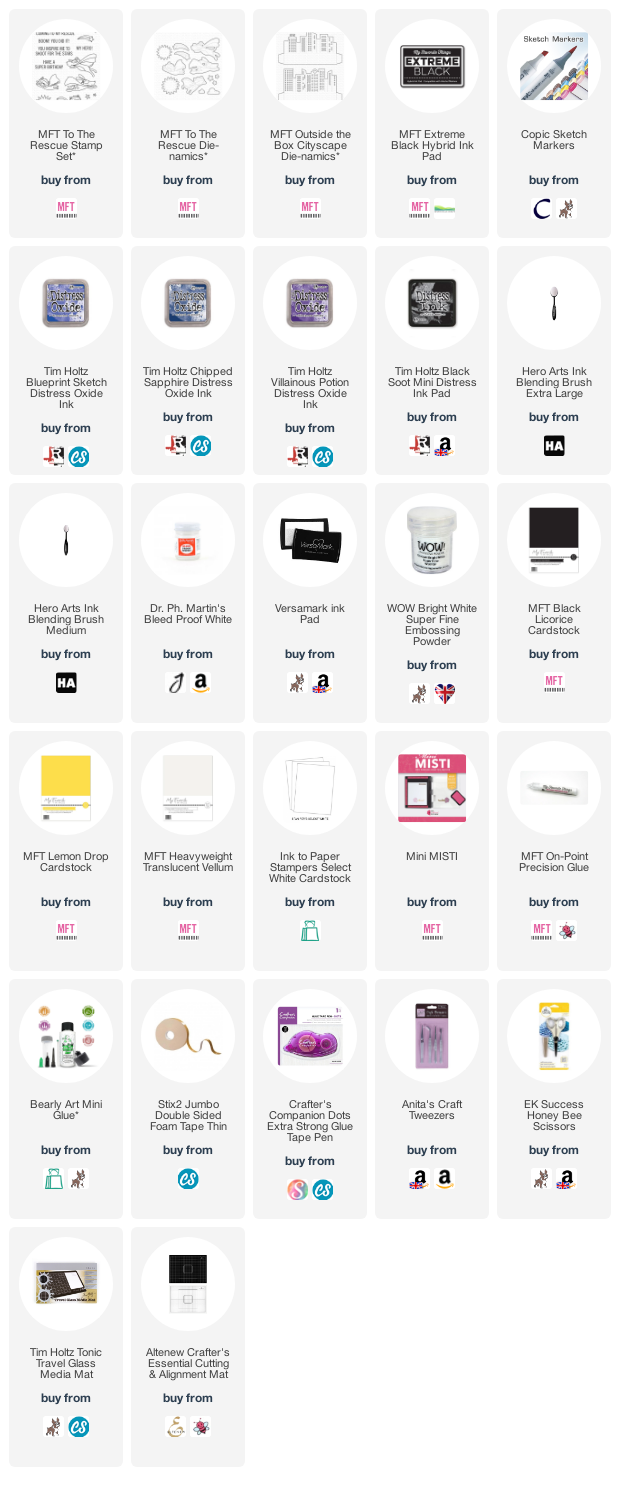
Here are the links to what I have used on the project. Affiliate links are used on some products. This means that if you make a purchase after clicking on my link, I receive a small commission with no extra cost to you. I truly appreciate your support when using these links. Please click on the logo below the product to shop at your favourite store. All products were personally purchased except those from Clearly Besotted, Hero Arts or those marked with an asterisk (*) which were kindly sent to me to use. You can read my full disclosure here.


COPIC MARKERS: Dog - E59, E57, E55, E53, E51, E49. Cape & mask - R89, R39, R37, R35, R32. Clouds - BG11, BG10, BG0000. 

Isn't that super dog cute? I think he would be great for lots of different occasions. Thanks so much for stopping by to see me today, I really do appreciate it. I hope you have a great day! 

25 August 2022

Altenew | Get Inky with Alcohol Inks Blog Hop + Giveaway

Hello there, I am delighted to be taking part in Altenew's Get Inky with Alcohol Inks Blog Hop today. If you have followed me for a while, you will know that I really love using alcohol inks. Although I am definitely more of a clean and simple card maker, I really love that you can get lots of different looks from alcohol inks and still give them a CAS look, even if they are messy to work with! 

PLEASE NOTE: This post contains affiliate links. Please see below for my full disclosure.


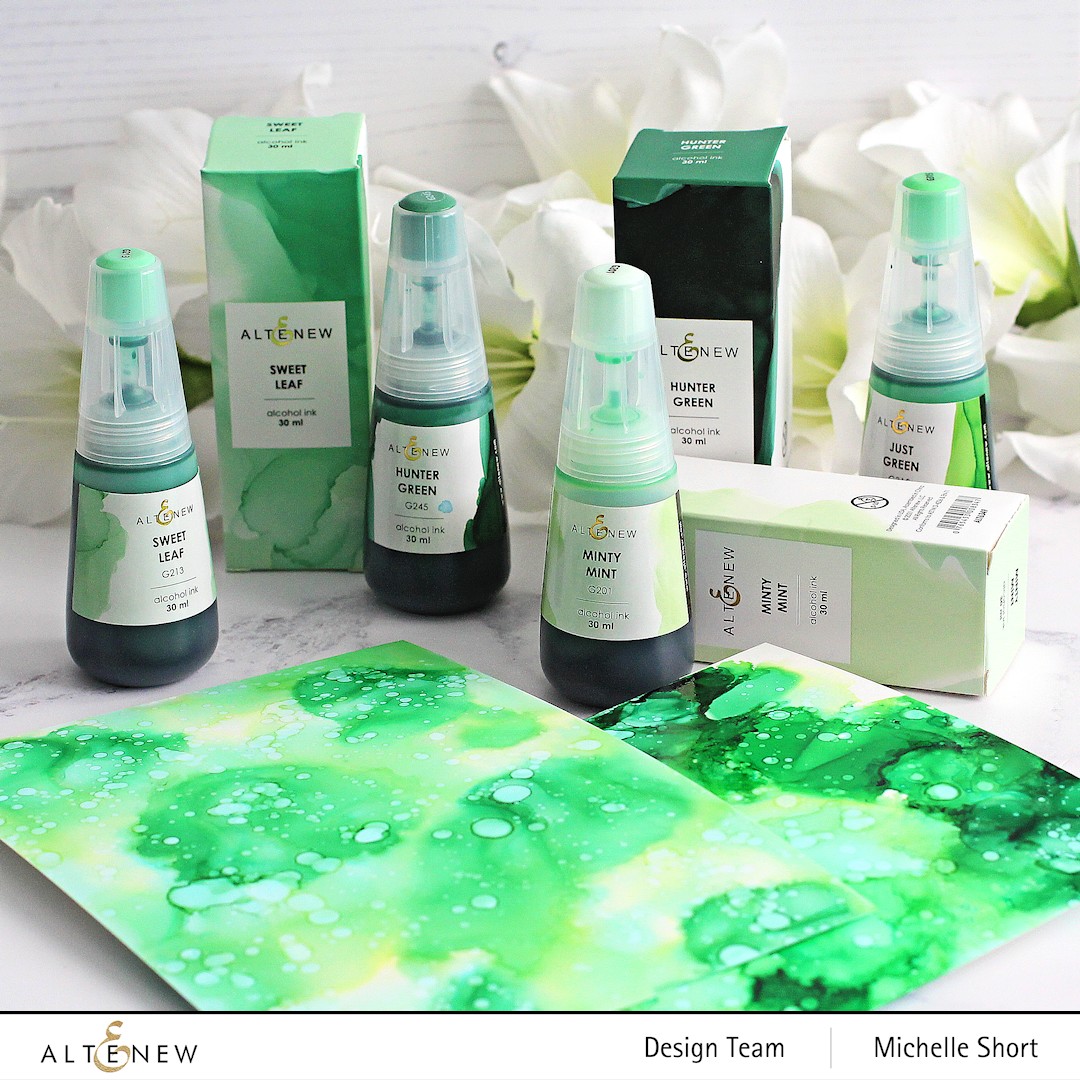
Altenew sell alcohol inks to match their colour collections. You can buy them separately or in bundles. They can be used standalone as alcohol inks or can be used to refill your Altenew Artist Alcohol Markers as well. I love when a product works for different things! 

I started off by creating four panels of Yupo paper (a synthetic paper) with alcohol inks so that I could die cut them to create flowers and leaves.


I first took a panel of Yupo paper and added a few drops of Alcohol ink Blending Solution on top (to help the alcohol inks move more freely). I then added drops of Altenew Lapis Lazuli Alcohol Ink on top. I used an Alcohol Ink Blower to move the inks around. 

I used the two lighter shades on one panel and then the two darker shades on the other. I splattered on some Alcohol ink Blending Solution before setting aside to dry. 


I did the same thing with the Altenew Green Meadows Alcohol Ink Bundle. I used the two lighter shades on one panel and the two darker shades on the other. This gave me some variety when it came to die cutting the flowers and leaves. 


I then took the Altenew Craft-A-Flower: Buttercup Layering Die Set and die cut the panels using the blue panels for the flowers and green panels for the leaves. Because yupo paper is a little thinner than regular cardstock, I did back some with white cardstock layers too. 

The flowers were assembled and adhered together using Altenew 2 in 1 Precision Glue Pen. I took a panel of white cardstock and cut a fishtail banner at the bottom using a ruler and craft knife. It was adhered to a US A2 sized white card base with Altenew Instant Dimension Foam Tape. I then adhered the flowers and leaves on top. 


The sentiment from Altenew Sentiment Strips 3 Stamp Set was stamped on to black cardstock using Altenew Embossing Ink and then I applied Altenew Pure White Crisp Embossing Powder before heat setting it. It was cut in to a strip and added to the card with foam tape. To finish off, I added a few Eggshell Pearls. 

SUPPLIES:


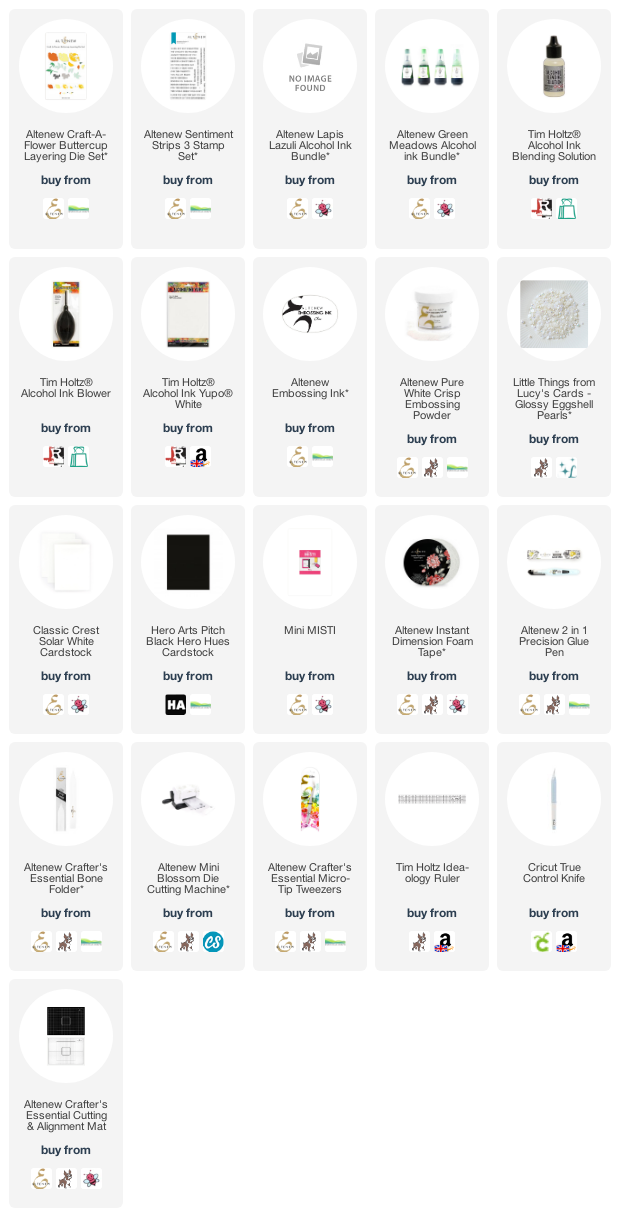
Here are the links to what I have used on the project. Affiliate links are used on some products. This means that if you make a purchase after clicking on my link, I receive a small commission with no extra cost to you. I truly appreciate your support when using these links. Please click on the logo below the product to shop at your favourite store. All products were personally purchased except those from Clearly Besotted, Hero Arts or those marked with an asterisk (*) which were kindly sent to me to use. You can read my full disclosure here.


BLOG HOP:


As mentioned, this post is part of a fun, inspirational blog hop with prizes. For the hop, you should have arrived here from the amazing Kelly Taylor. Next on the hop is the fabulous Seeka. If you get lost along the way or want to start the hop from the beginning, please head over to the Altenew Blog

GIVEAWAY:

$300 in total prizes! To celebrate this special blog hop, Altenew is giving away a $50 gift certificate to 2 lucky winners and a $25 gift certificate to 8 winners! Please leave a comment on the Altenew Card Blog and/or each designer’s blog post on the blog hop list below by 6th September 2022 for a chance to win. Altenew will draw 10 winners from the comments left on each stop of this blog hop and announce the winners on the Altenew Winners Page on 8th September 2022.


As you can see, the leaves do hang off the side and top of the card base. I couldn't bare to cut them off, so I will make a handmade envelope for this card. Thank you so much for stopping by to see me today, I really do appreciate it. I hope you have a great time on the rest of the hop and an excellent rest of the day too! 

24 August 2022

Hero Arts | Holiday 2022 Release Blog Hop + Giveaway

Hello there and welcome to the Hero Arts Holiday 2022 Release Blog Hop! There are lots of new products releasing today from Hero Arts - stamps, dies, new hot foiling plates, mediums/embellishments, stencils, cardmaking bundles and more!

We are celebrating the release with a fun, inspirational blog hop and also some fab promotions in store too! More information on those a bit later. 

PLEASE NOTE: This post contains affiliate links. Please see below for my full disclosure.

For my cards today, I went all purple! So if purple is not your thing, I apologise but I thought it worked beautifully with these products. I am using a new hot foiling plate and also a new Looking Glass die set plus some lovely sentiments. 

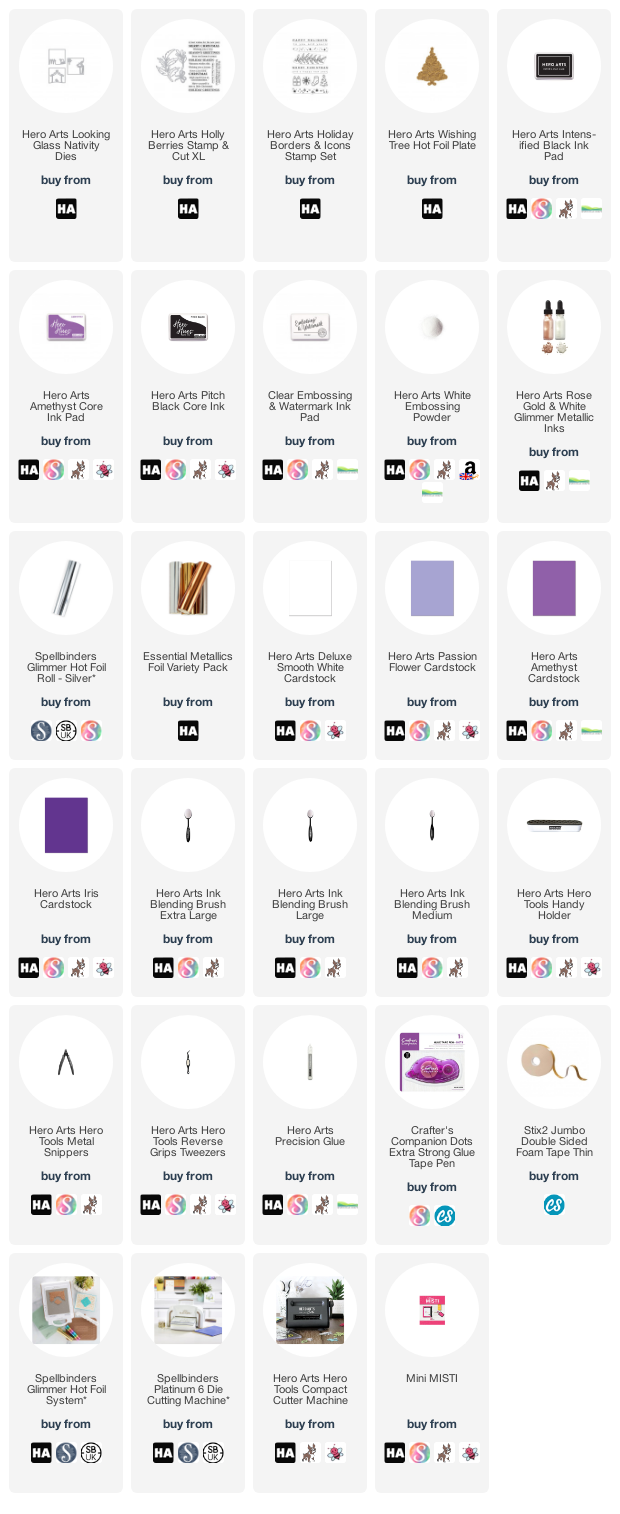
For my first card, I started off by die cutting the Hero Arts Looking Glass Nativity dies from three shades of purple cardstock. I used Hero Arts Passion Flower (lightest), Amethyst (middle shade) and Iris (darkest shade). The set has three dies for the different layers. You can use all three or a combination. 

I also cut the last layer from a panel of white cardstock and cut the trees and star off (using the star to add to the darkest layer as I wanted it white) to create a window. I wanted the front layer to be white and I thought this was the easiest way to do it. 

On the front layer, I stamped a sentiment from the new Hero Arts Holly Berries Stamp & Cut XL using Hero Arts Intens-ified Black Ink

For the sky, I took a piece of Hero Arts Passion Flower Cardstock and using an Ink Blending Brush, blended Hero Arts Amethyst Core Ink on top, followed by a little Hero Arts Pitch Black Core Ink to darken it slightly, leaving it a little lighter where the star is. 

I splattered it using Hero Arts White Glimmer Ink and once dry, I adhered it to a US A2 sized white card base with tape runner adhesive. I then layered up the panels for the nativity scene behind the white panel and adhered them all to the card using foam tape. 

You can add the panels each with foam tape in-between to get more of a looking glass/3D effect but it still looks nice flat. 

My next card uses the new Hero Arts Wishing Tree Hot Foil Plate. I foiled it on to a panel of Hero Arts Amethyst Cardstock using Spellbinders Silver Glimmer Hot Foil Roll using the Spellbinders Glimmer Hot Foil System

Using Ink Blending Brushes, I then blended on Hero Arts Amethyst and Pitch Black Core Inks, leaving the centre part lighter with just the colour of the cardstock. 

It was then adhered to a US A2 sized white card base with thin foam tape. 

I took the sentiment from the Hero Arts Holiday Borders & Icons Stamp Set and stamped it on to more Hero Arts Amethyst Cardstock using Hero Arts Clear Embossing & Watermark Ink. I applied Hero Arts White Embossing Powder and heat set. 

Using the residual ink on my brushes, I blended ink on top before wiping the excess ink off of the embossing powder with a dry cloth. It was cut in to a strip and added to the card with more thin foam tape. 

SUPPLIES:


Here are the links to what I have used on the projects. Affiliate links are used on some products. This means that if you make a purchase after clicking on my link, I receive a small commission with no extra cost to you. I truly appreciate your support when using these links. Please click on the logo below the product to shop at your favourite store. All products were personally purchased except those from Clearly Besotted, Hero Arts or those marked with an asterisk (*) which were kindly sent to me to use. You can read my full disclosure here.


HOLIDAY PROMOTIONS:

Spend $50 in the Hero Arts store and receive a free gift of white and gold glitter paper.

Spend $75 in the Hero Arts store and receive free shipping, as well as the glitter paper.

Spend $100 in the Hero Arts store and receive free Hero Pearls, a free printed catalog, free shipping AND the glitter paper!

HOLIDAY STAMP-ALONG 2022:

Announcing the Holiday 2022 Stamp-Along! (Get early bird pricing from now until 1st October.) Join us for two days of card classes hosted in a private Facebook group. The event will take place 5th and 6th of November 2022. The classes will be available to replay in the group after the event if you cannot attend the event live.

During this virtual event, you will have the opportunity to create at least ten beautiful cards from start to finish, learning tips and tricks from some of your favorite cardmakers. The event will take place in a private Facebook group - you must use Facebook to participate. You can watch everything live as it happens and “stamp-along,” or you can choose to view when it is convenient for you. There will be giveaways throughout the event - everyone who registers will be eligible for the drawings; you do not be present to win.

Also included in the class:

A short list of homework to prep before the event.
Downloadable project sheet with step-by-step instructions.
Supplies listed per card so you can plan your day.
Images of all the cards, including detailed shots.

If you do attend the class, you may want to check out the Holiday 2022 Stamp-Along Bundle. This includes product that will be used during the event and if you purchase them as a bundle, you will receive 12% saving, compared to purchasing separately.

BLOG HOP:

This post is part of a fun, inspirational blog hop. For the hop, you should have arrived here from Lydia Fiedler. Next on the hop is Mindy Eggen. If you get lost along the way, or want to start the hop from the beginning, please head over to the Hero Arts Blog

GIVEAWAY:

Hero Arts are giving away three $50 gift certificates, drawn from comments left across all the stops in the blog hop. Giveaway closes 31st August 2022 at 11.59pm PT. The winner will be announced on the Hero Arts Blog the following week. Good luck!

Thank you so much for stopping by today, I hope you will check out the release. I think it is amazing and I cannot wait to play with more of these lovely products in the next couple of months. I hope you have a great time on the rest of the hop and a fabulous rest of the day too! Take care. 

20 August 2022

Spellbinders | Tinsel Time

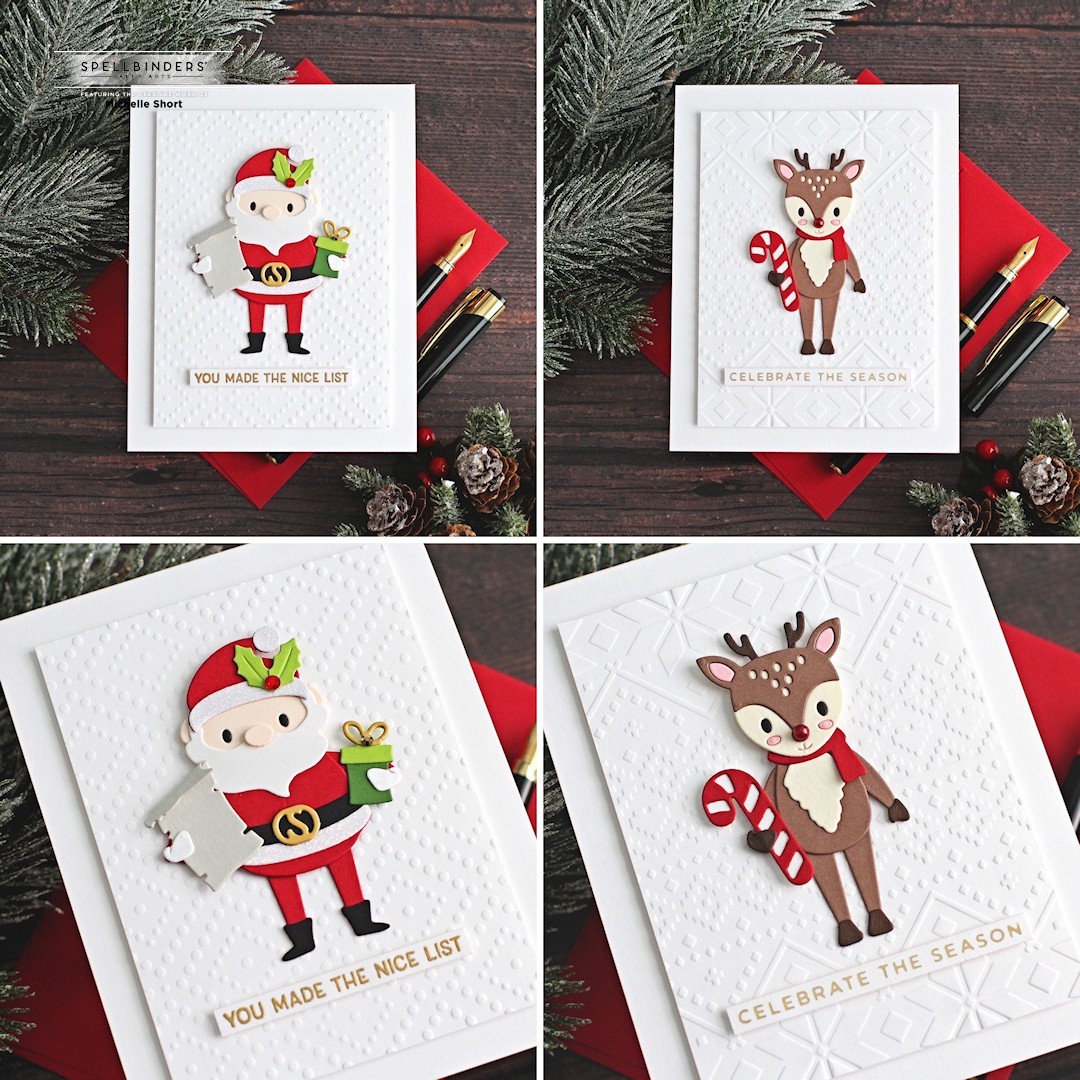
Hello there, today I have two cards to share with you using the new Tinsel Time Collection from Spellbinders. My cards today focus on two new die sets - Dancin' St. Nick and Dancin' Deer. They both have legs that move so they look like they are dancing! So fun! 

PLEASE NOTE: This post contains affiliate links. Please see below for my full disclosure.


When the legs are die cut for the characters, they have a hole in them at the top. All you need to do is add a foam dot inside of the leg piece and then adhere that down on your card (adding no adhesive to the rest of the legs). The legs then move side to side. I did do that on these cards but in photos, it is not that easy to show! They look great just adhered down flat too. So nice that there are options. 

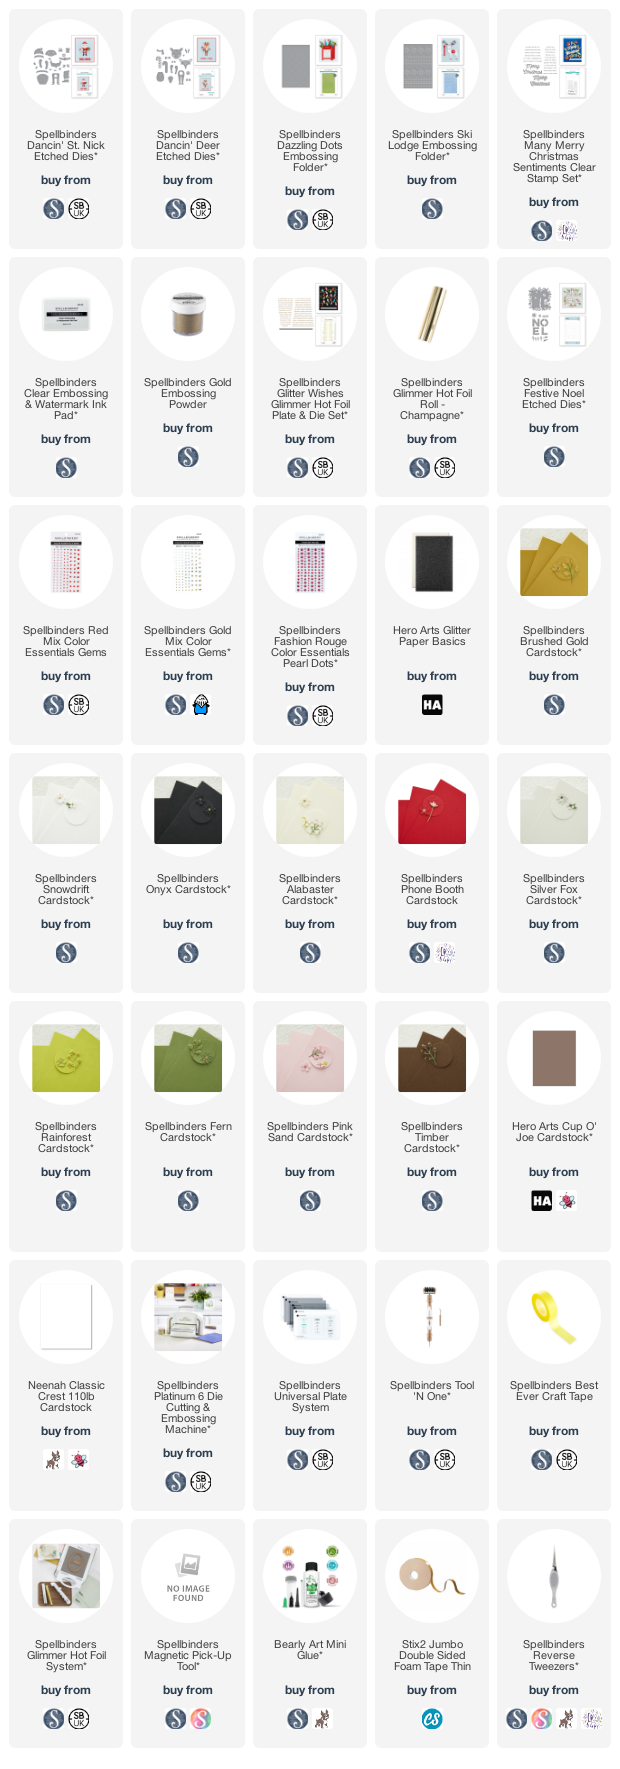
My first card uses the Spellbinders Dancin' St. Nick Etched Dies. I die cut him from Spellbinders Cardstock - Snowdrift, Alabaster, Phone Booth and Onyx

I die cut the belt buckle from Spellbinders Brushed Gold Cardstock and the fur trimming from Hero Arts Glitter Paper Basics (white). The pieces were all assembled and adhered using Bearly Art Glue


There are different items that Santa can hold. I chose the list, which I die cut from Spellbinders Silver Fox Cardstock and the present/gift, which I die cut from Spellbinders Brushed Gold, Fern and Rainforest Cardstock. There are different hand/glove options you can add, depending on if he is holding something or not. 

I ran a panel of white cardstock through my Platinum 6 using the Spellbinders Dazzling Dots Embossing Folder. It was adhered to a US A2 sized white card base with thin foam tape. 


Santa was adhered on top, adding thin foam tape to the top half of his body and a piece to hold the top of his legs in place. To embellish his hat, I die cut holly leaves from the Spellbinders Festive Noel Etched Dies set and added a Spellbinders Red Mix Color Essentials Gem to the centre. 

The sentiment from the Spellbinders Many Merry Christmas Sentiments Stamp & Die Set was stamped on to white cardstock using Spellbinders Clear Embossing & Watermark Ink Pad. I applied Spellbinders Gold Embossing Powder and heat set. It was cut in to a strip and added to the card with more thin foam tape. 


My next card uses the Spellbinders Dancin' Deer Etched Dies. It was cut from Spellbinders Alabaster, Pink Sand, Phone Booth, Onyx and Timber Cardstock. I also used Hero Arts Cup O' Joe Cardstock. The pieces were assembled and adhered with Bearly Art Glue

The candy cane was cut from Spellbinders Snowdrift and Phone Booth Cardstock and like Santa, there are different hand/hooves options! 


I took a panel of white cardstock and ran it through my Platinum 6 using the Spellbinders Ski Lodge Embossing Folder (released September 14th). It was adhered to a US A2 sized white card base with thin foam tape. 

The deer was then adhered on top, again with more thin foam tape. For his nose, I added a Spellbinders Fashion Rouge Color Essentials Pearl Dot


The sentiment from Spellbinders Glitter Wishes Glimmer Hot Foil Plate & Die Set was foiled on to white cardstock using Spellbinders Champagne Glimmer Foil Roll. It was cut in to a strip and added to the card with more thin foam tape. 

SUPPLIES:


Here are the links to what I have used on the projects. Affiliate links are used on some products. This means that if you make a purchase after clicking on my link, I receive a small commission with no extra cost to you. I truly appreciate your support when using these links. Please click on the logo below the product to shop at your favourite store. All products were personally purchased except those from Clearly Besotted, Hero Arts or those marked with an asterisk (*) which were kindly sent to me to use. You can read my full disclosure here.


I had so much fun making these cards! Like I say, the moving legs are very fun but they would work perfectly well just adhered down too. The characters are so cute! There is also a snowman in the collection too. Thank you so much for stopping by to see me today, I really do appreciate it. I hope you have a wonderful day and a great weekend! Take care!

14 August 2022

Spellbinders | Gnome for Christmas

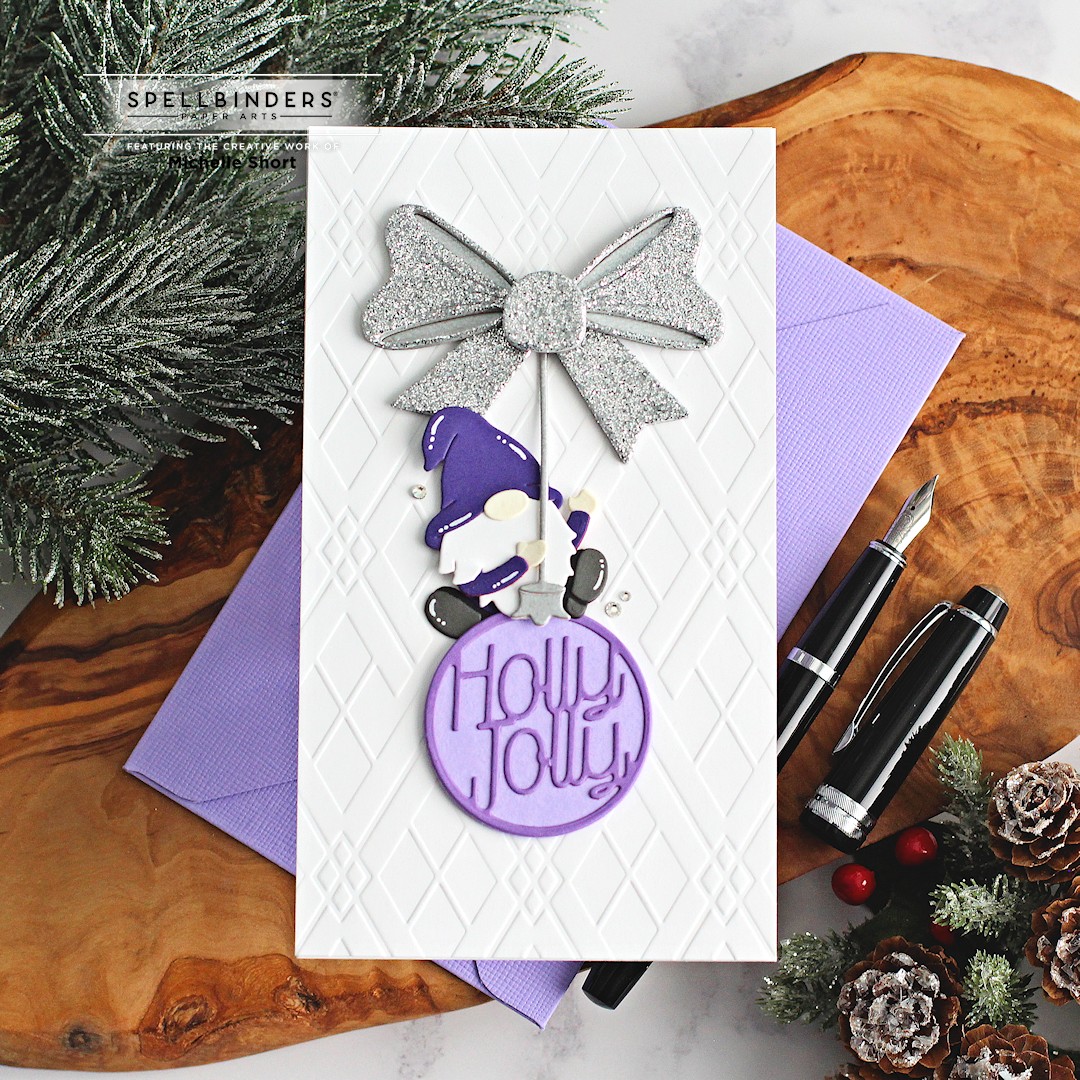
Hello there, today I have a card to share with you using products from the new Gnome for Christmas Collection from Spellbinders. This is such a wonderful collection! Definitely more on the playful side with the little gnomes. 

I am using the super cure Holly Jolly Gnome today. The gnome and ornament can actually swing from the bow. I didn't utilise that feature on my card today but it is such a fun idea!

PLEASE NOTE: This post contains affiliate links. Please see below for my full disclosure.


I started off my card by die cutting the elements from the Spellbinders Holly Jolly Gnome Etched Dies from Spellbinders Cardstock. I cut the gnome from Alabaster, Snowdrift, Royal Amethyst, Onyx and Graphite Cardstock. 

He was assembled and adhered using Bearly Art Glue. The ornament was die cut from Lilac Blossom and Purple Mist Cardstock and layered together. 

The ornament string and topper were die cut from Spellbinders Brushed Silver Cardstock. I also die cut the bow from this to reinforce the silver glitter foam sheet that I also cut it from. This is the Spellbinders Pop-Up Die Cutting Glitter Foam Sheets Gold & Silver Pack. I like that it is already 3D, so no need to pop it up with foam tape!

I took a panel of white cardstock and ran it through my Platinum 6 with the Spellbinders Argyle Socks Embossing Folder. It was then adhered to a mini slimline (6.25" x 3.5") card base with tape runner adhesive. 

The ornament and gnome were adhered on top using thin foam tape. The string and bow were adhered using Bearly Art Glue. To finish off, I added white gel pen highlights to the gnome and a few Spellbinders Silver Mix Color Essentials Gems around the gnome. 

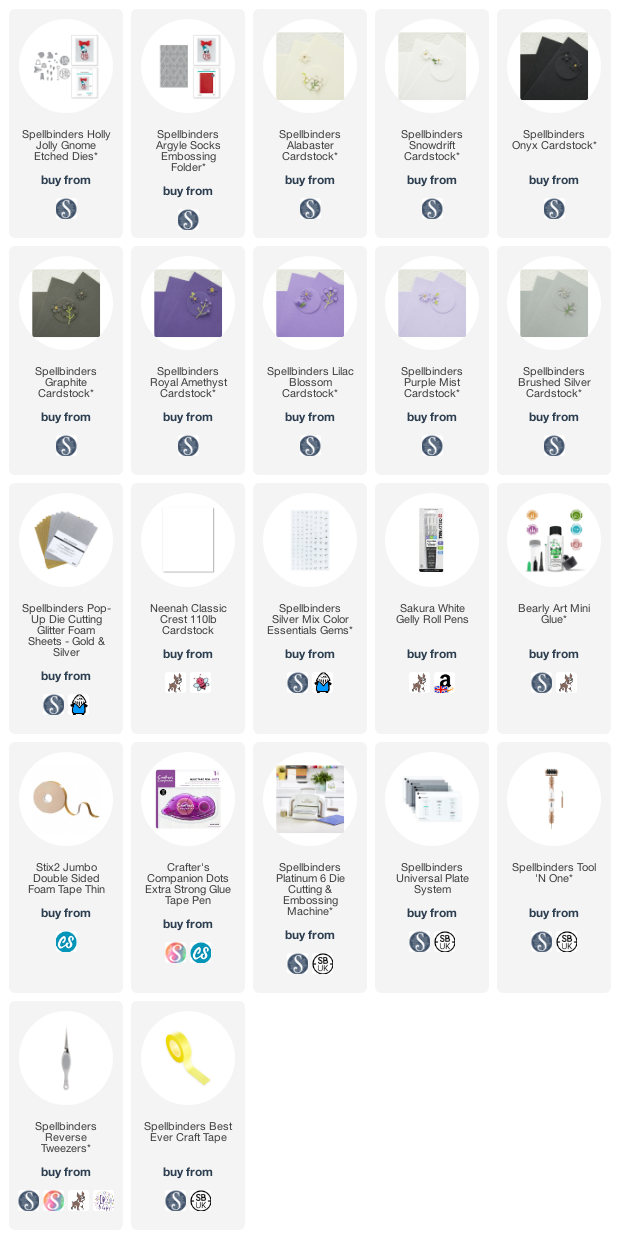
SUPPLIES:


Here are the links to what I have used on the project. Affiliate links are used on some products. This means that if you make a purchase after clicking on my link, I receive a small commission with no extra cost to you. I truly appreciate your support when using these links. Please click on the logo below the product to shop at your favourite store. All products were personally purchased except those from Clearly Besotted, Hero Arts or those marked with an asterisk (*) which were kindly sent to me to use. You can read my full disclosure here.


I know that not everyone loves gnomes. To me these are actually gonks (no face, just a nose), which originate from Nordic and Scandinavian mythology and come out at Christmas time. They are said to be a mix of a gnome and a hobgoblin. I definitely seem to be drawn to gonks more than gnomes! Either way, I think this one is cute swinging on the ornament Miley Cyrus style! ;) 

Thanks so much for stopping by today, I really do appreciate it. I hope you have a lovely day and a great rest of the weekend! 

12 August 2022

Altenew | August 2022 Marvelous Monthly Series Release Blog Hop + Giveaway

Hello there and welcome to Altenew's August 2022 Marvelous Monthly Series Blog Hop! Releasing today is: Build-A-Garden: Daffodil Delight, Craft-A-Flower: Open Peony, Magnolia & Blooms Project Kit, Min Delight: Like A Star and Paint-A-Flower: Wood Anemone. 

PLEASE NOTE: This post contains affiliate links. Please see below for my full disclosure.


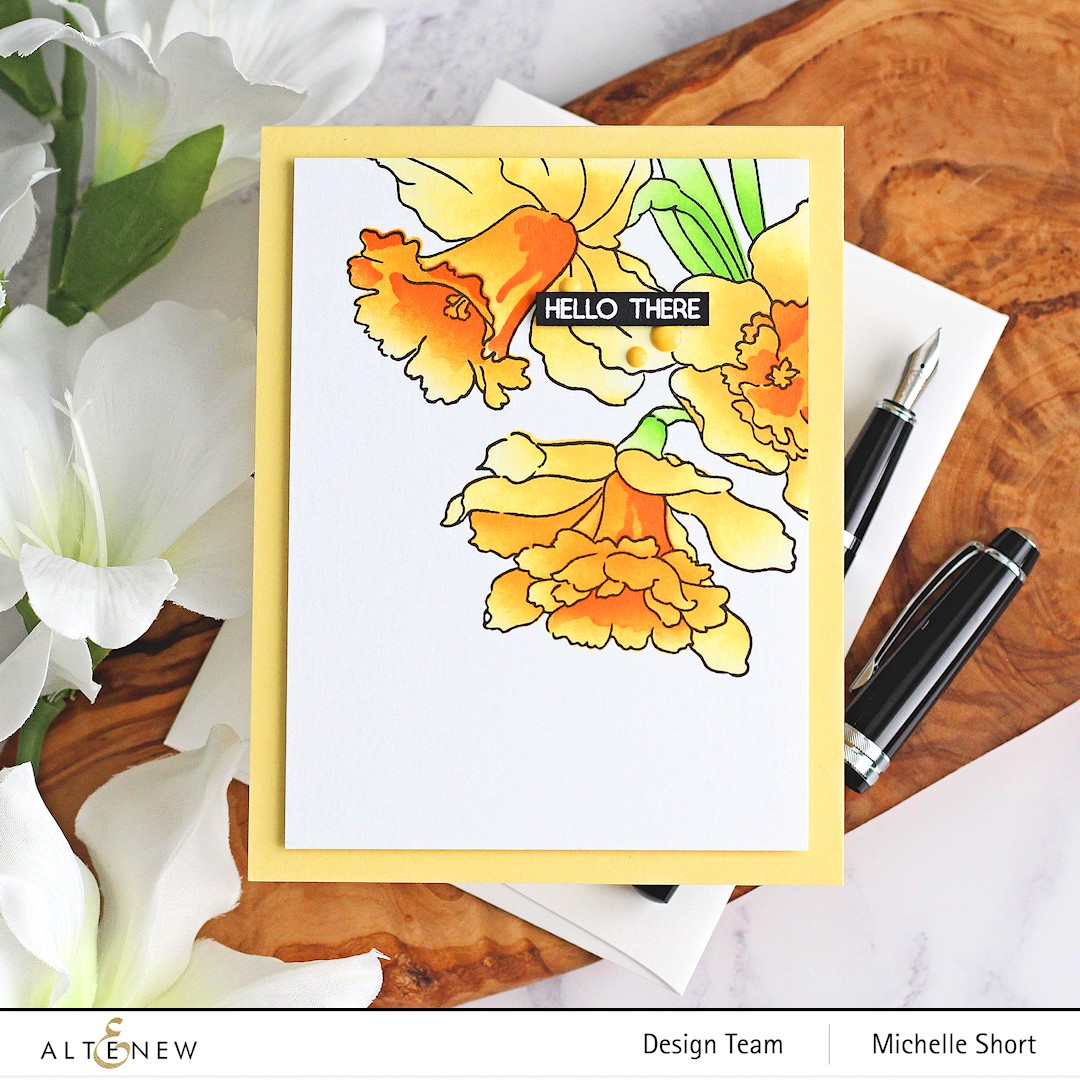
My cards today feature the CAF Open Peony and BAG Daffodil Delight, which are both so pretty! 


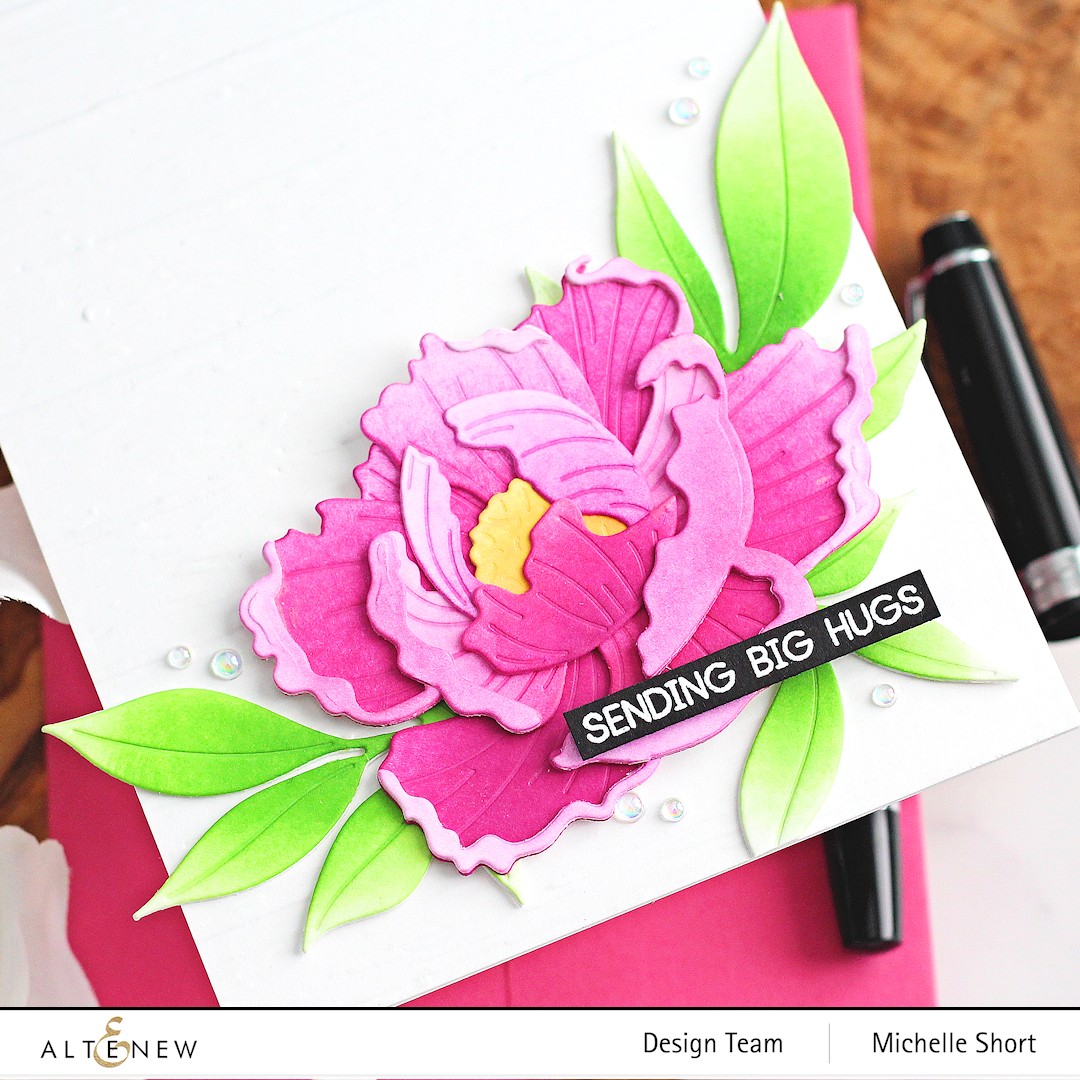
I started off my first card by die cutting the Altenew Craft-A-Flower: Open Peony Layering Die Set from white cardstock. Using an Altenew Small Blending Tool and Altenew Mini Ink Blending Brush, I blended on Altenew Cherry Blossom Crisp Dye Inks (Pinkalicious, Rubellite & Razzleberry) to the petals. The centre uses Altenew Golden Sunset Crips Dye Inks (Sunray & Chamomile). 


The leaves were die cut twice. I knew I wanted them to overhang the card base so I cut them twice and stacked them up for extra stability. The top layer was blended with Altenew Green Valley Crisp Dye Inks (Firefly & Shadow Creek). The layers were assembled and adhered with Altenew 2 in 1 Precision Glue Pen. I took a panel of white cardstock and ran it through my die cutting machine with the Altenew Deck Planks 3D Embossing Folder.


It was adhered to an A2 white card base and the leaves added on top. The flower was adhered with Altenew Instant Dimension Foam Tape. I took the sentiment from the Altenew Build-A-Garden: Daffodil Delight Set and stamped it on to black cardstock with Altenew Embossing Ink. I applied Altenew Pure White Crisp Embossing Powder and heat set. It was cut in to a strip and added to the card with more foam tape. To finish off, I added a few Bubbles embellishments. 


My second card uses the Altenew Build-A-Garden: Daffodil Delight Set. This set consists of a stamp set, stencils and a mini blending brush. I stamped the image on to a panel of white cardstock using Altenew Permanent Black Ink. I placed the stencils one by one on top to colour in the image with ink blending. 


I used Altenew Golden Sunset Crisp Dye Inks (all four shades) for the daffodils and Altenew Green Valley Crisp Dye Inks (Firefly & Grass Field) for the leaves. The panel was adhered to a A2 yellow card base with Altenew Instant Dimension Foam Tape


I stamped the sentiment from the set on to black cardstock using Altenew Embossing Ink. I applied Altenew Pure White Crisp Embossing Powder and heat set. It was cut in to a strip and added to the card with more foam tape. To finish off, I added a few Altenew Pocketful of Sunshine Enamel Dots

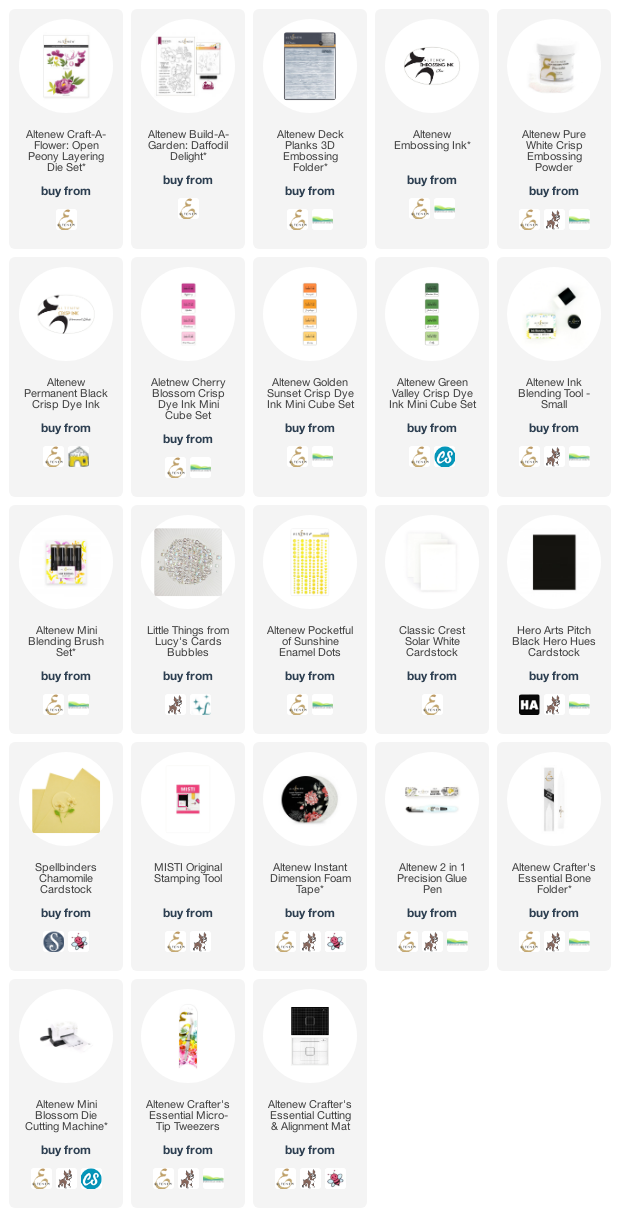
SUPPLIES:


Here are the links to what I have used on the projects. Affiliate links are used on some products. This means that if you make a purchase after clicking on my link, I receive a small commission with no extra cost to you. I truly appreciate your support when using these links. Please click on the logo below the product to shop at your favourite store. All products were personally purchased except those from Clearly Besotted, Hero Arts or those marked with an asterisk (*) which were kindly sent to me to use. You can read my full disclosure here.


BLOG HOP:


For the blog hop, you should have arrived here from Lorena Brougher. Next on the hop is Soraya Maes. If you get lost along the way, or want to start the hop from the beginning, please head over to the Altenew Blog

GIVEAWAY:

$300 in total prizes! To celebrate this release, Altenew is giving away a $50 gift certificate to 2 lucky winners and a $25 gift certificate to 8 winners! Please leave a comment on the Altenew Card Blog and/or each designer’s blog post on the blog hop list below by 18th August 2022 for a chance to win. Altenew will draw 10 random winners from the comments left on each stop of this blog hop and announce the winners on the Altenew Winners Page on 20th August 2022.


Thank you so much for stopping by to see me today. I really do appreciate it. I hope you have a lovely time on the rest of the hop and a great day! 

11 August 2022

Spellbinders UK Website Launch Celebration Blog Hop + Giveaway

Hello there, I am delighted to be joining Spellbinders today to celebrate the launch of the UK website. If you are in the UK or Europe, product can now be shipped from the UK warehouse to avoid higher shipping costs and/or fees. Not everything is stocked in the UK shop but a lot of product is and they are adding more products all the time. We are celebrating with a fun, inspiration filled blog hop and giveaway. More on the hop below. 

PLEASE NOTE: This post contains affiliate links. Please see below for my full disclosure.


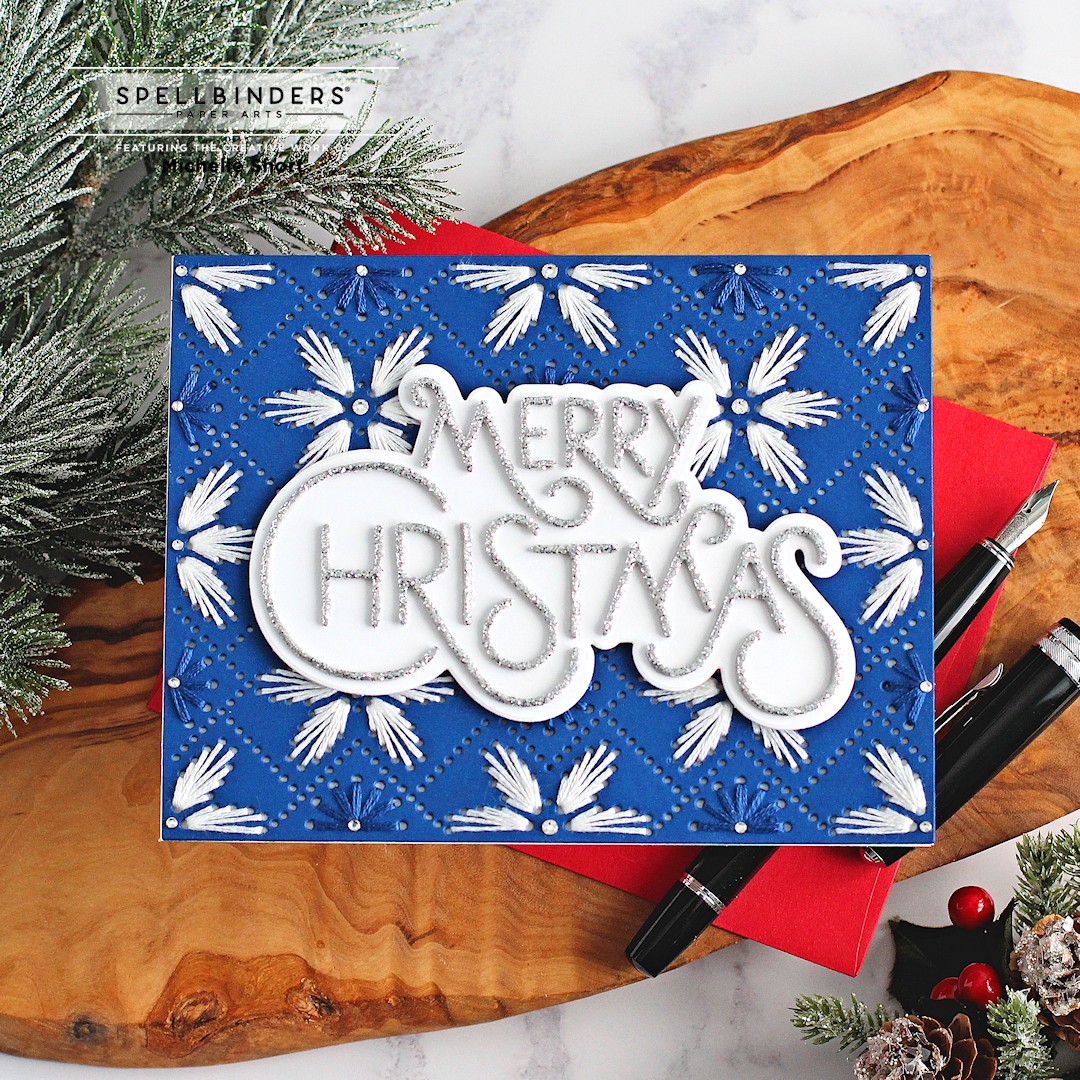
For my card today, I started off by die cutting the Spellbinders Stitched Petal Diamond Etched Dies from the Stitchmas Christmas Collection from Spellbinders Cosmic Sky Cardstock twice. They were adhered together with Bearly Art Glue for added stability when stitching. I find this really helpful as with one layer of cardstock I sometimes end up bending or creasing the cardstock. 


Using DMC White Floss, I started Stitching the larger of the flowers (I think they are supposed to be flowers but I also thought they looked a little like snowflakes too) first. Once they were completed, I stitched the smaller flowers with dark blue DMC Floss. The panel was then adhered to an A2 white card base with Bearly Art Glue


I took the Spellbinders Stylish Merry Christmas Etched Dies from the Celebrate the Season Collection and die cut the shadow from white cardstock. I then die cut the word itself from Spellbinders Silver Pop-Up Die Cutting Glitter Foam Sheets, which was adhered to the shadow with more Bearly Art Glue and then the piece adhered to the card with thin foam tape. To finish off, I added a few Spellbinders Silver Mix Color Essentials Gems

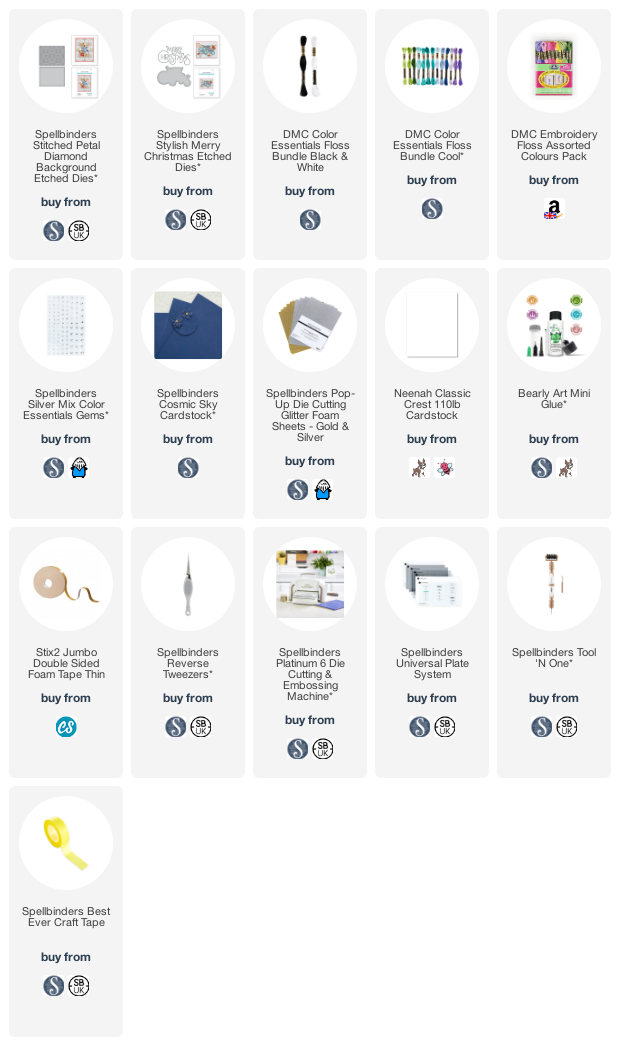
SUPPLIES:


Here are the links to what I have used on the project. Affiliate links are used on some products. This means that if you make a purchase after clicking on my link, I receive a small commission with no extra cost to you. I truly appreciate your support when using these links. Please click on the logo below the product to shop at your favourite store. All products were personally purchased except those from Clearly Besotted, Hero Arts or those marked with an asterisk (*) which were kindly sent to me to use. You can read my full disclosure here.


BLOG HOP:


As mentioned, this post is part of a fun blog hop. For the hop, you should have arrived here from the fabulous Bibi Cameron. Next on the hop is the fantastic Sharon Curtis. If you get lost along the way, or want to start the hop from the beginning, please head over to the Spellbinders Blog

GIVEAWAY:

To celebrate the release, Spellbinders are giving away a £25 gift certificate to 3 lucky blog hop readers - selected from comments left on the Spellbinders Blog. Giveaway closes on 14th August 2022 at 11.59pm EDT. The winners will be announced the following Wednesday. Winners are responsible for shipping costs, duties and taxes. 

Thank you so much for stopping by today, I really do appreciate it. I hope you have a lovely time on the rest of the hop and a great rest of the day! 

10 August 2022

Penguin Palace | Missing Piece of the Puzzle

Hello there, today I have a card to share with you as part of my guest designing with Penguin Palace. Today is my final post and I am using the We Are Right For Each Other set and it is super cute! There are lots of critters holding puzzle pieces and then also lots of words that you can stamp on to the puzzle pieces to create a sentiment.

PLEASE NOTE: This post contains affiliate links. Please see below for my full disclosure.


I started off by stamping the puzzle piece images from the Penguin Palace We Are Right For Each Other Stamp Set on to white cardstock with Memento Tuxedo Black Ink. I then stamped the words on top. They were coloured using Copic Markers and then die cut out using the Penguin Palace We Are Right For Each Other Perfect Cuts


I took a panel of Tim Holtz Heavystock Cardstock and added ink blending to it using brushes and Tim Holtz Distress Inks. I used (left to right) Picked Raspberry, Dried Marigold, Mustard Seed, Twisted CitronMermaid Lagoon and Wilted Violet. I spritzed it with water and then also added some droplets on to before setting it aside to dry. 


Once dry, it was adhered to a mini slimline card base (6.25" x 3.5") made from black cardstock using thin foam tape. The images were then added on top with more thin foam tape. To finish off, I added a few white gel pen highlights to the images. 

SUPPLIES:


Here are the links to what I have used on the project. Affiliate links are used on some products. This means that if you make a purchase after clicking on my link, I receive a small commission with no extra cost to you. I truly appreciate your support when using these links. Please click on the logo below the product to shop at your favourite store. All products were personally purchased except those from Clearly Besotted, Hero Arts or those marked with an asterisk (*) which were kindly sent to me to use. You can read my full disclosure here.


A big thank you goes to Sharon and her team for having me guest design with them the last few weeks. If you haven't already, I hope you will check out their products, they are so cute! For more inspiration, please head over to the Penguin Palace Blog. Thanks so much for stopping by today, I really do appreciate it. Have a wonderful day! 
End of code