9 August 2022

Spellbinders | Glimmer Greetings

Hello there, today I have two cards to share with you using the Spellbinders Glimmer Greetings Collection. A lot of the release is Christmas/holiday themed but quite a lot of it can be used all year round too, I think. I love the arches and diamonds in particular. 

PLEASE NOTE: This post contains affiliate links. Please see below for my full disclosure.
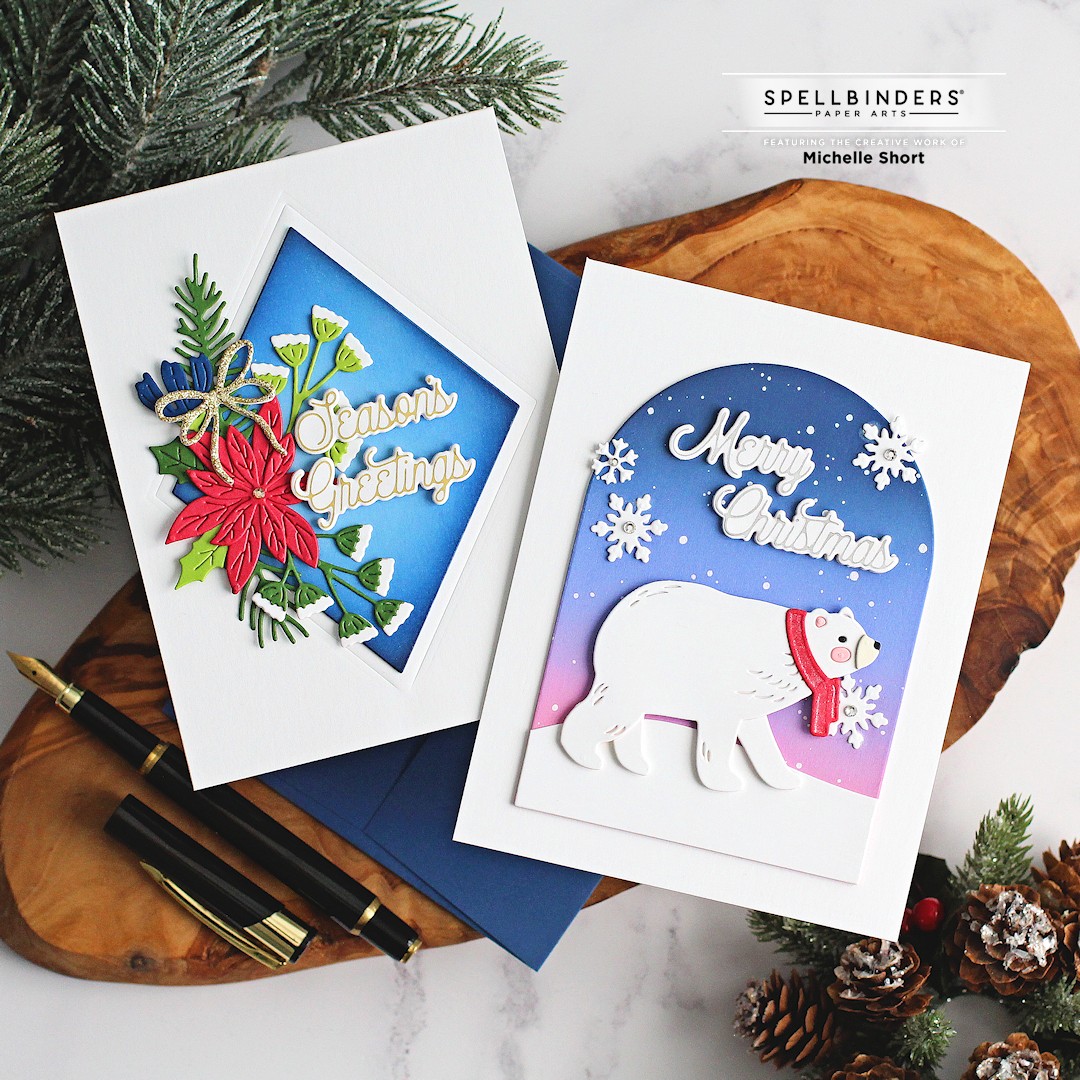


My cards today focus mainly on the new Essential Arched and Diamond Etched Dies, as well as the fabulous Merry Glimmer Sentiments but please note that there are solid foil plates to match the arches and diamonds. There are also other foil plates that work perfectly with these shapes too. 
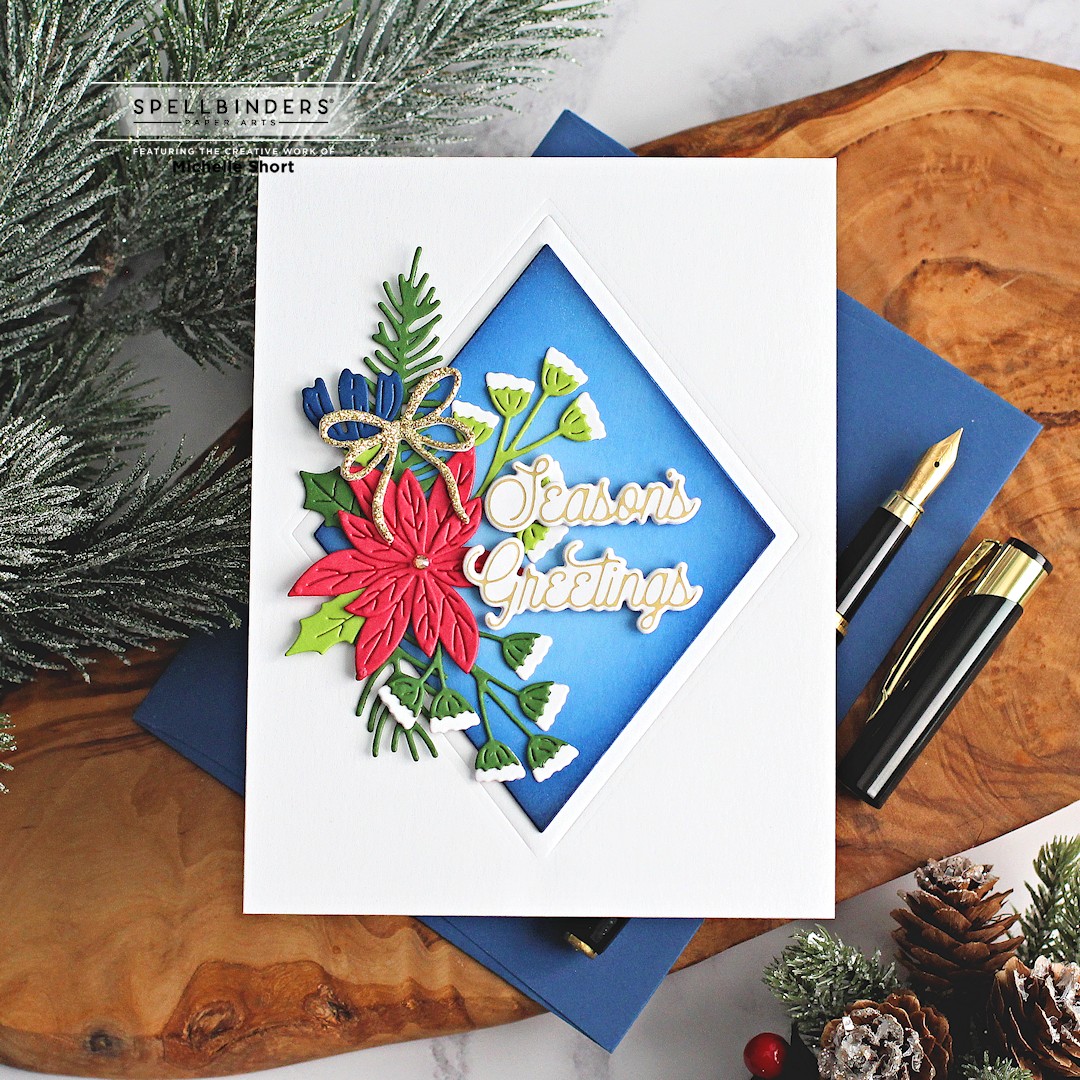

For my first card, I started off by die cutting one of the Spellbinders Essential Diamond Etched Dies from Spellbinders Raindrop Cardstock. Using Ink Blending Brushes, I blended on Distress Inks in Prize Ribbon, Chipped Sapphire and Black Soot around the edges. I popped it up with another die cut and then adhered it to an A2 white card base where I embossed a larger diamond die in the middle. 


I then die cut lots of flowers and foliage using the Spellbinders Holiday Blooms Etched Dies, with the pine fronds, small holly leaves and bow from the Spellbinders Parcel & Post Christmas Decorations Etched Dies using Spellbinders Cardstock. The flowers were assembled and adhered with Bearly Art Glue and thin foam tape. 


I took the sentiments from the Spellbinders Glimmer Greetings Glimmer Hot Foil Plate & Die Set and foiled them on to Hammermill Cardstock using Spellbinders Matte Gold Glimmer Hot Foil Roll. They were die cut using the coordinating dies and then popped up with an additional two layers of die cuts for dimension. They were added to the card using thin foam tape. To finish off, I added a Spellbinders Gold Essentials Gem to the centre of the poinsettia. 


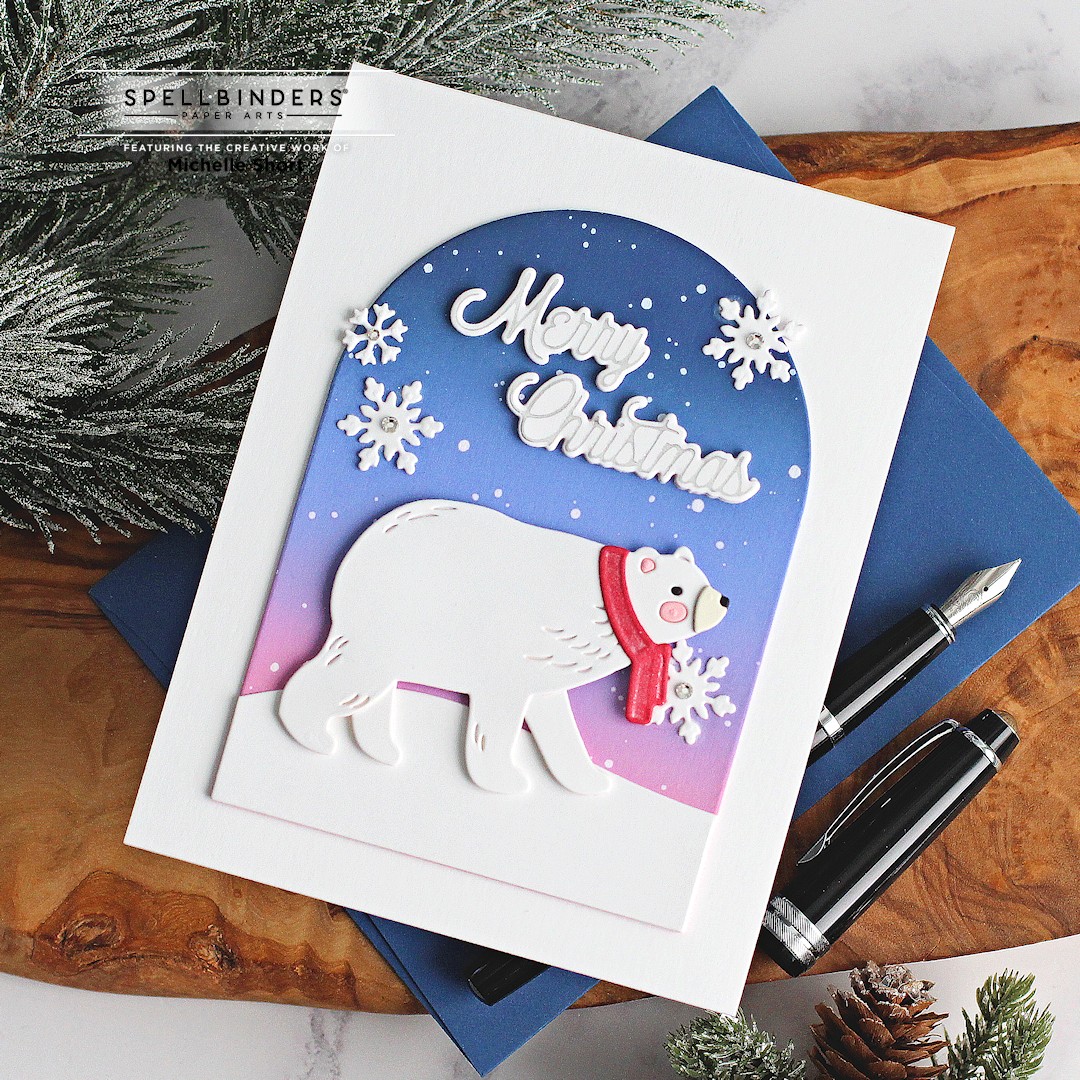
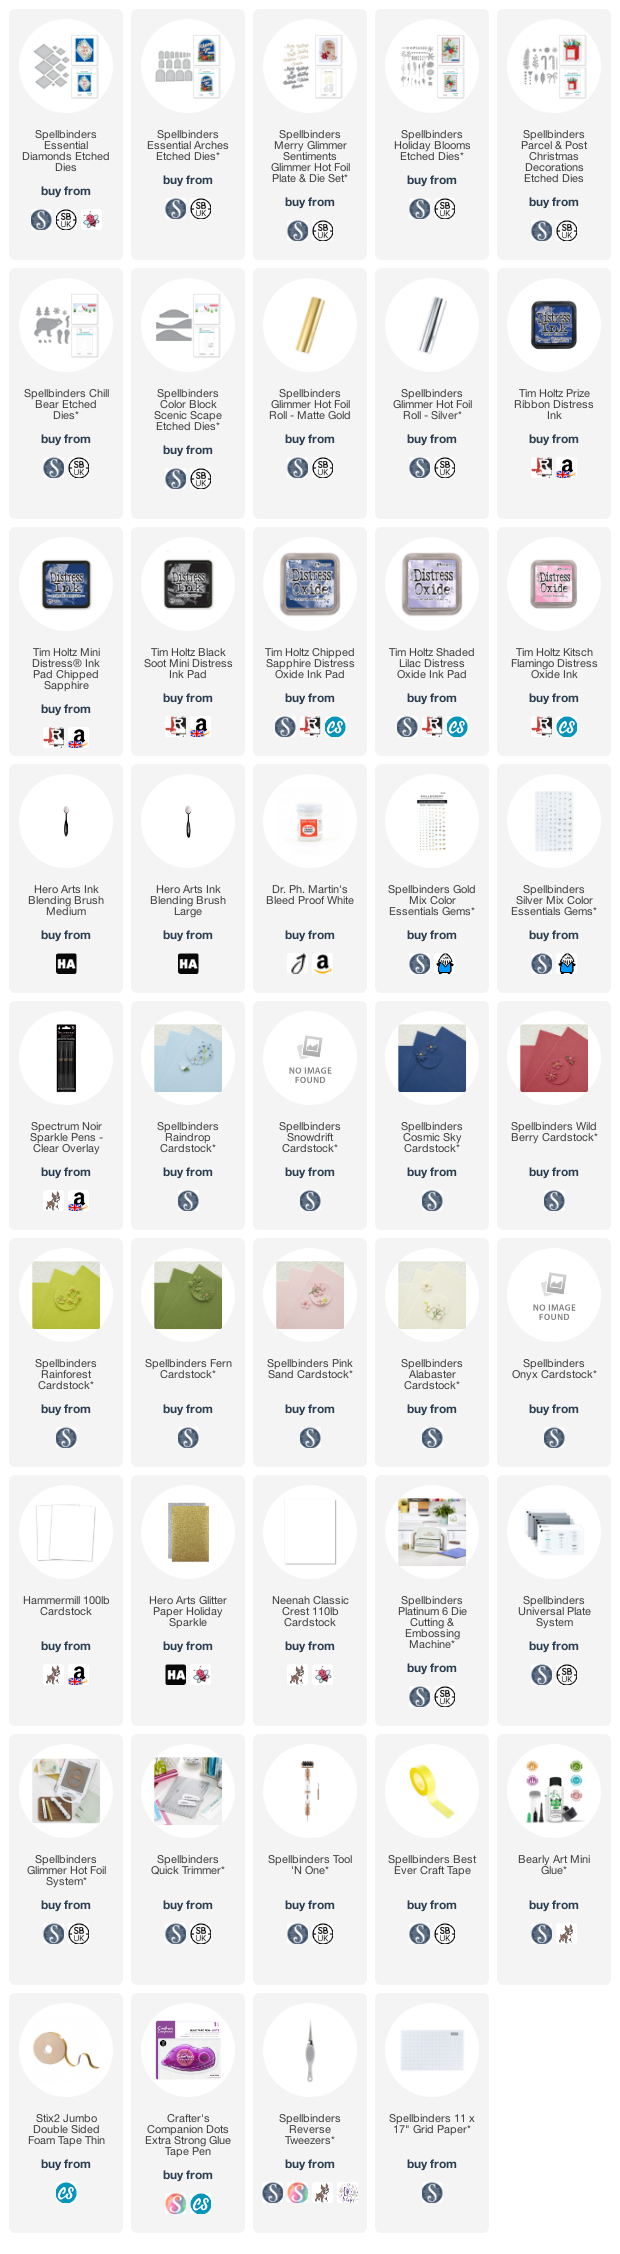
For my second card, I started off by die cutting two Spellbinders Essentials Arches Etched Dies from white cardstock. I kept one intact and then with the other, I die cut it further using the Spellbinders Color Block Scenic Scape Etched Dies to create a snowbank. On the intact one, I added ink blending using brushes and Distress Oxide Inks. I used (top to bottom) Chipped Sapphire, Shaded Lilac and Kitsch Flamingo


I then added snow splatter with Dr. Ph. Martin's Bleed Proof White Paint before setting aside to dry. Once dry, I adhered the snowbank at the bottom and then adhered it to an A2 white card base. I die cut Spellbinders Chill Bear Etched Dies from Spellbinders Cardstock in Snowdrift, Alabaster, Onyx, Pink Sand and Wild Berry for the scarf. He was assembled and adhered with Bearly Art Glue


He was then adhered to the card using thin foam tape. I took the sentiments from the Spellbinders Glimmer Greetings Glimmer Hot Foil Plate & Die Set and foiled them on to Hammermill Cardstock using Spellbinders Silver Glimmer Hot Foil Roll. They were then popped up with another layer of die cuts and adhered to the card. I finished off with snowflakes from the Chill Bear set with Spellbinders Silver Color Essentials Gems added to the centres and Spectrum Noir Clear Sparkle Overlay Pen on the scarf. 

SUPPLIES:


Here are the links to what I have used on the projects. Affiliate links are used on some products. This means that if you make a purchase after clicking on my link, I receive a small commission with no extra cost to you. I truly appreciate your support when using these links. Please click on the logo below the product to shop at your favourite store. All products were personally purchased except those from Clearly Besotted, Hero Arts or those marked with an asterisk (*) which were kindly sent to me to use. You can read my full disclosure here.

I thought the arch die looked kind of like a snow globe! You could create so many scenes with it being that but it is also just a lovely shape, as are the diamonds. Thank you so much for stopping by today, I really do appreciate it. I hope you have a lovely day! 

8 August 2022

VIDEO | MFT Paper Pieced Girl's Night In

Hello there, I am over on the My Favorite Things YouTube Channel today sharing a card using paper piecing. I haven't done paper piecing in years, but I saw a card by Inge Groot (who is fantastic with patterned paper!) and fell in love with it. So I decided to use the same set and also paper piecing on my card. Our cards are very different but my inspiration did come from her. I love her work!

PLEASE NOTE: This post contains affiliate links. Please see below for my full disclosure.


I started off by stamping the girl from MFT I Need Some Me & You Time on to white cardstock with black ink. I then coloured her using Copic Markers (the colours that I used are listed below the supplies list for reference). I did not colour the pillow and mask as I knew I wanted to paper piece them. She was then die cut out using the MFT I Need Some Me & You Time Die-namics

I stamped her again but this time on to a piece of paper from the MFT Sweet Plaid Paper Pad. I tried to position her so that the plaid would be centred on the eye mask and pillow. I then added some shadows on to the images with Copic Markers, before fussy cutting out with scissors. When paper piecing, I find it best to cut either inside the line or on the line. That way when you piece it back in, the cutting does not show. I added the pieces on to the image using MFT On-Point Precision Glue

I stamped the sentiment from the set on to an A2 white card base with more black ink. Using memo tape, I masked off an area so that I could add some ink blending for a subtle background. I blended on Tim Holtz Salvaged Patina Distress Oxide Ink first. I then moved the memo tape up and added Tim Holtz Black Soot Distress Ink for the ground. The tape was removed and the girl added on top with foam tape. To finish off, I added white gel pen dots to the background and then highlights on the image. 

VIDEO:

Here is the video showing how I made the card:

If you are viewing this post via email subscription, you can watch the video HERE on YouTube. 

SUPPLIES:


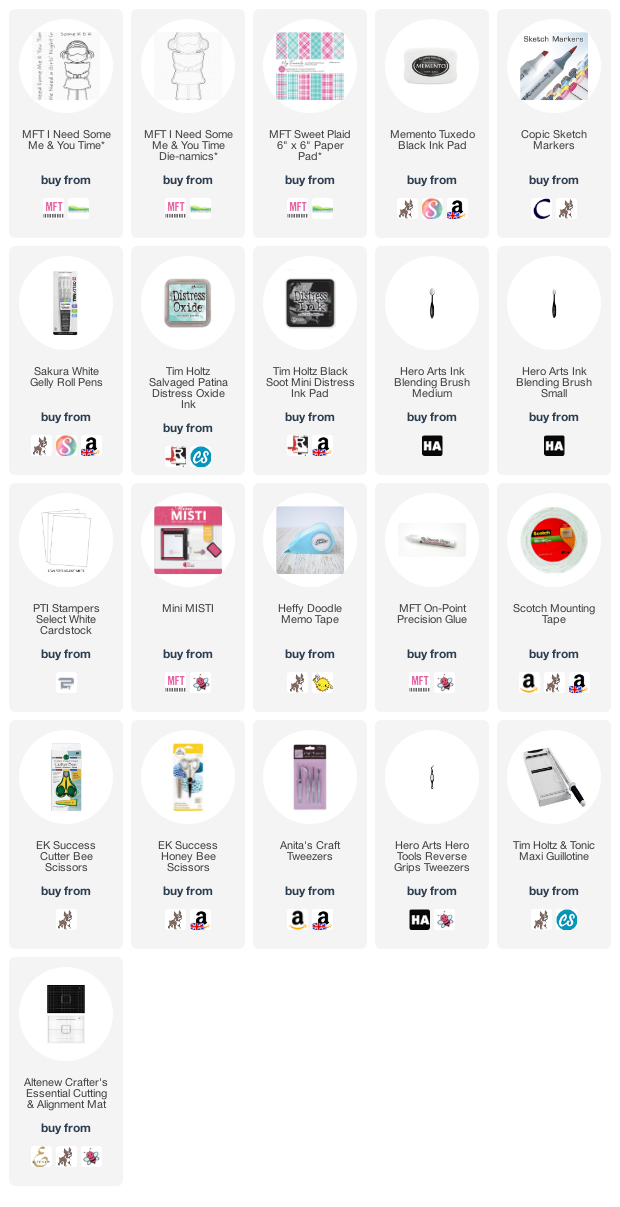
Here are the links to what I have used on the project and in the video. Affiliate links are used on some products. This means that if you make a purchase after clicking on my link, I receive a small commission with no extra cost to you. I truly appreciate your support when using these links. Please click on the logo below the product to shop at your favourite store. All products were personally purchased except those from Clearly Besotted, Hero Arts or those marked with an asterisk (*) which were kindly sent to me to use. You can read my full disclosure here.


COPIC MARKERS: Girl's skin - E13, E11, E00, E000, R20. Hair - E29, E27, E25, E23, E21. Pajamas - V17, V15, V12. Slippers - C8, C7, C5. Pillow & eye mask - BG13, BG11, C1, C00. 

I think the paper piecing works so well for this image. It really does look like fabric on the pillow and eye mask! Thanks so much for stopping by today, I really do appreciate it. I hope you have a wonderful day! 

6 August 2022

Spellbinders | Sweet Birthday Wishes

Hello there, today I have a card to share with you using the Spellbinders August 2022 Large Die of the Month Club Kit. This month's kit is the 'Strawberry Patch'. There are lots of strawberries, flowers, leaves, a stem and a basket in the set, so lots of different ways to use them. 

PLEASE NOTE: This post contains affiliate links. Please see below for my full disclosure.


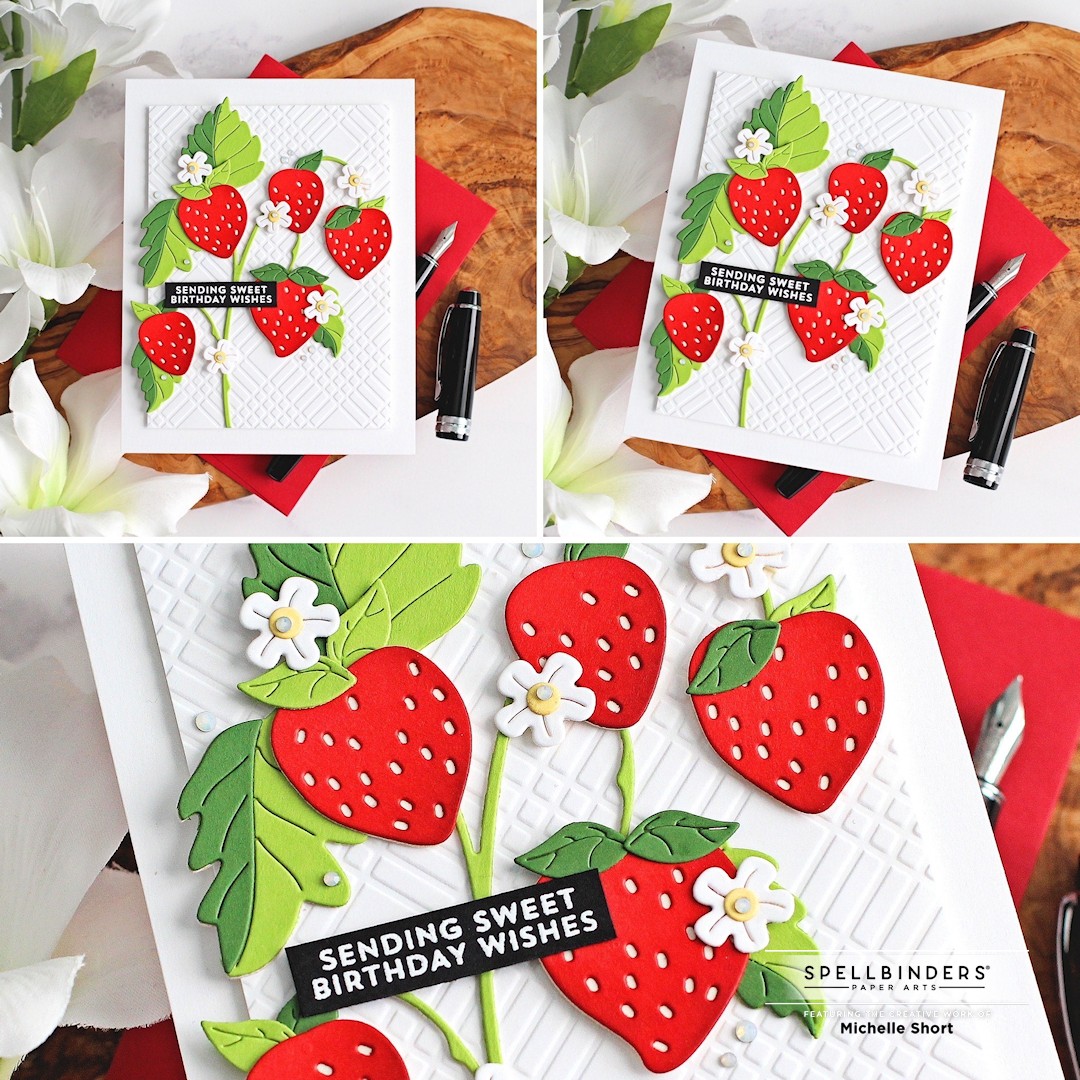
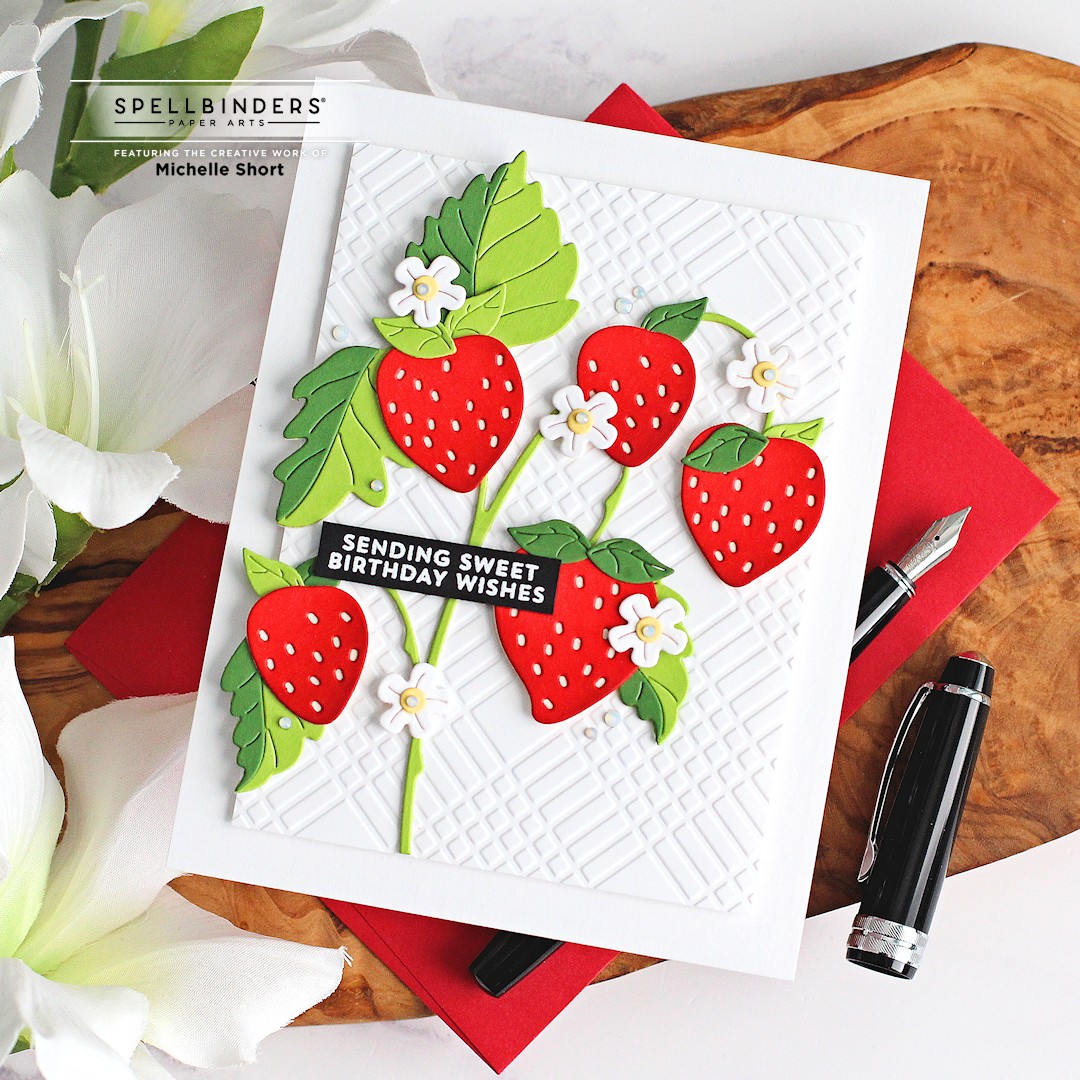
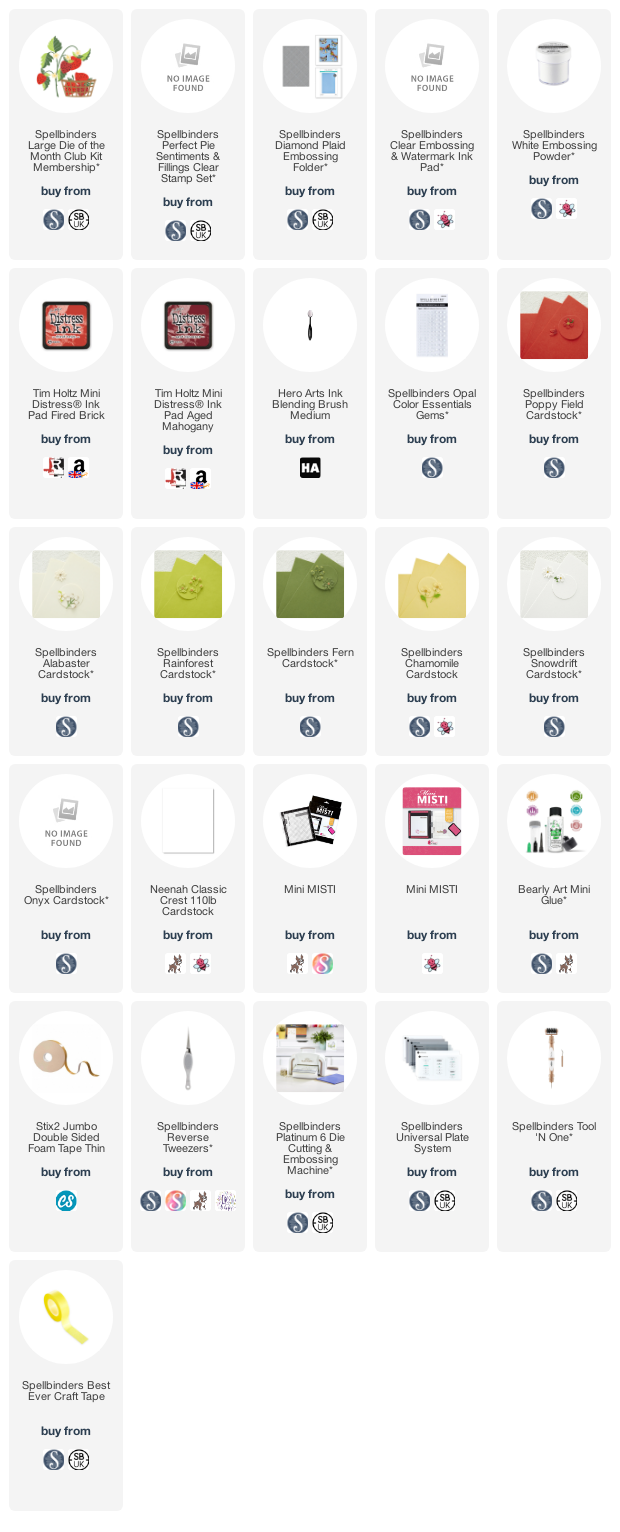
I started off my card by die cutting the elements from the Spellbinders August 2022 Large Die of the Month Club Kit using Spellbinders Cardstock. The strawberries have two layers, the front layer and also the back layer (which peeks through for the "seeds"/achenes). I used Poppy Field for the top and Alabaster for the back. For the stem and small leaves, I used Rainforest. For the added leaf layers, as well as some of the smaller leaves, I used Fern


The flowers are die cut from Snowdrift and Chamomile. I added ink blending to the strawberries using Distress Inks and an ink blending brush. I used Fired Brick and Aged Mahogany and focused most of the colour towards the bottom and right hand side of them. The pieces were then layered up and adhered using Bearly Art Glue


I embossed a panel of cardstock using the Spellbinders Diamond Plaid Embossing Folder and then added the strawberry stem on top first, followed by the strawberries and small leaves. The flowers were adhered with thin foam tape. The panel was then adhered to an A2 white card base with thin foam tape. 


The sentiment from the Perfect Pie Sentiments & Fillings Clear Stamp Set was stamped on to black cardstock using Spellbinders Clear Embossing & Watermark Ink. I applied Spellbinders White Embossing Powder and heat set. It was cut in to a strip and added to the card with more thin foam tape. To finish off, I added a few Spellbinders Opal Color Essentials Gems

SUPPLIES:


Here are the links to what I have used on the project. Affiliate links are used on some products. This means that if you make a purchase after clicking on my link, I receive a small commission with no extra cost to you. I truly appreciate your support when using these links. Please click on the logo below the product to shop at your favourite store. All products were personally purchased except those from Clearly Besotted, Hero Arts or those marked with an asterisk (*) which were kindly sent to me to use. You can read my full disclosure here.


SPELLBINDERS CLUB KITS

I hope that you will check out the Spellbinders Club Kits. It is a wonderful monthly subscription where you receive the kit each month. Designers like myself share inspiration using the kit at the beginning of the month to show you lots of different ways that you can use it. 

There are also lots of other club kits too, like the Small Die of the Month and Stamp & Clear Die of the Month (plus lots more!), so there is something for everyone! If you do subscribe, you will get other benefits from Spellbinders too. Please see here for more information. You can also buy older kits here too. 

If you do want to get hold of this month's kit, you would need to subscribe by 28th August 2022 to receive it. Subscribers can cancel their membership at any time. 

Thank you so much for stopping by today, I really do appreciate it. Wishing you a wonderful day and a great weekend! 

4 August 2022

Altenew | August 2022 Bold & Beautiful Release Blog Hop + Giveaway

Hello there and welcome to the Altenew Bold & Beautiful Collection Release Blog Hop! The new collection features lots of lovely stamps, dies, stencils and embossing folders. For my card today, I am using the beautiful Dazzling Dahlia set. More information on the blog hop below. 

PLEASE NOTE: This post contains affiliate links. Please see below for my full disclosure.


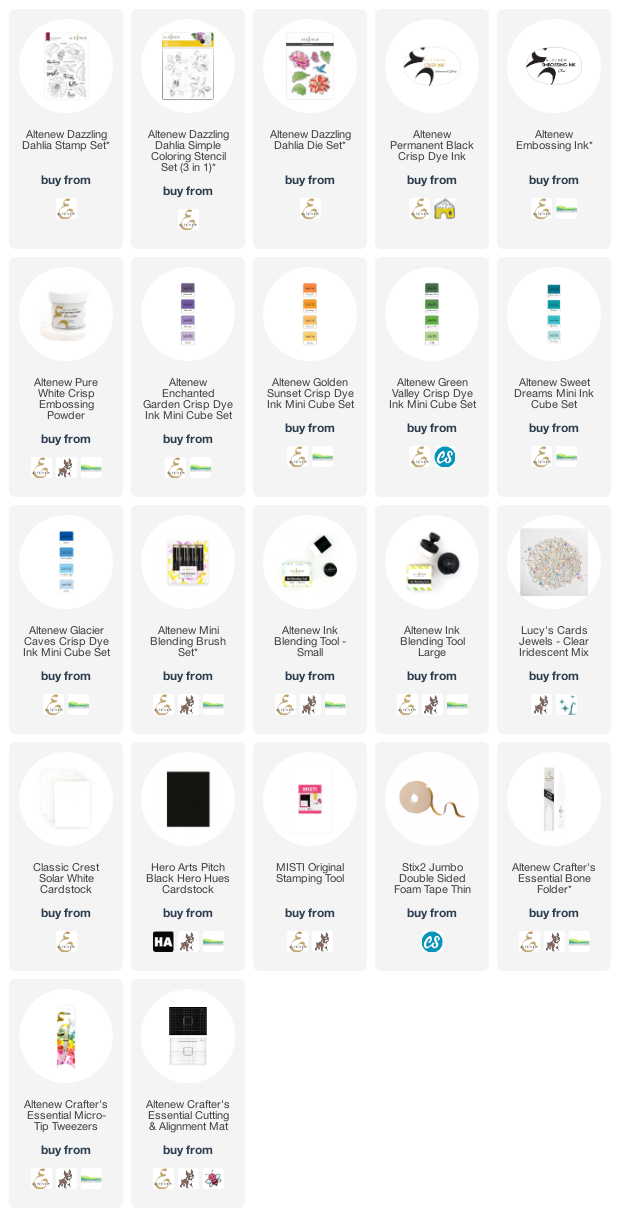
I started off my card my card by stamping the flower, leaves and hummingbird from the Altenew Dazzling Dahlia Stamp Set on to white cardstock with Altenew Permanent Black Ink. I then placed the Altenew Dazzling Dahlia Simple Coloring Stencils on top. Using Small and Mini Ink Blending Brushes, I blended on Hydrangea (Altenew Enchanted Garden Crisp Dye Inks) Ink for the flower.


I used Sunray Ink (Altenew Golden Sunset Crisp Dye Inks) for the centre. I then used Firefly and Grass Field (Altenew Green Valley Crisp Dye Inks) for the leaves and Dew Drops, Aqualicious (Altenew Sweet Dreams Crisp Dye Inks) and Hydrangea for the hummingbird. They were all then die cut using the Altenew Dazzling Dahlia Die Set


I added ink blending to the top left hand corner of a panel of white cardstock using an Altenew Large Ink Blending Tool and Caribbean Sky (Altenew Glacier Caves Crisp Dye Inks) Ink. It was adhered to an A2 white card base with thin foam tape, followed by the images. The sentiment was stamped on to black cardstock with Altenew Embossing Ink. Altenew Pure Crisp Embossing Powder was applied and heat set. It was cut in to a strip and added to the card. To finish off, I added a few iridescent jewels. 

SUPPLIES:


Here are the links to what I have used on the project. Affiliate links are used on some products. This means that if you make a purchase after clicking on my link, I receive a small commission with no extra cost to you. I truly appreciate your support when using these links. Please click on the logo below the product to shop at your favourite store. All products were personally purchased except those from Clearly Besotted, Hero Arts or those marked with an asterisk (*) which were kindly sent to me to use. You can read my full disclosure here.


BLOG HOP:


As mentioned, this post is part of a fun, inspirational blog hop with prizes. For the hop, you should have arrived here from the fabulous Teresa Litchfield. Next on the hop is the amazing Bridget Casey. If you get lost along the way, or want to start the hop from the beginning, please head over to the Altenew Blog

FREE GIFTS:

GIVEAWAY:

$300 in total prizes! To celebrate this release, Altenew is giving away a $50 gift certificate to 2 lucky winners and a $25 gift certificate to 8 winners! Please leave a comment on the Altenew Card Blog and/or each designer’s blog post on the blog hop list below by 10th August 2022 for a chance to win. Altenew will draw 10 winners randomly from the comments left on each stop of this blog hop and announce the winners on the Altenew Winners Page on 11th August 2022.


Isn't it a beautiful set? I am delighted to say that will be sharing more inspiration using it (along with some other beautiful products) in the Altenew Academy Crafter Class  - Late Summer 2022 which I am teaching a lesson in. I hope you will check it out! Thank you so much for stopping by today, I really appreciate it. I hope you have a wonderful day! 

3 August 2022

Penguin Palace | Hello There

Hello there, I am back today to share another card using products from Penguin Palace as part of my guest designing with them. You can see my first projects here. My card today is super simple but I absolutely love the Hello There die. It really packs a punch just used on it's own and I love the font! 

PLEASE NOTE: This post contains affiliate links. Please see below for my full disclosure.


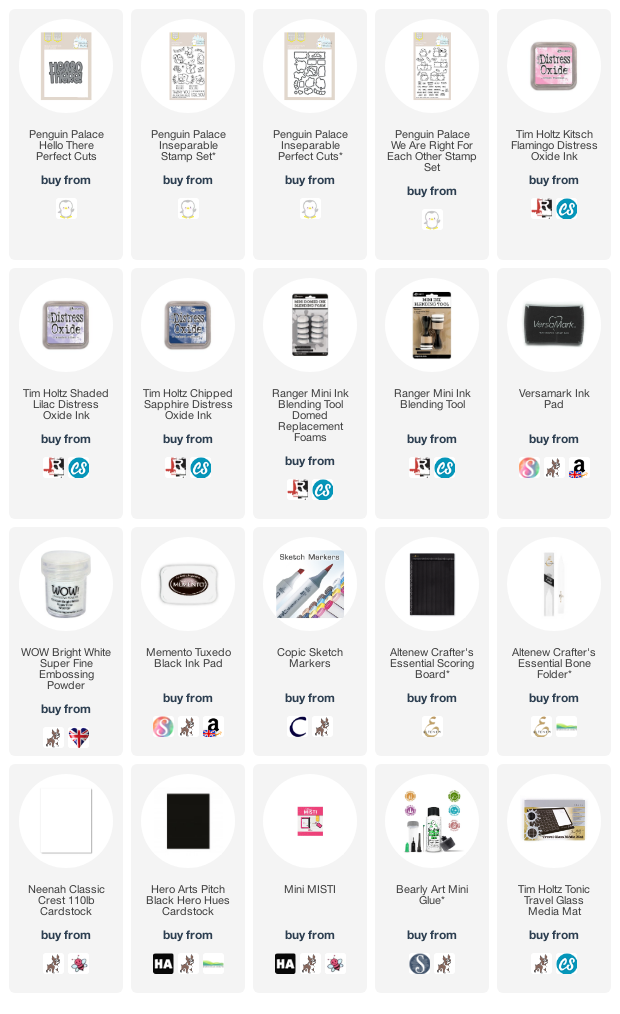
I started off my card by die cutting the Penguin Palace Hello There Perfect Cuts four times from white cardstock. On one of the layers, I added ink blending with Tim Holtz Distress Oxide Inks and Ink Blending Tools. I used Kitsch Flamingo, Shaded Lilac and Chipped Sapphire - such a pretty blend! The pieces were layered up one on top of another using Bearly Art Glue.


I took an A2 white card base and added horizontal scoring lines to it using the Altenew Scoring Board and a bone folder (sadly they don't show up the photos but add an extra touch in real life!). The hello there piece was then added on top with more liquid glue. I took the sentiment from the Penguin Palace We Are Right For Each Other Stamp Set and stamped it on to black cardstock with Versamark Ink. I applied white embossing powder and heat set. 


It was cut in to a strip and added to the card. I felt like it needed a little extra so I took the heart image from the Penguin Palace Inseparable Stamp Set and stamped it on to white cardstock with Memento Tuxedo Black Ink. It was coloured with Copic Markers (RV34, RV32, RV11) and die cut out using the Penguin Palace Inseparable Perfect Cuts. I also stacked it two more die cuts high for some added dimension and added it to the card.

SUPPLIES:


Here are the links to what I have used on the project. Affiliate links are used on some products. This means that if you make a purchase after clicking on my link, I receive a small commission with no extra cost to you. I truly appreciate your support when using these links. Please click on the logo below the product to shop at your favourite store. All products were personally purchased except those from Clearly Besotted, Hero Arts or those marked with an asterisk (*) which were kindly sent to me to use. You can read my full disclosure here.


For more inspiration using Penguin Palace products, please head over to their blog. Thank you so much for stopping by today, I really do appreciate it. I hope you have a wonderful day! 

1 August 2022

Hero Arts | My Monthly Hero August 2022 Release Blog Hop + Giveaway

Hello there and welcome to the Hero Arts August 2022 My Monthly Hero Release Blog Hop + Giveaway. Both the kit and add-ons are now available in store to purchase. The release this month is called 'Not All Who Wander Are Lost' and features lots of beautiful landscapes and travelling themed products. I have two cards to share with you today - one using the main kit and the other with two of the add-on products. 

PLEASE NOTE: This post contains affiliate links. Please see below for my full disclosure.


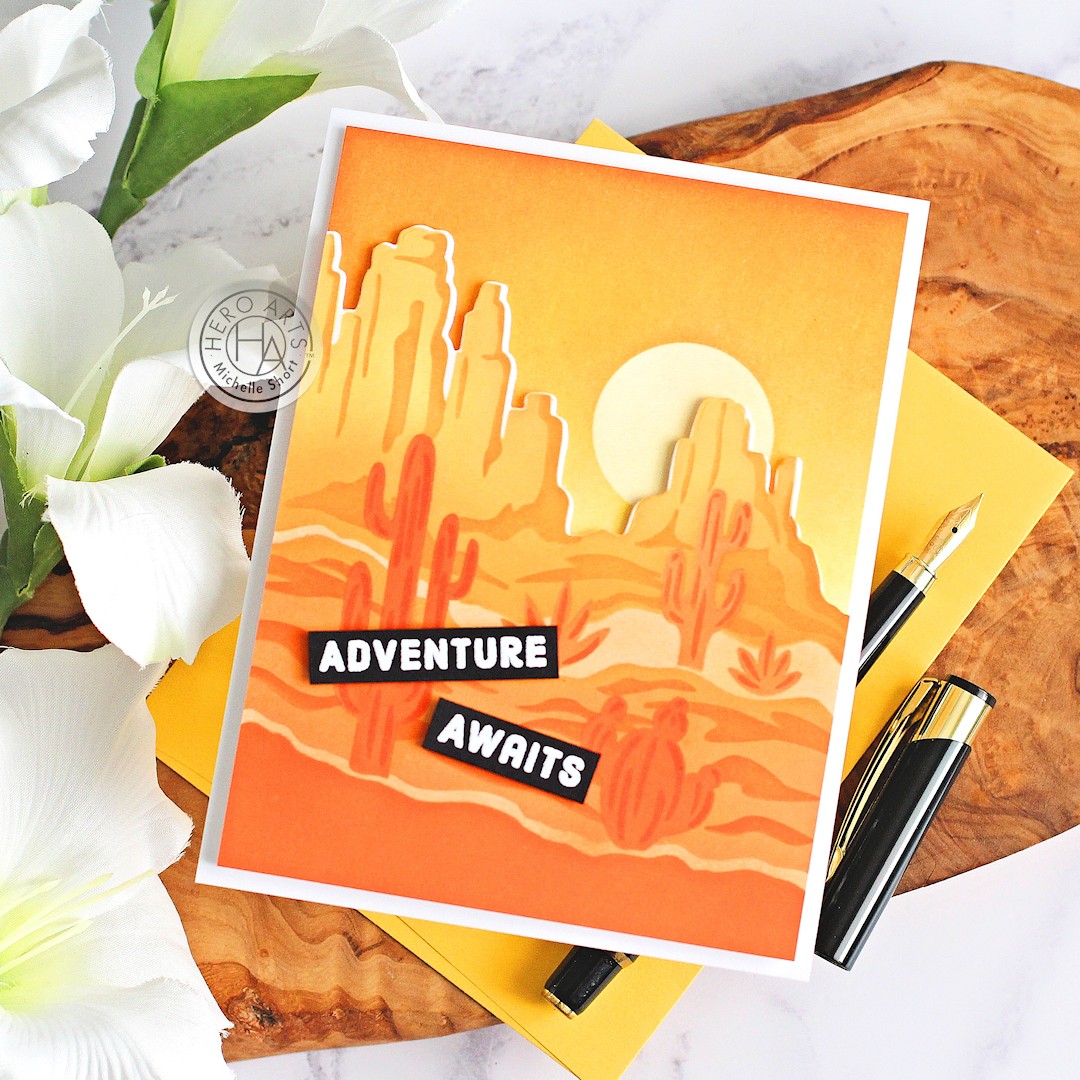
I started off by creating my card using the Hero Arts August 2022 My Monthly Hero Kit. The kit creates a desert scene using layering stencils. I took a panel of Hero Arts Deluxe White Cardstock and placed the first layering stencil on top. Using Hero Arts Ink Blending Brushes, I blended on Hero Arts Tangerine Core Ink at the bottom, followed by Hero Arts Papaya Core Ink in the middle and Hero Arts Butter Bar Core Ink at the top. 


I then took the second stencil and placed it on top to create the definition lines. I used Tangerine and Papaya for these layers. I then also used the same inks for stencil 3 & 4 for the cactus. I die cut it out using the coordinating Frame Cut in the kit. I took another panel of cardstock and die cut a circle from masking paper to add to it to create a sun. 


There is a sun (or moon) as part of the stencils but I wanted the positive piece. I blended on the same Tangerine, Papaya and Butter Bar Inks for the sky but this time added in Hero Arts Dandelion Core Ink too. I removed the mask and then blended it with the Dandelion Ink. The background was adhered to an A2 white card base with thin foam tape and the mountain/cactus piece added on top with thin foam tape as well. 


I stamped a sentiment from the stamp set in the kit on to Hero Arts Pitch Black Cardstock using Hero Arts Clear Embossing & Watermark Ink. I applied Hero Arts White Embossing Powder and heat set. It was cut in to two strips and adhered on to the card with more thin foam tape. 

ROADSIDE MESSAGES


My next card uses two new add-on sets. I started off by taking a panel of Hero Arts Deluxe White Cardstock and placed the Hero Arts Desert Road Stencil on top. Using Ink Blending Brushes, I blended inks on top. I decided to go for more of a country/green grass look, rather than a desert. I used Hero Arts Lemon Drop, Creamsicle, Key Lime Fizz, Green Apple, Pool Party, Splash and Blue Hawaii Reactive Inks. I also used Hero Arts Sand Core Ink


On a separate piece of cardstock, I stamped the sentiment from Hero Arts Roadside Messages Stamp & Die Bundle using Hero Arts Intens-ified Black Ink. It was die cut using the coordinating Frame Cuts. I wanted the background to be a little more subtle, so I took a piece of Hero Arts Vellum Layering Paper and cut it to the same size as the background piece. 


I adhered the sentiment piece on top with thin foam tape. I then added tape runner adhesive on to the back of the vellum, only adding it behind where the sentiment is. It was then adhered on to the background panel. This was then in turn adhered to an A2 card base made from Hero Arts Pitch Black Cardstock.  

SUPPLIES:


Here are the links to what I have used on the projects. Affiliate links are used on some products. This means that if you make a purchase after clicking on my link, I receive a small commission with no extra cost to you. I truly appreciate your support when using these links. Please click on the logo below the product to shop at your favourite store. All products were personally purchased except those from Clearly Besotted, Hero Arts or those marked with an asterisk (*) which were kindly sent to me to use. You can read my full disclosure here.


MY MONTHLY HERO KIT:


Adventure lies ahead with our August My Monthly Hero kit. The desert southwest is your destination as you create beautiful landscapes with the kit's layering stencils. We've included four ink colors to get you started, but a rainbow of possibilities await. Add some glistening shimmer with PearlEx powder. There are dies to cut out the desert elements, and a message set with greetings that are great for cardmaking and journaling alike. Be wild and free as you enjoy the creative journey!

KIT CONTENTS:

3" x 4" Clear Stamp Set
4 Color Layering Stencils (5.25" x 6.5")
6 Coordinating Frame Cuts
4 Ink Cubes (Caramel, Sand, Tangerine, Pine)
5 Sheets Luxe Watercolor Paper (5.5" x 8.5")
Bronze PearlEx (0.11 oz)

The Hero Arts August 2022 My Monthly Hero Kit is valued at $70 but you can get it for $34.99 (approximately £28 depending on exchange rate, not including VAT/customs charges). The kits are exclusive to the Hero Arts store and often sell out quickly, so you can subscribe here, so that you never miss a kit. Kits begin shipping 5th August 2022.

ADD-ONS

There are lots of add-on products released each month. These work alongside the kit, or work on their own too. These can be purchased from Hero Arts when you order a kit, on their own or from your favourite Hero Arts retailer (these are not exclusive and are restocked if sold out). Here is a look at them:

BLOG HOP

This post is part of a fun, inspirational blog hop with prizes. For the hop, you should have arrived here from the fabulous Maria. Next on the hop is the fantastic Mindy. If you get lost along the way, or want to start the hop from the beginning, please head over to the Hero Arts Blog

GIVEAWAY

Hero Arts are giving away a $50 gift card drawn from the comments left across all of the stops in the hop. Enter by 7th August 2022 at 11.59pm PT. The winner will be announced the following week on the Hero Arts Blog.

Thank you so much for stopping by today, I really do appreciate it. I hope you have a lovely time on the rest of the hop and a great rest of the day too! Take care. 

VIDEO | Clearly Besotted August 2022 Release Preview

Hello there and happy Clearly Besotted release day ... again! As mentioned earlier, I am back to share a look at the Clearly Besotted August 2022 release with you. There are six new sets releasing today, most with an autumnal/fall feel to them, plus a fun animals in character costume one thrown in too!

PLEASE NOTE: This post contains affiliate links. Please see below for my full disclosure.


The six new sets release tonight at 8pm BST (UK time). You can purchase them as a bundle, exclusively from Clearly Besotted. If you buy the bundle, you also receive a 15% saving if purchasing the sets separately. Here is a look at the bundle:


You can also purchase the sets individually from the Clearly Besotted Shop (UK based), Simon Says Stamp (US based), Butterfly Reflections Ink (US based), Artcreatiu (based in Spain), Cloud9 Crafts (Netherlands), Card Nouveau (Belgium) and Kreativbunt (Germany). Here is a look at all of the sets up close and a recap of my projects:


SUPPLIES:


Here are the links to what I have shared in the video. Affiliate links are used on some products. This means that if you make a purchase after clicking on my link, I receive a small commission with no extra cost to you. I truly appreciate your support when using these links. Please click on the logo below the product to shop at your favourite store. All products were personally purchased except those from Clearly Besotted, Hero Arts or those marked with an asterisk (*) which were kindly sent to me to use. You can read my full disclosure here.


I know that I always say this but I really loved creating with this release. I am a big fan of florals and there are lots in this release, of course accompanied by adorable critters too! I am also ready for some cooler, autumnal air as well! Having said that, this year is already going too quickly, so I am happy to wait for that! :) For more inspiration using the release, please head over to the Clearly Besotted Blog, my amazing teamie Keren and our fabulous resident guests Francine and Alberto. Thank you so much for stopping by today, I really do appreciate it. See you later for the Hero Arts release!

Clearly Besotted Teasers | Jump & Fall

Hello there and welcome to Clearly Besotted August 2022 Release Day! The release goes live tonight at 8pm BST (UK time) but I do have one last teaser to share with you before I share my release preview video a little later. Today I am using the Jump & Fall set. This is such a fun set that is perfect for scene building but I couldn't resist creating some tags using the set today.

PLEASE NOTE: This post contains affiliate links. Please see below for my full disclosure.


I started off my tags by creating the tag itself and backgrounds. I die cut two tags from the Clearly Besotted Tag Along Die Collection from white cardstock. I then placed the Clearly Besotted Cloudy Day Stencil on top and using an ink blending brush, blended on Tim Holtz Mermaid Lagoon Distress Ink for the sky. I moved the stencil down the tags to create more clouds. At the bottom, I blended on Tim Holtz Twisted Citron, Mowed Lawn and Rustic Wilderness Distress Ink for the grass. 


For the first tag, I stamped the bear holding the sunflower and two of the adorable birds from the Clearly Besotted Jump & Fall Stamp Set on to white cardstock with Memento Tuxedo Black Ink. I coloured them with Copic Markers and fussy cut them out with scissors. 


I stamped the sentiment from the set on to black cardstock with Versamark Ink. I applied White Embossing Powder and heat set. It was cut in to a strip and along with the image, added to the tag with thin foam tape. I added twine through the top of the tag and tied in a bow and finished with a few white gel pen highlights on the images. 


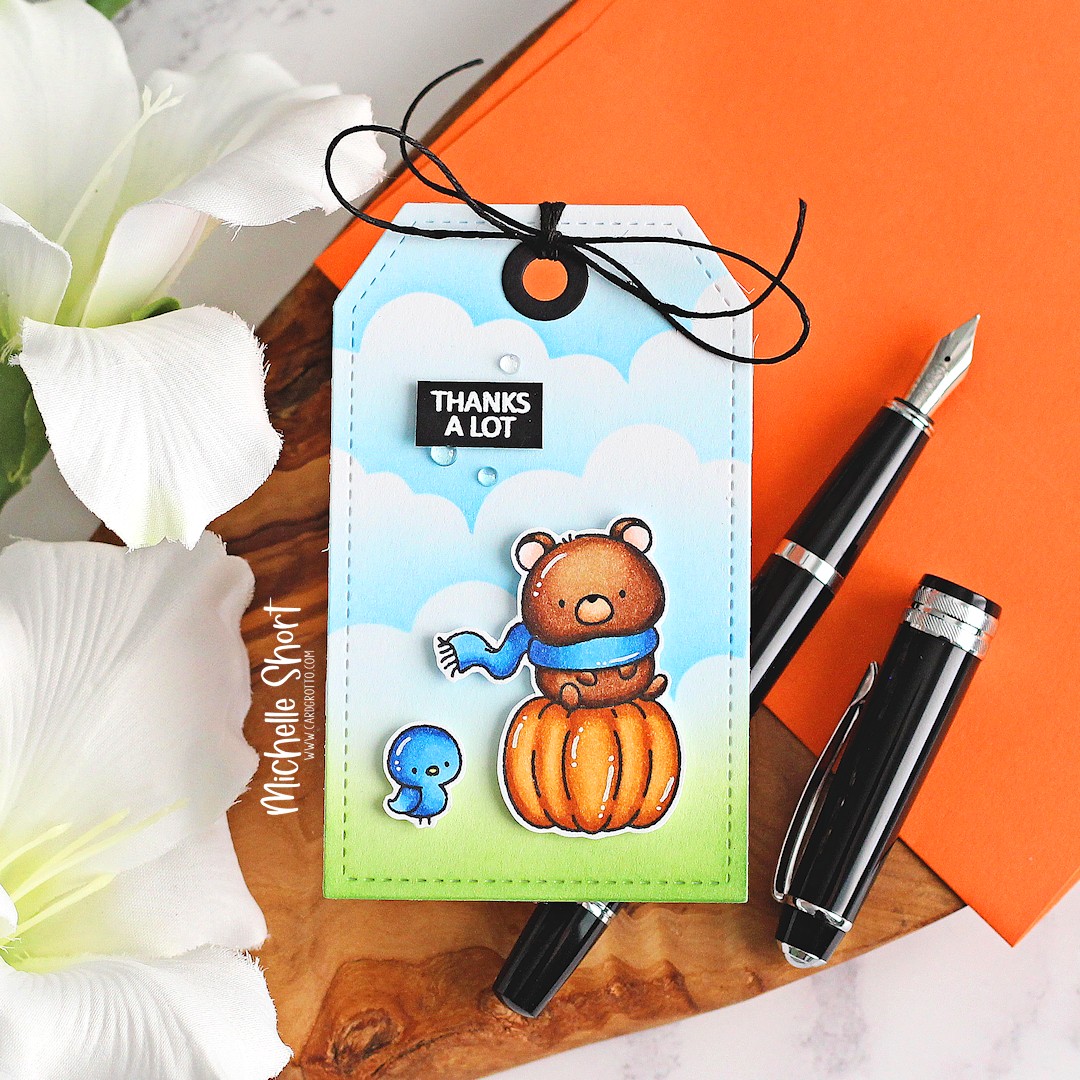
The second tag uses the adorable bear sitting on the pumpkin image from the Clearly Besotted Jump & Fall Stamp Set, as well as another of the birds (they are just too adorable!). They were stamped, coloured and fussy cut out with scissors. 


I stamped the sentiment from the set on to black cardstock with Versamark Ink. I applied White Embossing Powder and heat set. It was cut in to a strip and adhered to the tag with thin foam tape. I added a few Little Things from Lucy's Cards Raindrops (adhering with Bearly Art Glue) and then finished off with twine and white gel pen highlights.  

SUPPLIES:


Here are the links to what I have used on the project. Affiliate links are used on some products. This means that if you make a purchase after clicking on my link, I receive a small commission with no extra cost to you. I truly appreciate your support when using these links. Please click on the logo below the product to shop at your favourite store. All products were personally purchased except those from Clearly Besotted, Hero Arts or those marked with an asterisk (*) which were kindly sent to me to use. You can read my full disclosure here.


COPIC MARKERS: Bears - E59, E37, E35, E33, E31, E30/R12, R00. Sunflower - YR27, Y17, Y15, Y11, G29, YG17, YG23, YG01. Scarf - B18, B16, B12. Pumpkin - YR27, YR24, YR23, YR21. Birds - B18, B16, B12, Y13. 

For more inspiration using the new release, please head over to the Clearly Besotted Blog, Keren, Francine and Alberto. I will be back in a little while to share my release preview video. In the mean-time, thank you so much for stopping by and have a great day! 

31 July 2022

Clearly Besotted Teasers | Ring Around Fall

Hello there and welcome to day four of the Clearly Besotted August Teasers. Only one more sleep till release day tomorrow! I still have two more teasers to share with you though. Today I am using the Ring Around Fall set again, but this time with the beautiful wreath image and also combining it with the Balloon Bunch Autumn set. 

The Balloon Bunch Autumn set consists of lots of critters and balloons that can be combined to make some fun scenes. I used it a little differently however! 

PLEASE NOTE: This post contains affiliate links. Please see below for my full disclosure.


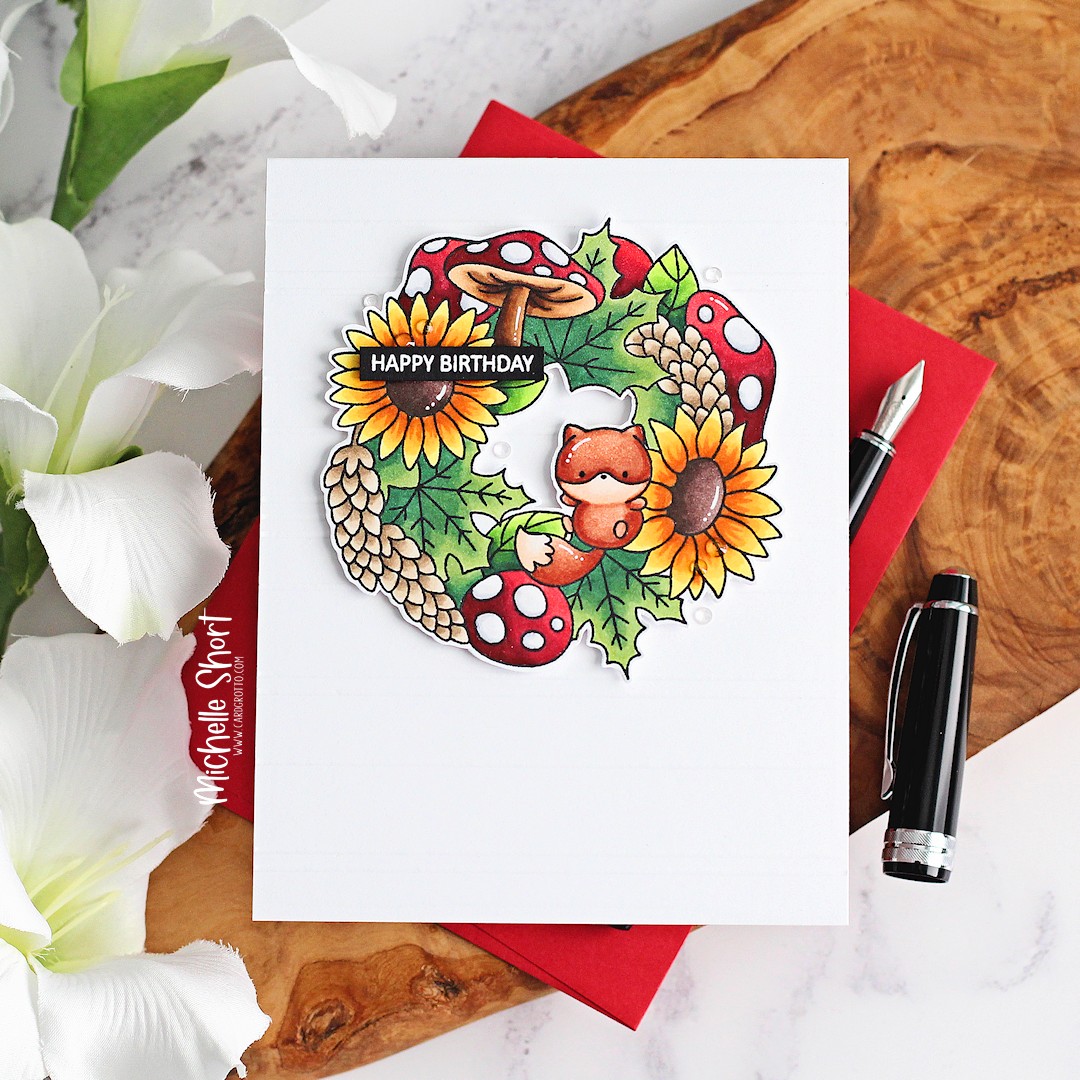
I started off by stamping the fox from the Clearly Besotted Balloon Bunch Autumn Stamp Set on to a panel of white cardstock using Memento Tuxedo Black Ink. I then made a mask for him using masking paper, fussy cut it out and placed it on top of the image. I then took the wreath image from the Clearly Besotted Ring Around Fall Stamp Set and stamped it on top. I removed the masking paper and it looks like the little fox is sitting on the wreath - so cute! 


I coloured them with Copic Markers (the colours that I used are listed below the supplies area) and then fussy cut them out with scissors. The image was adhered to an A2 white card base (with scoring lines on. Sadly they do not show up in photos) using thin foam tape. 


I took the sentiment from the Clearly Besotted Balloon Bunch Autumn Stamp Set and stamped it on to black cardstock with Versamark Ink. I applied White Embossing Powder and heat set. It was cut in to a strip and added to the card with more thin foam tape. To finish off, I added white gel pen highlights to the images and Little Things from Lucy's Cards Ice Cube Jewels to embellish. 

SUPPLIES:


Here are the links to what I have used on the project. Affiliate links are used on some products. This means that if you make a purchase after clicking on my link, I receive a small commission with no extra cost to you. I truly appreciate your support when using these links. Please click on the logo below the product to shop at your favourite store. All products were personally purchased except those from Clearly Besotted, Hero Arts or those marked with an asterisk (*) which were kindly sent to me to use. You can read my full disclosure here.


COPIC MARKERS: Fox - E19, E13, E11, E30, E00, E0000. Mushrooms - R89, R39, R37, R35/E59, E57, E55, E53, E51/C3, C1. Sunflowers - E49, E79, E77, E74/YR27, Y17, Y15, Y13, Y11. Leaves - G28, G46, G82, G43/G29, YG17, YG23, YG01. Wheat - E44, E43, E42, E41. 

The tiny fox does get a little lost amongst the wreath but he was too cute not to use! For more inspiration using the new release, please head over to the Clearly Besotted Blog, Keren, Francine and Alberto. Thank you so much for stopping by today, I really appreciate it. I have one more teaser to share with you tomorrow before the reveal! Have a lovely day!
End of code