13 July 2022

Spellbinders | You Are In My Thoughts

Hello there, today I have I have a card to share with you using the Spellbinders Just Wanted To Say Collection. I already shared three cards here using the collection, but today I have another that is in a slightly different style. 

PLEASE NOTE: This post contains affiliate links. Please see below for my full disclosure.


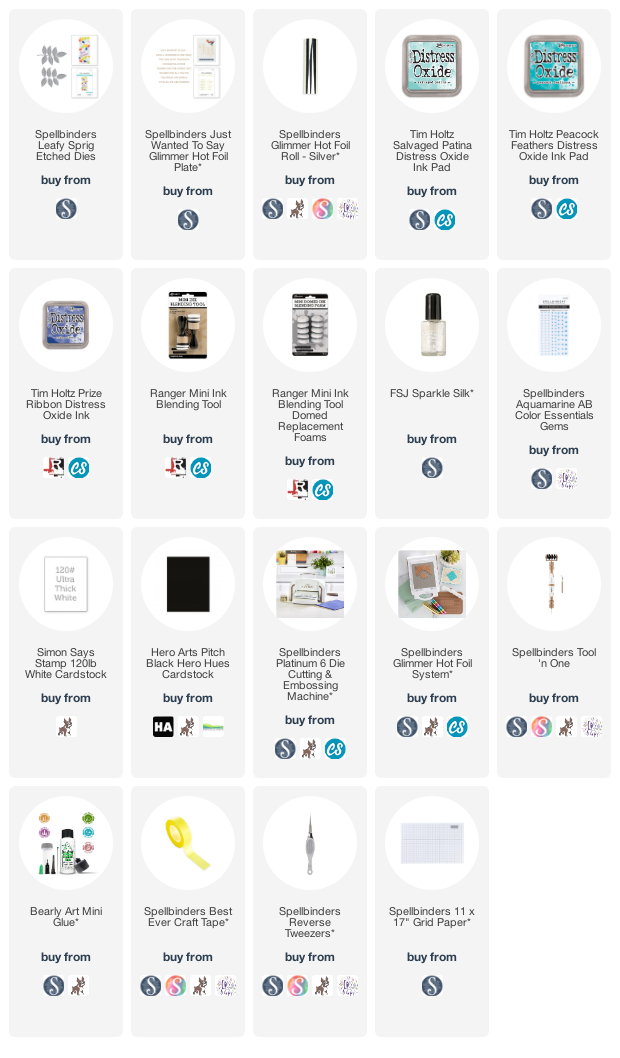
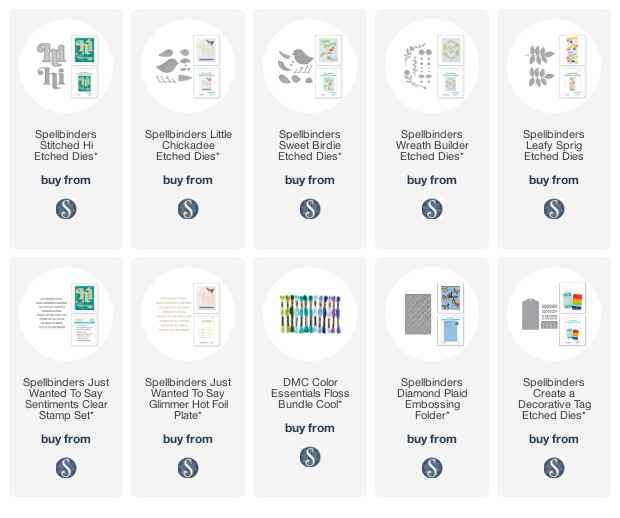
I started off my card by adding ink blending to a panel of white cardstock with Tim Holtz Distress Oxide Inks. I used (top to bottom) Salvaged Patina, Peacock Feathers and Prize Ribbon. I then splattered on FSJ Sparkle Silk before setting aside to dry. Once dry, I die cut it using the Spellbinders Leafy Sprig Etched Dies


I also die cut them four more times from white cardstock. I stacked them one on top of another with the ink blended one on top, using Bearly Art Glue. It was adhered to a panel of black cardstock, which was then adhered to an A2 white card base with thin foam tape. 


I foiled the sentiment from the Spellbinders Just Wanted To Say Glimmer Hot Foil Plate Set on to white cardstock with Spellbinders Silver Glimmer Hot Foil Roll. It was cut in to a strip and added to the card with foam tape. To finish off, I added Spellbinders Aquamarine AB Color Essentials Gems

SUPPLIES:


Here are the links to what I have used on the project. Affiliate links are used on some products. This means that if you make a purchase after clicking on my link, I receive a small commission with no extra cost to you. I truly appreciate your support when using these links. Please click on the logo below the product to shop at your favourite store. All products were personally purchased except those from Clearly Besotted, Hero Arts or those marked with an asterisk (*) which were kindly sent to me to use. You can read my full disclosure here.


I have to be honest, this was a really difficult card to photograph - black cardstock, sparkle and foil? My camera did not like it! But I do like the card in real-life, I think it is really pretty and the colours pop really well off the black background. Thank you so much for stopping by today, I really do appreciate it. I hope you have a lovely day! 

12 July 2022

Altenew | July 2022 Marvelous Monthly Series Release Blog Hop + Giveaway

Hello there and welcome to Altenew's July 2022 Marvelous Monthly Release Blog Hop! Releasing today is Build-A-Garden Tulips & Friends, Craft-A-Flower Garden Rose, Always Sunshine Project Kit, Mini Delight Tropical Greeting and Paint-A-Flower China Rose. 

This release celebrates friendships with its charming images, flowers, and heartfelt sentiments. Show your bestie how much you care, or reach out to a long-lost buddy! We can't wait to see how you use the products in this collection.

PLEASE NOTE: This post contains affiliate links. Please see below for my full disclosure.


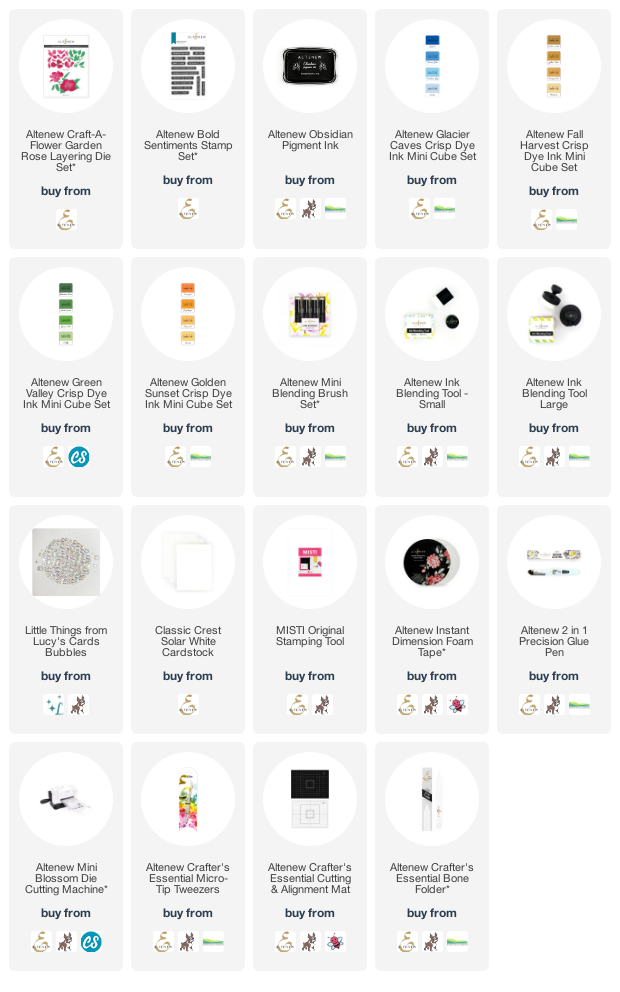
For my project today, I am using the beautiful new Altenew Craft-A-Flower Garden Rose Layering Die Set. I started off by die cutting the layers for both flowers and leaves using white cardstock. Using Ink Blending Tools, I added ink to the pieces. I used Altenew Glacier Caves Crisp Dye Ink for the petals, Altenew Fall Harvest Crisp Dye Ink for the centres and Altenew Green Valley Crisp Dye Ink for the leaves.


I layered the flowers up first using Altenew 2 in 1 Precision Glue Pen. I took a panel of white cardstock and using an Altenew Large Ink Blending Tool, added Altenew Golden Sunset Crisp Dye Ink in the top right hand corner. The panel was then adhered to a white 4" x 5.25" card base. The leaves were then added with more glue pen. 


The flowers were added on top with Altenew Instant Dimension Foam Tape. I took the sentiment from Altenew Bold Sentiments Stamp Set and stamped it on to white cardstock with Altenew Obsidian Pigment Ink. It was cut in to a strip and added to the card with more foam tape. To finish off, I added Bubbles embellishments. 

SUPPLIES:


Here are the links to what I have used on the project. Affiliate links are used on some products. This means that if you make a purchase after clicking on my link, I receive a small commission with no extra cost to you. I truly appreciate your support when using these links. Please click on the logo below the product to shop at your favourite store. All products were personally purchased except those from Clearly Besotted, Hero Arts or those marked with an asterisk (*) which were kindly sent to me to use. You can read my full disclosure here.


BLOG HOP:


For the hop, you should have arrived here from Michelle Burnier. Next on the hop is Preeti Chandaran. If you get lost along the way, or want to start the hop from the beginning, please head over to the Altenew Blog

GIVEAWAY:

$300 in total prizes! To celebrate this release, Altenew is giving away a $50 gift certificate to 2 lucky winners and a $25 gift certificate to 8 winners! Please leave a comment on the Altenew Card Blog and/or each designer’s blog post on the blog hop list below by 18th July 2022 for a chance to win. Altenew will draw 10 random winners from the comments left on each stop of this blog hop and announce the winners on the Altenew Winners Page on 20th July 2022.


Thank you so much for stopping by today. I really do appreciate it. I hope you have a wonderful time on the rest of the hop and a great day! Take care. 

9 July 2022

Spellbinders | The Right Words

Hello there and happy weekend to you! Today I have two cards to share with you using the Spellbinders The Right Words Collection by Becca Feeken. As the name suggests, this collection is all about words/sentiments that will work perfectly on their own or combined with lots of other sets. 

PLEASE NOTE: This post contains affiliate links. Please see below for my full disclosure.


Along with the word dies, both sets that I am using today have a banner/tag shape included in the set. There is a separate hole die so that you can make the shape into a tag or bookmark but for my cards, I used them as a place to add my sentiment to. 


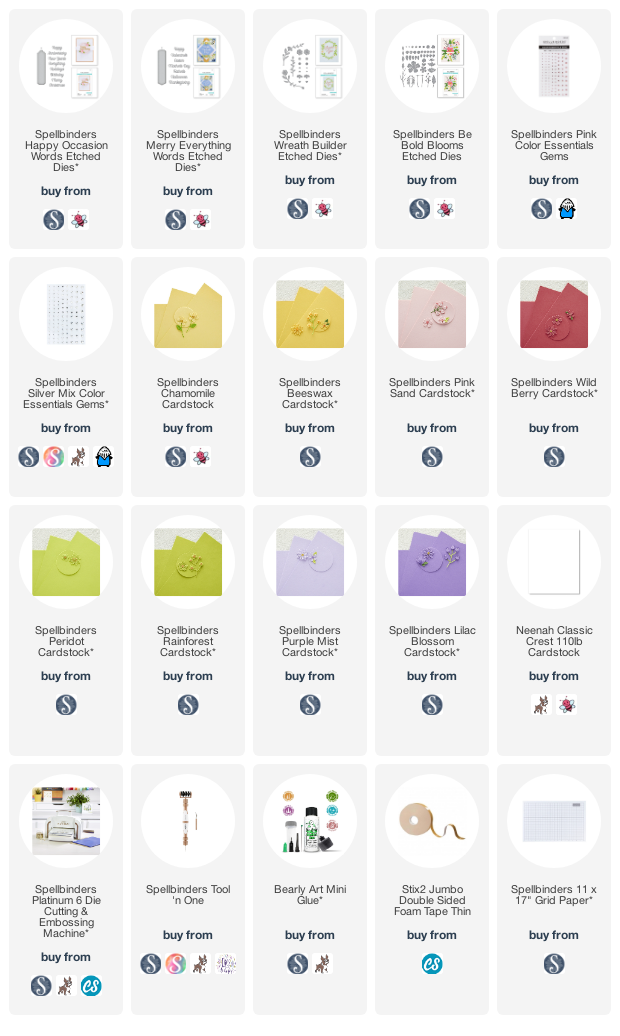
I started my first card by die cutting the shape piece from the Spellbinders Happy Occasions Etched Dies from white cardstock. I then die cut the 'happy' and 'birthday' three times each from Spellbinders Chamomile Cardstock. They were adhered one on top of another and then on to the shape piece, which was cut down to create a banner. 


I then die cut the flowers and foliage from the Spellbinders Wreath Builder Etched Dies using Spellbinders Peridot and Rainforest Cardstock for the leaves and Pink Sand, Wild Berry, Chamomile and Beeswax for the flowers and centres. They were adhered together with Bearly Art Glue and then adhered to an A2 white card base, using the banner piece as a reference for placement. 


The wreath pieces are a bit longer originally but I cut a few down to create single stem pieces. The banner was then adhered on top with thin foam tape. To finish off, I added Spellbinders Pink Color Essentials Gems


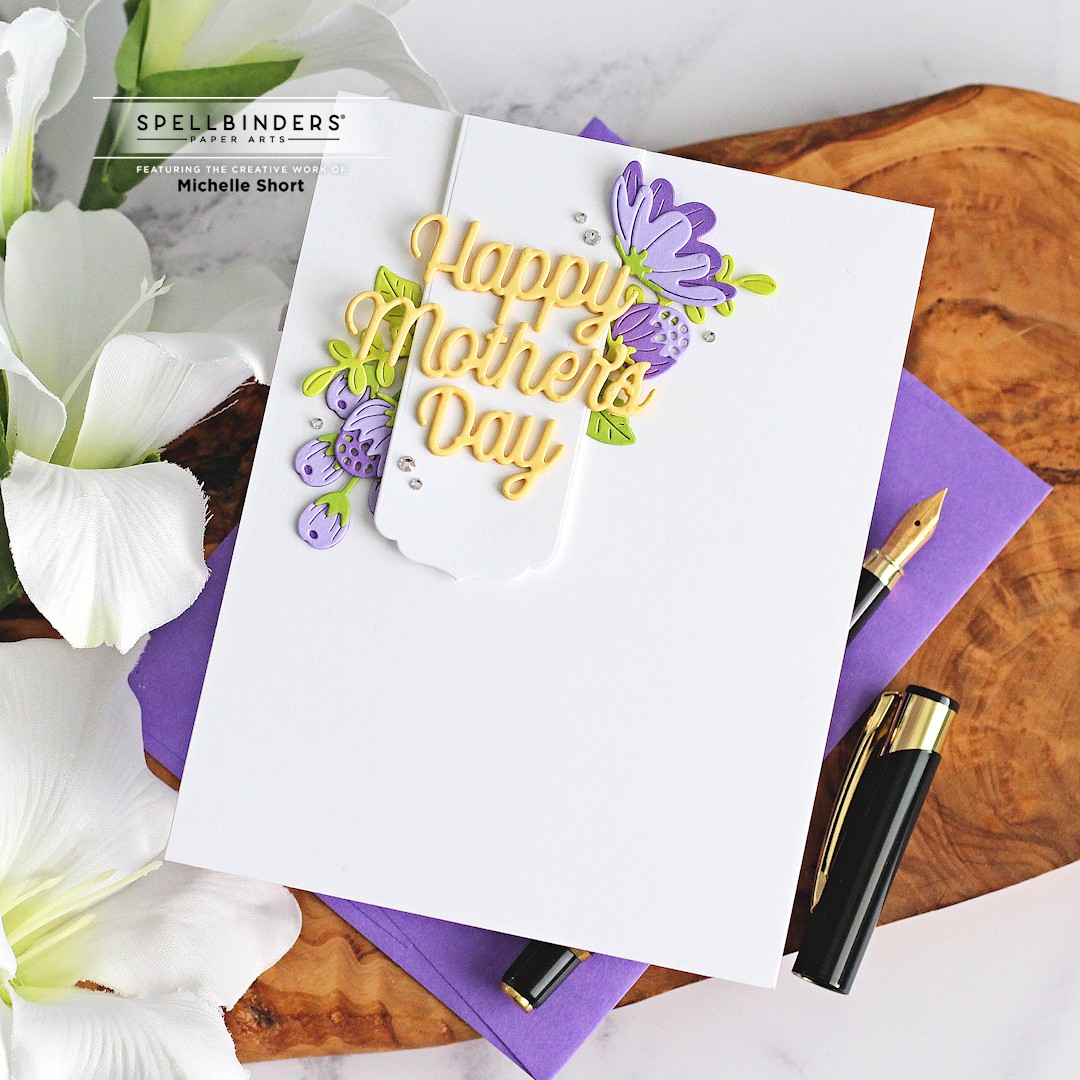
My next card uses the same design as the first but with different sets. I again die cut the shape piece first from the Spellbinders Merry Everything Etched Dies and cut it down in to a banner. I die cut the 'happy' 'mother's' and 'day' three times each from Spellbinders Chamomile Cardstock and adhered them one on top of another on the banner piece. 


I die cut flowers and stems from Spellbinders Be Bold Blooms Etched Dies using Spellbinders Peridot and Rainforest Cardstock for the foliage and Purple Mist and Lilac Blossom for the flowers. They were adhered together and then adhered to an A2 white card base with Bearly Art Glue


The banner piece was adhered on top with thin foam tape. To finish off, I added Spellbinders Silver Mix Color Essentials Gems. Very CAS cards but I like how they turned out!

SUPPLIES:


Here are the links to what I have used on the project. Affiliate links are used on some products. This means that if you make a purchase after clicking on my link, I receive a small commission with no extra cost to you. I truly appreciate your support when using these links. Please click on the logo below the product to shop at your favourite store. All products were personally purchased except those from Clearly Besotted, Hero Arts or those marked with an asterisk (*) which were kindly sent to me to use. You can read my full disclosure here.


These sets will work so well with lots of other sets that I have. I really like the size of them too! Thank you so much for stopping by to see me today, I really do appreciate it. I hope you have a wonderful weekend! 

8 July 2022

Spellbinders | Just Wanted To Say ...

Hello there, I am over on the Spellbinders Blog today, sharing three projects using the new Just Wanted To Say Collection. I think this might be my favourite release of the year so far! I love everything! All of the products are extremely versatile and can be used for lots of different occasions. 

PLEASE NOTE: This post contains affiliate links. Please see below for my full disclosure.


I combined the whole release across all three of my projects today - there is a stitching die, which is beautiful with or without the stitching. There are also two foliage sets - a beautiful Leafy Sprig and also a Wreath Builder, which you can create different shapes of wreaths. There are also two sentiment sets - a stamp set and a foil plate set. My favourites of the collection though are two birds - Little Chickadee and Sweet Birdie. You can layer these up and use as many or as few layers as you like. They are so cute!

SUPPLIES:


Here are the links to what I have used on the projects. Affiliate links are used on some products. This means that if you make a purchase after clicking on my link, I receive a small commission with no extra cost to you. I truly appreciate your support when using these links. Please click on the logo below the product to shop at your favourite store. All products were personally purchased except those from Clearly Besotted, Hero Arts or those marked with an asterisk (*) which were kindly sent to me to use. You can read my full disclosure here.


For detailed instructions and supplies for how I made the projects, please visit the Spellbinders blog post HERE. Thank you so much for stopping by today, I really do appreciate it. It is a wonderful collection, so I hope you will check it out! Have a wonderful day! 

5 July 2022

Hero Arts | My Monthly Hero July 2022 Release Blog Hop + Giveaway

Hello there and welcome as we celebrate the release of the Hero Arts July 2022 My Monthly Hero Kit. The theme this month is tropical. The kit itself features a fabulous stamp layering flock of flamingos and the add-ons feature lots of fabulous birds and foliage. I have already shared one card using the kit, which you can see HERE. That card uses the inks in the kit to stamp the flamingos as intended. So for today's kit card, I thought I would do something different. 

PLEASE NOTE: This post contains affiliate links. Please see below for my full disclosure.


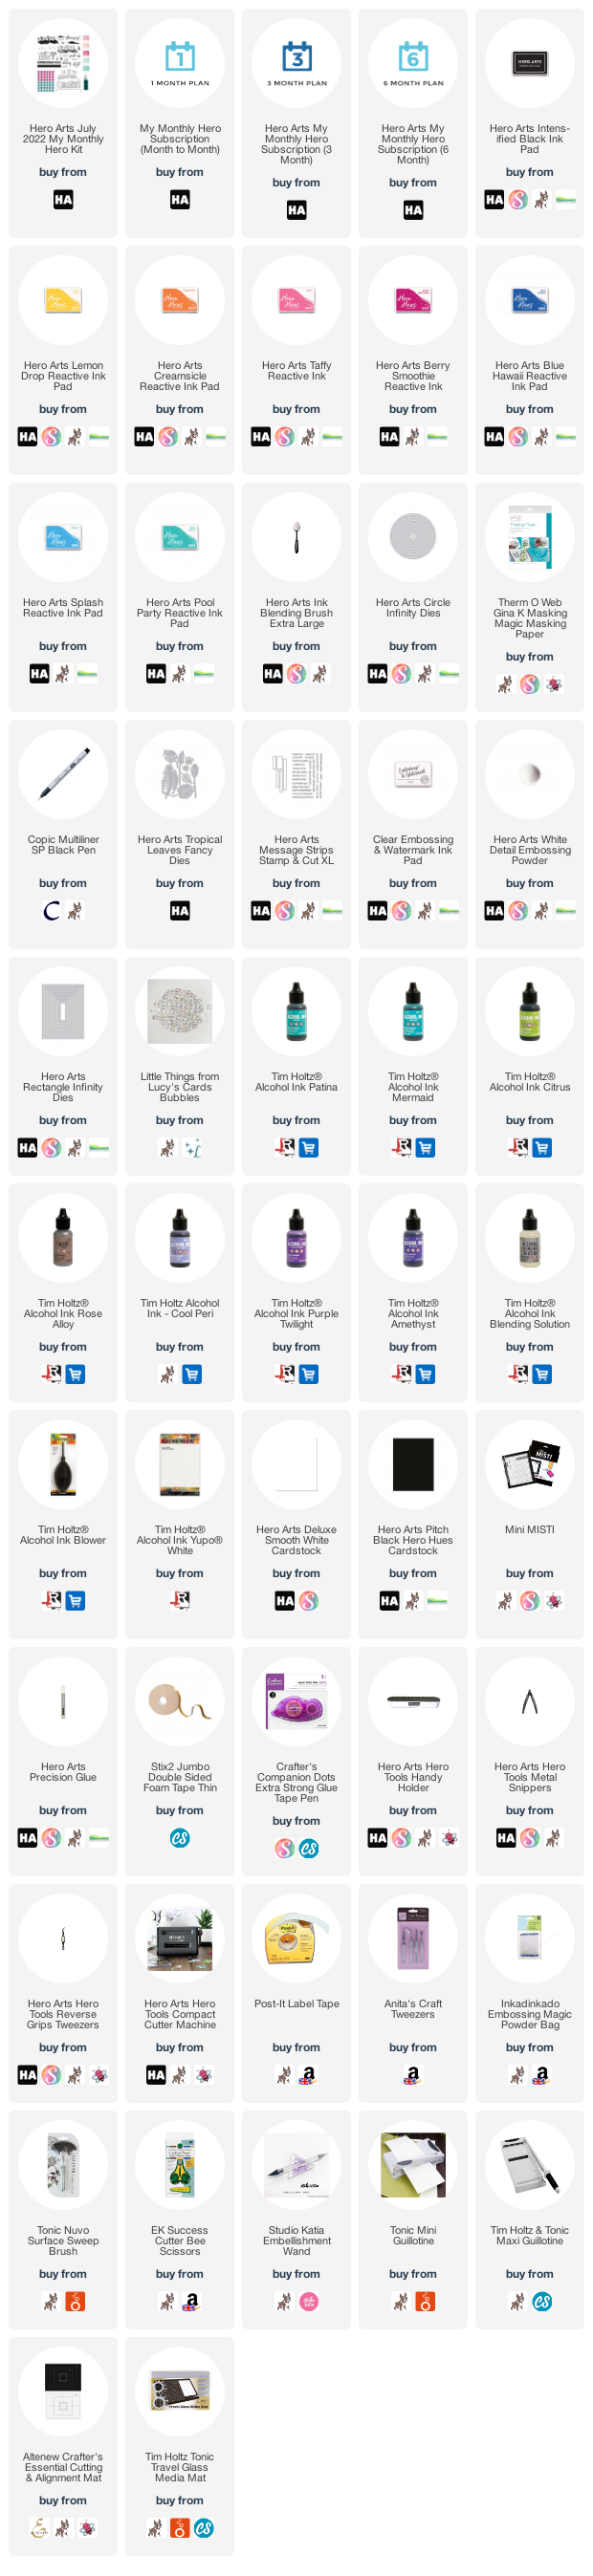
I started off my card by creating the background. I masked the bottom part of the panel using Post-It Tape and then die cut a mask for the sun using a Nesting Circle Infinity Die and masking paper. This was added above the masking. Using Ink Blending Brushes, I blended on Reactive Inks in (bottom to top) Lemon Drop, Creamsicle, Taffy and Berry Smoothie. I removed the sun mask and blended it with more Lemon Drop ink. 

I masked off the top part next and then blended below for the water. I used Blue Hawaii, Splash and Pool Party Reactive Inks. The masks were all removed and then I stamped the flamingos from the July 2022 My Monthly Hero Kit stamp set on top using Intens-ified Black Ink. I stamped the legs first (masking off the feet) and then stamped their bodies. Since I wasn't doing the stamp layering part, I just needed two layers to get the silhouette images I needed. 

Using a Copic Multi Liner Pen, I added lines for the water and then stamped the sentiment in the top left hand corner. The panel was adhered to an A2 white card base with foam tape.

TROPICAL FLORALS FANCY DIES

My next card uses a new add-on set called Tropical Florals Fancy Dies. These leaves in this set are so pretty and there a couple of flowers in there too. I thought they would look nice coloured with alcohol inks. I first added Tim Holtz Alcohol Inks in Patina, Mermaid and Citrus on to a panel of Yupo Paper. I then added in some Rose Alloy and Blending Solution and moved the inks around with a blower tool. 

For the flowers I used Cool Peri, Purple Twilight and Amethyst. The leaves and flowers were die cut from the alcohol inked panels and then also from white cardstock. They were layered one on top of each other for some added stability. I took a panel of white cardstock and embossed a Nesting Rectangle Infinity Die on to it using my die cutting machine. 

The panel was adhered to an A2 white card base and then the flowers and leaves added on top with Precision Glue. I took a sentiment from the Message Strips Stamp & Cut XL Set and stamped it on to Pitch Black Cardstock with Clear Embossing & Watermark Ink. I applied White Detail Embossing Powder and heat set. It was cut in to a strip and added to the card with thin foam tape. To finish off, I added a few Lucy's Little Things Bubbles. 

SUPPLIES:


Here are the links to what I have used on the projects. Affiliate links are used on some products. This means that if you make a purchase after clicking on my link, I receive a small commission with no extra cost to you. I truly appreciate your support when using these links. Please click on the logo below the product to shop at your favourite store. All products were personally purchased except those from Clearly Besotted, Hero Arts or those marked with an asterisk (*) which were kindly sent to me to use. You can read my full disclosure here.


MY MONTHLY HERO KIT
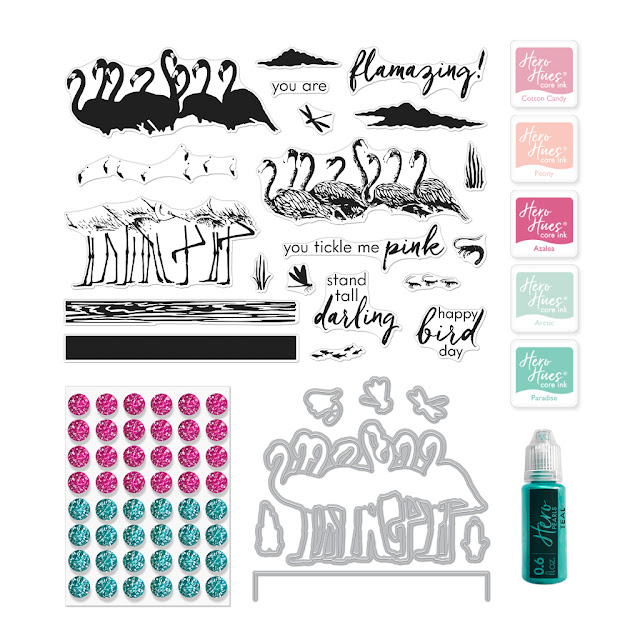
We’re serving up tropical summer vibes with our July My Monthly Hero release! This month’s kit features a flock of flamingos in HeroScape form. Layer the included inks to easily stamp the gorgeous birds, and create a scene with water below and clouds above. Your recipient will be tickled pink when they receive your card, embellished with the colorful gems or Teal Hero Pearls that round out the kit.

KIT CONTENTS:

6" x 8" Clear Stamp Set
7 Coordinating Frame Cuts
5 Ink Cubes (Cotton Candy, Peony, Azalea, Arctic, Paradise)
Self Adhesive Ink & Teal Gems
Teal Hero Pearls

The Hero Arts July 2022 My Monthly Hero Kit is valued at $75 but you can get it for $34.99 (approximately £28 depending on exchange rate, not including VAT/customs charges). The kits are exclusive to the Hero Arts store and often sell out quickly, so you can subscribe here, so that you never miss a kit. Kits begin shipping 8th July 2022.

ADD-ONS

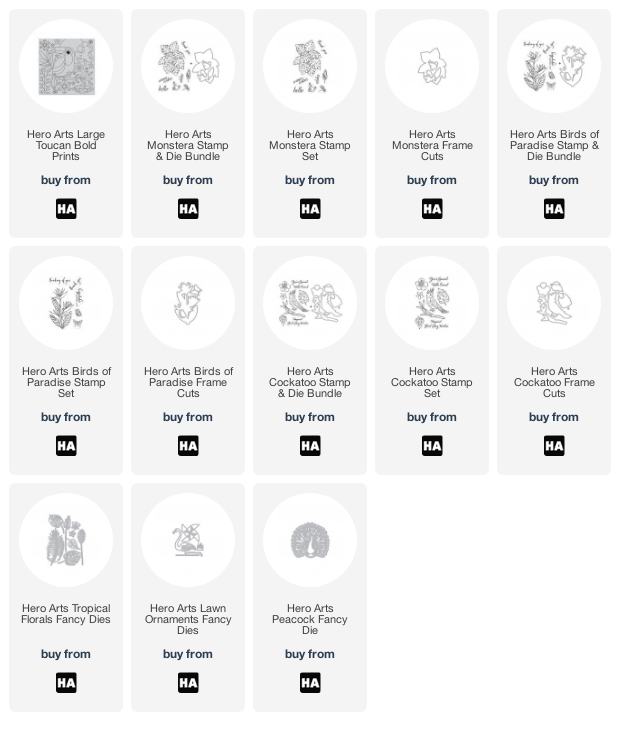
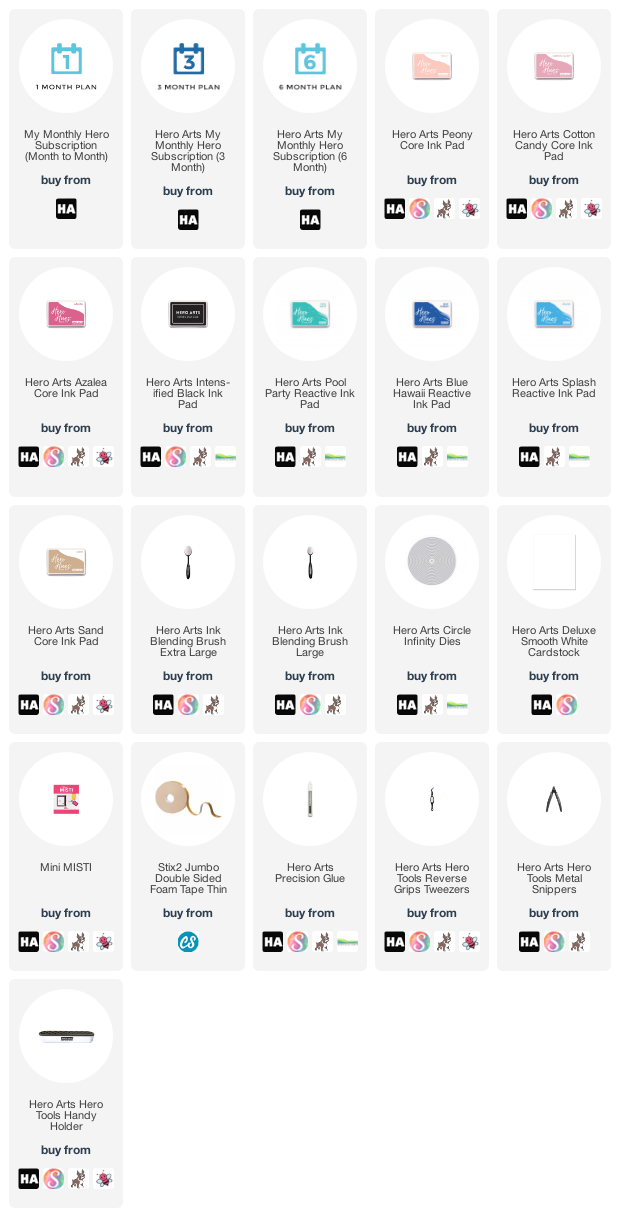
There are lots of add-on products released each month. These work alongside the kit, or work on their own too. These can be purchased from Hero Arts when you order a kit, on their own or from your favourite Hero Arts retailer (these are not exclusive and are restocked if sold out). Here is a look at them:


BLOG HOP

This post is part of a fun, inspirational blog hop with prizes. For the hop, you should have arrived here from the fabulous Maria. Next on the hop is the fantastic Mindy. If you get lost along the way, or want to start the hop from the beginning, please head over to the Hero Arts Blog

GIVEAWAY

Hero Arts are giving away a $50 gift card drawn from the comments left across all of the stops in the hop. Enter by 10th July 2022 at 11.59pm PT. The winner will be announced the following week on the Hero Arts Blog.

Thank you so much for stopping by today, I really do appreciate it. I hope you have a lovely time on the rest of the hop and a great rest of the day too! Take care. 

4 July 2022

VIDEO | Birthday Fishes

Hello there, I am over on the My Favorite Things YouTube channel today, sharing a clean and simple birthday card using the Reel-y Great Day set. This is a fun set, perfect for more masculine cards I think. 

PLEASE NOTE: This post contains affiliate links. Please see below for my full disclosure.


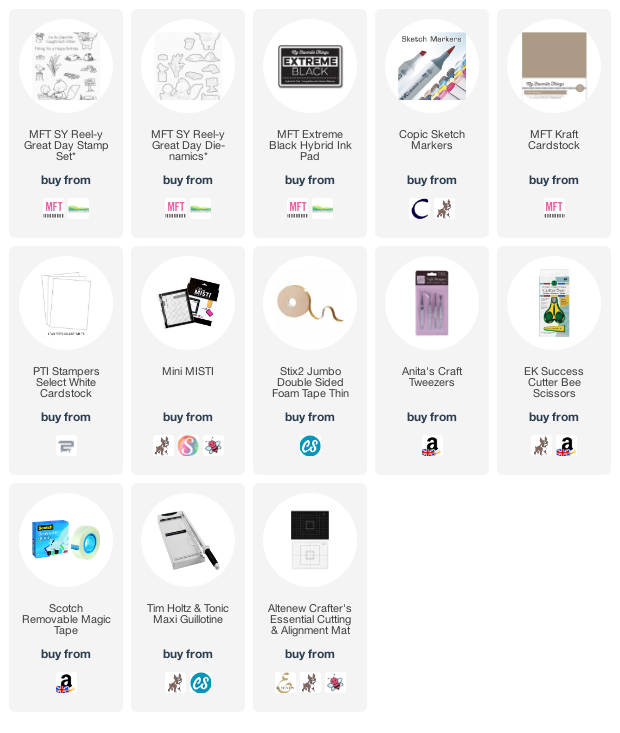
I started off by stamping the bear holding the fish from the MFT Reel-y Great Day Stamp Set on to white cardstock with MFT Extreme Black Ink. I coloured them with Copic Markers (the colours that I used are listed below the supplies area) and then die cut them out with the coordinating MFT Reel-y Great Day Die-namics


I took a 3.75" x 5" panel of white cardstock and stamped the sentiment, rocks and gone fishing sign from the set on to it using more Extreme Black Ink. They were then also coloured with Copic Markers, adding in sky and grass too. 


The panel was adhered to an A2 card base (finished folded size of 4.25" x 5.5") made from MFT Kraft Cardstock with thin foam tape. The bear and fish were then added on top with more foam tape. 

VIDEO:

Here is the video showing how I made the card:


If you are viewing this post via email subscription, you can watch the video HERE on YouTube. 

SUPPLIES:


Here are the links to what I have used on the project. Affiliate links are used on some products. This means that if you make a purchase after clicking on my link, I receive a small commission with no extra cost to you. I truly appreciate your support when using these links. Please click on the logo below the product to shop at your favourite store. All products were personally purchased except those from Clearly Besotted, Hero Arts or those marked with an asterisk (*) which were kindly sent to me to use. You can read my full disclosure here.


COPIC MARKERS: Bear - E59, E57, E55, E53, E51, E50, R02, R00. Fish - R22, R21, R20, R00. Rocks - N5, N3, N1, N0. Sign - E37, E35, E33, E31. Sky - B02, B01, B00, B000, B0000, 0. Grass - YG17, YG23, YG01, YG00. 

I decided not to add any extra details on to the card as I liked it as is, but it would have looked nice with some white gel pen highlights or added details too. Thanks so much for stopping by to see me today, I really do appreciate it. I hope you have a lovely day! 

2 July 2022

Spellbinders | Food Truck

Hello there, today I have a card to share with you using the Spellbinders July 2022 Large Die of the Month Club Kit. This month it is a food truck - so fun! You can make it in to a taco truck or an ice cream truck, or you could simply just have it as a truck itself or use the food on it's own. Lots of possibilities! I decided to make it as an ice cream truck for my card today. 

PLEASE NOTE: This post contains affiliate links. Please see below for my full disclosure.


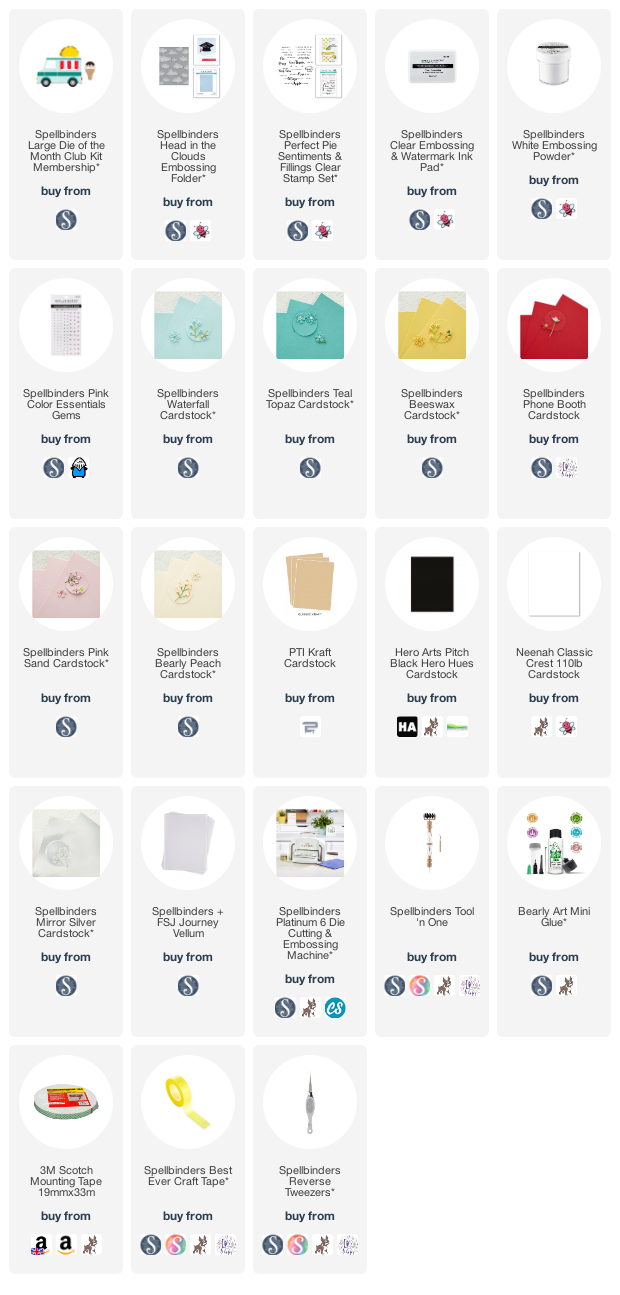
I started off by die cutting the elements from the Spellbinders July 2022 Large Die of the Month Club Kit from cardstock. I used white cardstock for the main part of the truck, adding vellum behind the windows. For the stripes and accents, I used Spellbinders Waterfall Cardstock. For the canopy above the window (which is 3D and so cool!), I used Spellbinders Waterfall and Teal Topaz Cardstock


For the metal accents, I used Spellbinders Silver Mirror Cardstock. The front light uses Spellbinders Beeswax Cardstock and the back light Spellbinders Phone Booth Cardstock. The ice cream on top uses Kraft cardstock for the cone and then Spellbinders Bearly Peach and Pink Sand for the ice cream. Everything was assembled and adhered using Bearly Art Glue


I took a panel of white cardstock and ran it through my die cutting machine with the Spellbinders Head in the Clouds Embossing Folder, adding it only part way up the panel. It was adhered to a 4.25" x 4.25" card base and then the truck added on top with foam tape. I left it hanging off the side as I liked the look and will use a slightly larger envelope.


The sentiment from Spellbinders Perfect Pie Sentiments & Filings Stamp Set was stamped on to black cardstock with Spellbinders Clear Embossing & Watermark Ink. I applied Spellbinders White Embossing Powder and heat set. It was cut in to a strip and added to the card with more foam tape. To finish off, I added Spellbinders Pink Color Essentials Gems

SUPPLIES:


Here are the links to what I have used on the project. Affiliate links are used on some products. This means that if you make a purchase after clicking on my link, I receive a small commission with no extra cost to you. I truly appreciate your support when using these links. Please click on the logo below the product to shop at your favourite store. All products were personally purchased except those from Clearly Besotted, Hero Arts or those marked with an asterisk (*) which were kindly sent to me to use. You can read my full disclosure here.


SPELLBINDERS CLUB KITS

I hope that you will check out the Spellbinders Club Kits. It is a wonderful monthly subscription where you receive the kit each month. Designers like myself share inspiration using the kit at the beginning of the month to show you lots of different ways that you can use it. 

There are also lots of other club kits too, like the Small Die of the Month and Stamp & Clear Die of the Month (plus lots more!), so there is something for everyone! If you do subscribe, you will get other benefits from Spellbinders too. Please see here for more information. You can also buy older kits here too. 

If you do want to get hold of this month's kit, you would need to subscribe by 28th July 2022 to receive it. Subscribers can cancel their membership at any time. 

UK SUBSCRIBERS

GREAT NEWS! If you are in the UK, Spellbinders will now ship the kits directly from here in the UK for Club Kit Subscribers (Club Kits only). That means reduced shipping costs and no extra fees! If you have been putting off subscribing to the kits because of this, now is the time to do it!

Thank you so much for stopping by today, I really do appreciate it. Wishing you a fantastic weekend!

1 July 2022

Altenew | July 2022 Summer Sunshine Collection Release Blog Hop + Giveaway

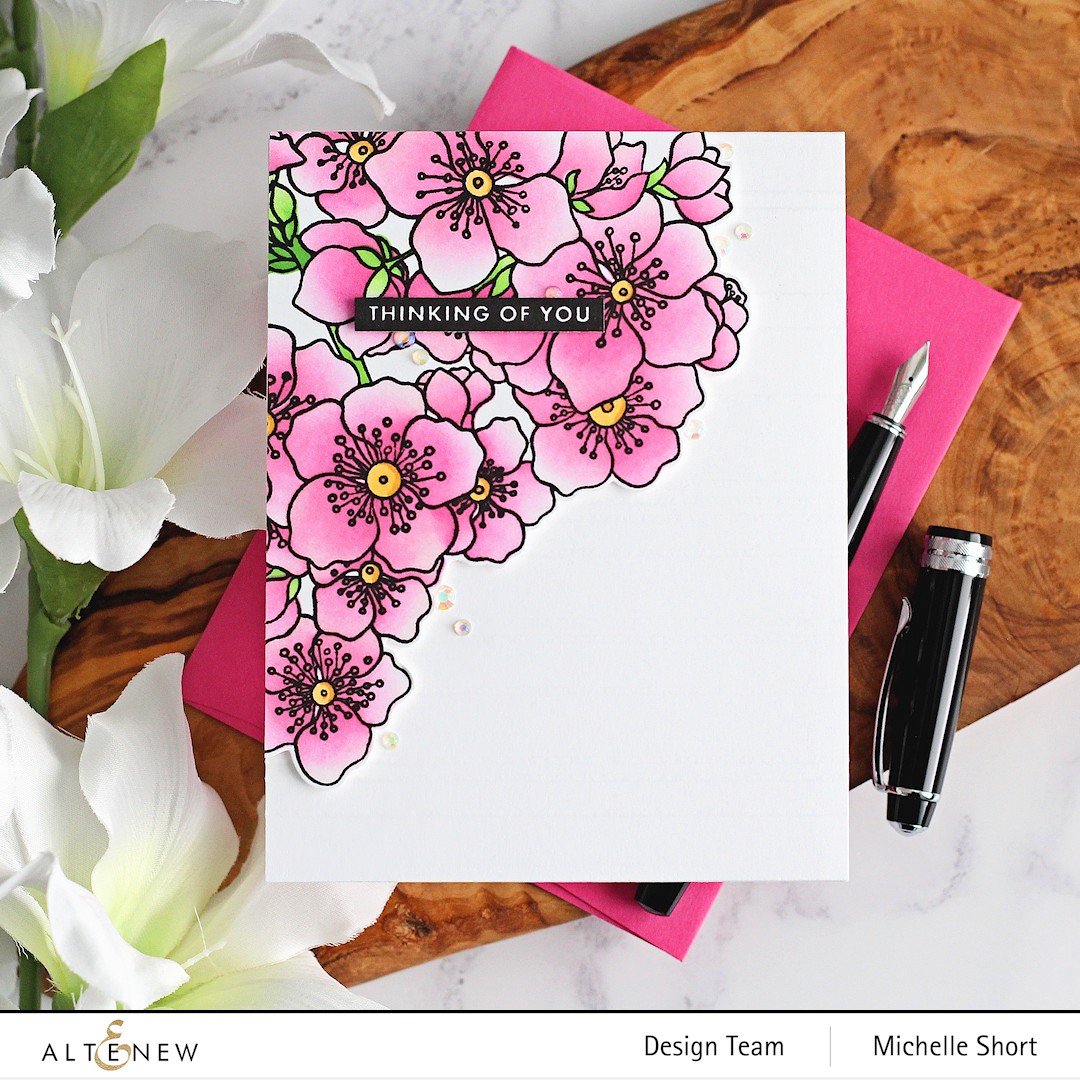
Hello there, today sees the release of the new Summer Sunshine Collection from Altenew. I really love the new Captivating Blooms set which is part of the release. You can use it in lots of different ways, in fact, I have another card over on the Altenew blog using the set too, which you can see HERE. For today's card, I paired it with the stencil for some easy and quick colouring. 

PLEASE NOTE: This post contains affiliate links. Please see below for my full disclosure.


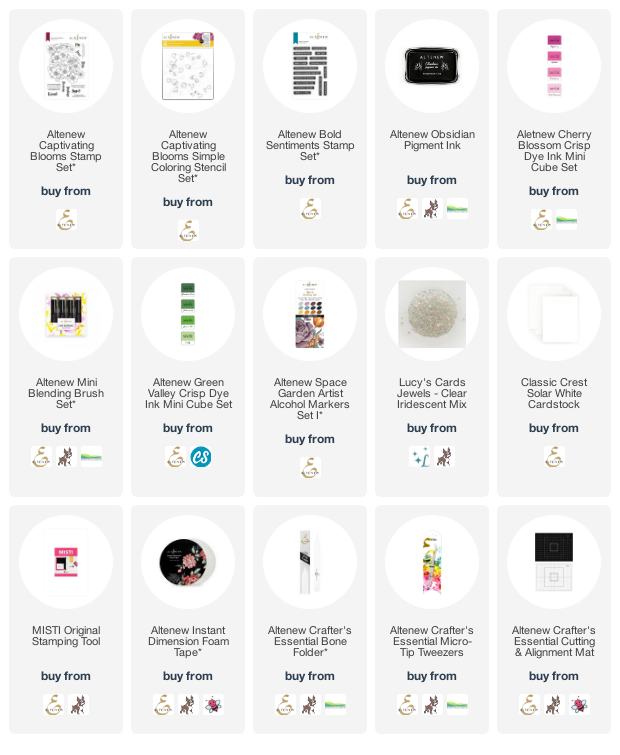
I started off by stamping the large image from Altenew Captivating Blooms Stamp Set on to white cardstock with Altenew Obsidian Pigment Ink. I then placed the Altenew Captivating Blooms Simple Coloring Stencils (4 in 1) over the top. Using Altenew Mini Ink Blending Brushes, I added ink blending to colour the flowers. 

I used Altenew Cherry Blossom Crisp Dye Inks for the flowers and Green Valley Crisp Dye Inks for the stems. For the centres of the flowers, I used Butternut and Pumpkin Pie from the Altenew Space Garden Artist Alcohol Markers Set I. 


The flowers were then fussy cut out with scissors and adhered to an A2 white card base (with some scoring lines on) using Altenew Instant Dimension Foam Tape. I stamped the sentiment from the Altenew Bold Sentiments Stamp Set using Obsidian Pigment Ink and then cut in to a strip. It was added to the card with more foam tape. To finish off, I added a few Iridescent Jewels. 

SUPPLIES:


Here are the links to what I have used on the project. Affiliate links are used on some products. This means that if you make a purchase after clicking on my link, I receive a small commission with no extra cost to you. I truly appreciate your support when using these links. Please click on the logo below the product to shop at your favourite store. All products were personally purchased except those from Clearly Besotted, Hero Arts or those marked with an asterisk (*) which were kindly sent to me to use. You can read my full disclosure here.


BLOG HOP:


This post is part of a fun, inspiration blog hop with prizes. For the hop, you should have arrived here from the fantastic LauraJane. Next on the hop is the fabulous Bridget Casey. If you get lost along the way, or want to start the hop from the beginning, please head over to the Altenew Blog

FREE GIFTS:

GIVEAWAY:

$300 in total prizes! To celebrate this release, Altenew is giving away a $50 gift certificate to 2 lucky winners and a $25 gift certificate to 8 winners! Please leave a comment on the AltenewCard Blog and/or each designer’s blog post on the blog hop list below by 17th July 2022 for a chance to win. Altenew will draw 10 random winners from the comments left on each stop of this blog hop and announce the winners on the Altenew Winners Page on 19th July 2022.

Thank you so much for stopping by today, I very much appreciate it, I hope you have a fabulous Friday! Take care! :)

Hero Arts | July 2022 My Monthly Hero Countdown to Creativity

Hello there and welcome to Hero Arts My Monthly Hero July 2022 Countdown to Creativity. For the next few days, we will be sharing peeks using the July 2022 My Monthly Hero Kit. Release day is Tuesday, 5th July 2022. This month we are going all tropical! 

PLEASE NOTE: This post contains affiliate links. Please see below for my full disclosure.


The stamp set in the kit this month features fabulous colour/stamp layering flamingos. I stamped them using the ink cubes that come in the kit. I started off with my base layer of Peony, followed by the middle layer of Cotton Candy and then finished up with Azalea for the legs and details on the feathers. The last layer was their eyes and bottom of the beak which was stamped in Intens-ified Black Ink. The image was then die cut out using the coordinating die in the kit.


I die cut three Nesting Circle Infinity Dies from white cardstock. Two slightly larger for the card base and then the smaller one for the panel. On this piece I added ink blending for sort of a beach type scene (but very soft and non defined). Using Ink Blending Brushes, I blended on Sand Core Ink for the sand, Splash and Blue Hawaii Reactive Inks for the water and Pool Party Reactive Ink for the sky. 


You can barely see them in the photos, but I stamped two clouds in the sky (from the same kit stamp set) using the residual Pool Party ink on my ink blending brush. I took the sentiment in the set (part of a larger sentiment but I masked parts of it off) and stamped it in the sky using Intens-ified Black Ink. The panel was adhered to the card base with thin foam tape and then the flamingos added on top with more thin foam tape. 

SUPPLIES:


Here are the links to what I have used on the project. Affiliate links are used on some products. This means that if you make a purchase after clicking on my link, I receive a small commission with no extra cost to you. I truly appreciate your support when using these links. Please click on the logo below the product to shop at your favourite store. All products were personally purchased except those from Clearly Besotted, Hero Arts or those marked with an asterisk (*) which were kindly sent to me to use. You can read my full disclosure here.


This is such a fun kit! These inks layer up perfectly for the flamingos and if you struggle with stamp layering (I do!), this one did layer up pretty easily for me. I will have another card using the kit to share with you on Tuesday, but in the mean-time, please head over to the Hero Arts Blog for more inspiration and a chance to win a kit! I will be back a little later with another post (sorry for the multiple posts today but I hope you enjoy the inspiration!). 

VIDEO | Clearly Besotted July 2022 Release Preview

Hello there and happy Clearly Besotted release day! I am back today to share a look at the Clearly Besotted July 2022 release. There are six new sets releasing today with something for everyone, I think. Two sets are ocean/underwater themed, two are summery sets and two are Wizard of Oz themed. 

PLEASE NOTE: This post contains affiliate links. Please see below for my full disclosure.


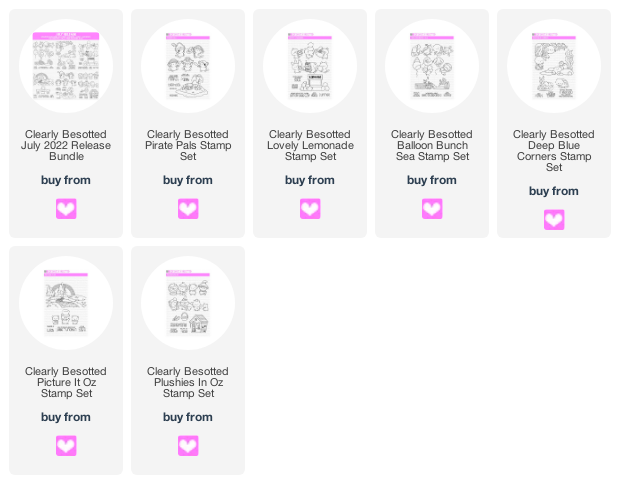
The six new sets release tonight at 8pm BST (UK time). You can purchase them as a bundle, exclusively from Clearly Besotted. If you buy the bundle, you also receive a 15% saving if purchasing the sets separately. Here is a look at all of the sets:


You can also purchase the sets separately from the Clearly Besotted Shop (UK based), Simon Says Stamp (US based), Butterfly Reflections Ink (US based), Artcreatiu (based in Spain), Cloud9 Crafts (Netherlands), Card Nouveau (Belgium) and Kreativbunt (Germany). Here is a look at all of the sets up close and a recap of my projects:


If you are viewing this blog post via email subscription, you can watch the video HERE on YouTube.

SUPPLIES:


Here are the links to what I have shared in the video. Affiliate links are used on some products. This means that if you make a purchase after clicking on my link, I receive a small commission with no extra cost to you. I truly appreciate your support when using these links. Please click on the logo below the product to shop at your favourite store. All products were personally purchased except those from Clearly Besotted, Hero Arts or those marked with an asterisk (*) which were kindly sent to me to use. You can read my full disclosure here.


I hope you have enjoyed seeing the teasers this week and like the release. As always, I really enjoyed making my cards. For more inspiration using the new sets, please head over to the Clearly Besotted Blog and my amazing teamie Keren. We also have our wonderful resident guests with us this month - Francine and Alberto, so please do check out what they have been up to as well. Thank you so much for stopping by today. I hope you have a wonderful day! 
End of code