8 July 2021

VIDEO | Ink Smooshed Ocean Scene with Reverse Confetti

Hello there, I am delighted to be joining Reverse Confetti today for a fun, inspiration filled blog hop to celebrate the July 2021 release which is out now! Today I am sharing a card (and video) using the new Oceans of Love and Circle of Waves sets to create an ink smooshed ocean scene. More on the hop below. 

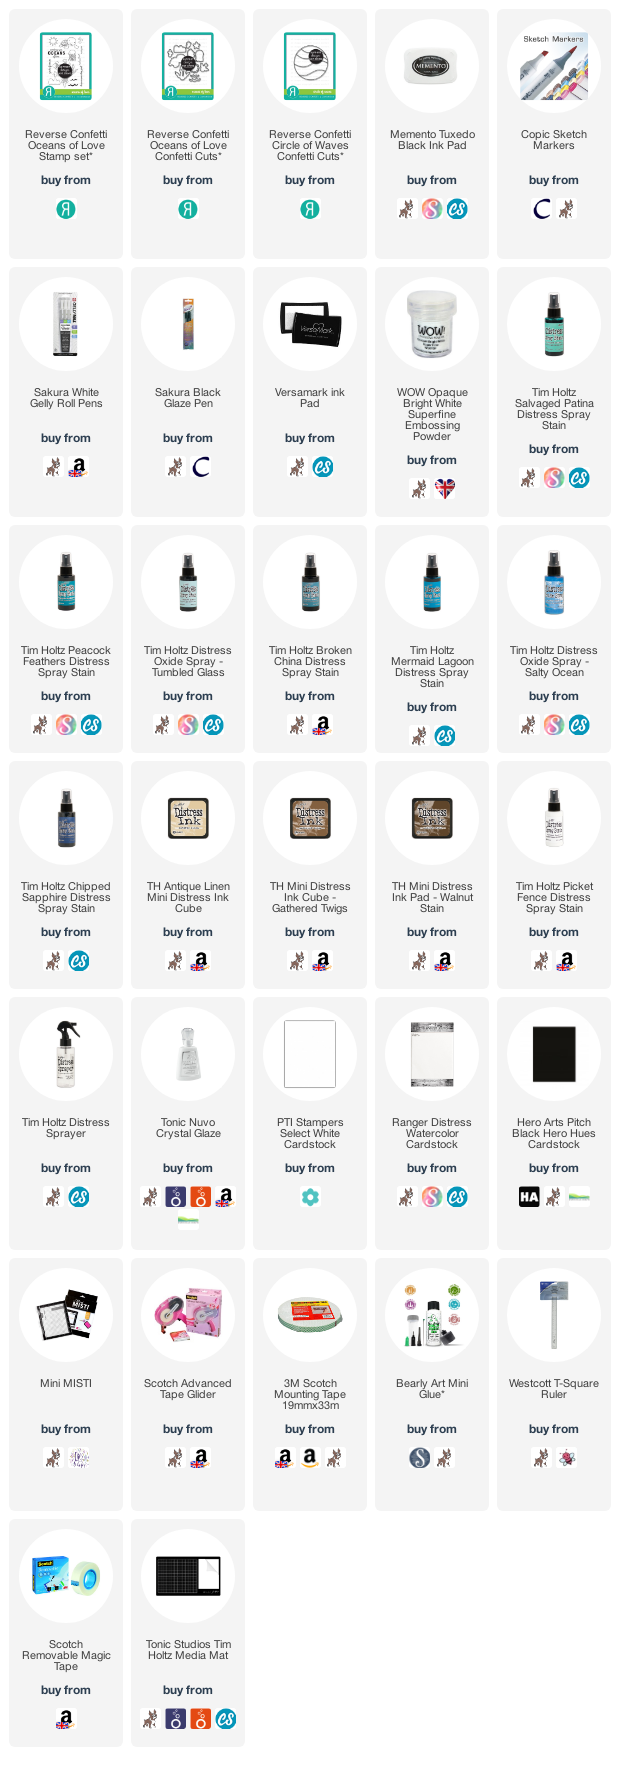
For my card, I started off by creating the background. I die cut the Reverse Confetti Circle of Waves Confetti Cuts from Ranger Watercolor Paper. I then sprayed Tim Holtz Distress Spray Stain and Tim Holtz Distress Oxide Spray on to my mat and smooshed the layers of the die in to it. For the top layer, I used Salvaged Patina, Peacock Feathers and Tumbled Glass Oxide

The second layer uses Broken China, Peacock Feathers and Tumbled Glass Oxide. The third uses Mermaid Lagoon, Peacock Feathers and Salty Ocean Oxide. The final ocean layer uses Mermaid Lagoon, Chipped Sapphire and Salty Ocean Oxide. For the last layer, I used Tim Holtz Distress Inks. I smooshed the ink pad on to my mat and then sprayed water on them. I used Antique Linen, Gathered Twigs and Walnut Stain. I then also sprayed on a little Picket Fence Spray Stain

I left the pieces to dry while I worked on the images. I stamped the images from the Reverse Confetti Oceans of Love Stamp Set on to white cardstock with Memento Tuxedo Black Ink. I coloured them with Copic Markers (the colours that I used are listed below the supplies area) and die cut them out with the Reverse Confetti Oceans of Love Confetti Cuts. The Circle of Waves pieces were adhered flat to a 4.75" x 4.75" white card base with tape runner and liquid adhesive. I then added the seaweed on top with liquid glue, as well as the bubbles. 

The starfish and turtle were added with foam tape. I took the sentiment from the Reverse Confetti Oceans of Love Stamp Set and stamped it on to black cardstock with Versamark Ink. I applied white embossing powder and heat set. It was cut in to a strip and added to the card with more foam tape. To finish off, I added white gel pen highlights to the images and black glaze pen to the eyes. I also added Tonic Nuvo Crystal Glaze to the bubbles. 

VIDEO:

Here is the video showing how I made the card:

If you are viewing this post via email subscription, you can watch the video HERE on YouTube. 

SUPPLIES:


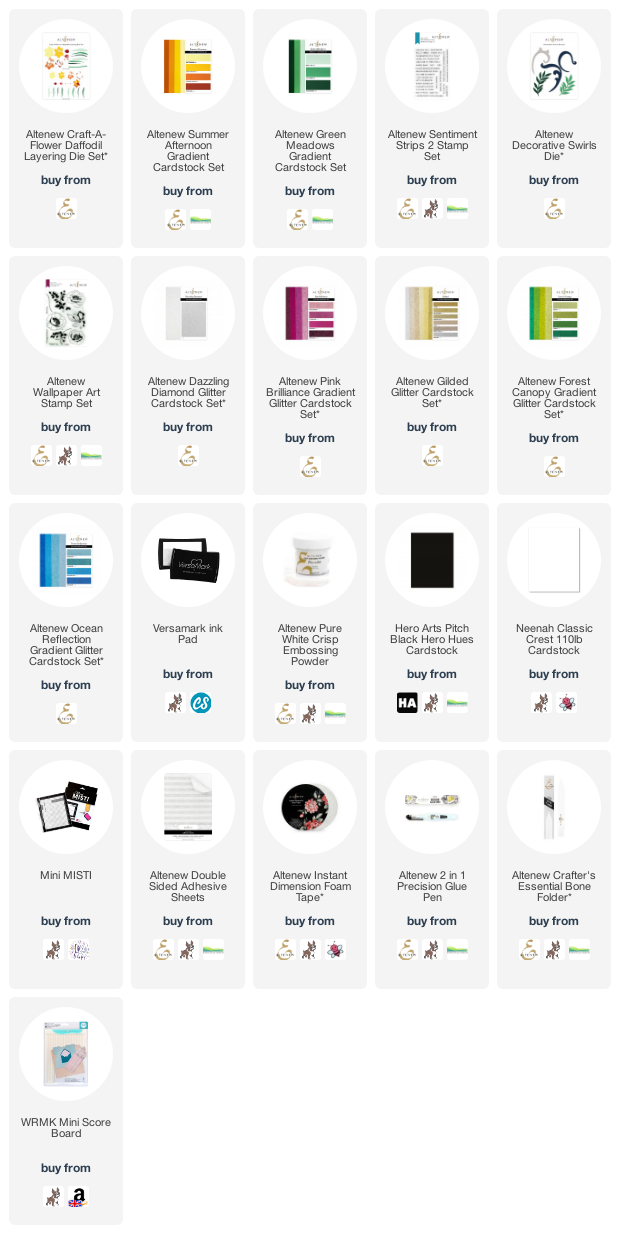
Here are the links to what I have used on the project. Affiliate links are used on some products. This means that if you make a purchase after clicking on my link, I receive a small commission with no extra cost to you. I truly appreciate your support when using these links. Please click on the logo below the product to shop at your favourite store. All products were personally purchased except those from Clearly Besotted, Hero Arts or those marked with an asterisk (*) which were kindly sent to me to use. You can read my full disclosure here.


COPIC MARKERS: Turtle shell - BG78, BG75, BG72, YG01. Turtle body - G29, YG17, YG25, YG23, YG03, YG01. Starfish - YR27, YR24, YR21. Bubbles - BG13, BG11, BG10. Seaweed - G46, G82, G40. 

BLOG HOP:

Here is the full list of participants in the hop today:


As mentioned in the video, I think the Circle of Waves die can be used in lots of different ways - ink blended, cut from different colours/shades of cardstock, some from vellum etc. It is great for different ocean cards, I think. Thanks so much for stopping by today, I really do appreciate it. I hope you have a great day!

7 July 2021

Altenew | Craft-A-Flower Daffodil & Glitter Cardstock Release Blog Hop + Giveaway

Hello there, I am delighted to be joining Altenew today to celebrate the release of the new Craft-A-Flower Daffodil Layering Die Set, along with new Glitter Cardstock. I have two cards to share with you today - one using the Daffodil and one using the Glitter Cardstock. This post is part of a fun, inspiration filled blog hop with prizes. More information on that below. 


For my first project, I am using the new Altenew Craft-A-Flower Daffodil Layering Die Set. Like the other Craft-A-Flower sets, this is a layering die set that you can use with Gradient Cardstock like I have, or you could colour the layers with lots of different mediums. I started off by die cutting the layers for the flower heads from Altenew Summer Afternoon Gradient Cardstock. The leaves and stems were cut from Altenew Green Meadows Gradient Cardstock


The layers were adhered together using Altenew 2 in 1 Precision Glue. I took an A2 white card base and scored horizontal lines in to it using a score board and the Altenew Crafter's Essential Bone Folder. Unfortunately, they are little difficult to see in the photos but in real-life, they really do add something to the card. The leaves and stems were added to the card flat and the daffodil heads added with Altenew Instant Dimension Foam Tape


I took the sentiment from the Altenew Sentiment Strips 2 Stamp Set and stamped it on to black cardstock with Versamark Ink. I applied Altenew Pure White Crisp Embossing Powder and heat set. It was cut in to a strip and added to the card with more foam tape. 


Next up is the new Glitter Cardstock. These sets of cardstock are the same size as the Gradient Cardstock sets and most are gradient in colour too, except for the Dazzling Diamond and Gilded sets. There is Dazzling Diamond which is a very sparkly white, Pink Brilliance which are beautiful shades of pink and red, Ocean Reflection which are shades of aqua and blue, Forest Canopy which are greens and Gilded which are golds (warm and cool) and silver. 

EDA: Altenew have announced that they think the glitter cardstock will sell out pretty quickly. If you miss any of the sets that you want, please click the notification button and you will be notified when they are back in stock. 


For my card today, I am using the Pink Brilliance, along with the Dazzling Diamond. I started off by cutting sheets from the Altenew Pink Brilliance Glitter Gradient Cardstock Set and Altenew Dazzling Diamond Glitter Cardstock Set in to strips. I adhered them on to a sheet of Altenew Double Sided Adhesive Sheet, alternating the colours and sizes as I went. 


I cut off the excess from the sides and adhered the piece to an A2 white card base. I die cut one of the leaves from the Altenew Decorative Swirls Die Set three times from white cardstock and stacked them up. It was adhered to the card with glue. 


I then stamped the sentiment from the Altenew Wallpaper Art Stamp Set on to black cardstock and heat embossed in white. It was cut in to a strip and added to the card with Altenew Instant Dimension Foam Tape

SUPPLIES:


Here are the links to what I have used on the projects. Affiliate links are used on some products. This means that if you make a purchase after clicking on my link, I receive a small commission with no extra cost to you. I truly appreciate your support when using these links. Please click on the logo below the product to shop at your favourite store. All products were personally purchased except those from Clearly Besotted, Hero Arts or those marked with an asterisk (*) which were kindly sent to me to use. You can read my full disclosure here.


BLOG HOP:


As mentioned, this post is part of a fun, inspiration filled blog hop (see below for prizes!). For the hop, you should have arrived here from the amazing Erum Tasneem. Next on the hop is the fantastic Dana Joy. If you get lost or want to start the hop from the beginning, please head over to the Altenew Blog

GIVEAWAY:

$200 in total prizes! To celebrate this release, Altenew is giving away a $50 gift certificate to 2 lucky winners and a $20 gift certificate to 5 winners! Please leave a comment on the Altenew Card Blog and/or each designer’s blog post on the blog hop list below by 07/13/2021 for a chance to win. Altenew will draw 7 random winners from the comments left on each stop of this blog hop and announce the winners on the Altenew Winners Page on 07/15/2021.


Thank you so much for stopping by today, I really do appreciate it. I hope you have a wonderful day! Take care!

6 July 2021

VIDEO | Hero Arts July 2021 My Monthly Hero Release Blog Hop + Giveaway

Hello there, today we are celebrating the release of the Hero Arts July 2021 My Monthly Hero Release. We are releasing the main kit plus add-on products as well. I am using the kit and some of the add-ons for my projects today. This post is part of a fun, inspiration filled blog hop with prizes! More on the hop below. 

For my first card, I am creating a mini aperture scene using the main kit, as well as an add-on die. To watch how I made the card, please see the video below:

If you are viewing this blog post via email subscription, you can watch the video HERE on YouTube. 

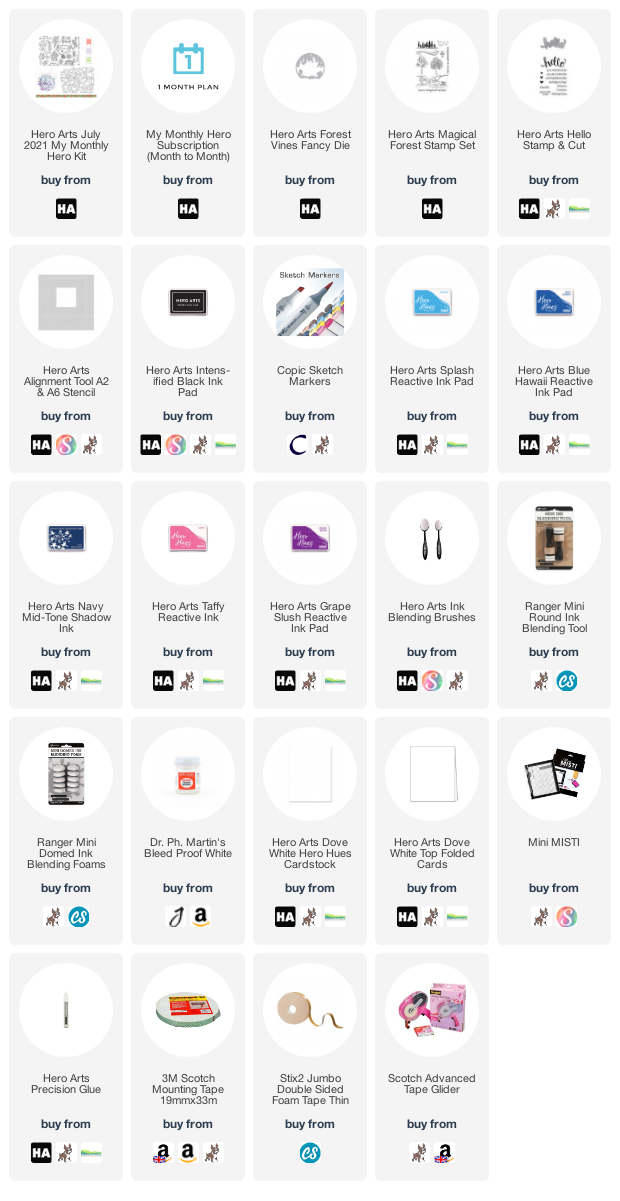
To start with, I stamped the tree house and gnome image from the Hero Arts July 2021 My Monthly Hero Kit stamp set on to white cardstock with Hero Arts Intens-ified Black Ink. I then coloured them using Copic Markers (the colours that I used are listed below the supplies area) and die cut them out using the coordinating Frame Cuts in the kit. 

I took the Hero Arts Forest Vines Fancy Die (which is an add-on product) and die cut it from a panel of white cardstock. I took a separate piece of white cardstock and blended inks on to it for the sky. I used Hero Arts Splash and Blue Hawaii Reactive Inks, as well as Hero Arts Navy Mid-Tone Shadow Ink for some added depth, blending them on with a Hero Arts Ink Blending Brush

I took the sentiment from the set and stamped it on to the panel using Hero Arts Intens-ified Black Ink. I added foam tape to the back of the panel and then added the sky piece behind. The whole thing was then added to an A2 white card base. I popped the tree house behind the grass, adhering with thin foam tape and then the gnome added beside. 

My next card uses the new Hero Arts Magical Forest Stamp Set, which is another add-on this month. I started off by placing the Hero Arts A2 & A6 Alignment Stencil on top of a panel of white cardstock, adhering with memo tape. Using Hero Arts Intens-ified Black Ink, I stamped the moon from the set inside. I also made a mask for this from masking paper and placed it on top. 

Using the alignment tool as a stencil, I blended inks inside for a night sky. I used Hero Arts Taffy, Grape Slush and Blue Hawaii Reactive Inks with Hero Arts Ink Blending Brushes. I then splattered on Dr. Ph. Martin's Bleed Proof White paint on top before removing the stencil. I removed the mask from the moon and coloured it using Copic Markers. 

I then took the tree image from the Hero Arts Magical Forest Stamp Set and stamped it on top with Hero Arts Intens-ified Black Ink. You could see the white splatter coming through the black ink so I took a white gel pen and highlighted them. I took the 'miss you' sentiment from the Hero Arts Hello Stamp & Cut and stamped that on to the panel as well. The panel was then adhered to an A2 white card base with tape runner. 

Before I go, I also wanted to share my countdown card with you using the main kit stamp set too, in case you missed it yesterday. This time I used one of the fairies and her mushroom house. I simply created a masked scene with ink blending in the background and Copic Marker colouring for the images. You can read how I made the card here

SUPPLIES:


Here are the links to what I have used on the project. Affiliate links are used on some products. This means that if you make a purchase after clicking on my link, I receive a small commission with no extra cost to you. I truly appreciate your support when using these links. Please click on the logo below the product to shop at your favourite store. All products were personally purchased except those from Clearly Besotted, Hero Arts or those marked with an asterisk (*) which were kindly sent to me to use. You can read my full disclosure here.


COPIC MARKERS: Treehouse - E59, E57, E55, E53, G29, YG17, YG25, YG01, NG49, BG15, BG13, BG11, Y11. Gnome skin - E13, E11, E00, E50. Mouth - R20. Beard - W5, W3, W1. Hat & top - BG49, BG15, BG13, BG11. Socks - BG13. Trousers - C10, C7, C5. Shoes - C5, C3, C1. Belt - C10, C7, C5, Y26. Moon - E51, E50. 

THE KIT:

The Hero Arts July 2021 My Monthly Hero Kit contains:

6" x 8" Clear Stamp set
18 Coordinating Frame Cuts
3 Dye Ink Cubes (Green Hills, Soft Purple, Pale Tomato)
Mushroom Washi Tape
Stardust Sequins

The kit is valued at $72 but you can get it for $34.99 (approximately £28 depending on exchange rate, not including VAT). The kits are limited edition and often sell out quickly, so grab one while you can! You can also subscribe here so that you never miss a kit. International subscribers will get a discount off shipping. Kits begin shipping on 9th July 2021. 

ADD-ONS:

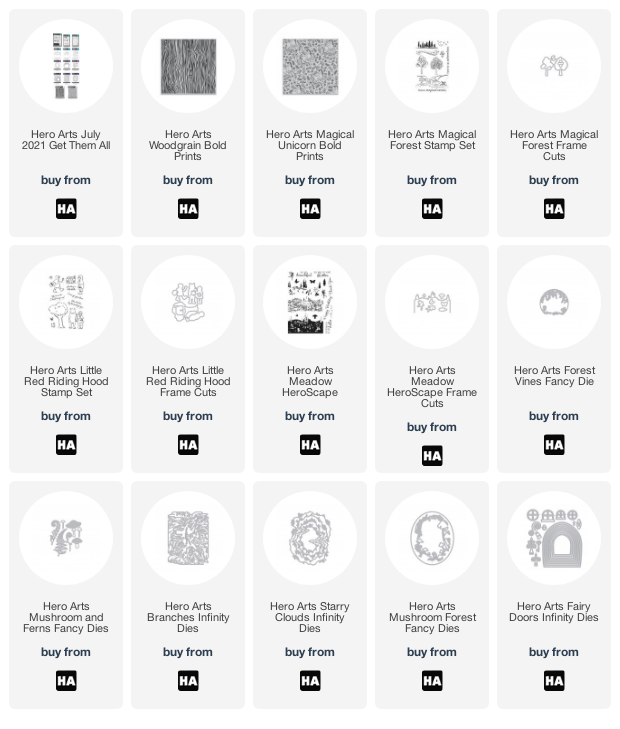
There are lots of add-on sets released each month too. These are products that work well alongside the kit, or can be used on their own. These are not limited edition and can be purchased when you buy the kit for Hero Arts or from your favourite Hero Arts retailer. Here is a look at them:


BLOG HOP:

Here are all of the participants in the hop today:

Michelle Short - you are here!

Special Guests:

GIVEAWAY:

Hero Arts are giving away one $50 gift certificate to one lucky blog hop winner. To be in with a chance of winning, please leave comments on every stop on the hop. The more you comment, the more chances there are to win! Enter by Sunday 11th July 2021 at 11.59pm PT. The winner will be announced the following week on the Hero Arts Blog. Good luck!

Thanks so much for stopping by today, I really do appreciate it. I hope you have a wonderful time on the rest of the hop and a great rest of the day! 

5 July 2021

Altenew | Eclectic Vibes Stamps/Dies/Stencils/Embossing Folders Collection Release Blog Hop + Giveaway

Hello there, I am delighted to be joining Altenew today to celebrate the release of the new Eclectic Vibes Collection. As the name suggests, there are lots of vintage/retro vibes to this collection. As you know, I love florals, so went with those for my cards but I did sneak in a retro set too but used in a very different way! This post is part of a fun blog hop. More details on the hop below.
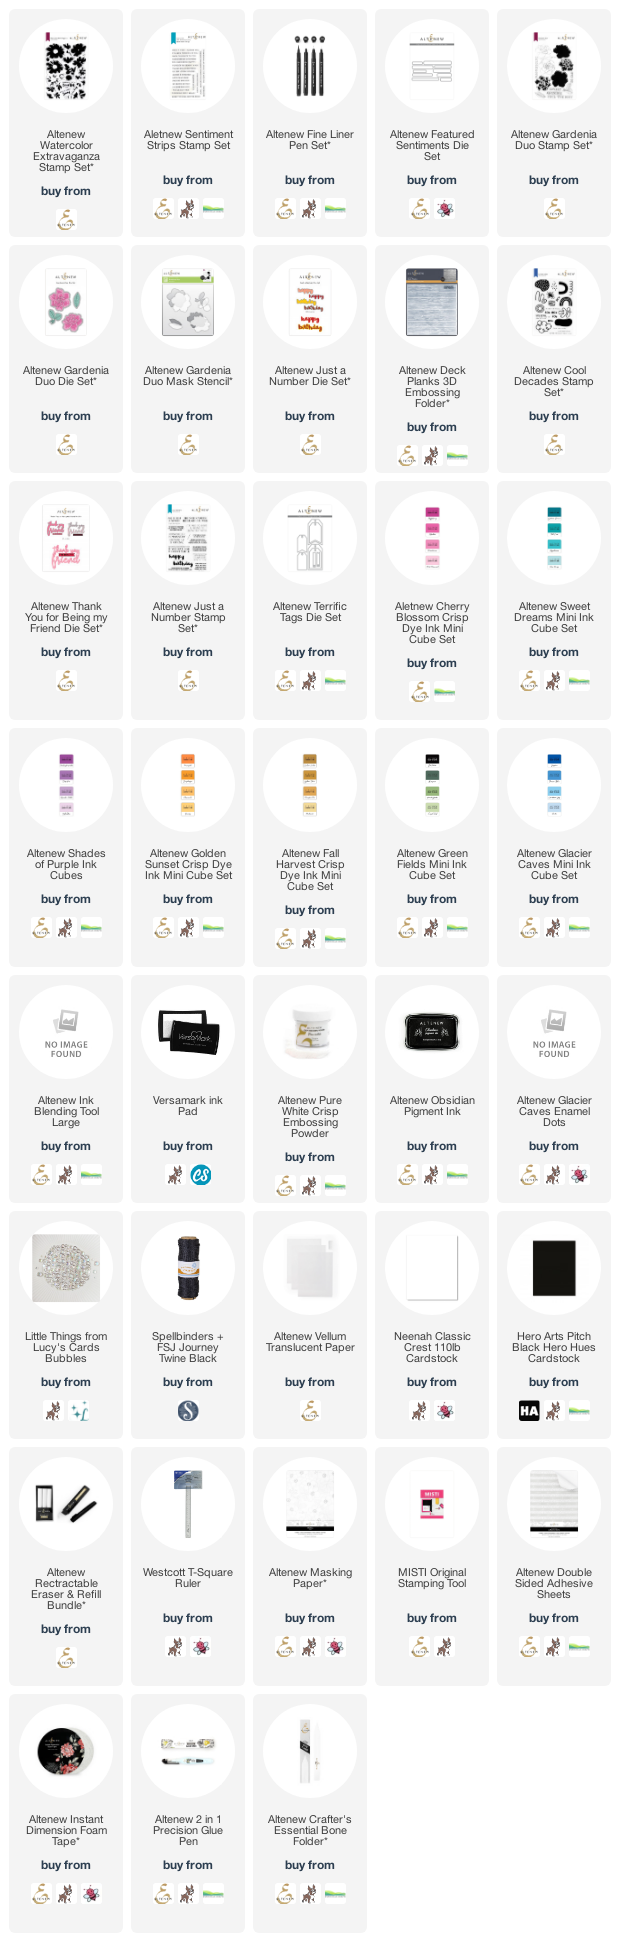
For my first card, I am using the new Altenew Watercolor Extravaganza Set. This set is a layering set but you could easily get away with just stamping one layer for the images as they have a lovely watercolour look to them. I started off by drawing a rectangle on to a panel of white cardstock with a pencil. I then stamped the flowers on top, having some petals extend outside of the rectangle area.  

When stamping the flowers,  I used the Altenew Rectractable Eraser & Refill Bundle to erase the lines in that area. I used the Altenew Cherry Blossom, Sweet Dreams and Shades of Purple Crisp Dye Inks for the flowers. The centres were stamped with Altenew Golden Sunset and Fall Harvest Crisp Dye Inks and the leaves with Altenew Green Fields Crisp Dye Inks

I then took the Altenew Fine Liner Pen Set and drew over the rectangle lines using them, creating two lines using the 005 and 01 pens. I then erased the pencil with the eraser again. I took the sentiment from the Altenew Sentiment Strips Stamp Set and stamped it on to black cardstock with Versamark Ink. I applied Altenew Pure White Crisp Embossing Powder and heat set. It was then cut out using one of the Altenew Featured Sentiments Dies. To finish off, I added a few Lucy's Bubbles. 

My next lot of projects use the Gardenia Duo set, which is a layering set as well but for all my samples, I simply used the outline image. For my first card, I started off by stamping the flowers and leaves from the Altenew Gardenia Duo Stamp Set on to white cardstock with black ink. I then coloured the images using Copic Markers and cut them out using the Altenew Gardenia Duo Die Set.  

I took an A2 white card base and placed the front panel in to the Altenew Deck Planks 3D Embossing Folder and ran it through my die cutting machine. I adhered the leaves and flowers on top with tape runner adhesive. I took the new Altenew Just a Number Die Set and die cut the word from black cardstock (with Altenew Double-Sided Adhesive Sheet on the back) and the shadow from vellum.

They were adhered together and then I added tiny pieces of Altenew Instant Dimension Foam Tape to the back and adhered it to the card. To finish off, I added a few dots from the Altenew Glacier Caves Enamel Dots set. 

For my next card, I took a panel of white cardstock and stamped the roses and leaves from the Altenew Gardenia Duo Stamp Set on it using Altenew Obsidian Black Ink. I used the Altenew Gardenia Duo Mask Stencil Set so that I could mask off the flowers before stamping the leaves. I masked off the edges of the panel with memo tape and then made extra masks for the images from Altenew Masking Paper

Using an Altenew Ink Blending Tool, I blended on Altenew Glacier Caves Crisp Dye Ink, as well as a little ink from the Shades of Purple set. With the masks still in place, I then stamped the little dot image from the new Altenew Cool Decades Stamp Set for some added interest. I also stamped the sentiment from the set on to black and heat embossed it, cutting it in to a strip. 

I took the new Altenew Thank You for Being My Friend Die Set and die cut the word from white cardstock and the shadow from black cardstock. The die is actually a lot bigger than this but I cut off the 'thank you' part so that it just said friend. It was adhered to the card with Altenew Instant Dimension Foam Tape, along with the sentiment strip and the panel added to an A2 white card base with tape runner. 

My final project for today is a little tag. I started off by die cutting the Altenew Terrific Tag three times - twice from white cardstock and once from vellum. I stamped the flowers and leaves from Altenew Gardenia Duo Stamp Set on to one with black ink and then coloured around the outside with Copic Markers. I adhered the other white tag to the back to finish it off. 

I took the Altenew Just a Number Stamp Set and stamped one of the quotes from it on to the vellum tag with Versamark Ink. I applied Altenew Pure White Crisp Embossing Powder and heat set. I placed it over the other tag and then tied twine through the top. This way, they are adhered together but more as an overlay so that you can still see the floral tag below. The writing is difficult to see in the photos but much easier in real-life!

SUPPLIES:


Here are the links to what I have used on the project. Affiliate links are used on some products. This means that if you make a purchase after clicking on my link, I receive a small commission with no extra cost to you. I truly appreciate your support when using these links. Please click on the logo below the product to shop at your favourite store. All products were personally purchased except those from Clearly Besotted, Hero Arts or those marked with an asterisk (*) which were kindly sent to me to use. You can read my full disclosure here.


BLOG HOP:

As mentioned, this post is part of a fun, inspiration filled blog hop, with prizes too (see below!). For the hop, you should have arrived here from the wonderful Nathalie DeSousa. Next on the hop is the amazing Verity Biddlecombe. If you get lost along the way, or would like to start the hop from the beginning, please head over to the Altenew Blog

FREE GIFTS:

Here are THREE ways to get a FREEBIE to kickstart your creativity! Free gift will be added to cart automatically:

·  Get a FREE brand new Eclectic Vibes Release Inspiration Guide (worth $5.99) with every order of high-value Eclectic Vibes release bundles. *Exclusions apply.
·  Get a FREE brand new Creative Jump Start Class with every order from the new Eclectic Vibes release collection from 5th July 2021 through 11th July 2021.
·  Get a FREE brand new Eclectic Vibes Release Mini Inspiration Guide with every order from 5th July 2021 through 7th July 2021.

GIVEAWAY:

$300 in total prizes! To celebrate this release, Altenew is giving away a $50 gift certificate to 2 lucky winners and a $25 gift certificate to 8 winners! Please leave a comment on the AltenewCard Blog and/or each designer’s blog post on the blog hop list below by 11th July 2021 for a chance to win. Altenew will draw 10 random winners from the comments left on each stop of this blog hop and announce the winners on the Altenew Winners Page on 13th July 2021.

Thanks so much for stopping by today, I really do appreciate it. I hope you have a great time on the rest of the hop and a wonderful day! Take care! 

Hero Arts | July 2021 My Monthly Hero Countdown

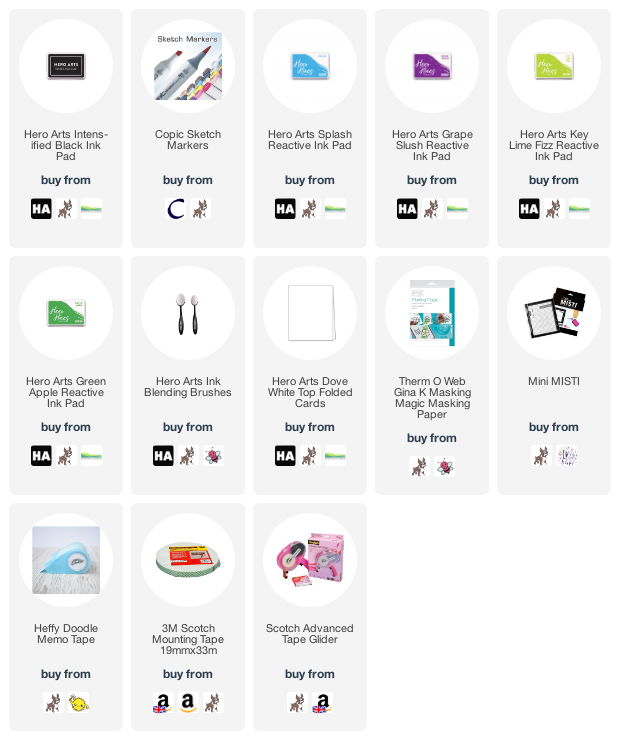
Hello there and welcome as we countdown to the release of the Hero Arts July 2021 My Monthly Hero Kit. Release day is tomorrow, Tuesday 6th July 2021 and we have been sharing inspiration all weekend long using the kit (the kit releases a day later this month due to July 4th celebrations). Be sure to head over to the Hero Arts blog for all the inspiration in one place. The kit this month has a wonderful magical feel to it and today, I thought I would create a card using one of the fairies in the kit. 


I started off by taking the images from the main kit stamp set and stamping them on to a panel of white cardstock with Intens-ified Black Ink. I stamped the mushroom house first, masked it off and then stamped the leaves to the right and the flowers to the left. I did make masks for these too. 


I took a piece of memo tape and masked off the bottom of the scene. Using an Ink Blending Brush, I then blended on Splash and Grape Slush Reactive Inks for the sky. I moved the memo tape to cover the top of the scene and blended on Key Lime Fizz and Green Apple Reactive Inks for the grass. The masks were all removed and I coloured the images with Copic Markers, adding small dots to the sky and grass as well (the colours that I used are listed below the supplies area). 


I stamped the sentiment below the house and then stamped the fairy on to a separate piece of cardstock. The fairy image does have stars around her but I masked them off before stamping. She was coloured using Copic Markers and fussy cut out (there are Frame Cuts in the kit but the die for this fairy would cut out the stars that I masked off). I adhered the panel flat to an A2 white card base and added the fairy on top with foam tape.

SUPPLIES:


Here are the links to what I have used on the project. Affiliate links are used on some products. This means that if you make a purchase after clicking on my link, I receive a small commission with no extra cost to you. I truly appreciate your support when using these links. Please click on the logo below the product to shop at your favourite store. All products were personally purchased except those from Clearly Besotted, Hero Arts or those marked with an asterisk (*) which were kindly sent to me to use. You can read my full disclosure here.


COPIC MARKERS: Fairy skin - E13, E11, E00, E50. Hair - E27, E25, E23, E21. Dress - R85, R83, R81. Flowers: V17, V15, V12, V01. Leaves - G29, YG17, YG25, YG03, YG01. Mushroom house - E57, E55, E53, E51, E50, R89, R39, R37, R35, R32. 

Do check out the Hero Arts Blog and leave a comment over there for a chance to win a kit! Thank you so much for stopping by today, I really do appreciate it. I will be back later with another post but in the mean time, I hope you have a wonderful day!

3 July 2021

Spellbinders | Mini Slimline Decorative Roses

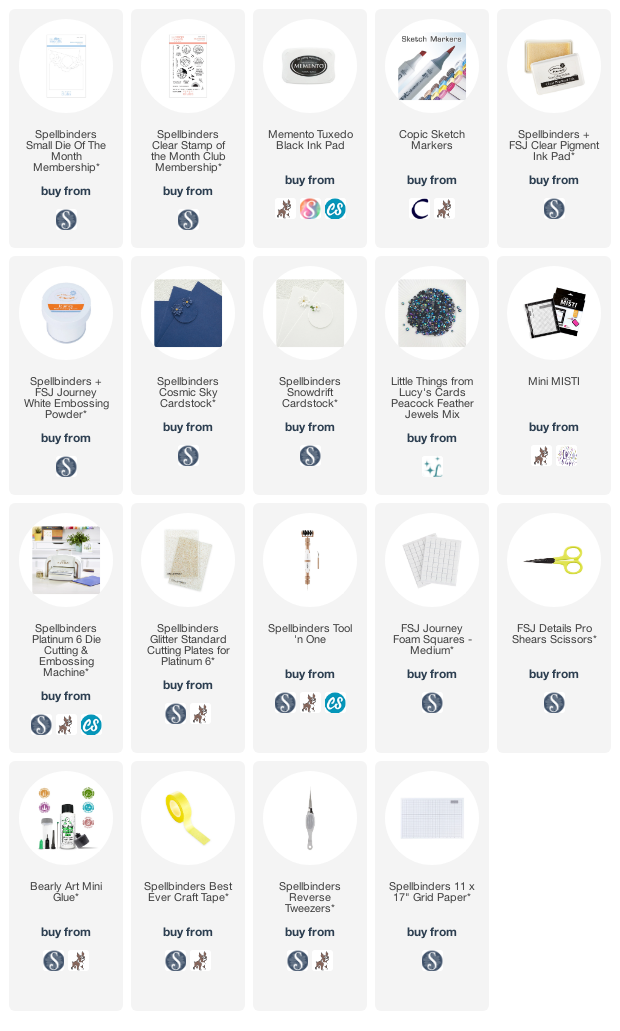
Hello there, today I have a card to share with you using the Spellbinders July 2021 Small Die of the Month Club Kit, as well as the July 2021 Clear Stamp of the Month Club Kit. These work beautifully together. There is an opening in the die that fits the sentiments in the stamp set perfectly. I didn't use that feature on my card but I wanted to mention it. 


For my card, I started off by die cutting the Spellbinders Decorative Mini Slimline Card Creator from white cardstock. I used three of the layers that can nestle in together to create more decorative elements. You can use the main border shape on it's own, with one insert, with two, three or four! I used three today. 


I adhered the die cut to a 3.75" x 6.5" white card base with Bearly Art Glue. I then took the roses image from the Spellbinders July 2021 Clear Stamp of the Month Club Kit and stamped it on to white cardstock with Memento Tuxedo Black Ink. I coloured it with Copic Markers (the colours that I used are listed below the supplies area) and then fussy cut it out with scissors. 


It was adhered to the card with FSJ Foam Squares. I took the sentiment from the set and stamped it on to Spellbinders Cosmic Sky Cardstock using FSJ Clear Ink. I applied white embossing powder and heat set. It was then cut in to a strip and added to the card with more foam squares. To finish off, I added a few Lucy's Peacock Feather Jewels. 

SUPPLIES:


Here are the links to what I have used on the project. Affiliate links are used on some products. This means that if you make a purchase after clicking on my link, I receive a small commission with no extra cost to you. I truly appreciate your support when using these links. Please click on the logo below the product to shop at your favourite store. All products were personally purchased except those from Clearly Besotted, Hero Arts or those marked with an asterisk (*) which were kindly sent to me to use. You can read my full disclosure here.


COPIC MARKERS: Roses - B37, B18, B16, B12, Y32. Leaves - G29, YG17, YG25, YG01. 

I hope that you will check out the Spellbinders Small Die of the Month Club Kit. It is a wonderful monthly subscription where you receive the kit each month. Designers like myself share inspiration using the kit at the beginning of the month to show you lots of different ways that you can use it. There are also lots of other club kits too, like the Clear Stamp of the Month, which I also used today, so there is something for everyone! If you do subscribe, you will get other benefits from Spellbinders too. Please see here for more information. You can also buy older kits here too.

There is a cut-off now for purchasing the kit, if you want to receive this month's one in your subscription. The cut-off this month is the 24th July 2021. Thanks so much for stopping by today, I really do appreciate it. I hope you have a wonderful day and a great weekend!

1 July 2021

Altenew | Build-A-Flower Bearded Iris Release Blog Hop + Giveaway

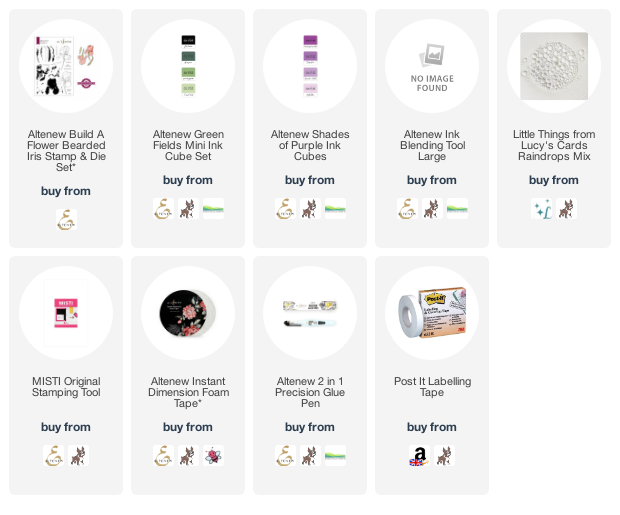
Hello there, I am delighted to be joining Altenew today to celebrate the release of the Build-A-Flower Bearded Iris Stamp & Die Set. This stamp layering set is so pretty! I have bearded iris's in my garden, so I couldn't wait to ink this one up! This post is part of a fun blog hop, more details on that below. 


I started off by stamping the outline layer of the Altenew Build-A-Flower Bearded Iris Stamp & Die Set in black ink. I then used Altenew Shades of Purple Crisp Dye Inks for the petals and Altenew Green Fields Crisp Dye Inks for the stem and leaf. They were then die cut out using the coordinating die. 


I took an A2 white card base and cut off 1/4" from one side (so that I could have the leaf hang off the edge but still fit in a standard sized envelope). I then masked off the bottom left hand corner with Post-It Tape. Using an Altenew Ink Blending Tool, I blended on the lighter inks from the Shades of Purple set. The tape was removed and the sentiment from the set stamped on top. 


The leaf and lower stem of the flower were adhered to the card with Altenew 2 in 1 Precision Glue and the top of the flower adhered with Altenew Instant Dimension Foam Tape. To finish off, I added a few Raindrops. 

SUPPLIES:


Here are the links to what I have used on the project. Affiliate links are used on some products. This means that if you make a purchase after clicking on my link, I receive a small commission with no extra cost to you. I truly appreciate your support when using these links. Please click on the logo below the product to shop at your favourite store. All products were personally purchased except those from Clearly Besotted, Hero Arts or those marked with an asterisk (*) which were kindly sent to me to use. You can read my full disclosure here.


BLOG HOP:


As mentioned, this post is part of a fun, inspiration filled blog hop (with prizes too!). For the hop, you should have arrived here from the fantastic Virginia Lu. Next on the hop is amazing Verity Biddlecombe. If you get lost along the way, or want to start from the beginning, please head over to the Altenew Blog

GIVEAWAY:

$200 in total prizes! To celebrate this release, Altenew is giving away a $50 gift certificate to 2 lucky winners and a $20 gift certificate to 5 winners! Please leave a comment on the AltenewCard Blog and/or each designer’s blog post on the blog hop list below by 7th July 2021 for a chance to win. Altenew will draw 7 random winners from the comments left on each stop of this blog hop and announce the winners on the Altenew Winners Page on 9th July 2021. Good luck!


Thank you so much for stopping by today. I hope you have a great time on the rest of the hop and a wonderful day! Take care!
End of code