23 April 2021

Concord & 9th | Banner Builder + Thinking of You

Hello there, I am back today to share my next two cards as part of guest designing with Concord & 9th this month. Today we are showcasing the Banner Builder Bundle (a great set to create sentiment banners with), as well as the Thinking of You Bundle (such a pretty floral set with a gorgeous thinking of you theme). 


My first card uses the Banner Builder Stamps and Dies. I started off my card by die cutting the smaller of the two banners from the Concord & 9th Banner Builder Dies set from white cardstock. I think these would look great in multiple colours but you know that I am all about the CAS, so went with simply white today. I then took the sentiment from the Concord & 9th Banner Builder Stamp Set and stamped the 'happy birthday friend' on to white cardstock with Versafine Clair Nocturne Ink. 


I die cut the sentiments using the coordinating dies. Because I used the banner with two sentiment strips, I didn't use the word 'friend' but it is available there if you use the larger banner die. I took an A2 white card base and adhered the banner piece first with thin foam tape. I then added the sentiment pieces with more thin foam tape on top, so that it has some added dimension. 


I took the flowers from the Concord & 9th Eclectic Garden Dies and die cut them from Concord & 9th Ballet Slipper and Ocean Sky Cardstock. I also die cut the leaves (from a larger die) from Sprout cardstock, I cut these off the larger die and popped them behind the flowers. I added enamel dots to the centres of the flowers and then adhered the flowers around the banner. I also die cut a hummingbird from the die set from White, Black, Midnight and Oceanside cardstock. It was layered up and added to the card with more thin foam tape. 


My next card uses the beautiful Thinking of You stamp set and dies. The die set has a gorgeous floral frame in it that I was tempted to use but I wanted to use the set in a different way today. I started off by ink blending a panel of white cardstock with Concord & 9th Inks and a blending brush. I used Buttercup, Grapefruit, Sorbet and Cranberry. 


I then took the Concord & 9th Thinking of You Stamp Set and stamped the floral image on to it multiple times, rotating it as I went, with Versafine Clair Nocturne Ink. I took the thinking of you word die from the Concord & 9th Thinking of You Perfect Pairings Die Set and die cut it from the panel. I then die cut it another four times from white cardstock. 


I adhered a piece of printer paper behind the panel and then adhered the white thinking of you die cut back in to create an inlay. I stacked the white pieces four high and then added the inked one back on top to complete the stamped pattern. I then spritzed it heavily with Sparkle Sheer Shimmer Spritz. Once dry, it was adhered to an A2 white card base with tape runner. 

SUPPLIES:


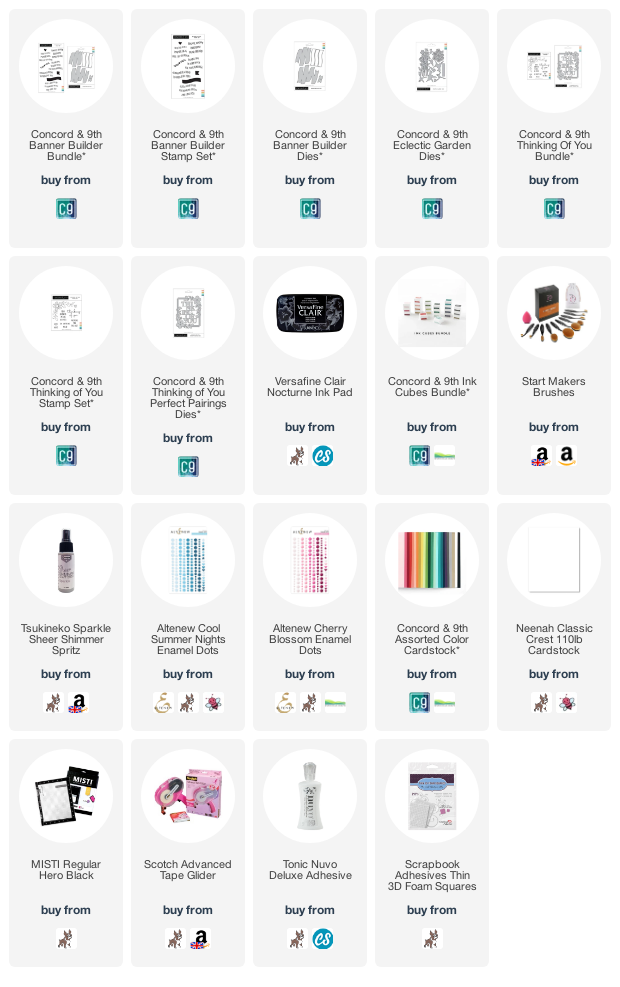
Here are the links to what I have used on the projects. Affiliate links are used on some products. This means that if you make a purchase after clicking on my link, I receive a small commission with no extra cost to you. I truly appreciate your support when using these links. Please click on the logo below the product to shop at your favourite store. All products were personally purchased except those from Clearly Besotted, Hero Arts or those marked with an asterisk (*) which were kindly sent to me to use. You can read my full disclosure here.


For more inspiration using the sets, please head over to the Concord & 9th Blog to see what my guest teamies have been up to. Thanks so much for stopping by today, I really do appreciate it. I hope you have a great rest of the day and a wonderful weekend! 

22 April 2021

Altenew | Paint-A-Flower: Chamomile Outline Stamp Set Release Blog Hop + Giveaway

Hello there, I am delighted to be joining Altenew today to celebrate the release of the Paint-A-Flower Chamomile Outline Stamp Set. This is such a pretty set and perfect for lots of different occasions. It is great for colouring but I think that you can use it in different ways too. We are celebrating the release with a fun blog hop, more information on the blog hop below :)


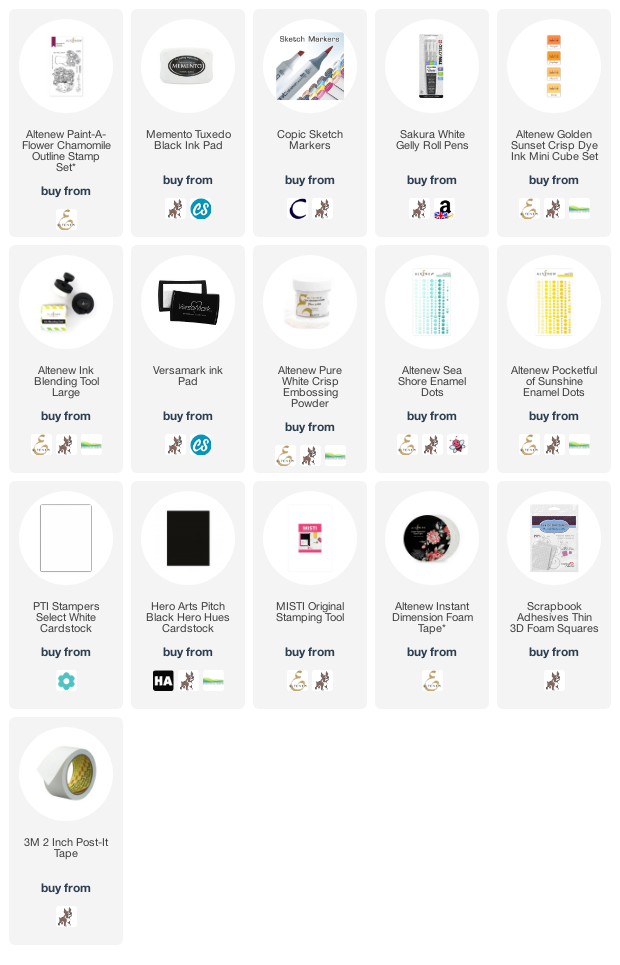
I started off my card by stamping the flowers in the vase/jug from the Altenew Paint-A-Flower Chamomile Outline Stamp Set on to white cardstock with Memento Tuxedo Black Ink. I then coloured the images with Copic Markers before fussy cutting out with scissors. I took an A2 white card base and masked off the edges on the front panel. Using an Altenew Ink Blending Tool, I then blended on Chamomile and Sunray inks from the Altenew Golden Sunset Crisp Dye Ink Mini Cube Set. 


I adhered the image on top with Altenew Instant Dimension Foam Tape. I took the sentiment from the set and stamped it on to black cardstock with Versamark Ink. I applied Altenew Pure White Crisp Embossing Powder, heat set and cut it in to a strip. It was added to the card with thin foam tape. To finish off, I added a few Altenew Sea Shore and Pocket Full Of Sunshine Enamel Dots. I also added white gel pen to highlights to the image. 

SUPPLIES:


Here are the links to what I have used on the project. Affiliate links are used on some products. This means that if you make a purchase after clicking on my link, I receive a small commission with no extra cost to you. I truly appreciate your support when using these links. Please click on the logo below the product to shop at your favourite store. All products were personally purchased except those from Clearly Besotted, Hero Arts or those marked with an asterisk (*) which were kindly sent to me to use. You can read my full disclosure here.


BLOG HOP:


As mentioned this post is part of a fun, inspiration filled blog hop. For the hop, you should have arrived here from the wonderful LauraJane. Next on the hop is the amazing Emily Midgett. If you get lost along the way, please head over to the Altenew blog post. 

GIVEAWAY:

$200 in total prizes! To celebrate this release, Altenew is giving away a $50 gift certificate to 2 lucky winners and a $20 gift certificate to 5 winners! Please leave a comment on the AltenewCard Blog and/or each designer’s blog post on the blog hop list below by 27th April 2021 for a chance to win. Altenew will draw 7 random winners from the comments left on each stop of this blog hop and announce the winners on the Altenew Winners Page on 30th April 2021. 


Thank you so much for stopping by today, I really do appreciate it. I hope you have a great rest of the day! 

20 April 2021

Heffy Doodle and Clearly Besotted Collaboration Blog Hop + Giveaway

Hello there, today I am taking part in a fun blog hop to celebrate a collaboration between Clearly Besotted and Heffy Doodle. Both Design Teams have got together to share inspiration using both companies products. More information on the hop below :)

For my projects today, I thought I would create ATCs (Artist Trading Cards). This isn't something that I usually do but I do like the smaller format and I thought the size worked well with the products I was using. I will pop one of these into parcels that I send to friends. 


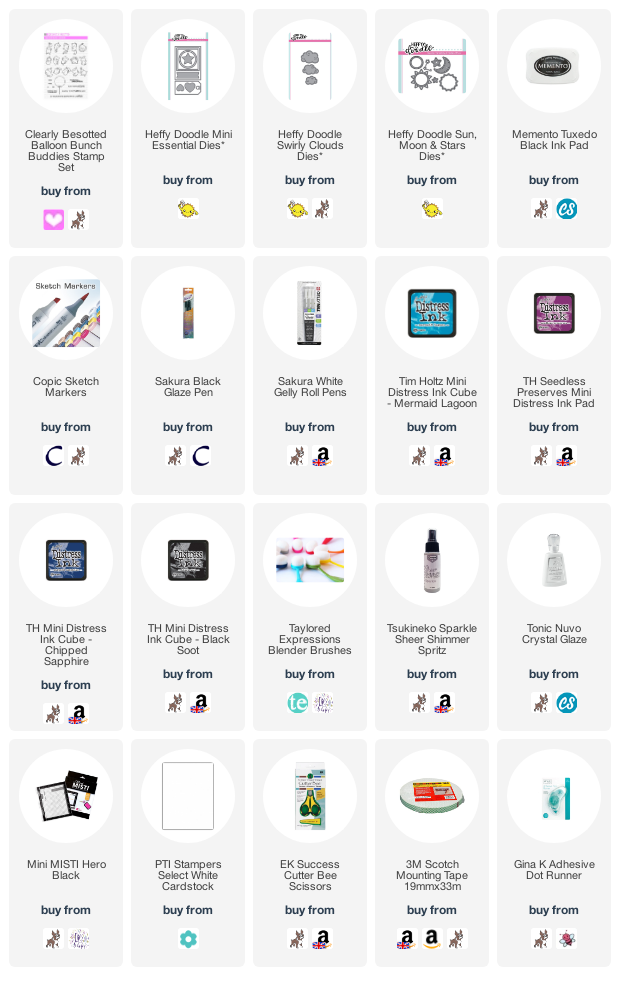
I started off by stamping my images from the Clearly Besotted Balloon Bunch Buddies Stamp Set. The images were stamped on to white cardstock using Memento Tuxedo Black Ink. I then coloured them with Copic Markers and fussy cut out with scissors. I took the Heffy Doodle Mini Essentials Dies and die cut the rectangle from the set, along with the square inside from white cardstock to create what look like polaroid photos.


I then cut two solid rectangle pieces (for the backs). I adhered the front piece to the back piece, saving the inside square pieces to ink blend on. For these I wanted to create a day sky and a night sky. I used Tim Holtz Mermaid Lagoon and Seedless Preserves Distress Inks for the day sky and Chipped Sapphire, Seedless Preserves and Black Soot for the night sky. They were then splattered with Sparkle Sheer Shimmer Spritz. 


I die cut the Heffy Doodle Sun, Moon & Stars Dies from white cardstock, as well as the Heffy Doodle Swirly Cloud Dies. They were coloured using Copic Markers and added to the squares, cutting off the bits overhanging with scissors. I stamped the sentiments on to the white frame pieces from the Clearly Besotted Balloon Bunch Buddies Stamp Set and then adhered the scene pieces like an inlay. 


The images were added to the ATCs with foam tape and then to finish off, I added Crystal Glaze to the balloons and white gel pen highlights to the critters. Along with black glaze pen to their eyes.

SUPPLIES:


Here are the links to what I have used on the project. Affiliate links are used on some products. This means that if you make a purchase after clicking on my link, I receive a small commission with no extra cost to you. I truly appreciate your support when using these links. Please click on the logo below the product to shop at your favourite store. All products were personally purchased except those from Clearly Besotted, Hero Arts or those marked with an asterisk (*) which were kindly sent to me to use. You can read my full disclosure here.


BLOG HOP:


As mentioned, this post is part of a fun, inspiration filled blog hop with prizes too. Here is the full list of participants taking part today:

GIVEAWAY:

To be entered to win the giveaway, all you need to do is comment at each stop along the Blog Hop! Clearly Besotted will be giving away a £25 gift certificate and Heffy Doodle will be giving away a £25 gift certificate to their respective stores. Be sure to comment before 11:59pm on 24th April 2021 to be entered to win! Both companies will post the winners of the prizes on 25th April 2021. Be sure to check the Clearly Besotted Blog and Heffy Doodle Blog to see if you are a winner.

It was a lot of fun combining the two different companies products together. As you can see, I used Clearly Besotted stamps and Heffy Doodle dies but I do think both companies stamps would work well together too! Thank you so much for stopping by today, next on the hop is the fabulous Ali. Have a great day!

19 April 2021

Altenew | Suddenly Spring Stand-alone Dies Release Blog Hop + Giveaway

Hello there, I am delighted to be joining Altenew today to celebrate the release of their Suddenly Spring Die Collection, as well as their new Instant Dimension Foam Tape. It is such a wonderful release and I really enjoyed creating my projects today. We are celebrating the release with a fun, inspiration filled blog hop (with prizes!), more on that below :)


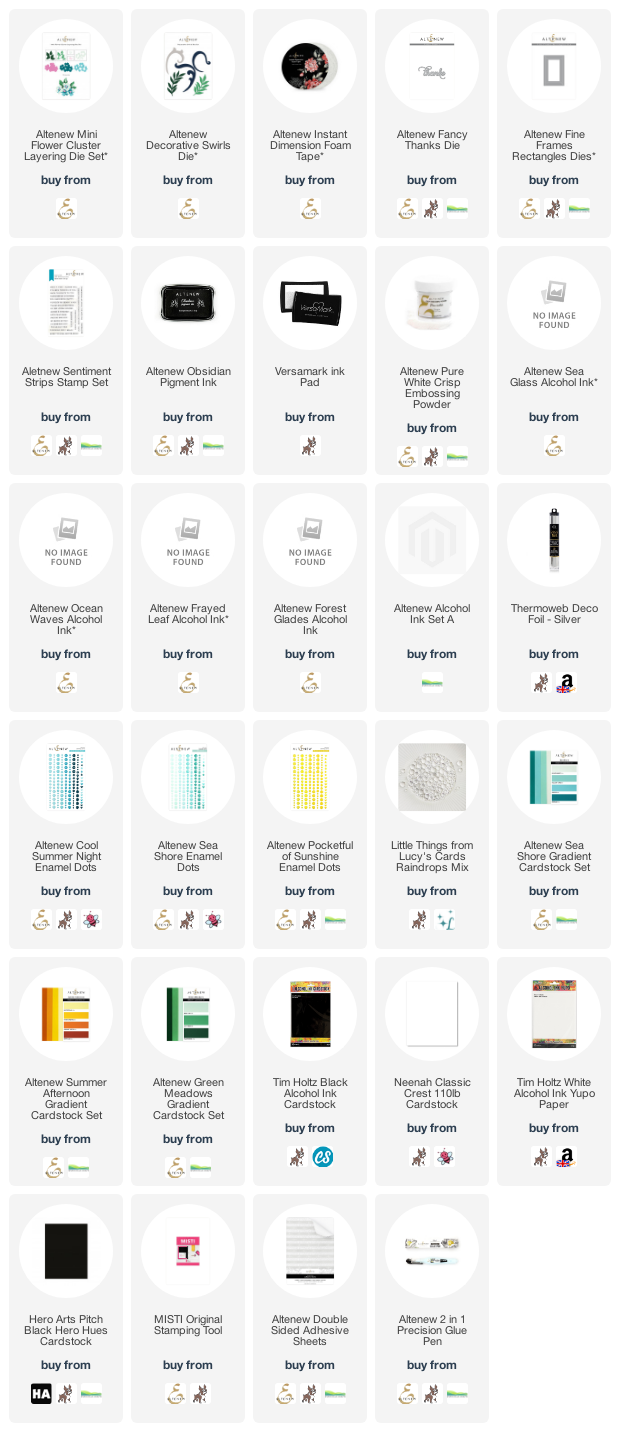
For my first card, I am using the new Mini Flower Cluster Layering Die Set. This is such a beautiful set that is one of Altenew's classic layering die sets but in a mini version! I started off by die cutting the layers of the Altenew Mini Flower Clustrer Layering Die Set from Altenew Sea Shore and Summer Afternoon Gradient Cardstock. For the larger pieces, they were layered up with Altenew 2 in 1 Precision Glue and for the smaller pieces, I adhered Altenew Double Sided Adhesive Sheet to the back of the cardstock before die cutting. The leaves were cut from Altenew Green Meadows Gradient Cardstock. 


I then adhered these to a panel of white cardstock with the glue pen. I took the Altenew Fancy Thanks Die and die cut it twice from normal black cardstock and once from black alcohol ink cardstock (this has a lovely matte, almost suede feel to it) and layered them up so that the alcohol cardstock piece was on the top. 


I then stamped the sentiment from the Altenew Sentiment Strips Stamp Set on to white cardstock with Altenew Obsidian Black Ink. It was cut in to a strip and adhered to the panel using Altenew Instant Dimension Foam Tape. I then adhered the whole panel on to an A2 white card base with thin foam tape. To finish off, I added Altenew Sea Shore, Cool Summer Nights and Pocketful of Sunshine Enamel Dots. 


Before I share my next two cards with you, I wanted to share a look at the new Altenew Instant Dimension Foam Tape. This is by far the prettiest of foam tape you will have ever seen! Not only is the packaging for the tape beautiful, the actual backing on the foam tape is too! 


It is printed with beautiful Altenew flowers on it. The foam tape roll is huge! 33m in length and 1.5mm thick and has great adhesion. This foam tape will last you ages!


For my next two cards, I am using the new Decorative Swirls Die Set. This new set features two beautiful swirl dies, along with two beautiful leaves. I have used the leaves on my cards today. I started off by taking a sheet of Yupo paper and adding drops of Altenew Alcohol Inks on to it. I used Sea Glass, Ocean Waves, Frayed Leaf and Forest Glades. I left them to dry slightly and then pressed Silver Deco Foil on to the paper and where the inks were still slightly wet, the foil adhered to it. 


I then die cut the alcohol inked background using the two leaves from the Altenew Decorative Swirls Die Set. I also die cut each leaf another four times from white cardstock. The leaves were layered up one on top of another and the alcohol inked ones adhered on top. 


I took A2 white card bases and ran them through my die cutting machine, embossing the Altenew Fine Frames Rectangle Die in the centre. I love the added interest this adds to the simple cards! 


I took the sentiment from the Altenew Sentiment Strips Stamp Set, stamped it on to black cardstock twice with Versamark Ink. I applied Altenew Pure White Crisp Embossing Powder, heat set and cut them in to strips. They were added to the card with Altenew Instant Dimension Foam Tape. To finish off, I added a few Raindrops. 

SUPPLIES:


Here are the links to what I have used on the project. Affiliate links are used on some products. This means that if you make a purchase after clicking on my link, I receive a small commission with no extra cost to you. I truly appreciate your support when using these links. Please click on the logo below the product to shop at your favourite store. All products were personally purchased except those from Clearly Besotted, Hero Arts or those marked with an asterisk (*) which were kindly sent to me to use. You can read my full disclosure here.


BLOG HOP:


As mentioned, this post is part of a fun, inspiration filled hop. For the hop, you should have arrived here from Amber Rain Davis. Next on the hop is Therese Calvird. If you get lost along the way, please head over to the Altenew Blog. 

FREE GIFTS:

Here are two ways to get a FREEBIE to kickstart your creativity! Free gift will be added to cart automatically. 


- Get a FREE brand-new Suddenly Spring Stand-alone Dies Release Inspiration Guide (worth $5.99) with every order of Suddenly Spring Stand-alone Die Release Bundle. 

- Get a FREE brand-new Suddenly Spring Stand-alone Dies Release Mini Inspiration Guide with every order from 19th April 2021 through 21st April 2021. 


GIVEAWAY:

$300 in total prizes! To celebrate this release, Altenew is giving away a $50 gift certificate to 2 lucky winners and a $20 gift certificate to 10 winners! Please leave a comment on the Altenew Card Blog and/or each designer’s blog post on the blog hop list below by 25th April 2021 for a chance to win. Altenew will draw 12 random winners from the comments left on each stop of this blog hop and announce the winners on the Altenew Winners Page on 27th April 2021. 


Thanks so much for stopping by today, I really do appreciate it. I hope you have a lovely time on the rest of the hop and a great day! 

16 April 2021

Concord & 9th | Big On You + Paint Swash Turnabout

Hello there, today I have two cards to share with you as part of guest designing with Concord & 9th. Today we are showcasing two new sets - Big On You (a fantastic sentiment set) and Paint Swash Turnabout (which is one of their fabulous turnabout background stamps). 

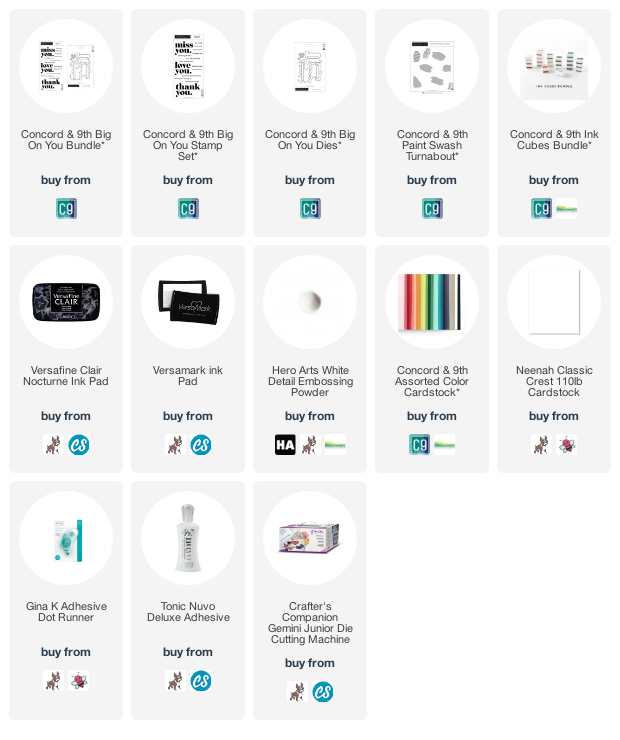
My first card uses the new Big On You Stamp stamp & dies (which can also be purchased as a bundle or separately). I started off by die cutting one of the sentiment strips from the Concord & 9th Big On You Dies from almost every colour in the Concord & 9th Assorted Cardstock Pack. They were adhered on to an A2 white card base with tape runner, running from the top of the card to the bottom, leaving  a small gap in-between each one. 

I then took the thank you sentiment from the Concord & 9th Big On You Stamp Set and stamped it on to white cardstock with Versafine Clair Nocturne Ink. It was die cut with the coordinating die, I also cut the die another two times just from white cardstock so that I could layer them on top of each other for dimension. I then adhered it to the card with liquid glue. I also die cut the hearts from the die set also from white, twice for each heart and adhered them around the sentiment. 

My next card uses the Paint Swash Turnabout. The idea is that you would turn the stamp four times to cover the background of a card but I just turned it twice and I think it looks great too! I started off by stamping the first turn of the Concord & 9th Paint Swash Turnabout on to white cardstock using Ballet Slipper Ink. For the second turn, I stamped it using Honeysuckle Ink. Both of these are from the Concord & 9th Ink Cube Bundle. 

I then stamped the line and polka dot stamps on to some of the paint swashes with Versafine Clair Nocturn Ink. The panel was adhered to an A2 white card base with tape runner. I then stamped the miss you sentiment from the Concord & 9th Big On You Stamp Set and cut it out with the coordinating dies. I also stamped the accompanying sentiment from the set on to black cardstock with Versamark Ink. I applied Detail White Embossing Powder and heat set. It was then die cut using a sentiment strip die from the Concord & 9th Big On You Dies and added to the card with more liquid glue.

SUPPLIES:

Here are the links to what I have used on the projects. Affiliate links are used on some products. This means that if you make a purchase after clicking on my link, I receive a small commission with no extra cost to you. I truly appreciate your support when using these links. Please click on the logo below the product to shop at your favourite store. All products were personally purchased except those from Clearly Besotted, Hero Arts or those marked with an asterisk (*) which were kindly sent to me to use. You can read my full disclosure here.


For more inspiration using the sets, please head over to see what my Guest Design Teamies have been up to over on the Concord & 9th Blog. Thanks so much for stopping by today, I really do appreciate it. I hope you have a lovely rest of the day and a great weekend. Take care! 

13 April 2021

Spellbinders | Watercolor Florals

Hello there, today I have a card to share with you using the wonderful new Watercolor Florals Collection by Sushma Hegde for Spellbinders. As the name suggests, these images are perfect for watercolouring but you can also use them in lots of different ways. I decided to watercolour mine today, as I thought the style of the images worked well with a loose watercolour.

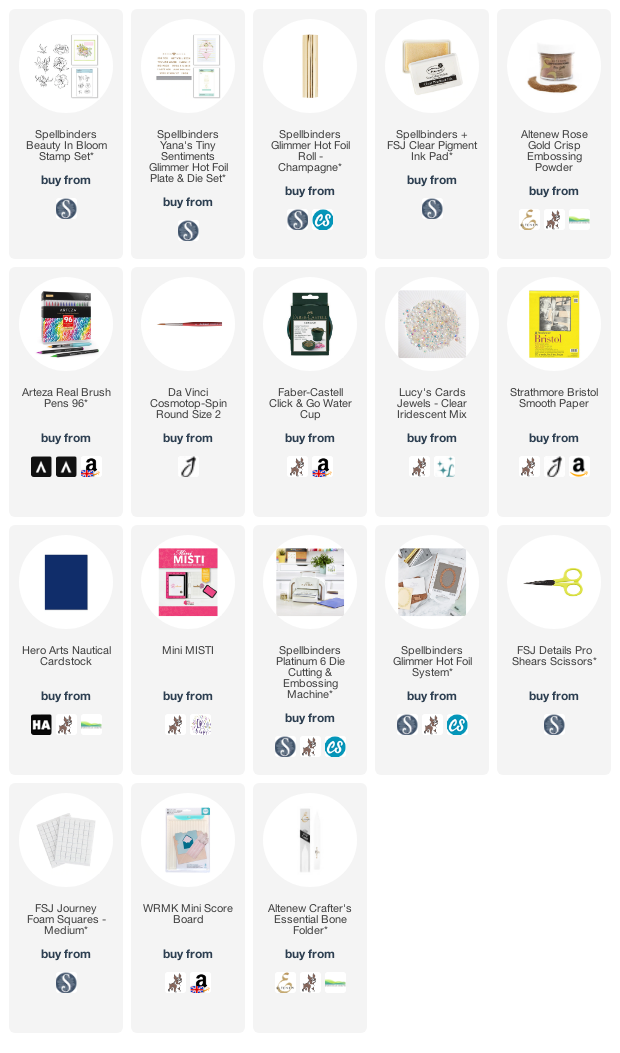
I started off by stamping the flowers from the Spellbinders Beauty In Bloom Stamp Set on to Strathmore Bristol Smooth Cardstock with FSJ Clear Pigment Ink. I applied Altenew Rose Gold Embossing Powder and heat set. They were then loosely watercoloured using Arteza Real Brush Pens, a paint brush and water and fussy cut out with scissors. 


I took a Hero Arts Nautical A2 card base and scored horizontal lines in to the front panel with a score board and bone folder. The images were then adhered on top with tape runner and foam tape. I took the sentiment from Yana's Tiny Sentiments Glimmer Foil Plate & Die Set and foiled it on to more Nautical Cardstock with Spellbinders Champagne Glimmer Hot Foil Roll, die cut it out and adhered it on top with foam tape. To finish off, I added Lucy's Iridescent Jewels. 

SUPPLIES:

Here are the links to what I have used on the project. Affiliate links are used on some products. This means that if you make a purchase after clicking on my link, I receive a small commission with no extra cost to you. I truly appreciate your support when using these links. Please click on the logo below the product to shop at your favourite store. All products were personally purchased except those from Clearly Besotted, Hero Arts or those marked with an asterisk (*) which were kindly sent to me to use. You can read my full disclosure here.


I hope that you will check out the rest of the collection. There are some really beautiful stamp sets. Thank you so much for stopping by today. I really do appreciate it. I hope you have a lovely day! 

12 April 2021

VIDEO | Simple Alcohol Ink Underwater Scene

Hello there, I am over on the My Favorite Things YouTube Channel today, sharing a card using the Mermazing set (one of my favourites!) and combining it with a simple alcohol ink ocean. 


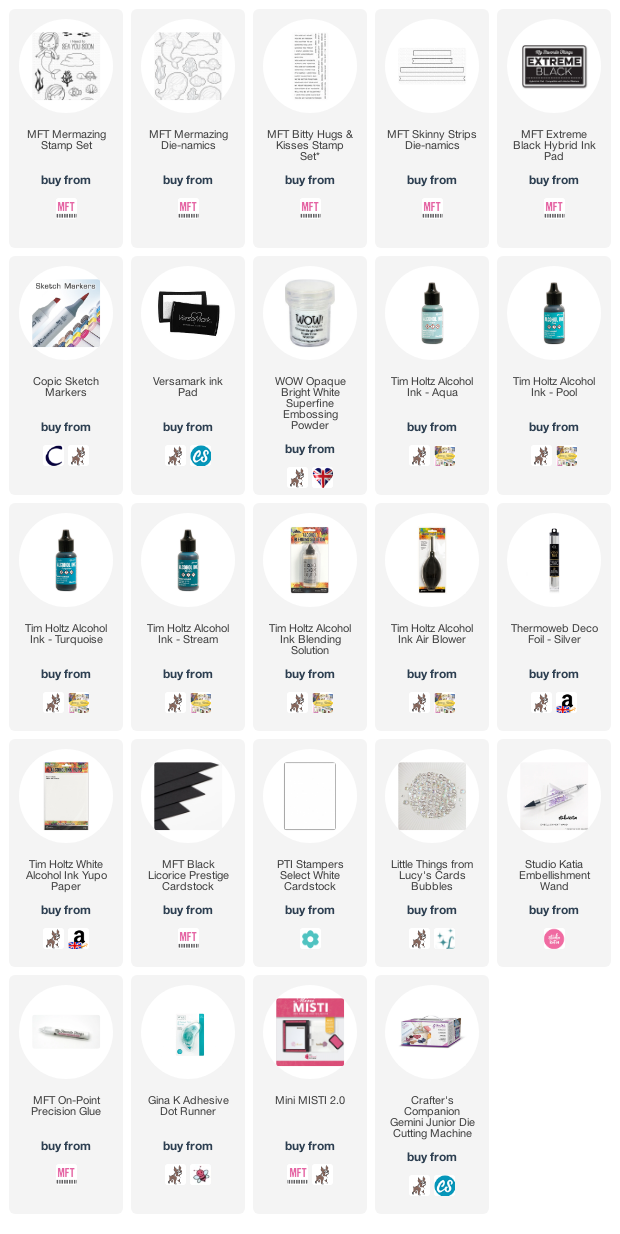
I started off my card by creating the alcohol ink background. I took a panel of Yupo Paper and added a layer of Alcohol Ink Blending Solution on top. I then added on Tim Holtz Alcohol inks in Aqua, Pool, Turquoise and Stream. They were moved around with an Air Blower Tool and once I was happy, I let it sit for a minute or two. 


Once the majority of the alcohol ink was dry, I placed a sheet of Silver Deco Foil on top and where the alcohol ink was still sticky, the foil adhered to it. I thought that this gave some added interest to the ocean, as well as a bit of sparkle. I then let it sit to dry while I worked on my images. I took the MFT Mermazing Stamp Set and stamped one of the mermaid's, as well as the turtle from the set on to white cardstock with MFT Extreme Black Ink. 


They were coloured using Copic Markers (the colours that I used are listed below the supplies area) and die cut out using the MFT Mermazing Die-namics. I cut the alcohol inked piece to 5" x 3.75" and adhered it to an A2 card base made from MFT Black Licorice Cardstock. I then stamped the sentiment from the MFT Bitty Hugs & Kisses Stamp Set on to more black cardstock with Versamark Ink. I applied white embossing powder and heat set. It was cut in to a strip using the MFT Skinny Strips Die-namics. The sentiment and the images were adhered to the card with foam tape and then I added a few Lucy's Bubbles to complete the card. 

VIDEO:

Here is a look at how I made the card:


If you are viewing this post via email subscription, you can watch the video HERE on YouTube. 

SUPPLIES:


Here are the links to what I have used on the project. Affiliate links are used on some products. This means that if you make a purchase after clicking on my link, I receive a small commission with no extra cost to you. I truly appreciate your support when using these links. Please click on the logo below the product to shop at your favourite store. All products were personally purchased except those from Clearly Besotted, Hero Arts or those marked with an asterisk (*) which were kindly sent to me to use. You can read my full disclosure here.


COPIC MARKERS: Mermaid skin - E13, E11, E00, E000, E50, R20. Hair - E49, E29, E25, E23, E21. Top & hair clip - V17, V15, V12, V01. Tail - V17, V15, V12, V01, V00, BG49, BG13, BG11, BG10. Turtle - G29, YG17, YG23, YG01, BG78, BG75, BG72. 

Thank you so much for stopping by to see me today, I really do appreciate it. I hope you have a wonderful week! 

10 April 2021

Altenew 7th Anniversary Blog Hop Day 3 + Giveaway

Hello there, I am delighted to be joining Altenew today to celebrate their 7th Anniversary. There is a fun 4 day blog hop going on, filled with inspiration and prizes and today is day 3. Please see below for more information on the hop and giveaway. 


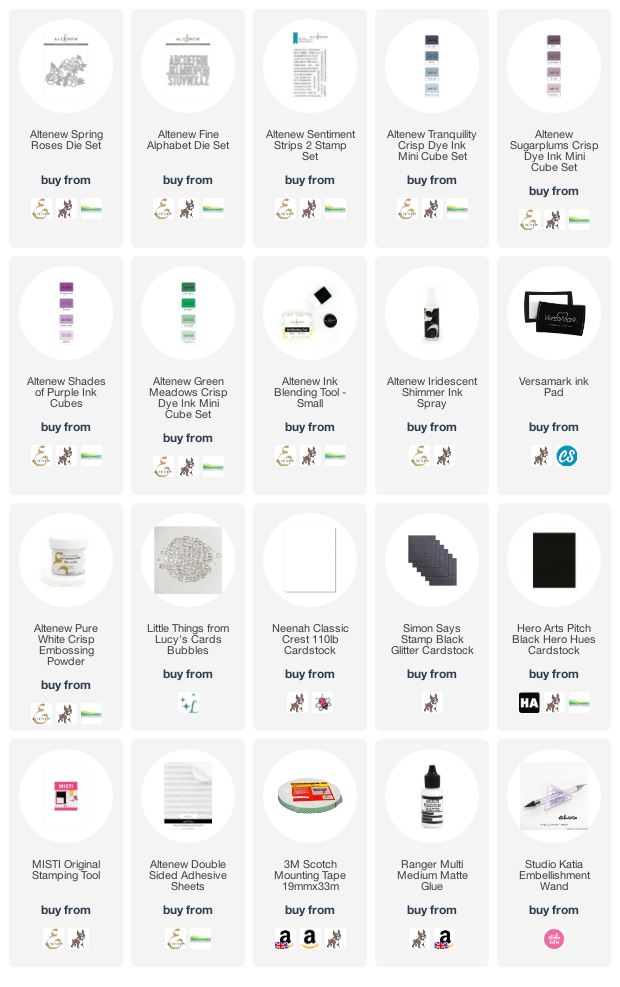
For my card today, I wanted to create a Mother's Day for my mum. I had been wanting to use the Spring Roses Die Set for some time and I thought this was the perfect opportunity! I started off by adding Altenew Double Sided Adhesive Sheet on to the back of sheets of white cardstock. I then ran them through my die cutting machine, die cutting two of the Altenew Spring Roses Die Set Dies. I die cut each flower three times so that I could layer them up. 


On one set, I added ink blending using Altenew Small Ink Blending Tools. I used inks from the Altenew Sugarplums, Tranquility, Shades of Purple and Green Meadows Crisp Dye Ink Cube Sets. I then spritzed them using Altenew Iridescent Shimmer Ink Spray. The white cardstock layers were adhered to a panel of white cardstock and then the inked one added on top. I also inlaid the flower pieces but left the leaves with the outlines only. This panel was then adhered to an A2 white card base with foam tape. 


I took the Altenew Fine Alphabet Dies and die cut them twice from black cardstock and once from black glitter cardstock. They were layered up one on top of another using liquid glue and added to the card with foam tape. I stamped the sentiment from the Altenew Sentiment Strips 2 Stamp Set on to black cardstock with Versamark Ink. I applied Altenew Pure White Crisp Embossing Powder, heat set and cut it in to a strip. This was also added to the card with foam tape. To finish off, I added a few Lucy's Bubbles. 

SUPPLIES:


Here are the links to what I have used on the project. Affiliate links are used on some products. This means that if you make a purchase after clicking on my link, I receive a small commission with no extra cost to you. I truly appreciate your support when using these links. Please click on the logo below the product to shop at your favourite store. All products were personally purchased except those from Clearly Besotted, Hero Arts or those marked with an asterisk (*) which were kindly sent to me to use. You can read my full disclosure here.


BLOG HOP:


As mentioned, this post is part of a fun blog hop to celebrate Altenew's 7th Anniversary. For the hop, you should have arrived here from Norine Borys. Next on the hop is Bumbleberry Papercrafts. If you get lost along the way, please head over to the Altenew Blog. 

SPECIAL OFFER:


Enjoy FREE U.S. shipping with code HAPPY7TH or $5 OFF international shipping with code ANNIV21 at checkout. Offer valid from 8th April 2021 at 12:01 am EDT through 11th April at 11:59 pm EDT. Not valid on prior purchases. Cannot be combined with other promo codes. 


GIVEAWAY:


Over $1,400 in total prizes! Altenew is giving away a $70 gift certificate to 5 lucky winners and one Altenew Academy class to 15 lucky winners. There are also 19 awesome companies/crafty friends who are celebrating with us, and they are offering the following prizes:


Be sure to leave comments by 18th April 2021 for a chance to win one of 41 prizes! To make the hop more exciting, start your comment with "Hi from (city or country where you're from)!" 41 winners will be chosen at random from the comments left on any of the blogs listed below and will be announced on the Altenew Card Blog on 24th April 2021. 


Thank you so much for stopping by today, I hope you have a lovely time on the rest of the hop and have a great rest of the day! Take care :) 

Spellbinders | Stitched Thanks

Hello there, today I have a card to share with you using the Spellbinders April 2021 Small Die of the Month Club. This month is called Stitched Thanks and you can see why! This is a gorgeous large die with a beautiful floral pattern around the word with stitching holes. Although the die is made to be stitched, you could definitely leave it without the stitching and it would still look pretty, I think! 

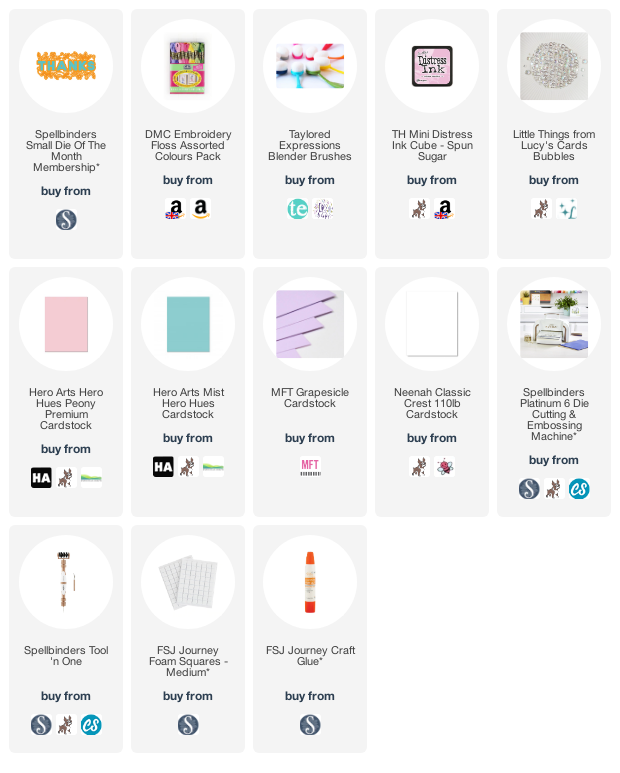
For my card, I started off by die cutting the Spellbinders April 2021 Small Die of the Month from white cardstock. I then ran it back through the Platinum 6 to emboss it. This helps to show up the stitching lines that are created when die cutting. On the packaging, there is a guide to how to stitch but these lines do help too! I didn't have the packaging, so I did wing it slightly but I think it looked pretty in the end! 

I used DMC Embroidery Floss in a pink, teal, purple and green. I apologise that I do not have the actual number reference for the colours. Once the stitching was completed (I am not going to lie, it took some time but I do think it was worth the time and effort!), I die cut the thanks letters twice from white cardstock and then once from coordinating cardstock colours. They were layered up and adhered to the stitching piece with FSJ Craft Glue. 

I took a 7.5" x 3.75" white card base and blended Tim Holtz Spun Sugar Distress Ink at the bottom, blending to white as I went up the card. The panel was then added on top with FSJ Foam Squares. To finish off, I added a few Lucy's Bubbles. 

SUPPLIES:

Here are the links to what I have used on the project. Affiliate links are used on some products. This means that if you make a purchase after clicking on my link, I receive a small commission with no extra cost to you. I truly appreciate your support when using these links. Please click on the logo below the product to shop at your favourite store. All products were personally purchased except those from Clearly Besotted, Hero Arts or those marked with an asterisk (*) which were kindly sent to me to use. You can read my full disclosure here.


I hope that you will check out the Spellbinders Small Die of the Month Club Kit. It is a wonderful monthly subscription where you receive the kit each month. Designers like myself share inspiration using the kit at the beginning of the month to show you lots of different ways that you can use it. There are also lots of other club kits too, so there is something for everyone! If you do subscribe, you will get other benefits from Spellbinders too. Please see here for more information. You can also buy older kits here too. 

Thank you so much for stopping by, I will be back later with another post. In the mean time, I hope you have a wonderful day! 

End of code