12 January 2021

MFT | Best Hugs

Hello there and happy MFT release day! The January 2021 release from My Favorite Things is now available in store to purchase and today, I am using the new Hug It Out set. 

I started off my card by creating the background, I took a panel of white cardstock and cut out out using the MFT A2 Stitched Rectangle Stax Die-namics. I then placed the MFT Grassy Edges Stencil on top and blended Distress Ink below. I used Mowed Lawn and Twisted Citron. The stencil was removed and the sky blended with Spun Sugar and Picked Raspberry Distress Inks. 

I took the sentiment from the MFT Hug It Out Stamp Set and stamped it on to the grass portion using MFT Extreme Black Ink. I then covered it over with a bit of memo tape and splattered on Arteza Titanium White Gouache using a paintbrush. The memo tape was removed and the panel left to dry. 

I took the image from the MFT Hug It Out Stamp Set and stamped it on to white cardstock with MFT Extreme Black Ink. It was coloured using Copic Markers (the colours that I use are listed below the supplies area for reference) and cut out with the coordinating die. The background panel was adhered flat to an A2 white card base and the animals added on top with foam tape. To finish off, I added a few white gel pen highlights to the animals. 

SUPPLIES:

Here are the links to what I have used on the card. Affiliate links are used on some products. This means that if you make a purchase after clicking on my link, I receive a small commission with no extra cost to you. I truly appreciate your support when using these links. Please click on the logo below the product to shop at your favourite store. All products were personally purchased except those from Clearly Besotted, Hero Arts or those marked with an asterisk (*) which were kindly sent to me to use. You can read my full disclosure here.
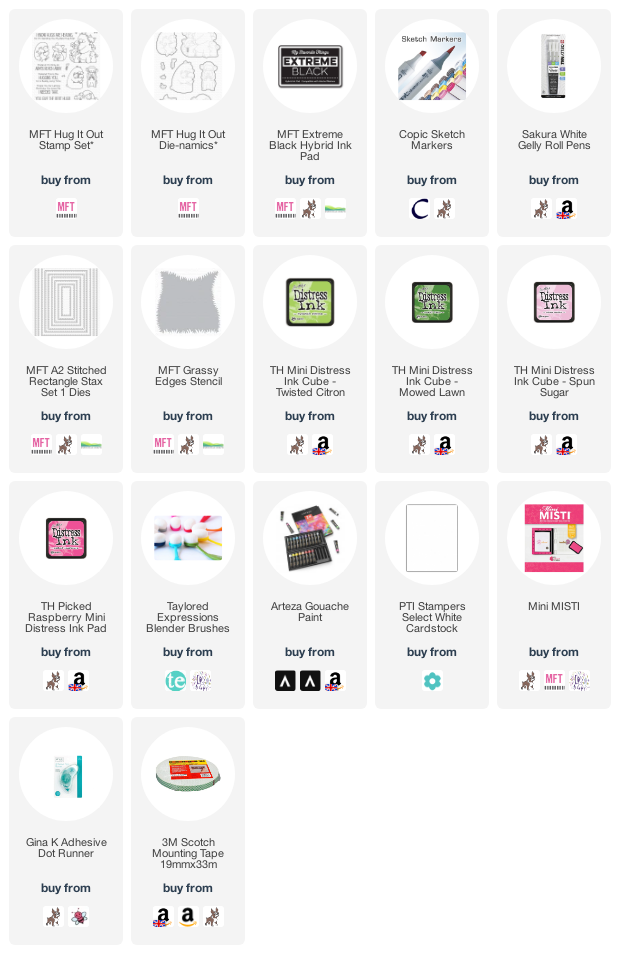

COPIC MARKERS: Bear - E59, E57, E55, E53, E50, E47, E49, R00. Raccoon - T8, T6, T5, T3, T2, T1, T0, R32, R30, R00. Squirrel - E09, E07, E13, E50. Fox - E09, E08, E07, E13, E11, E53, E51, E50, R32, R30. Owl - W7, W5, W3, W1, W0, YR65. Bunny - W3, W2, W1, W0, W00, R30, R00. 

Isn't that image adorable? There are lots of different hugging critters in this set and they are all so cute! Perfect to send to friends and family during this time. Thank you so much for stopping by to see me today, I really do appreciate it. I hope you have a lovely day! 

11 January 2021

VIDEO | MFT Rainbow Clouds

Hello there, I am over on the My Favorite Things YouTube Channel today, creating a card using rainbow clouds. I always think that rainbows are a sign of positivity and I think we can all agree, we need some of that at the moment! So my little guy is flying in the clouds all alone, missing his friends and family but brighter days are ahead! 


I started off my card by stamping the adorable bear from the MFT Partners In Adventure Set on to white cardstock with MFT Extreme Black Ink. I then coloured him with Copic Markers (the colours that I used are listed below the supplies section for reference) and die cut him out using the MFT Partners In Adventure Die-namics. 


I set him aside while I worked on the clouds. I took a 5.5" x 3.75" panel of white cardstock and placed the MFT Cloud Stencil on top, securing with low tack tape. Using a blending brush, I blended on Distress Inks. I used Picked Raspberry, Dried Marigold, Squeezed Lemonade, Twisted Citron, Mermaid Lagoon and Wilted Violet. I then splattered on a little water for some more interest and let the piece sit to dry. 


Once dry, I stamped the sentiment from the new MFT Bitty Hugs & Kisses Stamp Set, which is out tomorrow in the January release, with more Extreme Black Ink. The panel was added to an A2 white card base with foam tape. The bear was then added on top with more foam tape. To finish off, I added a few Lucy's Bubbles with MFT On-Point Precision Glue. 

VIDEO:

Here is the video showing how I made the card:


If you are viewing this blog post via email subscription, you can watch the video here on YouTube. 

SUPPLIES:


Here are the links to what I have used on the card. Affiliate links are used on some products. This means that if you make a purchase after clicking on my link, I receive a small commission with no extra cost to you. I truly appreciate your support when using these links. Please click on the logo below the product to shop at your favourite store. All products were personally purchased except those from Clearly Besotted, Hero Arts or those marked with an asterisk (*) which were kindly sent to me to use. You can read my full disclosure here.


COPIC MARKERS: Bear - E59, E57, E55, E53, E50, R00, E49. Balloon - BG15, BG13, BG11, BG10. 

Thanks so much for stopping by to see me today, I really do appreciate it. I hope you have a wonderful rest of the day! 

9 January 2021

Spellbinders | Small Die of the Month Club January 2021

Hello there, today I have a card to share with you using the Spellbinders Small Die of the Month Club for January 2021. There is a definite love theme this month! Although I love reds and pinks for love, I thought I would go in a different direction and use blues for my card. 

I started off by die cutting the middle portion of the Lovely Card Creator dies. There is an outside piece, a middle piece and then an inside piece. I just used the middle and inside pieces on my card. I first die cut the middle piece twice from FSJ Huckleberry Fusion Cardstock (apologies that it has sadly now been discontinued) that has Stick It adhesive sheet on the back. Taking another panel of the cardstock, I blended FSJ Huckleberry Fusion True Color Fusion Ink Pad on top. I focused most of the colour at the bottom, blending out to the cardstock colour at the top. 

This piece was then die cut with the same die and the three pieces were layered one on top of another for dimension. I then took the solid heart for the inside and cut that from FSJ Pool Play Cardstock (again, sorry, sadly now discontinued). I also cut the top layer of the heart from the same ink blended cardstock that I used on the middle frame piece. The frame piece was added to a white A2 card base and then the solid heart added inside, followed by the top layer of the heart. 

I took the sentiment from the Spellbinders Glimmering Wedding Wishes Glimmer Hot Foil Plate Set and foiled it on to white cardstock with Spellbinders Champagne Foil. It was cut out using the die from the Spellbinders Holiday Sentiments Series 2 Glimmer Hot Foil Plate & Die Set and added to the card with foam squares. 

SUPPLIES:

Here are the links to what I have used on the card. Affiliate links are used on some products. This means that if you make a purchase after clicking on my link, I receive a small commission with no extra cost to you. I truly appreciate your support when using these links. Please click on the logo below the product to shop at your favourite store. All products were personally purchased except those from Clearly Besotted, Hero Arts or those marked with an asterisk (*) which were kindly sent to me to use. You can read my full disclosure here.


I hope that you will check out the Spellbinders Small Die of the Month Kit. It is a wonderful monthly subscription where you receive the kit each month and there is lots of inspiration during the first week of the month giving ideas on what you can do with it. If you do become a member, you will receive other benefits from Spellbinders too. For more information, please see here. You can also purchase older kits here. 

Thank you so much for stopping by today, I hope you have a wonderful day! 

8 January 2021

Reverse Confetti | January 2021 Release Blog Hop

Hello there, I am delighted to be joining Reverse Confetti today to celebrate their January 2021 release. This is such a cute release focusing on Valentine's Day/love but these sets can also be used all year round too. For my card today, I am using the new Picture Perfect set. This set is designed to be used as a drive in movie set, but I thought it would work well with the couple looking up at the stars too! 

I started off by die cutting the Reverse Confetti Grid Stitched Tag Die from white cardstock and the topper piece in back. On the white tag, I blended on Distress Inks for the sky. I used Black Soot, Seedless Preserves, Chipped Sapphire and Blueprint Sketch. I then added in Mowed Lawn and Pine Needles for the ground/grass. I splattered on some water and let it sit to dry.

I took the images from the Reverse Confetti Picture Perfect Stamp Set and stamped them on to white cardstock with Memento Tuxedo Black Ink. I then coloured them using Copic Markers (the colours that I used are listed below the supplies area) and die cut them out using the Reverse Confetti Picture Perfect Confetti Cuts. 

I added twine through the top of the tag and it was added flat to an A2 white card base with tape runner. The couple in the car were added on top with foam tape. The stars and moon were added with liquid glue. I then took the sentiment from the Reverse Confetti Word Up Stamp Set and stamped it on to black cardstock with Versamark Ink. I applied white embossing powder, heat set and cut it in to a strip. It was added to the card with foam tape also. 

SUPPLIES:

Here are the links to what I have used on the card. Affiliate links are used on some products. This means that if you make a purchase after clicking on my link, I receive a small commission with no extra cost to you. I truly appreciate your support when using these links. Please click on the logo below the product to shop at your favourite store. All products were personally purchased except those from Clearly Besotted, Hero Arts or those marked with an asterisk (*) which were kindly sent to me to use. You can read my full disclosure here.


COPIC MARKERS: Bears - E59, E57, E55, E53. Car - V17, V15, V12, C10, C8, C6, C5, C3, C1, B00, B000, Y17, Y11. Stars - Y15, Y11. Moon - E53, E50. 

BLOG HOP:

As mentioned, this post is part of a fun blog hop filled with inspiration! Here is the full list of participants taking part today:

Thanks so much for stopping by today, I really do appreciate it. I will be sharing another card using the new release later in the month but until then, I hope you enjoy the rest of the hop! Take care!

7 January 2021

Altenew | Craft-A-Flower Morning Glory Layering Die Set Release Blog Hop + Giveaway

Hello there, I am delighted to be joining Altenew today for a fun blog hop to celebrate the release of the Craft-A-Flower Morning Glory Layering Die Set. As the name suggests, this set layers up to create beautiful flowers. You can also purchase the set as part of a bundle with the Gradient Cardstock, which I am using today. More information on the hop below :)

I started off by die cutting the flower heads from the Altenew Craft-A-Flower Morning Glory Layering Die Set from the Altenew Gradient Cardstock Set - Cherry Blossom. I then die cut the centres from the Altenew Gradient Cardstock Set - Summer Afternoon and the leaves from the Altenew Gradient Cardstock Set - Green Meadows. 

I took a panel of white cardstock and die cut the Altenew Fine Frames Rectangles Dies from it, keeping them in place, I adhered them flat to an A2 white card base with liquid glue. I wanted to frame the flowers but I didn't want to add too much detail. The flowers were then layered up on top, adhering the layers with more liquid glue. 

I took the sentiment from the Altenew Stawberry Stamp Set and stamped it on to black cardstock using Versamark Ink. I applied Altenew Crisp White Embossing Powder and heat set. It was cut in to a strip and added to the card with foam tape. To finish off, I added a few clear jewels. 

SUPPLIES:

Here are the links to what I have used on the card. Affiliate links are used on some products. This means that if you make a purchase after clicking on my link, I receive a small commission with no extra cost to you. I truly appreciate your support when using these links. Please click on the logo below the product to shop at your favourite store. All products were personally purchased except those from Clearly Besotted, Hero Arts or those marked with an asterisk (*) which were kindly sent to me to use. You can read my full disclosure here.


BLOG HOP:

As mentioned, this post is part of a fun blog hop filled with lots of inspiration and prizes. You should have arrived here from Jenny Colacicco. Next on the hop is Teresa Litchfield. If you get lost along the way, please head over to the Altenew Card Blog. 

GIVEAWAY:

$200 in total prizes! To celebrate this release, Altenew is giving away a $50 gift certificate to 1 lucky winner and a $15 gift certificate to 10 winners! Please leave a comment on the Altenew Card Blog and/or each designer’s blog post on the blog hop list below by 12th January 2021 for a chance to win. Altenew will draw 11 random winners from the comments left on each stop of this blog hop and announce the winners on the Altenew Winners Page on 15th January 2021. Good luck!

Thank you so much for stopping by today, I really do appreciate it. I hope you have fun on the rest of the hop and have a wonderful rest of the day. Take care! 

5 January 2021

Altenew | January 2021 Fresh Start Stamps/Dies/Stencils/Embossing Folders Collection Release Blog Hop + Giveaway

Hello there, I am delighted to be joining Altenew today to celebrate the release of the new Fresh Start Collection for January 2021. I think a lot of could do with a fresh start about now! The collection is so beautiful! There are lots of stamp sets, dies, stencils and embossing folders out and I am using a few of them on my projects today. More information on the blog hop below :)

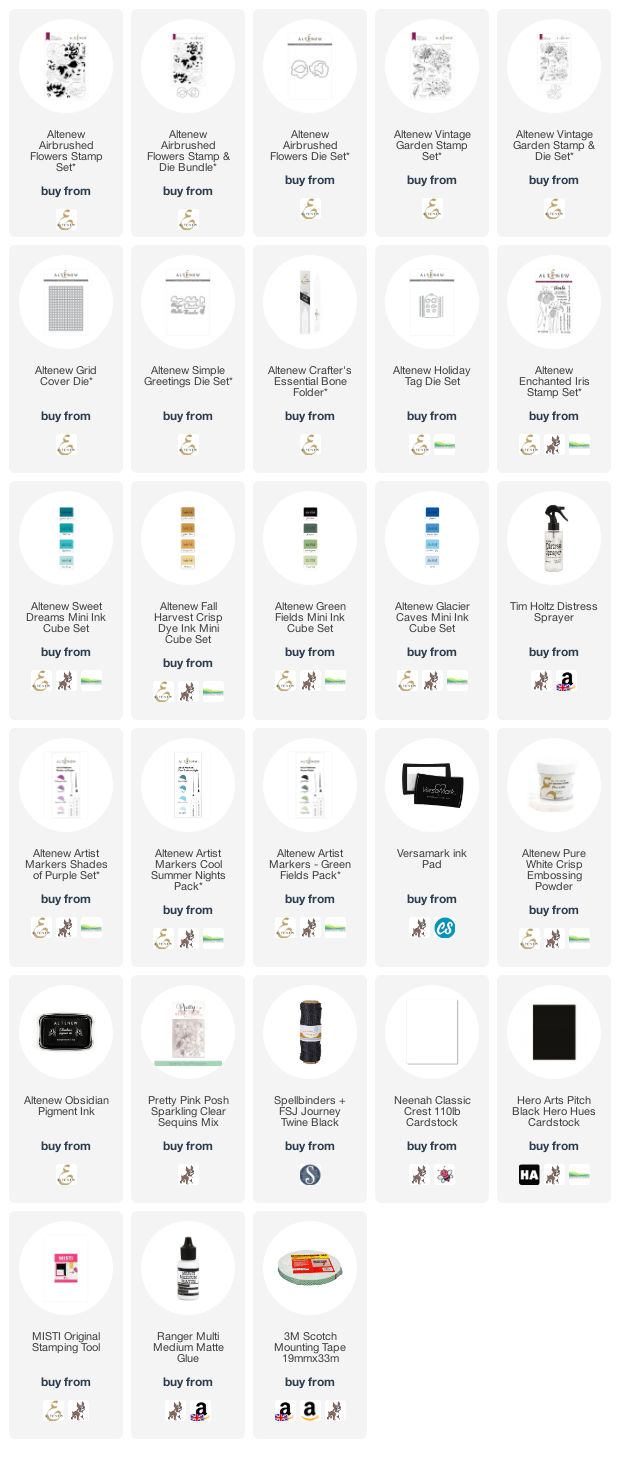
For my first project, I am using the beautiful new Altenew Airbrushed Flowers Stamp Set. I first stamped the outline image in black ink, followed by the petal layers with the Altenew Sweet Dreams Crisp Dye Ink Mini Cube Set (Dew Drops, Teal Caves, Aqualicious and Galactic Stream). I then stamped the centres using Altenew Fall Harvest Crisp Dye Ink Mini Cube Set (Butternut and Pumpkin Pie). I stamped the leaves using the Altenew Green Fields Crisp Dye Ink Mini Cube Set (Forest Glades and Frayed Leaf). I then die cut them all out using the Altenew Airbrushed Flowers Die Set (which also comes as a bundle or as a bundle with stencils too). 


I took a panel of white cardstock and ran it through my die cutting machine to emboss the new Altenew Grid Cover Die. It was cut in to a panel and adhered flat on to an A2 white card base with tape runner. The flowers and leaves were then added on top. The leaves with tape runner, the flowers with foam tape. 

I took the sentiment from the Altenew Airushed Flowers Stamp Set and stamped it on to black cardstock with Versamark Ink. I applied Altenew Crisp White Embossing Powder and heat set. It was cut in to a strip and added to the card with thin foam tape. To finish off, I added a sprinkling of Sparkling Clear Sequins. 

While stamping the flowers, I accidently didn't stamp the black outline as crisp as I would like it but once all the layers were stamped (as above), I quite liked the look, so I decided to use the extra flower and leaves on a tag. I took the Altenew Holiday Tag Die Set and die cut the tag twice from white cardstock. One layer was run through my die cutting machine to emboss the Altenew Grid Cover Die again (this is beautiful die cut out too but I love the embossed look!) and the other tag adhered to the back. 

The leaves were adhered with tape runner and the flower with foam tape. I then took the new Altenew Simple Greetings Die Set and die cut the hugs word three times from black cardstock. They were layered one on top of another and then added to the tag. To finish off, I added twine and a mini pin to the top of the tag and sequins around the flower. 

My next cards use the beautiful Vintage Garden set. I thought it would be nice to use the same image from the set but in two different ways. I started off by stamping the floral image from the Altenew Vintage Garden Stamp Set on to a panel of watercolour paper using Altenew Obsidian Black Ink. 

I then smooshed Altenew Inks on to a piece of stamp pocket, spritzed them with water and then smooshed it on to to the panel to create an organic watercolour look. I used Altenew Sweet Dreams and Glacier Caves Inks for the flowers and Green Fields for the leaves. The panel was then set aside to dry.

Once dry, the panel was adhered on to a black A2 card base with foam tape. I took the thanks die from the Altenew Simple Greetings Die Set and cut it three times from black cardstock. They were layered up one on top of another for dimension and then on to the card. I took the sentiment from the Altenew Enchanted Iris Stamp Set and stamped it on to black cardstock with Versamark Ink. I applied Altenew Crisp White Embossing Powder and heat set. It was cut in to a strip and added to the card with thin foam tape. 

For my second card using the set, I thought I would simply colour it using Altenew Artist Alcohol Markers but do a little spotlight stamping. I first took an A2 white card base and stamped the image from the set with black ink. I then stamped the same image on to a panel of white cardstock so that when placed on top, the images would line up. 

The panel was coloured using Altenew Cool Summer Nights, Shades of Purple and Green Fields Artist Alcohol Markers and adhered on top of the card base with foam tape. I used the same sentiments as the first card and adhered them on top with glue and thin foam tape. 

SUPPLIES:

Here are the links to what I have used on the card. Affiliate links are used on some products. This means that if you make a purchase after clicking on my link, I receive a small commission with no extra cost to you. I truly appreciate your support when using these links. Please click on the logo below the product to shop at your favourite store. All products were personally purchased except those from Clearly Besotted, Hero Arts or those marked with an asterisk (*) which were kindly sent to me to use. You can read my full disclosure here.


BLOG HOP:

As mentioned, this post is part of a fun blog hop filled with inspiration and prizes. If you are following along in the hop, you should have arrived here from Laurie Willison and next on the hop is Maryam Perez. If you get lost along the way, please head to the Altenew Card Blog. 

SPECIAL OFFERS:

Here are three ways to get a freebie to kickstart your creativity with the Fresh Start Release:

GIVEAWAY:

$300 in total prizes! To celebrate this release, Altenew is giving away a $50 gift certificate to 2 lucky winners and a $20 gift certificate to 10 winners! Please leave a comment on the Altenew Card Blog and/or each designer’s blog post on the blog hop list below by 11th January 2021 for a chance to win. Altenew will draw 12 random winners from the comments left on each stop of this blog hop and announce the winners on the Altenew Winners Page on 13th January 2021. 


I hope that you will check out the rest of the beautiful Fresh Start release. Thank you so much for stopping by to see me today, I really do appreciate it. I hope you have a wonderful day! 
4 January 2021

Hero Arts | January 2021 My Monthly Hero Release Blog Hop + Giveaway

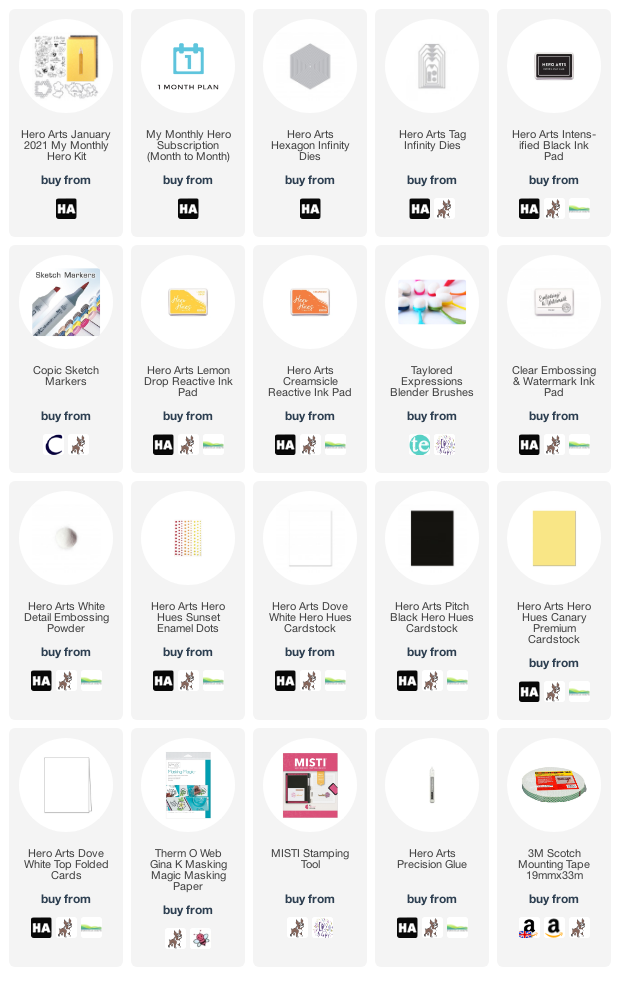
Hello there and welcome as we celebrate the release of the Hero Arts January 2021 My Monthly Hero Kit. The kit this month has a wonderful bee and floral theme to it. Us on the Creative Team have fallen in love with those chubby bees! We are celebrating the release with a fun blog hop. If you are following along in the hop, you should have arrived here from the fabulous Maria, but if you get lost along the way, I have the full list of participants below. 

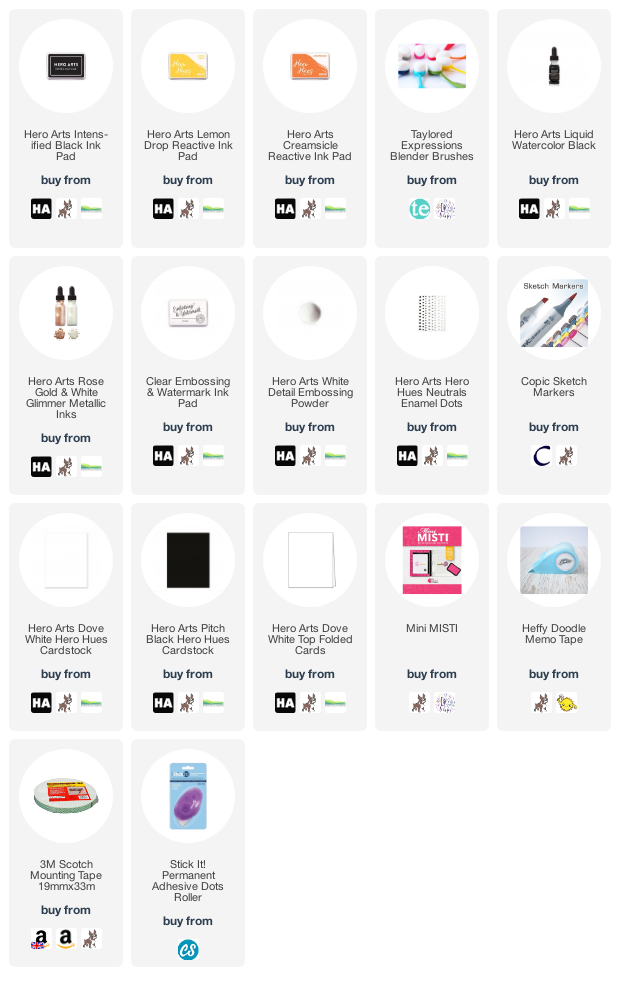
For my card today, I started off by stamping the large floral image from the main kit stamp set on to a panel of white cardstock using Hero Arts Intens-ified Black Ink. I then made a mask for it by stamping the image on to masking paper, cut it out and stuck it on top of the image on the panel. I then masked off the edges of the panel using Post-It Tape and blended ink inside. 

I used Hero Arts Lemon Drop Reactive Ink, as well as a little Hero Arts Creamsicle Reactive Ink, to darken the inside slightly. The masks were all removed and the flowers coloured using Copic Markers (the colours that I used are listed below the supplies area). I then stamped two of the bees from the stamp set on to more white cardstock with Intens-ified Black Ink and coloured those with Copic Markers also. 

They were then die cut out using the coordinating dies in the kit. The panel was adhered on to a top folding card base with tape runner and then the bees added on top with foam tape. I took the sentiment from the set and stamped it on to Hero Arts Pitch Black Cardstock with Hero Arts Clear Embossing & Watermark Ink. I applied Hero Arts White Detail Embossing Powder and heat set. It was cut in to a strip and added to the card with foam tape. 

For my second project, I thought that I would create a little tag. I took the new Hero Arts Hexagon Infinity Dies (which are an add-on this month) and die cut two from Hero Arts Canary Cardstock. I then adhered them together back to back and die cut a hole in the top with a hand hole punch. I die cut the tag topper from the Hero Arts Nesting Tag Infinity Dies from black cardstock and adhered that on top. 

I took the same floral image that I used on the card and stamped that on to the tag, this time using Hero Arts Lemon Drop Reactive Ink. I then stamped the sentiment above using Hero Arts Intens-ified Black Ink. I stamped, coloured and die cut out another bee and added him on top with foam tape. To finish off, I added a few yellow enamel dots form the Hero Arts Sunset Enamel Dots pack. 

SUPPLIES:

Here are the links to what I have used on the card. Affiliate links are used on some products. This means that if you make a purchase after clicking on my link, I receive a small commission with no extra cost to you. I truly appreciate your support when using these links. Please click on the logo below the product to shop at your favourite store. All products were personally purchased except those from Clearly Besotted, Hero Arts or those marked with an asterisk (*) which were kindly sent to me to use. You can read my full disclosure here.


COPIC MARKERS: Flowers - V09, V17, V15, V12, V01. Leaves - G29, YG17, YG25, YG03, YG01. Branch - E57, E55, E53. Bees - Y17, Y15, Y13, Y11. 

THE KIT:

The Hero Arts January 2021 My Monthly Hero Kit contains a 6" x 8" Clear Stamp Set, Coordinating Frame Cuts, Honeycomb Window Die, Honey Lacquer Pen, 6 5.5" x 8.5" sheets of paper - 2 each pale Yellow Glitter, Black Glitter and Gold Brillanca. 

The kit is valued at $70 but you can get it for $34.99 (approximately £28 depending on exchange rate). The kits are limited edition and often sell out quickly. You can subscribe here so that you never miss a  kit.  Kits begin shipping on 8th January 2021. 

ADD-ONS:

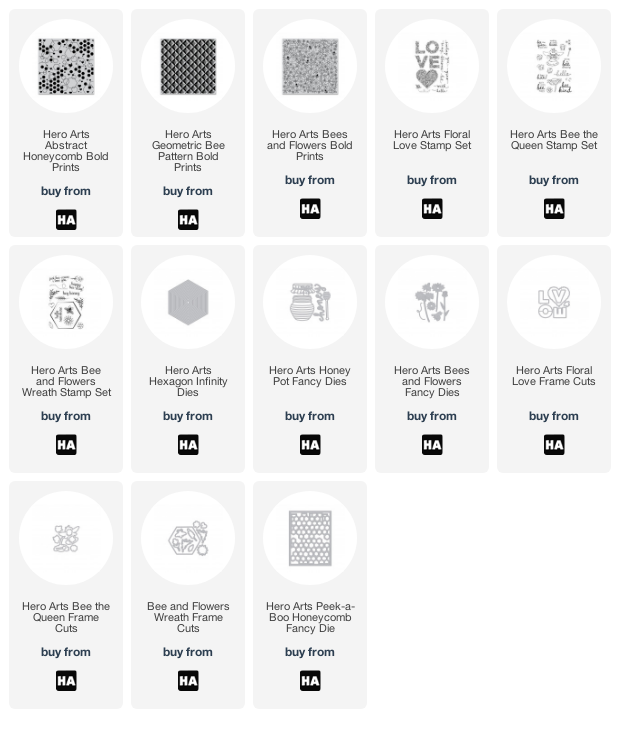
There are lots of wonderful add-ons this month. These sets work well alongside the kit, or can be used separately. Unlike the kits, these are not limited edition. You can purchase them when you purchase a kit at Hero, or from your favourite Hero Arts retailer. Here is a look at them:

BLOG HOP:

Here is the full list of participants taking part in the hop today:

GIVEAWAY:

Hero Arts are giving away one $50 gift certificate to one luck blog hop winner drawn from all of the comments left across all of the stops on the hop. Enter by Sunday 10th January 2021 at 11.59 pm PT. The winner will be announced on the Hero Arts blog the following week. Good luck!

Next on the hop is the wonderful Mindy. Thanks so much for stopping by today, I really do appreciate it. I hope you have a wonderful time on the rest of the hop!

2 January 2021

Hero Arts | January 2021 My Monthly Hero Countdown

Hello there and welcome as we countdown to the release of the Hero Arts January 2021 My Monthly Hero Kit. Release day is Monday 4th January and throughout the weekend, we are sharing inspiration using the kit. The kit this month has a wonderful bee and floral theme to it. I love it! 

For my card, I started off by masking off the edges of a 5.5" x 4.25" panel of white cardstock. I then blended on Hero Arts Lemon Drop Reactive Ink. With the masks still in place, I then stamped the honeycomb image from the main kit stamp set on top, using Hero Arts Creamsicle Reactive Ink. I did this randomly and then splattered on Hero Arts Black Liquid Watercolor, followed by Hero Arts White Glimmer Ink. The masks were removed and the panel set aside to dry. 

I took one of the individual flowers from the main kit stamp set, along with one of the bees and stamped them on to more white cardstock using Hero Arts Intens-ified Black Ink. They were coloured using Copic Markers (the colours that I used are listed below the supplies area) and then cut out using the coordinating dies in the kit. 

The panel was adhered flat to an A2 white card base and the flower and bee added on top with foam tape. The sentiment from the set was stamped on to Hero Arts Pitch Black Cardstock using Hero Arts Clear Embossing & Watermark Ink, I applied Hero Arts White Detail Embossing Powder and heat set. It was then cut in to a strip and added to the card with more foam tape. To finish off, I added a few black and white enamel dots from the Hero Arts Neutrals Enamel Dots pack. 

SUPPLIES:

Here are the links to what I have used on the card. Affiliate links are used on some products. This means that if you make a purchase after clicking on my link, I receive a small commission with no extra cost to you. I truly appreciate your support when using these links. Please click on the logo below the product to shop at your favourite store. All products were personally purchased except those from Clearly Besotted, Hero Arts or those marked with an asterisk (*) which were kindly sent to me to use. You can read my full disclosure here.


COPIC MARKERS: Flower - B39, B18, B16, B12, YR31. Bee - Y17, Y15, Y13, Y11. 

Please head over to the Hero Arts Blog for more inspiration using the kit. Make sure you leave a comment over there too, for a chance to win a kit! Thank you so much for stopping by today, I really do appreciate it. I hope you have a wonderful rest of the day! 

1 January 2021

Altenew | Build-A-Flower: Cora Louise Peony Release Blog Hop + Giveaway

Hello there, I am delighted to be joining Altenew today for a fun blog hop to celebrate the release of the Build-A-Flower Cora Louise Peony Stamp & Die Set. This is such a stunning set that you can layer up to create depth and dimension, or you can simply stamp the outline and enjoy colouring! More information on the hop below :) 
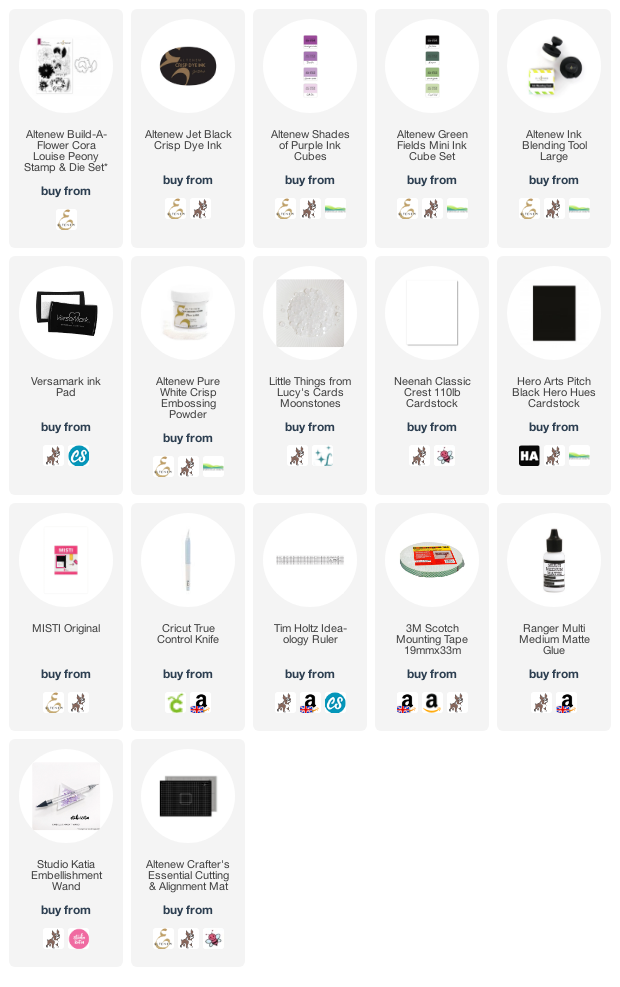
For my card, I started off by stamping the outline layer of the Altenew Build-A-Flower Cora Louise Peony Stamp & Die Set on to white cardstock with black ink. I then stamped the second layer using Lavender Fields ink, followed by the next layer in Deep Iris. These are both from the Altenew Shades of Purple Crisp Dye Ink Mini Cube Set. There are more layers to the set but as I liked it how it was, I decided to leave it there and simply colour the centre of the flower with an alcohol marker. For the leaves, I used Altenew Frayed Leaf and Forest Glades from the Altenew Green Fields Crisp Dye Ink Mini Cube Set. 

They were then cut out using the coordinating dies and set aside. I took a panel of white cardstock and using the Altenew Ink Blending Tool, blended on Soft Lilac Ink in the bottom right hand corner. The panel was adhered to an A2 white card base with foam tape. The leaves added with tape runner and the flower with more foam tape. I took the sentiment from the Altenew Build-A-Flower Cora Louise Peony Stamp & Die Set and stamped it on to black cardstock with Versamark Ink. I applied Altenew Pure White Crisp Embossing Powder and heat set. They were cut in to strips and added with more foam tape. To finish off, I added a few Lucy's Moonstones. 

SUPPLIES:

Here are the links to what I have used on the card. Affiliate links are used on some products. This means that if you make a purchase after clicking on my link, I receive a small commission with no extra cost to you. I truly appreciate your support when using these links. Please click on the logo below the product to shop at your favourite store. All products were personally purchased except those from Clearly Besotted, Hero Arts or those marked with an asterisk (*) which were kindly sent to me to use. You can read my full disclosure here.


BLOG HOP:

As mentioned, this post is part of a fun blog hop filled with lots of inspiration and prizes. If you are following along in the hop, you should have arrived here from Svitlana Shayevich. Next on the hop is Christine Pennington. If you get lost along the hop, please head over to the Altenew Card Blog. 

GIVEAWAY:

$200 in total prizes! To celebrate this release, Altenew is giving away a $50 gift certificate to 1 lucky winner and a $15 gift certificate to 10 winners! Please leave a comment on the Altenew Card Blog and/or each designer’s blog post on the blog hop list below by 7th January 2021, for a chance to win. Altenew will draw 11 random winners from the comments left on each stop of this blog hop and announce the winners on the Altenew Winners Page on 9th January 2021. Good luck!


Although the card is pretty clean and simple, I think the added dimension really adds to the card design. I just need to make sure that I post/mail the card in a padded envelope! Thank you so much for visiting me today, I really do appreciate it. I hope you have a wonderful rest of the day! 

VIDEO | Clearly Besotted January 2021 Release Preview

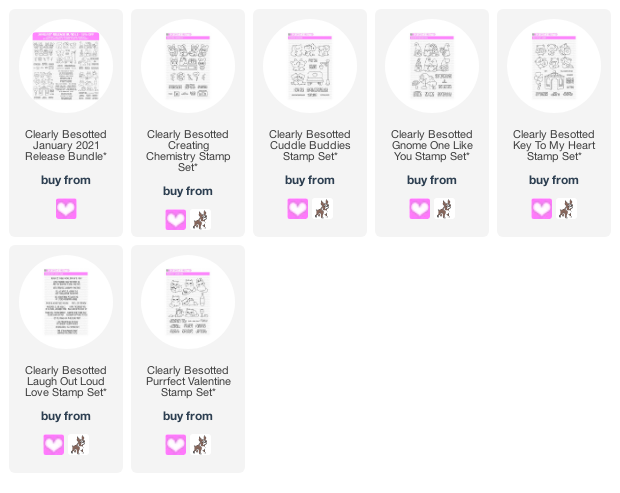
Hello there and happy New Year to you all! Although it will take some time to get better, here's hoping for a happy and healthy 2021! I am back today to share the new release from Clearly Besotted with you. There is a definite love/Valentine's feel to this release but what I love about Clearly Besotted is that they make their sets very versatile, so can be used throughout the year for other occasions too. 

There are six new sets releasing tonight at 8pm GMT. They can be purchased separately from the Clearly Besotted Shop or Simon Says Stamp, or can be purchased as a bundle (with free gifts and a discount) from Clearly Besotted. Here is a look at the new sets, plus a recap of my projects:

If you are viewing this post via email subscription, you can watch the video HERE on YouTube.

SUPPLIES:

Here are the links to what I have used on the card. Affiliate links are used on some products. This means that if you make a purchase after clicking on my link, I receive a small commission with no extra cost to you. I truly appreciate your support when using these links. Please click on the logo below the product to shop at your favourite store. All products were personally purchased except those from Clearly Besotted, Hero Arts or those marked with an asterisk (*) which were kindly sent to me to use. You can read my full disclosure here.


What has caught your eye from the release? I know that a lot of people do not like gnomes but I think these ones are super cute! For more inspiration using the new sets, please head over to the Clearly Besotted Blog and I believe that the amazing Keren has another teaser to share with you today too. Thank you so much for stopping by today. I will be back later with an Altenew hop. See you then!

End of code