1 May 2018

VIDEO | Clearly Besotted May 2018 Release Preview

Hello there, today is THE day! All of the new products from Clearly Besotted release tonight at 8pm BST/3pm EST. It is such a wonderful release with something for everyone - florals, cute, funny and a wonderful sentiment set too!
 
 
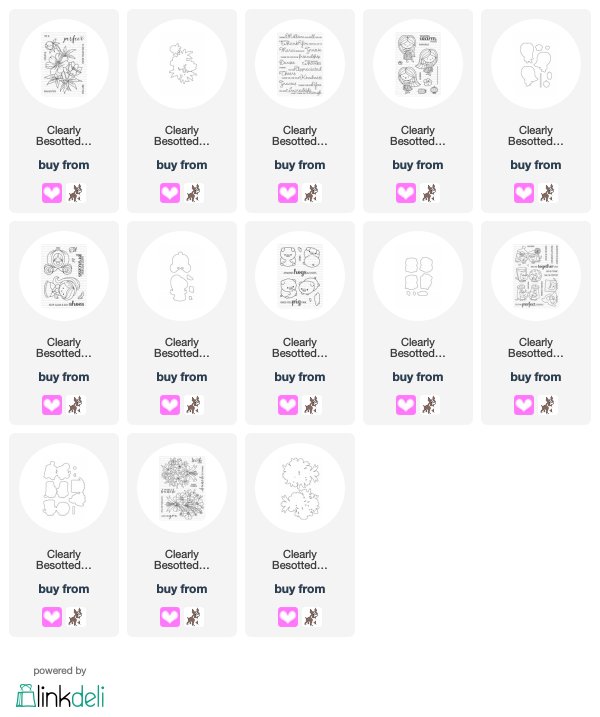
The new products will be available to purchase from the Clearly Besotted Shop (UK based, ships almost worldwide) and Simon Says Stamp (US based, ships worldwide). Here is a look at the new sets and a recap of the cards I made:


SUPPLIES:

Here are the links to what I shared in the video. Affiliate links are used on some products. This means that if you make a purchase after clicking on my link, I receive a small commission with no extra cost to you. I truly appreciate your support when using these links. Please click on the logo below the product to shop at your favourite store. Products marked with an asterisk (*) were kindly sent to me to use.
 

What do you think of the release? I really hope you like it as much as I do. Thank you so much for visiting me today, happy shopping! :)

30 April 2018

Clearly Besotted Teasers | Perfect Pigs

Hello there and welcome to day four of the May Clearly Besotted Teasers. Not long to wait now until the new products are available. They release tomorrow at 8pm BST. For my last teaser, I am using the adorable Perfect Pigs stamp set. Oh my cuteness! I love it!


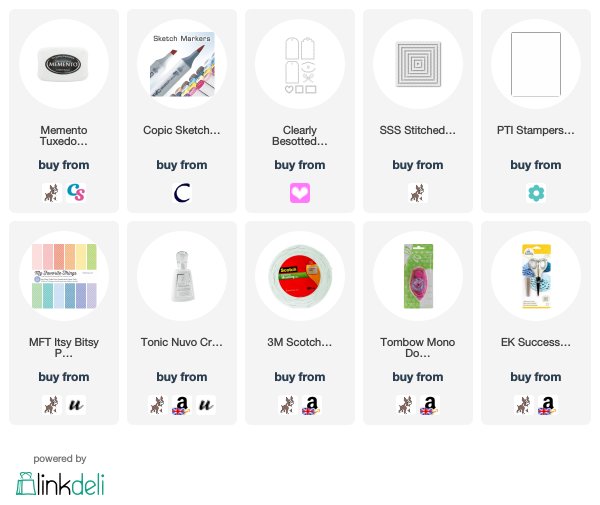
I started off by die cutting a square panel of white cardstock using the SSS Stitched Squares dies. I then die cut the heart from the Tag Along Die Collection, twice in the centre to create window. I stamped the sentiment from the Perfect Pigs set below the hearts, using Memento Tuxedo Black ink.

 
I created a 4.25" x 4.24" card base from white cardstock and adhered a piece of paper from the MFT Itsy Bitsy Polka Dot Pastels Paper Pad on to the front. I added foam tape to the back of the window panel and added this on top. I then stamped one of the pigs from the Perfect Pigs set with Memento Tuxedo Black Ink on to white cardstock. I coloured him using Copic Markers (the colours used are listed below) and then fussy cut him out (there are coordinating dies available). He was added to centre of the hearts with a combination of foam tape and tape runner. To finish off, I added Crystal Glaze to his snout.

SUPPLIES:

Here are the links to what I have used on the card. Affiliate links are used on some products. This means that if you make a purchase after clicking on my link, I receive a small commission with no extra cost to you. I truly appreciate your support when using these links. Please click on the logo below the product to shop at your favourite store. Products marked with an asterisk (*) were kindly sent to me to use.
 

COPIC MARKERS - E22, E21, E20, E30, R00, R000.
 
Isn't he just adorable? The other pigs in the set are just as cute! For more inspiration, head over to see  what my teamies Stephanie, Lisa and Keren have been up to. Thank you so much for visiting me today. See you tomorrow for release day. Have a great day!

29 April 2018

Clearly Besotted Teasers | Say It With Flowers

Hello there and welcome to day three of the May Clearly Besotted Teasers. Today I am using the beautiful Say It With Flowers set which has two beautiful bouquets in, plus lots of lovely sentiments.
 

I started off by die cutting a panel of cardstock using the rectangle die from the ME Cloud Nine dies. I then took one of the bouquets from the Say It With Flowers set and stamped this on to the panel with Memento Tuxedo Black Ink. I coloured the image using Copic Markers (the colours I used are listed below the supplies section). I wasn't 100% sure on the flowers, I think some of them could be different variety's but I coloured them as tulips, lilies and gerberas.
 
 
The panel was adhered flat to a white A2 card base with tape runner. I took the sentiment from the Tiny Type set (one of my all time favourites!) and stamped this with black ink on to another piece of white cardstock. This was cut in to a strip and added to the card with foam tape. To finish off, I added a few Iridescent Jewels with Multi Medium Matte glue and white dots to the centres of (what I am calling) gerberas.
 
SUPPLIES:
 
Here are the links to what I have used on the card. Affiliate links are used on some products. This means that if you make a purchase after clicking on my link, I receive a small commission with no extra cost to you. I truly appreciate your support when using these links. Please click on the logo below the product to shop at your favourite store. Products marked with an asterisk (*) were kindly sent to me to use.
 
 
COPIC MARKERS: Leaves - YG67, YG17, YG23, YG03. BG78, BG75, BG72. Lilies - R85, R83, R81, R000. Tulips & bow - V17, V15, V12. Gerbera petals - RV69, RV19, RV17. Gerbera middles - RV69, RV99, 110.
 
This is such a wonderful set and I am really looking forward to colouring the other bouquet and maybe watercolour it. For more inspiration, please head over to my teamies Stephanie, Keren and Lisa. Thank you so much for visiting me today. I hope you have a fabulous day!

28 April 2018

Clearly Besotted Teasers | Happy Hula

Hello there and welcome to day two of the May Clearly Besotted teasers. Today, I am using the super cute Happy Hula stamp set, along with the Tag Along and Cloudy Days dies.


I started off by die cutting a tag from the Tag Along Die Collection with white cardstock. I then stamped one of the girls from the Happy Hula set on to it using Memento Tuxedo Black Ink. I coloured her with Copic Markers and then coloured the rest of the tag with Copic Markers to look like she was standing on sand with sea and sky behind her (the colours I used are listed below the supplies section).
 
 
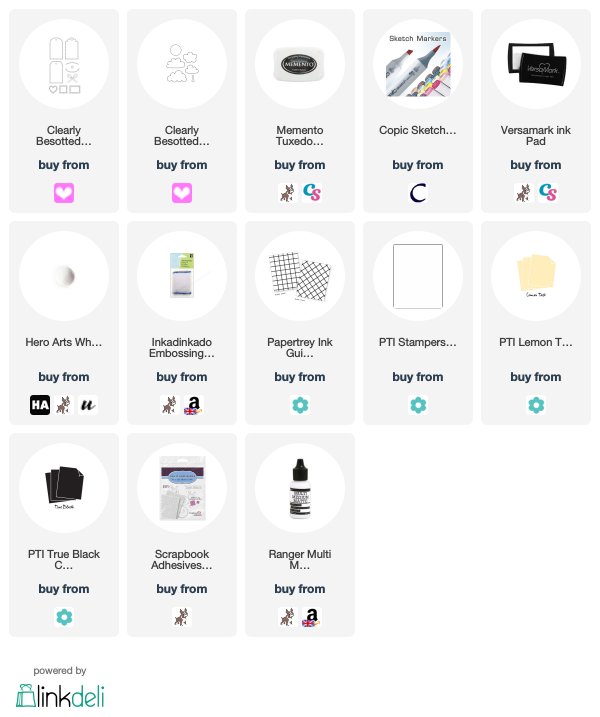
I then die cut a sun from the Cloudy Days Die Collection with yellow cardstock. I coloured this with Copic Markers too. I cut the edges to match with the tag and then adhered it with liquid glue. The sentiment, from the same Happy Hula set, was stamped on to black cardstock with Versamark Ink. I applied white embossing powder and heat set. This was then cut in to a strip and added to the tag with thin foam tape.
 
 
I took an A2 white card base and embossed the front panel using the PTI Guide Lines Grid Impression Plate. The tag was then added on top with thin foam tape.
 
SUPPLIES:

Here are the links to what I have used on the card. Affiliate links are used on some products. This means that if you make a purchase after clicking on my link, I receive a small commission with no extra cost to you. I truly appreciate your support when using these links. Please click on the logo below the product to shop at your favourite store. Products marked with an asterisk (*) were kindly sent to me to use.
 
 
COPIC MARKERS: Girl skin - E13, E11, E00, E0000, E50, R20. Hair - E49, E29, E27, E25, E23, E21. Top - V17, V15, V12. Skirt - E57, E55, E53, E51. Sand - E44, E43, E42, E41. Sea - B14, B12, BG01, BG23, BG11. Sky - B00, B000, B0000. Sun - Y17, Y15, Y13, Y11.
 
Isn't she just adorable? And I thought the sun worked perfectly with the little scene. For more inspiration, please do head over to see my teamies Stephanie, Keren and Lisa. Thank you so much for visiting me today, I hope you have a wonderful day! See you tomorrow.

27 April 2018

Sending Love & Prayers

*This is my second post of the day, please see below for my Clearly Besotted Teaser post*

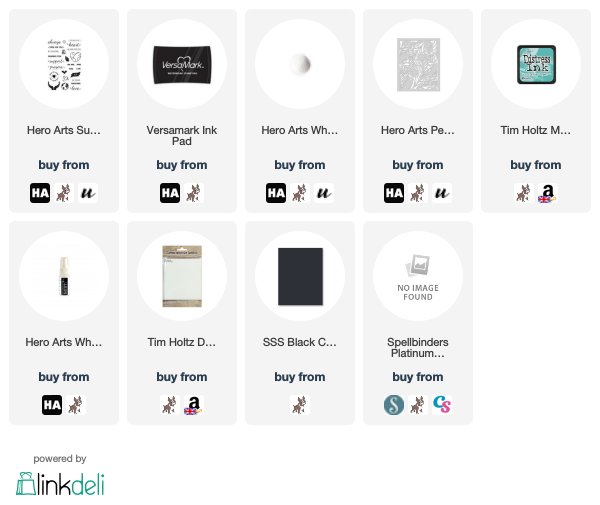
Hello there, I am over on the Hero Arts Blog today, sharing a card using the Support Prayers Love stamp set. As you can tell from the name of the set, it is a great one to use on cards to tell someone that you are thinking of them and sending them encouragement.


SUPPLIES:

Here are the links to what I have used on the card. Affiliate links are used on some products. This means that if you make a purchase after clicking on my link, I receive a small commission with no extra cost to you. I truly appreciate your support when using these links. Please click on the logo below the product to shop at your favourite store. Products marked with an asterisk (*) were kindly sent to me to use.
 

I wanted to keep the card simple, so I decided to combine the sentiment with a soft stencilled background. I thought the Peacock Feather Stencil would work perfectly. For more details on how I made the card, please head over to the blog post. Thank you so much for visiting me today, I hope you have a great rest of the day!

Clearly Besotted Teasers | Perfect Peonies

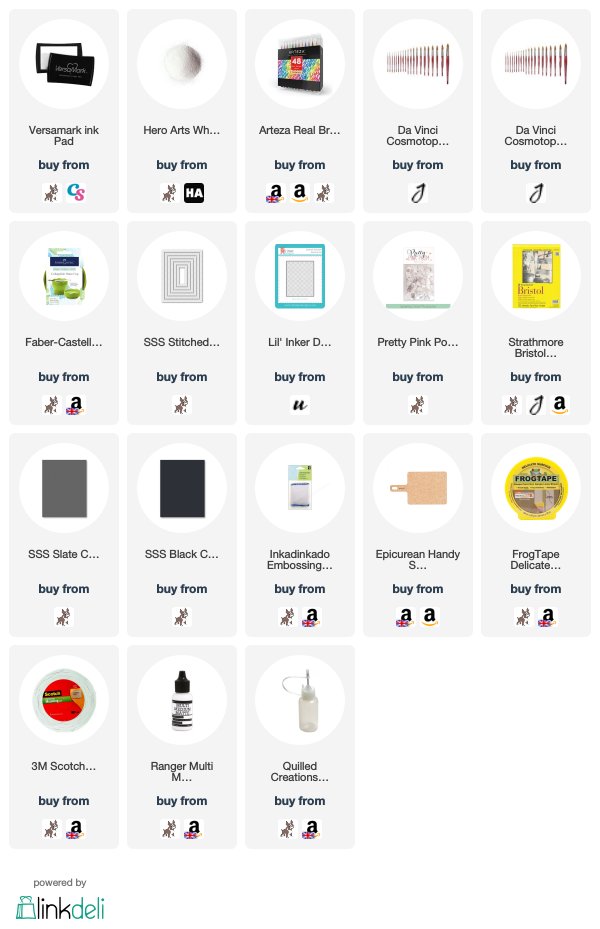
Hello there and welcome to day one of the May 2018 Clearly Besotted teasers. The new products release on the 1st May and from now until then, the Design Team will be sharing teasers with you using the new sets. My card today uses two new sets - Perfect Peonies and Scrumptious Thank You.
 

I started my card off by stamping the peonies image from the Perfect Peonies set on to some Bristol smooth cardstock, using Versamark Ink. I applied white embossing powder and heat set. I taped this down to a board and then coloured it using Arteza Real Brush Pens. Unfortunately, Arteza does not label their pens with what colours they are (at least for the 48 set) so I cannot list them, but I used three shades of pink for the flower heads, two shades of green, a yellow and a teal colour for the leaves and blue mixed with grey for the background. I applied the colour with the pen and then blended out with water and a brush.
 
 
I took a Slate A2 card base and die cut the front panel using the Lil' Inker Designs Quilted Stitched Pattern die. The image panel was die cut using a SSS Stitched Rectangle die and added to the card base with foam tape. I took the sentiment from the Scrumptious Thank You set and stamped this with Versamark Ink on to black cardstock. This was cut out and added to the card with more foam tape. To finish off, I added a few Sparkling Clear sequins with Multi Medium Matte glue.
 
SUPPLIES:

Here are the links to what I have used on the card. Affiliate links are used on some products. This means that if you make a purchase after clicking on my link, I receive a small commission with no extra cost to you. I truly appreciate your support when using these links. Please click on the logo below the product to shop at your favourite store. Products marked with an asterisk (*) were kindly sent to me to use.
 
 
I received the Arteza pens as a Christmas present last year. This is the first time that I have properly used them and I love them! They work similar to the Zig Clean Color Real Brush Pens, although I do not think you need both, they do have different colour palettes. For more teasers, do check out what Stephanie, Lisa and Keren have been up to. Thanks so much for visiting me today. I hope you have a great day!

26 April 2018

Subscribing To My Blog

Hello everyone! I am just popping in with a quick post to let you know that I am changing my mailing provider for subscriptions. I currently use Feedblitz to send out my blog posts via email but due to the new Data Protection laws (GDPR) that come into force on the 25th May 2018, I have decided to change to MailChimp. I know that MailChimp are complaint with the new laws and will protect your information.
 
Since I do not want to breach any laws, I cannot transfer any of you that do already subscribe to me, to the new provider. I ask that you sign up to the new provider using the subscribe button in my sidebar. I apologise for any inconvenience caused but I want to protect your data.
 
Thank you so much, see you tomorrow for the start of the May Clearly Besotted teasers. Have a great rest of the day!

25 April 2018

Birthday Dahlia

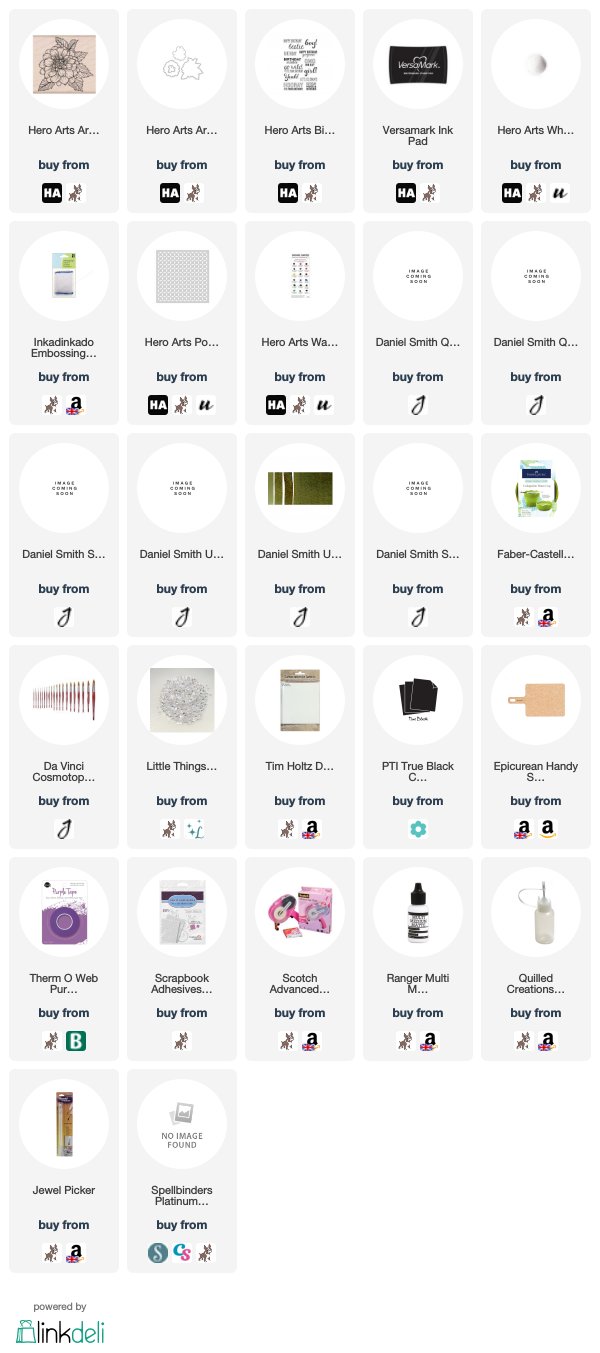
Hello there, today I have a card to share using the beautiful Artistic Dahlia stamp from Hero Arts. I have used this a couple of times in the past and really enjoyed colouring it, so this time I thought I would use watercolours with it.
 

I started off by stamping the Artistic Dahlia stamp with Versamark Ink on to watercolour paper. I applied white embossing powder and heat set. I then water coloured the image using Daniel Smith watercolour paints. I went with more of a loose look for this image and I really like how it came out. I set the image aside to dry and once dry, die cut it with the coordinating dies.
 
 
I took a panel of white cardstock and ran this through my die cutting machine with the Pop Pattern Stencil and embossed it. This was added flat to the card base with ATG. The flower was then added on top with thin foam tape. I took the 'happy birthday' sentiment from the Birthday Hugs and Kisses stamp set and stamped this on to black cardstock with Versamark Ink. I applied white embossing powder and heat set. This was cut in to a strip and also added to the card with thin foam tape. To finish off, I added a few Ice Cube Jewels.
 
SUPPLIES:

Here are the links to what I have used on the card. Affiliate links are used on some products. This means that if you make a purchase after clicking on my link, I receive a small commission with no extra cost to you. I truly appreciate your support when using these links. Please click on the logo below the product to shop at your favourite store. Products marked with an asterisk (*) were kindly sent to me to use.
 
 
I usually shy away from this look of watercolour and go for more of a blended look, I really enjoy it though and it was fun to experiment with different colours and shades of watercolour. Thank you so much for visiting me today. I hope you have a great day!

23 April 2018

Magical Mandala

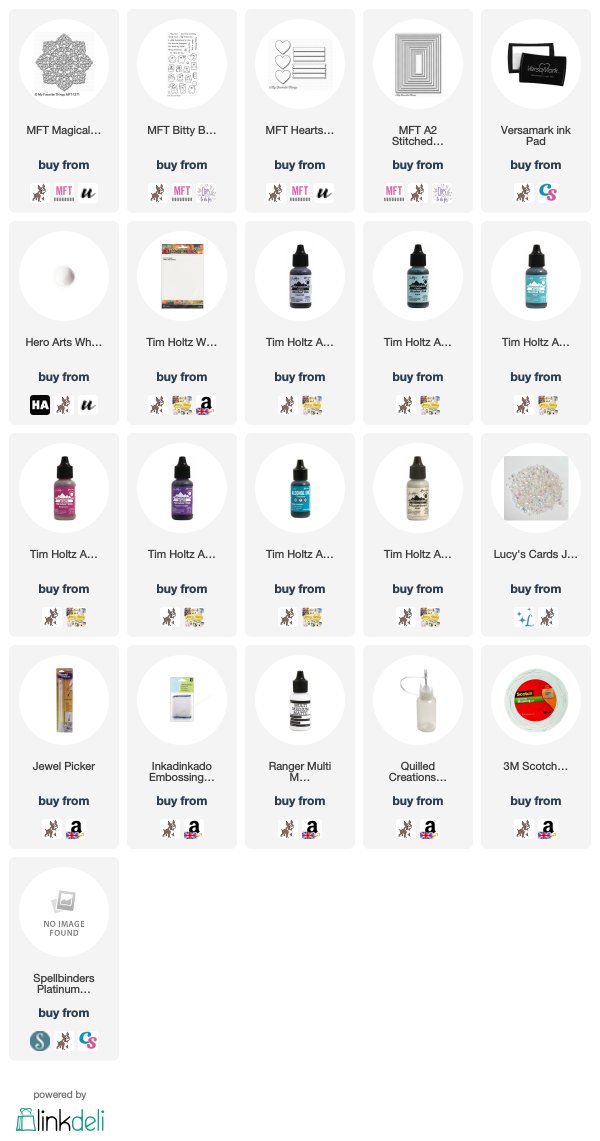
Hello there, today I have a card to share using the Magical Mandala die from MFT. It is so pretty and I thought it would be perfect cut from an alcohol ink background.
 

I started off by taking an A2 card base and embossing an A2 Stitched Rectangle Stax die on to the front panel. I really like doing this as it gives interest without adding more layers. I then took the left over Yupo piece that I made for this card and cut the Magical Mandala from it. This was added to the card with Multi Medium Matte glue.
 
 
I took the 'happy birthday' sentiment from the Bitty Bears set and stamped this using Versamark Ink on to black cardstock. I applied white embossing powder and heat set. This was cut in to a banner using a die from the Hearts In A Row Vertical die set. The banner was a little longer than I needed it, so I cut it a second time to make the banner shorter. This was added to the card using foam tape. To finish off, I added Iridescent Jewels around the mandala.
 
SUPPLIES:

Here are the links to what I have used on the card. Affiliate links are used on some products. This means that if you make a purchase after clicking on my link, I receive a small commission with no extra cost to you. I truly appreciate your support when using these links. Please click on the logo below the product to shop at your favourite store. Products marked with an asterisk (*) were kindly sent to me to use.
 
 
Sadly, the photo does the card no justice at all. It is much prettier in real life! I think this design would work quite nicely for square cards too and I love that I could use up some of the alcohol ink background I already had. Thank you so much for visiting me today, I hope you are well and have an excellent day!

20 April 2018

Birthday Fly With Me

Hello there, today I have a card to share that I made for my friend Niki for her birthday. I used the super cute Mama Elephant Fly With Me set, along with an alcohol ink background made with Copic refills.
 

I first created the alcohol ink background. I took a piece of Yupo paper and applied Copic Refills in B0000, B00 and BG11. I dropped dots on to the paper and then spritzed air on to it using the spritzer tool. I set the piece aside to dry before stamping the sentiment on to it using Versamark Ink. The sentiment is from the ME Blogging Buddies set. I applied white detail embossing powder and heat set. I then placed an acrylic block over it for a few minutes to help prevent any warping of the Yupo paper. This was then adhered to the front of an A2 white card base with tape runner.
 
 
I took a panel of white cardstock and die cut the cloud die from the ME Cloud Nine die set in to the middle. This created a window piece so that you can see the alcohol ink background behind. The panel was added to the card with foam tape.
 
 
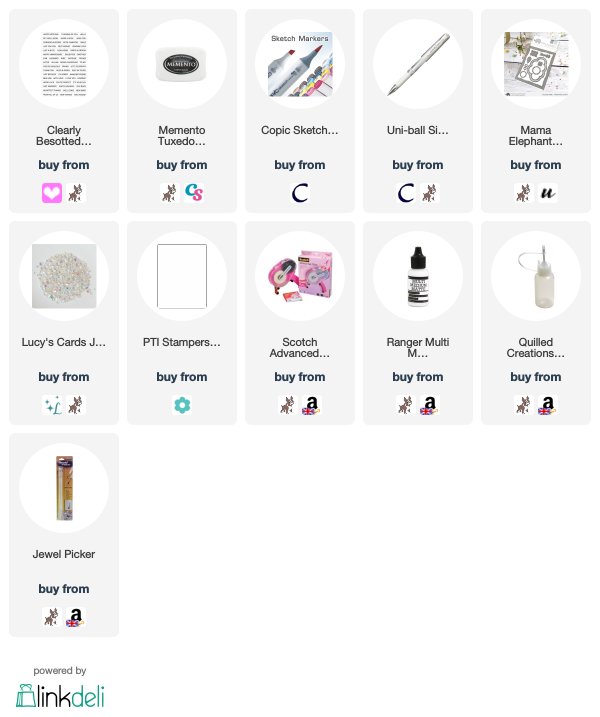
I stamped one of the elephants from the ME Fly With Me set on to white cardstock using Memento Tuxedo Black Ink. I coloured him using Copic Markers (the colours used are listed below) and then cut out with the coordinating dies. He was placed on the card with a combination of foam tape and tape runner. I added shimmer pen to the balloon, followed by a coating of Nuvo Crystal Glaze. To finish off, I added a few Iridescent Jewels from Lucy's Cards.
 
SUPPLIES:

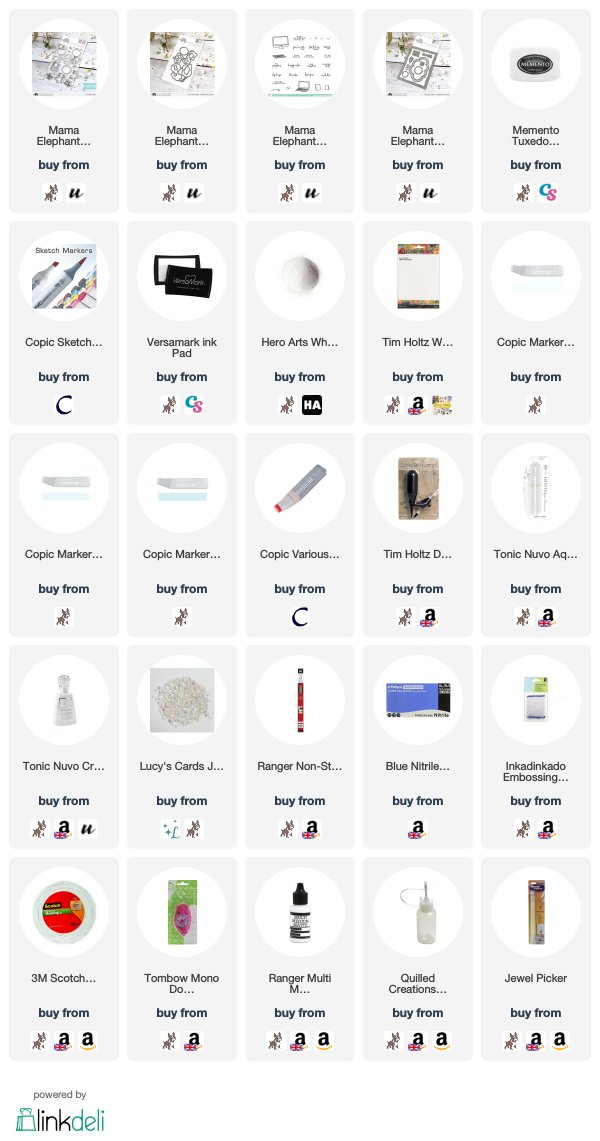
Here are the links to what I have used on the card. Affiliate links are used on some products. This means that if you make a purchase after clicking on my link, I receive a small commission with no extra cost to you. I truly appreciate your support when using these links. Please click on the logo below the product to shop at your favourite store. Products marked with an asterisk (*) were kindly sent to me to use.
 
 
COPIC MARKERS: Elephant - W7, W5, W3, W2, W1, W0, R00, R000. Balloon - V17, V15, V12.
 
These elephants are adorable and I am hoping to use them again soon. Thank you so much for visiting me today. I hope you have a lovely day and a fabulous weekend!

18 April 2018

Very Happy Birthday

Hello there, today I have a card to share using the Reverse Confetti Lift Me Up set. I actually stamped this image ages ago for one of the 30 Day Colouring Challenges. I recently checked the box that I have some images in, from the challenges, and found the giraffe and the cupcakes so thought I would finally get them on a card.
 

The giraffe and cupcakes were stamped on to white cardstock using Memento Tuxedo Black Ink. I then coloured them using Copic Markers (I am so sorry but since it was a while ago, I sadly cannot remember the colours that I used). They were then cut out with the coordinating dies.
 
 
I took a 5.5" x 4.25" panel of cardstock and stamped the sentiment from the Clearly Besotted Scrumptious Birthday Sentiments set on to it using Memento Tuxedo Black ink. Using  a mini score board and a bone folder, I scored lines in to the cardstock, avoiding the sentiment area. This panel was then added to a white A2 card base with ATG. The giraffe and cupcakes were added on top with foam tape. To finish off, I added Crystal Glaze to the spots of the giraffe.
 
SUPPLIES:

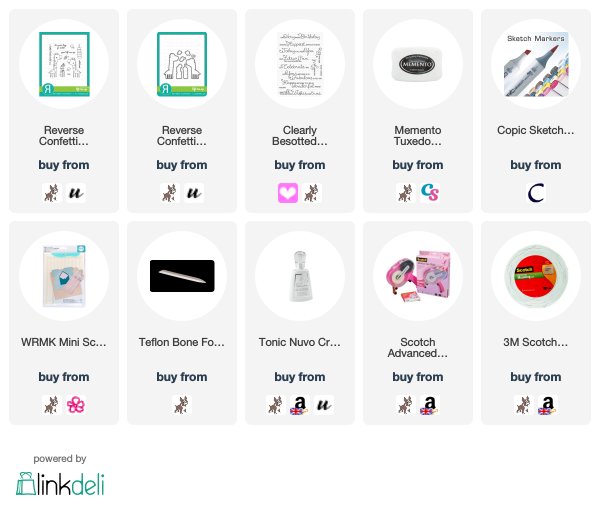
Here are the links to what I have used on the card. Affiliate links are used on some products. This means that if you make a purchase after clicking on my link, I receive a small commission with no extra cost to you. I truly appreciate your support when using these links. Please click on the logo below the product to shop at your favourite store. Products marked with an asterisk (*) were kindly sent to me to use.
 
 
Do you have lots of images that you have coloured and never added on to cards? I don't do it that often but have done in the past for the colouring challenge. I must have another look through the box to se what else I can use. Thank you so much for popping by to see me today. I hope you have a fabulous day!

16 April 2018

Spring Tulips

Hello there, today I have a card to share using the Spring Tulips stamp set from Clearly Besotted. This set was released in March but I never got a chance to use it then, so thought I would now. It is so pretty!


I started off by die cutting a panel of watercolour cardstock using the second largest of the MFT A2 Stitched Rectangle Dies. I then took the tulips in a row stamp and stamped this three times to cover the bottom of the panel. I stamped it using Versamark Ink and then applied white embossing powder. This was then heat set. I applied a wash of water over the panel and then smooshed various shades of Distress Ink on to a craft mat. I picked them up with water and applied them to the panel with a brush. I then splattered the panel a little with a solution of Perfect Pearls and water. This gives a nice subtle shimmer. I then set aside to dry.

 
Once dry, I adhered the panel on to a white A2 card base with foam tape. The sentiment, from the Tiny Type set, was stamped on to black cardstock using Versamark Ink. I applied white embossing powder and heat set. This was cut in to a strip and added to the card with thin foam tape. To finish off, I added a few Sparkling Clear sequins.


SUPPLIES:

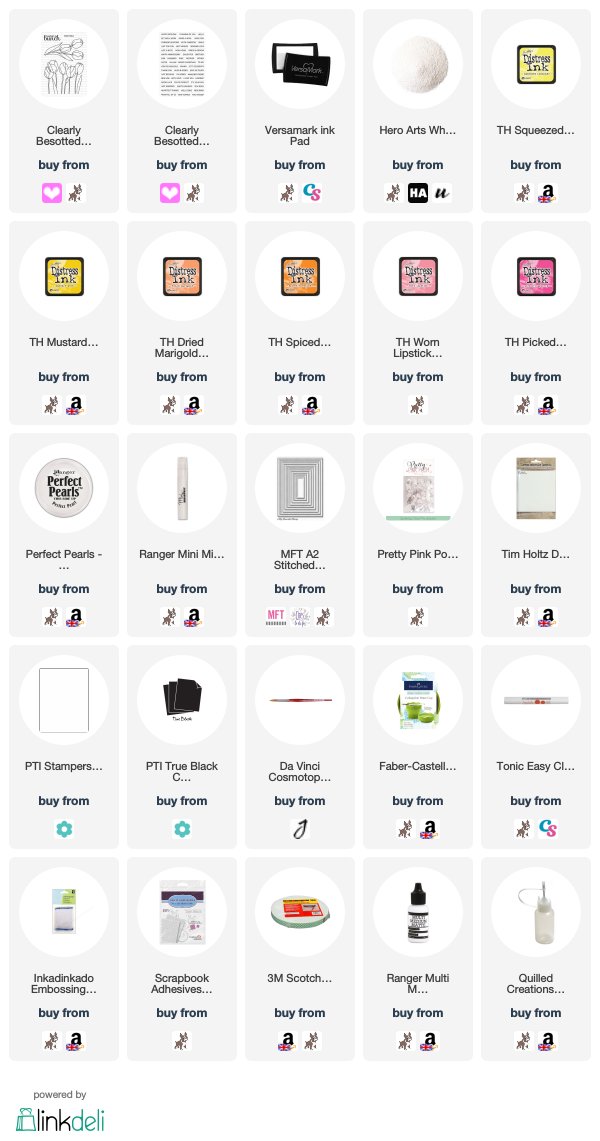
Here are the links to what I have used on the card. Affiliate links are used on some products. This means that if you make a purchase after clicking on my link, I receive a small commission with no extra cost to you. I truly appreciate your support when using these links. Please click on the logo below the product to shop at your favourite store. Products marked with an asterisk (*) were kindly sent to me to use.
 

I kept debating on how to colour this image, I am glad that I went with a wash of colour in the end, though. I think the colours give a nice spring look. Thank you so much for visiting me today. I hope you have a lovely day and a great week.
End of code