19 March 2018

Floral Frame Background

Hello there, today I have another alcohol ink background to share with you. I know, another one! I am so sorry! This time I decided to pair it with the beautiful Floral Border With Frame Fancy Die from Hero Arts.
 

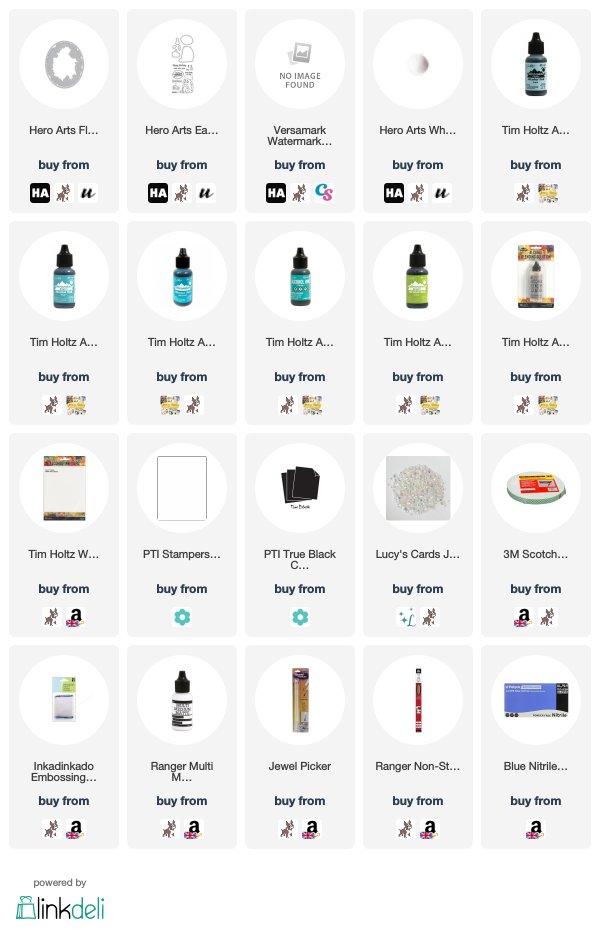
I started off by creating the alcohol ink background on Yupo paper. I used Aqua, Patina, Citrus, Mermaid and Pool Tim Holtz Alcohol Inks, along with the Blending Solution and the Spritzing tool to spread the inks. I also splattered a few drops of the blending solution with a paint brush. The piece was then set aside to dry.
 
 
Once dry, the panel was cut down and added flat to a white A2 card base with tape runner. I took a panel of white cardstock and cut the Floral Border With Frame Fancy Die from it. I added foam tape to the back and added this on top of the alcohol ink background. I took the 'happy birthday' sentiment from the Eat Cake All Day Stamp & Cut and stamped this on to black cardstock with Versamark Ink. I applied white embossing powder and heat set. I then cut it down in to a strip and added it to the card with foam tape. To finish, I added a few Iridescent Jewels from Lucy's Cards.
 
SUPPLIES:

Here are the links to what I have used on the card. Affiliate links are used on some products. This means that if you make a purchase after clicking on my link, I receive a small commission with no extra cost to you. I truly appreciate your support when using these links. Please click on the logo below the product to shop at your favourite store. Products marked with an asterisk (*) were kindly sent to me to use.
 
 
I am really enjoying using alcohol inks, I love all the different effects and textures you can get from them. Thank you so much for visiting me today, I hope you have a great day and a fabulous week!

16 March 2018

Hello & Hugs

Hello there, after making this card I found that I really loved the design so I decided to create two more cards using the same layout but different supplies. I already had the alcohol ink background made, so these made for quick and easy cards too!
 

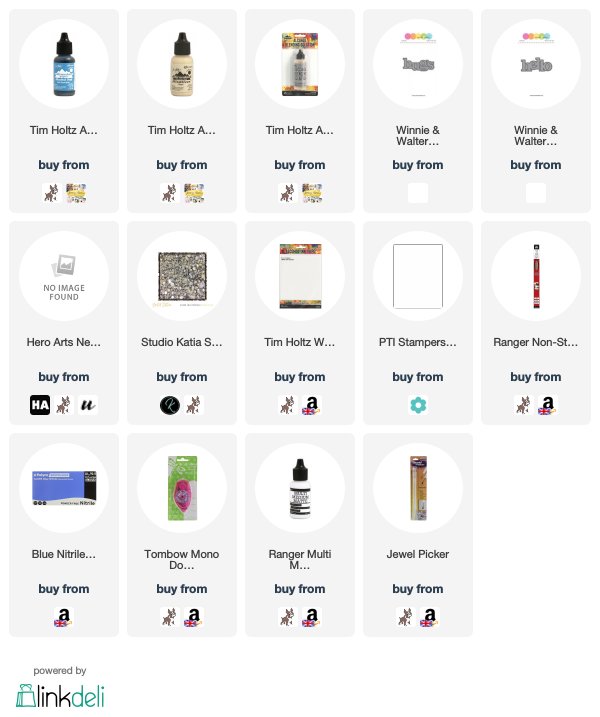
I started off by cutting the two hearts from the alcohol ink background. The background was made with Sail Boat Blue Alcohol Ink, along with a little Pearl Mixative on Yupo Paper. It is just a simple background with not much detail, but I thought it worked perfectly for these cards.
 
 
They were cut using a Hero Arts Heart Infinity Die. I then embossed a larger die on to two white A2 card bases. I added the alcohol ink heart on top with tape runner.
 
 
I took the Winnie & Walter In A Word Hugs and Hello Cutaway dies and cut each of these three times. They were stacked up with liquid glue to create a thicker piece. They were added to the cards with more liquid glue.
 
 
To finish off, I added Studio Katia Silver Crystals with Multi Medium Matte and a Jewel Picker. I thought the silver worked really well with the blue alcohol ink.
 
SUPPLIES:

Here are the links to what I have used on the card. Affiliate links are used on some products. This means that if you make a purchase after clicking on my link, I receive a small commission with no extra cost to you. I truly appreciate your support when using these links. Please click on the logo below the product to shop at your favourite store. Products marked with an asterisk (*) were kindly sent to me to use.
 
 
Thank you so much for popping by to see me today, I really do appreciate it. I hope you are doing well. Have a wonderful day!

14 March 2018

Dragonfly Birthday

Hello there, today I have a card to share using the Dragonfly Fancy Die from Hero Arts that was part of their last release. It is so pretty and I was inspired by this beautiful card by Lucy.
 

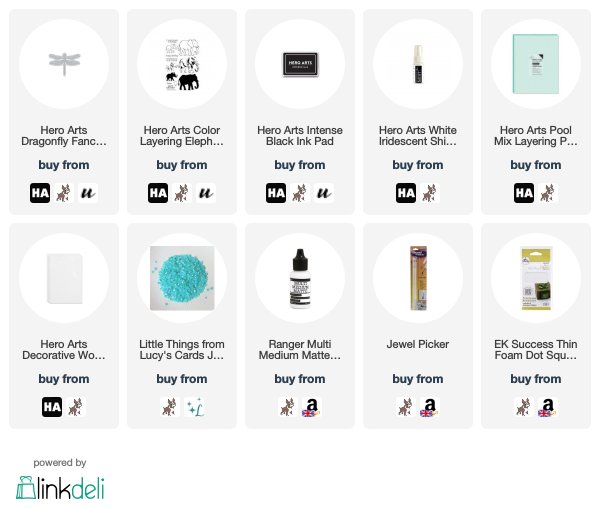
I started off by cutting the dragonfly from Pool Mix Layering Paper. I used the darkest of the shades in the collection. I then sprayed the piece with the new White Iridescent Shimmer Spray for some added sparkle and set aside to dry. I took the 'happy birthday' sentiment from the Color Layering Elephant stamp set and stamped this with black ink on to a white strip of cardstock.
 
 
I took a piece of Decorative Woodgrain cardstock and adhered this to a white A2 card base with tape runner. I then added the dragonfly on top with liquid glue, adding glue to the body and the inside of the wings but left the outside without, to let them pop up a little. The sentiment strip was then added on top with foam tape. To finish off, I added Lucy's Shimmering Pool Jewels to the body of the dragonfly.
 
SUPPLIES:

Here are the links to what I have used on the card. Affiliate links are used on some products. This means that if you make a purchase after clicking on my link, I receive a small commission with no extra cost to you. I truly appreciate your support when using these links. Please click on the logo below the product to shop at your favourite store. Products marked with an asterisk (*) were kindly sent to me to use.
 
 
Sadly, the Iridescent Spray doesn't show in the photos, but in real life it does add a nice shimmer. Thank you so much for visiting me today, I really do appreciate it. I hope you are having a good week so far and have a fabulous day!

12 March 2018

Libra Zodiac Girl

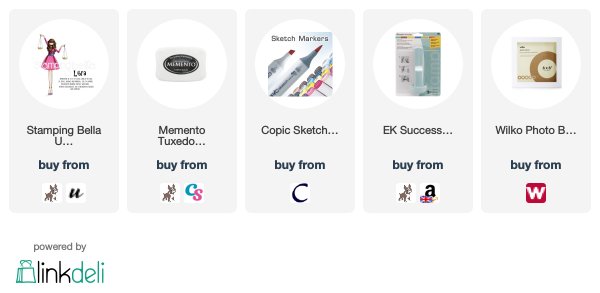
Hello there, today I have a little bit of a different project to share with you. I made a little art frame for my mum for Mother's Day yesterday, using the Stamping Bella Uptown Zodiac Girl Libra stamp. I thought the words matched my mum beautifully and although my mum doesn't have long hair now, she did when she was younger so the image does somewhat look like her.
 

I started off by cutting my piece of white cardstock to 6.5" x 6.5" and using a Stamp-a-ma-jig for placement, I stamped the girl first, followed by the wording and then the Libra word on top. The zodiac girl was then simply coloured using Copic Markers. The colours I used are listed below the supplies section. I decided to keep the colour scheme neutral for this one, as you can see.
 
 
Once the colouring was completed. I simply added the piece in to a 6" x 6" shadow box frame. I thought it would just be something different as a little present for her. Since it is a little bit difficult photographing something behind glass, I did take a photo with the piece not behind the glass for you to see too.
 
 
SUPPLIES:

Here are the links to what I have used on the card. Affiliate links are used on some products. This means that if you make a purchase after clicking on my link, I receive a small commission with no extra cost to you. I truly appreciate your support when using these links. Please click on the logo below the product to shop at your favourite store. Products marked with an asterisk (*) were kindly sent to me to use.
 
 
COPIC MARKERS: Skin - E13, E11, E00, E0000, E50. Hair - E49, E57, E27, E25, E23, E21. Dress: C10, C9, C8, C7, C6, C5, C3, C1. Shadow below feet - W1, W0. Scales - YR31, Y28, Y26.
 
Thank you so much for visiting me today, I really do appreciate it. I hope you are all doing well. Have a great day!

11 March 2018

Happy Mother's Day

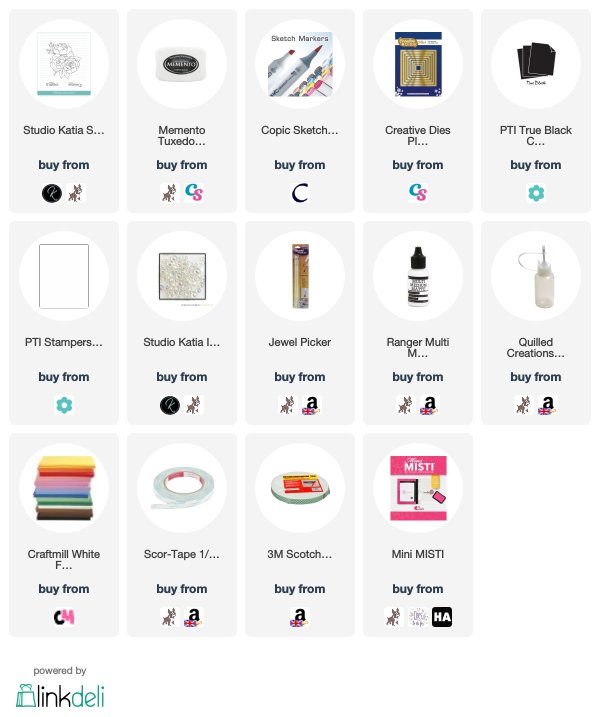
Hello there, today it is Mother's Day here in the UK and I am sharing the card that I have made for my mum. It uses the beautiful new Spring Bouquet stamp set from Studio Katia which they kindly sent me to have a play with. My mum loves flowers, so I thought it would be perfect for her.
 

I started off by stamping the image on to a panel of white cardstock that I cut using a pierced square die. I then coloured the image using Copic Markers. The colours I used are listed below the supplies section, if you are interested. Once coloured, I went around the outside of the flowers with a light blue colour to help them pop against the white background.
 

The panel was adhered to a black 5.25" x 5.25" card base with foam sheet and DST. I then took the sentiment from the set and stamped this on to more white cardstock with black ink. It was cut out and added to the card with foam tape. To finish off, I added a few of the new Iridescent Bubbles from Studio Katia. These are so pretty! I love the sheen on them.
 
SUPPLIES:

Here are the links to what I have used on the card. Affiliate links are used on some products. This means that if you make a purchase after clicking on my link, I receive a small commission with no extra cost to you. I truly appreciate your support when using these links. Please click on the logo below the product to shop at your favourite store. Products marked with an asterisk (*) were kindly sent to me to use.
 
 
COPIC MARKERS: Top flower - V25, BV13, BV11, BV01, BV0000. Stem for buds - BG93, BG90, G40. Right flower - R39, R85, R83, R81. Left flower - V17, V15, V12, V01, V000. Leaves - BG78, BG75, BG72. Shadow - B63, B60.
 
Happy Mother's Day to all the UK and Irish mum's out there! Thank you so much for visiting me today, I hope you are having a wonderful weekend so far.

8 March 2018

Welcome, Little One

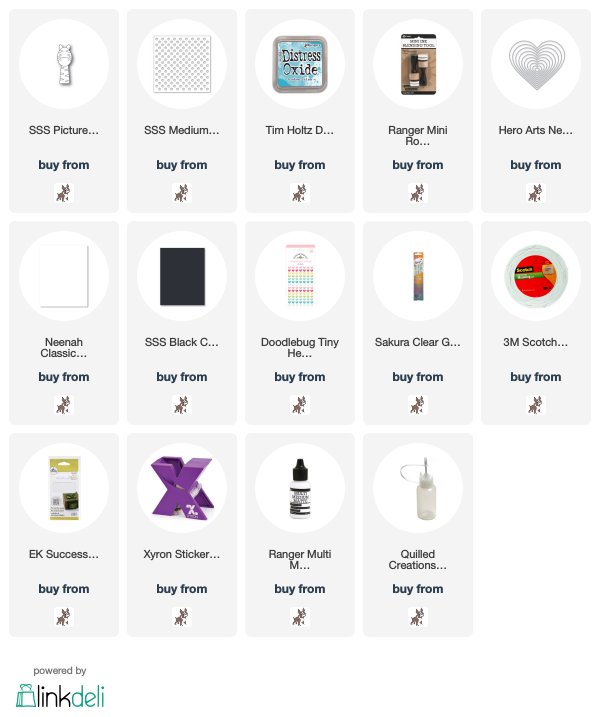
Hello there, today is a super exciting day because the new Best Days release from Simon Says Stamp is live! They kindly sent me the Welcome, Little One die to use and I love it! I love that the die has two parts, the main writing and also a shadow part too. I decided to pair it up with the Picture Book Zebra die for a cute new baby card.


I started off by creating my background. I took an A2 white card base and covered up the edges with Post-It Tape. I then blended over Distress Oxide Ink in Broken China, adding darker saturation of colour at the bottom and lighter at the top. I placed the Medium Dots Stencil on top and using the same ink, blended in some dots for some added interest. I took a 5.25" x 4" panel of white cardstock and cut a Hero Arts Infinity Hearts die from it to create a window. This piece was added on to the card base with foam tape.
 
 
I took the Picture Book Zebra Die and cut this twice, once from white cardstock and once from black. I had already added Xyron adhesive to the back of the cardstock before die cutting the zebra, so that the pieces became a sticker. I adhered these to a piece of printer paper and then cut around it. The zebra was then popped up on thin foam squares and popped inside the heart window.
 
 
I took the Welcome, Little One Die and cut this from white cardstock. I took the thin wording piece and added the same Broken China Distress Oxide on to it, adding darker saturation of colour at the bottom. This was then added to the shadow part with liquid glue. This piece was added to the card with foam tape on the left (where it overlaps the heart window) and liquid glue on the right. To finish off, I added a little Doodlebug Heart Enamel Accent to the zebra and a little glaze pen to his eyes.
 

SUPPLIES:

Here are the links to what I have used on the card. Affiliate links are used on some products. This means that if you make a purchase after clicking on my link, I receive a small commission with no extra cost to you. I truly appreciate your support when using these links. Please click on the logo below the product to shop at your favourite store. Products marked with an asterisk (*) were kindly sent to me to use.
 
 
How beautiful is the font on that sentiment? :) Thank you so much for stopping by today, I really do appreciate it. I hope you have a fabulous day!

7 March 2018

Alcohol Ink Birthday Heart

Hello there, today I have a card to share that I made for a friend for her birthday last week. I do apologise that it is another card using alcohol inks but she really likes alcohol inks too, so I really wanted to use them for her card.
 

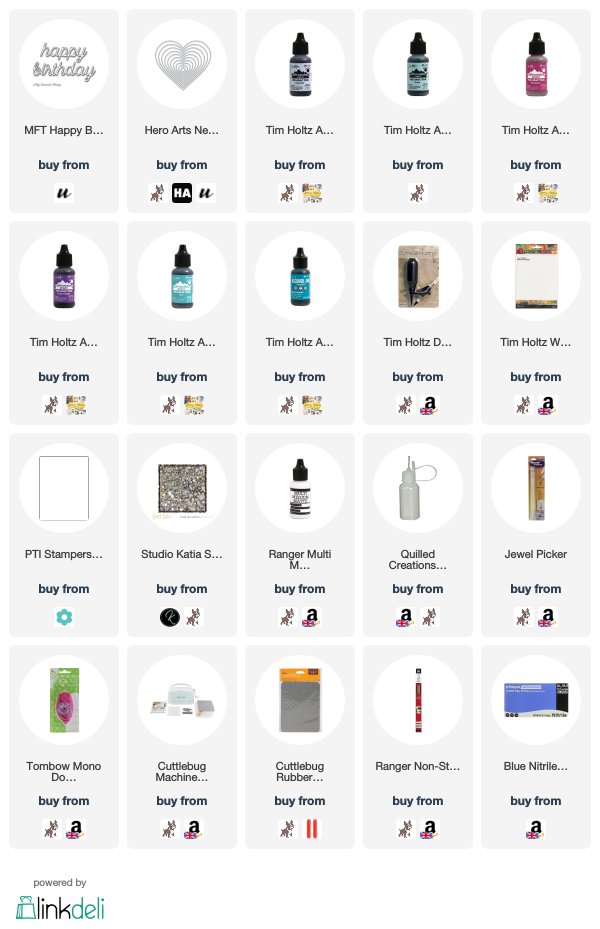
I started off by creating the alcohol ink background. I took a piece of Yupo paper and first added over some Cool Peri and Aqua Alcohol Ink. I then went in with drops of Purple Twilight, Raspberry, Turquoise and Pool inks and moved these around with the Spritzer tool (pushing air on to them). To finish off, I added little drops of Silver Mixative, followed by some of the Alcohol Ink Blending Solution. I then set the piece aside to dry.
 
 
Once dry, I die cut the piece using one of the Hero Arts Hearts Infinity Dies. I took a larger die and embossed this on to the front of an A2 white card base. The alcohol ink heart was added on top with tape runner. I die cut the MFT Happy Birthday die three times from white cardstock and stacked these up with liquid glue. The pieces were added to the card with liquid glue also. To finish off, I added a few Studio Katia Silver Foil Crystals.
 
SUPPLIES:

Here are the links to what I have used on the card. Affiliate links are used on some products. This means that if you make a purchase after clicking on my link, I receive a small commission with no extra cost to you. I truly appreciate your support when using these links. Please click on the logo below the product to shop at your favourite store. Products marked with an asterisk (*) were kindly sent to me to use.
 
 
I shall try not to share another alcohol ink piece for a little while but honestly, I have had so much fun using them recently! Thank you so much for stopping by to see me today, I really do appreciate it. Have a great day!

5 March 2018

Hero Arts March 2018 My Monthly Hero Kit Blog Hop + Giveaway

Hello there, today we are celebrating the release of the March My Monthly Hero Kit from Hero Arts. It is wonderful! It can be used for so many occasions. If you are following along in the hop, you should have arrived here from the fabulous Jessica, but if you get lost along the way, the full list of participants is below.
 
For my card, I started off by cutting the 'thank' die from the kit three times from white cardstock. I layered these up with liquid glue to create a thicker piece. I love the fonts on these word dies! I then created a base for my die-cut to sit on.
 

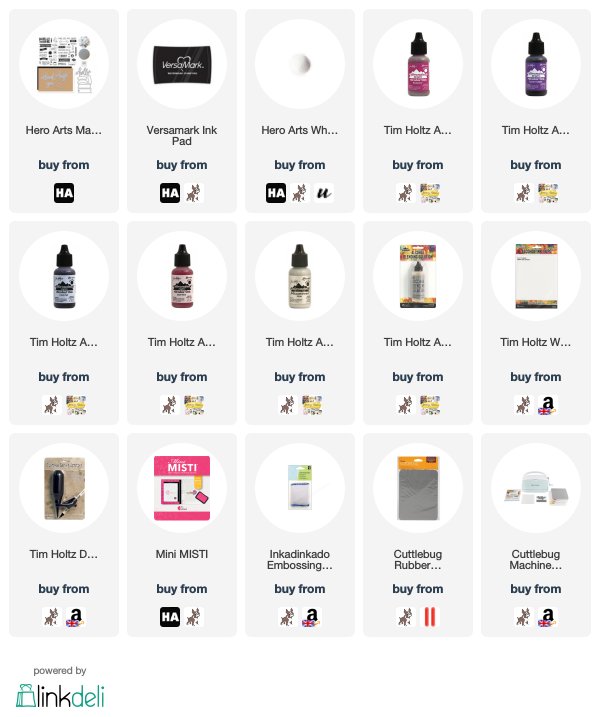
I took a piece of Yupo paper and first added on a layer of Cool Peri and Shell Pink Alcohol Inks. I spritzed air on to the piece with the Distress Spritzer and then added a layer of Raspberry and Purple Twilight Alcohol Inks. To finish off, I added in a few drops of Silver Mixative and blended this in with the Alcohol Ink Blending Solution and the Spritzer. This piece was set aside to dry.
 
 
Once dry, I cut it down in to a strip. I applied a generous coating of ant-static powder to it and then stamped the 'you' from the main kit stamp set using Versamark Ink. I applied white embossing powder and heat set. This was added to a white A2 card base with tape runner. I took a panel of white cardstock and ran this through my die cutting machine with the Bold Graphic Confetti Fancy Die, which is available as an add-on this month. I decided to emboss the die instead of cut it and it gave a lovely pattern on to the panel. I cut it down and added one piece above the alcohol ink strip and one piece below. The 'thank' piece was then added with more liquid glue.
 
SUPPLIES:

Here are the links to what I have used on the card. Affiliate links are used on some products. This means that if you make a purchase after clicking on my link, I receive a small commission with no extra cost to you. I truly appreciate your support when using these links. Please click on the logo below the product to shop at your favourite store. Products marked with an asterisk (*) were kindly sent to me to use.
 
 
THE KIT:
 
The March 2018 MMH Kit contains a 6" x 8" stamp set, 4 fancy word dies, 7 fancy shape dies, 4 sheets of black cardstock, 4 sheets of kraft cardstock, 4 sheets of white cardstock, sparkly sequins, Silver Sparkle embossing powder and a Unicorn White ink cube.
 
The value of the kit is $70 but you can get it for an amazing $34.99 (approx. £27 depending on exchange rate). Remember the kits are limited edition and often sell out quickly. You can subscribe here so that you never miss a kit. International subscribers get a discount off shipping too!
 
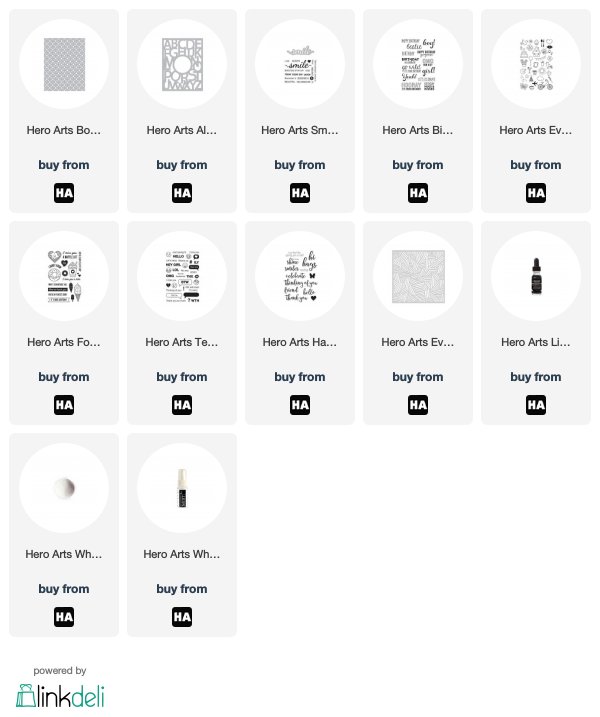
There are lots of wonderful add-on products this month. These are not limited and can be purchased from the Hero Arts Shop and also from your favourite Hero Arts retailer. Here is a look at them:
 
 
BLOG HOP:
 
Here is the full list of participants in the hop:
 
Michelle Short- you are here :)
 
GIVEAWAY:
 
Hero Arts are giving away one kit to one lucky winner, selected from all the comments from all the blogs in the hop. The giveaway closes Sunday, 11th March at 11.59 EST and the winner will be announced the following week. If the winner has already purchased the kit, they will be reimbursed for it.
 
The next person on the hop is the fabulous and amazing Laurie. Thank you so much for visiting me today. I hope you have a wonderful time on the rest of the hop and a great rest of the day too!

3 March 2018

Birthday Magnolias

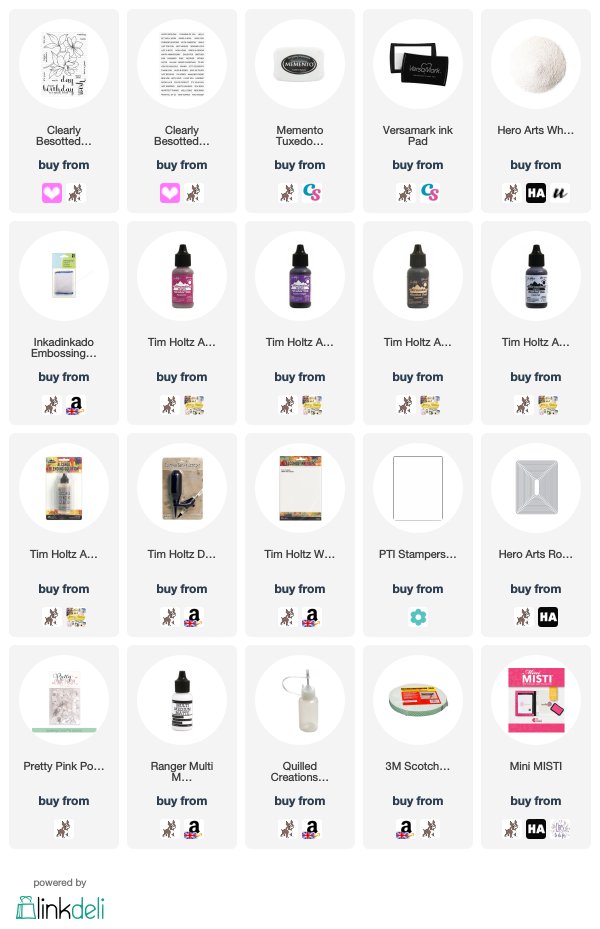
Hello there, today I have a card to share that I made for my friend Lisa for her Birthday. I know that the Clearly Besotted Make A Wish stamp set is one of her favourites so of course, I had to use it for her card. Since she likes alcohol inks as well, I thought I would combine them both.


I started off by creating the alcohol inked background. I took a piece of Yupo paper and first added on drops of Cool Peri. I used the spritzer tool to move the ink around. I then came in with Raspberry and Purple Twilight. To finish off, I also added in a little Eggplant in areas. I continued spritzing the piece with air as I went, adding in some blending solution in places too, until I was happy. I then set the piece aside to dry.


I took the magnolia image from the Make A Wish set and placed this in my Mini MISTI. I added a very generous coating of anti-static powder over the alcohol inked background and then stamped the image using Versamark Ink. I applied white embossing powder and heat set. I made sure to heat up my heat tool until it was very hot before brining it to the Yupo paper. I then heated it in short bursts. Once the powder was melted I placed the piece inside a piece of printer paper and placed this under some heavy books for a few hours. This stopped any warping of the Yupo paper.


I adhered the Yupo piece to an A2 white card base with tape runner. I then took a white panel of cardstock and cut a window in to it using one of the Hero Arts Rounded Rectangle Infinity Dies. I added foam tape to the back and adhered it to the card. I took the 'happy birthday' sentiment from the Clearly Besotted Tiny Type set and stamped this with black ink on to white cardstock. This was cut in to a strip and added to the card with more foam tape. To finish off, I added three Sparkling Clear sequins.


SUPPLIES:

Here are the links to what I have used on the card. Affiliate links are used on some products. This means that if you make a purchase after clicking on my link, I receive a small commission with no extra cost to you. I truly appreciate your support when using these links. Please click on the logo below the product to shop at your favourite store. Products marked with an asterisk (*) were kindly sent to me to use.


Thank you so much for visiting me today, I really do appreciate it. I hope you have a fabulous day and a wonderful weekend!

2 March 2018

Hero Arts March 2018 MMH | Hugs

Hello there, I am over on the Hero Arts Blog today sharing a card made using the Hero Arts March 2018 My Monthly Hero Kit that will be released on Monday, 5th March. We are sharing peeks today and over the weekend using the kit, along with some of the optional extras. My card today uses just the main kit elements, along with the Nesting Hearts Infinity Dies.
 
 
Using the heart dies, I made a mask and blended Distress Oxide inks inside. I used Faded Jeans, Salty Ocean and Peacock Feathers and then stamped the flower image from the kit on top with Unicorn Ink (also in the kit). The hugs word die is one of my favourites from the kit, and I just had to use the new Iridescent White Shimmer Spray (an optional add-on) on it for some added sparkle. Please head over to the blog post for more details on how I made the card and for a chance to win a kit. Thanks so much for stopping by today!

1 March 2018

VIDEO | Clearly Besotted March 2018 Release Preview

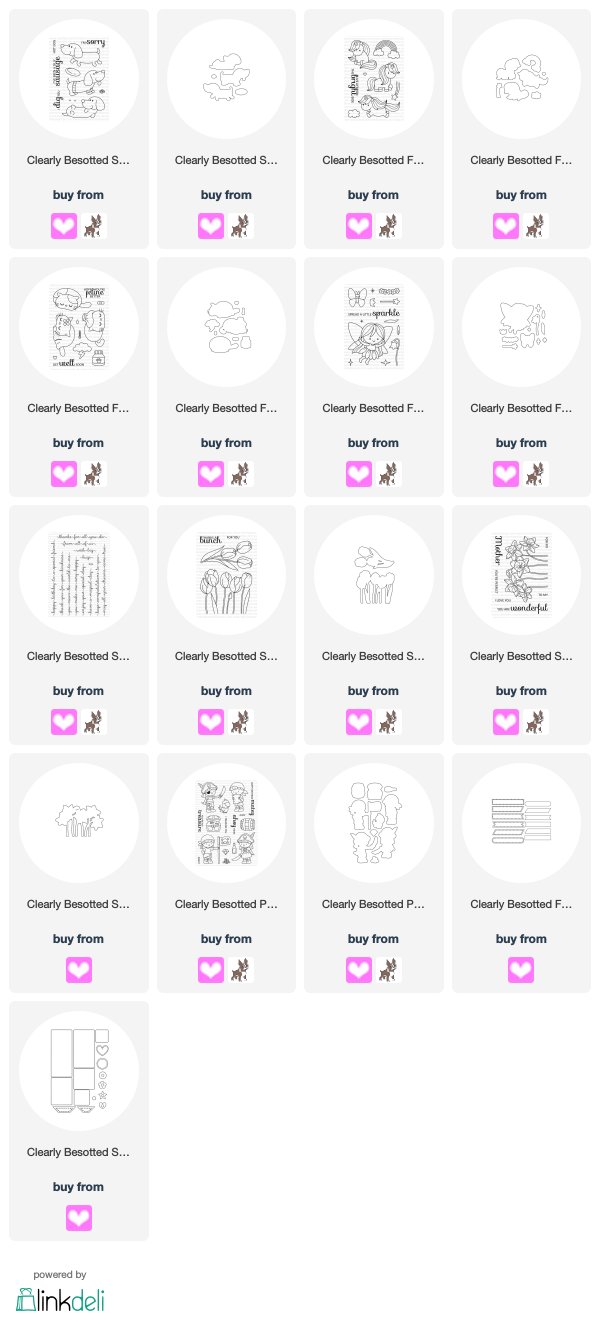
Hello there, today is THE day! The new products from Clearly Besotted release tonight at 8pm GMT/3pm EST. It is such a wonderful release filled with adorable characters, cute animals and beautiful florals. There is a gorgeous sentiment set in there too.
 
 
The new products will be available to purchase in the Clearly Besotted Shop (UK based, ships almost worldwide) and also at Simon Says Stamp (US based, ships worldwide). Here is a look at all of the new stamps, along with recap of the cards I have made:


SUPPLIES:

Here are the links to what I shared in the video, as well as the dies. Affiliate links are used on some products. This means that if you make a purchase after clicking on my link, I receive a small commission with no extra cost to you. I truly appreciate your support when using these links. Please click on the logo below the product to shop at your favourite store.
 

What has caught your eye? I know the unicorns have been very popular during the teasers. I would love to hear your thoughts. Thank you so much for stopping by today. Happy shopping! :)

Clearly Besotted | Giveaway Winner

Hello there, I am popping in this morning briefly, to share the winner of my Clearly Besotted giveaway. Thank you so much to everyone that left me such lovely comments. It was lovely to hear what your favourite CB sets are. It has been wonderful to share teasers with you again too and I hope you have enjoyed it as well.

The winner of the Clearly Besotted gift card is:
 
 
Please could you email me, Cal, using the link on my sidebar and I can get your gift card to you as soon as possible :) I will be back in a few hours to share my release preview video with you but in the mean time, you can head over to see the reveal from Stephanie. See you soon!
End of code