
Hello there, I am delighted to be over on the Pinkfresh Studio YouTube Channel today, sharing a card using soft and smooth ink blending for both the focal point and the background. This gives the card a light and airy feel.
PLEASE
NOTE: This post contains affiliate links. Please see below for my full
disclosure.

I started off my card by stamping the image from the Pinkfresh Studio Butterflies in Bloom Stamp onto white cardstock using Pinkfresh Studio Detail Black Hybrid Ink. I then placed the Pinkfresh Studio Butterflies in Bloom Stencils on top, one by one, to add ink blending using inks and blending brushes.
- Stencils 1 & 2 use Ocean Breeze and Mermaid Cove Ink for the flower petals with a 1/2" Blending Brush.
- Stencil 3 uses Lemon Whip Ink using a 1/2" Blending Brush, as well as Sweet Mustard & Marigold Inks, for the flower centres and small flowers using a 1/4" Blending Brush.
- Stencil 4 uses Grassy Knoll Ink for the leaves using a 1/2" Blending Brush.

- Start with your brush on the stencil material, the brush will then glide nicely from the stencil to the image (on the cardstock) and you will get a smooth blend.
- Place the brush initially where you want the darker areas to be. When there is less ink on the brush, move towards the areas that you want lighter.
- If you are going for a soft look, leave some white space on images.
- Work in layers. Start with a light application of ink and then add more pressure the darker you want the area with the second layer.

- Use big brushes! The Pinkfresh Studio 1" Blending Brushes have a large brush head. The bristles are also really soft and not dense. This helps with smooth and soft ink blending.
- Dab off excess ink from the brush before bringing to the cardstock. This helps not to get harsh lines in the ink blending.
- Start the ink blending off the side of the cardstock and work the brush onto the cardstock.
- Find a surface that works for you! For this type of ink blending, I prefer to either use paper or a slick surface like a non-stick craft sheet. I love ink blending die cuts on a sticky mat but for this type of technique, I find that my blending brush does not glide nicely over it.

VIDEO:
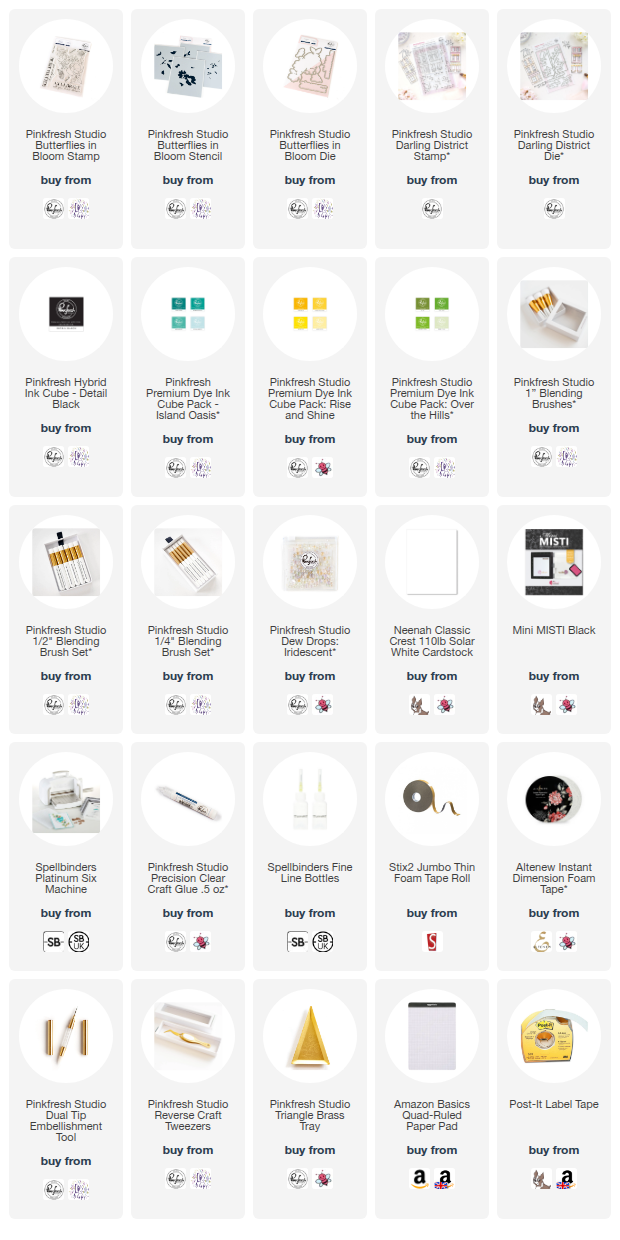
Here are the links to what I have used on the project. Affiliate links are used on some products. This means that if you make a purchase after clicking on my link, I receive a small commission with no extra cost to you. I truly appreciate your support when using these links. Please click on the logo below the product to shop at your favourite store. All products were personally purchased except marked with an asterisk (*) which were kindly sent to me to use. You can read my full disclosure here.
No comments:
Post a Comment
Thank you for visiting my blog today! Please feel free to leave me a comment. I really appreciate receiving them. Please note that if you comment as unknown on a hop, you will not be entered into the prize draw unless you leave your email address in the comment. Please see my Privacy Policy for details on how your data is used when leaving me a comment. Thank you so much :)