
Hello there, today I have a card and video to share using the Hero Arts Best Gift Ever Collection. I already made one card using the collection, which you can see here. That card was a birthday card but I took inspiration from it to create a Christmas card in a non-traditional colour palette.
PLEASE
NOTE: This post contains affiliate links. Please see below for my full
disclosure.
I started off my card by pressing the Hero Arts Wrap It Up Letterpress + Foil Plate onto Hero Arts Deluxe Smooth White Cardstock with BetterPress Black Ink and the Spellbinders BetterPress Letterpress System. I then placed the first of the Hero Arts Gorgeous Giftwrap Layering Stencils on top and held down with low-tack tape.

Using a Large Blending Brush, I blended Hero Arts Ultra Pink Core Ink on top. I removed the stencil and then added the second stencil on top. For this layer, I used Ultra Pink Core Ink again but this time, added a few layers so that it was darker than the first. For two of the presents, I left the patterns off for now and added them in after die cutting.

The presents were then die cut out using the Hero Arts Gift Boxes Die. I then added the patterns on to the other two, so that I could change which pattern went with which present (this makes much more sense when watching the video!). The presents were adhered to an A2 sized card base made from Hero Arts Pitch Black Cardstock with thin foam tape.

I die cut the small foliage from Hero Arts Holly Berries Stamp & Cut XL from white cardstock and added ink blending on top with Hero Arts Kiwi and Green Hills Core Inks. The pieces were cut into smaller sections and adhered to the card using liquid glue. I then die cut the Hero Arts Snowflake Patterned Cover Plate Die from white cardstock and added the snowflakes on top.

I pressed a sentiment from the Hero Arts Here for the Presents Letterpress + Foil & Die Set onto white cardstock using BetterPress Black Ink. It was die cut out and then the die cut another two times from white cardstock and adhered behind the pressed one for added dimension, before adhering to the card. To finish, I embellished with Spellbinders Pink Color Essentials Gems.
VIDEO:
Here is the video showing how I made the card:
If you are viewing this blog post via email subscription, you can watch the video HERE on YouTube.
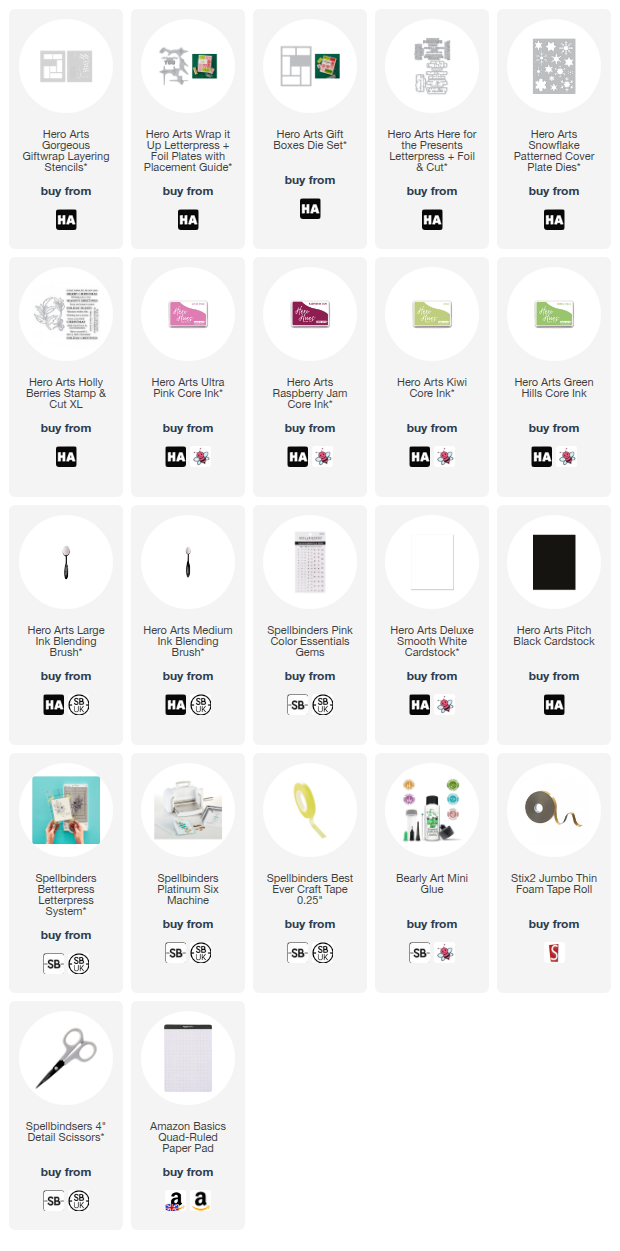
SUPPLIES:
Here are the links to
what I have used on the project. Affiliate
links are used on some products. This means that if you make a purchase after
clicking on my link, I receive a small commission with no extra cost to you. I
truly appreciate your support when using these links. Please click on the logo below
the product to shop at your favourite store. All products were personally
purchased except marked with an asterisk (*) which were kindly sent to me to
use. You can read my full disclosure here.
A very non-traditional card but I do like the modern feel to it and the pink really pops from the black card base, I think! Thank you so much for stopping by today, I really do appreciate it. I hope you have a wonderful day!
No comments:
Post a Comment
Thank you for visiting my blog today! Please feel free to leave me a comment. I really appreciate receiving them. Please note that if you comment as unknown on a hop, you will not be entered into the prize draw unless you leave your email address in the comment. Please see my Privacy Policy for details on how your data is used when leaving me a comment. Thank you so much :)