
Hello there, I hope you are well. Back in August, Spellbinders released a collection called Cuckoo Cottage which as the name suggests, features a cuckoo clock. There are also sets that you can use with the clock to add seasonal touches - there is a Halloween one, a Christmas one, plus an autumnal set too. As well as a sentiment set.
Today I have two cards to share - one using the main cuckoo clock, and one using the Christmas set. Tomorrow I will share the autumnal one!
PLEASE
NOTE: This post contains affiliate links. Please see below for my full
disclosure.

I started off by die cutting the base layer of the Spellbinders Cuckoo Cottage Etched Dies from Spellbinders Fairy Tale ColorWheel Cardstock. I also cut the chime and pendulum strings from this too, plus the clock hands. I cut the trim/panelling on the clock, as well as the clock face and shelf for the cuckoo door (and cuckoo itself!) from Classic White ColorWheel Cardstock.

The cuckoo doors were cut from Spellbinders Lavender ColorWheel Cardstock, as well as the chimes, centre of clock face, and bottom of the clock. The roof, trim, cuckoo door inside, and pendulum circle were cut from Spellbinders Lilac ColorWheel Cardstock.

I assembled the main part of the clock first, followed by the clock face and cuckoo part. I then adhered the chimes behind the clock using the card base as a guide for length. I created these with A2 sized (4.25" x 5.5") card bases but if you used larger cards you would get a better effect with the chimes. You can also make the pendulum swing from side to side which is fun!

I hot foiled the Spellbinders Cuckoo Cottage Sentiments BetterPress Plate onto white cardstock using Spellbinders Opaque Black Foil and the Glimmer Hot Foil System. They were die cut out using the coordinating die and the 'timeless birthday' one was adhered to the card. To finish, I embellished with Spellbinders Silver Mix Color Essentials Gems.

Next up is the Christmas version. I really love how this one turned out! I die cut the clock layers from the Spellbinders Spellbinders Cuckoo Cottage Etched Dies again, this time for the base layer and clock hands, I used Spellbinders Windy ColorWheel Cardstock. For the trim and bottom of the clock, plus doors and centre of clock face, I used Spellbinders Celestial ColorWheel Cardstock.

In the Spellbinders Chiming Christmas Etched Dies are snow for the roof, which I cut from white glitter cardstock and the bauble chimes, which I cut from Spellbinders Windy and Celestial ColorWheel Cardstock. There is also the platform and pendulum circle, which I cut from Spellbinders Classic White and Poppy ColorWheel Cardstock.

The set also includes the trees, which I cut from Spellbinders Peridot and Classic White ColorWheel Cardstock (and the stumps from Truffle), and the deer, which I cut from Spellbinders Fawn, Truffle and Poppy ColorWheel Cardstock. The clock was assembled like the first card, using Bearly Art Glue and adhered to the card base with thin foam tape.

The sentiment is from the same Spellbinders Cuckoo Cottage Sentiments BetterPress Plate foiled onto white cardstock using Spellbinders Opaque Black Foil as I did for the first card. There are other dies in the set including a penguin and snowman. Lots of opportunities to dress up the clocks but also can be used with lots of other sets too!
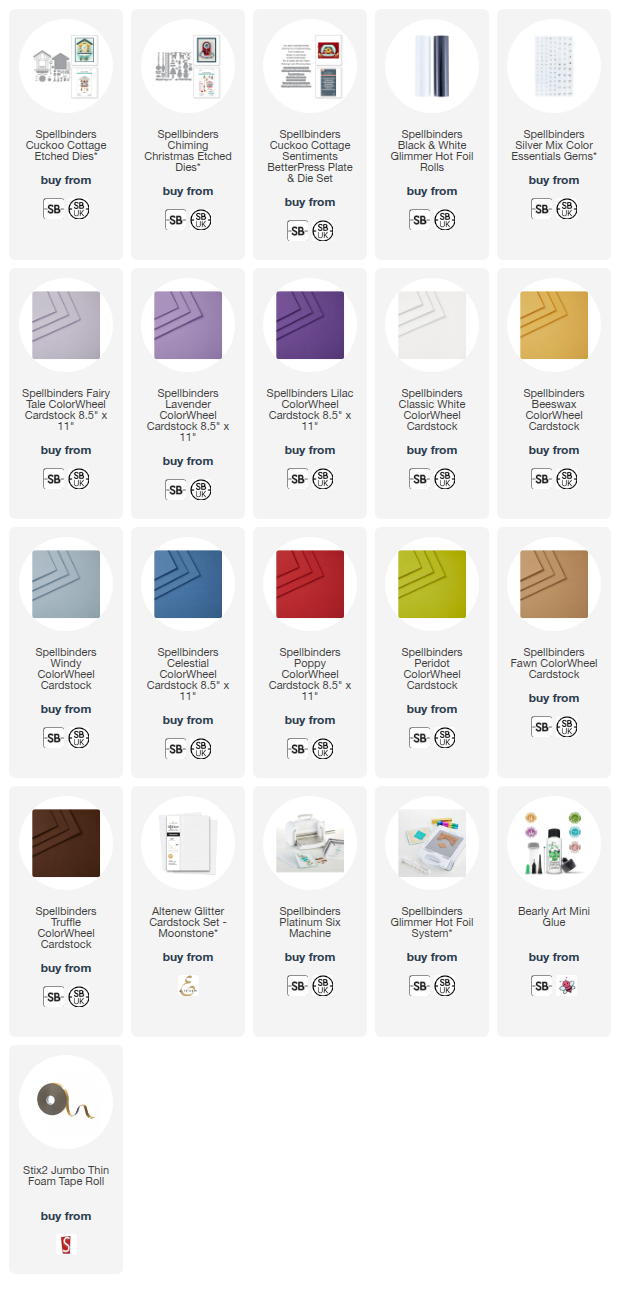
SUPPLIES:
Here are the links to
what I have used on the projects. Affiliate
links are used on some products. This means that if you make a purchase after
clicking on my link, I receive a small commission with no extra cost to you. I
truly appreciate your support when using these links. Please click on the logo below
the product to shop at your favourite store. All products were personally
purchased except marked with an asterisk (*) which were kindly sent to me to
use. You can read my full disclosure here.
These clocks were fun to make, the first one took a little while to understand how the pieces went together but the subsequent ones came together really quickly! I will be back tomorrow to share my autumnal one. Thank you so much for stopping by today, I really do appreciate it. I hope you have a great day!
No comments:
Post a Comment
Thank you for visiting my blog today! Please feel free to leave me a comment. I really appreciate receiving them. Please note that if you comment as unknown on a hop, you will not be entered into the prize draw unless you leave your email address in the comment. Please see my Privacy Policy for details on how your data is used when leaving me a comment. Thank you so much :)