
Hello there, today I have something a little different to share - decorated envelopes! If you have followed me here for a while, you will know that I do like to decorate and create pretty packaging. When I saw the Spellbinders Snowflake Mini Wax Seal, I thought it would be perfect for this purpose!
PLEASE
NOTE: This post contains affiliate links. Please see below for my full
disclosure.

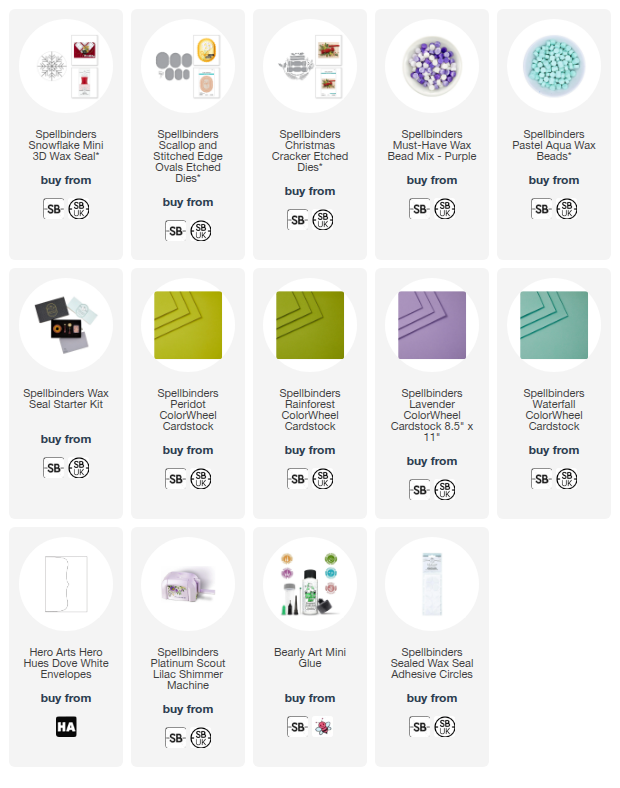
I started off by creating the wax seals using the Spellbinders Wax Seal Starter Kit. I like to melt more wax than needed for these little wax seals, as it gives me a better pour. I also find that I can get multiple seals from one spoon of wax which is helpful!

For the wax seals, I used Spellbinders Wax Beads Purple Mix for the first one. I actually had some wax left over from a previous project that I remelted. I know that it wasn't just one colour but a mixture, but the colour is similar to the middle colour in the set - Enchanted, but I think there is some Pastel Lilac in there too!

I used Spellbinders Pastel Aqua Wax Beads for the second one. It did take me a while to get the size that I wanted. These mini wax seals really are mini, so you don't need to pour too much wax! Whilst wax seals look great on cards, my favourite way to use them is for packaging, so I grabbed my Hero Arts Dove White Envelopes and some dies and got creating!

I die cut the holly leaves and pine branches from the Spellbinders Christmas Cracker Etched Dies from Spellbinders Peridot and Rainforest ColorWheel Cardstock. I then took the bow from the Spellbinders Scallop and Stitched Edge Ovals Etched Dies set and die cut it once from Spellbinders Lavender ColorWheel Cardstock and once from Spellbinders Waterfall ColorWheel Cardstock.

I adhered the foliage first to the envelope flaps using Bearly Art Glue, I then adhered the bows on top (making sure to adhere it above the bottom of the flap so that the envelope will open easily). The wax seals were then adhered on top, cutting down Spellbinders Seal Adhesive Circles to fit the back of them.
SUPPLIES:
Here are the links to
what I have used on the projects. Affiliate
links are used on some products. This means that if you make a purchase after
clicking on my link, I receive a small commission with no extra cost to you. I
truly appreciate your support when using these links. Please click on the logo below
the product to shop at your favourite store. All products were personally
purchased except marked with an asterisk (*) which were kindly sent to me to
use. You can read my full disclosure here.
Simple but effective, I hope! Thank you so much for stopping by today, I really do appreciate it. I hope you have a great day!
No comments:
Post a Comment
Thank you for visiting my blog today! Please feel free to leave me a comment. I really appreciate receiving them. Please note that if you comment as unknown on a hop, you will not be entered into the prize draw unless you leave your email address in the comment. Please see my Privacy Policy for details on how your data is used when leaving me a comment. Thank you so much :)