
Hello there, I hope you are well! Today I have two cards to share using the new Spellbinders Seasonal Wreath Etched Dies. I wanted to show that the set isn't just for Christmas and the holidays but can be used all year round too!
PLEASE
NOTE: This post contains affiliate links. Please see below for my full
disclosure.

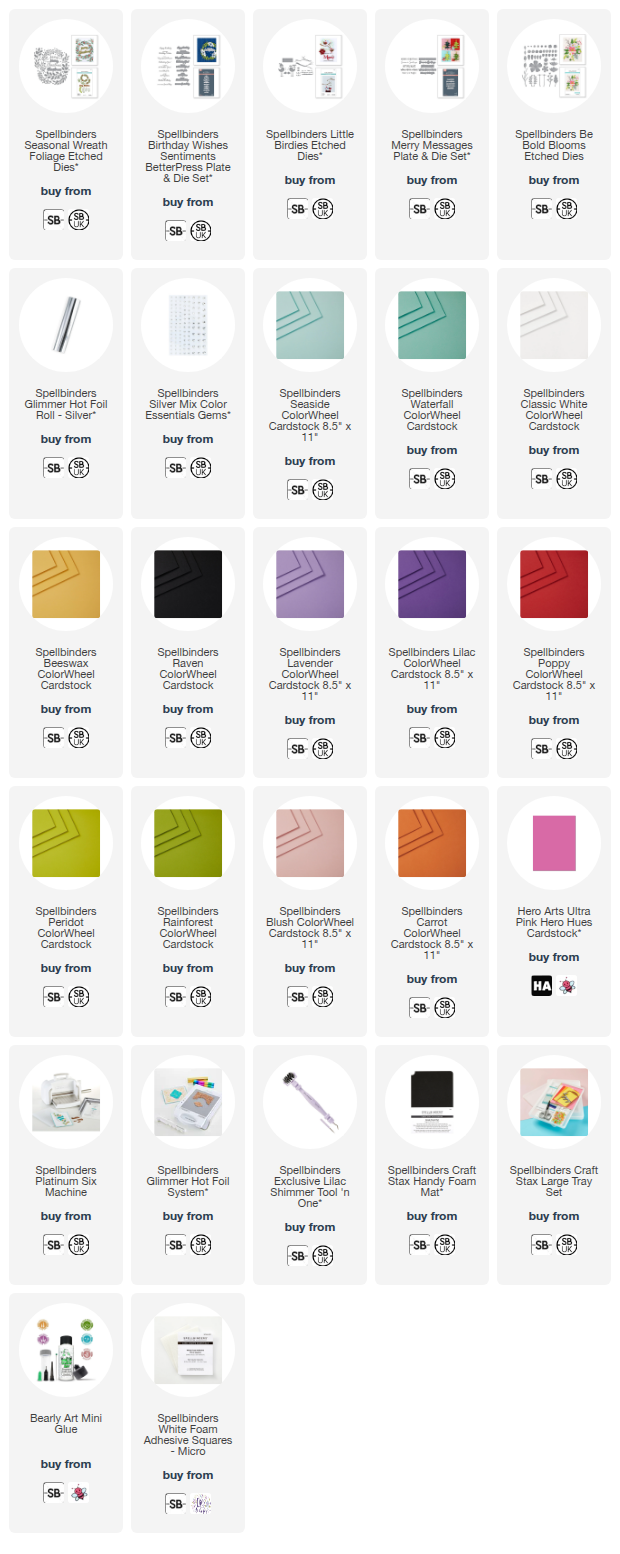
I started off my Christmas card by die cutting the greenery die in the Spellbinders Seasonal Wreath Etched Dies set three times from Spellbinders Waterfall ColorWheel Cardstock. I adhered them to the front of an A2 sized white card base with Bearly Art Glue, popping the end of each one behind the end of the next one.

I then cut the dies that look like mistletoe (to me!) from Spellbinders Seaside ColorWheel Cardstock. They were adhered on top of the greenery ones but you could definitely just use one or the other and not both! I die cut the berries from Classic White ColorWheel Cardstock and adhered them on top.

I then die cut the bird from Spellbinders Little Birdies Etched Dies from Spellbinders ColorWheel Cardstock. I used Lavender for the body of the bird, Lilac for the wing, Raven for the eye, Beeswax for the beak, and Poppy and Classic White for the hat. I adhered the pieces together and then onto the wreath, adding Spellbinders Micro Foam Squares behind his head.

For the sentiment, I hot foiled the Spellbinders Merry Messages Plate onto white cardstock using Spellbinders Silver Foil and the Glimmer Hot Foil System. It was die cut out using the coordinating die and adhered overhanging the wreath. To finish, I embellished with Spellbinders Silver Color Essentials Gems.

For my next card, I used just the greenery dies from the Spellbinders Seasonal Wreath Etched Dies set. To me they looked like generic leaves so I thought they would work for all year round. I die cut the die three times from Spellbinders Rainforest ColorWheel Cardstock and three times from Spellbinders Peridot Cardstock.

They were adhered to an A2 sized white card base with Bearly Art Glue. I then die cut the bird again, this time using Spellbinders ColorWheel Cardstock in Seaside for the body, Waterfall for the wing, Raven for the eye and Beeswax for the beak. I also cut flowers from the Spellbinders Be Bold Blooms Etched Dies set from Spellbinders ColorWheel Cardstock in Blush, Carrot, Beeswax, Classic White and Hero Arts Ultra Pink Cardstock.

The flowers were assembled and adhered using Bearly Art Glue and adhered to the wreath, the bird was then popped in between so it looked like it was sitting in amongst them. For the sentiment, I hot foiled the Spellbinders Birthday Wishes Sentiments BetterPress Plate & Die Set onto white cardstock using Spellbinders Silver Foil. It was die cut out using the coordinating die. I then adhered the 'happy birthday' one on to the card. To finish, I embellished with Spellbinders Silver Color Essentials Gems.
NEW SPELLBINDERS TOOLS

Before I go, I just wanted to share some new tools from Spellbinders with you in case you haven't seen them. These are great for die cutting. There is the new Lilac Shimmer Tool 'n One. This is the same as the other Tool 'n One's, so if you already have one you don't need another, but of course, I love the new Lilac Shimmer colour that matches my Platinum Scout! The Tool 'n One is great for removing the little bits inside the die cuts that you don't want - whether that be using the brush end or the pokey end. The pokey end is great for placing down gems too!

There is also the new Handy Foam Mat. This fits inside the Large Craft Stax Trays. The idea is that you would place your die cuts on top and use the brush end of the Tool 'n One to pop out the inside pieces. This also works for the dies themselves too. You can do this on any surface but the foam mat gives a nice resistance to the tool. You can also just use the pokey end of the Tool 'n One and I found that works as well. The benefit of using the mat inside the tray is that all the little die cut pieces stay contained and not strewn across your desk! You can then use lift out the foam insert and slide the pieces into the bin. Is it necessary? No, but I have found it hand when doing a lot of die cutting!
SUPPLIES:
Here are the links to
what I have used on the projects. Affiliate
links are used on some products. This means that if you make a purchase after
clicking on my link, I receive a small commission with no extra cost to you. I
truly appreciate your support when using these links. Please click on the logo below
the product to shop at your favourite store. All products were personally
purchased except marked with an asterisk (*) which were kindly sent to me to
use. You can read my full disclosure here.
I think the birds are a cute addition to the wreaths but they would look beautiful one their own too! Thank you so much for stopping by today, I really do appreciate it. I hope you have a wonderful day!
Beautiful cards - that wreath is fabulous, Jo x
ReplyDelete