
Hello there, I am delighted to be joining Pinkfresh Studio today to celebrate the Twinkle & Traditions release with a fun Instagram Hop (more info on the hop below). I already shared two projects using the release here and today I have another to share. I am not sure what I am calling this project today - it could be a tag, it could be an ornament, it could just be a little keepsake to give, but I will probably call it a tag for now!
PLEASE
NOTE: This post contains affiliate links. Please see below for my full
disclosure.

I started off my tag by creating the landscape image. I took the Pinkfresh Studio Lantern Landscapes: Snowy Cottage Stencils and one by one, placed them onto a panel of white cardstock and added ink blending to them to colour/create the image using Pinkfresh Studio inks and Blending Brushes (I used all three sizes of brushes on this piece).

I used Pinkfresh Studio Inks in Wisteria, Hydrangea and Opulence for the sky and door, Sheer Freesia and Wisteria for the mountains, Waterfall for the snow, Grassy Knoll for the greenery, Misty Coast and Rocky Slope for the house and pathway, Lemon Whip for the windows, and Bubble Gum for the bow on the wreath. It was then die cut out using the coordinating die in the Pinkfresh Studio Lantern Landscapes Die set.

I took a panel of Spellbinders Lilac ColorWheel Cardstock and placed the Pinkfresh Studio Lantern Landscapes Stencils on top. I added ink blending with Pinkfresh Studio Hydrangea and Opulence Inks to create the lantern itself. It was then die cut out using the coordinating die from the Pinkfresh Studio Lantern Landscapes Die set. I cut it another three times from the same Lilac cardstock.

I placed a piece of acetate over one of the lantern pieces and drew a line of where I needed to cut it. I then adhered it to one of the lantern pieces. I adhered two more lantern pieces on top, using Pinkfresh Studio Precision Clear Craft Glue. I adhered the scene into the centre and then adhered the ink blended lantern piece on top. I added ink blending to the last lantern layer and adhered it on the back (since the shape is symmetrical). I also cut another of the die for the landscape piece and adhered that to the back too, so that there is somewhere to write a personal message and it hides the glue on the back too!

I then took the Pinkfresh Studio Timeless Tidings Stencils and added ink blending to the holly leaves and berries using Pinkfresh Studio Inks in Grassy Knoll, Key Lime and Mermaid Cove for the leaves, and Bubble Gum and Raspberry Bliss for the berries. They were die cut out using the Pinkfresh Studio Timeless Tidings Die and adhered to the top of the lantern. To finish, I tied DMC Silver Metallic Thread through the top of and tied in a loop and then added white gel pen dots to the sky for snow.
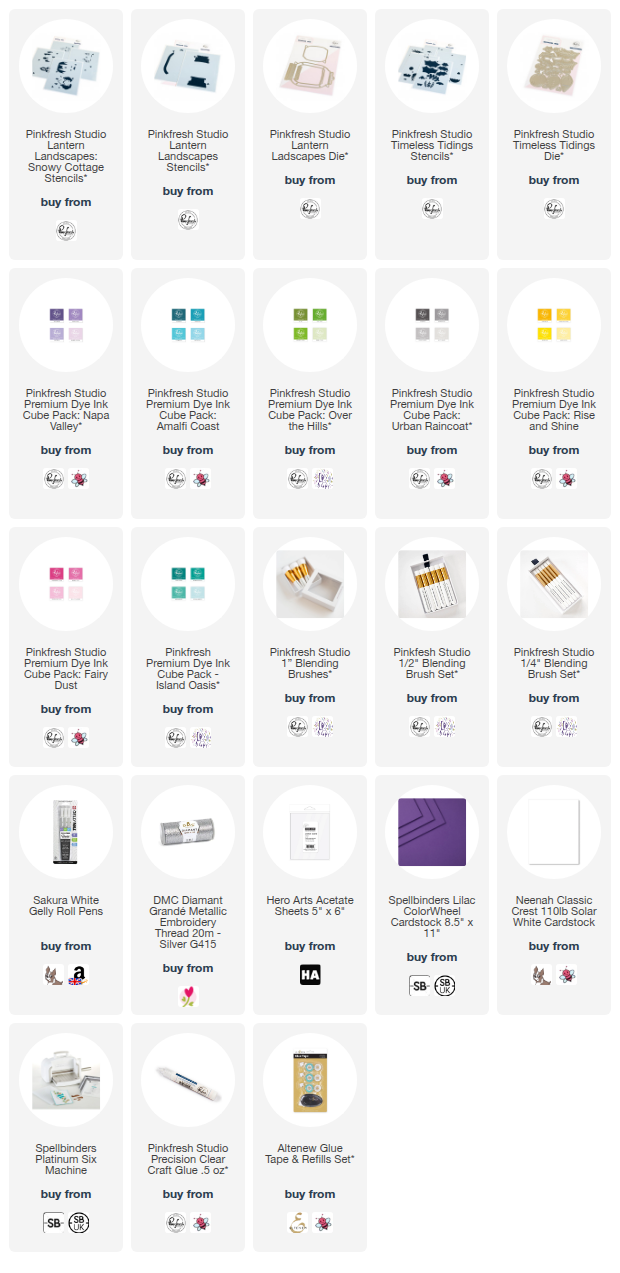
SUPPLIES:
Here are the links to
what I have used on the project. Affiliate
links are used on some products. This means that if you make a purchase after
clicking on my link, I receive a small commission with no extra cost to you. I
truly appreciate your support when using these links. Please click on the logo below
the product to shop at your favourite store. All products were personally
purchased except marked with an asterisk (*) which were kindly sent to me to
use. You can read my full disclosure here.
This was so fun to make! You can definitely add this to a card or you could make it into a shaped card too by scoring one of the lantern pieces to create a hinge and adhere it to the back, so that it stands up. To follow along with the hop (and potentially win a prize!) please head over to the Pinkfresh Studio Instagram Page HERE and you can visit mine HERE. Thank you so much for stopping by today, I really do appreciate it. I hope you have a wonderful day!
Simply gorgeous in non-traditional colors. It's an awesome release.
ReplyDeleteJaw dropping gorgeous! I LOVE how you used a non traditional Christmas color--such a wonderful result.
ReplyDeleteSuch a fun choice of colors for a twist on these designs. Lovely! Linda Cosio (Lmcraftykat)
ReplyDeleteWhat festive colors that you've used on this delightful lantern card!
ReplyDeleteLove the landscape lanterns and you unique colors scheme!
ReplyDeleteSuch a pretty color selection...love it! Love the Lantern Landscapes collection...hoping they come up with some additional stencil scenes.
ReplyDeleteOh my gosh, I LOVE the purple with all your beautiful coloring! What a fun way to add a twist to a traditional motif!
ReplyDeleteWell done!
ReplyDeleteBeautiful tag! Love the colors.
ReplyDeleteHow creative and lovely is your lantern card! Love it--the colors are unique and so pretty. Thanks for the inspiration!
ReplyDeleteI love the purple lantern! So pretty!
ReplyDelete