Hello there, I am delighted to be joining Hero Arts today to celebrate the Lovely Letterpress release, which is out today, with a fun Instagram hop. There are lots of new plates releasing today, they can work for hot foiling or letterpress. Today I went down the letterpress route, but without any ink!
PLEASE
NOTE: This post contains affiliate links. Please see below for my full
disclosure.
I am using the Hero Arts Starbursts Set Letterpress + Foil Plate. The set has four starburst images, I am using three of them on my projects today.
For my card, I started off by taking a Spellbinders Porcelain A2 Cotton Card Panel and cutting it down to 3.5" x 4.75. I then cut cardstock into strips using the Hero Arts Sentiment Strips Fancy Die. I used Hero Arts cardstock in Peony, Ultra Pink, Mist, Paradise and Bermuda. I adhered the strips onto the panel with liquid glue.
I then placed the Hero Arts Starbursts Set Letterpress + Foil Plates onto the Chase of my Spellbinders BetterPress Letterpress System and adhered the panel onto the Platen, holding in place with low-tack tape. I ran it through my Platinum Six to press/deboss the starbursts onto the panel. It was then adhered to a US A2 sized card base made from Hero Arts Paradise Cardstock, using thin foam tape.
I die cut the envelope die from the Hero Arts Peeking Owl Fancy Dies twice from cotton card. The olive branch from the Hero Arts Dove & Olive Branch Fancy Dies was cut from vellum. I adhered the branches behind the envelopes and then adhered them onto the card with more thin foam tape.
At this point, I thought it would be nice to have a tag to match! So I repeated the process with the strips of cardstock added to the cotton card panel. I pressed the panel with the Hero Arts Starbursts Set Letterpress + Foil Plate again, and then this time, I took the Hero Arts Tag Infinity Dies and cut it into a tag using the second smallest size in the set.
I adhered the same arrangement of envelopes and branches to the tag using thin foam tape. I then die cut the eyelet from the tag set from Hero Arts Pitch Black Cardstock and adhered that around the hole. For the sentiments, I stamped the Hero Arts Everyday Sentiment Strips Stamp Set onto Hero Arts Pitch Black Cardstock using Hero Arts Clear Embossing & Watermark Ink.
I applied Hero Arts White Detail Embossing Powder and heat set. It was cut onto strips using the Hero Arts Sentiment Strips Fancy Die. I took two and cut the sides down using my guillotine. They were adhered to the card and tag using more thin foam tape. To finish, I embellished with Spellbinders Silver Mix Color Essentials Gems and added twine through the top of the tag and tied in a bow.
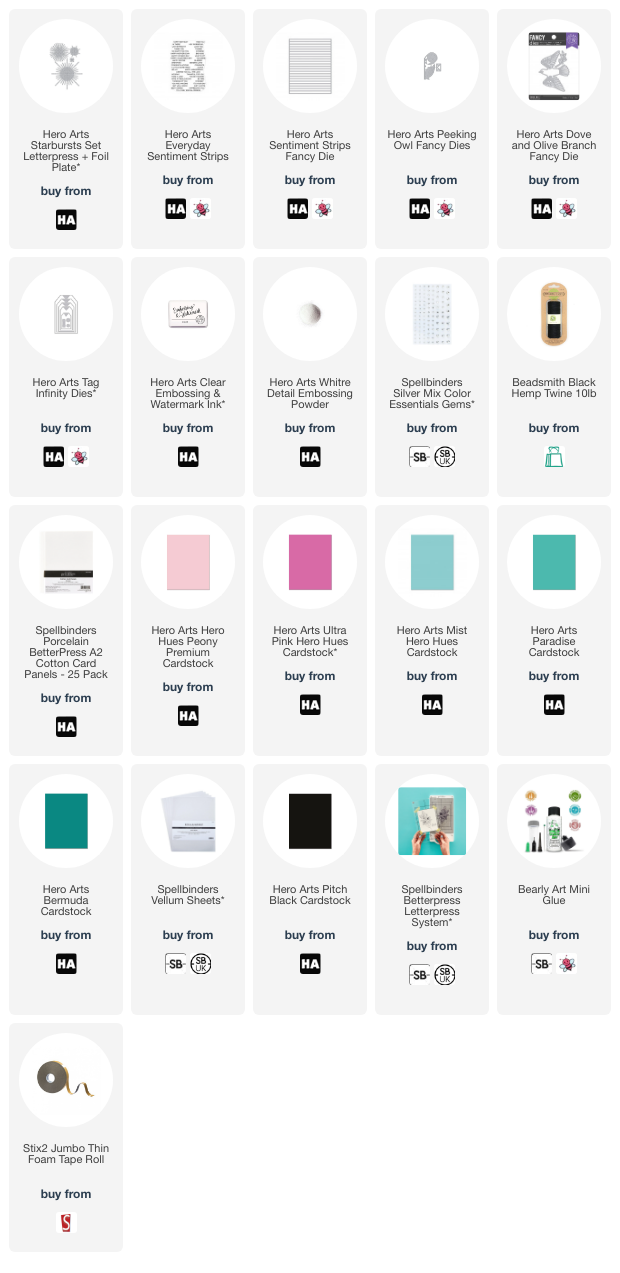
SUPPLIES:
Here are the links to
what I have used on the projects. Affiliate
links are used on some products. This means that if you make a purchase after
clicking on my link, I receive a small commission with no extra cost to you. I
truly appreciate your support when using these links. Please click on the logo below
the product to shop at your favourite store. All products were personally
purchased except marked with an asterisk (*) which were kindly sent to me to
use. You can read my full disclosure here.


No comments:
Post a Comment
Thank you for visiting my blog today! Please feel free to leave me a comment. I really appreciate receiving them. Please note that if you comment as unknown on a hop, you will not be entered into the prize draw unless you leave your email address in the comment. Please see my Privacy Policy for details on how your data is used when leaving me a comment. Thank you so much :)