
Hello there, today I am giving 3D embossing a faux velvet look. I am a huge fan of embossing folders and I am always trying to find new ways to give them a different look. This is a variation of a technique that I use often - highlighting the raised areas with white pigment ink but it adds an extra step that gives a soft velvety look.
PLEASE
NOTE: This post contains affiliate links. Please see below for my full
disclosure.

I started off by die cutting one the larger tags from the Altenew Terrific Tags Die Set from white cardstock. I then added ink blending on top using Altenew Bubblegum Dreams Fresh Dye Inks (the three lightest shades) using an Altenew Small Blending Brush.

I blended Midnight Violet, from the Altenew Shades of Purple Fresh Dye Ink Collection, on top to give some extra darkness to the tag. I placed it inside the Altenew Garden Whispers 3D Embossing Folder and ran it through my die cutting machine.

I smooshed Altenew Cloud White Pigment Ink onto the mat and picked it up using a Blending Tool (with a sponge applicator). I then pounced the tool onto the raised areas in layers. The white intensifies the more layers you add. I wanted to pounce/dab the tool onto the embossing, rather than swiping, to transfer the texture of the sponge and give a mottled look. I then placed the tag into my Splat Box and misted it with Altenew Iridescent Shimmer Ink Spray.

This really brings out the white ink on the tag and gives a lovely soft velvety texture/look. I heat set the ink and then set the tag aside to dry while I stamped my sentiment, from the Altenew Garden Whispers Craft Your Life Project Kit, onto Altenew Crafty Necessities: Jet Black Cardstock using Altenew Embossing Ink. I applied Altenew Pure White Crisp Embossing Powder and heat set. It was die cut out using the coordinating die.

I cut another tag from white cardstock and adhered it behind the embossed one. I threaded twine through the top of the tag and tied in a bow. I added Altenew Instant Dimension Foam Tape 1/4" onto the back of the sentiment and adhered it onto the tag to finish.
VIDEO:
Here is the video showing how I made the tag:
If you are viewing this blog post via email subscription, you can watch the video HERE on YouTube.
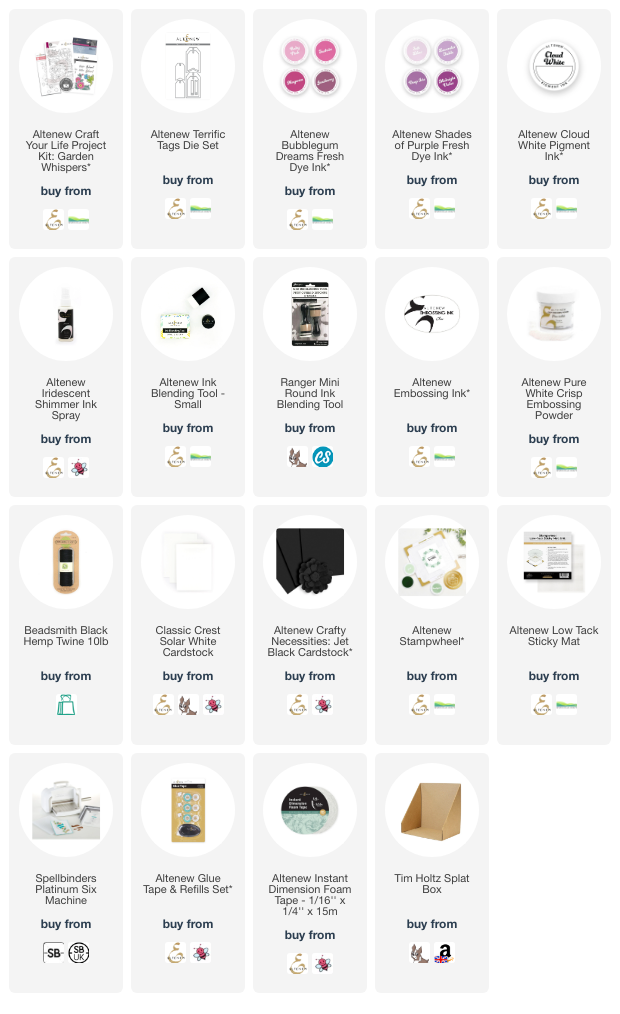
SUPPLIES:
Here are the links to
what I have used on the project. Affiliate
links are used on some products. This means that if you make a purchase after
clicking on my link, I receive a small commission with no extra cost to you. I
truly appreciate your support when using these links. Please click on the logo below
the product to shop at your favourite store. All products were personally
purchased except those marked with an asterisk
(*) which were kindly sent to me to use. You can read my full disclosure here.
I am definitely going to try this technique again, it really gives a softness to the project. Thank you so much for stopping by today, I really do appreciate it. I hope you have a wonderful day!
Pretty card...is this the blog hop?
ReplyDeleteThank you for your comment. No, this is the blog hop post here - https://www.cardgrotto.com/2025/03/altenew-march-2025-release-blog-hop.html
Delete