Hello there, today I have a card to share using the Spellbinders Small Die of the Month Club Kit for February 2025 called "Step Into Spring". The kit has dies that create legs, shoes, socks and flowers. The idea is that the flowers would go inside the socks and you 'step into spring'. Whilst pretty, I thought I would go a completely different route and create a wreath with the flowers instead.
PLEASE
NOTE: This post contains affiliate links. Please see below for my full
disclosure.
Please note some of these colours have been discontinued but I am hoping there are similar colours in the new ColorWheel Cardstock that Spellbinders have released this month! I assembled and adhered the flowers and then adhered them to the stems before cutting the stems down a little with scissors.
I took a circle die (anything circular will work here) and drew a faint pencil line around it. I erased it as best as I could but so that I could still see it. I then used this as a guide to adhere the the stems and flowers into a circle shape. Most of the stems already had a slight curve in them, so I just adhered them whichever way worked for the circle shape. The other stems were easy to shape into a slight curve. The stems were adhered flat with Bearly Art Glue and most of the flowers adhered with thin foam squares.
SPELLBINDERS CLUB KITS
To buy the kit - if you are a current subscriber to the Small Die of the Month Club Kit (or any kit), you do not need to do anything. You will be charged as normal on the 5th of the month and your kit will be shipped to you. If you are a new subscriber, you can purchase the kit from the 6th - 27th February 2025. Members can cancel their membership at any time. If you are not keen on subscribing to the kit but still want it, you can purchase it individually (without a subscription) on the 10th of the following month but the price will be higher.
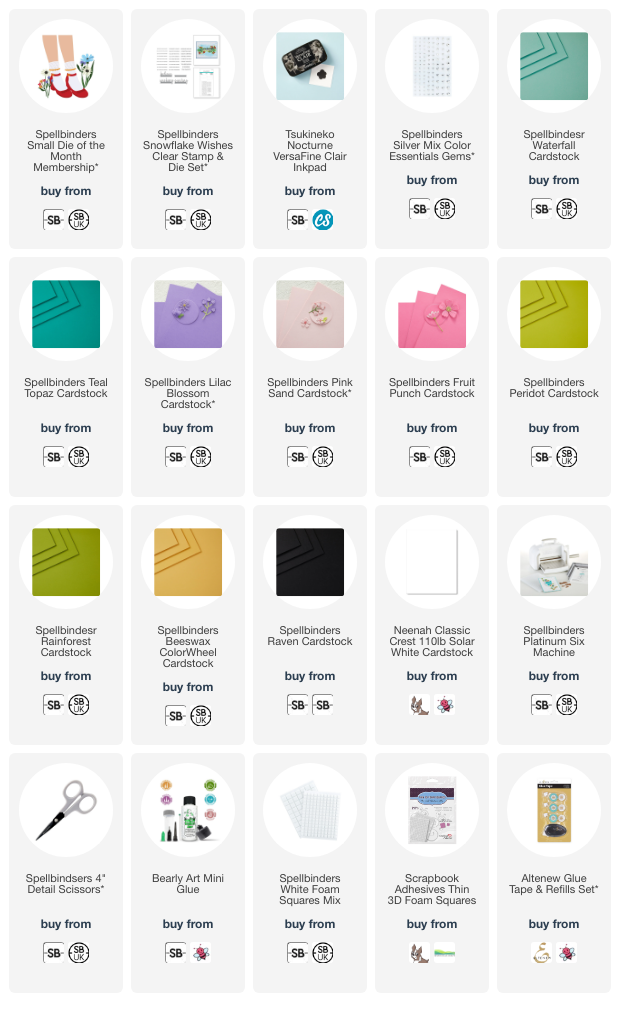
SUPPLIES:
Here are the links to
what I have used on the project. Affiliate
links are used on some products. This means that if you make a purchase after
clicking on my link, I receive a small commission with no extra cost to you. I
truly appreciate your support when using these links. Please click on the logo below
the product to shop at your favourite store. All products were personally
purchased except those marked with an asterisk
(*) which were kindly sent to me to use. You can read my full disclosure here.
This card is definitely giving me spring vibes and I am so ready for it! Thank you so much for stopping by today, I really do appreciate it. I hope you have a wonderful day!


No comments:
Post a Comment
Thank you for visiting my blog today! Please feel free to leave me a comment. I really appreciate receiving them. Please note that if you comment as unknown on a hop, you will not be entered into the prize draw unless you leave your email address in the comment. Please see my Privacy Policy for details on how your data is used when leaving me a comment. Thank you so much :)