Hello there, today I have a fun technique to share - making 3D embossing shine with one metallic ink pad! I shared a similar technique of using the back of embossing folders with black ink in the past (you can see that HERE) but this time, I thought I would use metallic ink to add lots of shine.
PLEASE
NOTE: This post contains affiliate links. Please see below for my full
disclosure.
I started off my tags by die cutting two using the Altenew Terrific Tags Die Set - one from white cardstock and one from black cardstock. I placed them inside the Altenew Flutter & Bloom 3D Embossing Folder but made sure to face the front of the tag to the back of the embossing folder, since it is the back we are using today.
I placed the tags on an Altenew Sticky Mat and then using Altenew Antique Gold Metallic Ink, I swiped it on top of the tag. Anywhere there is raised area (in this case, the outside edges) the ink will go. Since this is a 3D embossing folder, there are different levels of embossing/debossing so some of the ink goes inside the images (butterfly and flowers) but most of it is on the raised areas which is the outside.
For the tag made from white cardstock, I wanted the outside raised areas to be opaque with the ink so using the corner of the ink pad, I went over these areas multiple times until no white cardstock was showing through. On the tag made with the black cardstock, I wanted some of the cardstock to show through (kind of like an engraved look), so I didn't press too hard. I then dried both with a heat tool (this did take a long time since there are multiple layers of ink!).
I die cut the 'hello' die from the Altenew Playful Flowers Die Set from both white cardstock and black cardstock. I added Altenew Double-Sided Adhesive Sheet to the back of the cardstock before die cutting them three times. They were layered up one on top of another, so that the words are three die cut layers high.
I cut the tags again from sold cardstock and adhered them to the back of the embossed/debossed tags. This covers the embossing on the back and gives me somewhere to write a personal message. The sentiments were then adhered on top. I added twine through the top of the tags and tied in bows and then to finish, embellished with Altenew Onyx Black Gem Sparkles.
VIDEO:
Here is the video showing how I made the tags:
If you are viewing this blog post via email subscription, you can watch the video HERE on YouTube.
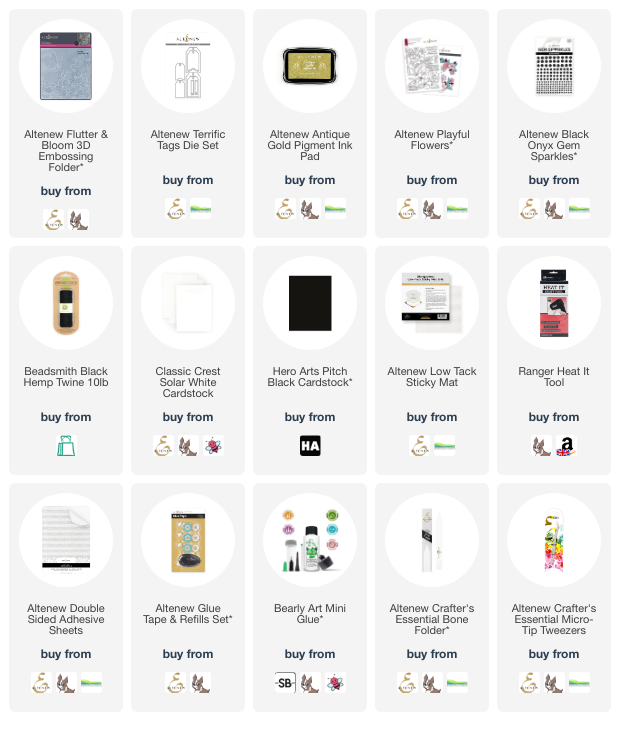
SUPPLIES:
Here are the links to what I have used on the projects. Affiliate links are used on some products. This means that if you make a purchase after clicking on my link, I receive a small commission with no extra cost to you. I truly appreciate your support when using these links. Please click on the logo below the product to shop at your favourite store. All products were personally purchased except those from Clearly Besotted, Hero Arts or those marked with an asterisk (*) which were kindly sent to me to use. You can read my full disclosure here.
I hope you will give the technique a try, it is a fun one and doesn't require many supplies! Thank you so much for stopping by today, I really appreciate it. I hope you have a wonderful day!


Absolutely stunning and a great video! What beautiful shine you got on those tags. I had a gold pigment ink from Altenew on my "to buy" list for years and just recently took it off and I wonder if it was this one?! I really love how these came out, they are so pretty and I'm not picking a favourite :) xx
ReplyDelete