
Hello there, do you ever have a time when you feel like you are losing your mojo but you still need to make a card? If this happens to me, I pick a technique that I know not only is pretty easy to do but also gives a big impact - heat emboss resist!
PLEASE
NOTE: This post contains affiliate links. Please see below for my full
disclosure.

I started off my card by taking the floral image from the Altenew Mini Delight Light My World Stamp & Die Set and stamped it onto Altenew Lagoon Solid Cardstock using Altenew Embossing Ink. I applied Altenew Pure White Crisp Embossing Powder and heat set. I then cut the panel down to 3" x 4 1/4" and placed it on my sticky mat ready for ink blending.

I added ink blending around the edges using Altenew Sea Shore Fresh Dye Inks (the three darkest) using an Altenew Small Blending Brush. I wanted a bit more darkness, so I added Altenew Jet Black Fresh Dye Ink just at the very edges with an Altenew Micro Blending Brush. I then blended that out with the small brush again. I removed any excess ink from the embossing using a dry cloth.

To add a bit of sparkle to the panel, I splattered Altenew Sterling Silver Metallic Watercolor on top and set it aside to dry. Once dry, I adhered it to a US A2 sized white card base with Altenew Instant Dimension Foam Tape. I stamped and heat embossed a sentiment from the Altenew Mini Delight Light My World Stamp & Die Set onto more Lagoon cardstock and then cut it into a strip.

I wanted to make this into a tag, so that I could have it look a little like it was wrapped around the bouquet of flowers, so I took the sentiment strip die from the Altenew Terrific Tags Die Set and instead of cutting it into a fishtail banner shape like the die is, I flipped it over and cut it into an arrow shape instead. I then pierced a hole into it, to look like a tag, before adhering it to the card. I tied a mini bow using Altenew Metallic Thread and adhered it to the tag using a little liquid glue, so it looked like it was coming out from the hole.
VIDEO:
Here is the video showing how I made the card:
If you are viewing this blog post via email subscription, you can watch the video HERE on YouTube.
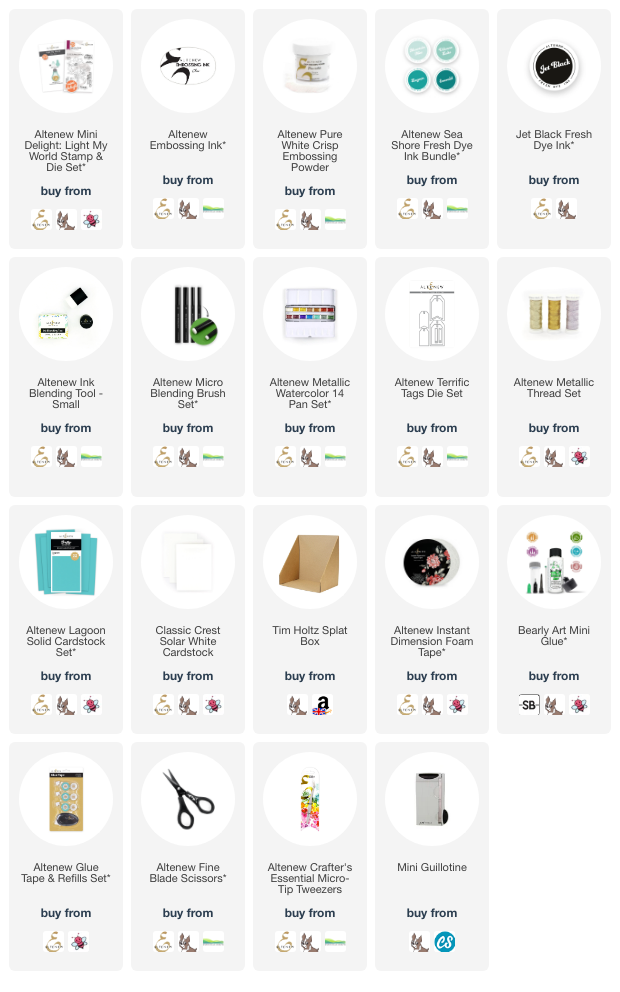
SUPPLIES:
Here are the links to what I have used on the project. Affiliate links are used on some products. This means that if you make a purchase after clicking on my link, I receive a small commission with no extra cost to you. I truly appreciate your support when using these links. Please click on the logo below the product to shop at your favourite store. All products were personally purchased except those from Clearly Besotted, Hero Arts or those marked with an asterisk (*) which were kindly sent to me to use. You can read my full disclosure here.
What is your go-to technique? I would love to hear! Thank you so much for stopping by today, I really do appreciate it. I hope you have a wonderful day!
This is absolutely gorgeous Michelle! I know what is going to be the next set of Inks I buy, these are so pretty. Love how dramatic but oh so pretty this card is! Xx
ReplyDeletelovely lovely card
ReplyDelete