
Hello there, I am back today with my second Christmas card of the season. Get ready for lots of Spellbinders Christmas releases this month!
Today I am using the Layered Merry Christmas Foliage Stencils from the new Layered Christmas Stencils Collection, which is out today. As the name suggests, these are stencil sets that layer up to create a background, as well as a sentiment. There are also bundles that you can buy with a coordinating die for the sentiments too.
PLEASE
NOTE: This post contains affiliate links. Please see below for my full
disclosure.

I started off by taking a panel of white cardstock (I always find with these types of stencils, it is helpful to use a bigger piece of cardstock than I need for the design) and placing it in the corner of the Waffle Flower Mini Stencil Mat. I then placed the first of the Spellbinders Layered Merry Christmas Foliage Stencils on top.

This layer is for the base of the foliage. I used Altenew Green Valley Crisp Dye Inks (the lightest shade) and a Spellbinders Blending Brush. I then added a small amount of the next shade up in the ink collection using a Spellbinders Mini Blending Brush. I jumped to the third stencil to add the detail to the foliage and used the two middle shades of ink.

I went back to the second stencil in the set and added in the flowers. For these I used Altenew Enchanted Garden Crisp Dye Inks (the two lighter shades). I then went to the fifth layer of the stencils and added in the detail layer for the flowers with the darkest middle shade of ink. I then went back to the fourth stencil and added the dots around the images with the same ink.

For the sentiment (stencil 5 & 6), I blended this on to a separate piece of cardstock using the third darkest purple ink for the words and the lightest for the shadow. It was then die cut with the coordinating die. I die cut the foliage piece using the A2 die in the Spellbinders Zig Zag Chevron Etched Die Set and adhered it flat to an A2 white card base. The sentiment was adhered on top using thin foam tape. To finish off, I embellished with Spellbinders Prism AB Color Essentials Gems.
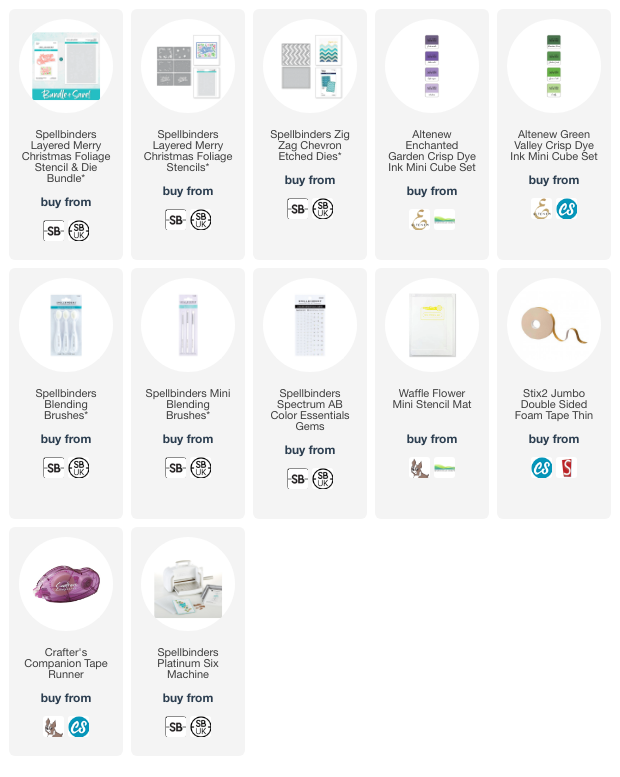
SUPPLIES:
Here are the links to
what I have used on the project. Affiliate
links are used on some products. This means that if you make a purchase after
clicking on my link, I receive a small commission with no extra cost to you. I
truly appreciate your support when using these links. Please click on the logo below
the product to shop at your favourite store. All products were personally
purchased except those from Clearly Besotted, Hero Arts or those marked with an
asterisk (*) which were kindly sent to me to use. You can read my full
disclosure here.
I found it easier to use the stencils in a different order than they say to, purely for ease of using the same colour of inks in one go. The sentiment isn't as crisp as I had hoped, so I would try maybe blending the shadow first and then adding the word on top instead of the other way around like I did. I'll try that next time!
Thank you so much for stopping by today, I really do appreciate it. I hope you have a wonderful day!
Absolutely gorgeous in purple and green! The colours really pop together! Beautiful ❤️
ReplyDeletelovely colors!!
ReplyDelete