
Hello there, today I have two tags to share with you using cardstock strips. These were shared over on the Altenew blog and YouTube Channel back in April, so I apologise if you have already seen them. I am finally now just catching up on some of my posts over here too.
PLEASE
NOTE: This post contains affiliate links. Please see below for my full
disclosure.

For my tags, I started off with the cardstock strips element. On the first tag, I took a piece of white cardstock and placed a sheet of Altenew Double-Sided Adhesive Sheet on top. I removed the backing paper and then adhered strips of different widths on top, in a diagonal pattern.

I used Altenew Gradient Cardstock - Pinkalicious from Cherry Blossom, Purple Wine from Rose Petal, Warm Sunshine and Caramel Toffee from Summer Afternoon and Mountain Mist and Volcano Lake from Sea Shore.
Once the cardstock strips were adhered to the panel, I die cut it using the Altenew Terrific Tags Die.

For the second tag, I die cut the tag first from white cardstock and then adhered the cardstock strips on top (this time the strips are all the same width) on top with liquid glue. I cut the excess off the sides using scissors. I did cut another two tags from white cardstock to add to the backs for a finished look.

For the focal point, I die cut two of the dies from the Altenew Flowing Foliage Die Set three times each from white cardstock with Double-Sided Adhesive Sheet on the back. They were stacked up one on top of another and then I added Altenew Vellum Translucent Paper to solid areas.

I cut the excess off with scissors and then adhered the foliage to the tags with small dabs of liquid glue. I stamped two sentiments from the Altenew Tiny Sentiments: Hello Stamp Set on to black cardstock with Altenew Embossing Ink.
I applied Altenew Pure White Crisp Embossing Powder and heat set. They were adhered to the tags using Altenew Instant Dimension Foam Tape. To finish off, I tied twine through the top of the tags and tied in a bow.
VIDEO:
If you are viewing this blog post via email subscription, you can watch the video HERE on YouTube.
SUPPLIES:
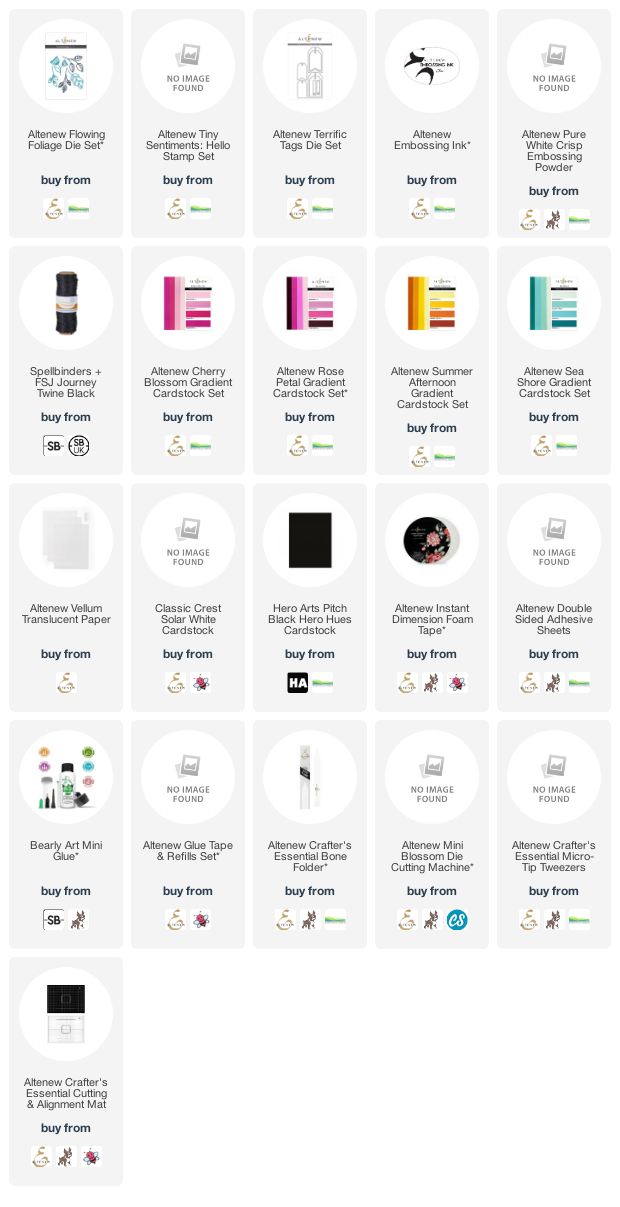
Here are the links to what I have used on the projects. Affiliate links are used on some products. This means that if you make a purchase after clicking on my link, I receive a small commission with no extra cost to you. I truly appreciate your support when using these links. Please click on the logo below the product to shop at your favourite store. All products were personally purchased except those from Clearly Besotted, Hero Arts or those marked with an asterisk (*) which were kindly sent to me to use. You can read my full disclosure here.
I definitely think that my favourite one is the one with the white space, with just the strips in the middle, but I like the other one too! Let me know what you think! Thank you so much for stopping by today, I really do appreciate it. I hope you have a wonderful day!
I LOVED these when you showed them back in April. Seriously how quickly has this year gone! The stripes are just so pretty behind the white die cuts! Loved them then and love them just as much now. No one does tags like you, I adore them!
ReplyDelete