Hello there, I was over on the
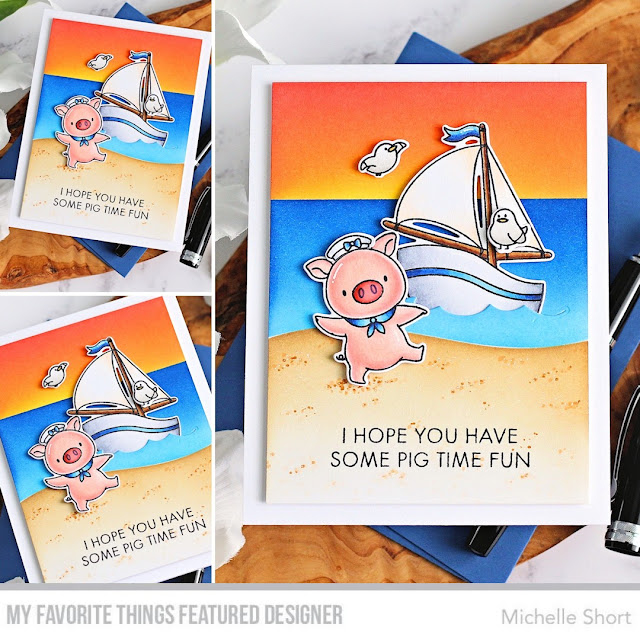
My Favorite Things YouTube Channel yesterday sharing a card made with the new Pig Time Fun set that was released this month. Pigs are my favourite animal, so of course, I fell in love with the cuteness of this set!
PLEASE
NOTE: This post contains affiliate links. Please see below for my full
disclosure.
I took a 3.75" x 5" panel of white cardstock and masked off the bottom section. Above it, I added ink blending for the sky. Using Ink Blending Brushes, I applied Tim Holtz Distress Inks in Squeezed Lemonade, Mustard Seed, Wild Honey, Dried Marigold and Worn Lipstick for a sunset look. I removed the masking and then covered up the sky before placing the
MFT Drifts & Hills Stencil below. I ink blended in-between for the ocean using Tim Holtz Distress Inks in Mermaid Lagoon and Prize Ribbon.
The stencil was cleaned and then flipped over to mask off the water and then I added ink blending for the sand with Tim Holtz Distress Inks in Antique Linen and Gathered Twigs. I added some dots on top with Copic Markers (E55, E53, E50) as well as white gel pen 0.5 for some added texture. I also stamped the sentiment from the set on top.
I took the wave die from the
MFT Friends with Fins Die-namics set and die cut it in to the water, this made an opening for the boat to slot in to to create movement in the ocean and it not be so flat. The panel was then adhered to an A2 white card base with thin foam tape. The seagulls and pig were then added on top. To finish off, I added white gel pen highlights to the images, followed by Nuvo Crystal Glaze to the pig's nose.
Here is the video showing how I made the card:
If you are viewing this blog post via email subscription, you can watch the video HERE on YouTube.
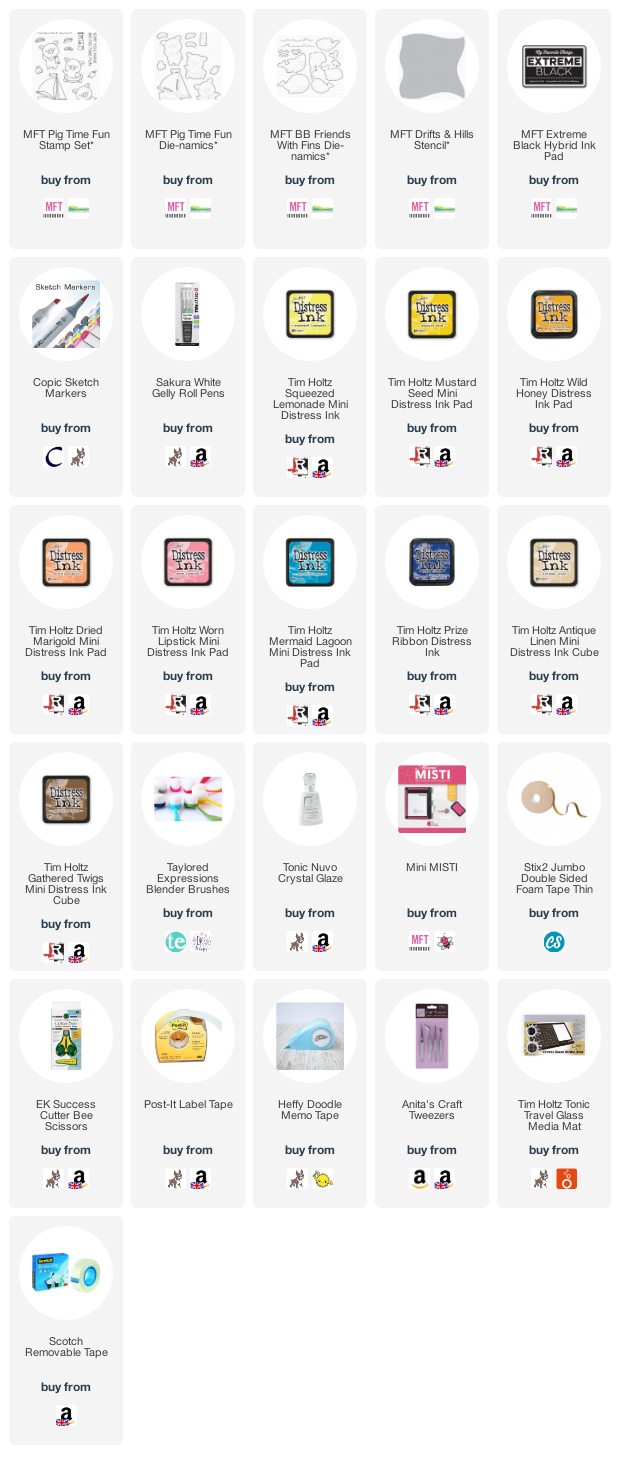
SUPPLIES:
Here are the links to
what I have used on the project. Affiliate
links are used on some products. This means that if you make a purchase after
clicking on my link, I receive a small commission with no extra cost to you. I
truly appreciate your support when using these links. Please click on the logo below
the product to shop at your favourite store. All products were personally
purchased except those from Clearly Besotted, Hero Arts or those marked with an
asterisk (*) which were kindly sent to me to use. You can read my full
disclosure here.
COPIC MARKERS: Pig - R22, R21, R20, R00, R000, B39, B18, B16, B12. Sailboat - C5, C3, C1/E51, E50/E59, E57, E55/B39, B18, B16, B12. Seagulls - W3, W1, W0, Y17.
As I mention in the video, I think it would look good if I had some highlights in the water but I was worried that I was going to ruin it at that point. I might still try though! Thank you so much for stopping by today, I really do appreciate it. I hope you have a great day!


It's absolutely adorable Michelle - a fantastic video too. I loved watching your beach scene come together with all the blending, masking and colouring. The die cut for the boat is a really cool touch too as it really helps set it into the scene. Gorgeous! xx
ReplyDelete