
Hello there, today I have two tags and video to share with you where I am layering pigment inks to enhance embossing with embossing folders.
PLEASE
NOTE: This post contains affiliate links. Please see below for my full
disclosure.

For the tags, I started off by die cutting the Altenew Terrific Tags Die Set four times from white cardstock - two for the front of the tags and two for the backs of the tags. On two, I am adding ink blending with an Altenew Large Ink Blending Tool.

For the blue tag, I am using Altenew Glacier Caves Pigment Ink Bundle. I used Persian Blue at the top and Sapphire at the bottom. It was then run through my die cutting machine with the Altenew Decorative Florals 3D Embossing Folder. I then added Arctic on top to enhance the embossing. This did make quite a bit of difference to the darker base. I then spritzed it with Altenew Iridescent Shimmer Ink Spray.

For the sentiment, I used the Altenew Build-A-Flower Iris Stamp & Die Set and stamped the sentiment on to black cardstock with Altenew Embossing Ink. I applied Altenew Pure White Crisp Embossing Powder and heat set. It was cut in to a strip and added to the tag with Altenew Instant Dimension Foam Tape.

For the yellow tag, I added a base to the tag with the Altenew Summer Afternoon Pigment Ink Bundle. I used Warm Sunshine at the top and Caramel Toffee at the bottom. I then embossed it using the Altenew Cheerful Bloom 3D Embossing Folder. To enhance the embossing, I added Buttercream Pigment ink on top.

It was also spritzed with Altenew Iridescent Shimmer Ink Spray and set aside to dry. I stamped the sentiment from the Altenew Statement Flowers Stamp Set on to black cardstock with Altenew Embossing Ink and applied Altenew Pure White Crisp Embossing Powder. It was heat set and then cut in to a strip and added to the tag with Altenew Instant Dimension Foam Tape.
For both tags, I embellished with Altenew Essential Black & White Enamel Dots and tied twine through the top of the tags, after adding the clean white tags to the back.
VIDEO:
If you are viewing this blog post via email subscription, you can watch the video HERE on YouTube.
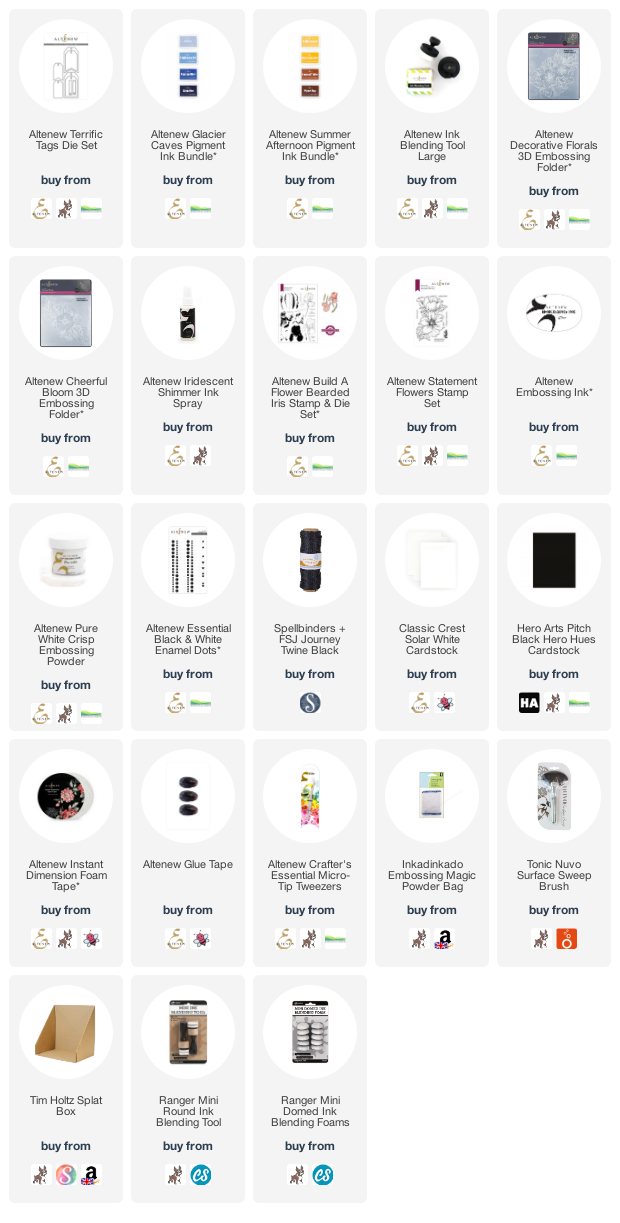
SUPPLIES:
Here are the links to
what I have used on the project. Affiliate
links are used on some products. This means that if you make a purchase after
clicking on my link, I receive a small commission with no extra cost to you. I
truly appreciate your support when using these links. Please click on the logo below
the product to shop at your favourite store. All products were personally
purchased except those from Clearly Besotted, Hero Arts or those marked with an
asterisk (*) which were kindly sent to me to use. You can read my full
disclosure here.
As mentioned in the video, I often do this with white pigment ink but I think it looks lovely with different colours as well. You could even add a completely different colour on top like green or pink! Thanks so much for stopping by to see me today. I really do appreciate it. I hope you have a wonderful weekend!
The embossed tags are so pretty Michelle and what a great idea to use the lightest pigment ink for the highlight instead of white. I think it looked great on both tags! Fantastic video as always! xx
ReplyDelete