Hello there, today we are celebrating the start of DieCember! DieCember is a fun, month long event over at Simon Says Stamp and today is the day for the Simon exclusive DieCember release. I was kindly sent the Blessings Die to use on my cards, which is a beautiful die that can be used in different ways - with the border, without the border, inlay etc. Today I am sharing two ways to use it.
For my cards, I started off by stamping snowflakes from the Simon Says Stamp Lots Of Snowflakes Stamp Set on to Tim Holtz Watercolor Paper with Versamark Ink. I applied Hero Arts Ultra Fine Clear Embossing Powder and heat set.
I then used Distress Inks to apply colour towards the top half of the panel, having the colour fade to white at the bottom. I used Aged Mahogany, Barn Door, Abandoned Coral and Worn Lipstick for the red card and Chipped Sapphire, Faded Jeans and Mermaid Lagoon for the blue card. I removed any excess ink from the embossing powder with a cloth and then splattered on a solution of Perfect Pearls and water. The panels were then set aside to dry.
Once dry, the panels were adhered flat to A2 white card bases with tape runner. I then took the Simon Says Stamp Blessings Die and die cut this six times from white cardstock. I added Stick It adhesive to the back of the white cardstock before die cutting. For the red card, I took the individual letters and stacked these up so that they were three high. They were then adhered to the card. I took the sentiment from the Simon Says Stamp Holiday Hellos Stamp Set and stamped it on to black cardstock with Ranger Super Fine White Embossing Powder.
The sentiment was heat set until melted and then cut out using the smallest of the Simon Says Stamp Sentiment Labels Dies. It was added below the 'blessings' with foam tape. For the blue card, I stacked both the individual letters and the frame piece from the die and placed these on to a piece of vellum. I used the negative piece of the die cut to help with placement. The edges of the vellum were cut down around the frame and then I ran this through the Xyron X machine to cover the entire back with adhesive. This was added to the card and another sentiment from the Holiday Hellos set white heat embossed and added below it.
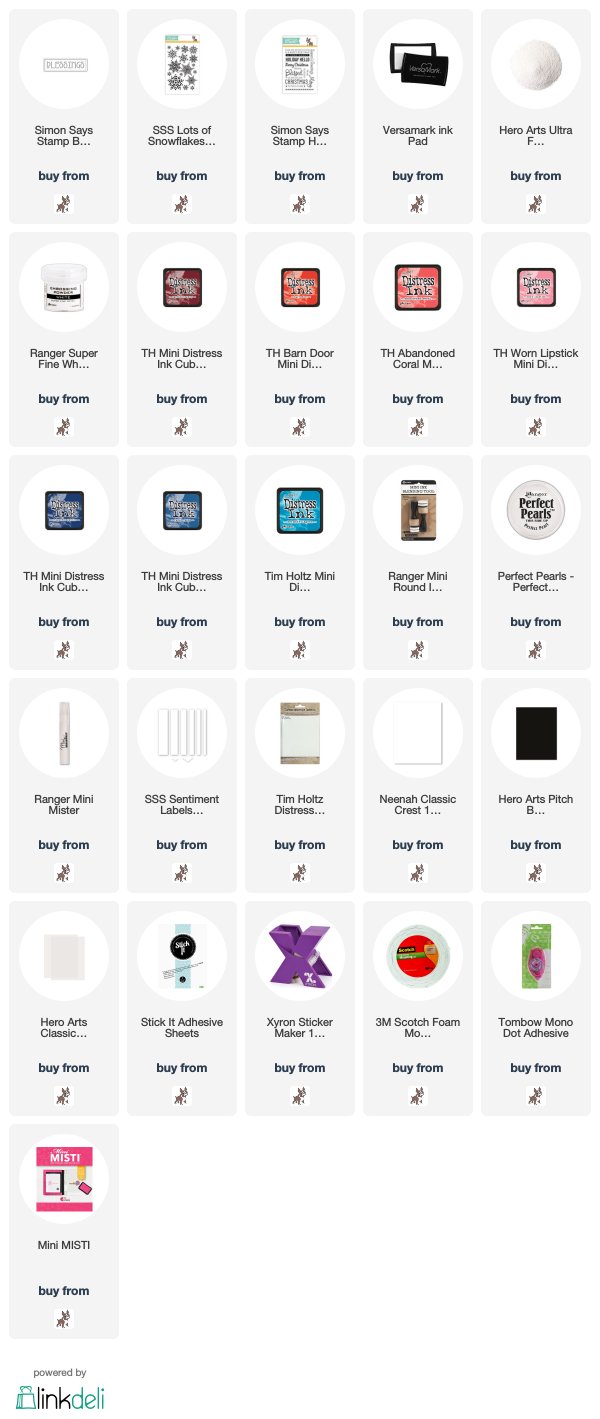
SUPPLIES:
Here are the links to what I have used on the card. Affiliate links are used on some products. This means that if you make
a purchase after clicking on my link, I receive a small commission with no
extra cost to you. I truly appreciate your support when using these links.
Please click on the logo below the product to shop at your favourite store. All
products were personally purchased except those from Clearly Besotted, Hero
Arts or those marked with an asterisk (*) which were kindly sent to me to use.
You can read my full disclosure here.
The new release is fabulous so I hope that you will take a look at it. I will be back later with my Clearly Besotted release video, so until then, thanks so much for stopping by. See you soon!


Both of these cards are gorgeous Michelle! I am a sucker for red and white at Christmas, just so festive. I must get my snowflake stamp set out again after seeing these 😍. I real,y like the font on that blessings die too xx
ReplyDeleteok you are definitely the best - l just made a faded blended snowflake card before I sa this blog entry but did corner blending - yours are better tbh - loving the fact Im consoling myself that great minds and all that ( well almost )
ReplyDelete