8 May 2022

Reverse Confetti | 9th Birthday Release Blog Hop

Hello there and welcome as we celebrate the May 2022 release from Reverse Confetti. It is extra exciting because it is Reverse Confetti's 9th Birthday too! I have loved Reverse Confetti's style from the beginning and I am so happy and honoured that I work with them for their releases. Every release just puts a smile on my face! :) We are celebrating the release with a fun, inspirational blog hop. More details on that below. 

PLEASE NOTE: This post contains affiliate links. Please see below for my full disclosure.

For my first two cards, I am using the super cure Birthday Buddies set, along with the Birthday Buddies Banter set which features really fun sentiments to go along with the images. 


I started off my first card by stamping the bee from the Reverse Confetti Birthday Buddies Stamp Set on to white cardstock with Memento Tuxedo Black Ink. I also stamped the heart trail from the Reverse Confetti Love Bugs Set. The bee was coloured using Copic Markers. It was die cut out using the Reverse Confetti Birthday Buddies Confetti Cuts and set aside. 


I die cut the Reverse Confetti Big Sun Confetti Cuts from white and yellow cardstock. On the yellow layers, I added ink blending with Tim Holtz Distress Inks in Mustard Seed and Wild Honey. They were then adhered to white layers for some added dimension. I also die cut three clouds from the Reverse Confetti Over the Rainbow Confetti Cuts from white cardstock. 


The sun was added to an A2 white card base with liquid glue and then the bee, trail and clouds added with a combination of thin foam tape and glue. I took the sentiment from the Reverse Confetti Birthday Buddies Banter Stamp Set and stamped it on to black cardstock with Versamark ink. I applied White Detail Embossing Powder and heat set. It was cut in to a strip and added to the card with more thin foam tape. To finish off, I added a few Lucy's Cards Raindrops. 


For my next card, I started off by stamping the turtle and balloons from the Reverse Confetti Birthday Buddies Stamp Set on to white cardstock with Memento Tuxedo Black Ink. I coloured them with Copic Markers and die cut them with the Reverse Confetti Birthday Buddies Confetti Cuts


I took a panel of white cardstock and added ink blending to it with Tim Holtz Distress Oxide Inks and blending brushes. I used Chipped Sapphire, Blueprint Sketch, Prize Ribbon and Shaded Lilac. I then splattered on Dr. Ph. Martin's Bleed Proof White Paint and set it aside to dry. 


Once dry, it was adhered to an A2 white card base and then the balloons added on top with another two layers of white die cuts. The turtle was added with foam tape. The sentiment, from the Reverse Confetti Birthday Buddies Banter Stamp Set, was heat embossed in white on to black cardstock, cut out and added to the card with foam tape. To finish off, I added a few Lucy's Cards Raindrops. 


For my last card, I couldn't resist inking up the beautiful Wildflowers set. This set is so pretty and perfect for colouring but can be used without too, like I have done today. I started off by creating my ink blended background using Tim Holtz Distress Oxide Inks on Heavystock Cardstock. I used Ink Blending Tools and Domed Foams with Chipped Sapphire, Shaded Lilac and Kitsch Flamingo Oxide Inks. 


I then spritzed on some water before setting it aside to dry. Once dry, It was die cut using the frame in the Reverse Confetti Layered Mom with Frame Confetti Cuts. I also die cut the frame separately from white cardstock twice. On the inside piece of the ink blended one, I stamped the Reverse Confetti Wildflowers Stamp Set image using Versafine Clair Nocturne Ink. 


I then stamped the sentiment from the set above the flowers. The piece, along with the frame were then splattered with Dr. Ph. Martin's Bleed Proof White Paint and Sparkle Sheer Shimmer Spritz. It was set aside to dry and once dry, I layered up the frame and adhered it to a 4" x 5.25" white card base. The stamped piece was then popped inside. 
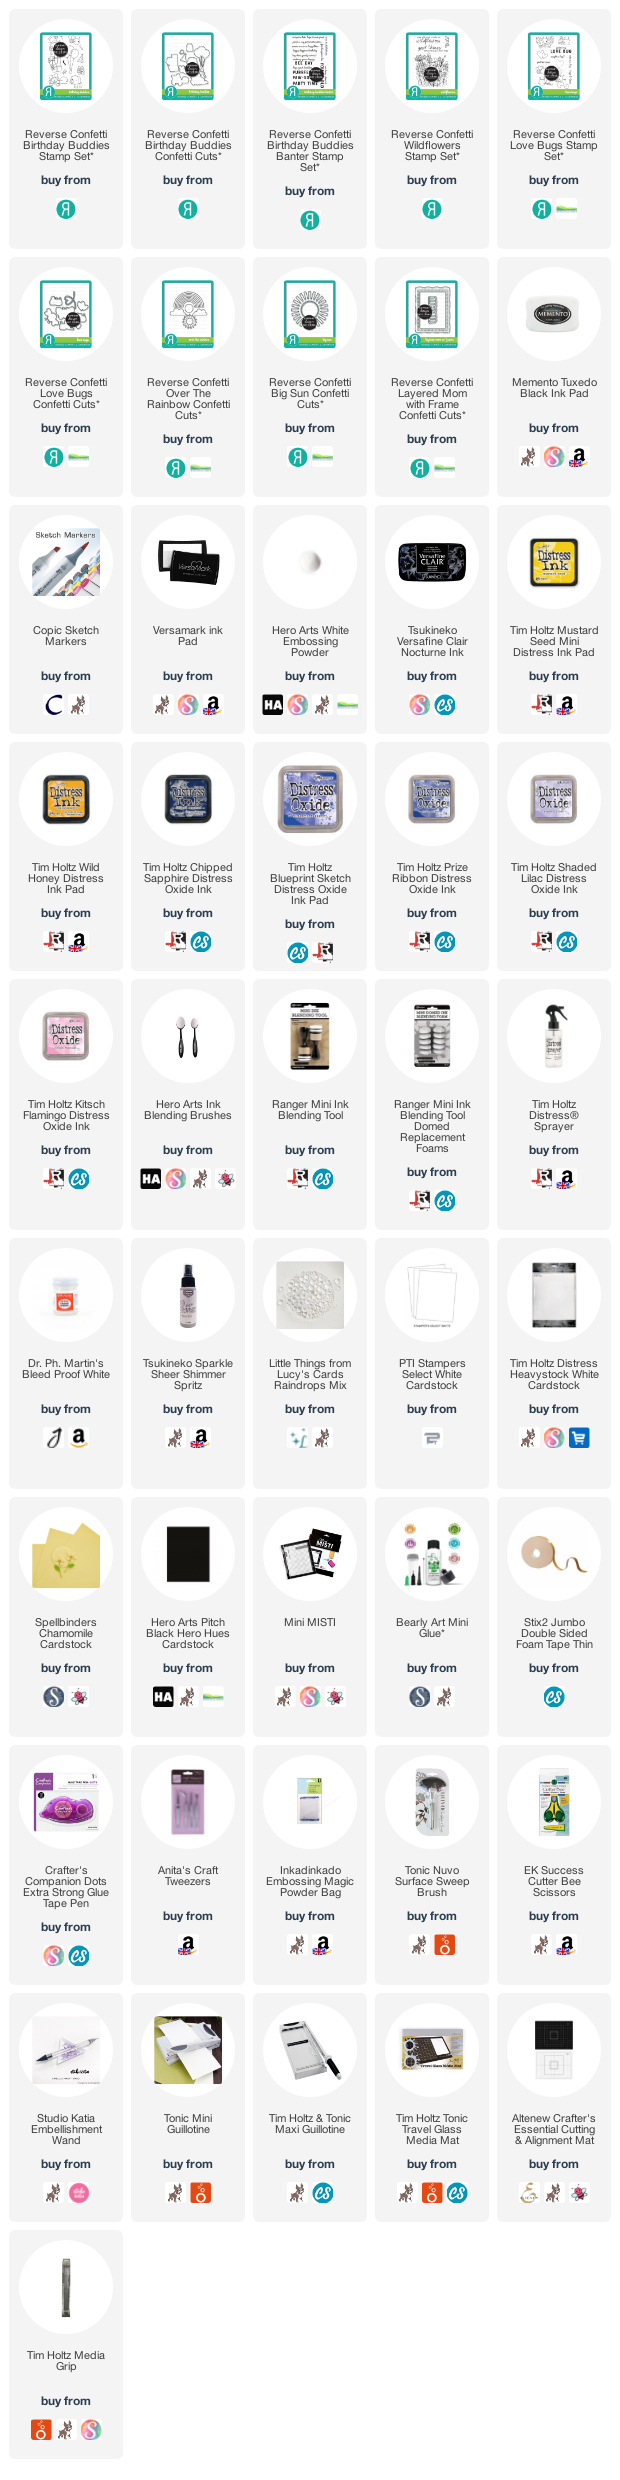
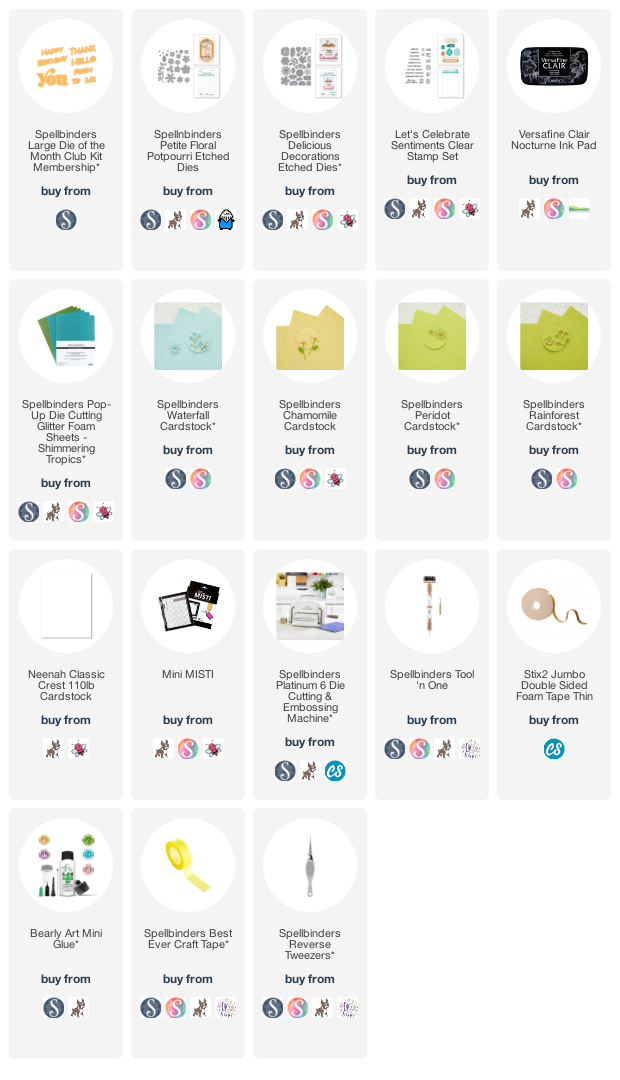
SUPPLIES:


Here are the links to what I have used on the projects. Affiliate links are used on some products. This means that if you make a purchase after clicking on my link, I receive a small commission with no extra cost to you. I truly appreciate your support when using these links. Please click on the logo below the product to shop at your favourite store. All products were personally purchased except those from Clearly Besotted, Hero Arts or those marked with an asterisk (*) which were kindly sent to me to use. You can read my full disclosure here.


BLOG HOP:


Here are the links to all the participants in the hop today:


Happy Birthday Reverse Confetti! Thank you for bringing us amazing products for the last nine years and here's to many more to come! Thank you so much for stopping by today, I really do appreciate it. I hope you have a lovely time on the rest of the hop and a wonderful rest of the weekend too! 

7 May 2022

VIDEO | Altenew CAF Butterfly Bush Happy Hello

Hello there, I am over on the Altenew Blog and YouTube Channel today, sharing a card using the Craft-A-Flower Butterfly Bush Layering Die Set, which is out today. This beautiful set features a butterfly bush plant, also known as a buddleja/buddleia, plus two beautiful butterflies. 

PLEASE NOTE: This post contains affiliate links. Please see below for my full disclosure.


I started off my card by die cutting the layers of the Altenew Craft-A-Flower Butterfly Bush Layering Die Set from Altenew Gradient Cardstock Sets. The flowers themselves were cut from New Purple, the leaves from Green Meadows, the stem from Coffee Break (Mocha) and the butterfly from Summer Afternoon (Buttercream). The flower and leaves were layered up and adhered together using Altenew 2 in 1 Precision Glue Pen


I took a panel of white cardstock and splattered Altenew Jet Black Ink Spray on top with a paint brush. It was set aside to dry before adhering to an A2 white card base with Altenew Glue Tape. The leaves and stem were added on top, followed by the flower head. I took the sentiment from the Altenew Sentiment Strips 3 Stamp Set and stamped it on to white cardstock using Altenew Obsidian Pigment Ink


It was die cut out using the sentiment tag die in the Altenew Terrific Tags Die Set. I also cut another from black cardstock. They were adhered to the card with Altenew Instant Dimension Foam Tape and a small twine bow added on top. I added ink blending to the butterfly with Altenew Golden Sunset Crisp Dye Inks and added a vellum layer on top, before adhering to the card. 

VIDEO:

Here is the video showing how I made the card:


If you are viewing this blog post via email subscription, you can watch the video HERE on YouTube. 

SUPPLIES:


Here are the links to what I have used on the project. Affiliate links are used on some products. This means that if you make a purchase after clicking on my link, I receive a small commission with no extra cost to you. I truly appreciate your support when using these links. Please click on the logo below the product to shop at your favourite store. All products were personally purchased except those from Clearly Besotted, Hero Arts or those marked with an asterisk (*) which were kindly sent to me to use. You can read my full disclosure here.


I made this card for the Altenew Blog to celebrate the release of the set. There is a fun blog hop going on over there, so please be sure to head over for information on the hop and to enter to win a prize! Thank you so much for stopping by today, I very much appreciate it. Wishing you a lovely day! 

6 May 2022

Spellbinders | Stitched For You

Hello there, today I have a card to share with you using the Spellbinders May 2022 Large Die of the Month Club Kit. This kit is called Stitched For You and features a fun large 'you' word that can be used for stitching (there are holes in it) or as I am showing today, without too. There are also lots of accompanying word dies as well, which I will be sharing a card using next week. I love that you can mix and match with these kits so much!

PLEASE NOTE: This post contains affiliate links. Please see below for my full disclosure.


I started off my card by die cutting the shadow of the 'you' word from the Spellbinders Large Die of the Month Club Kit from white cardstock twice. I then cut the individual letters from Pop Up Die Cutting Glitter Foam Sheets. I used the Glitter Teal from the Spellbinders Shimmering Tropics set. I adhered the two shadow pieces together and then the letters on top with Bearly Art Glue

I added the word to an A2 white card base and then set about decorating it! I took the sentiment from the Spellbinders Let's Celebrate Sentiments Stamp Set and stamped it on to white cardstock with black ink. It was cut in to a strip and added to the card with thin foam tape. 

I die cut the flowers and larger leaf from the Spellbinders Petite Floral Potpourri Etched Dies and the smaller leaf is from the Spellbinders Delicious Decorations Etched Dies. I cut the flowers from Spellbinders Waterfall Cardstock, the centres from Spellbinders Chamomile Cardstock. The leaves were cut from Spellbinders Peridot and Rainforest Cardstock. They were adhered to the card with Bearly Art Glue and thin foam tape. 

SUPPLIES:


Here are the links to what I have used on the project. Affiliate links are used on some products. This means that if you make a purchase after clicking on my link, I receive a small commission with no extra cost to you. I truly appreciate your support when using these links. Please click on the logo below the product to shop at your favourite store. All products were personally purchased except those from Clearly Besotted, Hero Arts or those marked with an asterisk (*) which were kindly sent to me to use. You can read my full disclosure here.


SPELLBINDERS CLUB KITS

I hope that you will check out the Spellbinders Club Kits. It is a wonderful monthly subscription where you receive the kit each month. Designers like myself share inspiration using the kit at the beginning of the month to show you lots of different ways that you can use it. 

There are also lots of other club kits too, like the Small Die of the Month and Stamp & Clear Die of the Month (plus lots more!), so there is something for everyone! If you do subscribe, you will get other benefits from Spellbinders too. Please see here for more information. You can also buy older kits here too. 

If you do want to get hold of this month's kit, you would need to subscribe by 24th May 2022 to receive it. Subscribers can cancel their membership at any time. 

UK SUBSCRIBERS

GREAT NEWS! If you are in the UK, Spellbinders will now ship the kits directly from here in the UK for Club Kit Subscribers (Club Kits only). That means reduced shipping costs and no extra fees! If you have been putting off subscribing to the kits because of this, now is the time to do it! 

Thank you so much for stopping by today, I really do appreciate it. Wishing you a lovely day!

4 May 2022

Altenew | Dreams Come True Release Blog Hop + Giveaway

Hello there and welcome as we celebrate the release of the new Dreams Come True Collection from Altenew. There are lots of lovely sets in the release and I am using the Wispy Joy set for my card today. It is a colour/stamp layering set and it is so pretty! This post is part of a fun, inspiration filled blog hop with prizes. Please see below for more details.

PLEASE NOTE: This post contains affiliate links. Please see below for my full disclosure.


I started off my card by stamping the Altenew Wispy Joy Stamp Set on to white cardstock. I used Altenew Obsidian Pigment Ink for the outlines and then Altenew Enchanted Garden Crisp Dye Inks for the layers. For the leaves, I used Altenew Green Valley Crisp Dye Inks


They were die cut out using the Altenew Wispy Joy Dies. I took a panel of white cardstock and masked off the top with Altenew Stain Masking Tape. Using an Ink Blending Tool, I then blended on more of the Enchanted Garden Inks, fading to white at the bottom. The panel was then adhered to an A2 white card base with Altenew Glue Tape


The flowers and leaves were adhered on top. I stamped the sentiment from Altenew Sentiment Strips 3 Stamp Set on to black cardstock using Altenew Embossing Ink. I applied Altenew Pure White Crisp Embossing Powder and heat set. It was cut in to a strip and added to the card with Altenew Instant Dimension Foam Tape. To finish off, I added a few white enamel dots from the Altenew Essential Black & White Enamel Dots set.

SUPPLIES:


Here are the links to what I have used on the project. Affiliate links are used on some products. This means that if you make a purchase after clicking on my link, I receive a small commission with no extra cost to you. I truly appreciate your support when using these links. Please click on the logo below the product to shop at your favourite store. All products were personally purchased except those from Clearly Besotted, Hero Arts or those marked with an asterisk (*) which were kindly sent to me to use. You can read my full disclosure here.


BLOG HOP:


As mentioned, this post is part of a fun, inspiration filled blog hop with prizes. For the hop, you should have arrived here from the wonderful Angela Brennan. Next on the hop is the fabulous Virginia Lu. If you get lost along the way, or want to start the hop from the beginning, please head over to the Altenew Blog.

FREE GIFTS:

GIVEAWAY:

$300 in total prizes! To celebrate this release, Altenew is giving away a $50 gift certificate to 2 lucky winners and a $25 gift certificate to 8 winners! Please leave a comment on the Altenew Card Blog and/or each designer’s blog post on the blog hop list below by 10th May 2022 for a chance to win. Altenew will draw 10 random winners from the comments left on each stop of this blog hop and announce the winners on the Altenew Winners Page on 12th May 2022.

I hope you will check out the rest of the wonderful release! Thank you so much for stopping by today, I really do appreciate it. I hope you have a wonderful rest of the day! 

2 May 2022

Hero Arts | My Monthly Hero May 2022 Release Blog Hop + Giveaway

Hello there and welcome as we celebrate the release of the Hero Arts May 2022 My Monthly Hero Kit. The theme this month is food, baking and cooking. I have already shared one card using the main kit, which you can see here. Today I have another project to share with the main kit, plus a project with an add-on set too. This post is part of a fun, inspiration filled blog hop with prizes. Please see below for more details. 

PLEASE NOTE: This post contains affiliate links. Please see below for my full disclosure.


My first card uses the main Hero Arts May 2022 My Monthly Hero Kit. I started off by die cutting the Cover Plate Fancy Die (the kitchen) from Hero Arts Dove White Cardstock, twice. I also cut it from the silver paper in the Hero Arts Glitter Paper Holiday Sparkle set. I layered the white die cuts one on top of another and then cut pieces of the silver glitter paper to add accents to it. I also cut the extra pot from silver too. 


I took a panel of white cardstock and stamped the Cling Background Stamp in the kit on top using Hero Arts Clear Embossing & Watermark Ink. I applied Hero Arts White Detail Embossing Powder and heat set. Using Ink Blending Brushes, I blended on Hero Arts Purple Galaxy Reactive Ink and wiped off the excess from the embossing with a dry cloth. 


The panel was adhered to an A2 white card base with tape runner and the kitchen panel added on top with Hero Arts Precision Glue. I took the sentiment from the Clear Stamp Set in the kit and heat embossed it in white on to Hero Arts Pitch Black Cardstock. It was cut in to a strip and added to the card, along with the pot, with thin foam tape. 


My next project uses the Hero Arts Treat Tags Stamp & Cut XL, which is an add-on this month. This is such a fun set as all the sentiments in the stamp set fit inside the tag dies. Both can be used separately as well though! I thought I would make some treat bags today and decorate them with the tags. 


My first treat bag simply uses the set itself. I die cut the rounded scallop tag from both Hero Arts Dove White and Mist Cardstock. On the Mist layer, I added ink blending with Hero Arts Blue Raspberry and Pool Party Reactive Inks. I stamped the sentiment on top with Hero Arts Intens-ified Black Ink. The tags were adhered one on top of another and twine tied through the top. It was adhered to the treat bag with foam tape. 


For my other treat bag, I thought I would combine the set with the Hero Arts Cooking Tools Fancy Dies, which are another add-on this month. I die cut them all from Dove White Cardstock and then for the oven mitt and spatula, I also die cut from Mist Cardstock. The whisk uses Brushed Silver Cardstock and for the handles of the whisk and spatula, I used Wood Veneer Cardstock. 


The Mist pieces were ink blended and the sentiment stamped on the oven mitt with Intens-ified Black Ink. I also added a little heart, die cut using the Hero Arts Nesting Hearts Infinity Dies. I tied them together with twine and added them to the treat bag with a mini clothes pin/peg. What's inside the bags? The first one has sweets/candy, the second one has a chocolate cookie.

SUPPLIES:


Here are the links to what I have used on the projects. Affiliate links are used on some products. This means that if you make a purchase after clicking on my link, I receive a small commission with no extra cost to you. I truly appreciate your support when using these links. Please click on the logo below the product to shop at your favourite store. All products were personally purchased except those from Clearly Besotted, Hero Arts or those marked with an asterisk (*) which were kindly sent to me to use. You can read my full disclosure here.


MY MONTHLY HERO KIT:

We've cooked up some creativity with the May My Monthly Hero kit release. Join us in the kitchen for a kit made for sharing birthday greetings, friendship, or decorating your baked goodies! The main kit features a gorgeous kitchen-themed Cover Plate die. The A2-sized cling stamp adds a great backsplash to your scene, or is versatile as a background on any project. There are dies for embellishing with pots or adding food, a fun new "cast iron" embossing powder, and messages for your card and gift giving needs. The kit is rounded out with cardstock in colors that give a vintage kitchen vibe, as well as wonderfully theme-appropriate baker's twine.

KIT CONTENTS:

4" x 6" Clear Stamp Set
Cover Plate Fancy Die
6 Additional Fancy Dies
Cling Background Stamp
12 Sheets of Cardstock (4 each Pink, Mint & White)
Watermark & Embossing Ink Cube
Cast Iron Embossing Powder
Blue Bakers Twine

The Hero Arts May 2022 My Monthly Hero Kit is valued at $70 but you can get it for $34.99 (approximately £28 depending on exchange rate, not including VAT/customs charges). The kits are exclusive to the Hero Arts store and often sell out quickly, so you can subscribe here, so that you never miss a kit. Kits begin shipping 6th May 2022.

ADD-ONS:

There are lots of add-on products released each month. These work alongside the kit, or work on their own too. These can be purchased from Hero Arts when you order a kit, on their own or from your favourite Hero Arts retailer (these are not exclusive and are restocked if sold out). Here is a look at them:


BLOG HOP:

As mentioned, this post is part of a fun, inspiration filled blog hop with prizes. For the hop, you should have arrived here from the wonderful Maria Willis. Next on the hop is the fabulous Mindy Eggen. If you get lost along the way, or want to start the hop from the beginning, please head over to the Hero Arts Blog.

GIVEAWAY:

Hero Arts are giving away a $50 gift card drawn from the comments left across all of the stops in the hop. Enter by 8th May 2022 at 11.59pm PT. The winner will be announced the following week on the Hero Arts Blog.

Thanks so much for stopping by today. I really do appreciate it. I hope you have a lovely time on the rest of the hop and a great rest of the day. Take care!

VIDEO | MFT Simple Sunset Scene

Hello there, I am over on the My Favorite Things YouTube Channel today, sharing a simple sunset scene card using the adorable Special Spot in My Heart set. 

PLEASE NOTE: This post contains affiliate links. Please see below for my full disclosure.


I started off my card by stamping the giraffe and hearts from the MFT Special Spot in My Heart Stamp Set on to white cardstock with Memento Tuxedo Black Ink. I then coloured the images with Copic Markers (the colours that I used are listed below the supplies area) before die cutting out using the MFT Special Spot in My Heart Die-namics


I took a panel of white cardstock and placed the MFT Rectangle Extraordinaire Stencil on top, securing in place with Post-It Tape. Using Ink Blending Brushes, I blended on Tim Holtz Distress Inks in Mustard Seed, Dried Marigold, Worn Lipstick and Abandoned Coral. I then placed the MFT Radiating Rays Stencil on top and blended the inks again to create some added sun rays coming from the top. 


I removed the stencils and stamped the sentiment from the set below. The panel was adhered to an A2 white card base with tape runner and then the giraffes added on top with thin foam tape. I die cut the smaller of the heart dies three times from white cardstock and stacked them one on top of another with the stamped one on top. It was adhered with MFT On-Point Precision Glue. To finish off, I added white gel pen highlights. 

VIDEO:

Here is the video showing how I made the card:


If you are viewing this post via email subscription, you can watch the video HERE on YouTube. 

SUPPLIES:


Here are the links to what I have used on the project. Affiliate links are used on some products. This means that if you make a purchase after clicking on my link, I receive a small commission with no extra cost to you. I truly appreciate your support when using these links. Please click on the logo below the product to shop at your favourite store. All products were personally purchased except those from Clearly Besotted, Hero Arts or those marked with an asterisk (*) which were kindly sent to me to use. You can read my full disclosure here.


COPIC MARKERS: Giraffe - YR27, YR24, YR31/E39, E99, E97/R12. POLYCHROMOS PENCILS - Burnt Sienna, Burnt Umber. Heart - COPIC R39, R37, R35. 

This is such an adorable set and perfect for lots of different occasions, I think! Thank you so much for stopping by today, I really do appreciate it. I hope you have a wonderful day! 

1 May 2022

Altenew | Build-A-Garden Magnificent Branch Release Blog Hop + Giveaway

Hello there, today is an exciting day as there is a new product line in town from Altenew! The new Build-A-Garden set can be purchased separately or as part of a subscription plan. The set features a stamp set, coordinating stencils and/or die and a mini ink blending brush. This month is called Magnificent Branch and it is so pretty! We are celebrating the release with a fun blog hop. More info on that and the set below. 

PLEASE NOTE: This post contains affiliate links. Please see below for my full disclosure.


I started off my card by stamping the large image from Altenew Build-A-Garden: Magnificent Branch on to Altenew Vellum Translucent Paper using Altenew Embossing Ink. I applied Altenew Pure White Crisp Embossing Powder and heat set. It was then fussy cut out with scissors, leaving extra on the left hand side for me to adhere it to my panel. 


I took a panel of white cardstock and added paper strips from Altenew Gradient Cardstock Sets on to it in a diagonal. I used Pinkalicious from the Cherry Blossom Set, Purple Wine from Rose Petal, Warm Sunshine and Caramel Toffee from Summer Afternoon and Mountain Mist and Volcano Lake from Sea Shore. They were adhered with Altenew Glue Tape


I wrapped the side of the vellum image around the panel, adhering from the back with tape. I then also added a little glue tape behind where the sentiment will go. This was enough to hold the vellum image in place. The sentiment, from the set, was stamped on to black cardstock and heat embossed in white. It was cut in to a strip and added to the card with Altenew Instant Dimension Foam Tape. To finish off, I added Altenew Cherry Blossom Enamel Dots

SUPPLIES:


Here are the links to what I have used on the project. Affiliate links are used on some products. This means that if you make a purchase after clicking on my link, I receive a small commission with no extra cost to you. I truly appreciate your support when using these links. Please click on the logo below the product to shop at your favourite store. All products were personally purchased except those from Clearly Besotted, Hero Arts or those marked with an asterisk (*) which were kindly sent to me to use. You can read my full disclosure here.


BUILD-A-GARDEN: MAGNIFICENT BRANCH


Love genuinely, and bloom with grace. Create two card fronts at once with this first-of-its-kind floral stamp set! The imaginative set features a magnificent tree branch bearing flowers that you wouldn't normally see together in nature. Cut the design just right for a card featuring the cupped rose and another card featuring the flat rose. Stamp the heartwarming sentiments and quotes to inspire your loved ones. We hope you love this stamp set as much as we do!

Enjoy our Build-A-Garden project set, an exciting monthly package that is sure to get the creative juices flowing! Each month includes a stamp set along with a coordinating stencil set and/or die set PLUS a customer-favorite Mini Blending Brush! Build your collection of brushes from month to month so you will never be left looking for the perfect tool while crafting.

This set contains the following products:


- one 6" x 8" stamp set containing 10 stamps made in the USA from high-quality photopolymer
- one layering stencil set containing 4 stencils that coordinate with the stamp set
- one Mini Blending Brush for ink blending

Note: These products are NOT sold separately. 


BLOG HOP:


As mentioned, this post is part of  a fun, inspirational blog hop with prizes. For the hop, you should have arrived here from the wonderful Sande Woodson. Next up is the fabulous Nenette S. Madero. If you get lost along the way, or want to start the hop from the beginning, please head over to the Altenew Blog

GIVEAWAY:


$200 in total prizes! To celebrate this release, Altenew is giving away a $50 gift certificate to 2 lucky winners and a $20 gift certificate to 5 winners! Please leave a comment on the Altenew Card Blog and/or each designer’s blog post on the blog hop list below by 7th May 2022 for a chance to win. Altenew will draw 7 random winners from the comments left on each stop of this blog hop and announce the winners on the Altenew Winners Page on 9th May 2022.

I often heat emboss images on to vellum but I usually combine them with ink blending in the background, rather than paper strips. I was inspired by Angela Simpson over at My Crafty Perspective with that and also for the colour combination too! Thank you so much for stopping by today. I apologise for so many blog posts today but I hope you are enjoying the inspiration! Take care! 

VIDEO | Clearly Besotted May 2022 Release Preview

Hello there, following on from my blog post this morning, I am back to share a look at the Clearly Besotted May 2022 Release. There are six new sets releasing today, with lots for everyone! There are bees, school/learning/teacher/student sets, sports, stationery and reading. They are all great for lots of different occasions too! 

PLEASE NOTE: This post contains affiliate links. Please see below for my full disclosure.


The six new sets release tonight at 8pm BST (UK time). You can purchase them as a bundle, exclusively from Clearly Besotted. The bundle contains all six sets plus a sentiment stamp set, a stencil and 6 sheets of patterned paper. If you buy the bundle, you also receive a 15% saving if purchasing the sets separately. Here is a look at the bundle:


You can also purchase the sets separately from the Clearly Besotted Shop (UK based), Simon Says Stamp (US based), Butterfly Reflections Ink (US based), Artcreatiu (based in Spain), Cloud9 Crafts (Netherlands), Card Nouveau (Belgium) and Kreativbunt (Germany). Here is a look at all of the sets up close and a recap of my projects:


If you are viewing this blog post via email subscription, you can watch the video HERE on YouTube. 

SUPPLIES:


Here are the links to what I have shared in the video. Affiliate links are used on some products. This means that if you make a purchase after clicking on my link, I receive a small commission with no extra cost to you. I truly appreciate your support when using these links. Please click on the logo below the product to shop at your favourite store. All products were personally purchased except those from Clearly Besotted, Hero Arts or those marked with an asterisk (*) which were kindly sent to me to use. You can read my full disclosure here.


What do you think of the release? I really love it! I think my favourites are the bees and the stationery set but of course, I love them all! For more inspiration using the new sets, please head over to the Clearly Besotted Blog and my amazing teamie Keren. We also have Francine, Kitty and Alberto guesting with us, so please do check to see what they have been up to as well. Thanks so much for stopping by today, see you later for yet another blog post (sorry!). In the mean-time, I hope you have a wonderful day! 

Clearly Besotted Teasers | Back to School

Hello there and welcome to Clearly Besotted release day! I have one last teaser to share with you this morning before sharing the whole release in an hour or two. There are two more sets that I haven't shared with you yet. 

One of them I am using today, but it would also work well with the one that I am not! So, the one I am using is called School Day Play and as the name suggests, features pupils and a school backdrop. These characters would also work well with the Scene It School set too, as there are lots of other backdrops you can use in that set. 

PLEASE NOTE: This post contains affiliate links. Please see below for my full disclosure.


I started off my card by stamping the school image from the Clearly Besotted School Day Play Stamp Set on to a panel of white cardstock using Memento Tuxedo Black Ink. I then stamped the bear holding the pencil on to a separate piece of cardstock. They were coloured using Copic Markers (the colours that I used are listed below the supplies area for reference). 

I adhered the panel to a white 4" x 5.5" card base with tape runner. I fussy cut the bear using scissors and then added him on to the card with foam tape. I took the sentiment from the set and stamped it on to black cardstock with Versamark Ink

I applied white embossing powder and heat set. It was cut in to a strip and added to the card with foam tape. To finish off, I added white gel pen highlights to the images and Crystal Glaze to the windows and doors on the bus. 

SUPPLIES:


Here are the links to what I have used on the project. Affiliate links are used on some products. This means that if you make a purchase after clicking on my link, I receive a small commission with no extra cost to you. I truly appreciate your support when using these links. Please click on the logo below the product to shop at your favourite store. All products were personally purchased except those from Clearly Besotted, Hero Arts or those marked with an asterisk (*) which were kindly sent to me to use. You can read my full disclosure here.


COPIC MARKERS: Bear - E59, E57, E55, R12. Pencil - B18, B16, B12, E43, E42, E41, C8, C5, C3, C1, E53, E51, E50. Bus - YR27, Y17, Y15, Y11, Y02, C10, C8, C7, C5, C3, C1, B01, B00. Cloud - BG13, BG10. Tree/bush - G29, YG17, YG23, YG01. School - E44, E43, E42, E41, R89, R39, R37, R35, B00. Ground - W5, W3, W1/C8, C6, C5, C3, C1, C0. 

I really hope that you have enjoyed seeing my teasers this month. I think it is a great release! For more inspiration, please head over to the Clearly Besotted Blog, my amazing teamie Keren and our wonderful guests Alberto, Francine and Kitty. I will be back in an hour or two to share the whole release with you, see you then!

End of code