
Hello there, today I have a card to share with you using monochromatic no-line stencilling. I did share this card over on the Hero Arts Blog a few weeks ago, so I apologise if you have already seen it but I thought that I would share it here too. It uses the Hero Arts Holiday Ornaments set, along with stencils that coordinate to add colour. You can mix and match all of these and add as many or as little layers as you want to the ornaments.
PLEASE
NOTE: This post contains affiliate links. Please see below for my full
disclosure.

I started my card off by stamping three of the ornaments from the Hero Arts Holiday Ornaments Stamp Set on to white cardstock using Hero Arts Contour Ink. This is a pale grey ink which is perfect for the no-line look. I then took the Hero Arts Holiday Ornaments and Trimmings Stencil, as well as the Hero Arts Layering Ornaments Stencil and used these to add colour to the ornaments with ink blending.

I placed the solid layers of the ornaments down first, securing in place with Post-It tape. Using Hero Arts Ink Blending Brushes, I first added on a layer of Hero Arts Dusty Blue Mid-Tone Shadow Ink. I then added a small amount of Hero Arts Navy Mid-Tone Shadow Ink to the right hand side. I removed the stencil and placed on one of the layers. This time, I just used the Navy ink to add the colour/detail/pattern to the ornaments.

Last but not least, I placed the topper piece of the ornament down and ink blended with Hero Arts Soft Granite Ink. Once all three ornaments were inked, I die cut them out using the Hero Arts Holiday Ornaments Frame Cuts. I threaded silver thread through the top of the ornaments and then adhered them on to a panel of Nautical Cardstock using foam tape.

The thread was then secured at the back with tape. I staggered the height of the ornaments so it looked like they were hanging from the top of the card. The panel was then adhered to an A2 card base made from more Nautical Cardstock. The sentiment, from the Hero Arts Make Your Own Snow Globe Stamp Set, was stamped on to white cardstock with Hero Arts Intrens-ified Black Ink and die cut using the frame cuts from the Hero Arts Message Strips Stamp & Cut XL set. It was added to the card with foam tape and tape runner and then the card was finished off with Hero Arts Neutrals Hero Hues Enamel Dots.
VIDEO:
Here is the video showing how I made the card:
If you are viewing this blog post via email subscription, you can watch the video HERE on YouTube.
SUPPLIES:
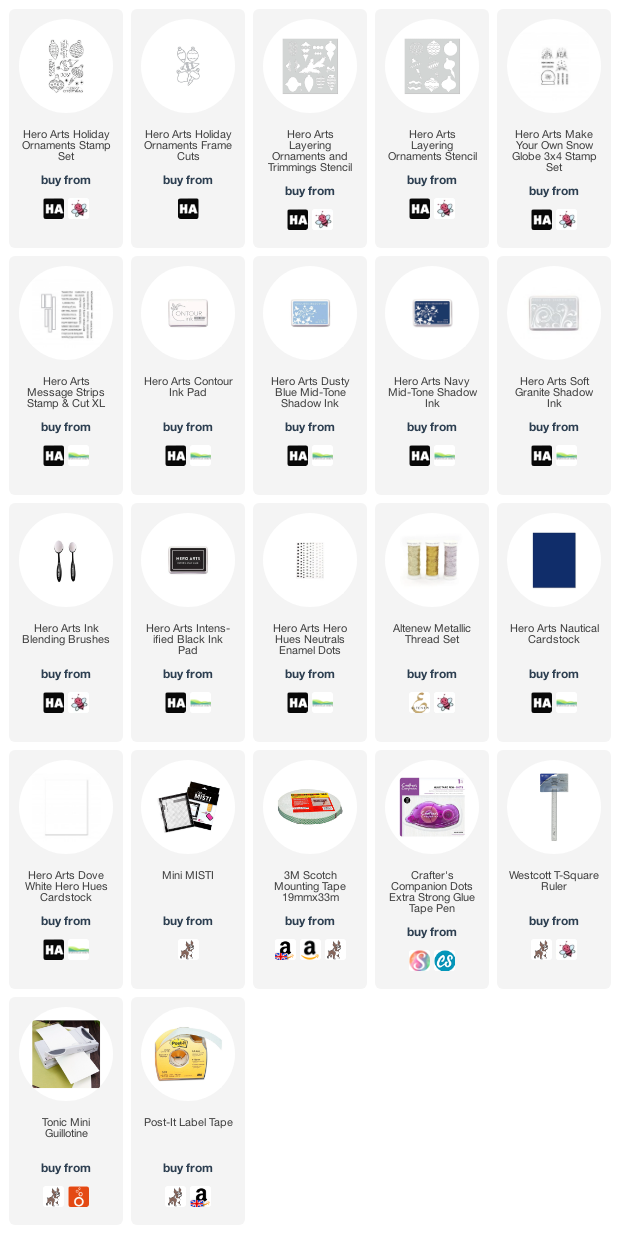
Here are the links to what I have used on the project. Affiliate links are used on some products. This means that if you make a purchase after clicking on my link, I receive a small commission with no extra cost to you. I truly appreciate your support when using these links. Please click on the logo below the product to shop at your favourite store. All products were personally purchased except those from Clearly Besotted, Hero Arts or those marked with an asterisk (*) which were kindly sent to me to use. You can read my full disclosure here.
As mentioned, you can really mix and match these sets. I love that you can add as many layers as you like or none at all! Although I kept it monochromatic today, I think these would lovely bright and colourful too! Thank you so much for stopping by today, I really appreciate it. Wishing you a wonderful weekend!
No comments:
Post a Comment
Thank you for visiting my blog today! Please feel free to leave me a comment. I really appreciate receiving them. Please note that if you comment as unknown on a hop, you will not be entered into the prize draw unless you leave your email address in the comment. Please see my Privacy Policy for details on how your data is used when leaving me a comment. Thank you so much :)