1 April 2019

Hero Arts April 2019 My Monthy Hero Kt Blog Hop + Giveaway

Hello there, today we are celebrating the release of the Hero Arts April 2019 My Monthly Hero Kit. What a wonderful kit this month! It is mainly die based but there is a stamp set too, to coordinate with the dies to create some fun scenes. The scenenery dies are based on Venice, but you as you will see with my Countdown card, you can use them for other places in the world too. If you are following along in the hop, you should have arrived here from the fantastic Nichol.
 

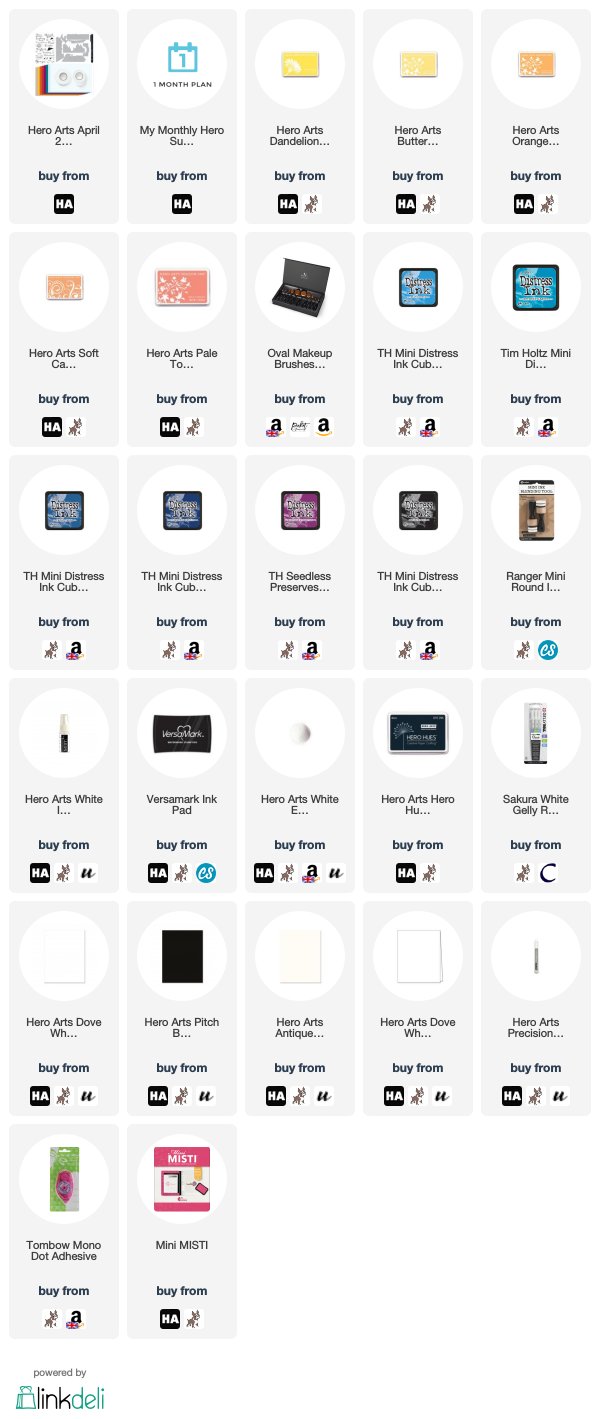
For my card today, I thought I would use the dies as intended for a Venice scene. I started off with a panel of watercolour paper and blended Distress Inks on to it for a night sky. I then spritzed it with Hero Arts White Iridescent Shimmer Spray and set aside to dry. Once the panel was dry, I stamped the sentiment from the kit stamp set on to it using Versamark Ink. I applied white embossing powder and heat set. This was added to a white top folding A2 card base with tape runner.
 
 
I then die cut the scenery dies from the kit (the two buildings, the water, bridge and man in gondola) from Pitch Black Hero Hues Cardstock. I added a layer of Antique Hero Hues Cardstock behind the buildings for the openings of the windows. The water, windows and bridge were adhered flat to the card base with Precision Glue. I then added the man and gondola with foam tape. To finish off, I used a white gel pen to add some stars in the sky.
 
 
In case you didn't see it, I wanted to share my countdown card here too. For this card, I went very clean and simple and used just one scenery die. I thought this would look like it could be anywhere in the world. I cut the die from white cardstock (it has an open end at the bottom so perfect for layering) and created a sunset on the top of a white card base with various shades of yellow, orange and red ink. The sentiment from the kit stamp set was stamped with black ink and the building panel added on top with foam tape.
 

SUPPLIES:

Here are the links to what I have used on the card. Affiliate links are used on some products. This means that if you make a purchase after clicking on my link, I receive a small commission with no extra cost to you. I truly appreciate your support when using these links. Please click on the logo below the product to shop at your favourite store. All products were personally purchased except those from Clearly Besotted, Hero Arts or those marked with an asterisk (*) which were kindly sent to me to use. You can read my full disclosure here.


THE KIT:
 
 
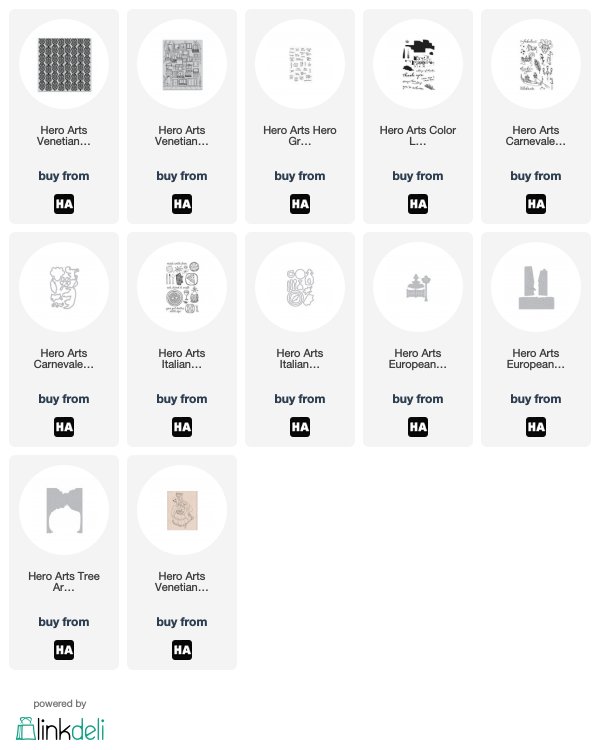
The April 2019 My Monthly Hero Kit contains a 4" x 6" clear stamp set, 7 Scenery Fancy Dies, 14 5.5" x 8.5" Hero Hues Premium Cardstock (Sand, Mustard, Pumpkin, Cherry, Plum, Adriatic & Arctic), 2 5.5" x 8.5" Vellum Paper, 2 rolls of 1/2" foam tape (2.2 yard in 2 thicknesses) and a Tombow Mono Drawing Pen (Black). All of this is valued at $93.50 but you can get it for an amazing $34.99 (approximately £28 depending on exchange rate). The kits are limited edition and often sell out quickly, so remember that you can subscribe so that you never miss a kit. International subscribers get a discount off shipping too.


ADD-ONS:
 
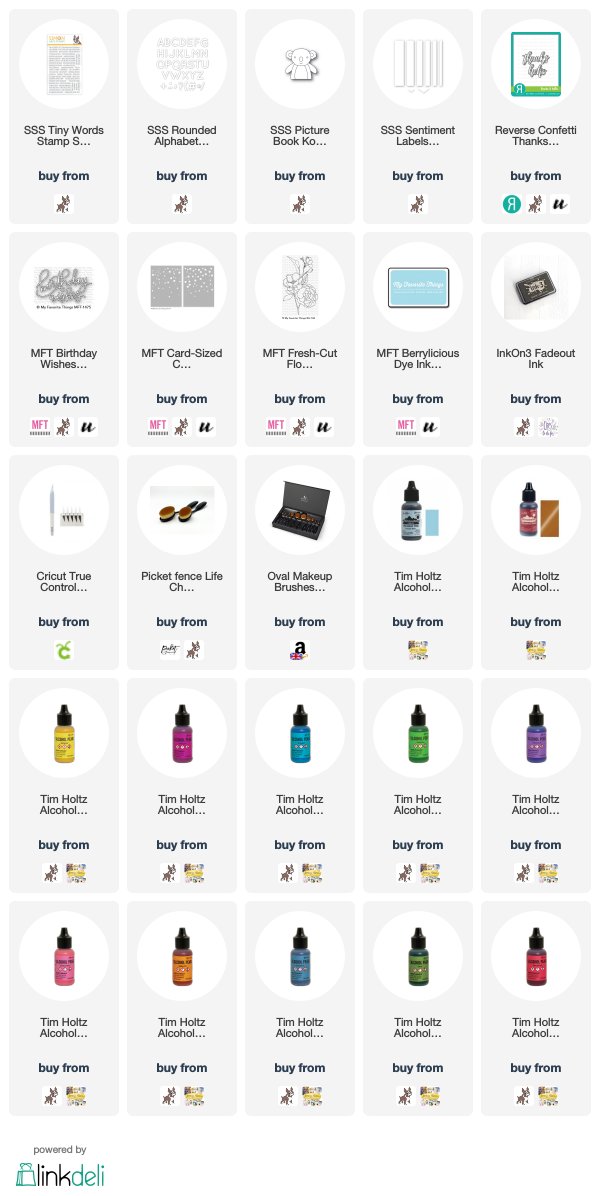
There are some amazing add-on products this month too. These are not limited edition and can be purchased at you favourite Hero Arts stockist, or added to your order with your kit. Here is a look at them:


BLOG HOP:
 
Here is the full list of participants in the hop today:


GIVEAWAY:
 
Hero Arts are giving away one kit to one lucky blog hop reader. The winner will selected from all of the comments across all of the stops in the hop so the more the comment, you more the chance of winning. The giveaway closes Sunday April 7th at 11.59pm. The winner will be announced the following week on the Hero Arts Blog. Good luck!
 
Next on the hop is the amazing Caly. Thank you so much for visiting me today, I really do appreciate it. Have a great time on the rest of the hop!

VIDEO | Clearly Besotted April 2019 Release Preview

Hello there and welcome to Clearly Besotted release day! The April release will be available to purchase tonight at 8pm BST/3pm EDT. It is a great release consisting of cute animals, fun characters, scene building sets and great sentiments.
 
 
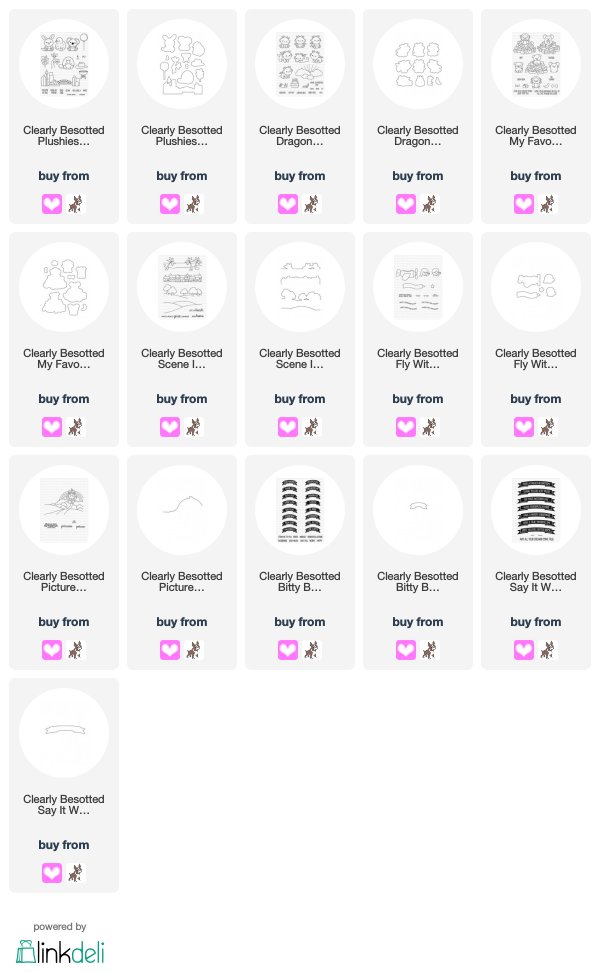
You can purchase the new sets from the Clearly Besotted Shop (UK based) and Simon Says Stamp (US based). Here is a look at the new release:


 If you are viewing this post via email subscription, you can watch the video HERE on YouTube.
 
SUPPLIES:

Here are the links to what I have used on the card. Affiliate links are used on some products. This means that if you make a purchase after clicking on my link, I receive a small commission with no extra cost to you. I truly appreciate your support when using these links. Please click on the logo below the product to shop at your favourite store. All products were personally purchased except those from Clearly Besotted, Hero Arts or those marked with an asterisk (*) which were kindly sent to me to use. You can read my full disclosure here.
 
 
I would love to know that you think of the new release. Do you have your eye on any of the sets? For more inspiration, please do pop over to the Clearly Besotted Blog. Thank you so much for visiting me today, I hope you have a wonderful day!

31 March 2019

Clearly Besotted Teasers | Fly With Me

Hello there and welcome to day four of the Clearly Besotted April 2019 Teasers. Not long to wait now, all the new products release tomorrow. Today, for my last teaser, I am using the new Fly With Me set. This is a wonderful, little set that consists of a plane, a boy and girl that you can have flying the plane, as well as a banner and sentiments. It is a great mix and match/building set.
 

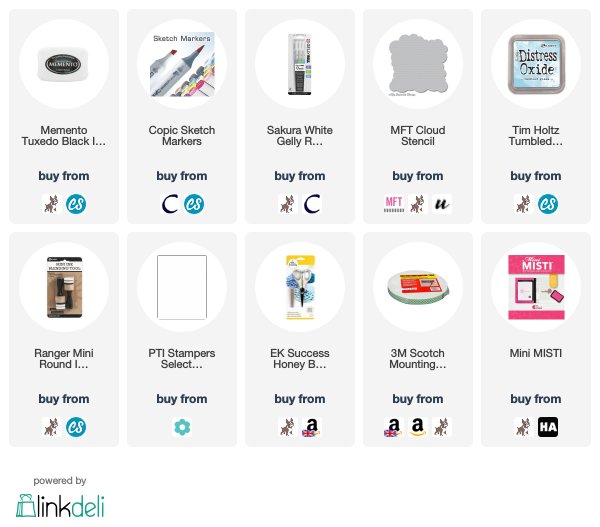
I started my card off by stamping the plane on to white cardstock, I then stamped the girl so that she was sitting in the plane. I stamped the banner piece behind and stamped one of the sentiments inside. They were coloured with Copic Markers (the colours that I used are listed below the supplies section) and fussy cut out with scissors (but there are coordinating dies available).
 
 
I took an A2 white card base and placed the MFT Cloud stencil on top. I then blended Tumbled Glass Distress Oxide Ink on to it using an ink blending tool, moving the stencil down as I went to cover the top half of the card base. I then simple added the image on top with foam tape. To finish off, I added some highlights on to the image with a white gel pen.
 
SUPPLIES:

Here are the links to what I have used on the card. Affiliate links are used on some products. This means that if you make a purchase after clicking on my link, I receive a small commission with no extra cost to you. I truly appreciate your support when using these links. Please click on the logo below the product to shop at your favourite store. All products were personally purchased except those from Clearly Besotted, Hero Arts or those marked with an asterisk (*) which were kindly sent to me to use. You can read my full disclosure here.
 
 
COPIC MARKERS: Plane - B29, B28, B26, B24, C7, C5, C3, C1. Banner - BG72, BG11, BG10. Girl skin - E13, E11, E00, E50. Hair - E29, E27, E25, E23. Top - BG72, BG11, BG10.
 
That's it from me for my teasers this month. I hope you have enjoyed looking at them. I will back tomorrow to share my release video but until then, please do pop over to the Clearly Besotted Blog, as well as Keren and Lisa to see what they have been up to. Thanks so much for stopping by, see you tomorrow!

30 March 2019

Clearly Besotted Teasers | Have A Great Day

Hello there and welcome to day three of the Clearly Besotted April 2019 Teasers. The new sets release on Monday 1st April. Today I am using two new sets - My Favourite Food (a wonderful set with animals and their favourite food) and Scene It More (a great scene building set with four different scenes).
 

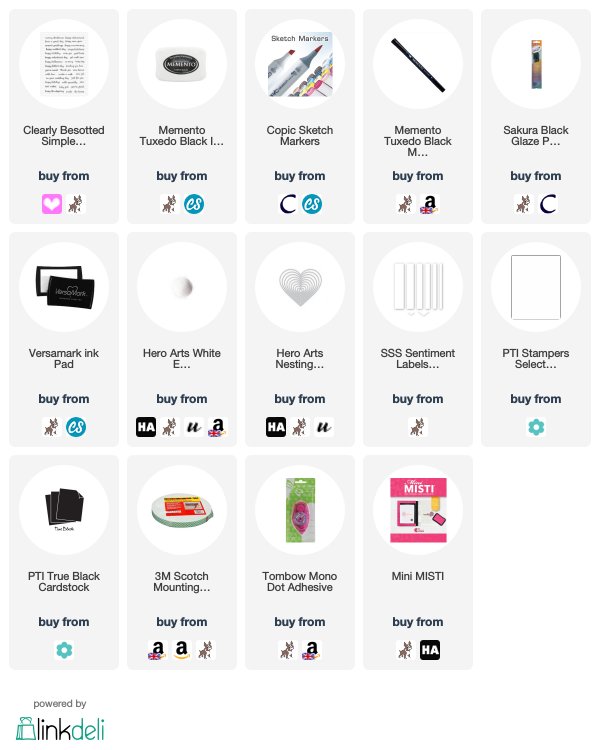
For my card, I started off by creating the background. I die cut a heart from white cardstock using the Hero Arts Nesting Hearts Infinity Dies. I then stamped the trees background from the Scene It More set on to it with Memento Tuxedo Black Ink and coloured with Copic Markers (the colours that I used are listed below the supplies area). The heart was then added to the front of an A2 white card base with tape runner and the left edge cut off with scissors.
 
 
I took the single dog image from the My Favourite Food set and stamped this on to white cardstock with Memento Tuxedo Black. He was coloured with Copic Markers and then fussy cut out with scissors (but there are coordinating dies available). I went around the edges with a Memento Tuxedo Marker to neaten up the edges. I took the sentiment from the Simple Script set and stamped this on to black cardstock with Versamark Ink. I applied white embossing powder and heat set. This was cut in to a strip using the SSS Sentiment Labels dies and added to the card with foam tape. The dog was then added with foam tape to sit on to of the banner. To finish off, I added black glaze pen to the dog's eyes.
 
SUPPLIES:

Here are the links to what I have used on the card. Affiliate links are used on some products. This means that if you make a purchase after clicking on my link, I receive a small commission with no extra cost to you. I truly appreciate your support when using these links. Please click on the logo below the product to shop at your favourite store. All products were personally purchased except those from Clearly Besotted, Hero Arts or those marked with an asterisk (*) which were kindly sent to me to use. You can read my full disclosure here.
 
 
COPIC MARKERS: Dog - E37, E35, E33, E31. Bone - E53, E51, E50. Grass - YG17, YG23, YG03, YG01. Trees - YG67, YG17, YG23, E59, E57, E55. Sky - B02, B00, B000, B0000.
 
I am really looking forward to using the other backgrounds in the Scene It More set. They work so well with lots of different images. For more inspiration using the new release, please head over to the Clearly Besotted Blog as well as Keren and Lisa. Thanks so much for visiting me today, I hope you have a great day! See you tomorrow for day four!

29 March 2019

Clearly Besotted Teasers | Blow Out The Candles

Hello there and welcome to day two of the Clearly Besotted April 2019 Teasers. Today I am using the new Dragon Plushies set. Oh my cuteness! It is adorable! I thought it would look cute to have the dragon flying up above the clouds blowing out the candles on his cake.
 

I started off by stamping the dragon, flames and cake from the Dragon Plushies set on to white cardstock with Memento Tuxedo Black Ink. I then coloured them with Copic Markers (the colours I used are listed below the supplies section) and fussy cut them out (but there are coordinating dies if you do not like fussy cutting!). I then took a Memento Marker and went around the edges of the images to neaten them up. These were then set aside while I worked on my background.
 
 
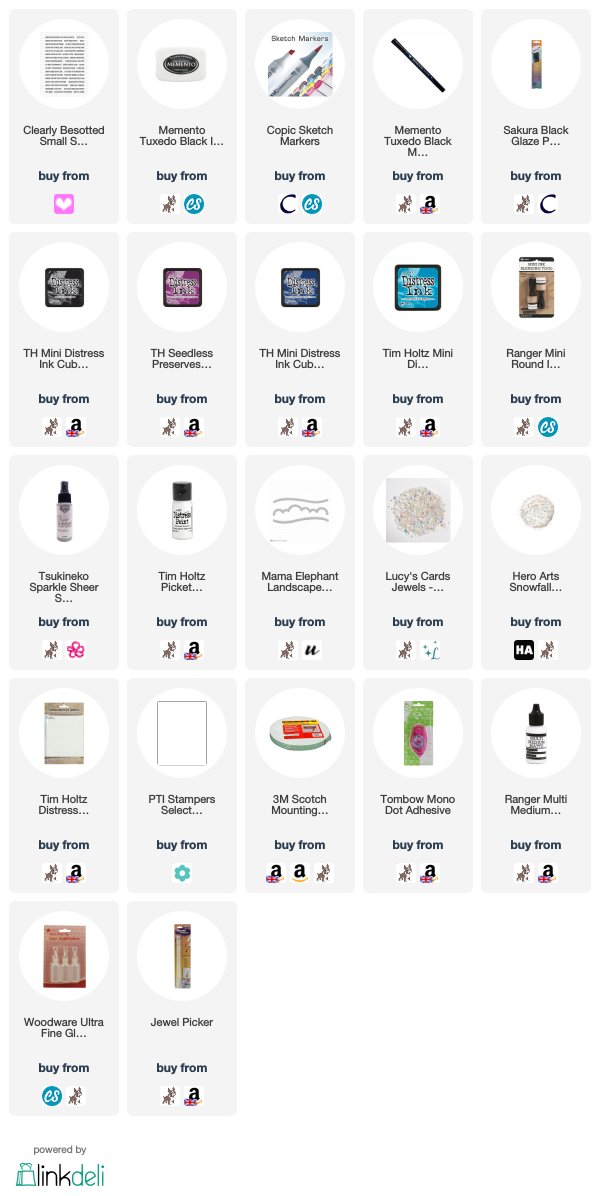
I took a panel of watercolour paper and applied Distress Inks on to it using an ink blending tool. I used Black Soot, Seedless preserves, Chipped Sapphire and Mermaid Lagoon. I then spritzed it with Sheer Shimmer Spritz, as well as adding some larger drops by flicking the nozzle. I also added splatters of Picket Fence Distress Paint for some stars in the sky. This was set aside to dry before adding it to the front of an A2 white card base.
 
 
I took a panel of white cardstock and cut the top edge of this using the cloud die from the Mama Elephant Landscape Trio die set. This was added to the card with foam tape. I then added the cake, dragon and flames with a combination of tape runner and foam tape. I added Hero Arts Snowfall Glitter on to the cake for some added sparkle. I took the sentiment from the Small Sayings set and stamped this on to white cardstock with Memento Tuxedo Black Ink. It was cut in to a strip and added to the card with more foam tape. To finish off, I added a few Lucy's Iridescent Jewels and added black glaze pen to the dragon's eyes.
 
SUPPLIES:

Here are the links to what I have used on the card. Affiliate links are used on some products. This means that if you make a purchase after clicking on my link, I receive a small commission with no extra cost to you. I truly appreciate your support when using these links. Please click on the logo below the product to shop at your favourite store. All products were personally purchased except those from Clearly Besotted, Hero Arts or those marked with an asterisk (*) which were kindly sent to me to use. You can read my full disclosure here.
 
 
COPIC MARKERS: Dragon - V09, V17, V15, V12, V01, V000, E53, E50. Flame - YR18, YR16, YR15, YR11. Cake - E55, E53, E51, E50, E29, E27, E25, E23, V17, V15, V12, Y19, Y11.
 
There are lots of different dragons in this set, in different poses. There are also some wonderful sentiments and a background scene in the set too. For more inspiration using the new sets, please head over to the Clearly Besotted Blog as well as Keren and Lisa. Thanks so much for stopping by today, I really do appreciate it. Have a great day!

28 March 2019

VIDEO | Card Making Haul - February & March 2019

*This is my second post of the day, please see below for my Clearly Besotted Teaser*

Hello there, it seems like it has been ages since I shared a haul video with you! I had planned on doing one in February but I did not have much to share at the time. Well, in the last month I managed to accumulate a lot more stuff, so this is two months worth of purchases in one video :)

 
I bought lots of random bits this month - stencils, dies, stamps, alcohol inks, craft knife, ink pads - a bit of everything! Here is a look at everything I got:


If you are viewing this post via email subscription, you can watch the video on YouTube here.

SUPPLIES:

Here are the links to what I have used on the card. Affiliate links are used on some products. This means that if you make a purchase after clicking on my link, I receive a small commission with no extra cost to you. I truly appreciate your support when using these links. Please click on the logo below the product to shop at your favourite store. All products were personally purchased except those from Clearly Besotted, Hero Arts or those marked with an asterisk (*) which were kindly sent to me to use. You can read my full disclosure here.


Thank you so much for stopping by, I really do appreciate it. Have a great rest of the day!

Clearly Besotted Teasers | G'Day Mate!

Hello there and welcome to day one of the Clearly Besotted April 2019 Teasers. The April release will be out on the 1st April and from now until then, we are sharing teasers with you using the new products. Today I am kicking things off with the new Plushies Down Under set.
 

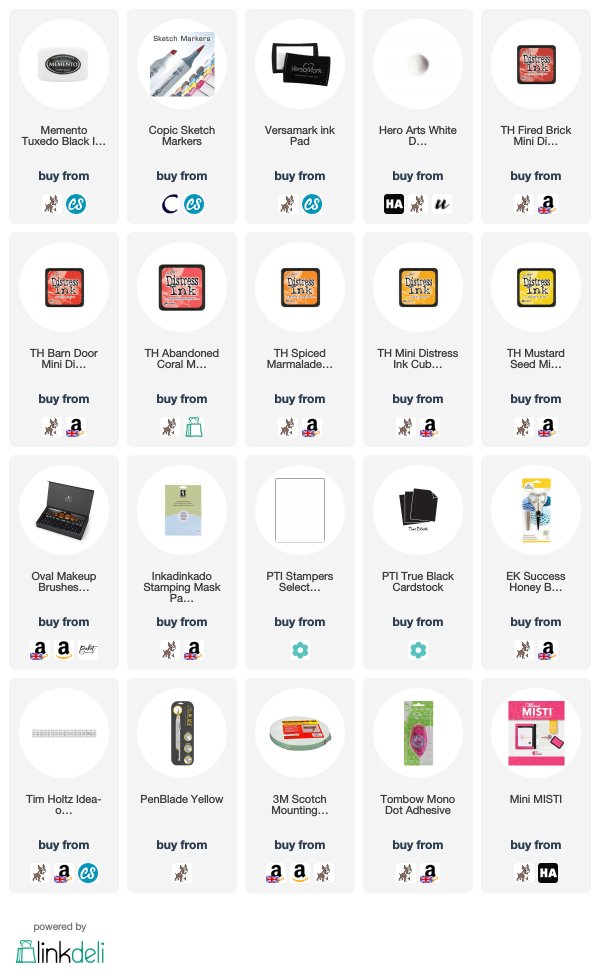
I started off my card by creating the background. I took a panel of white cardstock and stamped the Sidney Harbour background from the Plushies Down Under set on to the top half using Memento Tuxedo Black ink. I also stamped it on to masking paper. I cut the mask out and added this on top of the image on the cardstock panel. Using a blending brush, I applied Distress Ink to create a sunset sky. I used Fired Brick, Barn Door, Abandoned Coral, Spiced Marmalade, Wild Honey and Mustard Seed.
 
 
The mask was removed and the buildings coloured with Copic Markers (the colours that I used are linked below) to look like silhouettes. I set this aside to work on my front panel. I took another panel of white cardstock and stamped the kangaroo from the set on to the top right portion. Using a ruler and craft knife, I cut a line across the panel, keeping the image intact. I then cut around the image so that the top portion of the cardstock was cut off but there is a die collection for this set, so you could do partial die cutting if you wanted to.
 
 
I coloured the kangaroo with Copic Markers and then adhered the background piece to the front of an A2 white card base with tape runner. The kangaroo panel was then added on top with foam tape. I took the sentiment from the set and stamped this on to black cardstock with Versamark Ink. I applied detail white embossing powder and heat set. These were cut in to strips and added to the card with more foam tape.
 
SUPPLIES:

Here are the links to what I have used on the card. Affiliate links are used on some products. This means that if you make a purchase after clicking on my link, I receive a small commission with no extra cost to you. I truly appreciate your support when using these links. Please click on the logo below the product to shop at your favourite store. All products were personally purchased except those from Clearly Besotted, Hero Arts or those marked with an asterisk (*) which were kindly sent to me to use. You can read my full disclosure here.
 
 
COPIC MARKERS: Kangaroo - E49, E47, E44, E43, E42, R12. Buildings - N10, N8, N7, N6, N5, N3.
 
Even though the kangaroo is unlikely to be sitting around the Sidney Harbour in real life, I really like how this card turned out! Please do head over to the Clearly Besotted Blog as well as Keren and Lisa for more inspiration using the new release. Thanks so much for popping by today, hope you have a great day. See you tomorrow for day two!

27 March 2019

Birthday Cake

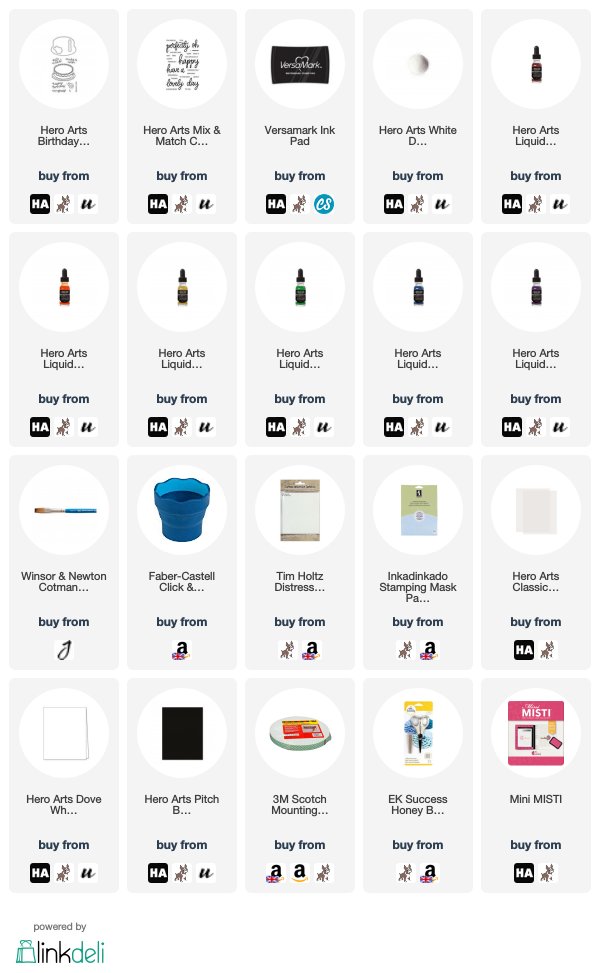
Hello there, I am over on the Hero Arts Blog today, sharing a card I have made using the Birthday Cake Stamp & Cut set. I thought it would look fun heat embossed on to vellum with a watercolour rainbow background behind.
 
 
SUPPLIES:

Here are the links to what I have used on the card. Affiliate links are used on some products. This means that if you make a purchase after clicking on my link, I receive a small commission with no extra cost to you. I truly appreciate your support when using these links. Please click on the logo below the product to shop at your favourite store. All products were personally purchased except those from Clearly Besotted, Hero Arts or those marked with an asterisk (*) which were kindly sent to me to use. You can read my full disclosure here.
 
 
For details on how I made the card, please head over to the blog post here. Thanks so much for stopping by, have a great afternoon!

Review | Cricut EasyPress 2

This is a sponsored conversation written by me on behalf of Cricut. The opinions and text are all mine.

Hello there, following on from my review of the Cricut Maker, today I have a review of the Cricut EasyPress2 to share with you. This was kindly sent to me to review from Cricut but as always, all opinions are my own.


The Cricut EasyPress 2  is used to adhere a material to another material using heat. Most people use it to adhere heat transfer/iron-on vinyl to fabric to decorate t-shirts, cushion covers, bags etc. but it can be used for a lot more. If you did not have a gadget like the EasyPress 2, you would either use a heat press, which is bulky, expensive and not portable; or an iron, which is difficult to control the temperature with.


Cricut designed the EasyPress to work with the speed of a heat press with the convenience of an iron. The EasyPress 2 is a second addition to the original EasyPress. The EasyPress 2 comes in three sizes - 6" x 7", 9" x 9" and 12" x 10" (I have the 9" x 9" to review). The EasyPress 2 heats up to a precise maximum temperature of 205 degrees Celsius (400F). It heats up very quickly and has a countdown timer and comfortable handle. It has a ceramic coated heat plate and safety base, as well as auto shut-off. The 9" x 9" size retails in the UK for around £170 and comes in the raspberry colour only (the original EasyPress is a blue colour)


WHAT’S IN THE BOX?


In the box you get the Cricut EasyPress 2, the safety base, a welcome book, materials for practice project, safety instructions and warranty.


WHAT CAN IT DO?


You can adhere a number of different materials with the EasyPress 2. You can adhere iron-on/heat transfer vinyl, foil and fusible fabric easily. You can adhere these on to a number of surfaces including fabric, canvas, cardstock (including notebooks), leather, wood, corkboard and chipboard.


The EasyPress Interactive Guide on the Cricut website tells you what temperature to set the EasyPress at, as well as how long you need to press the material for. It also gives you step-by-step instructions of what to do.


PROJECT: CUSHION COVER STEP-BY-STEP


So now I have explained what the EasyPress 2 can do, I would like to show you what I made! I did make the practice project first but then kicked off by creating a cushion cover. I went to the Cricut Design Space to find a design that I liked.


I saw the Mandala Cushion Cover project in the iron-on section and thought it was a lovely pattern. I customised the size to fit my cushion cover and then proceeded to cut it on the Maker using Grey Iron-On Vinyl. The Cricut Design Space explains that you need to mirror your design and place the vinyl shiny side down when cutting.


Once it was cut, I took the vinyl off the mat and peeled back the back layer of the vinyl to reveal the pattern.


You then need to remove any inside bits from the vinyl that you do not want. This is called weeding and I find it helpful to use the Cricut Weeding Tool for this.


Once my vinyl was ready to go, I visited the EasyPress Interactive Guide on the Cricut website. This shows what I need to set the temperature at and gives instuctions on using the EasyPress. I told the guide that I was using Everyday Iron-on Vinyl, that I was adhering it to 100% cotton and I was using the Cricut EasyPress Mat. This is used to protect your work surface but you can use a towel instead.


It told me the settings for the temperature and told me to pre-heat the material for 5 seconds. I then applied my vinyl on top of my cushion cover and placed the EasyPress 2 on top. I started the timer and applied gentle pressure for 30 seconds. I did have to do this a few times to cover the whole image, as it is quite large. I then flipped the material and applied heat from the back too.


I started to peel the vinyl sheet off and it did not feel like it was coming off easily, so I applied more heat and tried again.


The second time it removed perfectly and left a lovely design on the cushion cover. I placed the cushion inside the cover and now I have a lovely cushion for my sofa!


PROJECT: ELEPHANT VEST TOP


For my next project, I thought I would add a design on to the front of a vest top. I scrolled through the images on Design Space and came across an adorable elephant image that I thought would look really cute on the front of the vest. I followed the same steps as above and used Everyday Iron-on in Black. I love how it came out!


PROJECT: CRICUT PEN CASE


For my last project, I decorated a pencil case that I will use to keep my Cricut pens in. I made a design in Design Space using the Cricut DonJuan font. I cut it with the Maker and then used the same steps as above to add the design to the front of the pencil case. I used Glitter Iron-on for this in white. Sadly the glitter does not show up in the photos but in real-life, it is really pretty!


SO, WHAT DO I THINK?


I want to put this out there, I am a complete heat transfer vinyl newbie. I have never used any other heat press or even an iron for anything like this. Having said that, the Cricut EasyPress 2 is very easy to use, I love that the EasyPress Interactive Guide tells you exactly what to do to use it. Although I have never used an iron for applying heat transfer vinyl, I am assuming that it is difficult to know how long to apply the heat for and the temperature is not regulated. The EasyPress 2 takes the guess work out of that for you. In terms of size, I think the 9" x 9" one is a great size and perfect for lots of different applications, but as a newbie, I may have gone for the smaller one. If you were frequently making projects where you needed to apply heat, I think the EasyPress 2 is a great investment and would definitely improve your workflow. I am looking forward to creating more items for both myself and gifts for my family.
 
I hope that you have found this review helpful in seeing what the EasyPress 2 can do but do bear in mind, there are lots of other things that it can do. Thank you so much for stopping by today, I really do appreciate it. Have a great day!

22 March 2019

Sending You Hugs

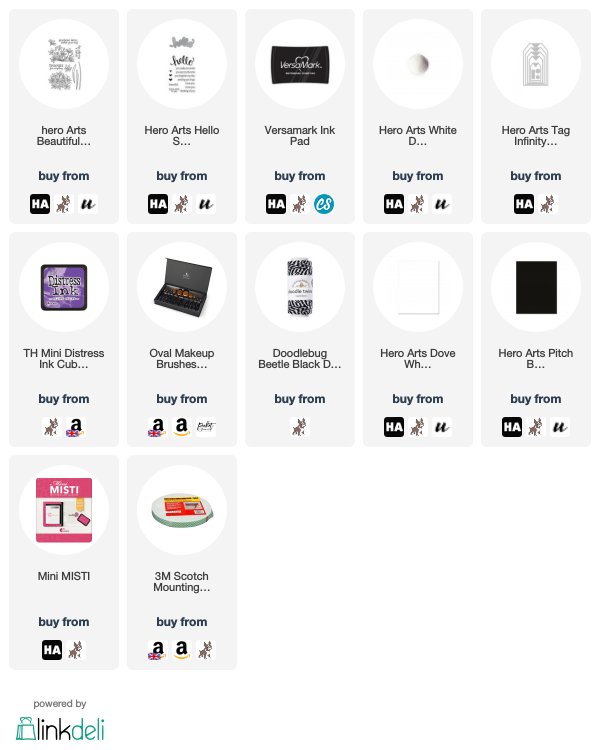
Hello there, today I have a tag to share using the Beautiful Day Agapanthus stamp set from Hero Arts. It is made so that you would stamp the agapanthus flower head on to the stems, but I thought it would like nice at the bottom of a tag, as a design element too.
 

I started off by die cutting a Tag Infinity Die from Dove White Cardstock. I then stamped the agapanthus head from the Beautiful Day Agapanthus set on to the bottom portion of the tag with Versamark Ink. I applied Detail White Embossing Powder and heat set. Using a blending brush, I applied Wilted Violet Distress Ink on to the bottom of the tag to resist the embossing powder.
 
 
I tried to keep the darker colour at the bottom, blending up towards white. I then flicked on some water and set aside to dry. I took the sentiment from the Hello Stamp & Cut set and stamped this twice on to Pitch Black Cardstock using Versamark Ink. I applied Detail White Embossing Powder and heat set. These were then cut in to strips. I stamped it twice so that it was easier to cut the hugs part away and make it a separate strip. These were added to the tag with foam tape. To finish off, I added twine through the top of the tag.
 
SUPPLIES:

Here are the links to what I have used on the card. Affiliate links are used on some products. This means that if you make a purchase after clicking on my link, I receive a small commission with no extra cost to you. I truly appreciate your support when using these links. Please click on the logo below the product to shop at your favourite store. All products were personally purchased except those from Clearly Besotted, Hero Arts or those marked with an asterisk (*) which were kindly sent to me to use. You can read my full disclosure here.
 
 
I really like how this tag came out and I thought it would be nice to send to someone instead of a card. Thank you so much for visiting me today, I hope you have a wonderful day and a fantastic weekend too!

20 March 2019

Ellie Birthday Wishes

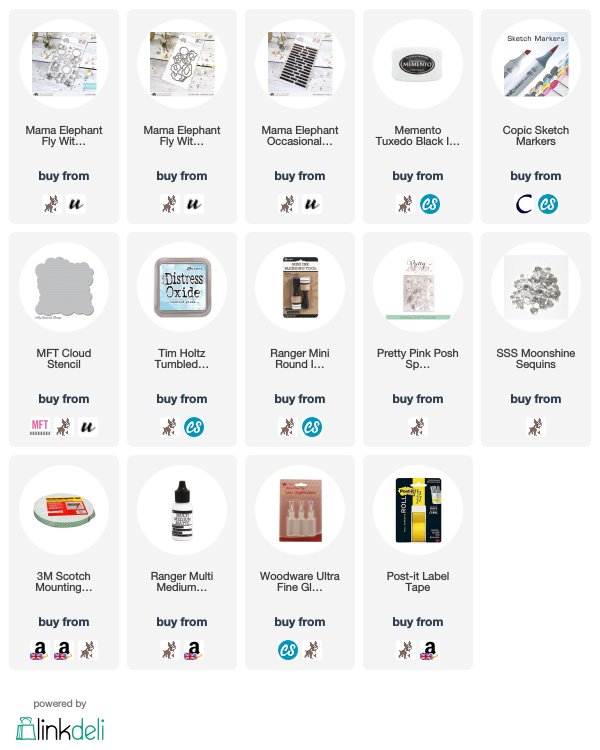
Hello there, today I have a card to share that I made for a very good friend of mine who celebrated her birthday last month. She loves elephants, so of course I had to use the adorable Mama Elephant Fly With Me set!
 

I started off by taking an A2 white card base and masking off the edges with Post-It Tape. I then took the MFT Cloud Stencil and placed this over the top and applied Tumbled Glass Distress Oxide Ink with an Ink Blending Tool. Once the area was covered, I removed the Post-It Tape and set the card base aside.
 
 
I took three of the elephants from the Mama Elephant Fly With Me set and stamped these on to white cardstock with Memento Tuxedo Black Ink. I coloured them using Copic Markers (the colours that I used are listed below the supplies area). They were die cut out with the coordinating dies and  added to the card with foam tape. I then took one of the sentiments from the Mama Elephant Occasional Labels set and stamped this with Memento Tuxedo Black Ink on to white cardstock too. This was cut out and added to the card with foam tape also. To finish off, I added a few sequins.
 
SUPPLIES:

Here are the links to what I have used on the card. Affiliate links are used on some products. This means that if you make a purchase after clicking on my link, I receive a small commission with no extra cost to you. I truly appreciate your support when using these links. Please click on the logo below the product to shop at your favourite store. All products were personally purchased except those from Clearly Besotted, Hero Arts or those marked with an asterisk (*) which were kindly sent to me to use. You can read my full disclosure here.
 
 
COPIC MARKERS: Elephants - N7, N5, N3, N2, N1, R00, R000. Pink balloon - R85, R83, R81. Purple balloon - V17, V15, V12. Aqua balloon - BG13, BG11, BG10. Blue balloon - BG02, BG01, BG000.
 
Sadly, the photos were taken on a very dark day, so not as good as I would like but, I love these elephants, they are so cute! I am happy to report that my friend liked them too! Thank you so much for popping by today, I really do appreciate it. I hope you have a great day!

19 March 2019

Birthday Fishes

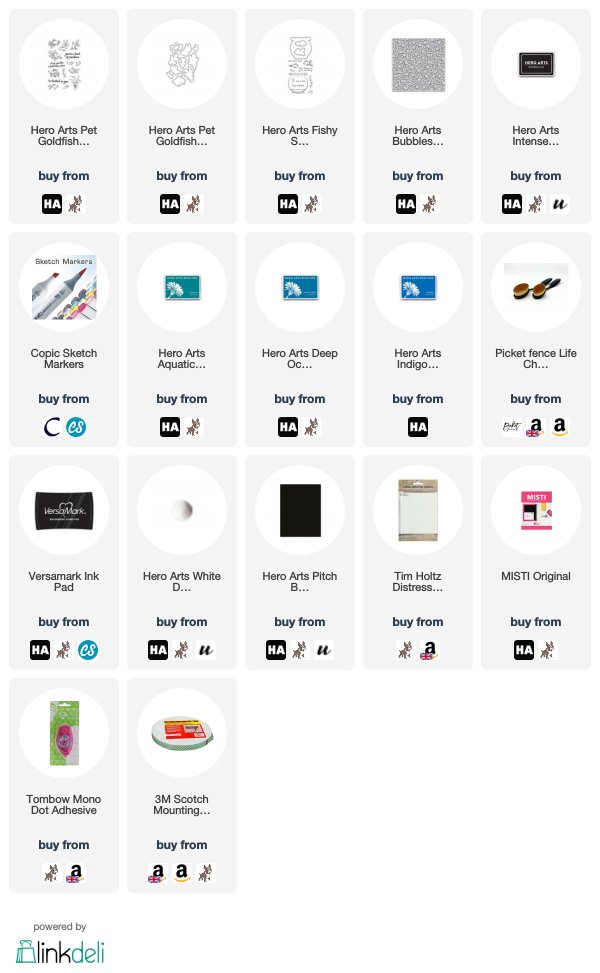
Hello there, today I have a card to share using a few of the items from the Hero Arts March 2019 My Monthly Hero release. I really love the new Bubbles Bold Prints background and thought it would work perfectly with the goldfish.
 

I started off by creating the background. I masked off the top of the Bubbles Bold Prints and stamped this on to watercolour paper using Versamark Ink. I applied Detail White Embossing Powder and heat set. I then applied ink using a blending brush. I used Aquatic, Deep Ocean and Indigo inks. The excess was buffed off with a dry towel. This panel was then adhered to an A2 white card base with tape runner.
 

I took two of the goldfish from the Pet Goldfish stamp set and stamped these on to white cardstock with Intense Black Ink. I coloured them using Copic Markers (the colours that I used are listed below the supplies section) and cut them out using the Pet Goldfish Frame Cuts. I took the sentiment from the Fishy Stamp & Cut set and stamped this on to Pitch Black cardstock with Versamark Ink. I applied the same detail white embossing powder and heat set. This was cut in to a strip and added to the card with foam tape. I then added the goldfish above.
 
SUPPLIES:

Here are the links to what I have used on the card. Affiliate links are used on some products. This means that if you make a purchase after clicking on my link, I receive a small commission with no extra cost to you. I truly appreciate your support when using these links. Please click on the logo below the product to shop at your favourite store. All products were personally purchased except those from Clearly Besotted, Hero Arts or those marked with an asterisk (*) which were kindly sent to me to use. You can read my full disclosure here.
 
 
COPIC MARKERS: YR18, YR16, YR15, YR23, Y17.
 
I love that background and really love the contrast between the orange and the blue. Thank you so much for popping by to see me today, I really do appreciate it. I hope you have a great day!
End of code