14 July 2023

Spellbinders | Stitched for Christmas

Hello there, I am over on the Spellbinders blog today sharing three projects using the Stitched for Christmas Collection. This wonderful collection contains four die sets (I haven't used the Christmas tree today) that work for stitching but you can use them without stitching too, if it's not your thing. 

PLEASE NOTE: This post contains affiliate links. Please see below for my full disclosure.
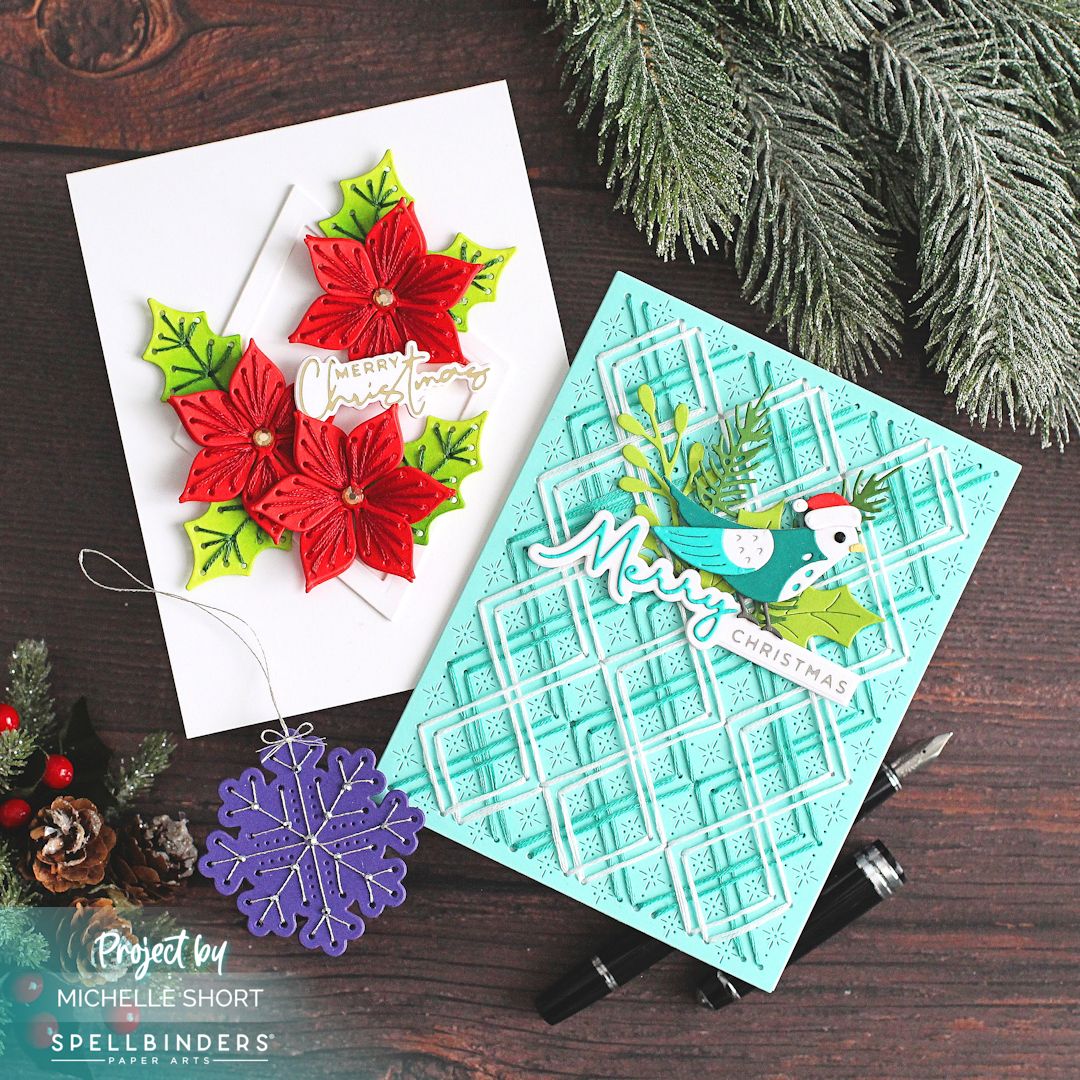

Project 1 uses the Stitched Poinsettia & Holly Etched Dies set. I added a little ink blending to the flowers and leaves and then stitched with DMC red and green floss. I added them to a diamond frame and then foiled a sentiment from A Merry Little Christmas Sentiments Glimmer Hot Foil Plate & Die Set. 

Project 2 uses the Stitched Starry Argyle Etched Die, which was stitched using DMC aqua and white floss. I die cut elements from Christmas Bird Poinsettia Etched Dies set and the sentiment is from Christmas Die & Glimmer Sentiments Hot Foil & Die Set. 

Project 3 uses the snowflake die from the Stitched Christmas Sweater Etched Dies set. I stitched it using DMC Silver Diamant Thread and made it into an ornament/tag. 

SUPPLIES:


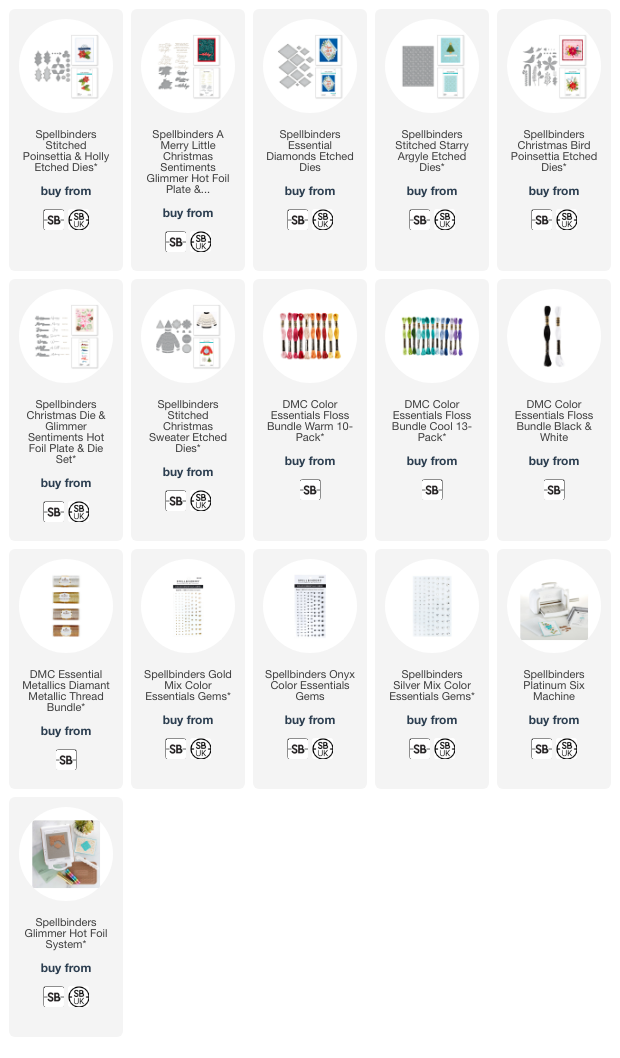
Here are the links to what I have used on the projects. Affiliate links are used on some products. This means that if you make a purchase after clicking on my link, I receive a small commission with no extra cost to you. I truly appreciate your support when using these links. Please click on the logo below the product to shop at your favourite store. All products were personally purchased except those from Clearly Besotted, Hero Arts or those marked with an asterisk (*) which were kindly sent to me to use. You can read my full disclosure here.

For more details on how I made the projects, please head over to the Spellbinders blog. Thank you so much for stopping by today, I very much appreciate it. I hope you have a lovely day! 

12 July 2023

VIDEO | Let's Hang Out & Celebrate

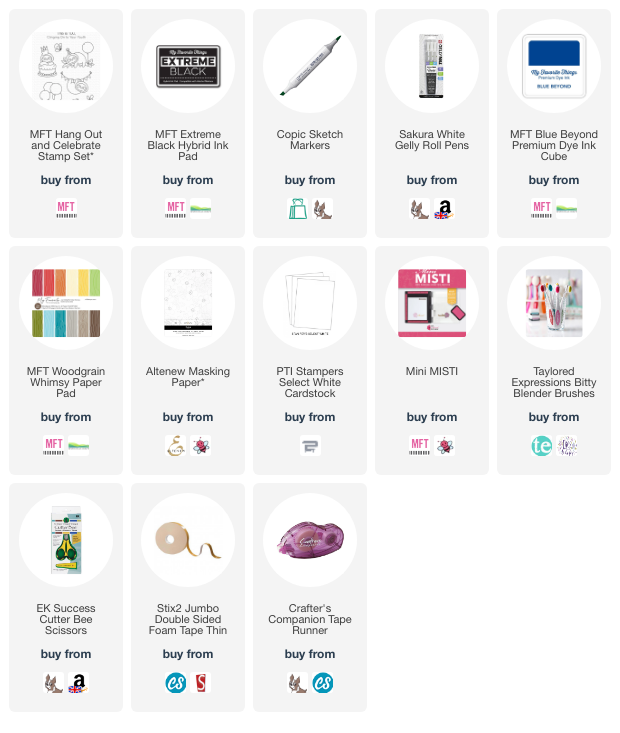
Hello there, I am delighted to be over on the My Favorite Things YouTube channel today sharing a clean and simple card using masking. I definitely gravitate towards cutting images out using dies, but it is nice for some designs to mask an image to add ink blending around it for a slightly different look. 

PLEASE NOTE: This post contains affiliate links. Please see below for my full disclosure.


I started off by stamping the sloth and sentiment from the MFT Hang Out & Celebrate Stamp Set on to a panel of white cardstock using MFT Extreme Black Ink. Without reinking the stamp, I stamped it on to masking paper. I like to not re-ink the image, so that the line is still visible enough to see, but not for the ink to accidently smudge when ink blending. 


I fussy cut the image out using scissors and then placed it on top of the panel. Using a Bitty Blending Brush, I blended MFT Blue Beyond Premium Dye Ink around the image. I did dab off a lot of the ink from the brush first, to get a smooth blend and fade to white. The mask was removed and the image coloured using Copic Markers (the colours that I used are listed below the supplies list for reference). 


I took a sheet of paper from the MFT Woodgrain Whimsy Paper Pad and adhered it to the front of a US A2 sized white card base with tape runner adhesive. I then adhered the panel on top using thin foam tape. To finish off, I added a few white gel pen dots around the image and then highlights on the image itself. 

VIDEO:

Here is the video showing how I made the card:


If you are viewing this blog post via email subscription, you can watch the video HERE on YouTube.

SUPPLIES:


Here are the links to what I have used on the project. Affiliate links are used on some products. This means that if you make a purchase after clicking on my link, I receive a small commission with no extra cost to you. I truly appreciate your support when using these links. Please click on the logo below the product to shop at your favourite store. All products were personally purchased except those from Clearly Besotted, Hero Arts or those marked with an asterisk (*) which were kindly sent to me to use. You can read my full disclosure here.


COPIC MARKERS: Branch - E59, E57, E55. Leaves - G29, YG17, YG23, YG01. Sloth - E49, E47, E44, E43, E42, E41. Hat & balloon - Y18, Y15, Y13, Y11. 

I do think masking works well for this image and makes it look a little like there is a larger background than there is, since your eye kind of fills in the rest! Thank you so much for stopping by today. I really do appreciate it. I hope you have a wonderful day! 

11 July 2023

Hero Arts | Lemonade Day

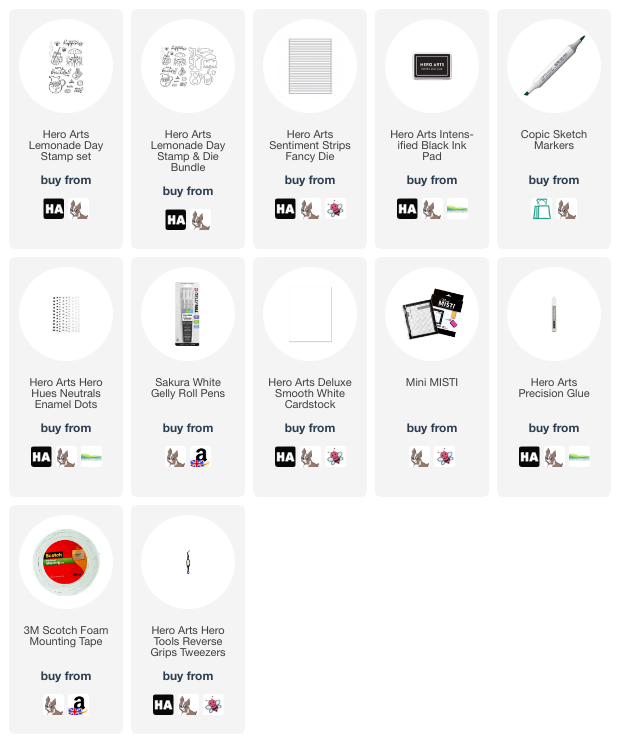
Hello there, I hope you are well! I am over on the Hero Arts Blog today, sharing a card using the new Lemonade Day set, which was released as part of the July 2023 My Monthly Hero release. 

PLEASE NOTE: This post contains affiliate links. Please see below for my full disclosure.


I stamped the images from Hero Arts Lemonade Day on to white cardstock using Hero Arts Intens-ified Black Ink. They were coloured with Copic Markers and die cut out. I dry embossed the Hero Arts Sentiment Strips Fancy Die on to white cardstock and used that as my base for the images.  


Sadly, it is difficult to see in the photos but it really helps to ground the images in real-life. I finished off with a sentiment from the set and some black Hero Hues Enamel Dots. For more details on how I made the card, please head over to the blog post HERE. 

SUPPLIES:


Here are the links to what I have used on the project. Affiliate links are used on some products. This means that if you make a purchase after clicking on my link, I receive a small commission with no extra cost to you. I truly appreciate your support when using these links. Please click on the logo below the product to shop at your favourite store. All products were personally purchased except those from Clearly Besotted, Hero Arts or those marked with an asterisk (*) which were kindly sent to me to use. You can read my full disclosure here.


Thank you so much for stopping by today, I really do appreciate it. I hope you have a wonderful day! 

10 July 2023

Spellbinders | Layered Christmas Stencils

Hello there, I am back today with my second Christmas card of the season. Get ready for lots of Spellbinders Christmas releases this month! 

Today I am using the Layered Merry Christmas Foliage Stencils from the new Layered Christmas Stencils Collection, which is out today. As the name suggests, these are stencil sets that layer up to create a background, as well as a sentiment. There are also bundles that you can buy with a coordinating die for the sentiments too. 

PLEASE NOTE: This post contains affiliate links. Please see below for my full disclosure.


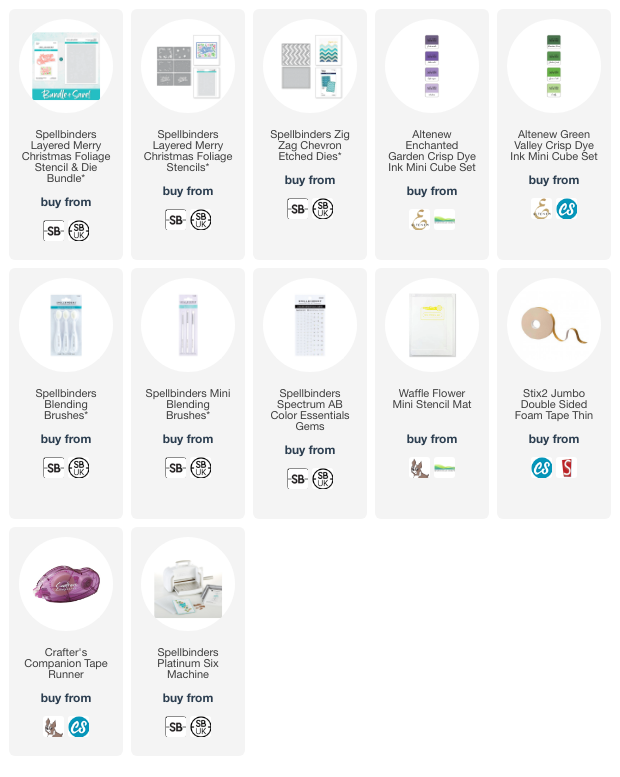
I started off by taking a panel of white cardstock (I always find with these types of stencils, it is helpful to use a bigger piece of cardstock than I need for the design) and placing it in the corner of the Waffle Flower Mini Stencil Mat. I then placed the first of the Spellbinders Layered Merry Christmas Foliage Stencils on top. 


This layer is for the base of the foliage. I used Altenew Green Valley Crisp Dye Inks (the lightest shade) and a Spellbinders Blending Brush. I then added a small amount of the next shade up in the ink collection using a Spellbinders Mini Blending Brush. I jumped to the third stencil to add the detail to the foliage and used the two middle shades of ink. 


I went back to the second stencil in the set and added in the flowers. For these I used Altenew Enchanted Garden Crisp Dye Inks (the two lighter shades). I then went to the fifth layer of the stencils and added in the detail layer for the flowers with the darkest middle shade of ink. I then went back to the fourth stencil and added the dots around the images with the same ink. 


For the sentiment (stencil 5 & 6), I blended this on to a separate piece of cardstock using the third darkest purple ink for the words and the lightest for the shadow. It was then die cut with the coordinating die. I die cut the foliage piece using the A2 die in the Spellbinders Zig Zag Chevron Etched Die Set and adhered it flat to an A2 white card base. The sentiment was adhered on top using thin foam tape. To finish off, I embellished with Spellbinders Prism AB Color Essentials Gems. 

SUPPLIES:


Here are the links to what I have used on the project. Affiliate links are used on some products. This means that if you make a purchase after clicking on my link, I receive a small commission with no extra cost to you. I truly appreciate your support when using these links. Please click on the logo below the product to shop at your favourite store. All products were personally purchased except those from Clearly Besotted, Hero Arts or those marked with an asterisk (*) which were kindly sent to me to use. You can read my full disclosure here.


I found it easier to use the stencils in a different order than they say to, purely for ease of using the same colour of inks in one go. The sentiment isn't as crisp as I had hoped, so I would try maybe blending the shadow first and then adding the word on top instead of the other way around like I did. I'll try that next time! 

Thank you so much for stopping by today, I really do appreciate it. I hope you have a wonderful day! 

7 July 2023

Spellbinders | Stocking Full of Joy

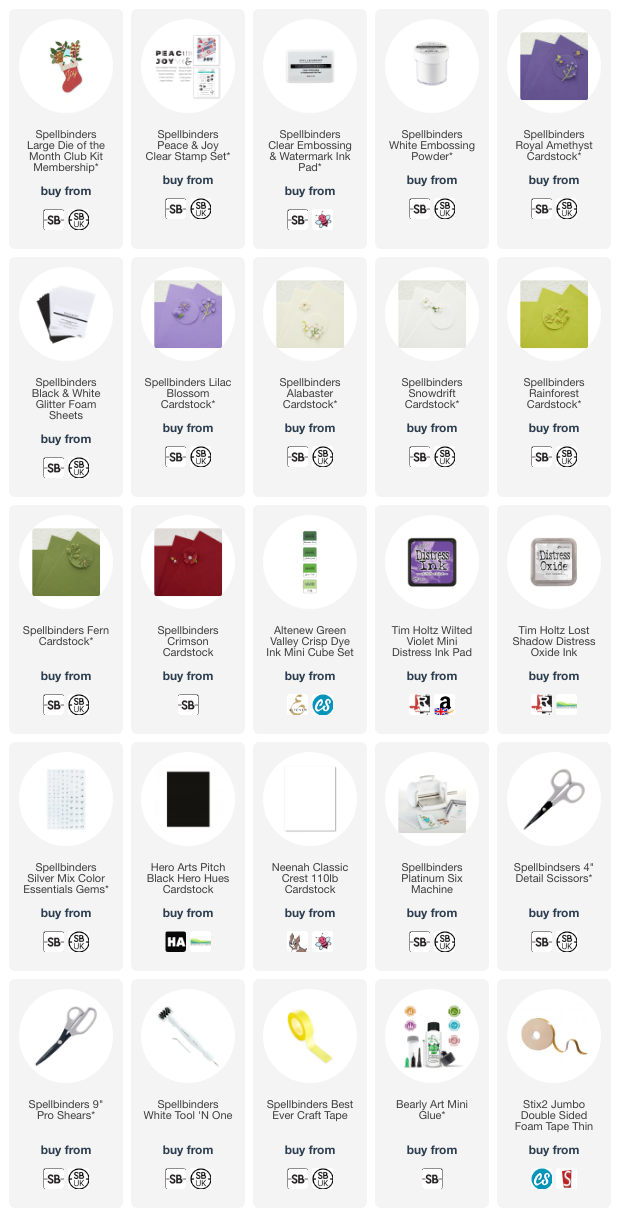
Hello there, today I have a card to share using the Spellbinders July 2023 Large Die of the Month Club Kit which is called Stocking Full of Joy. As is traditional with Spellbinders, Christmas has come early with this one! There are a few different elements to add inside the stocking - a gonk, a gingerbread person, candy canes and also lots of foliage. 

PLEASE NOTE: This post contains affiliate links. Please see below for my full disclosure.


I started off my card by die cutting the stocking part first from the Spellbinders July 2023 Large Die of the Month Club Kit. I die cut the main part of the stocking from Spellbinders Royal Amethyst Cardstock and the white parts from Spellbinders White Glitter Foam Sheet. They were adhered together (with a piece of white cardstock as the backing for the top piece, so that you did not see the purple behind) using Bearly Art Glue. 


I then die cut the foliage from Spellbinders Rainforest and Fern Cardstock. I added ink blending to the centres for some added dimension and then added the berries on top, cut from white. The candy canes were cut from Spellbinders Crimson and Snowdrift Cardstock and adhered together. 


For the gonk, I die cut the hat and arm pieces from Spellbinders Lilac Blossom Cardstock. I added a little ink blending to the hat piece. The beard was cut from white cardstock and I added a little grey ink to that. The hands and nose were cut from Spellbinders Alabaster Cardstock. Again, the pieces were assembled and adhered using Bearly Art Glue. 


I took a US A2 sized white card base and adhered the stocking on first (just at the bottom) using thin foam tape. I then adhered the foliage and candy canes behind at the top, to look like they were popping out from it. I adhered the top part of the stocking down using Bearly Art Glue and then popped the gonk on top using thin foam tape. 


I stamped a sentiment from the Spellbinders Peace & Joy Stamp Set on to black cardstock using Spellbinders Watermark Ink and applied Spellbinders White Embossing Powder on top. I heat set it and then cut it into a strip. It was adhered to the card with foam tape. I added another foliage sprig above and then embellished with Spellbinders Silver Mix Color Essentials Gems. 

SUPPLIES:


Here are the links to what I have used on the project. Affiliate links are used on some products. This means that if you make a purchase after clicking on my link, I receive a small commission with no extra cost to you. I truly appreciate your support when using these links. Please click on the logo below the product to shop at your favourite store. All products were personally purchased except those from Clearly Besotted, Hero Arts or those marked with an asterisk (*) which were kindly sent to me to use. You can read my full disclosure here.


SPELLBINDERS CLUB KITS

I hope that you will check out the Spellbinders Club Kits. It is a wonderful monthly subscription where you receive the kit each month. Designers like myself share inspiration using the kit at the beginning of the month to show you lots of different ways that you can use it. 

There are also lots of other club kits too, like the Small Die of the Month, Clear Stamp & Die of the Month, Embossing Folder of the Month (plus lots more!), so there is something for everyone! If you do subscribe, you will get other benefits from Spellbinders too. Please see here for more information. You can also buy older kits here too. 

To buy the kit - if you are a current subscriber to the Large Die of the Month Club Kit (or any kit), you do not need to do anything. You will be charged as normal on the 5th of the month and your kit will be shipped to you. If you are a new subscriber, you can purchase the kit from the 6th - 27th of July 2023. Members can cancel their membership at any time.


Thank you so much for stopping by today, I very much appreciate it. I hope you have a wonderful day and a great weekend ahead! 

6 July 2023

Altenew | July 2023 Release Blog Hop + Giveaway

Hello there, I am delighted to be joining Altenew today for a fun blog hop to celebrate the July 2023 release, which was out yesterday. I shared three cards using the new press plates HERE and today, I have another two projects using them, plus another card using a few of the other products in the release. 

PLEASE NOTE: This post contains affiliate links. Please see below for my full disclosure.


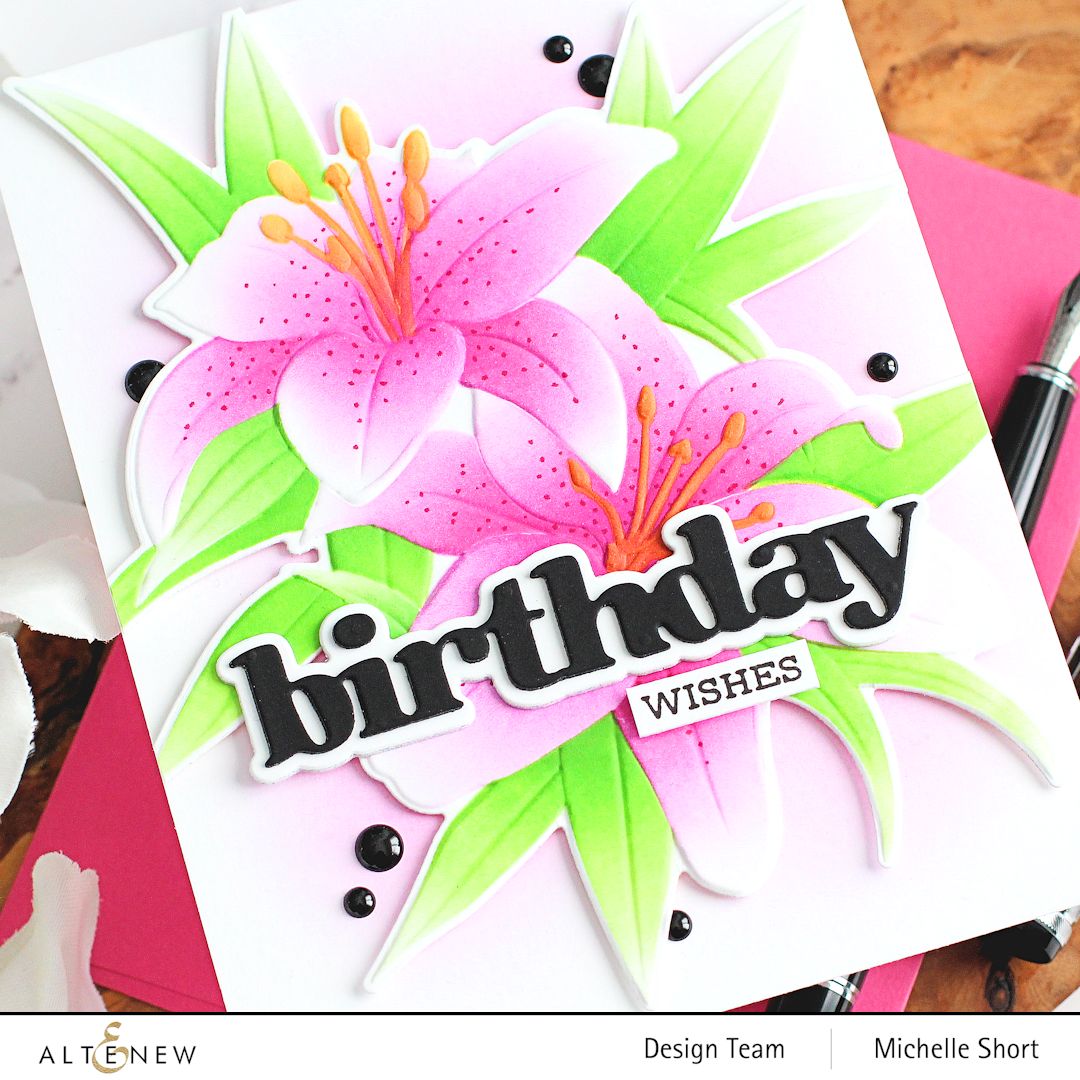
My first project today uses the gorgeous Dreamy Daylilies. I started off by die cutting the Altenew Dreamy Daylilies Die from white cardstock. I then ran it through my die cutting machine inside the Dreamy Daylilies Embossing Folder. This gives the most beautiful impression! I placed the Altenew Dreamy Daylilies Simple Coloring Stencils on top (one by one) and added ink blending with Altenew Mini Blending Brushes to colour the image. 


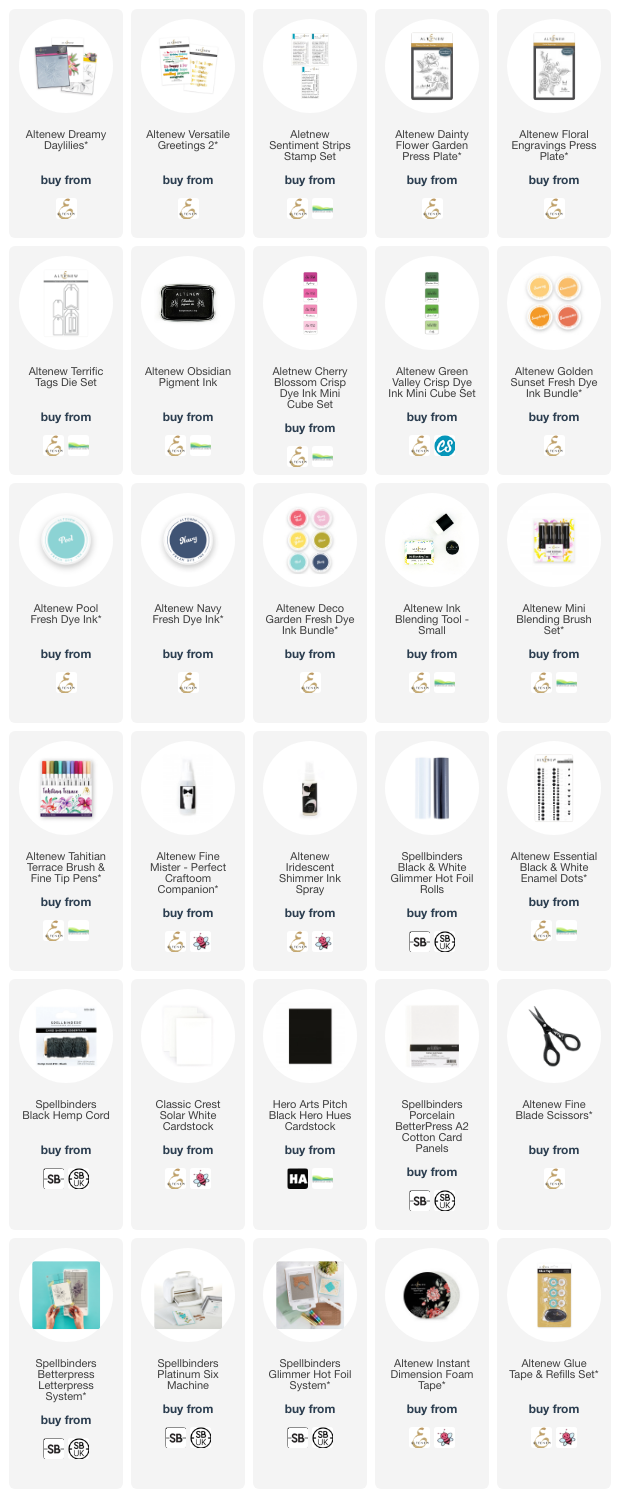
I used Altenew Cherry Blossom Crisp Dye Inks for the petals and Altenew Golden Sunset (Sunray & Chamomile) Fresh Dye Inks for the stamens. For the leaves, I used Altenew Green Valley Crisp Dye Inks. I added ink blending to the front of a US A2 sized white card base using the residual ink on the pink brush and then adhered the lilies image on top using Altenew Instant Dimension Foam Tape. 


I die cut the 'birthday' word from the new Altenew Versatile Sentiments 2 Die Set from white and black cardstock, they were adhered together before adhering to the card. I stamped the 'wishes' from the Altenew Sentiments Strips Stamp Set on to white cardstock using Altenew Obsidian Pigment Ink. It was cut into a strip and adhered below. To finish off, I added Altenew Essential Black & White Enamel Dots (just the black ones!). 


My next project uses the Altenew Dainty Flower Garden Press Plate with the new Altenew Golden Sunset Fresh Dye Inks. I pressed the plate on to a Porcelain BetterPress A2 Cotton Card Panel using the black ink that comes with the Spellbinders BetterPress System. I then die cut it out using the Altenew Terrific Tags Die Set. 


Using Altenew Small Ink Blending Tools, I blended on all four shades of Altenew Golden Sunset Fresh Dye Inks on top. I splattered on some water, as well as Altenew Iridescent Shimmer Spray and set it aside to dry. 


I took the sentiment from the Altenew Floral Engravings Press Plate set and hot foiled it on to black cardstock using White Hot Foil. It was cut into a strip and adhered to the tag using Altenew Instant Dimension Foam Tape. I finished off with twine through the top of the tag and more black enamel dots. 


My last project for today uses the press plates again. This time I pressed the Altenew Floral Engravings Press Plate on to a Porcelain BetterPress A2 Cotton Card Panel using the same black ink. I then added ink blending using Altenew Pool and Navy Fresh Dye Inks from the new Deco Garden Collection. 


I splattered on water and shimmer spray again and set it aside to dry. Once dry, it was adhered to a US A2 sized white card base using Altenew Glue Tape. The sentiment from the Altenew Dainty Flower Garden Press Plate set was hot foiled on to black cardstock using white foil and cut out. It was adhered to the card with foam tape and I embellished with more black enamel dots. 

BLOG HOP:


As mentioned, this post is part of a fun, inspiration filled blog hop with prizes. Please click the links below for the other participants in the hop. 

You are invited to the Inlinkz link party!

Click here to enter

GIVEAWAY:

To celebrate this release, Altenew is giving away a $100 gift certificate to 1 lucky winner and a $40 gift certificate to 5 winners! Please leave a comment on the Altenew Card Blog and/or each designer’s blog post on the blog hop list below by 12th July 2023 for a chance to win. Altenew will draw 6 random winners from the comments left on each stop of this blog hop and announce the winners on the Altenew Winners Page on 14th July 2023. *The winners of the $100 gift certificate will be chosen from comments left on the Altenew blog. 


SUPPLIES:


Here are the links to what I have used on the projects. Affiliate links are used on some products. This means that if you make a purchase after clicking on my link, I receive a small commission with no extra cost to you. I truly appreciate your support when using these links. Please click on the logo below the product to shop at your favourite store. All products were personally purchased except those from Clearly Besotted, Hero Arts or those marked with an asterisk (*) which were kindly sent to me to use. You can read my full disclosure here.


Thank you so much for stopping by today, I really do appreciate it. I hope you have a wonderful day! 

5 July 2023

Hero Arts | My Monthly Hero July 2023 Release Blog Hop + Giveaway

Hello there and welcome as we celebrate the release of the Hero Arts July 2023 My Monthly Hero Kit and add-on release. The release this month is all about picnics!

PLEASE NOTE: This post contains affiliate links. Please see below for my full disclosure.


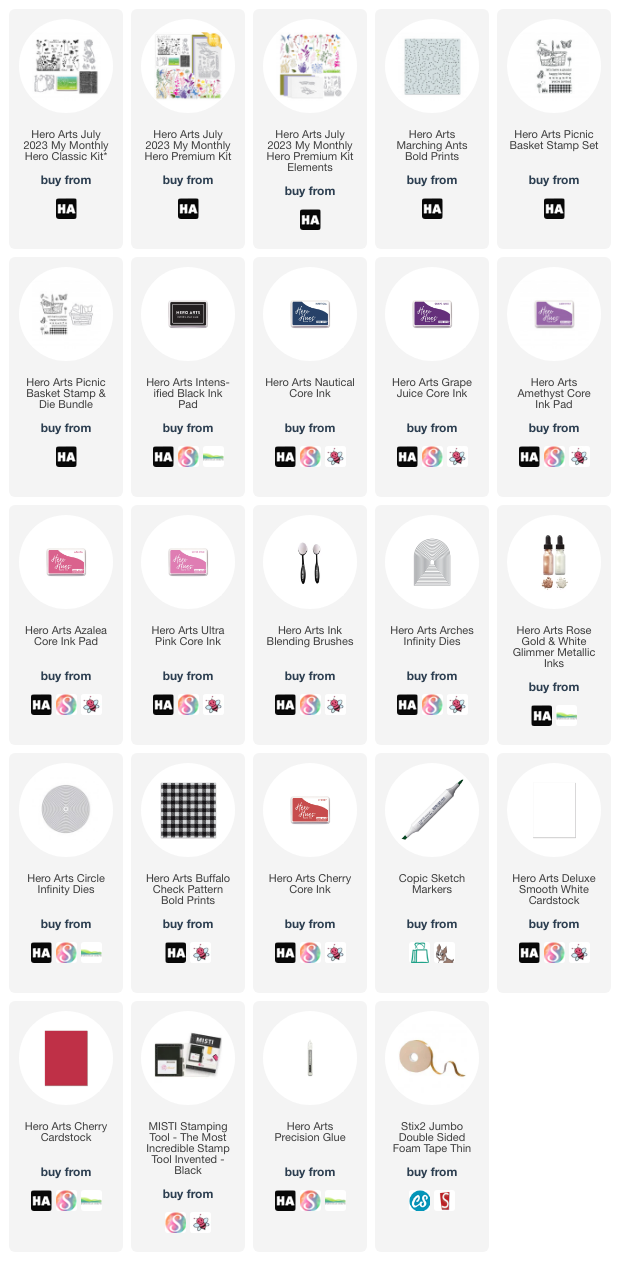
My first card today uses the Hero Arts July 2023 My Monthly Hero Classic Kit. I shared a look at the Premium Kit on Saturday, which you can see HERE. I started off my card by blending Hero Arts Nautical, Grape Juice, Amethyst, Azalea and Ultra Pink Core Inks on to a panel of white cardstock. 


I then stamped the large floral silhouette image from the kit stamp set on top using Hero Arts Intens-ified Black Ink, followed by the sentiment. The panel was then die cut using a Hero Arts Arches Infinity Die. 


I splattered the panel with Hero Arts White Metallic Glimmer Ink and set it aside to dry. Once dry, it was simply adhered to a US A2 sized white card base with foam tape. 


My second card uses a few of the new add-on sets for a fun picnic invitation. I started off by taking a panel of Hero Arts Cherry Cardstock and stamping the Hero Arts Buffalo Check Pattern Bold Prints (it reminded me of a picnic blanket!) on top using Hero Arts Cherry Core Ink. I then stamped the Hero Arts Marching Ants Bold Prints on top with Hero Arts Intens-ified Black Ink. 


It was die cut using the Hero Arts Nesting Circle Infinity Dies. I also made a circle shaped card base with these from white cardstock before adhering the panel on top with foam tape. I stamped the picnic basket from the Hero Arts Picnic Basket Stamp Set on to white cardstock using Hero Arts Intens-ified Black Ink. 


I coloured it using Copic Markers and then die cut it out with the coordinating dies. I also stamped the sentiment from the set and die cut that out too. The picnic basket was adhered to the card using foam tape and the sentiment stacked up three die cuts high and adhered using Hero Arts Precision Glue. 

HERO ARTS MY MONTHLY HERO KIT:


6" x 8" Clear Stamp Set
Dandelion Fancy Dies
Parklands Window Fancy Die
Linen 3" x 4" Cling Stamp
Blue to Green Reactive Ombre Ink Pad

The kit is valued at $71 but you can get it for $36.99 ($34.99 if you are a monthly subscriber, $32.99 if you subscribe for 6 months). 


6" x 8" Clear Stamp Set
Dandelion Fancy Dies
Parklands Window Fancy Die
Linen 3" x 4" Cling Stamp
Blue to Green Reactive Ombre Ink Pad
11 Picnic Basket Fancy Dies
2 Picnic Scenic Detail Fancy Dies
Wildflower Ephemera Pack
2 Sheets White Woodgrain Paper
1 Sheet Each of Pesto and Passion Flower Cardstock

The kit is valued at $104 but you can get it for $49.99 ($47.99 if you are monthly subscriber, $45.99 if you subscribe for 6 months).


You can also now purchase the
Premium Kit Elements separately. This includes just the extra elements in the Premium Kit. It does not include the Classic Kit. 

ADD-ONS:

There are lots of add-on products released each month. These work alongside the kit, or work on their own too. These can be purchased from Hero Arts when you order a kit, on their own or from your favourite Hero Arts retailer (these are not exclusive (unlike the kit) and are restocked if sold out). Here is a look at them:

BLOG HOP:

This post is part of a fun, inspirational blog hop with prizes. For the hop, you should have arrived here from the fantastic Lydia. Next on the hop is the amazing Mindy. If you get lost along the hop, or want to start it from the beginning, please head over to the Hero Arts Blog. 

GIVEAWAY:

Hero Arts are giving away a $50 gift card to the Hero Store, drawn from the comments left across all the stops in the hop. Enter by 9th July 2023 at 11.59pm PT. The winner will be announced on the Hero Arts Blog the following week. 

SUPPLIES:


Here are the links to what I have used on the projects. Affiliate links are used on some products. This means that if you make a purchase after clicking on my link, I receive a small commission with no extra cost to you. I truly appreciate your support when using these links. Please click on the logo below the product to shop at your favourite store. All products were personally purchased except those from Clearly Besotted, Hero Arts or those marked with an asterisk (*) which were kindly sent to me to use. You can read my full disclosure here.


Thank you so much for stopping by today, I really do appreciate it. I hope you have a wonderful rest of the the day! 

VIDEO | Altenew July 2023 Release Video Hop with New Press Plates

Hello there, I am delighted to be joining Altenew today for the July 2023 Release Video Hop. There is so much releasing - stamps, dies, stencils, inks, scissors and new press plates, which is what I am focussing on today (along with a few of the new inks). 

PLEASE NOTE: This post contains affiliate links. Please see below for my full disclosure.


Like I say, I am focussing my projects today on the new Altenew Press Plates. These work with the Spellbinders Betterpress System so you can create a letterpress look. Letterpress is essentially pressing a plate into cardstock, so that you get an indented or debossed look. You can do this with or without ink and in my video, I show the results of both, as well as the cards below. 

SIMPLE LETTERPRESS WITH FRESH DYE INKS


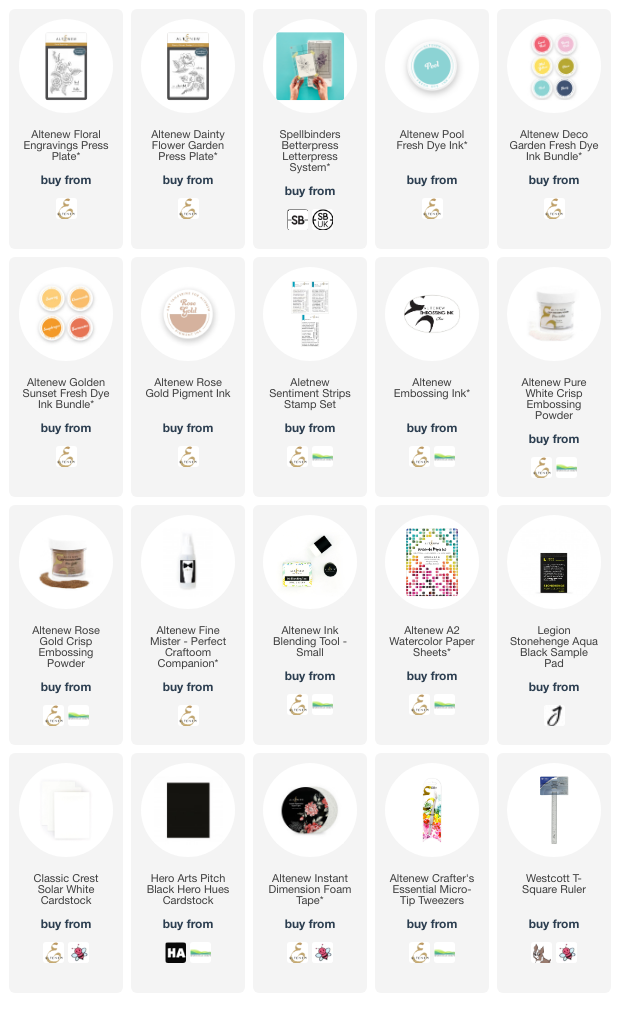
My first card uses the Altenew Floral Engravings Press Plate, pressed onto a 100% cotton A2 panel using the new Altenew Pool Fresh Dye Ink. I pressed it once in the bottom right hand corner, flipped the plate over and pressed it again in the top left. 


I then simply cut the panel down to size and adhered it to a US A2 sized white card base with Altenew Instant Dimension Foam Tape. I stamped a sentiment from the Altenew Sentiment Strips Stamp Set on to black cardstock using Altenew Embossing Ink. I applied Altenew Pure White Crisp Embossing Powder and heat set. It was cut into strips and simply adhered to the card with more foam tape. 

LETTERPRESS WITH INK BLENDING


My second card uses the same Altenew Floral Engravings Press Plate but this time pressed onto the paper using the black ink that comes with the Betterpress System. I used this ink as I wanted it to be waterproof. I then added ink blending on top using the new Altenew Golden Sunset Fresh Dye Ink Bundle and an Altenew Small Ink Blending Tool. 


I spritzed the panel using water and the Altenew Fine Mister Bottle. Once the panel was dry, it was adhered to a US A2 sized white card base using Altenew Instant Dimension Foam Tape. I then stamped and heat embossed the same sentiment as the first card and adhered it on top. I really love the simplicity of these first two cards. Although difficult to see the letterpress in the photos, in real-life, it is so pretty! 

LETTERPRESS WITH METALLIC INK


I thought I would experiment with my last card and use metallic ink on black watercolour paper. Whilst not a perfect impression, I think it is so pretty! I pressed the Altenew Dainty Flower Garden Press Plate on to black watercolour paper using Altenew Rose Gold Pigment Ink. I made sure to press the ink pad very lightly onto the plate as this is a foam pad and you could easily ink it up too much!


The panel was then simply adhered to a US A2 sized white card base with Altenew Instant Dimension Foam Tape. I stamped the same sentiment but this time on to white cardstock using Altenew Embossing Ink. I applied Altenew Rose Gold Crisp Embossing Powder and heat set. It was cut into a strip and adhered to the card with more foam tape. I finished off with a couple of gems. 

VIDEO:

Here is the video showing me use the Altenew Press Plates and Betterpress System: 


If you are viewing this post via email subscription, you can watch the video HERE on YouTube. 

SUPPLIES:


Here are the links to what I have used on the projects. Affiliate links are used on some products. This means that if you make a purchase after clicking on my link, I receive a small commission with no extra cost to you. I truly appreciate your support when using these links. Please click on the logo below the product to shop at your favourite store. All products were personally purchased except those from Clearly Besotted, Hero Arts or those marked with an asterisk (*) which were kindly sent to me to use. You can read my full disclosure here.


VIDEO HOP:


All of the fun today is happening over on YouTube. To start the hop from the beginning please head over to the Altenew Channel HERE. Also make sure to leave comments over on the videos for a chance to win an Altenew gift card. Make sure to pop back tomorrow for the blog hop where I share more cards using the new release. 

Thank you so much for stopping by today, I really do appreciate it. I will be back later with another hop but in the mean-time, I hope you have a wonderful day! 
End of code