Showing posts with label Betterpress. Show all posts

18 July 2026

Spellbinders | Upright Italic Happy Holidays

Hello there, I am delighted to be over on the Spellbinders Blog sharing a step by step photo tutorial showing how I made the card below using the new Paul Antonio Upright Italic Happy Holidays Press + Foil Plate. As the name suggests, you can use the plates for either pressing or foiling. I chose pressing for this card. 

PLEASE NOTE: This post contains affiliate links. Please see below for my full disclosure.


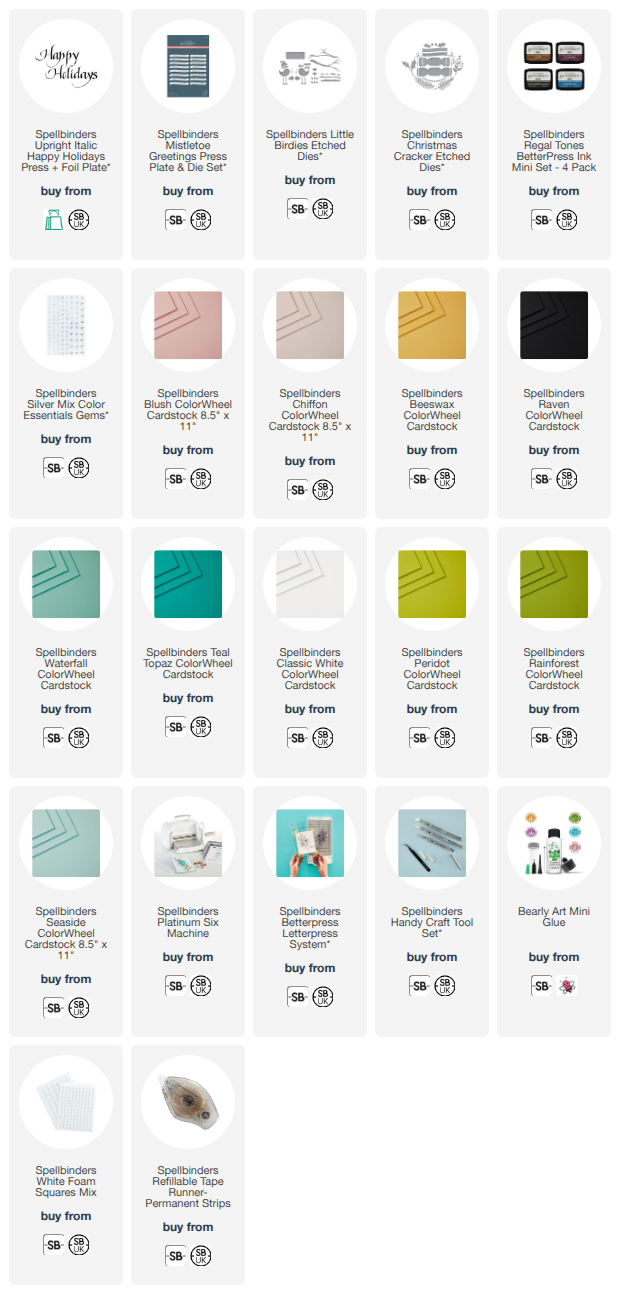
I pressed the Spellbinders Upright Italic Happy Holidays Press + Foil Plate onto Spellbinders Seaside ColorWheel Cardstock. Since this cardstock is "normal" cardstock, you don't as much of an impression/letterpress look as you do with Letterpress cardstock but it does still transfer the ink nicely! (Although my camera at the moment is getting a reflection off the black lettering, so they look a little patchy in the photo, they are not in real-life!) 

I pressed an accompanying sentiment from the Spellbinders Mistletoe Greetings Press Plate & Die Set. The cute bird is from Spellbinders Little Birdies Etched Dies, and the foliage from Spellbinders Christmas Cracker Etched Dies. 

SUPPLIES:


Here are the links to what I have used on the project. Affiliate links are used on some products. This means that if you make a purchase after clicking on my link, I receive a small commission with no extra cost to you. I truly appreciate your support when using these links. Please click on the logo below the product to shop at your favourite store. All products were personally purchased except marked with an asterisk (*) which were kindly sent to me to use. You can read my full disclosure here.

As you can see, the sentiments in this collection (there are three others) are quite large, so they make a big impact on a card, which is nice! For details on how I made the card and for more pictures, please head over to the blog post here. Thank you so much for stopping by today, I hope you have a great day and a wonderful weekend! 

19 March 2026

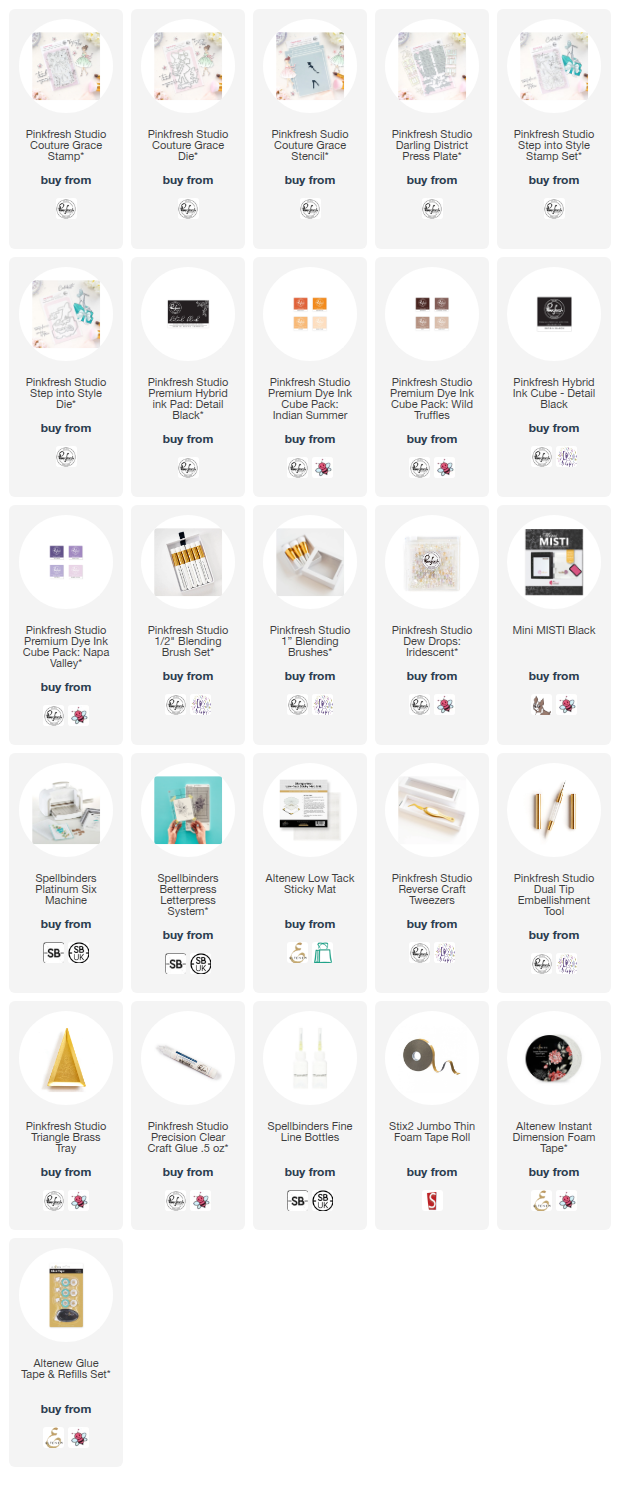
VIDEO | Using Press Plates for a Subtle Background with Pinkfresh Studio

Hello there, I am delighted to be over on the Pinkfresh Studio YouTube Channel today sharing a card using the Couture Grace suite, along with Darling District Press Plate for the background. I wanted there to be something in the background but did not want to distract from the focal point. Pressing is a great way to do this! 

PLEASE NOTE: This post contains affiliate links. Please see below for my full disclosure.


I started off my card by stamping the girl from Pinkfresh Studio Couture Grace Stamp Set onto white cardstock using Pinkfresh Studio Detail Black Hybrid Ink. I used the coordinating stencils to colour the image using ink blending and Pinkfresh Studio 1/2" Blending Brushes


Stencil 1 for the skin uses Peach Fuzz Ink.
Stencil 2 for the hair uses Gathered Twigs Ink.
Stencils 3, 5 & 6 uses Detail Black Ink for the dress, shoes and bow. 

I missed out stencil 4. 

She was die cut out using the Pinkfresh Studio Couture Grace Die


For the background, I placed the buildings plate from the Pinkfresh Studio Darling District Press Plate set onto the Chase (magnetic plate) of my Spellbinders BetterPress Letterpress System. I placed a panel of white cardstock on top, followed by a panel of scrap watercolour paper. I then placed the Platen (top clear plate) on top and ran it through my die cutting machine. I added ink blending to the panel using Hydrangea and Opulence Inks using a Pinkfresh Studio 1" Blending Brush


The panel was then adhered to a US A2 sized white card base using glue tape. The girl was adhered on top with thin foam tape. I stamped a sentiment from Pinkfresh Studio Step into Style Stamp Set using Pinkfresh Studio Detail Black Hybrid Ink, die cut it out and adhered it to the card using Pinkfresh Studio Precision Clear Craft Glue on the right and foam tape on the left. To finish, I embellished with Pinkfresh Studio Iridescent Dew Drops

VIDEO:

Here is the video showing how I made the card:


If you are viewing this blog post via email subscription, you can watch the video HERE on YouTube. 

SUPPLIES:


Here are the links to what I have used on the project. Affiliate links are used on some products. This means that if you make a purchase after clicking on my link, I receive a small commission with no extra cost to you. I truly appreciate your support when using these links. Please click on the logo below the product to shop at your favourite store. All products were personally purchased except marked with an asterisk (*) which were kindly sent to me to use. You can read my full disclosure here.


As mentioned in the video, I used the BetterPress System for the pressing today, but this can be done in any die cutting machine. You would just want to play around with the thickness of the sandwich. I would start with one you would use to deboss dies (with a silicone mat) and go from there. Thank you so much for stopping by today, I really do appreciate it. 

17 March 2026

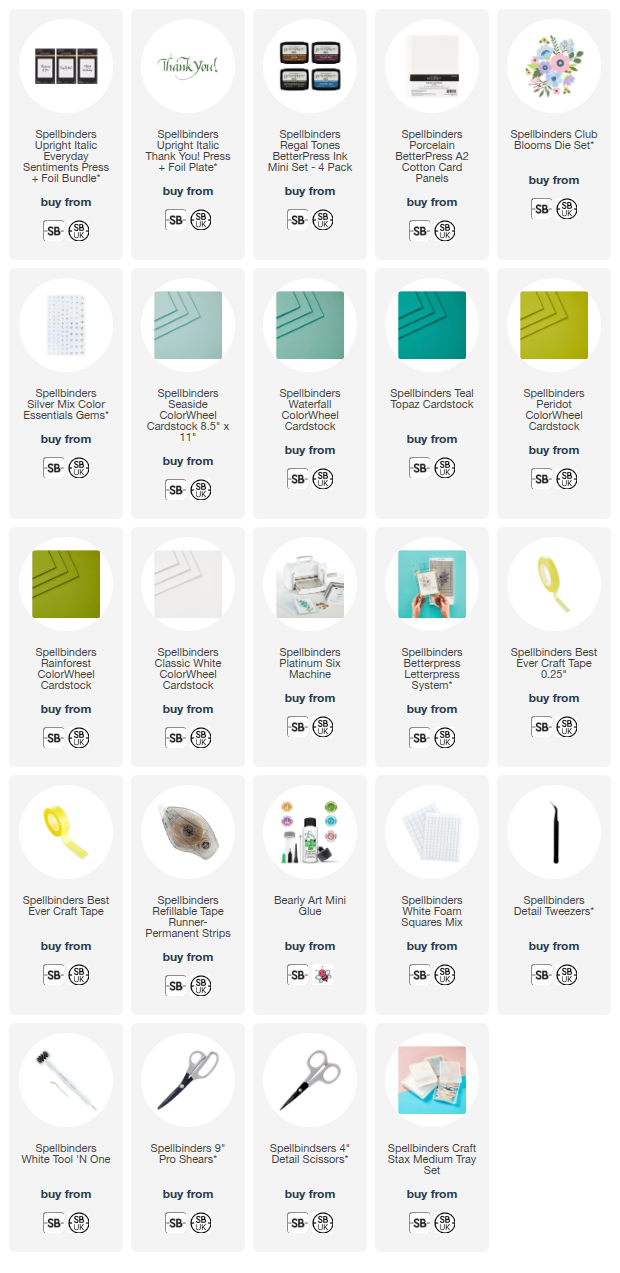
Spellbinders | Thank You Flowers

Hello there, I hope you are well! I am delighted to be over on the Spellbinders Blog today, sharing a step by step photo tutorial using the Spellbinders Upright Italic Everyday Sentiments Collection by Paul Antonio. These sentiments (there are three in the collection) are pretty large, so fill a card nicely and create a great focal point. I paired mine with flowers. 

PLEASE NOTE: This post contains affiliate links. Please see below for my full disclosure.


The peek above shows the card I made using the Spellbinders Upright Italic Thank You! Press + Foil Plate, which I pressed using BetterPress Black Ink. I then paired it with Spellbinders Club Blooms Etched Dies (I love this set!) in aqua tones (and green for the leaves) Spellbinders ColorWheel Cardstock. I embellished with Spellbinders Silver Mix Color Essentials Gems

SUPPLIES:


Here are the links to what I have used on the project. Affiliate links are used on some products. This means that if you make a purchase after clicking on my link, I receive a small commission with no extra cost to you. I truly appreciate your support when using these links. Please click on the logo below the product to shop at your favourite store. All products were personally purchased except marked with an asterisk (*) which were kindly sent to me to use. You can read my full disclosure here.


I really love the font on these sentiments! If you didn't already know, they are all handwritten by Paul Antonio himself. Please head over to the Spellbinders Blog to see the step by step tutorial. Thank you so much for stopping by today, I really do appreciate it. I hope you have a wonderful day! 

27 October 2025

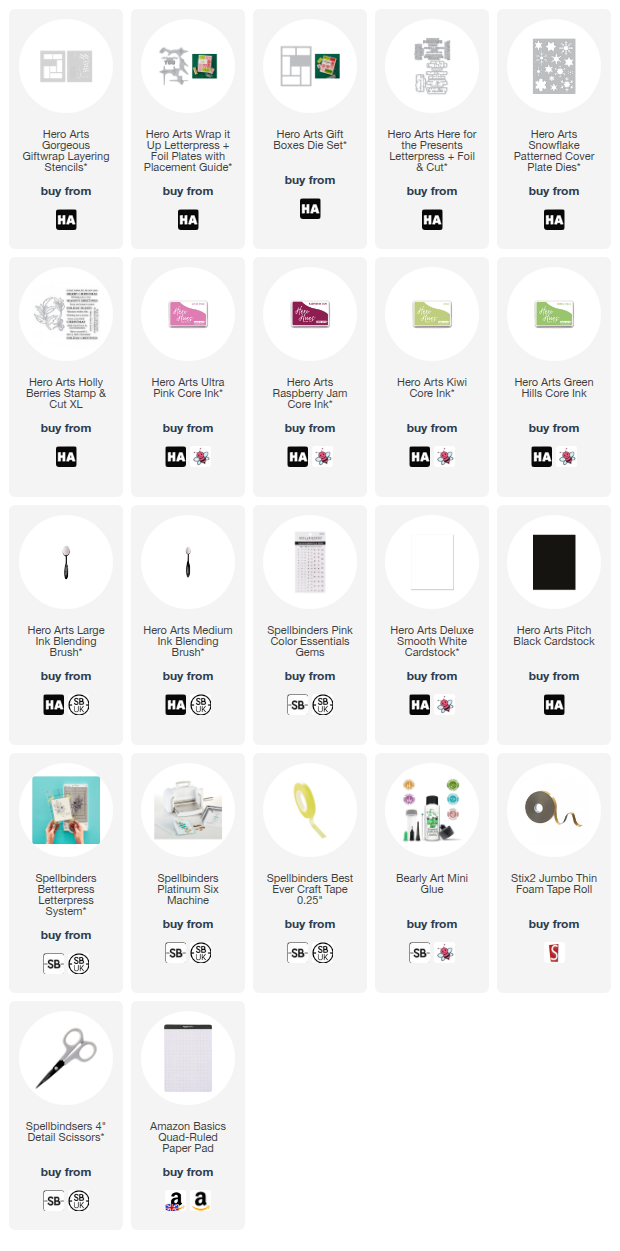
VIDEO | Adding Patterns with Stencilling & Ink Blending

Hello there, today I have a card and video to share using the Hero Arts Best Gift Ever Collection. I already made one card using the collection, which you can see here. That card was a birthday card but I took inspiration from it to create a Christmas card in a non-traditional colour palette. 

PLEASE NOTE: This post contains affiliate links. Please see below for my full disclosure.


I started off my card by pressing the Hero Arts Wrap It Up Letterpress + Foil Plate onto Hero Arts Deluxe Smooth White Cardstock with BetterPress Black Ink and the Spellbinders BetterPress Letterpress System. I then placed the first of the Hero Arts Gorgeous Giftwrap Layering Stencils on top and held down with low-tack tape. 


Using a Large Blending Brush, I blended Hero Arts Ultra Pink Core Ink on top. I removed the stencil and then added the second stencil on top. For this layer, I used Ultra Pink Core Ink again but this time, added a few layers so that it was darker than the first. For two of the presents, I left the patterns off for now and added them in after die cutting. 


The presents were then die cut out using the Hero Arts Gift Boxes Die. I then added the patterns on to the other two, so that I could change which pattern went with which present (this makes much more sense when watching the video!). The presents were adhered to an A2 sized card base made from Hero Arts Pitch Black Cardstock with thin foam tape. 


I die cut the small foliage from Hero Arts Holly Berries Stamp & Cut XL from white cardstock and added ink blending on top with Hero Arts Kiwi and Green Hills Core Inks. The pieces were cut into smaller sections and adhered to the card using liquid glue. I then die cut the Hero Arts Snowflake Patterned Cover Plate Die from white cardstock and added the snowflakes on top. 


I pressed a sentiment from the Hero Arts Here for the Presents Letterpress + Foil & Die Set onto white cardstock using BetterPress Black Ink. It was die cut out and then the die cut another two times from white cardstock and adhered behind the pressed one for added dimension, before adhering to the card. To finish, I embellished with Spellbinders Pink Color Essentials Gems

VIDEO:

Here is the video showing how I made the card:


If you are viewing this blog post via email subscription, you can watch the video HERE on YouTube. 

SUPPLIES:


Here are the links to what I have used on the project. Affiliate links are used on some products. This means that if you make a purchase after clicking on my link, I receive a small commission with no extra cost to you. I truly appreciate your support when using these links. Please click on the logo below the product to shop at your favourite store. All products were personally purchased except marked with an asterisk (*) which were kindly sent to me to use. You can read my full disclosure here.


A very non-traditional card but I do like the modern feel to it and the pink really pops from the black card base, I think! Thank you so much for stopping by today, I really do appreciate it. I hope you have a wonderful day! 

10 June 2025

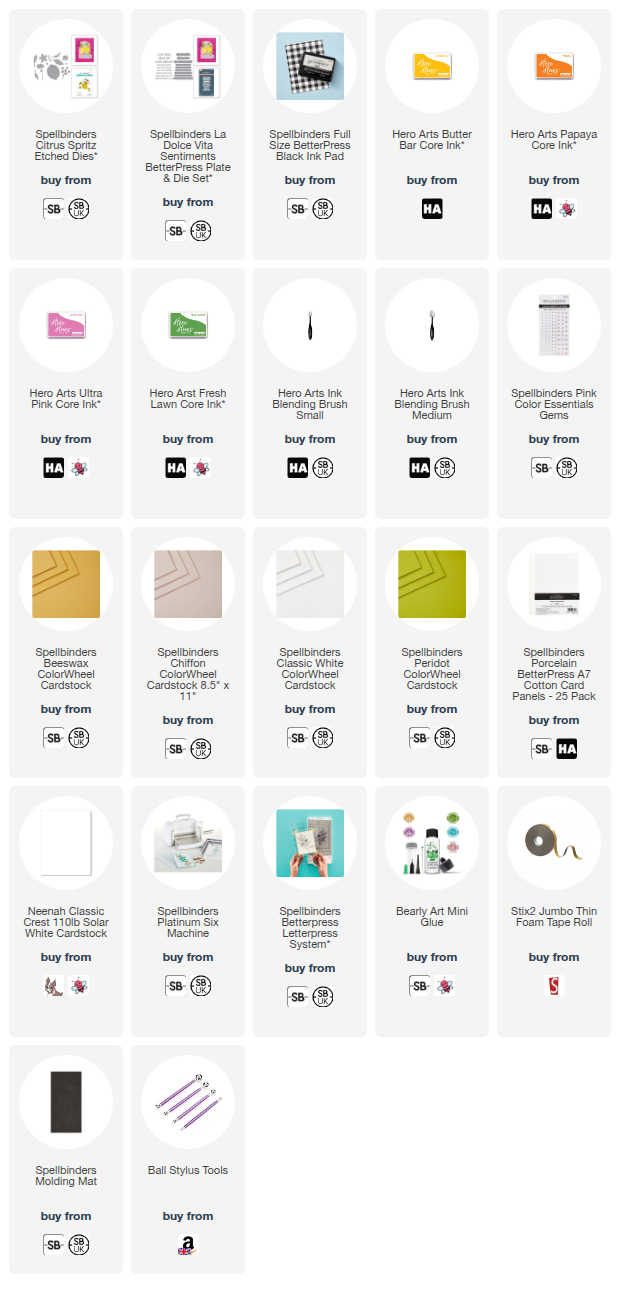
Spellbinders | Citrus Spritz

Hello there, today I have a card to share using the new Citrus Spritz set from the Spellbinders La Dolce Vita Collection which is out now. This is a fun collection full of Mediterranean goodness. Perfect for summer projects!

PLEASE NOTE: This post contains affiliate links. Please see below for my full disclosure.


I started off my card by die cutting the dies in the Spellbinders Citrus Sprit Etched Dies Set. I die cut the lemons and flower centres from Spellbinders Beeswax ColorWheel Cardstock, the leaves and stems from Spellbinders Peridot ColorWheel Cardstock, the flowers from Spellbinders Classic White ColorWheel Cardstock, and the bud flowers from Spellbinders Chiffon ColorWheel Cardstock


I added ink blending to the lemons using Hero Arts Butter Bar Core Ink with a Hero Arts Medium Blending Brush. I then added a little Hero Arts Papaya Core Ink to the one on the left, for a little contrast. I added Hero Arts Fresh Lawn Core Ink to the leaves and Hero Arts Ultra Pink Core Ink to the flower buds. Whatever was left on the Hero Arts Small Blending Brush, I added to the edges of the white flowers. 


I adhered the flower centres to the flowers and then using a ball stylus, cupped them to give them some dimension. The flower buds were adhered to the stems using Bearly Art Glue. I added the lemons to a US A2 sized white card base first, with thin foam tape. I then adhered the leaves and flowers around them with Bearly Art Glue. 


I pressed the Spellbinders La Dolce Vita Sentiments BetterPress Plate onto Spellbinders Porcelain BetterPress Cotton Card using Spellbinders BetterPress Black Ink and the Spellbinders BetterPress Letterpress System. It was die cut out. I also die cut the die another time, but this time from white cardstock, and adhered it behind the pressed one for added dimension. It was adhered to the card with liquid glue. To finish, I embellished with Spellbinders Pink Color Essentials Gems

SUPPLIES:


Here are the links to what I have used on the project. Affiliate links are used on some products. This means that if you make a purchase after clicking on my link, I receive a small commission with no extra cost to you. I truly appreciate your support when using these links. Please click on the logo below the product to shop at your favourite store. All products were personally purchased except marked with an asterisk (*) which were kindly sent to me to use. You can read my full disclosure here.


There are also lots of other collections releasing today and I will share inspiration using some of them over the next few weeks. Thank you so much for visiting me today, I really do appreciate it. I hope you have a wonderful day! 

6 May 2025

Spellbinders | Yana's Daisies

Hello there, today I have two cards to share using the fabulous new collection from Spellbinders and Yana Smakula called Yana's Daisies. I know that daisies do come in a few different colourways, I am not sure if aqua is one of them, but I thought it looked pretty so went with it! 

PLEASE NOTE: This post contains affiliate links. Please see below for my full disclosure.


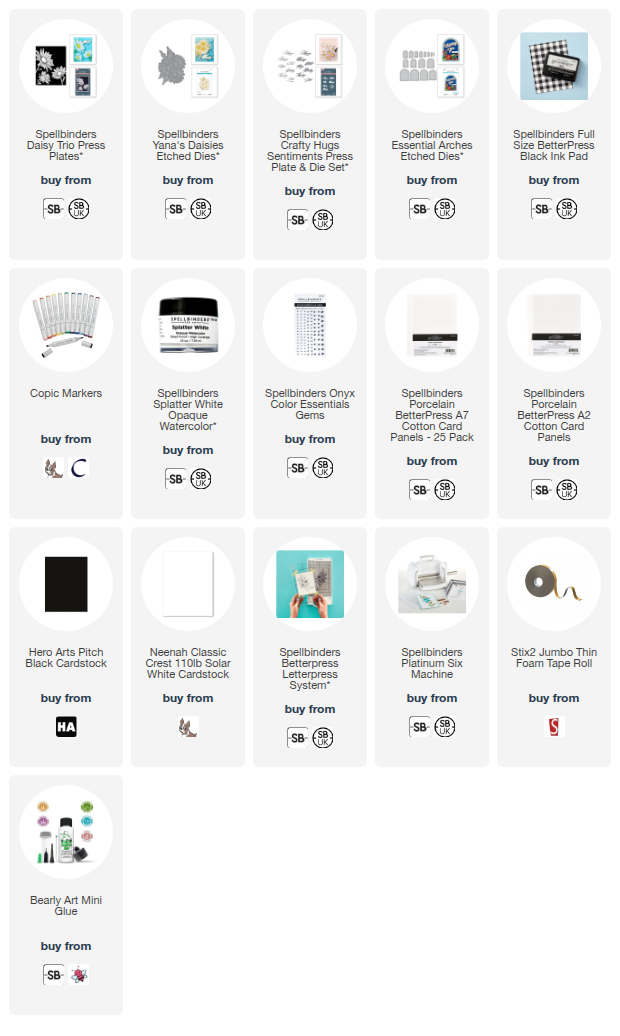
I am using the Daisy Trio Press Plate, which can be pressed or hot foiled. You can also purchase it along with a stencil which colours in the image with ink blending and also adds a shadow to the background. I just used the plate today, but wanted you to know there are other options! I am also using the super pretty Yana's Daisies Etched Die and Crafty Hugs Sentiments Press Plates. 


For my first card, I pressed the Spellbinders Daisy Trio Press Plate onto Spellbinders BetterPress Porcelain A7 Cotton Card using Spellbinders BetterPress Black Ink and the Spellbinders BetterPress Letterpress System. It was then coloured using Copic Markers (the colours that I used are listed below the supplies area). 


Copic Markers are not recommended when using this ink as it can bleed, but I wanted the vibrancy of them for my card. The yellows did bleed a bit for the flower centres but the rest weren't too bad! I die cut the panel using the second largest die in the Spellbinders Essential Arches Etched Dies set. I created a white card base using the same arch dies (using the hinge method) and then adhered the pressed panel on top with thin foam tape. 


I pressed the 'happy birthday' sentiment from the Spellbinders Crafty Hugs Sentiments Press Plate & Die Set using Spellbinders BetterPress Black Ink and die cut it out using the coordinating die. It was adhered to the card with more thin foam tape. To finish, I embellished with Spellbinders Onyx Color Essentials Gems

PEASE NOTE: The photos are showing the pressed ink to be a bit splotchy, it actually isn't in real-life at all! It is quite difficult to get a perfect press with these solid plates sometimes but this one actually came out really nicely. Shame the photos don't show that!  


For my second card, I started off by die cutting the Spellbinders Yana's Daisies Etched Dies (main die) from white cardstock, I added tape to the back to keep all the pieces in place and coloured the flowers using Copic Markers (the colours that I used are listed below the supplies area). I then die cut the die again from white cardstock, but this time popped all the pieces out and adhered it over the top. 


I decided that I didn't like the outline being white, so I die cut it again, but this time from Hero Arts Pitch Black Cardstock. It was adhered over the top of the white one. I then created an arch shaped card base like I did for the first card in black cardstock. I splattered on Spellbinders Splatter White Opaque Watercolor and let it sit to dry. 


Once dry, the daisies were adhered on top using thin foam tape. I pressed the 'just a note' sentiment from the Spellbinders Crafty Hugs Sentiments Press Plate & Die Set using Spellbinders BetterPress Black Ink and die cut it out using the coordinating die. I also cut another of the die and adhered it behind the pressed one for added dimension. It was adhered onto the card with liquid glue. 

SUPPLIES:


Here are the links to what I have used on the projects. Affiliate links are used on some products. This means that if you make a purchase after clicking on my link, I receive a small commission with no extra cost to you. I truly appreciate your support when using these links. Please click on the logo below the product to shop at your favourite store. All products were personally purchased except marked with an asterisk (*) which were kindly sent to me to use. You can read my full disclosure here.


COPIC MARKERS: Petals - BG13, BG11. Flower centres - Y17, Y15, Y13, Y11. Stems/leaves - G28, YG17, YG23, YG01. 

I really like how the daisies pop from the dark backgrounds! Thank you so much for stopping by to see me today, I really do appreciate it. I hope you have a wonderful day! 

22 April 2025

VIDEO | Hot Foiling vs. Letterpress

Hello there, today I have two cards to share using the same design but different techniques - one uses hot foiling and the other, letterpress. I thought it would be fun to see which one I liked best. 

PLEASE NOTE: This post contains affiliate links. Please see below for my full disclosure.


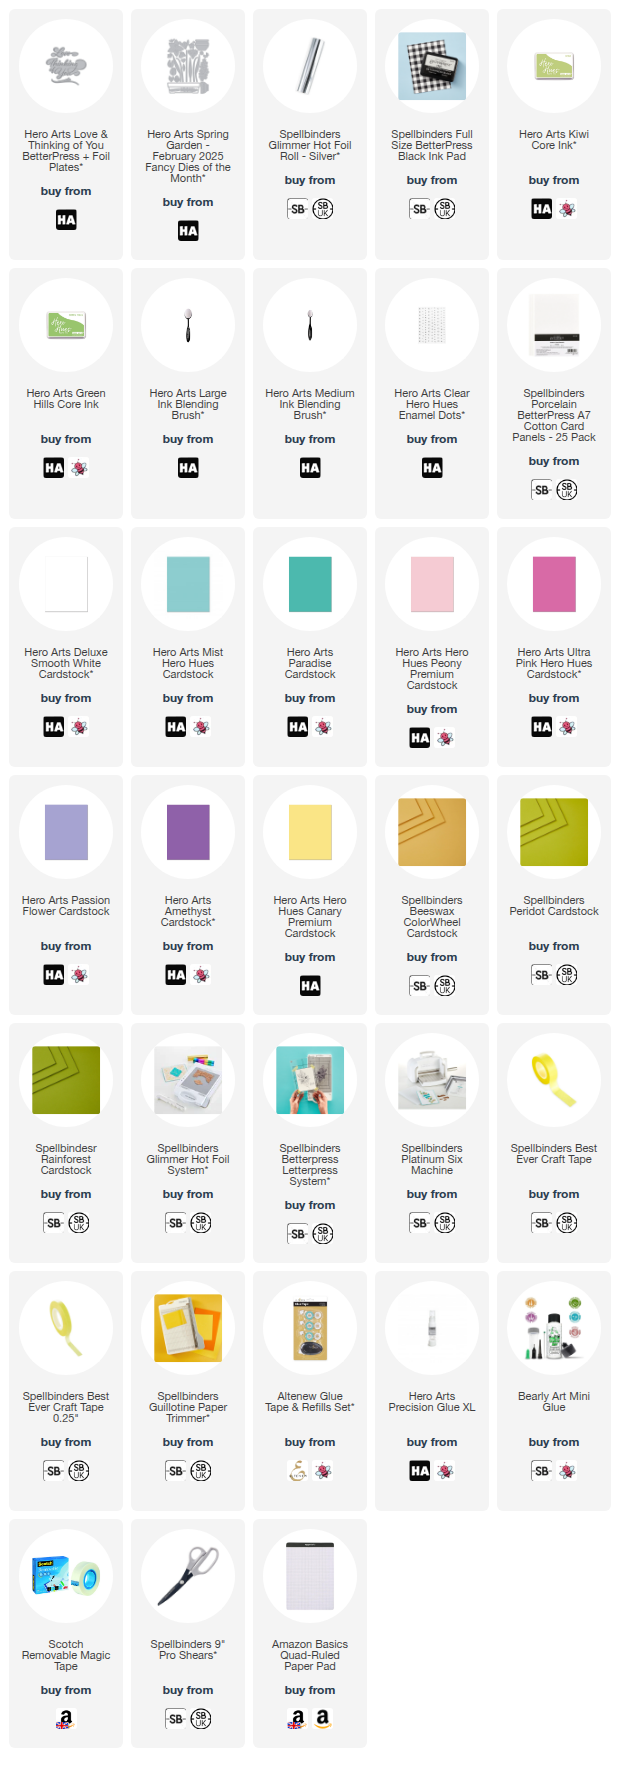
The plate I am using for my sentiment is from the Hero Arts Love + Thinking of You BetterPress + Foil Plates set. These plates are designed to both hot foil and press. You can watch the video below to see the process for both techniques. 


For my first card, I hot foiled the sThinking of You sentiment onto Hero Arts Deluxe Smooth White Cardstock using Spellbinders Silver Glimmer Hot Foil Roll and the Glimmer Hot Foil System


I then cut the panel down to 4.25" x 5.5". Using Ink Blending Brushes, I blended Hero Arts Kiwi and Green Hills Core Inks at the bottom of the panel. It was then adhered to an A2 sized white card base. 


The panel was cut to 4.25" x 5.5" (although this time in a landscape orientation) and I added ink blending with the same Hero Arts Kiwi and Green Hills Core Inks at the bottom. It was then adhered to an A2 sized white card base. 


For both cards, I die cut flowers from the Hero Arts Spring Garden - February 2025 Fancy Dies of the Month set. I used Hero Arts Mist & Paradise Cardstock for the crocus, Hero Arts Peony & Ultra Pink Cardstock for the tulips, Hero Arts Passion Flower & Amethyst Cardstock for the hyacinths, Hero Arts Canary & Spellbinders Beeswax Cardstock for the daffodils, and Spellbinders Peridot and Rainforest Cardstock for the leaves and stems. 


The flower layers were adhered together using liquid glue and then adhered to the cards with thin foam tape. The stems and leaves were adhered with liquid glue only. I cut the stems and leaves overhanging off the bottom of the cards with scissors, but left the sides overhanging slightly. To finish, I embellished with Hero Arts Clear Enamel Dots

VIDEO:

Here is the video showing how I made the cards:


If you are viewing this post via email subscription, you can watch the video HERE on YouTube. 

SUPPLIES:


Here are the links to what I have used on the projects. Affiliate links are used on some products. This means that if you make a purchase after clicking on my link, I receive a small commission with no extra cost to you. I truly appreciate your support when using these links. Please click on the logo below the product to shop at your favourite store. All products were personally purchased except marked with an asterisk (*) which were kindly sent to me to use. You can read my full disclosure here.


Which do you like best? I know it's not an exact comparison as the sentiments are a different colour but I do think I like the pressed one slightly better. However, I think that may be more to do with the design of the card, than the actual sentiment itself, although I do think the black pops a little more than the silver! Thank you so much for stopping by today, I really do appreciate it. I hope you have a wonderful day! 

26 March 2025

Alex Syberia Designs | March 2025 BetterPress Release Blog Hop + Giveaway

Hello there, I am delighted to be joining Alex Syberia Designs today to celebrate the release of their new BetterPress products with a fun blog hop. 

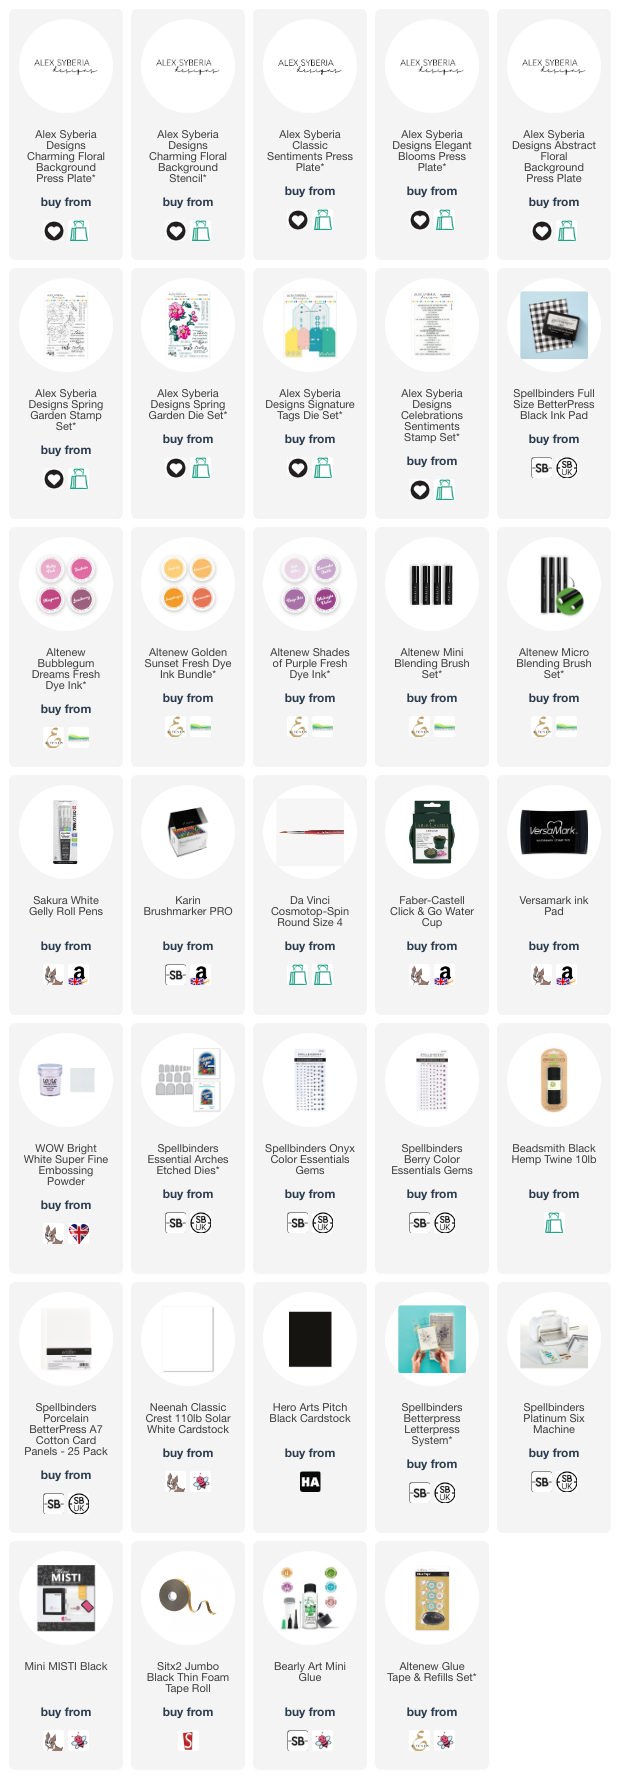
Whilst press plates can be hot foiled, I decided to press them for all three of my projects today. For the two background plates, I did re-ink my ink pad each time to try and get the best impression possible. I find this really helpful when using plates with solid parts of the image. 

PLEASE NOTE: This post contains affiliate links. Please see below for my full disclosure.


CHARMING FLORAL BACKGROUND + CLASSIC SENTIMENTS


I then took the Alex Syberia Designs Charming Floral Background Stencils and placed the first one over the top of the panel, holding in place with low-tack tape. Using blending brushes, I blended Altenew Bubblegum Dreams Fresh Dye Inks on top for the petals. I used the 3 lightest shades and then for some added depth, blended a little Altenew Midnight Violet Fresh Dye Ink on top. 


For the second stencil (the darker areas on the petals) I used Altenew Magenta and Midnight Violet Fresh Dye Inks. For the third stencil (the flower centres), I used Altenew Golden Sunset Fresh Dye Inks (the three lightest shades). I decided not to use stencils four and five, which colour in the leaves. I thought I would keep them white instead for a different look. 


The panel was adhered to a white US A2 sized card base with tape runner adhesive. I then pressed the Alex Syberia Classic Sentiments Press Plate onto Spellbinders BetterPress A7 Porcelain Cotton Card with Spellbinders BetterPress Black Ink. It was die cut out using the coordinating die and I adhered the 'thank you' onto the card with foam tape. To finish, I added white gel pen dots. 

ELEGANT BLOOMS + CLASSIC SENTIMENTS


For my second project, I started off by pressing the Alex Syberia Designs Elegant Blooms Press Plate onto Spellbinders BetterPress A7 Porcelain Cotton Card with Spellbinders BetterPress Black Ink. I then watercoloured the image using Karin Brushmarker Pro markers, water and a paintbrush. I scribbled a little Magenta to an acrylic block, picked it up with a wet paintbrush and painted it lightly on the flowers.


Once dry, the panel was cut into a tag using the Alex Syberia Designs Signature Tags Dies (one of the largest ones). I took the 'hello' sentiment from the Alex Syberia Classic Sentiments Press Plate that I pressed when making the first card and die cut the die another two times from white cardstock and adhered them behind the pressed one (for added dimension). It was adhered onto the tag using liquid glue. 


I stamped an accompanying sentiment from the Alex Syberia Designs Spring Garden Stamp Set onto black cardstock using Versamark Ink. I applied white embossing powder and heat set. It was cut out using the Alex Syberia Designs Spring Garden Die Set and adhered onto the tag using thin foam tape. To finish, I embellished with Spellbinders Onyx Color Essentials Gems and threaded twine through the top of the tag and tied in a bow. 

ABSTRACT FLORAL BACKGROUND


For my last project today, I started off by pressing the Alex Syberia Designs Abstract Floral Background Press Plate onto Spellbinders BetterPress A7 Porcelain Cotton Card with Spellbinders BetterPress Black Ink. I watercoloured the flowers using Karin Brushmarker Pro markers (Cerise, Magenta, Red Lilac & Lilac), water and a paintbrush. 


I then die cut the panel using a Spellbinders Essential Arches Etched Die. I cut another from white cardstock and added a score line towards the top to create a hinge. I added adhesive to the hinge and adhered it to the back of the pressed one to create the card base. 


I stamped two sentiments from the Alex Syberia Designs Celebrations Sentiments Stamp Set onto black cardstock using Versamark Ink. I applied white embossing powder and heat set. They were cut into strips and adhered to the card with foam tape. To finish, I embellished with Spellbinders Berry Color Essentials Gems

BLOG HOP:


As mentioned, this post is part of a fun blog hop. For the hop, you should have arrived here from Martin. Next on the hop is Lien. If you get lost along the way, or want to start the hop from the beginning, please head over to the Alex Syberia Designs Blog

GIVEAWAY:

Alex Syberia Designs is giving away a £40 ($50 for the USA) gift certificate to 1 winner and a £15 ($15 for the USA) gift card to 3 lucky winners. This giveaway is open internationally, with prizes awarded in GBP (£) for non-U.S. winners and in USD ($) for U.S. winners. All 4 winners will be drawn from the entrants that have played along with this blog hop (by leaving a comment) by April 6th 2025 at midnight BST. Winners will be announced on the Alex Syberia Designs blog 'Giveaway Winners' page on April 7th 2025.


SUPPLIES:


Here are the links to what I have used on the projects. Affiliate links are used on some products. This means that if you make a purchase after clicking on my link, I receive a small commission with no extra cost to you. I truly appreciate your support when using these links. Please click on the logo below the product to shop at your favourite store. All products were personally purchased except those marked with an asterisk (*) which were kindly sent to me to use. You can read my full disclosure here.


Thank you so much for stopping by today, I really do appreciate it. I hope you have a wonderful day and a great time on the rest of the hop! Take care!

21 October 2023

Spellbinders | Betterpress Christmas

Hello there, today I have three cards to share using the Spellbinders Betterpress Christmas and More Betterpress Christmas collections. I used one with actual Betterpress and the other two were hot foiled. I love that you can use press plates for foiling too, it gives them a lot of versatility. 

PLEASE NOTE: This post contains affiliate links. Please see below for my full disclosure.


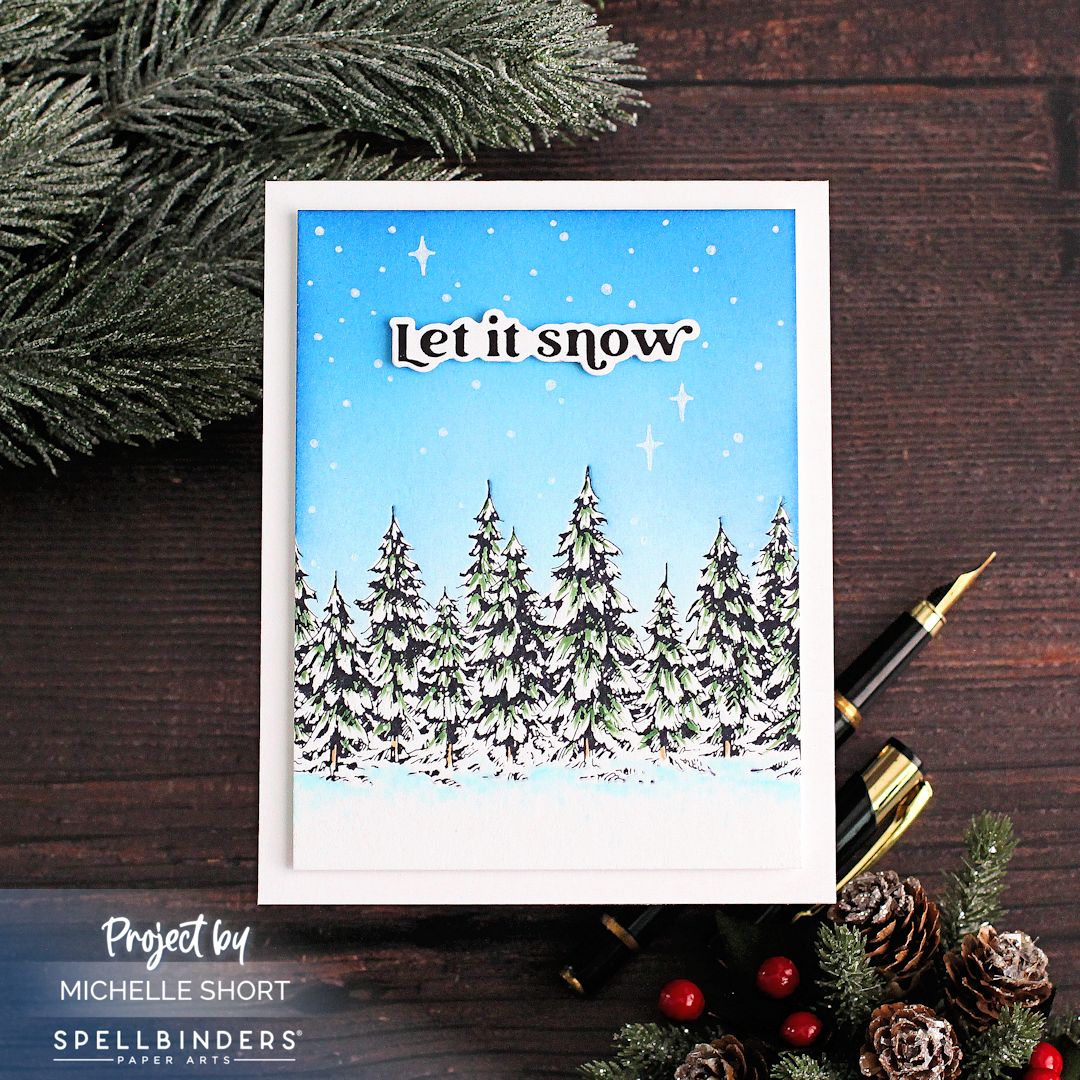
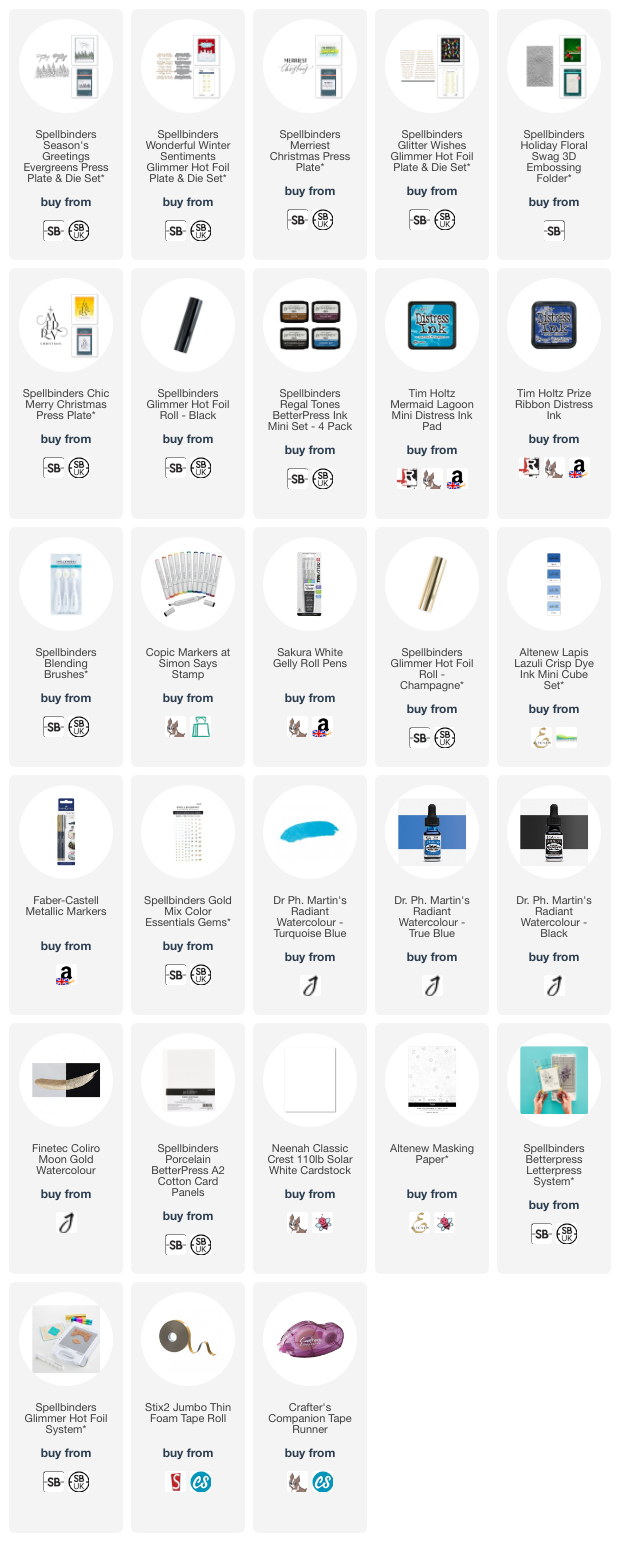
My first card uses the Spellbinders Season's Greetings Evergreens Press Plate & Die Set. I pressed it onto Spellbinders Betterpress Porcelain Card with Spellbinders Betterpress Black Ink and the Spellbinders Betterpress Letterpress System. I also pressed the plate onto masking paper. I fussy cut the mask out with scissors and then placed it on top of the image. 


Using blending brushes, I blended Tim Holtz Distress Inks in Mermaid Lagoon and Prize Ribbon at the top of the panel for the sky. I removed the mask and added a little colour to the trees with a G46 Copic Marker, followed by the ground/snow using B000, B0000 and 0 Copic Markers. The panel was cut down a little and adhered onto a US A2 sized white card base with thin foam tape. 


I took the Spellbinders Wonderful Winter Sentiments Glimmer Hot Foil Plate & Die Set and foiled it onto white cardstock using Spellbinders Black Foil. It was die cut out using the coordinating die and adhered to the card using thin foam tape. To finish off, I added white gel pen snow and stars to the sky and trees. 


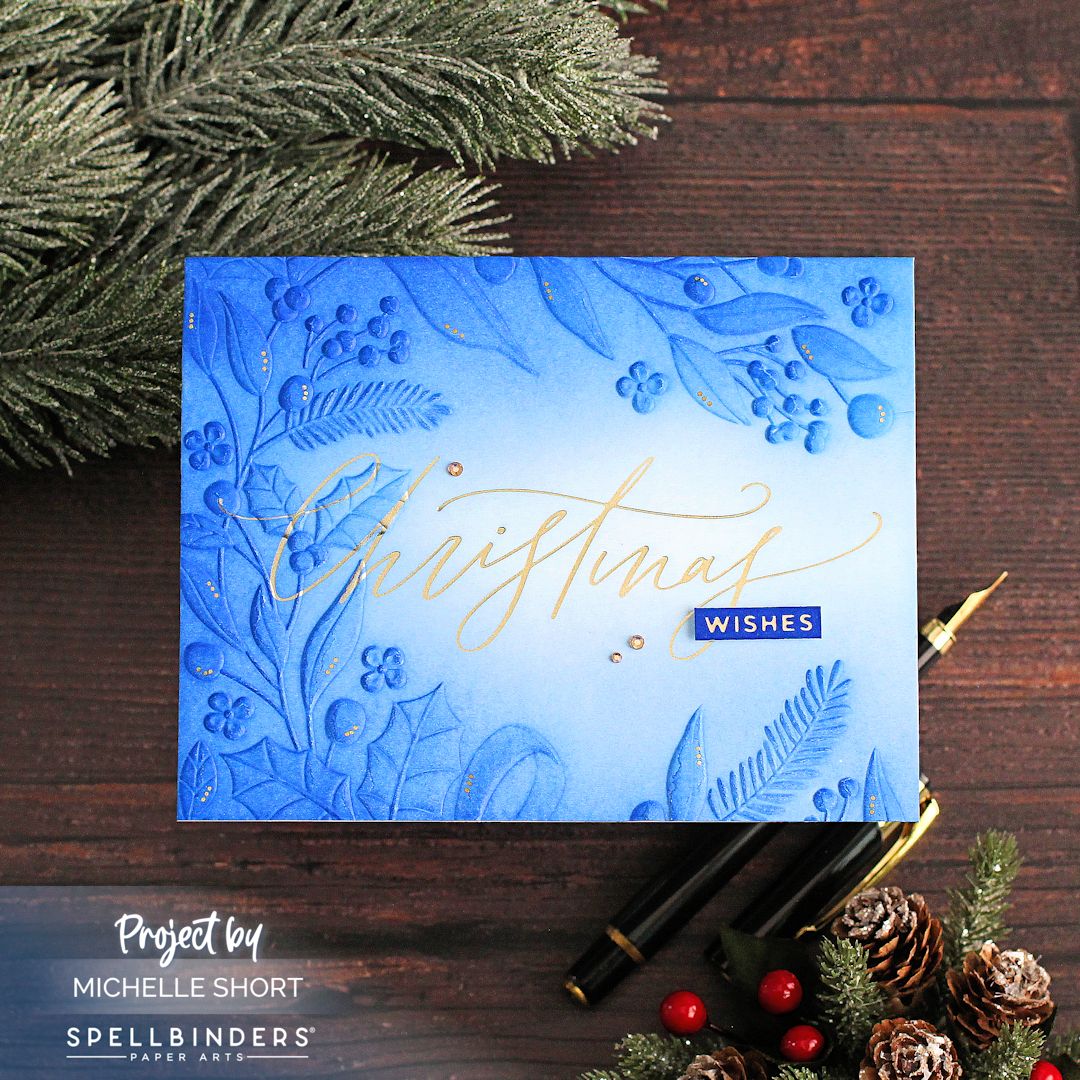
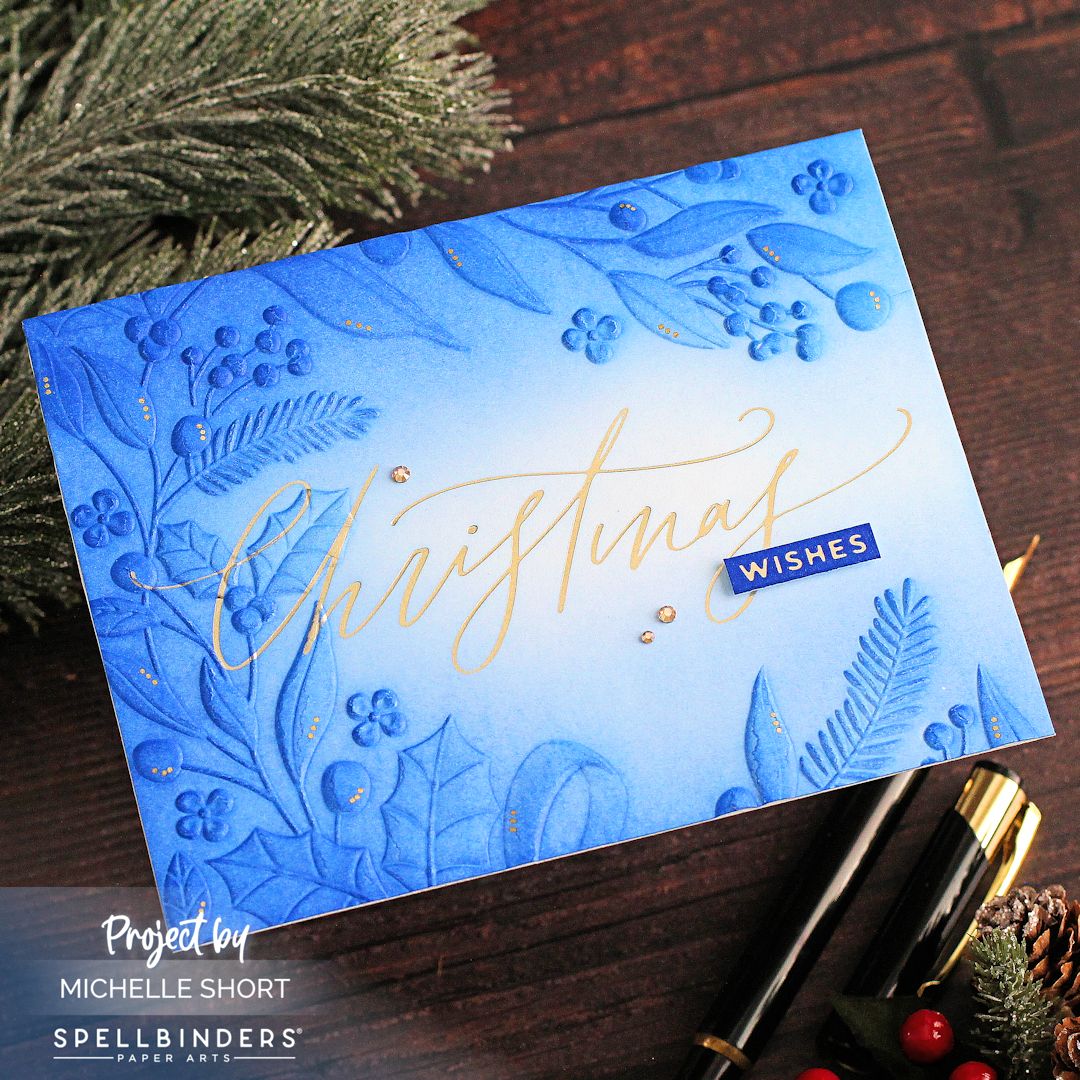
My next card uses the Spellbinders Merriest Christmas Press Plate. I started off by foiling the 'Christmas' part of the sentiment onto white cardstock with Spellbinders Champagne Foil and the Spellbinders Glimmer Hot Foil System. I then foiled 'wishes' from the Spellbinders Glitter Wishes Hot Foil Plate & Die Set. This was part of a longer sentiment but I just wanted the wishes word. 


I ran the foiled panel through my die cutting machine inside the Spellbinders Holiday Floral Swag 3D Embossing Folder. The embossing did overlap the foiling a little but it didn't seem to cause any harm to it, although it does obscure the letters a little. I blended Altenew Lapis Lazuli Crisp Dye Inks on top and then adhered it to a US A2 sized white card base with tape runner adhesive. 


I added ink to the foiled 'wishes' cardstock piece and cut it into a strip. It was adhered to the card with thin foam tape. To finish off, I added gold dots to the embossed areas, as well as a few Spellbinders Gold Mix Color Essentials Gems


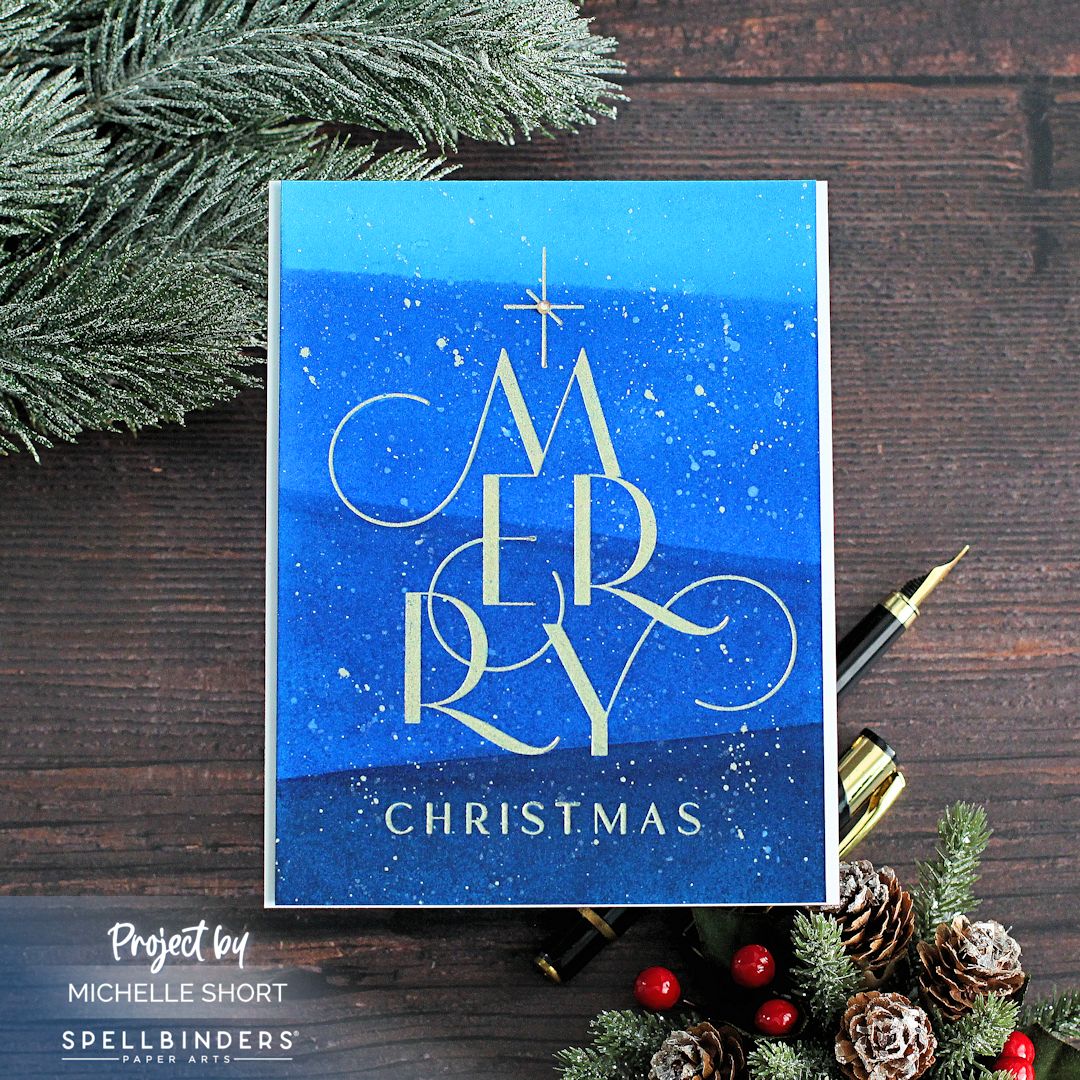
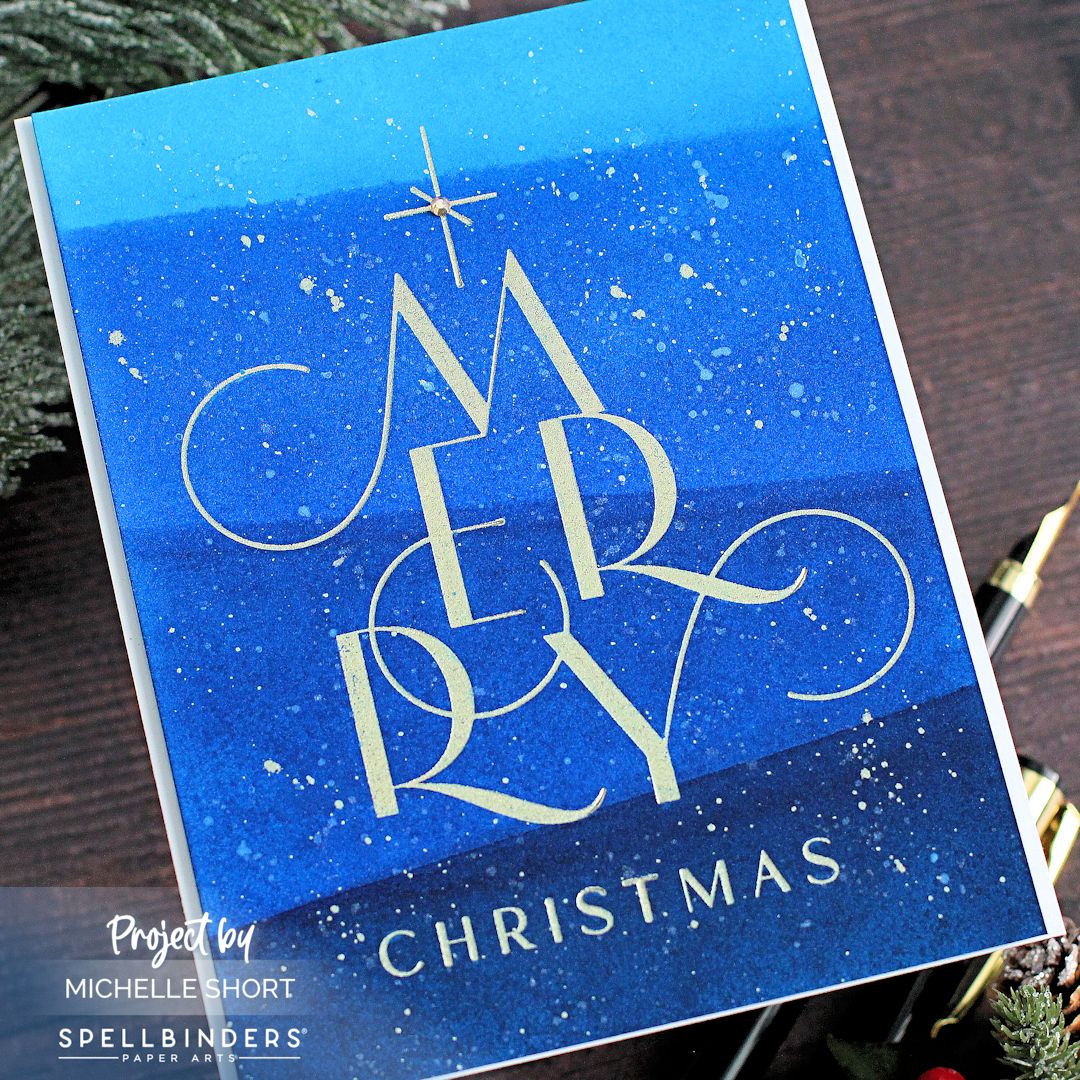
My last card today uses the Spellbinders Chic Merry Christmas Press Plate. I again foiled it using Spellbinders Champagne Foil but this time onto Spellbinders Betterpress Porcelain Card. I then painted on stripes using Dr. Ph. Martin's Radiant Watercolours (mixing the colours to get gradients of colour). 


I splattered Finetec Coliro Moon Gold Watercolour on top and set aside to dry. Once dry, the panel was cut down slightly and adhered onto a US A2 sized white card base with thin foam tape. To finish off, I added a Spellbinders Gold Mix Color Essentials Gem to the centre of the star. 

SUPPLIES:


Here are the links to what I have used on the projects. Affiliate links are used on some products. This means that if you make a purchase after clicking on my link, I receive a small commission with no extra cost to you. I truly appreciate your support when using these links. Please click on the logo below the product to shop at your favourite store. All products were personally purchased except those from Clearly Besotted, Hero Arts or those marked with an asterisk (*) which were kindly sent to me to use. You can read my full disclosure here.


Have you tried Bettrpress yet? Do you like it? I have to admit to not liking the clean up of the plates afterwards, but I do really like the letterpress look and as I said above, I really like that you can foil with the plates too! Thank you so much for stopping by today, I really do appreciate it. I hope you have a wonderful weekend! 
End of code