Showing posts with label Foiling. Show all posts

13 May 2026

Spellbinders | From My House to Yours

Hello there, I am delighted to be over on the Spellbinders Blog today sharing a step by step photo tutorial using the new Everyday City Holiday Collection from Yana Smakula. This collection works with the already released City Holiday Etched Dies to go from a holiday/Christmas set, to an everyday set. These houses/apartments are so fun to put together! 

PLEASE NOTE: This post contains affiliate links. Please see below for my full disclosure.


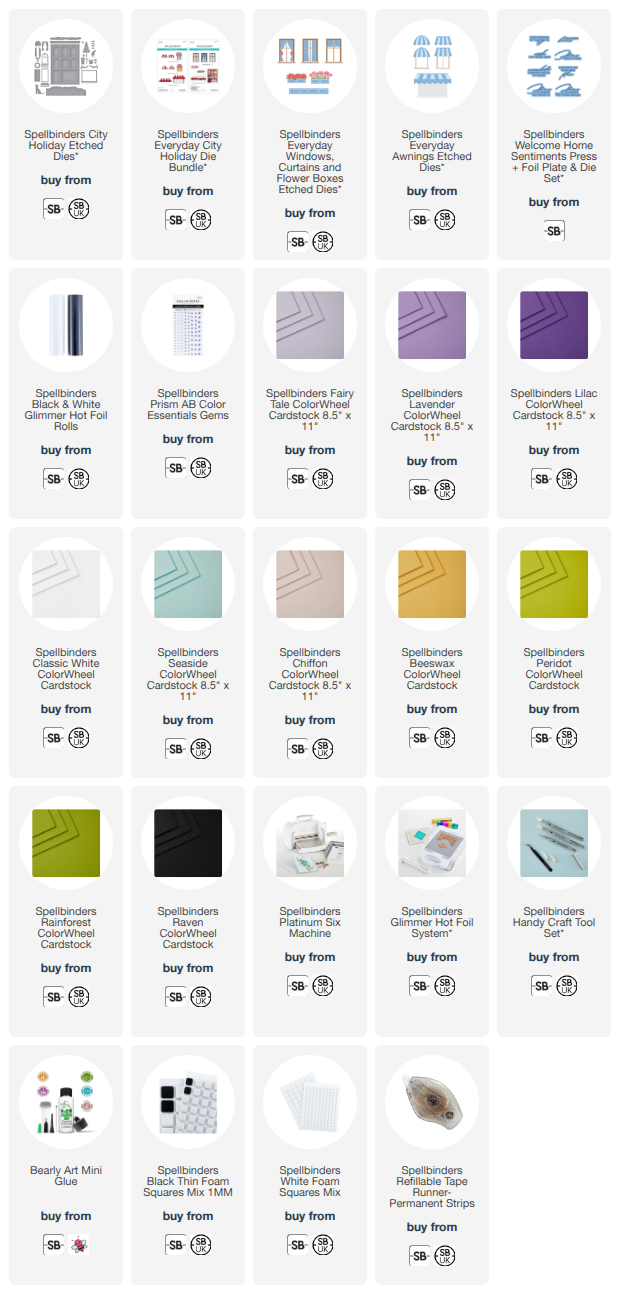
The peek above uses the Spellbinders City Holiday Etched Dies for the main building, roof, bricks, door, main window and cat. I used the new Spellbinders Everyday Windows, Curtains and Flowers Boxes Etched Dies for the windows, inside windows, flowers, flower boxes, curtains and blinds. I also used the new Spellbinders Everyday Awnings Etched Dies for the awning on the large window. The sentiment is from the new Spellbinders Welcome Home Sentiments Press + Foil Plate & Die Set

SUPPLIES:


Here are the links to what I have used on the project. Affiliate links are used on some products. This means that if you make a purchase after clicking on my link, I receive a small commission with no extra cost to you. I truly appreciate your support when using these links. Please click on the logo below the product to shop at your favourite store. All products were personally purchased except marked with an asterisk (*) which were kindly sent to me to use. You can read my full disclosure here.

I love how you can mix and match all these sets. There are so many different combinations you can do for the different awnings, windows, curtains, flowers etc. Also tons of opportunities for different colour combos too! I will have a video using these sets (as well as a discount code) up next week but in the mean-time, I hope you will check out the blog post. Thank you so much for stopping by today, I really do appreciate it. I hope you have a great day!

10 May 2026

Spellbinders | Classic Mouse Wedding

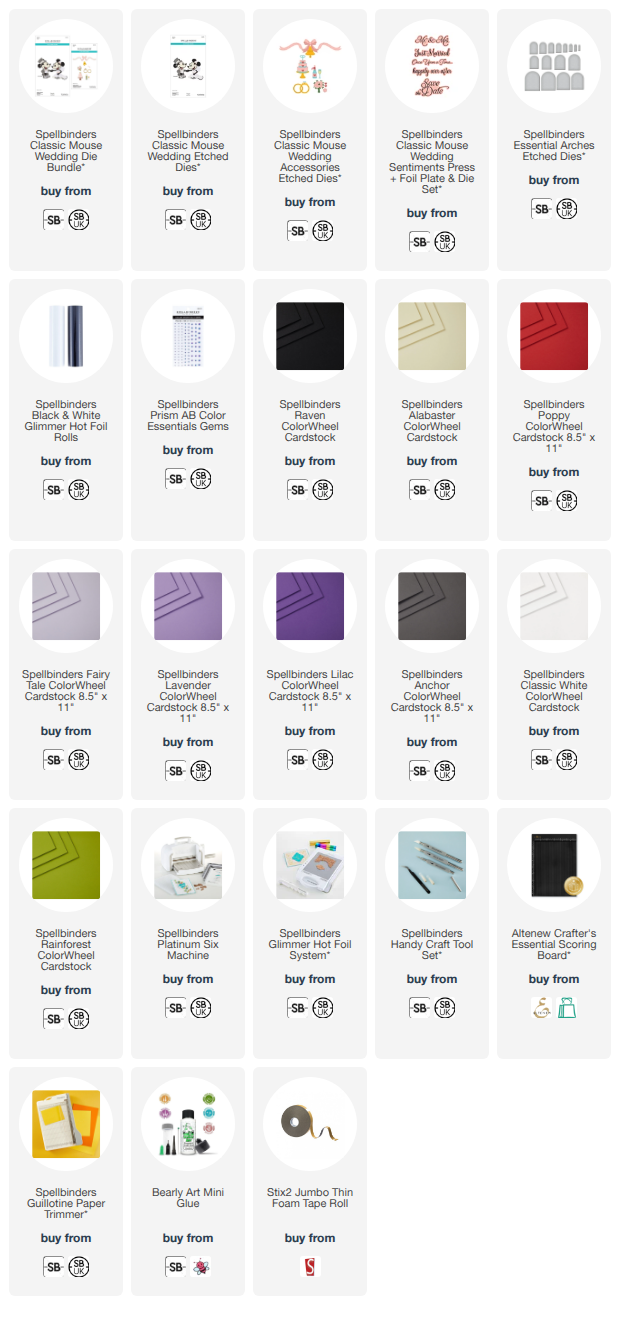
Hello there, today I have a card to share using the new Spellbinders Classic Mouse Wedding Collection that is part of the May 2026 release, which is out now! The collection features the Classic Mouse Wedding die set (the mice as well as their clothing), an accessories die set (bouquet, rings, champagne etc), a sentiment set, and a background plate. 

PLEASE NOTE: This post contains affiliate links. Please see below for my full disclosure.


I started off my card by die cutting the Spellbinders Classic Mouse Wedding Etched Dies from Spellbinders ColorWheel Cardstock. I cut the mice from Raven, Alabaster and Poppy. The suit was die cut from Anchor, the waistcoat from Classic White, the shoes from Classic White and Raven, the bow tie from Lavender, and the hat from Anchor and Lavender


The dress was cut from Classic White and Fairy Tale, the veil from Classic White and Lavender, and the shoes from Lavender. The bouquet, from Spellbinders Classic Mouse Wedding Accessories Etched Dies, was cut from Rainforest, Fairy Tale and Lilac. The mice were assembled and adhered using Bearly Art Glue (there is a guide of how to do it on the Spellbinders website). 


I die cut the largest Spellbinders Essential Arches Die from white cardstock and then again twice from Spellbinders Lilac ColorWheel Cardstock. I scored one of the lilac ones towards the top to create a hinge and added adhesive to it. It was then adhered to the back of the other one to create the card base. I cut the white one down a little and adhered it on top using thin foam tape. 


The mice were adhered on top using thin foam tape also. I die cut the hearts from the Spellbinders Classic Mouse Wedding Accessories Etched Dies from Spellbinders Lilac ColorWheel Cardstock and adhered them above the mice. The Spellbinders Classic Mouse Wedding Sentiments Press + Foil Plate was hot foiled onto white cardstock using Spellbinders Opaque Black Foil. It was then die cut out using the coordinating die and the 'Just Married' one adhered to the card. To finish, I embellished with Spellbinders Prism AB Color Essentials Gems on the veil and bow tie. 

SUPPLIES:


Here are the links to what I have used on the project. Affiliate links are used on some products. This means that if you make a purchase after clicking on my link, I receive a small commission with no extra cost to you. I truly appreciate your support when using these links. Please click on the logo below the product to shop at your favourite store. All products were personally purchased except marked with an asterisk (*) which were kindly sent to me to use. You can read my full disclosure here.


Aren't they just adorable? I love them! This would be perfect in so many different colour combos but of course, I went with purple for my card today! Thank you so much for stopping by today, I really do appreciate it. I hope you have a great rest of the weekend! 

10 March 2026

VIDEO | Hot Foiling & Stencilling Daffodils & Tulips

Hello there, today I have a card and video to share using Yana's Tulips Collection from Spellbinders. I am hot foiling and stencilling the Tulips & Daffodils Press + Foil Plate and the image is oh so pretty! Lots of different colour combinations could be used here, but I went with traditional yellow daffodils and pink tulips! 

PLEASE NOTE: This post contains affiliate links. Please see below for my full disclosure.


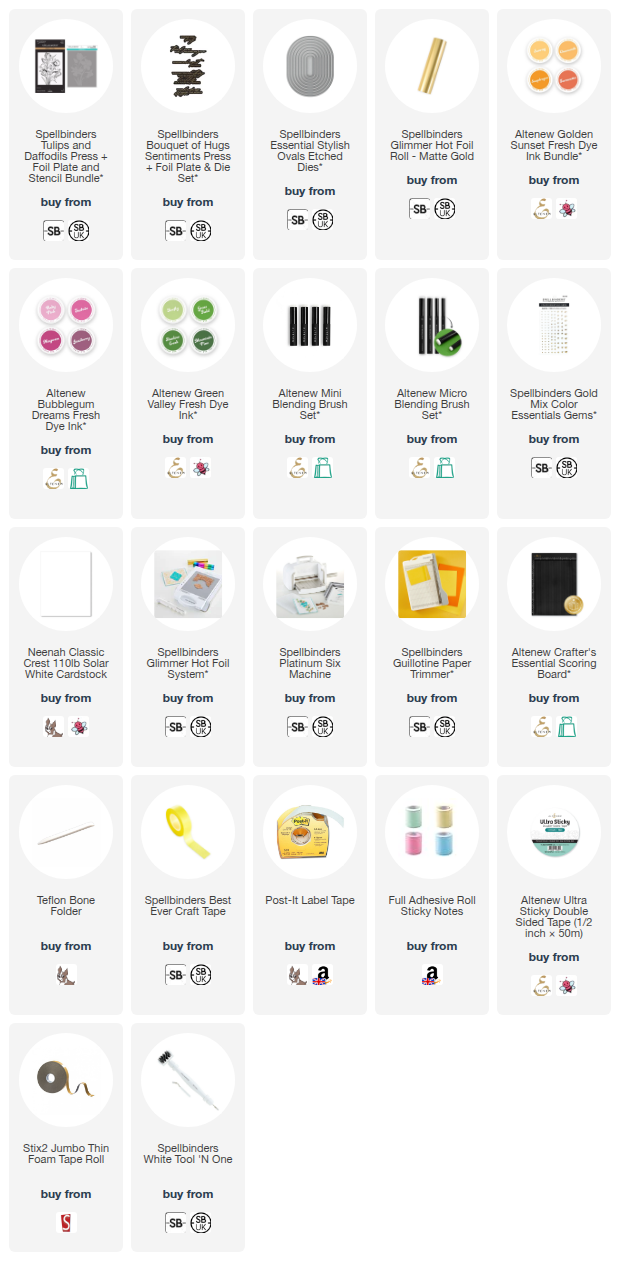
I started off by hot foiling the Spellbinders Tulips & Daffodils Press + Foil Plate onto white cardstock using Spellbinders Matte Gold Glimmer Hot Foil and the Spellbinders Glimmer Hot Foil System. I then placed the coordinating stencils over the top, one by one, to add ink blending to the image using blending brushes. 


I used Altenew Golden Sunset Fresh Dye Inks (all four shades) for the daffodils, Altenew Bubblegum Dreams Fresh Dye Inks (Baby Pink, Fuchsia & Magenta) for the Tulips, and Altenew Green Valley Fresh Dye Inks (Firefly, Grass Field & Shadow Creek) for the leaves and stems. 


The panel was then cut into an oval using the largest Spellbinders Essential Stylish Ovals Etched Dies. I cut another panel of white cardstock using the same die and cut a little off the bottom using a guillotine. I then scored a line towards the top to create a hinge. I added adhesive to the hinge and adhered it to the back of the foiled panel to create the card base. 


I hot foiled the sentiment from the Spellbinders Bouquet of Hugs Sentiments Press + Foil Plate + Die Set onto white cardstock using the same Spellbinders Matte Gold Glimmer Hot Foil. It was die cut out using the coordinating die and adhered to the card using thin foam tape. To finish, I embellished with Spellbinders Gold Mix Color Essentials Gems

VIDEO:

Here is the video showing how I made the card:


If you are viewing this blog post via email subscription, you can watch the video HERE on YouTube. 

SUPPLIES:


Here are the links to what I have used on the project. Affiliate links are used on some products. This means that if you make a purchase after clicking on my link, I receive a small commission with no extra cost to you. I truly appreciate your support when using these links. Please click on the logo below the product to shop at your favourite store. All products were personally purchased except marked with an asterisk (*) which were kindly sent to me to use. You can read my full disclosure here.


Not into foiling? I am sharing a step by step tutorial using this plate over on the Spellbinders Blog using the BetterPress Letterpress System instead. Thank you so much for stopping by today, I really do appreciate it. I hope you have a wonderful day! 

25 October 2025

Spellbinders | Fountain Wishes

Hello there, as mentioned yesterday, I am back to share another card using the Spellbinders Happier Hour collection. Today's card uses the Fountain Wishes set. This can be used as a sundae, like I have, or as a milkshake. I didn't use them on my card but the set also includes a straw (for the milkshake) and a bird with a balloon and party hat. 

PLEASE NOTE: This post contains affiliate links. Please see below for my full disclosure.


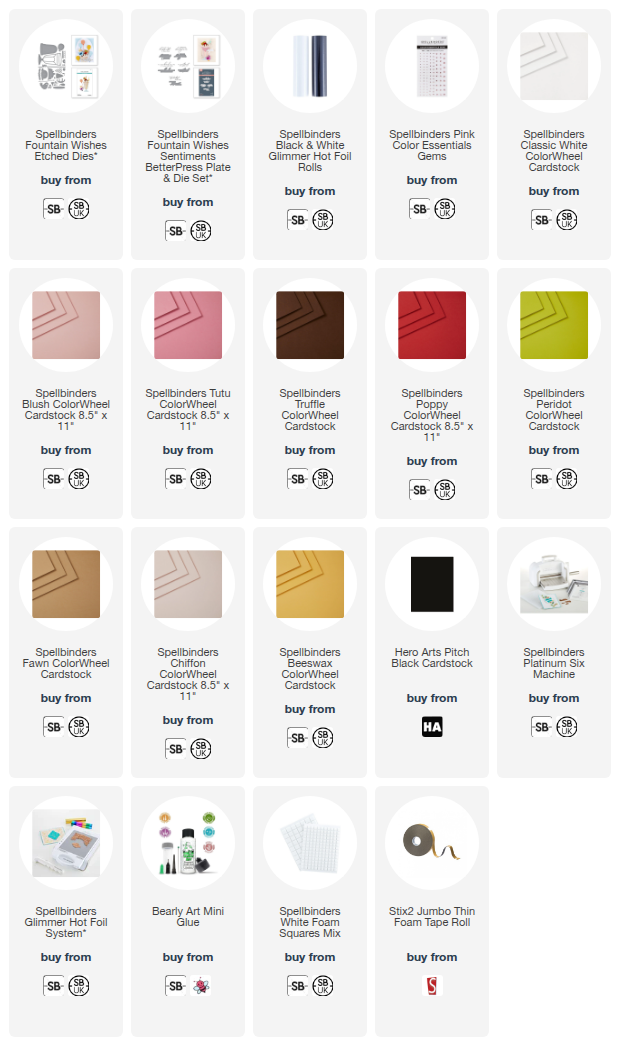
I started off my card by die cutting the glass from the Spellbinders Fountain Wishes Etched Dies from Spellbinders Classic White ColorWheel Cardstock. I die cut the ice cream from Spellbinders Blush and Tutu ColorWheel Cardstock and the chocolate sauce from Spellbinders Truffle ColorWheel Cardstock


I adhered the pieces together using Bearly Art Glue, popping the top part of the ice cream behind the rim of the glass. I die cut the wafer from Spellbinders Fawn ColorWheel Cardstock and adhered the two layers together before adhering behind the ice cream. The cherry was die cut from Spellbinders Poppy and Peridot ColorWheel Cardstock and adhered to the top of the ice cream. 


I die cut the base of the candle from Spellbinders Classic White ColorWheel Cardstock, the stripes from Chiffon, and the flame from Beeswax ColorWheel Cardstock. They were adhered together first and then adhered behind the ice cream. The glass was then adhered to an A2 sized black card base using thin foam tape. 


I hot foiled the sentiment from Spellbinders Fountain Wishes Sentiments BetterPress Plate & Die Set onto white cardstock using Spellbinders Opaque Black Foil and the Glimmer Hot Foil System. It was die cut out using the coordinating die and I also cut the die again from white cardstock and adhered that layer behind the foiled one for dimension. It was adhered to the card with foam squares. To finish, I embellished with Spellbinders Pink Color Essentials Gems

SUPPLIES:


Here are the links to what I have used on the project. Affiliate links are used on some products. This means that if you make a purchase after clicking on my link, I receive a small commission with no extra cost to you. I truly appreciate your support when using these links. Please click on the logo below the product to shop at your favourite store. All products were personally purchased except marked with an asterisk (*) which were kindly sent to me to use. You can read my full disclosure here.


This is such a fun collection and I love that you can use the sets for lots of different occasions! Thank you so much for stopping by today, I very much appreciate it. I hope you have a wonderful weekend! 

24 October 2025

Spellbinders | A Special Toast

Hello there, today I have a card to share using the Happier Hour collection from Spellbinders. You may remember Spellbinders released the Happy Hour collection last year (you can see my cards here), well they are now back with Happier Hour! I have one card to share today and will share another tomorrow. 

PLEASE NOTE: This post contains affiliate links. Please see below for my full disclosure.


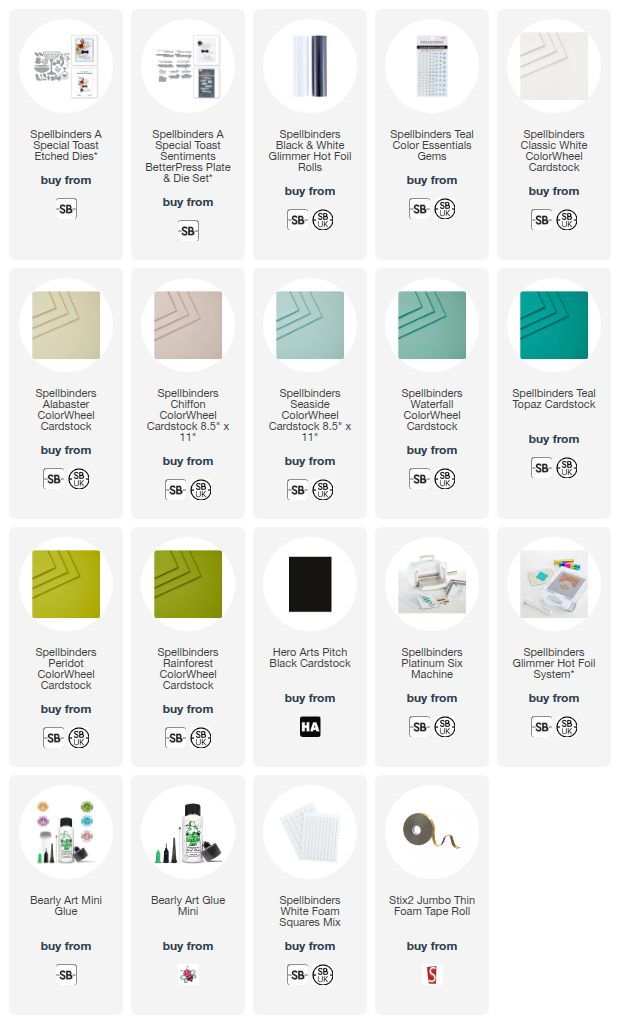
I started off my card by die cutting the glass from the Spellbinders Special Toast Etched Dies from Spellbinders Classic White ColorWheel Cardstock. I cut the drink part from Spellbinders Chiffon (for the back layer) and Alabaster (for the top layer) ColorWheel Cardstock. The drink part was adhered to the glass and then the glass adhered to a black A2 sized card base with thin foam tape. 


I die cut the flowers in the set from Spellbinders Seaside, Waterfall and Teal Topaz ColorWheel Cardstock with the flower centres cut from Classic White. I die cut the leaves and stems from Spellbinders Peridot and Rainforest ColorWheel Cardstock. 


The foliage was adhered to the card first, using Bearly Art Glue. The flowers were assembled and adhered to the card with foam squares. I hot foiled the sentiment from the Spellbinders A Special Toast Sentiments BetterPress Plate & Die Set onto white cardstock using Spellbinder Opaque Black Foil and the Glimmer Hot Foil System


It was die cut out using the coordinating die and the die cut again from white cardstock and adhered to the back of the foiled one. I then adhered the sentiment to the card using foam squares. To finish, I embellished with Spellbinders Teal Color Essentials Gems

SUPPLIES:


Here are the links to what I have used on the project. Affiliate links are used on some products. This means that if you make a purchase after clicking on my link, I receive a small commission with no extra cost to you. I truly appreciate your support when using these links. Please click on the logo below the product to shop at your favourite store. All products were personally purchased except marked with an asterisk (*) which were kindly sent to me to use. You can read my full disclosure here.


The set mainly has a love/wedding theme to it. There are bow ties, shoes, a ring plus lots more but I decided to go with a generic celebration theme for my card. Thank you so much for stopping by today, I really do appreciate it. I hope you have a great day! 

22 October 2025

Pinkfresh Studio | Flourish & Glow October 2025 Release Blog Hop + Giveaway

Hello there, I am delighted to be joining Pinkfresh Studio today to celebrate the Flourish & Glow release, which is out now! I have a card and tag to share today and I also have another card to share tomorrow too! This is such a beautiful release, filled with wonderful florals. 

PLEASE NOTE: This post contains affiliate links. Please see below for my full disclosure.


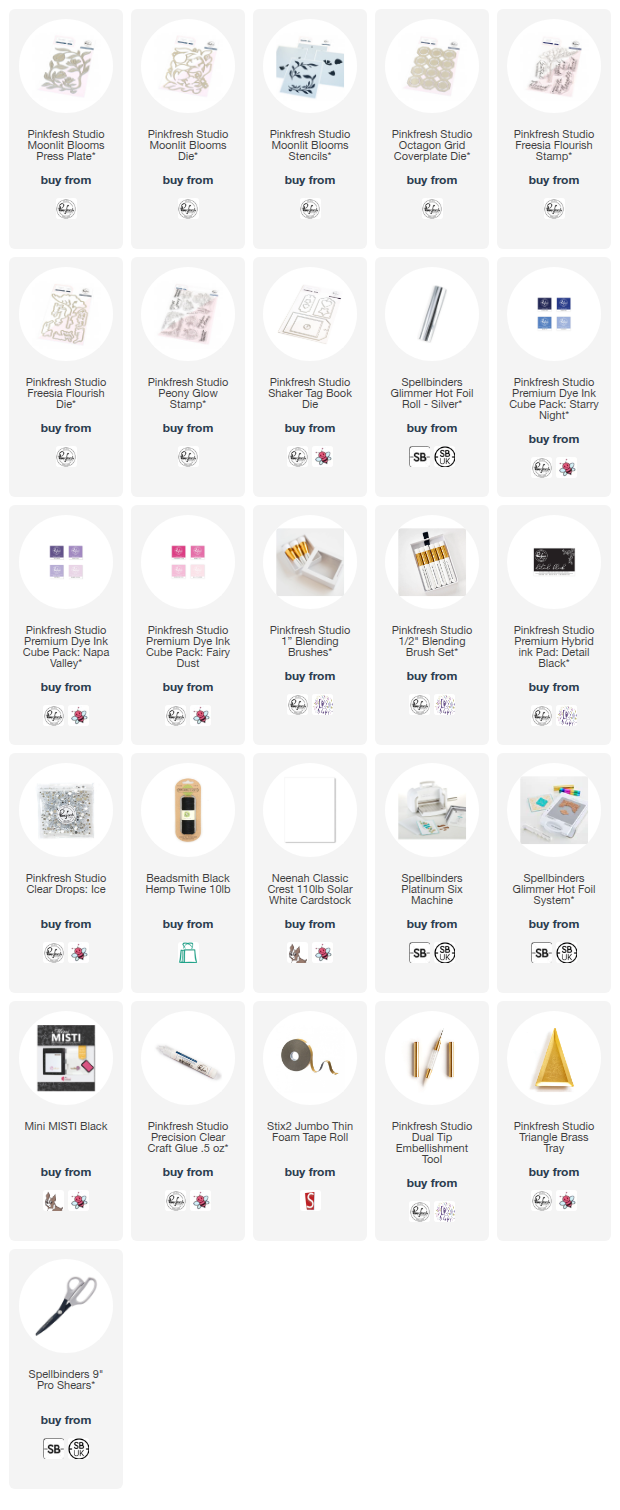
I started off my card by hot foiling the Pinkfresh Studio Moonlit Blooms Press Plate (if foiling or pressing  is not your thing, there is stamp set too!) onto white cardstock using Spellbinders Silver Foil and the Glimmer Hot Foil System. I placed the Pinkfresh Studio Moonlit Blooms Stencils over the top and used them to colour the images using ink blending. 


Using Pinkfresh Studio 1" Blending Brushes, I blended Pinkfresh Studio Inks in Slumber, Blue Jay and Sapphire for the leaves and stems, and Wisteria, Hydrangea and Sparkling Rose for the flowers. They were then die cut out using the Pinkfresh Studio Moonlit Blooms Dies


I die cut the Pinkfresh Studio Octagon Grid Coverplate Die from white cardstock. I popped out three of the frame pieces and adhered them to a white A2 sized card base. One of the flower images was then adhered on top using thin foam tape, cutting off the excess from the sides with scissors. 


I stamped the sentiment from the Pinkfresh Studio Freesia Flourish Stamp Set onto white cardstock using Pinkfresh Studio Detail Black Hybrid Ink. It was die cut out using the coordinating die. I cut the die another two times from white cardstock and adhered them behind the stamped one before adhering onto the card. To finish, I embellished with Pinkfresh Studio Ice Clear Drops


I didn't want to waste the other flower that I foiled and stencilled, so I thought I would use it on a tag. I die cut the tag from the Pinkfresh Studio Shaker Tag Book Die Set from white cardstock and adhered the floral on top with thin foam tape. 


I cut the excess off the bottom and left side, but kept the right side overlapping. I stamped a sentiment from the Pinkfresh Studio Peony Glow Stamp Set onto white cardstock using Pinkfresh Studio Detail Black Hybrid Ink


It was cut into a strip and adhered to the tag with thin foam tape. To finish, I added black twine through the hole at the top and tied in bow, followed by embellishing with Pinkfresh Studio Ice Clear Drops.

BLOG HOP:


This blog post is part of a fun, inspirational blog hop with prizes. Please click on the participants below to visit their blogs. Next on the hop is the amazing TaeEun Yoo

You are invited to the Inlinkz link party!

Click here to enter

GIVEAWAY:

Pinkfresh Studio will give away ten $50 gift cards along the hop, selected from the comments left along the hop at random. They will also give away the full release over on the Pinkfresh Studio blog and YouTube Channel. Winners will be announced on the Pinkfresh Studio Giveaway Page on 29th October 2025. Please make sure to check if you are a winner and claim your prize within two weeks. 

SUPPLIES:


Here are the links to what I have used on the projects. Affiliate links are used on some products. This means that if you make a purchase after clicking on my link, I receive a small commission with no extra cost to you. I truly appreciate your support when using these links. Please click on the logo below the product to shop at your favourite store. All products were personally purchased except marked with an asterisk (*) which were kindly sent to me to use. You can read my full disclosure here.


Thank you so much for stopping by today, I really do appreciate it. I hope you have a wonderful rest of the day! Take care! 

19 October 2025

Spellbinders | Merry & Bright

Hello there, I am delighted to be over on the Spellbinders Blog today sharing two cards using the Pear Blossom Press One Lights. These lights are fab as both the switch and light are on the same mechanism, so really easy to use and no fiddling around with circuits! 

PLEASE NOTE: This post contains affiliate links. Please see below for my full disclosure.


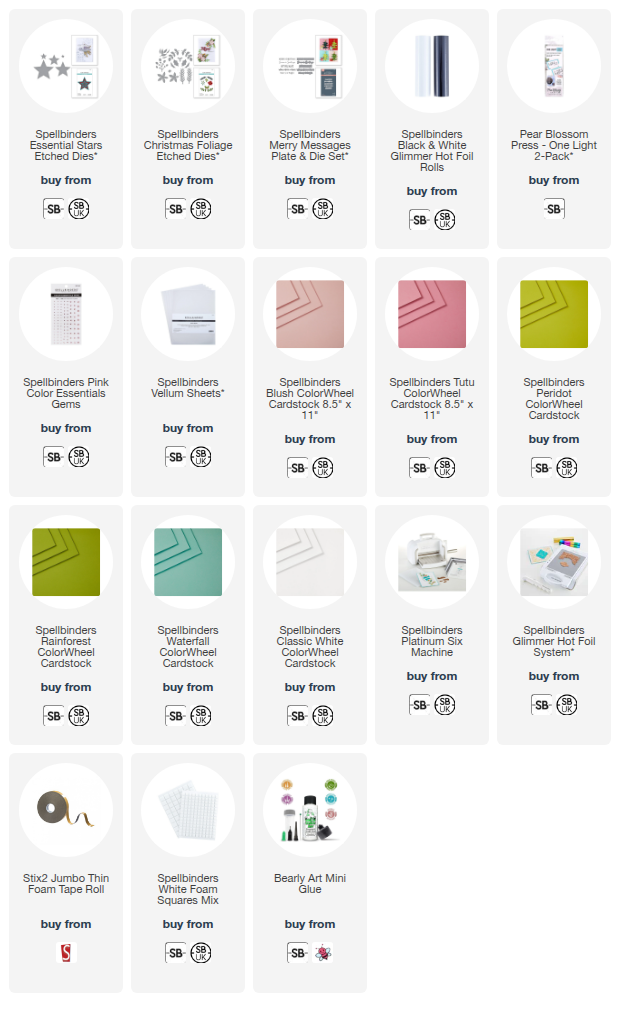
The peek above shows one of the cards I made. I used the Spellbinders Essential Stars Etched Dies and cut one of the stars from a panel of white cardstock. I then added a double layer of vellum behind. The Pear Blossom Press One Light is behind that and when you press the centre of the poinsettia, the light comes on! 


The poinsettia and foliage are from the Spellbinders Christmas Foliage Etched Dies and the sentiment, from Spellbinders Merry Messages, was hot foiled. 

Please head over to the blog post to see how the card came together and to see the other one too. It is super cute if I do say so myself! :) 

SUPPLIES:


Here are the links to what I have used on the project. Affiliate links are used on some products. This means that if you make a purchase after clicking on my link, I receive a small commission with no extra cost to you. I truly appreciate your support when using these links. Please click on the logo below the product to shop at your favourite store. All products were personally purchased except marked with an asterisk (*) which were kindly sent to me to use. You can read my full disclosure here.


Thank you so much for stopping by today, I really do appreciate it. I hope you have a great rest of the weekend! 

15 October 2025

Spellbinders | Snow Day Friends

Hello there, I hope you are having a good week so far. Today I have a card to share using the Spellbinders October 2025 Small Die of the Month Club Kit called Snow Day Friends. The set features a snowman, a tree and two people that you can create scenes with. 

PLEASE NOTE: This post contains affiliate links. Please see below for my full disclosure.


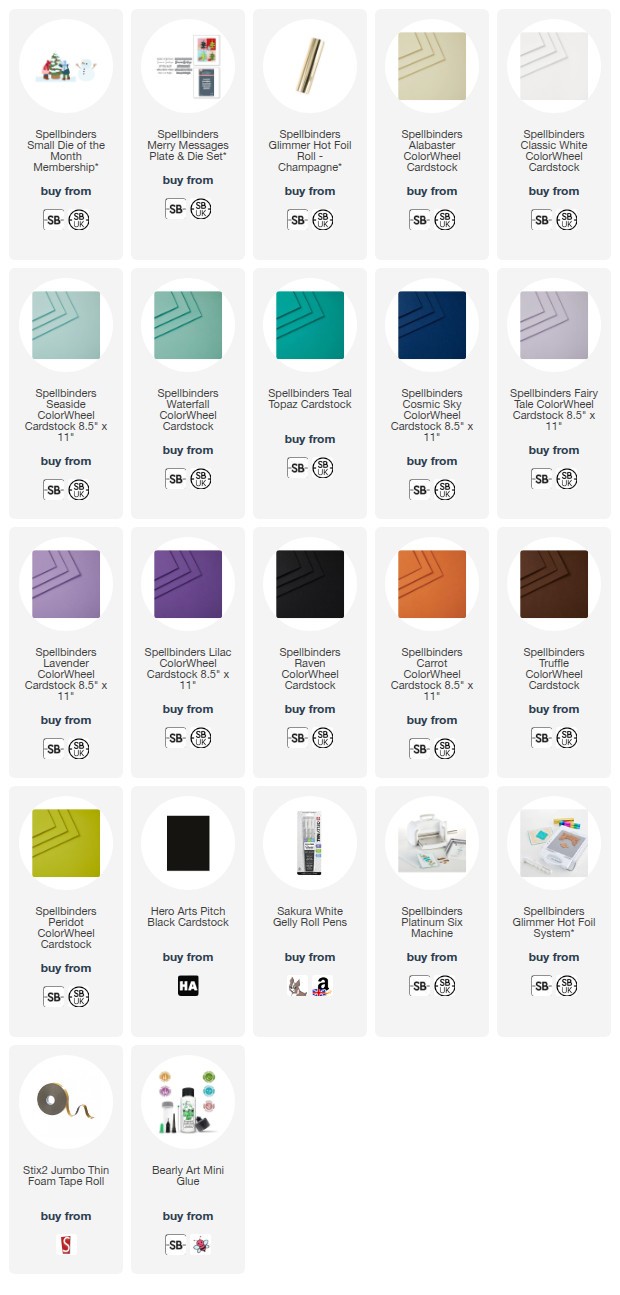
I started off by die cutting the people from the Spellbinders October 2025 Small Die of the Month Club Kit. I cut both of their faces from Spellbinders Alabaster ColorWheel Cardstock. I cut both of the bobbles for the hats from Spellbinders Classic White ColorWheel Cardstock. I cut the clothing for the person on the right from Spellbinders Seaside, Waterfall, Teal Topaz and Cosmic Sky ColorWheel Cardstock. 


The clothing for the person on the left was cut from Spellbinders Fairy Tale, Lavender and Lilac ColorWheel Cardstock. I assembled and adhered the layers using Bearly Art Glue. I then die cut the tree base layer from Spellbinders Peridot ColorWheel Cardstock and the snow from Spellbinders Classic White ColorWheel Cardstock. The snow was adhered the tree using Bearly Art Glue. 


I die cut the snowman from Spellbinders Classic White and Raven ColorWheel Cardstock, the arms from Truffle, and the nose from Carrot. The pieces were adhered together using Bearly Art Glue. I took an A2 sized card base made from Hero Arts Pitch Black Cardstock and added the tree on first using Bearly Art Glue. 


The snowman and people were then adhered on top using thin foam tape. I hot foiled the sentiment from the Spellbinders Merry Messages Plate & Die Set onto white cardstock using Spellbinders Champagne Foil and the Glimmer Hot Foil System. I die cut it out using the coordinating die and cut another layer of the sentiment from more white cardstock and adhered it behind the foiled one before adhering to the card. To finish, I added white gel pen dots. 

SUPPLIES:


Here are the links to what I have used on the project. Affiliate links are used on some products. This means that if you make a purchase after clicking on my link, I receive a small commission with no extra cost to you. I truly appreciate your support when using these links. Please click on the logo below the product to shop at your favourite store. All products were personally purchased except marked with an asterisk (*) which were kindly sent to me to use. You can read my full disclosure here.


SPELLBINDERS CLUB KITS

To buy the kit - if you are a current subscriber to the Small Die of the Month Club Kit (or any kit), you do not need to do anything. You will be charged as normal on the 5th of the month and your kit will be shipped to you. If you are a new subscriber, you can purchase the kit from the 6th - 27th October 2025. Members can cancel their membership at any time. If you are not keen on subscribing to the kit but still want it, you can purchase it individually (without a subscription) on the 10th of the following month but the price will be higher. 


It's such a cute set and you can use the elements all separately too, which is great! Thank you so much for stopping by today, I really do appreciate it. I hope you have a great day! 

23 September 2025

Hero Arts | Cup of Cheer

Hello there, I am over on the Hero Arts Blog today sharing a card using the new Cup of Cheer Letterpress + Foil Plate from the Yule Fuel collection. So many things you can do with his plate but for today, I went monochrome! 

PLEASE NOTE: This post contains affiliate links. Please see below for my full disclosure.


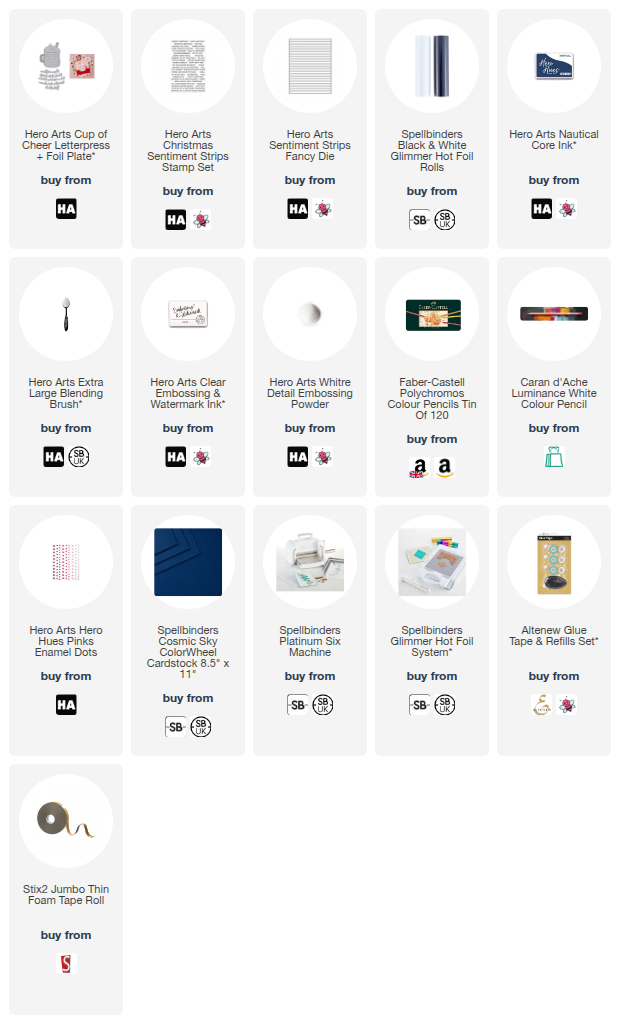
I hot foiled the Santa cup from Hero Arts Cup of Cheer Letterpress + Foil Plate onto Spellbinders Cosmic Sky ColorWheel Cardstock using Opaque White Glimmer Foil and the Glimmer Hot Foil System. I added ink blending around the edges of the panel and then coloured the image using pencils (just blues and white). The sentiment is from the Hero Arts Christmas Sentiment Strips Stamp Set

SUPPLIES:


Here are the links to what I have used on the project. Affiliate links are used on some products. This means that if you make a purchase after clicking on my link, I receive a small commission with no extra cost to you. I truly appreciate your support when using these links. Please click on the logo below the product to shop at your favourite store. All products were personally purchased except marked with an asterisk (*) which were kindly sent to me to use. You can read my full disclosure here.


For more information on how I made the card, please head over to the Hero Arts Blog. Thank you so much for stopping by today, I really do appreciate it. I will be back later with another post but in the mean-time, I hope you have a wonderful day! 

13 September 2025

Spellbinders | Autumn Cheer

Hello there, today I have two cards to share using products from the Spellbinders Autumn Archives Collection by Kelly Bangs. This collection, as the name suggests, is all about autumn. I have two clean and simple cards to share using some of the products from the collection. 

PLEASE NOTE: This post contains affiliate links. Please see below for my full disclosure.


For both cards, I used the Spellbinders Falling Leaves Etched Dies. You cut the base of the leaves and the veining separately, so you can cut the veins from a darker or lighter colour of cardstock, or something like gold would be nice too. For my cards, I went tone-on-tone! 


I started off my first card by die cutting the acorns from the Spellbinders Falling Leaves Etched Dies from Fawn ColorWheel Cardstock for the base layers and Spellbinders Truffle ColorWheel Cardstock for the top pieces. They were adhered together using Bearly Art Glue. 


I cut the leaves from Spellbinders Beeswax and Terra Cotta ColorWheel Cardstock and adhered the veins on top with Bearly Art Glue. I took a white US A2 sized white cardstock and arranged them on top. Once I was happy with the placement, I adhered the leaves down first with Bearly Art Glue, followed by the acorns with thin foam squares. 


I hot foiled the Spellbinders Autumn Sentiments BetterPress Plate & Die Set onto white cardstock using Spellbinders Opaque Black Foil and the Glimmer Hot Foil System. They were then die cut out with the coordinating die. I cut the dies again from white cardstock and adhered the die cut behind the foiled sentiment. It was then adhered on top of the acorns and leaves. 


For the second card, I started off by die cutting the tag from the Spellbinders Documenting Labels Etched Dies from white cardstock with the hole reinforcer from Spellbinders Raven ColorWheel Cardstock. I adhered the hole reinforcer on top and then threaded black twine through and tied in a bow. 


When die cutting the acorns and leaves from the Spellbinders Falling Leaves Etched Dies for the first card, I die cut extras to use on the second card. The leaves were adhered flat to the tag with Bearly Art Glue and the acorns with thin foam tape on top. The tag was then adhered to a US A2 sized white card base with more thin foam tape. 


I adhered the sentiment on top, from the Spellbinders Autumn Sentiments BetterPress Plate & Die Set, that was foiled with the first card's sentiment. To finish both cards, I added black dots using Altenew Finer Line Pens

SUPPLIES:


Here are the links to what I have used on the projects. Affiliate links are used on some products. This means that if you make a purchase after clicking on my link, I receive a small commission with no extra cost to you. I truly appreciate your support when using these links. Please click on the logo below the product to shop at your favourite store. All products were personally purchased except marked with an asterisk (*) which were kindly sent to me to use. You can read my full disclosure here.


Whilst spring is my favourite season, autumn comes a close second! I am so ready for some cosy/cozy days! Thank you so much for stopping by today, as always, I really do appreciate you taking the time to visit. Wishing you a wonderful weekend! 

24 July 2025

Spellbinders | Warm Winter Snowman

Hello there, today I have a card to share combining different sets from different Spellbinders collections that have been released this month. The snowman is from the North Pole Friends Collection (by Simon Hurley), the background plate is from the Merry Moments Collection, and the sentiment is from the Wonderland Collection. 

PLEASE NOTE: This post contains affiliate links. Please see below for my full disclosure.


I started off by creating the background. I took a panel of Spellbinders Cascade ColorWheel Cardstock and hot foiled the Spellbinders Petite Criss Cross Press Plate on top with Spellbinders Opal Foil and the Spellbinders Glimmer Hot Foil System. This foil gives a lovely tone-on-tone look with a little sparkle! Using blending brushes, I added Altenew Lapis Lazuli Fresh Dye Inks (Eastern Sky & Ultramarine) around the sides. I removed any ink from the foiling with a dry cloth. It was adhered to a US A2 sized white card base. 


I then created my snowman using the Spellbinders North Pole Sentiments Etched Dies. I die cut the snowman's body from Spellbinders Classic White ColorWheel Cardstock, die cutting the pieces to go behind for the mouth, eyes and coal buttons from Spellbinders Raven ColorWheel Cardstock. The nose was cut from Spellbinders Carrot ColorWheel Cardstock and the cheeks from Spellbinders Chiffon ColorWheel Cardstock


The arms were cut from Spellbinders Acorn ColorWheel Cardstock. I assembled and adhered the parts together using Bearly Art Glue. I then cut the hat, scarf and mittens from Spellbinders Cascade ColorWheel Cardstock and added ink blending to them with the same inks that I used on the card base. I cut the fluffy bits from the glitter cardstock in the Spellbinders Antique White Assorted Treasured Cardstock Pack


I adhered them onto the snowman and then adhered the snowman onto the card base using thin foam tape. I hot foiled the Spellbinders Merry Messages Plate onto white cardstock using Spellbinders Silver Foil. It was die cut out using the coordinating die. I cut the die another two times from white cardstock and adhered them behind the foiled one before adhering onto the card. I felt like something was missing, so I die cut the holly and berries from the Spellbinders The Causes Etched Dies from Spellbinders Tutu and Peridot Cardstock and adhered them onto the snowman's hat to finish. 

SUPPLIES:


Here are the links to what I have used on the project. Affiliate links are used on some products. This means that if you make a purchase after clicking on my link, I receive a small commission with no extra cost to you. I truly appreciate your support when using these links. Please click on the logo below the product to shop at your favourite store. All products were personally purchased except marked with an asterisk (*) which were kindly sent to me to use. You can read my full disclosure here.


I used the Clauses from the North Pole Friends set for a step-by-step tutorial over on the Spellbinders Blog. You can see that HERE. Thank you so much for stopping by today, I really do appreciate it. I hope you have a great day! 
End of code