31 May 2019

Clearly Besotted Teasers | Jumping For Joy

Hello there and welcome to day four of the Clearly Besotted Teasers for the June 2019 release. Release day is tomorrow at 8pm BST and today I have one last teaser to share with you. Today I am using the Feisty Ferret stamp set. Oh my cuteness! It is adorable!
 

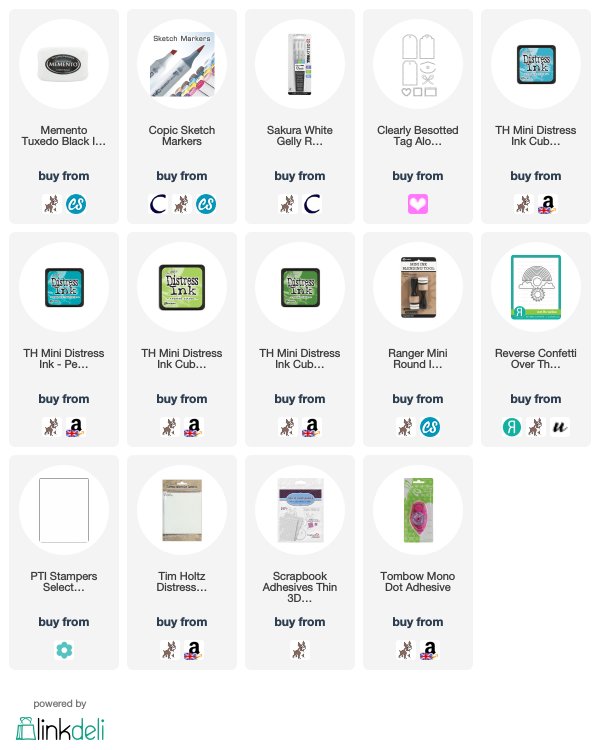
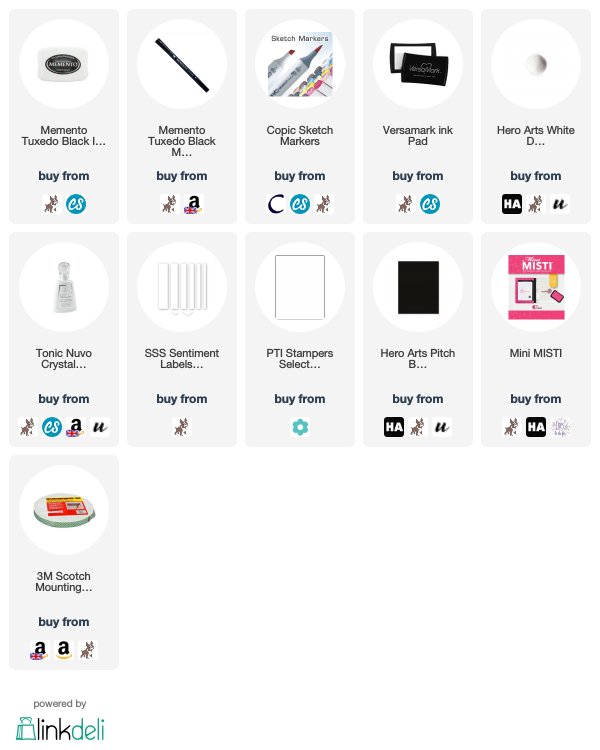
I started off by stamping one of the ferrets (there are a lot!) from the Feisty Ferret Stamp Set on to white cardstock with Memento Tuxedo Black Ink. I coloured him using Copic Markers (the colours that I used are listed below the supplies section) and fussy cut him out with scissors (but there are dies available if you do not like fussy cutting). He was then set aside while I worked on the background.
 
 
I took the straight topped tag from the Tag Along Die Collection and die cut this twice - once from white cardstock ad once from watercolour paper. I took the watercolour piece and blended Distress Inks on to it to create a sky. I used Broken China and Peacock Feathers and splattered some water on top for some added interest and set aside to dry. I took the white cardstock tag and cut this down using the MFT Grassy Edges Die. I blended on Distress Inks on to this piece using Twisted Citron and Mowed Lawn.
 
 
I took one of the sentiments from the Feisty Ferret Stamp Set and stamped this on to the grass portion. This was then adhered to the full tag piece with tape runner. I die cut two clouds from the Reverse Confetti Over The Rainbow Confetti Cuts Set and added these to the tag with tape runner. The tag was added to a white A2 card base with thin foam tape and then the ferret added on top with more thin foam. To finish off, I added white gel pen to the ferret's eyes.
 
SUPPLIES:

Here are the links to what I have used on the card. Affiliate links are used on some products. This means that if you make a purchase after clicking on my link, I receive a small commission with no extra cost to you. I truly appreciate your support when using these links. Please click on the logo below the product to shop at your favourite store. All products were personally purchased except those from Clearly Besotted, Hero Arts or those marked with an asterisk (*) which were kindly sent to me to use. You can read my full disclosure here.
 
 
COPIC MARKERS: E47, E44, E43, E42, E41, E40.
 
Isn't he just so cute? I love him! For more inspiration using the new release, please do head over to the Clearly Besotted Blog, as well as Keren and Lisa. Thank you so much for joining me today, I really do appreciate it. See you tomorrow for release day. Have a lovely day!

30 May 2019

Clearly Besotted Teasers | Absolutely Fabulous Day

Hello there and welcome to day three of the Clearly Besotted June 2019 Teasers. Not long to go now, the new products release on the 1st June. Today I am using two new sets - Pick A Peony and Simply Said, as well as the new Honeycomb Crunch Stencil.
 

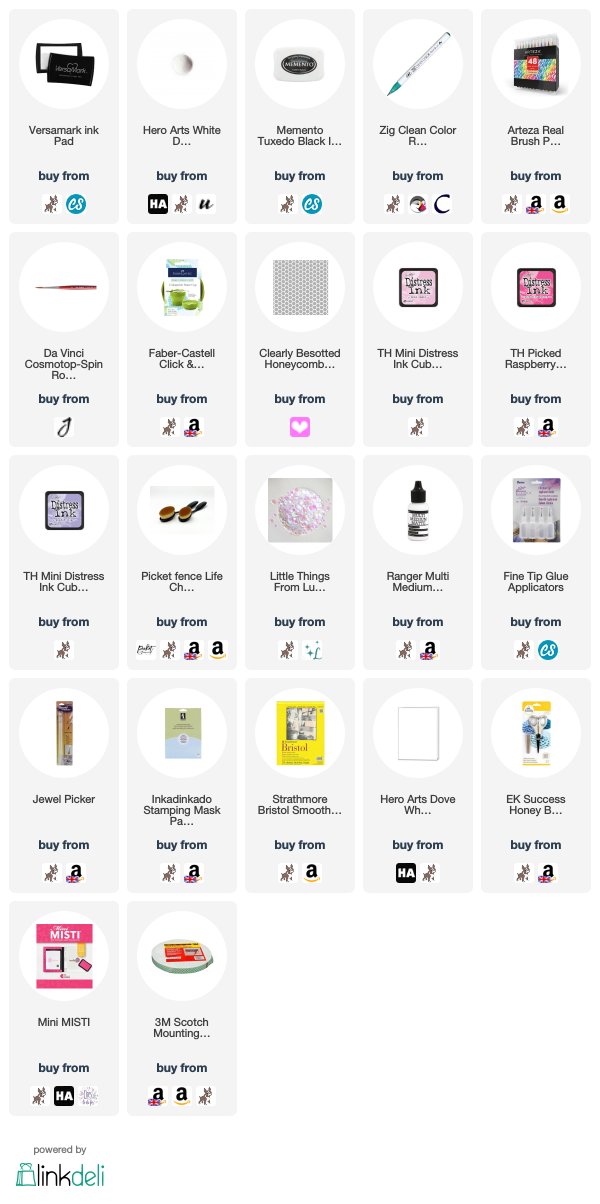
I started of by stamping one of the peony clusters from the Pick A Peony Stamp Set on to a panel of Bristol Smooth cardstock with Versamark Ink. I applied Detail White Embossing Powder and heat set. I then coloured the image with a combination of Zig Clean Color Real Brush Markers and Arteza Real Brush Markers (I have the number of the Zigs listed below but unfortunately, I have an older set of the Arteza pens and there are no colours/numbers on them).
 
 
I first added the colour to the image directly from the pen and then blended this out with water and a paintbrush. I add lighter layers first and then add darker colours for some shading. I used two shades of purple on the petals and two greens on the leaves. Once it was dry, I made a mask for the image from masking paper and added this on top. I first added a light shades of Spun Sugar and Picked Raspberry Distress Inks around the image. I then placed the Honeycomb Crunch Stencil on top and added more of the ink.
 
 
I thought the pink was too bright so I added in some Shaded Lilac Distress Ink over the top to dull it down it a bit. I first added a layer without the stencil and then placed the stencil over the top again before removing the mask. I wanted the stencilling to be fairly subtle but still noticeable. I took the sentiment from the Simply Said Stamp Set and stamped this on to the panel with Memento Tuxedo Black Ink. The panel was added to a white card base with foam tape. To finish off, I added a few Lucy's Pink Moonstone Sequins.
 
SUPPLIES:

Here are the links to what I have used on the card. Affiliate links are used on some products. This means that if you make a purchase after clicking on my link, I receive a small commission with no extra cost to you. I truly appreciate your support when using these links. Please click on the logo below the product to shop at your favourite store. All products were personally purchased except those from Clearly Besotted, Hero Arts or those marked with an asterisk (*) which were kindly sent to me to use. You can read my full disclosure here.
 
 
ZIG CLEAN COLOR REAL BRUSH PENS: Petals - 080 Violet, 083 Lilac. Leaves - 033 Persian Green + Arteza light green.
 
Even though the honeycomb pattern wouldn't usually go with flowers, I thought it worked quite well on this card. And that new sentiment set? It is already one of my favourites! I do need to apologise for the photos, though. My camera was just not playing nice with the colours on this one, sadly. For more inspiration using the new release, please do pop over to the Clearly Besotted Blog, as well as Keren and Lisa. Thanks so much for visiting me today, see you tomorrow for my final teaser card. Have a great day!

29 May 2019

Wishing You Well

* This is my second post of the day, please see below for my Clearly Besotted Teaser post *
 
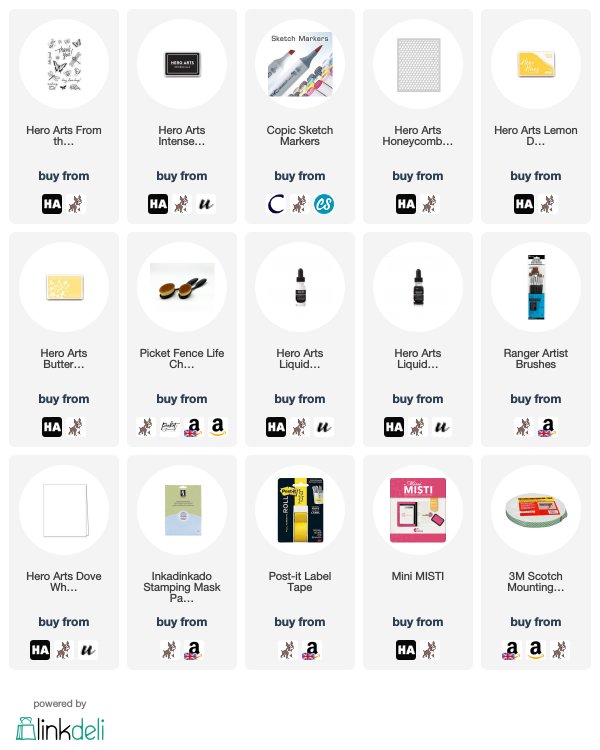
Hello there, I am over on the Hero Arts Blog today, sharing a card made using the From The Vault Bugs Set. There are some beautiful insects in this set, I particularly like the butterflies, but I thought I would use the bees today and combine them with the Honeycomb Stencil with some ink blending and splatters.
 
 
SUPPLIES:

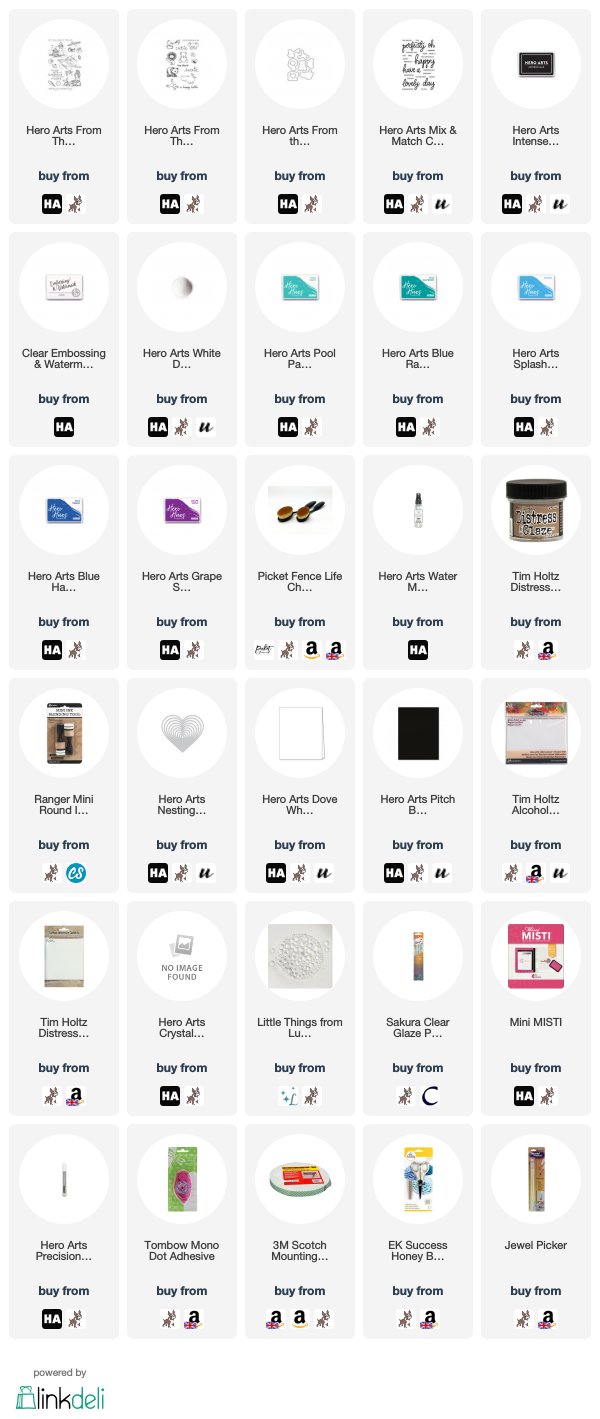
Here are the links to what I have used on the card. Affiliate links are used on some products. This means that if you make a purchase after clicking on my link, I receive a small commission with no extra cost to you. I truly appreciate your support when using these links. Please click on the logo below the product to shop at your favourite store. All products were personally purchased except those from Clearly Besotted, Hero Arts or those marked with an asterisk (*) which were kindly sent to me to use. You can read my full disclosure here.
 
 
For more information on how I made the card, please head over to the blog post here. Thanks so much for popping by today, see you tomorrow!

Clearly Besotted Teasers | Dream Big

Hello there and welcome to day two of the Clearly Besotted June Teasers. I hope you enjoyed seeing some of the new sets yesterday, today I am using the new Scene It City stamp set. This is a wonderful set that has skylines for lots of cities across the world. These can be combined with other sets to make scenes, but as you can see with my card, you can use them on their own too.
 

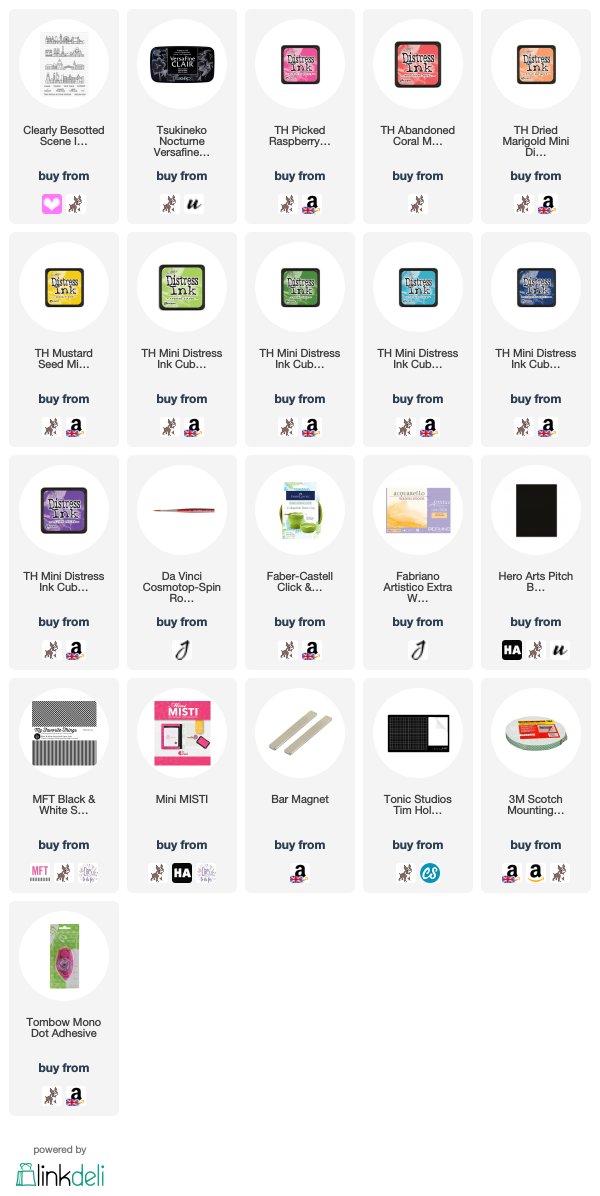
I started off my card by taking a panel of watercolour paper and stamped the London skyline on to it from the Scene It City Stamp Set. I placed it in my Mini MISTI and inked up the set using different colours of Distress Ink. I stamped each colour separately so that I could overlap the colours.
 
 
Once it was stamped, I took a paintbrush and water and moved the ink so that it filled the buildings. I wanted this to be slightly lighter than the outlines, so that it was still visible but not too bold. I then took the ink pads and smooshed them on to my glass mat. I picked the colours up with a paintbrush and painted what looks a bit like a reflection on water underneath the image. I kept it quite messy and let the colours blend together.
 
 
I took the sentiment from the set and stamped this above the skyline using Nocturne VersaFine Clair Ink. I took a 4" x 5.5" card base and added a strip of MFT Black & White Striped Paper across the bottom. I added the image panel on top with foam tape. To finish, I added a thin strip of black cardstock at the bottom of the image layer.
 
SUPPLIES:

Here are the links to what I have used on the card. Affiliate links are used on some products. This means that if you make a purchase after clicking on my link, I receive a small commission with no extra cost to you. I truly appreciate your support when using these links. Please click on the logo below the product to shop at your favourite store. All products were personally purchased except those from Clearly Besotted, Hero Arts or those marked with an asterisk (*) which were kindly sent to me to use. You can read my full disclosure here.
 
 
This card is a little bit different for me but I really like it how it came out. For more inspiration using the new release, please head over to the Clearly Besotted Blog, as well as Keren and Lisa. Thanks to much for popping by today, I really do appreciate it. I hope you have a great day!

28 May 2019

Clearly Besotted Teasers | Being A Friend

Hello there and welcome to day one of the Clearly Besotted June 2019 Teasers. Release day is June 1st and until then we will be sharing teasers with you using the new sets. Today I am using two new sets - Rock N Roll and Laugh Out Loud Friends.
 

I started off my card by stamping the background image from the Rock N Roll Stamp Set on to a panel of white cardstock with Memento Tuxedo Black Ink. I then took one of the armadillos from the set and stamped him on to another piece of white cardstock with Memento Tuxedo Black Ink. They were both coloured using Copic Markers (the colours that I used are listed below the supplies section).
 
 
I added dot detail to the sand on the background and coloured the sky to look like a sunrise. I fussy cut out the armadillo with scissors (but there are coordinating dies if you didn't want to fussy cut). I then went around the edge of the image with a black Memento Marker to neaten up the edges. I took the Laugh Out Loud Stamp Set and stamped one of the sentiments on to black cardstock with Versamark ink. I applied Detail White Embossing Powder and heat set. This was then cut in to a strip using the Simon Says Stamp Sentiment Labels Dies.
 
 
I added the background panel on to a white card base with foam tape. I then added the sentiment on top with more foam tape, as well as the armadillo standing on the sentiment strip. To finish off, I added Crystal Glaze to the stripes on the armadillo's back.
 
SUPPLIES:

Here are the links to what I have used on the card. Affiliate links are used on some products. This means that if you make a purchase after clicking on my link, I receive a small commission with no extra cost to you. I truly appreciate your support when using these links. Please click on the logo below the product to shop at your favourite store. All products were personally purchased except those from Clearly Besotted, Hero Arts or those marked with an asterisk (*) which were kindly sent to me to use. You can read my full disclosure here.
 
 
COPIC MARKERS: Armadillo - W7, W5, W3, W2, W1. Sand - E44, E43, E42, E41, E40. Mounds - E47, E44, E43, E42. Cacti - G46, G82, G40. Sky - R14, YR18, YR07, YR16, YR15, Y38, Y17, Y15, Y13, Y11.
 
I love these adorable armadillos, something a bit different to the stamping world! For more inspiration using the new release, please do head over to the Clearly Besotted Blog as well as Keren and Lisa. Thanks so much for visiting me today, see you tomorrow for day two. Have a great day!

22 May 2019

Hero Arts 45th Anniversary Blog Hop Day One

Hello there, today we are celebrating both Hero Arts 45th Birthday and also the release of the 2019 Summer Catalogue. If you haven't already seen, for the summer release, Hero Arts have recreated images that they have had throughout the years and re released them for this special occasion. As well as the stamps, there are also new inks. These are reactive inks and are so fun to use.


My first project uses the new From The Vault Beach And Sea Stamp Set. This is one of my favourite sets from this release, I was drawn towards the beautiful dolphins. I have actually made two cards using this set already and you can see those here. For my card today, I decided to use them with a fun background using the new inks. I first stamped the dolphins on to white cardstock with Intense Black Ink. I then simply coloured them using Copic Markers and fussy cut them out with scissors.

 
I took four of the new Reactive Inks that I thought would work together to create a nice sea. I first took Splash Reactive Ink and smooshed this on to my glass mat. I misted it with water and then pounced a piece of Alcohol Ink Cardstock in to it. I dried this with a heat tool and then continued to do this with the other colours - Blue Hawaii, Pool Party and Blue Raspberry. I dried the layers in between and then once I had completed my final layer, I took some Distress Glaze on an Ink Blending Tool and blended this on top. This brings out the beautiful colours of the inks and shows all the different layers.
 

I die cut this piece using one of the Nesting Hearts Infinity Dies. I took a Dove White Top Folding Card Base and cut this down so that it was 4" wide. I ran this through my die cutting machine to emboss the next size up of the Nesting Hearts Infinity Dies. I adhered the inked piece on top with tape runner and then added the dolphins using foam tape. I took the sentiments from the Mix & Match Compliments Stamp Set and stamped these on to Pitch Black Cardstock using the new Clear Embossing & Watermark Ink Pad. I applied Detail White Embossing Powder and heat set. These were cut in to strips and added to the card with foam tape. To finish off, I added a few Raindrops with Precision Glue.


My next card uses the adorable From the Vault Cute Animals Stamp Set, as well as the Reactive Inks. I took the hippo and bird image from the set and stamped this on to white cardstock with Intense Black Ink. I coloured them with Copic Markers and fussy cut out (but there are dies available). I set this aside while I worked on my background.

 
I took a panel of watercolour paper and masked off the bottom. Using a blending brush, I first applied Pool Party at the top of the panel. I then blended on Blue Hawaii in the middle, followed by Grape Slush at the bottom. I then splattered on some water to create the reaction and set aside to dry. Once dry, I stamped the sentiment in the top left hand corner. I took a thin strip of Pitch Black Cardstock and adhered this below the inked line.
 
 
The panel was added to a white Top Folding Card Base with tape runner and then I added the hippo and bird image on top with foam tape. I added black glaze pen to the hippos eyes and then added Crystal Clear Lacquer on the bird.

SUPPLIES:

Here are the links to what I have used on the card. Affiliate links are used on some products. This means that if you make a purchase after clicking on my link, I receive a small commission with no extra cost to you. I truly appreciate your support when using these links. Please click on the logo below the product to shop at your favourite store. All products were personally purchased except those from Clearly Besotted, Hero Arts or those marked with an asterisk (*) which were kindly sent to me to use. You can read my full disclosure here.
 

Copic Markers: Dolphins - N5, N3, N2, N1, B41. Hippo - W7, E5, W4, W3, W2, W1. Bird - B06, B04, B02, B00.


BLOG HOP:

 
For the Blog Hop, you should have arrived here from the wonderful May Sukyong Park. Next in the hop is the amazing Yana Smakula. If you get lost along the way, you can find all the links over on the Hero Arts Blog.


GIVEAWAY:

There are some amazing prizes up for grabs during this hop, along with Hero Arts, there are some fantastic sponsors giving away prizes for the hop too:


All you need to do to enter is to leave a comment on the stops in the hop over the three days. The more you comment, the more chances to win! The giveaway closes on Sunday 2nd June at 11.59pm PST. The winners will be announced on the Hero Arts Blog the following week. Good Luck!
 
Thanks so much for stopping by today, have a great day!

21 May 2019

Birthday Confetti

Hello there, today I have a simple birthday card to share with you. I am still on my quest to make some more masculine cards and I thought the MFT confetti stencil would work well with a simple sentiment.
 

I started off by taking a panel of white cardstock (this can be done directly on to the card base but I usually always add panels on to my card bases just in case I change my mind or something doesn't work) and placed the first MFT Card-Sized Confetti Stencil on top with Post-It Tape. I blended Distress Oxide Inks over using a blending brush. I randomly picked different areas for the different colours. I did not mask off the dots so I did get some blending of the colours, but I think that looks ok.
 
 
I used Faded Jeans, Salty Ocean, Twisted Citron and Peacock Feathers. Once the first layer was completed, I added the second stencil on top and blended more ink over with the same colours. I did not blend ink in to all the openings of this stencil, I wanted to keep most of the confetti to the top of the card. The panel was then added to the front of an A2 white card base with tape runner. I took the MFT Happy Birthday Script Die and cut this three times from black cardstock. These were stacked up one on top of another with MFT On-Point Precision Glue and then added to the card.
 
SUPPLIES:

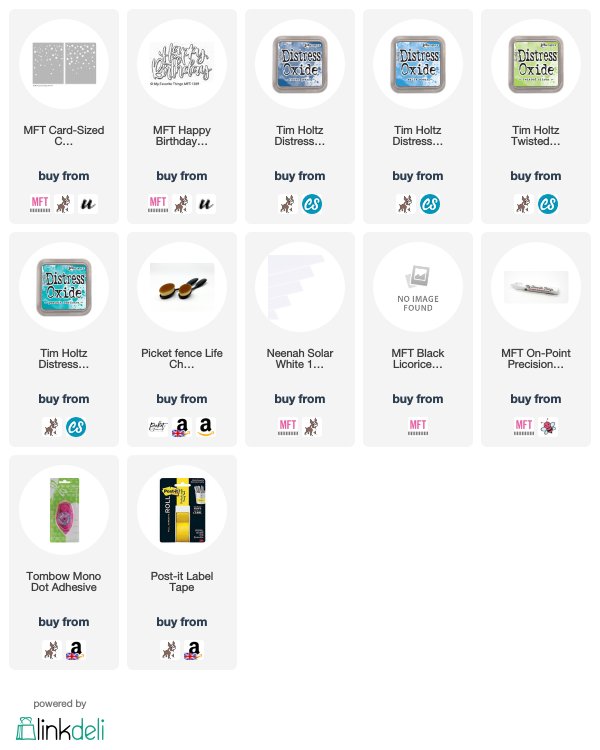
Here are the links to what I have used on the card. Affiliate links are used on some products. This means that if you make a purchase after clicking on my link, I receive a small commission with no extra cost to you. I truly appreciate your support when using these links. Please click on the logo below the product to shop at your favourite store. All products were personally purchased except those from Clearly Besotted, Hero Arts or those marked with an asterisk (*) which were kindly sent to me to use. You can read my full disclosure here.
 
 
I will have to make some more cards like this. I really love the simple design and the colour combos could be endless! Thank you so much for stopping by to see me today, I really do appreciate it. I hope you have a great day!

16 May 2019

Faux Stitched Personalised Tags

Hello there, today I am over on the Hero Arts Blog sharing three tags I have made using the new Cross Stitch Alpha and Cross Stitch Stitched Patterns Stamp Sets. These are so fun because they look like stitching without actually having to do any stitching!
 
 
SUPPLIES:

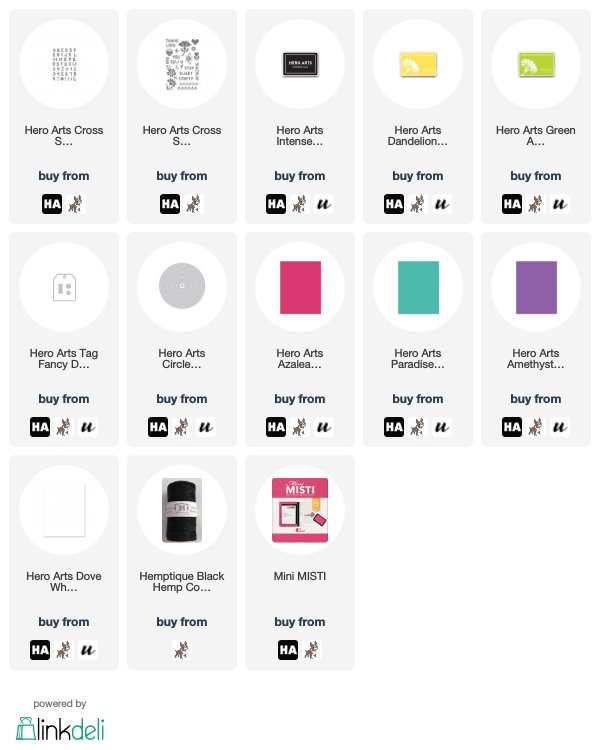
Here are the links to what I have used on the tags. Affiliate links are used on some products. This means that if you make a purchase after clicking on my link, I receive a small commission with no extra cost to you. I truly appreciate your support when using these links. Please click on the logo below the product to shop at your favourite store. All products were personally purchased except those from Clearly Besotted, Hero Arts or those marked with an asterisk (*) which were kindly sent to me to use. You can read my full disclosure here.
 
 
To find out how I made the tags, please visit the blog post here. I love the bright colours on these tags and I love that I could personalise them for friends. Thanks so much for popping by today, I hope you have a great day!

15 May 2019

You're The Best!

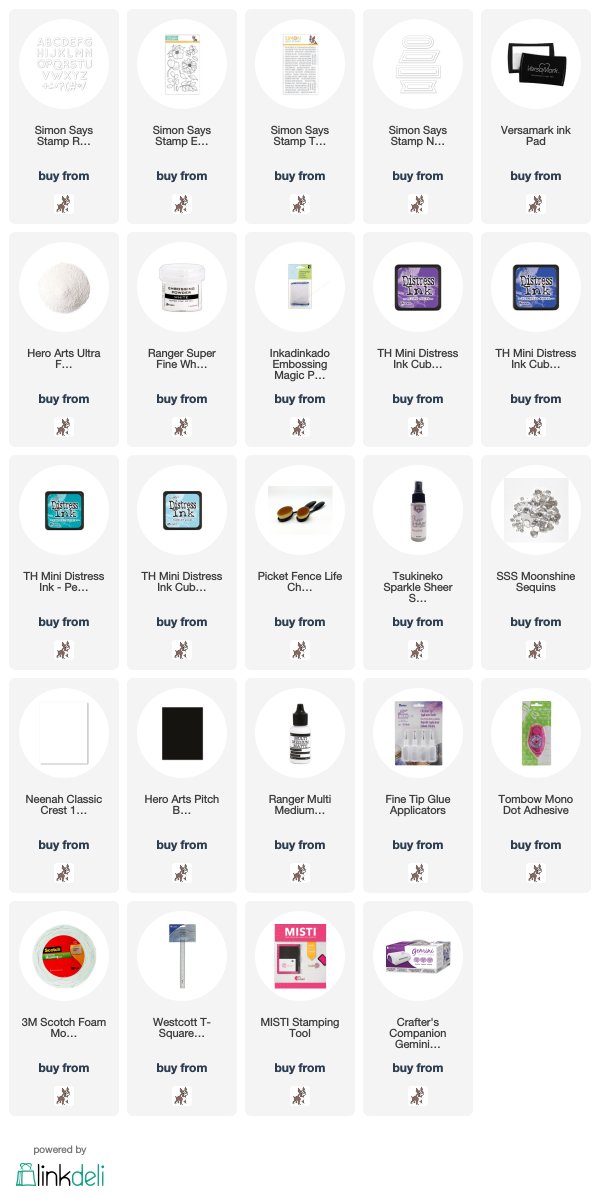
Hello there, today I have a card to share using the new Rounded Alphabet Dies from Simon Says Stamp. It is part of the Celebrate You release which is out today. I really love the font on this alphabet and it is a good size - 7/8"/ 2cm tall. I also have the small version of this set, so it will be great if I wanted to combine them.
 

For my card, I started off with the background. I took images from the Simon Says Stamp Even More Spring Flowers Stamp Set and stamped them on to a panel of white cardstock with Versamark ink. I applied Ultra Fine Clear Embossing Powder and heat set. Using Blender Brushes, I applied Distress Ink for an embossed resist look.
 
 
I used Wilted Violet at the top, followed by Blueprint Sketch and Peacock Feathers and then finally, a little Tumbled Glass at the bottom to fade into white. This piece was then adhered flat to an A2 white card base with tape runner.
 
 
I took the Simon Says Stamp Rounded Alphabet Dies and cut them three times from white cardstock (I actually had to cut it six times to get three each of the 'Ls') and layered these up with Multi Medium Matte glue so each letter was stacked three high. I then spritzed them using Sparkle Sheer Shimmer Spritz and set aside to dry.
 
 
Once dry, I adhered them to the card with more MMM using a T-Square Ruler to get them straight. I then took the sentiment from the Simon Says Stamp Tiny Words Stamp Set and stamped it on to black cardstock with Versamark Ink. I applied Super Fine White Embossing Powder and heat set. It was cut out using one of the Simon Says Stamp Nested Banners Dies and added to the card with foam tape. To finish off, I added a few Simon Says Stamp Moonshine Sequins.
 
SUPPLIES:

Here are the links to what I have used on the card. Affiliate links are used on some products. This means that if you make a purchase after clicking on my link, I receive a small commission with no extra cost to you. I truly appreciate your support when using these links. Please click on the logo below the product to shop at your favourite store. All products were personally purchased except those from Clearly Besotted, Hero Arts or those marked with an asterisk (*) which were kindly sent to me to use. You can read my full disclosure here.
 
 
It is such a shame that you cannot see the sparkle in the photos, it is so pretty in real life! I hope you will check out the new Celebrate You release. Thank you so much for visiting me today, I really do appreciate it. Have a great day!

13 May 2019

Insides In Or Out?

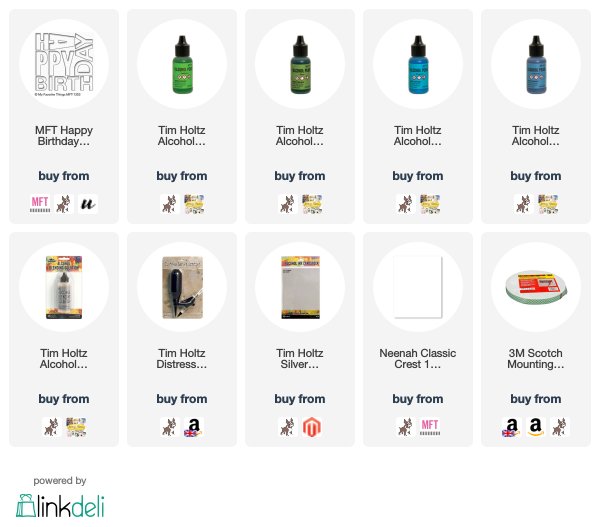
Hello there, today I have two cards to share with you using the MFT Happy Birthday Block Die, along with Alcohol Pearl Inks. The cards are super simple but I do like how they turned out. I do struggle with masculine cards sometimes.
 
 
I started off by creating the backgrounds. I took Tim Holtz Silver Sparkle Alcohol Ink Cardstock and added a bit of Alcohol Ink Blending Solution on first. I then added the Alcohol Pearl Inks on top. The first card uses four colours - Sublime, Envy, Tranquil and Celestial. Some places did get a bit dark/greyish but overall the colours worked nicely together.
 
 
The second card uses just the Sublime and Tranquil - the lighter green and blue. I used more Alcohol Ink Blending Solution and used the Distress Marker Spritzer Tool to help move the colour around. I don't think the inks move around on this cardstock as they do on Yupo, but they do still move nicely and I love the added sparkle that it gives, although since I used the Alcohol Pearl Inks, I didn't really need it!
 

I then moved on to cutting my top panel. I took two pieces of 4.5" x 4.5" white cardstock and cut the MFT Happy Birthday Block Die from both. Once the alcohol inked pieces were dry, they were cut down and added to the front of white 5" x 5" card bases. The die cut panels were then added on top with foam tape.
 
 
For the card with the four colours of ink, I added the insides of the letters back in. The other one I left them without. What do you think looks better? I do think it looks quite good without them but I'm actually not usually a fan of doing this and always add them back in! I may still do that! :)
 
SUPPLIES:

Here are the links to what I have used on the card. Affiliate links are used on some products. This means that if you make a purchase after clicking on my link, I receive a small commission with no extra cost to you. I truly appreciate your support when using these links. Please click on the logo below the product to shop at your favourite store. All products were personally purchased except those from Clearly Besotted, Hero Arts or those marked with an asterisk (*) which were kindly sent to me to use. You can read my full disclosure here.
 
 
These were really quick to put together. I did think about adding an accompanying stamped sentiment but ultimately left them off. I quite like the simplicity of them as they are. Thanks so much for visiting me today, I really do appreciate it. I hope you have a great day!  

10 May 2019

Mother's Day Flowers

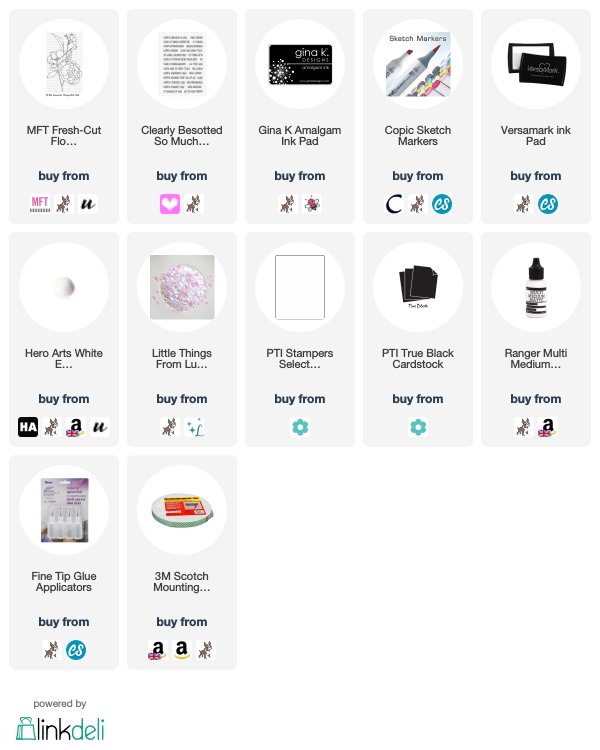
Hello there, today I have the card to share that I made for my mum back in March for Mother's Day. It has taken me some time to share it but I did notice that most of the rest of the world celebrate it on the 12th May (we celebrated it on the 31st March here in the UK), so I am still in time for that! My mum loves flowers so I thought the MFT Fresh-Cut Flowers background would be perfect for her.
 

I started off by stamping the MFT Fresh-Cut Flowers Background on to a panel of white cardstock with Gina K Amalgam Ink. I then coloured the image with Copic Markers (the colours that I used are listed below the supplies area). My mum loves the colour purple so I went with purples for my flowers and added a slight bit of pink on the edges for some added interest. I then added some blue around the image to help it pop.
 
 
I adhered the panel to a 5" x 7" white card base with foam tape. I took the sentiment from the Clearly Besotted So Much To Say set and stamped it on to black cardstock with Versamark Ink. I applied white embossing powder and heat set. This was cut in to a strip and added to the card with more foam tape. To finish off, I added a few Pink Moonstone Sequins from Lucy's Cards.
 
SUPPLIES:

Here are the links to what I have used on the card. Affiliate links are used on some products. This means that if you make a purchase after clicking on my link, I receive a small commission with no extra cost to you. I truly appreciate your support when using these links. Please click on the logo below the product to shop at your favourite store. All products were personally purchased except those from Clearly Besotted, Hero Arts or those marked with an asterisk (*) which were kindly sent to me to use. You can read my full disclosure here.
 
 
COPIC MARKERS: flowers - V09, V17, V15, V12, V01, R81. Stems/leaves - YG67, YG17, YG23, YG03, YG01. Outside shadow - B00, B000, B0000, 0.
 
This is such a beautiful image and I am looking forward to using it again with some other mediums. Thank you so much for stopping by to see me today, I really do appreciate it. I hope you have a lovely day!

8 May 2019

Reverse Confetti May 2019 Release Blog Hop

Hello there and welcome as we celebrate the May 2019 release from Reverse Confetti. Reverse Confetti turns 6 this month and I am so excited to be working with them, they are a wonderful company. If you are following along in the hop, you should have arrived here from the amazing Heather, but if you get lost along the way, I have the full list of participants below.
 
I have a lot to share with you today so sit back and relax and grab a cup of something nice to drink! My first two projects use the wonderful new Party Animals set. It is such a fun set and perfect for birthday cards.
 
PARTY ANIMALS
 
 
I started off my card by stamping the monkey riding the bike from the Reverse Confetti Party Animals Stamp Set on to white cardstock with Memento Tuxedo Black Ink. I then coloured him with Copic Markers (the colours that I used are listed below the supplies section) and then cut him out with the coordinating dies. He was set aside while I worked on the background.


I took a piece of Yupo paper and added a wash of Aqua, Pool and Sailboat Blue alcohol inks on to it. I kept them quite smooth and then splatted on some Alcohol Ink Blending Solution to create some interest. Once it was dry, I cut it down using a Hero Arts Circle Infinity Die. I took a 5.5" x 4" white card base and added a strip of paper from the new Reverse Confetti Sweet Stripes Paper Pad to the side. I then added the alcohol inked circle with tape runner, having the circle hang off the side of the card slightly.

 
The monkey was added on with foam tape. I took the sentiment from the Reverse Confetti Word Up Stamp Set and stamped it on to black cardstock with Versamark Ink. I applied White Detail Embossing Powder and heat set. It was then cut in to strips and added to the card with foam tape. To finish off, I added Crystal Glaze to the hat/crown and also the monkey's nose.
 
 
I couldn't resist the elephant in the set so I thought I would add him to a tag. I started off by stamping the elephant and balloon from the Party Animals set on to more white cardstock with Memento Tuxedo Black Ink. I coloured them with Copic Markers and cut them out with the coordinating dies. I then took the Reverse Confetti Topped Off Tag Die and cut this from white cardstock. I also cut it from the Sweet Stripes Paper Pad. I cut the patterned paper one down and added it to the top to the white cardstock tag for some added interest.
 
 
I took the sentiment from the Party Animals set and stamped it on to black cardstock with Versamark Ink. I applied white embossing powder and heat set. This was cut in to a strip and ribbon ends cut at the sides with scissors. This was added to the tag with foam tape. I then added the elephant and balloon on top with more foam tape.
 
 
To finish off, I added Crystal Glaze to the balloon and then wrapped twine through the top of the tag.
 
RAINY DAY FUN
 

My next card uses the new Reverse Confetti Rainy Day Fun Stamp Set. This is another adorable set that contains lots of images but that duck stole my heart, so I had to use him! I stamped the duck and umbrella on to white cardstock with Memento Tuxedo Black Ink. I then coloured them with Copic Markers and cut out using the coordinating dies. I also die cut the clouds from the die set from white cardstock.
 
 
I took a panel of white cardstock and die cut the Reverse Confetti Stitched Rays Cover Panel Confetti Cut on to it. This doesn't actually cut anything out as such, but cuts the stitched lines. I thought it would make a fun background for the duck as a sun. I cut it down and added it to the top of an A2 white card base with tape runner. I then blended a little Tim Holtz Squeezed Lemonade Distress Ink on top.
 
 
I took the sentiment from the Rainy Day Fun stamp set and stamped it with black ink on to the card base. I then took a strip of paper from the Sweet Stripes Paper Pad and added this where the stitched panel ended. The clouds were added with tape runner and then the duck and umbrella with foam tape. To finish off, I added a little black glaze pen to the duck's eye.
 
OVER THE RAINBOW
 

My final card uses the new Reverse Confetti Over The Rainbow Confetti Cuts. This is a wonderful standalone die set that consists of a rainbow, two clouds and a sun. I cut the rainbow from white cardstock and blended Distress Inks on to it using a blending brush. I tried to concentrate the darker colour towards the ends and leave the middle a little lighter for some dimension. I used Picked Raspberry, Dried Marigold, Scattered Straw, Twisted Citron, Broken China, Chipped Sapphire and Wilted Violet. I then spritzed them with Sparkle Sheer Shimmer Spritz and set aside to dry.

 
I die cut the two clouds from the set using white cardstock and then die cut the hello from the Reverse Confetti Thanks & Hello Word Duo Confetti Cuts set three times from black cardstock. These were stacked up with liquid glue. I took a white cardstock panel and using the Reverse Confetti Leaf Lattice Stencil, I ran this through my die cutting machine to emboss the pattern on to the cardstock.  This was added to a white A2 card base with tape runner.
 
 
The rainbow was added on top with liquid glue and then the clouds added with foam tape. I added the hello word with a combination of tape runner and foam tape. I then took the sentiment from the Reverse Confetti Word Up Stamp Set and stamped this on to black cardstock with Versamark Ink. I applied white embossing powder and heat set. This was cut in to two strips and added to the card with foam tape. To finish off, I added a few Lucy's Raindrops.
 
SUPPLIES:
 
Here are the links to what I have used on the card. Affiliate links are used on some products. This means that if you make a purchase after clicking on my link, I receive a small commission with no extra cost to you. I truly appreciate your support when using these links. Please click on the logo below the product to shop at your favourite store. All products were personally purchased except those from Clearly Besotted, Hero Arts or those marked with an asterisk (*) which were kindly sent to me to use. You can read my full disclosure here.


COPIC MARKERS: Monkey - E59, E57, E55, E53, E51, E50. Hat /crown - BG15, BG13, BG11. Balloons - YG17, YG23, YG03, YG01. B06, B04, B02. B39, B37, B34. BG57, BG53. Bike - C7, C5, C3, C1. Elephant - W7, W4, W4, W3, W2, W1. Hat - B39, B37, B34. Balloon - YG17, YG23, YG03, YG01. Duck - Y17, Y15, Y13, Y11, YR16, YR12. Umbrella - BG18, BG15, C3, C1.
 
 
BLOG HOP:
 
We are celebrating the release with an inspiration filled blog hop. Here is the full list of participants in the hop today:
 
Michelle Short - you are here!
 
This is such a fun release so I hope that you will check it out. Next on the hop is the fantastic Julee. Thanks so much for visiting me today, I really do appreciate it. I hope you have a great rest of the day and enjoy the rest of the hop!
End of code