29 February 2020

Clearly Besotted Teasers | Pawly Plushies

Hello there and welcome to day four of the Clearly Besotted March 2020 Teasers. The new products release tomorrow and I have one last teaser to share with you today. For today's card, I am using the super cute Pawly Plushies set which consists of lovely get well cuties and sentiments.
 

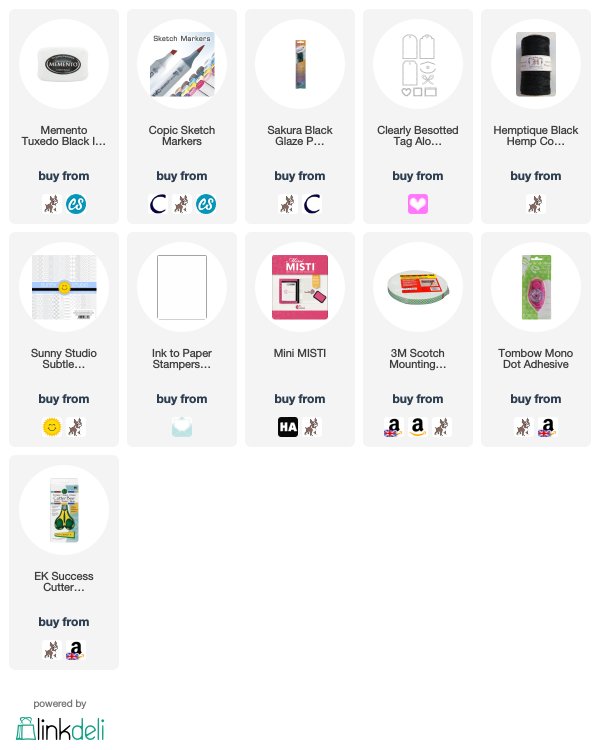
I started off my card by stamping one of the bears from the Clearly Besotted Pawly Plushies Stamp Set on to white cardstock with Memento Tuxedo Black Ink. I coloured him using Copic Markers (the colours that I used are listed below the supplies area) and then fussy cut him out. I then die cut a tag from the Clearly Besotted Tag Along Die Collection using white cardstock.
 
 
I then further die cut a square from the tag before stamping the sentiment below the window using more black ink. I took an A2 white card base and adhered a piece of paper from the Sunny Studio Subtle Grey Tones Paper Pad on the front with tape runner. I tied twine through the top of the tag and then it was added to the card using foam tape. I then added the bear on top with more foam tape.
 
SUPPLIES:

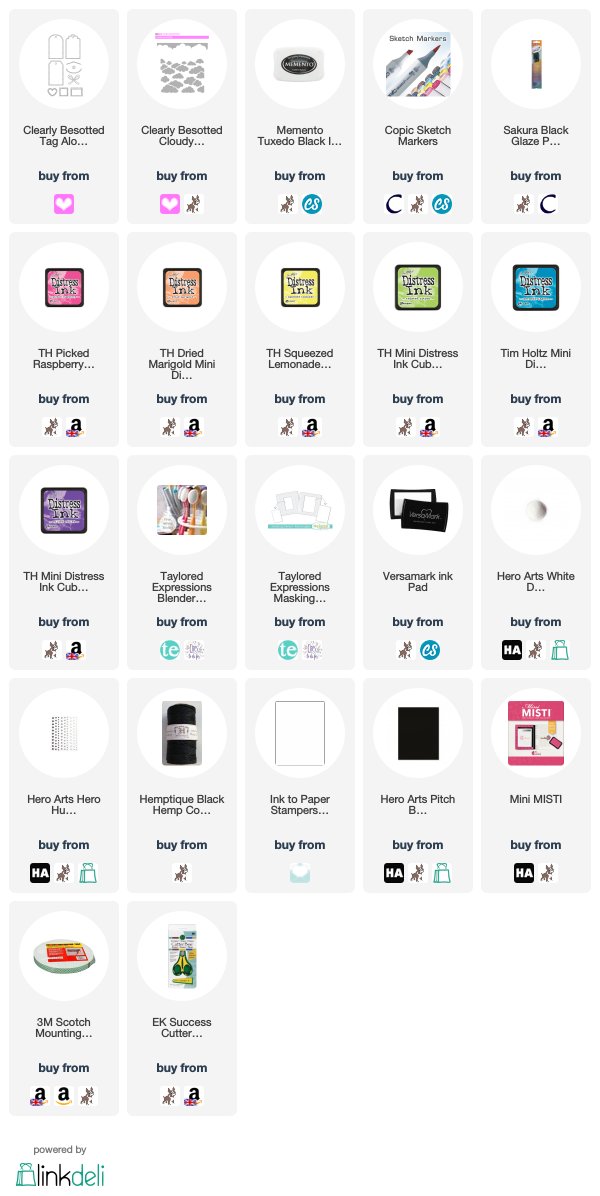
Here are the links to what I have used on the card. Affiliate links are used on some products. This means that if you make a purchase after clicking on my link, I receive a small commission with no extra cost to you. I truly appreciate your support when using these links. Please click on the logo below the product to shop at your favourite store. All products were personally purchased except those from Clearly Besotted, Hero Arts or those marked with an asterisk (*) which were kindly sent to me to use. You can read my full disclosure here.
 
 
COPIC MARKERS: Bear - E59, E57, E55, E53, E51, E50. Plater/band aid - BG13, BG11. Sling - C5, C2.
 
I hope you have enjoyed seeing my teasers this week. There is another set releasing that I haven't used during the teasers which I will share in my release video tomorrow. For more inspiration using the new release, please head over to see Stephanie and Jenny over on the Clearly Besotted Blog, as well as Keren over on her blog. See you tomorrow for release day! I hope you have a wonderful weekend!

28 February 2020

Clearly Besotted Teasers | Prickly Plushies

Hello there and welcome to day three of the Clearly Besotted March 2020 Teasers. Not long to wait until the new release now, the new products release on Sunday.


Today I am using the new Prickly Plushies set. It is an adorable set consisting of lots of cacti and fun sentiments. I thought I would create a card and tag using the set, along with the new Says It All Again and Saying Stuff sentiment sets.
 
 
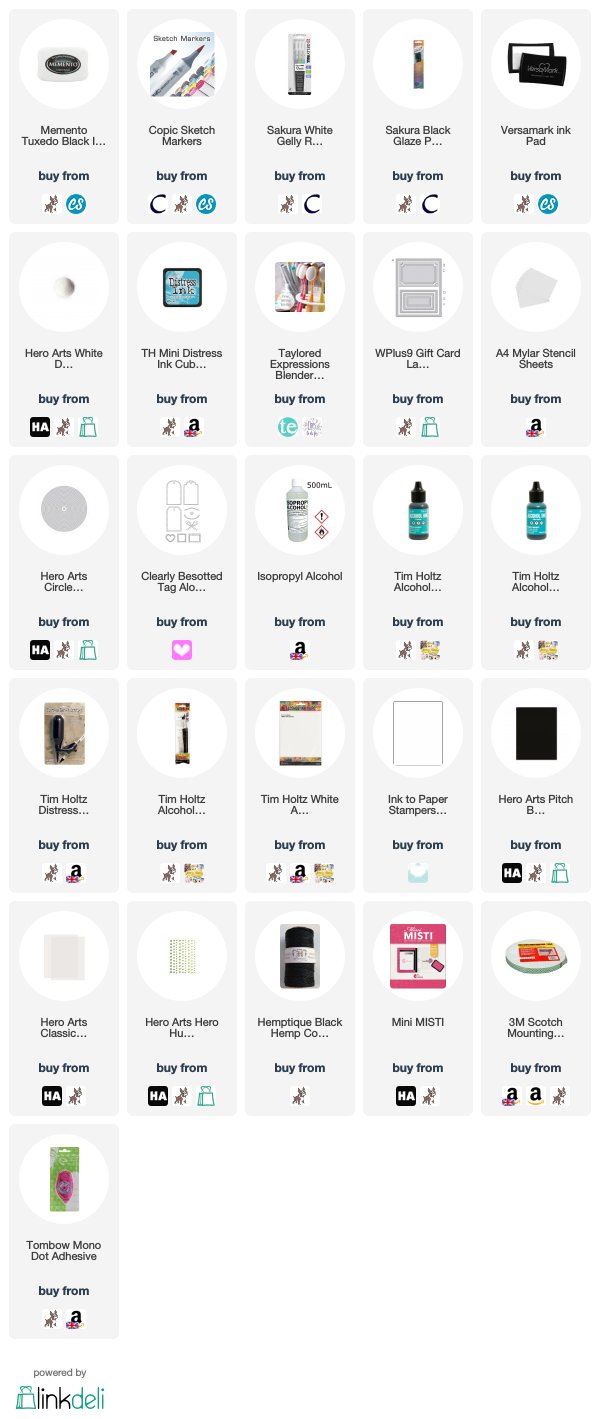
For the card, I took three of the cacti from the Clearly Besotted Prickly Plushies Stamp Set and stamped them on to white cardstock with Memento Tuxedo Black Ink. They were coloured using Copic Markers (the colours that I used are listed below the supplies section) and fussy cut out with scissors.
 
 
I took a panel of white cardstock and cut it using the largest of the dies from the WPlus9 Gift Card Layers Dies Set. I then placed a homemade circle stencil/mask over the top. The stencil is simply a circle die cut from a sheet of mylar. Using an ink blending brush, I blended on Broken China Distress Ink. I then took the sentiment from the Clearly Besotted Says It All Again Stamp Set and stamped it on to black cardstock using Versamark Ink. I applied white embossing powder and heat set.
 
 
It was cut in to a strip and added to the card with tape runner adhesive. The panel was added to a white A2 card base with tape runner and then the cacti added on top with foam tape. To finish off, I added white gel pen highlights to the cacti and a small gemstone to the girl cacti's flower.
 
 
I thought it would be fun to create a little tag too. It didn't quite go to plan as I couldn't find my speech bubble dies that I wanted to use, but thought I would share it anyway! I started off by stamping, colouring and cutting out another of the cacti images from the Clearly Besotted Prickly Plushies Stamp Set. I then cut a tag from the Clearly Besotted Tag Along Die Collection using Yupo Paper.
 
 
I applied a layer of Isopropyl Alcohol to the tag first, then added drops of Patina and Mermaid Tim Holtz Alcohol Inks. I spritzed the piece using an air spritzer tool and then splattered on some more Isopropyl Alcohol and set aside to dry. I die cut a Hero Arts Nesting Circle Infinity Die from vellum and then placed the cacti image on top with foam tape. I applied tape runner adhesive to the back and then added it to the tag.
 
 
I die cut another tag from white cardstock and stamped the sentiment from the Clearly Besotted Saying Stuff Stamp Set on to it using Memento Tuxedo Black Ink. The two tags were adhered back to back with tape runner and then twine was added through the top. To finish off, I added black glaze pen to the cacti's eyes, as well as white gel pen highlights. I also added a few green enamel dots around the image.
 
There is a sentiment in the Prickly Plushies set that reads 'you can't touch this' and I thought it would be funny to have this in a speech bubble so that the cacti was saying it. As mentioned, I cannot find my speech bubble dies sadly, but once I find them, I will add it to the front of the tag!
 
SUPPLIES:

Here are the links to what I have used on the card. Affiliate links are used on some products. This means that if you make a purchase after clicking on my link, I receive a small commission with no extra cost to you. I truly appreciate your support when using these links. Please click on the logo below the product to shop at your favourite store. All products were personally purchased except those from Clearly Besotted, Hero Arts or those marked with an asterisk (*) which were kindly sent to me to use. You can read my full disclosure here.
 
 
COPIC MARKERS: Cacti - G29, G46, YG67, YG17, YG25, YG03, YG01. Flowers - V17, V15, V12. Pots - BG49, BG18, BG15, BG13, BG11.
 
This is such a fun set! For more inspiration using the new release, please head over to Stephanie and Jenny over on the Clearly Besotted Blog, as well as Keren over on her blog. Thanks so much for visiting me today, I really do appreciate it. I hope you have a fantastic day!

27 February 2020

Clearly Besotted Teasers | Anteater Antics

Hello there and welcome to day two of the Clearly Besotted March 2020 Teasers. Today I am using the new Anteater Antics set, along with the new Freshly Cut Stencil.
 

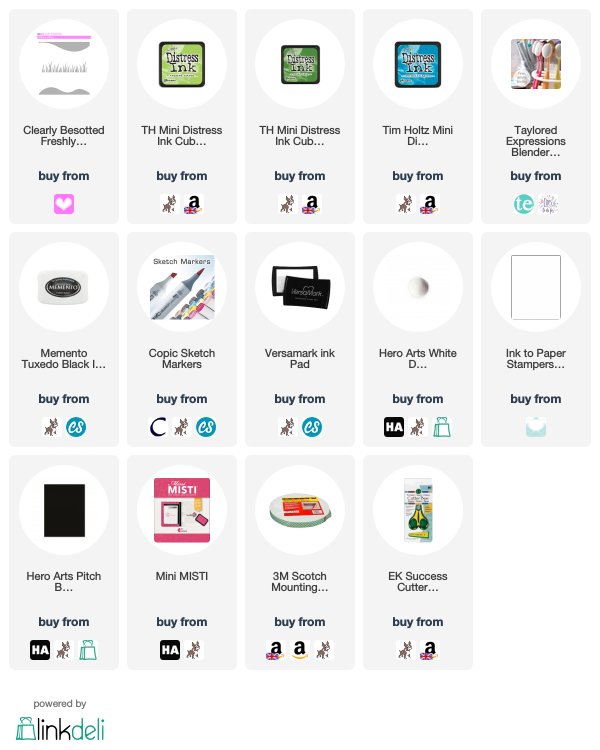
I started off my card by placing the smaller of the Taylored Expressions Rectangle Masking Stencil on the front of an A2 white card base. I then placed the Clearly Besotted Freshly Cut Stencil on top so that I could add blades of grass to the background. I first blended on Twisted Citron Distress Ink and them moved the stencil across and added another layer. I moved it once again and then blended on Mowed Lawn Distress Ink.
 
 
The Freshly Cut stencil was removed and then the rectangle blended with Mermaid Lagoon Distress Ink for the sky. The rectangle mask was then removed also. On a separate piece of cardstock, I stamped one of the anteaters from the Clearly Besotted Anteater Antics Stamp Set with Memento Black Ink. I also stamped the butterflies from the set. They were coloured using Copic Markers (the colours that I used are listed below the supplies area) and then fussy cut out with scissors.
 
 
The anteater and butterflies were added to the card with foam tape. I then took the sentiment from the set and stamped it on to black cardstock with Versamark Ink. I applied detail white embossing powder and heat set. It was cut in to a strip and added to the card using more foam tape.  
 
SUPPLIES:

Here are the links to what I have used on the card. Affiliate links are used on some products. This means that if you make a purchase after clicking on my link, I receive a small commission with no extra cost to you. I truly appreciate your support when using these links. Please click on the logo below the product to shop at your favourite store. All products were personally purchased except those from Clearly Besotted, Hero Arts or those marked with an asterisk (*) which were kindly sent to me to use. You can read my full disclosure here.
 

COPIC MARKERS: Anteater - W7, W5, W3, W2, W1. Butterflies - V17, V15, V12.
 
I love that Clearly Besotted create stamps of animals that are not usually in stamp form and I love these anteaters! For more inspiration using the new sets, please head over to the Clearly Besotted Blog, as well as Keren's Blog. Thanks so much for popping by today, see you tomorrow for day three. Have a wonderful day!

26 February 2020

Hello Beautiful

*This is my second post of the day, please see below for my Clearly Besotted teaser post*
 
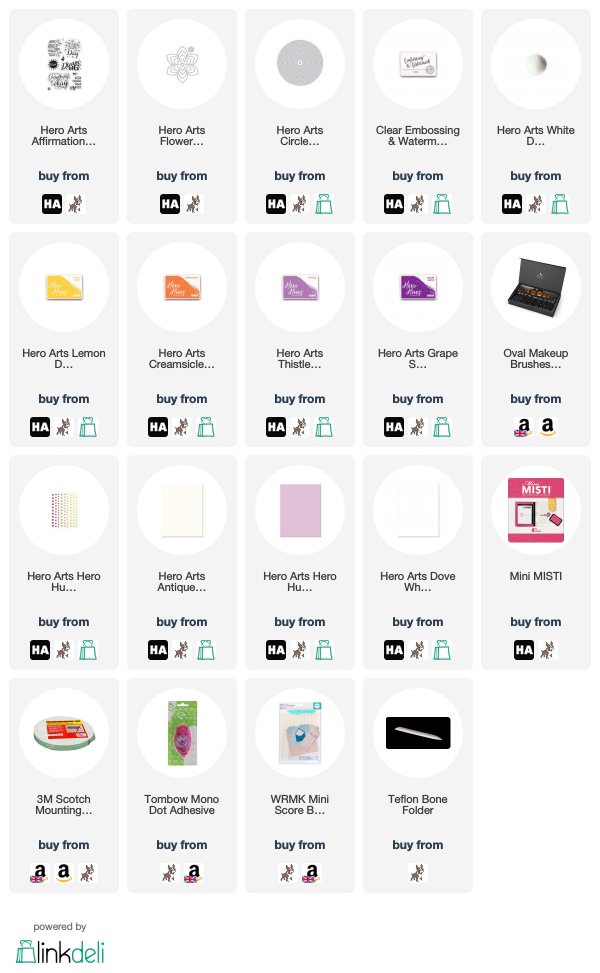
Hello there, I am over on the Hero Arts Blog today sharing a card made using the Affirmation Messages set. This set consists of lots of lovely messages but I thought the 'hello beautiful' one would work well with the new Flower Infinity Dies for a shaped card.
 
 
I stamped and heat embossed the sentiment on to Antique Ivory Cardstock and then cut it out using one of the Nesting Circle Infinity Dies. I then blended on Reactive Inks.
 
 
For the card base, I cut two of the largest of the Flower Infinity Dies from Hero Hues Lavender Cardstock, blended the edges with more Reactive Inks and then adhered them together at the top to create a hinge.
 
SUPPLIES:

Here are the links to what I have used on the card. Affiliate links are used on some products. This means that if you make a purchase after clicking on my link, I receive a small commission with no extra cost to you. I truly appreciate your support when using these links. Please click on the logo below the product to shop at your favourite store. All products were personally purchased except those from Clearly Besotted, Hero Arts or those marked with an asterisk (*) which were kindly sent to me to use. You can read my full disclosure here.
 
 
I had a lot of fun creating this shaped card! For more details on how I made it, please head over to the blog post here. Thanks so much for visiting me today, I really do appreciate it. I hope you have a wonderful rest of the day!
Clearly Besotted Teasers | Under My Umbrella

Hello there and welcome to day one of the Clearly Besotted March 2020 Teasers. The new sets release on March 1st and from now until then, we will be sharing teasers with you using the new sets. For my projects today, I am using the new super cute Under My Umbrella stamp set.
 

For my card, I started off by stamping the umbrella from the Clearly Besotted Under My Umbrella Stamp Set on to white cardstock with Memento Tuxedo Black Ink. I then made a mask for it (using mask paper) and placed it over the top. I then stamped the little fox from the set so that it looks like he is holding the umbrella.
 
 
The fox and umbrella were coloured using Copic Markers (the colours that I used are listed below the supplies area) and then fussy cut out with scissors and set aside while I worked on the background. I took the largest of the Taylored Expressions Rectangle Masking Stencils and placed this on to an A2 card base. I then placed the Clearly Besotted Cloudy Days Stencil on top.
 
 
Using rainbow colours of Distress Inks, I blended on clouds, moving the stencil down each time from the top of the card to the bottom. I then removed the stencils and stamped the sentiment from the Clearly Besotted Under My Umbrella Stamp Set on top with more black ink. The fox and umbrella image was then added on top with foam tape. To finish off, I added black glaze pen to the fox's eyes.
 

I couldn't resist using another critter from the set, this time holding on to the kite. I took the bunny from the Clearly Besotted Under My Umbrella Stamp Set and stamped it on to white cardstock with Memento Tuxedo Black Ink. I then stamped the kite so that the bunny was holding it. They were coloured using Copic Markers and then fussy cut out with scissors.
 
 
I cut a tag from the Clearly Besotted Tag Along Die Collection from white cardstock. Using the Clearly Besotted Cloudy Days Stencil, I blended on clouds using Mermaid Lagoon Distress Ink. The bunny and kite image was then added on top with foam tape. I took the sentiment from the new Clearly Besotted Pawly Plushies Stamp Set (more on this set later in the week) and stamped it on to black cardstock with Versamark Ink.


I applied detail white embossing powder and heat set. It was cut in to a strip and added to the tag with foam tape. To finish off, I added a few white enamel dots, as well as some twine through the top of the tag.
SUPPLIES:

Here are the links to what I have used on the card. Affiliate links are used on some products. This means that if you make a purchase after clicking on my link, I receive a small commission with no extra cost to you. I truly appreciate your support when using these links. Please click on the logo below the product to shop at your favourite store. All products were personally purchased except those from Clearly Besotted, Hero Arts or those marked with an asterisk (*) which were kindly sent to me to use. You can read my full disclosure here.
 
 
COPIC MARKERS: Fox - E19, E09, E07, E13, E53, E51, E50. Umbrella - R85, R83, R81, Y17, Y13, Y11, YR16, YR15, YR12, YG17, YG23, YG03, YG01, V17, V15, V12, B06, B02, B00, C8, C6, C5, C3. Bunny - W7, W5, W3, W2, W1, R00, R000. Kite - R85, R83, R81, V17, V15, V12.
 
I am in love with these cute critters and there are lots of more in the set too! For more inspiration using the new release, please head over to Stephanie and Jenny at the Clearly Besotted Blog and Keren over on her blog. Thanks so much for popping by, I will be back later with a Hero Arts card. Have a great day!

24 February 2020

Home With A Heart

Hello there, today I have a new home card to share that I made for a very good friend of mine. I have made new home cards in this kind of style before and I have always loved the simplicity of them, so I wanted to make another.
 

I started off by taking the second smallest house from the Hero Arts Nesting House Infinity Dies (sadly now discontinued but still in stock at some retailers) and cut it from Hero Hues Sand Cardstock. I then took the smallest of the hearts in the Hero Arts Nesting Hearts Infinity Dies and cut this in the top of the house. I then placed Hero Hues Cherry Cardstock behind (with the house popped up on foam tape).
 
 
I took the smallest of the Hero Arts Nesting Cloudy Infinity Dies and die cut them from white cardstock. These were added to an A2 white card base with tape runner. The house was then added in the middle. I took the sentiment from the Hero Arts Congrats Happy Stamp & Cut and stamped it on to more white cardstock with Hero Arts Inten-sified Black Ink. It was cut in to a strip and added to the house. To finish off, I added a red jewel in the centre of the heart.
 
SUPPLIES:

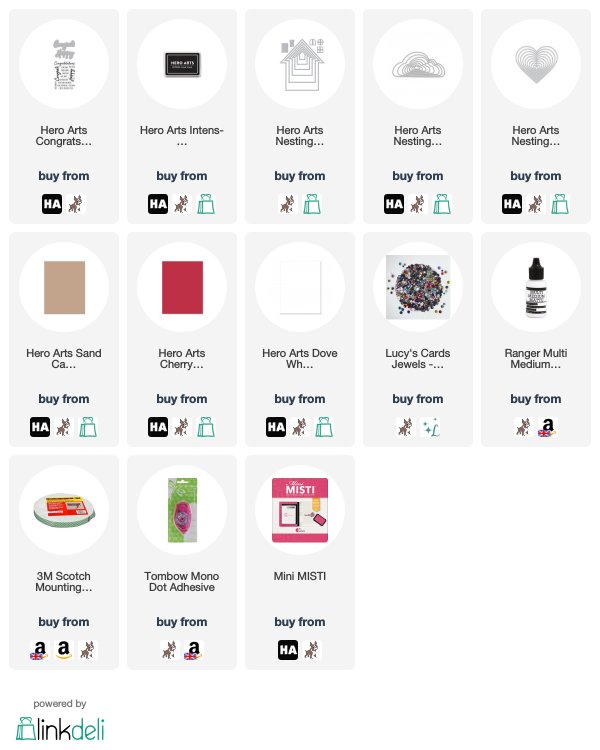
Here are the links to what I have used on the card. Affiliate links are used on some products. This means that if you make a purchase after clicking on my link, I receive a small commission with no extra cost to you. I truly appreciate your support when using these links. Please click on the logo below the product to shop at your favourite store. All products were personally purchased except those from Clearly Besotted, Hero Arts or those marked with an asterisk (*) which were kindly sent to me to use. You can read my full disclosure here.
 
 
I apologise for my recent impromptu week break. I have been creating, just nothing I can show just yet! Anyway, I hope you are all well and staying safe with all this horrible weather we have been having (especially here in the UK). I hope you have a wonderful week!

14 February 2020

Hero Arts Spring 2020 Release Blog Hop + Giveaway

Hello there and welcome as we celebrate the Hero Arts Spring 2020 Release! It is such a wonderful release, there are lots of new stamps and dies (of course!) plus new pigment ink pads, stencils and much more! Today I am using a new Hero Florals set, along with one of the new HeroScapes sets.
 
If you are following along in the hop, you should have arrived here from the fantastic Debi, but if you get lost along the way, I have the full list of participants below.
 

My first card uses the new Hero Arts Hero Florals Tulips Set. It is one of the smaller sets but it really packs a punch! The tulips are gorgeous! I started off by stamping the two tulips and extra leaf from the set on to white cardstock with Hero Arts Intens-ified Black Ink. I then coloured them using a combination of Copic Markers and Polychromos Pencils (the colours that I used are listed below the supplies area) and then cut them out using the Hero Arts Hero Florals Tulips Frame Cuts.
 
 
I took a piece of watercolour paper and die cut this using one of the new Hero Arts Square Infinity Dies (I am so excited for these!). Using a blending brush, I blended Hero Arts Pool Party Reactive Ink towards the bottom left of the panel, blending up to white. I then splattered on some water, followed by Hero Arts White Iridescent Shimmer Spray and set it aside to dry.
 
 
Once dry, I stamped the sentiment from the Hero Florals Tulips Stamp Set on top with more black ink. I adhered the tulips to the panel using foam tape and then cut off the ends before adhering the panel flat on to a 4.75" x 4.75" white card base. To finish off, I added a few Hero Arts Hero Hues Purples Enamel Dots.
 

My next card uses the new Hero Arts Sunflower Field HeroScapes Stamp Set. These new sets are fantastic! They are stamp layering sets that are really easy to line up and create a beautiful landscape (or HeroScape!). I took a panel of Hero Arts Dove White Premium Cardstock and started off by stamping the most solid layer at the bottom using Hero Arts Green Apple Bold Ink. I then stamped the second layer on top using Hero Arts Fresh Lawn Mid-Tone Shadow Ink.
 
 
For the flower heads, I used Hero Arts Lemon Yellow Mid-Tone Shadow Ink, followed by Hero Arts Butter Bar Mid-Tone Shadow Ink (I did stamp this layer twice). For the centres of the sunflowers, I first stamp them using Hero Arts Caramel Bold Ink but then went over them using Hero Arts Cup O'Joe Mid-Tone Shadow Ink for some added depth of colour. I wanted to keep my card very CAS, so I simply stamped the sentiment above using Hero Arts Intens-ified Black Ink and adhered the panel to a Hero Arts Top Folding Card Base with foam tape.
 
SUPPLIES:

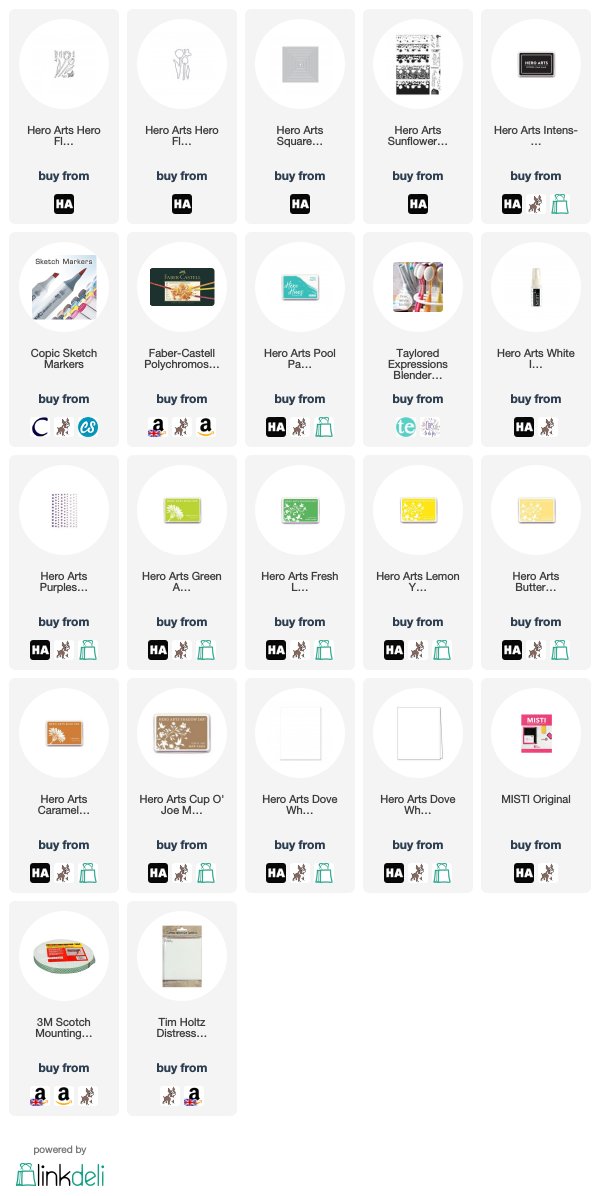
Here are the links to what I have used on the card. Affiliate links are used on some products. This means that if you make a purchase after clicking on my link, I receive a small commission with no extra cost to you. I truly appreciate your support when using these links. Please click on the logo below the product to shop at your favourite store. All products were personally purchased except those from Clearly Besotted, Hero Arts or those marked with an asterisk (*) which were kindly sent to me to use. You can read my full disclosure here.
 
 
COLOURING: Tulip heads - Copic V09, V17, V15, V12, V01 + Polychromos 160, 134, 249, 136. Stems and leaves - Copic YG17, YG25, YG01 + Polychromos 158, 112, 171.
 
BLOG HOP:
 
 
Here is the full list of participants in the hop today:
 
 Michelle Short - you are here!
 
GIVEAWAY:
 
Hero Arts are giving away three $50 shopping sprees for three lucky blog hop readers. All you need to do to enter is to leave comments on the participants blog posts in the hop. The more you comment, the more chances you have to win! Giveaway closes 19th February 2020 at 23.59 PST. The winners will be announced shortly afterwards on the Hero Arts Blog.
 
Next on the hop is the amazing Caly. Thanks so much for stopping by today, I hope you have a wonderful day!

13 February 2020

Yappy Birthday!

*This is my second post of the day, please see below for my Tonic post*

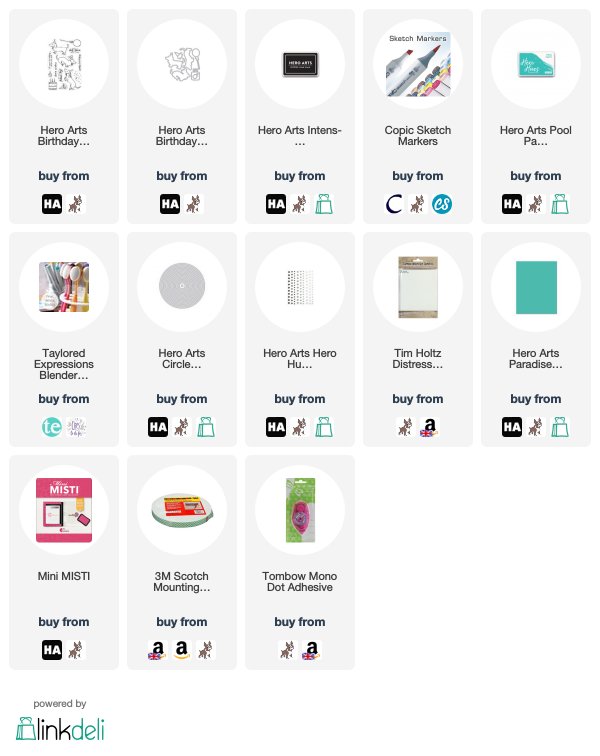
Hello there, I am over on the Hero Arts Blog today, sharing a card using the new Birthday Paw-ty set. I haven't made a circle card for a while and I thought this set would work perfectly on one. So that's what I did! My preferred method to make circle cards is to cut two circles from cardstock and stick them together at the top (add a score line and it will work like a hinge).


I added a little ink blending behind the pup and balloon with Pool Party Reactive Ink. It works perfectly with the Hero Hues Paradise Cardstock!


SUPPLIES:

Here are the links to what I have used on the card. Affiliate links are used on some products. This means that if you make a purchase after clicking on my link, I receive a small commission with no extra cost to you. I truly appreciate your support when using these links. Please click on the logo below the product to shop at your favourite store. All products were personally purchased except those from Clearly Besotted, Hero Arts or those marked with an asterisk (*) which were kindly sent to me to use. You can read my full disclosure here.
 
 
COPIC MARKERS: Dog - E59, E57, E55, E53. Balloon & Hat - BG49, BG15, BG13, BG11.

For more details on how I made the card, please head over to the blog post here. Thanks so much for stopping by today, I really do appreciate it. I hope you have a wonderful rest of the day!

Tonic Studios | Spring Dreams Stamp Collection Online Party + Discounts

Hello there, I am delighted to be joining Tonic Studios today to celebrate the release of their Spring Dreams Collection. I am using two sets from the collection today - Unicorn Wishes and Strawberry Joy. I also have 15% off all orders at Tonic Studios (please see below for details).
 

My first card uses the new Tonic Studios Unicorn Wishes Stamp Set. I first took a panel of white cardstock and stamped the unicorn and two clouds (I had to stamp one twice) on to it using Nuvo Black Shadow Hybrid Ink. I then coloured the images using a combination of Nuvo Alcohol Markers and Copic Markers. They were fussy cut out with scissors and set aside while I worked on my card base.
 
 
I took an A2 white card base and placed the smaller of the Taylored Expressions Rectangle Masking Stencils on top and secured at the back with memo tape. I then blended inks inside the rectangle to create a sky. I used Laguna Bay, Spring Heather and Polar Ice inks from the Nuvo Sea Siren Hybrid Ink Collection. Keeping the mask in place I then sprayed on a layer of Sparkle Sheer Shimmer Spritz and set it aside to dry.
 
 
I added the clouds to the card base with tape runner and then added the unicorn on top with foam tape. I white heat embossed the sentiment from the Tonic Studios Unicorn Wishes Stamp Set on to black cardstock and then cut that in to a strip and added it to the card with more foam tape. To finish off, I added dots of Nuvo White Blizzard Glitter Drops to the clouds and unicorn.
 

My next card uses the new Tonic Studios Strawberry Joy Stamp Set. I first took one of the floral images in the set (there are lots to chose from) and stamped it on to white cardstock with Nuvo Black Shadow Hybrid Ink. I then coloured the image with Copic Markers and coloured pencils. I decided to colour the strawberries purple to represent flowers, but they are meant to be strawberries! I then fussy cut the image out with scissors and set it aside.
 
 
I took an A2 white card base and placed the larger of the two TE Rectangle Masking Stencils on top. Using the Laguna Bay ink (again from the Nuvo Sea Siren Hybrid Ink Collection), I blended it towards the bottom left hand corner and up towards the right, fading into white. I placed the image in to the bottom left with foam tape.
 
 
I took the sentiment from the Tonic Studios Strawberry Joy Stamp Set and stamped it on to black cardstock with Versamark Ink. I applied white embossing powder and heat set. It was then cut in to two strips and added to the card with more foam tape. To finish off, I added white gel pen dots to the sunflowers and Nuvo Crystal Glaze to the heart on the jug.
 
SUPPLIES:

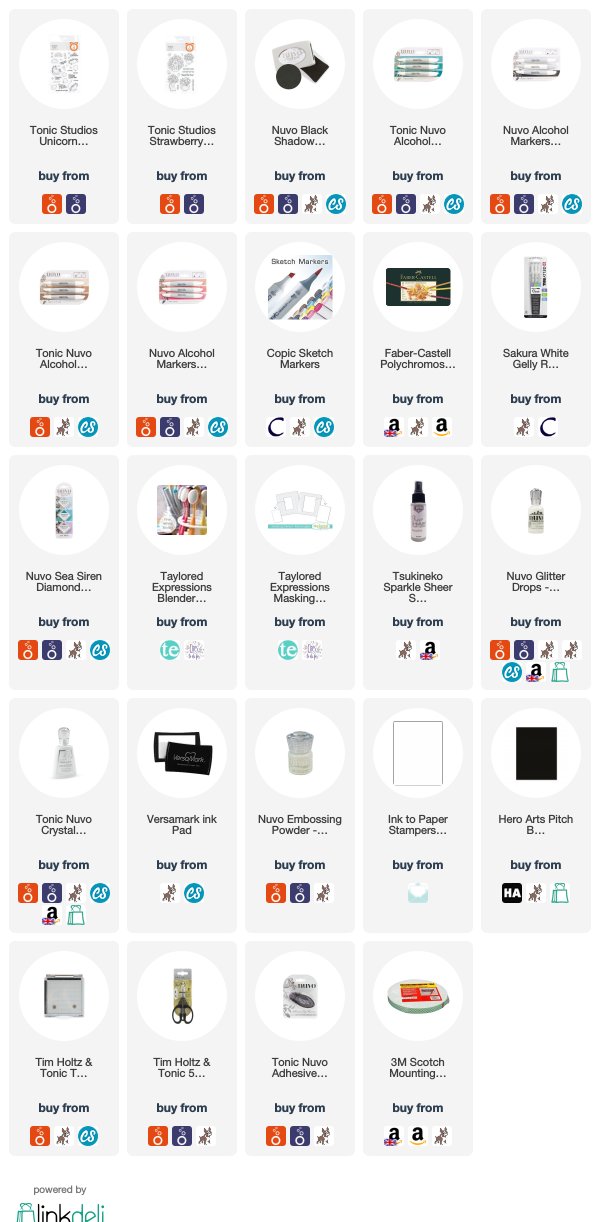
Here are the links to what I have used on the card. Affiliate links are used on some products. This means that if you make a purchase after clicking on my link, I receive a small commission with no extra cost to you. I truly appreciate your support when using these links. Please click on the logo below the product to shop at your favourite store. All products were personally purchased except those from Clearly Besotted, Hero Arts or those marked with an asterisk (*) which were kindly sent to me to use. You can read my full disclosure here.
 

COLOURING: Clouds - Tonic 360 + Blending Pen. Unicorn Body - Tonic 472, 449 + Blending Pen. Hair & horn - Copic BG49, BG13, BG11, B06, B04, B01, V17, V15, V12, R85, R83, R81. Purple Flowers - Copic V17, V15, V12 + Polychromos 249, 136. Sunflowers - Copic E79, E77, E74, E71, Y17, Y15, Y11. Leaves - Copic YG17, YG25, YG01 + Polychromos 267, 112, 171. Teal leaves - Copic BG75, BG72. Jug - Copic BG49, BG18, BG15, BG13, BG11, V17, V15, V12.

DISCOUNTS:


As part of the release, I have 15% off orders from the Tonic Websites. For the UK Website click here. For the US website click here. You do need to click the links for the offer to work. Happy shopping!
 
For more inspiration using the release and for links to everyone taking part in the party, please head over to the Tonic Studios Blog. Thanks so much for visiting me today, I very much appreciate it. I hope you have a wonderful day!

12 February 2020

Birthday Dip Dye

Hello there, today I have a card to share that I made for my uncle for his birthday. I thought it would be fun to try Kristina's Faux Dip Dye Technique for it.
 

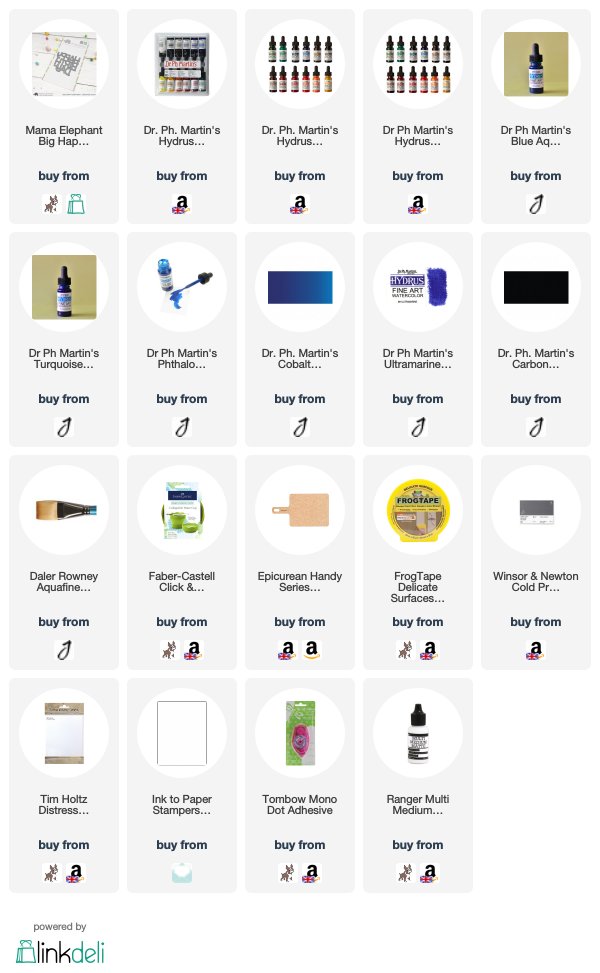
I first took a sheet of watercolour paper and ripped the bottom edge. I then taped it to a board and added layers of Dr Ph. Martin's Hydrus Watercolours on top. I used various blues and teals and dried each layer in between. I did end up doing two layers of each colour to intensify the colours. Once dry, the panel was adhered flat to an A2 white card base.
 
 
I took the Mama Elephant Big Happy Birthday Die and die cut this three times from white cardstock. They were stacked up and glued together using Multi Medium Matte. I then die cut the top layer from Tim Holtz Distress Woodgrain Cardstock. The die was adhered to the card with more Multi Medium Matte Glue.
 
SUPPLIES:

Here are the links to what I have used on the card. Affiliate links are used on some products. This means that if you make a purchase after clicking on my link, I receive a small commission with no extra cost to you. I truly appreciate your support when using these links. Please click on the logo below the product to shop at your favourite store. All products were personally purchased except those from Clearly Besotted, Hero Arts or those marked with an asterisk (*) which were kindly sent to me to use. You can read my full disclosure here.
 
 
A really simple card but I do like how it turned out. I think the woodgrain texture on the die cut gives a slight bit more interest to the card. Thanks so much for stopping by today, I really do appreciate it. I hope you have a wonderful day!

10 February 2020

VIDEO | Spellbinders - Yana's Foiled Basics Collection

Hello there, I am delighted to be over on the Spellbinders YouTube Channel today to take part in Yana's Foiled Basics launch. If you haven't already seen it, it is Yana Smakula's debut foiling range for Spellbinders. You can purchase Yana's Foiled Basics Project Kit (which includes the products, four pre-kitted cards, instructions and much more to get you started straight away), or you can purchase the components of the kit individually too.
 
 
For the launch, I made three clean and simple cards using the main supplies in the kit. All of the Glimmer Foiling Plates in the kit are to be used with the Spellbinders Glimmer Hot Foil System for foiling, but you can emboss using the dies too, if you wanted to.
 
SIMPLE FOILING ON WHITE CARDSTOCK

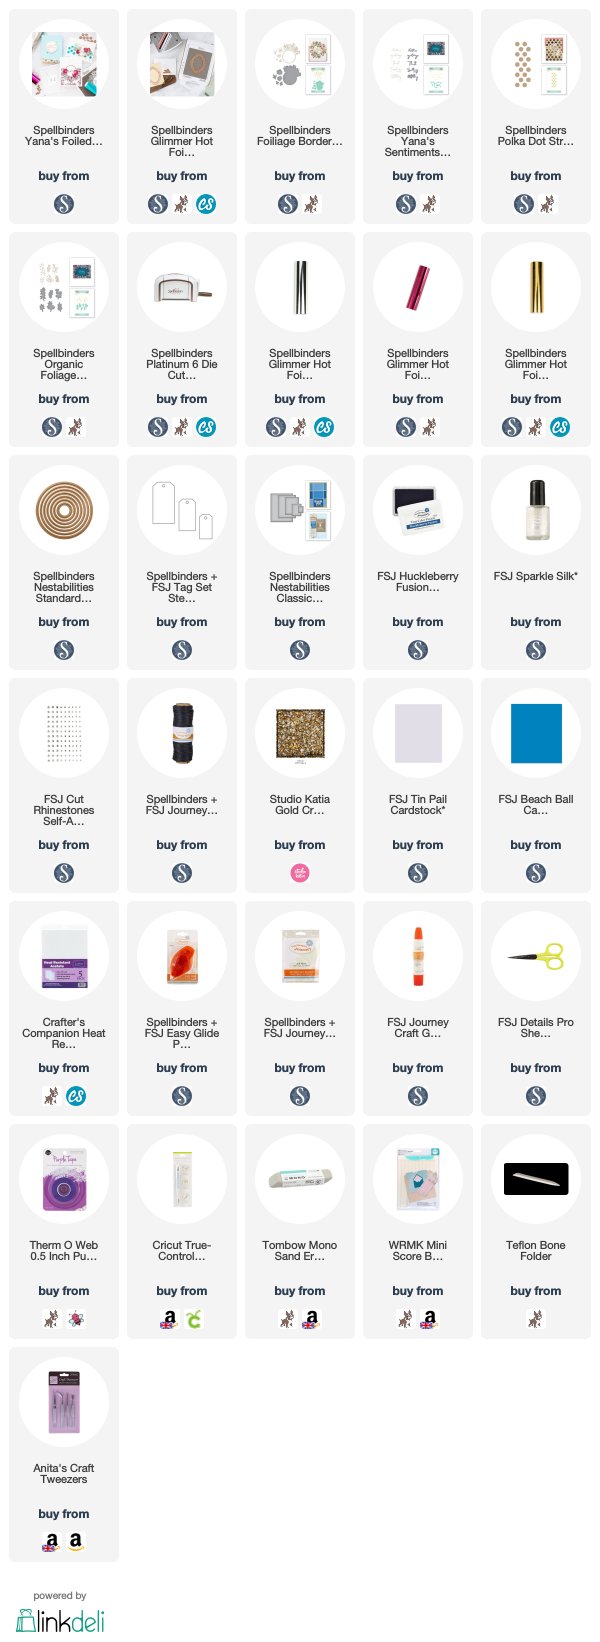
For my first card, I thought I would stick to foiling on to white cardstock. I used Yana's Foliage Border Glimmer Hot Foil Plate & Die Set for the flowers and leaves and foiled them using the Moondust foil that comes in the kit, as well as the Silver Glimmer Hot Foil Roll that comes when you purchase the Glimmer System (or can be purchased separately).
 

The elements were cut out using the coordinating dies. I took the circle piece from the set and foiled that along with the sentiment from Yana's Sentiments Glimmer Hot Foil Plate & Die Set. This was cut out using a Nestabilities Standard Circles SM Etched Die. The card base is FSJ Tin Pail Cardstock that was scored using a scoring board and bone folder to give some added detail to the card. The elements were added on top with foam tape and tape runner.
 
FOILING ON ACETATE

For my next project, I thought it would be fun to create an acetate tag. I foiled Yana's Polka Dot Strip Glimmer Hot Foil Plate on to a tag, cut from heat-resistant acetate, using the Magenta Glimmer Hot Foil Roll that comes in the kit.
 
 
I then foiled one of the flower and leaves (twice) using the Magenta and Silver Foils on to white cardstock. I also foiled the best wishes sentiment from Yana's Sentiments Glimmer Hot Foil Plate & Die Set with Magenta Foil and cut out with the coordinating die. I finished off the tag with a few Rhinestones and black twine through the top. I thought it would be nice to add on to a present/gift (as shown in the photo). For this, I would add a little adhesive behind the flower on the tag to adhere to the gift.
 
FOILING WITH INK BLENDING

For my final project today, I took FSJ Beach Ball Cardstock and foiled three of the leaves from Yana's Organic Foliage Glimmer Hot Foil Plate & Die Set on to it with the Gold Glimmer Hot Foil Roll that comes in the kit. They were then cut out using a small Nestabilities Classic Rectangles SM Etched Die.
 
 
I took FSJ Huckleberry Fusion True Color Fusion Ink and blended this around the edges. I then splatted on some FSJ Sparkle Silk for added sparkle. The sentiment from Yana's Sentiments Glimmer Hot Foil Plate & Die Set was foiled on to white cardstock with more gold foil and die cut out. The elements were added to a white A2 card base with foam tape. To finish off, I added a few gold jewels.
 
VIDEO:

Here is the video showing how I made the projects:


If you are viewing this post via email subscription, you can watch the video HERE on YouTube.
 
SUPPLIES:

Here are the links to what I have used on the card. Affiliate links are used on some products. This means that if you make a purchase after clicking on my link, I receive a small commission with no extra cost to you. I truly appreciate your support when using these links. Please click on the logo below the product to shop at your favourite store. All products were personally purchased except those from Clearly Besotted, Hero Arts or those marked with an asterisk (*) which were kindly sent to me to use. You can read my full disclosure here.
 
 
I had a lot of fun creating these projects! For more inspiration using the kit and products, please head over to the Spellbinders YouTube Channel and Blog. Thanks so much for visiting me today, I really appreciate it. I hope you have a great day!
End of code