30 November 2019

Clearly Besotted Teasers | Wonderful Couple

Hello there and welcome to day four of the Clearly Besotted December 2019 Teasers. Not long to wait now, the new products release tomorrow at 8pm GMT. For my last teaser, I am using the adorable Love Notes set. We are continuing the love theme with this fabulous set but I think you can use it for different occasions too. There are different critters writing messages in this set, I went with the hippos for my card.
 

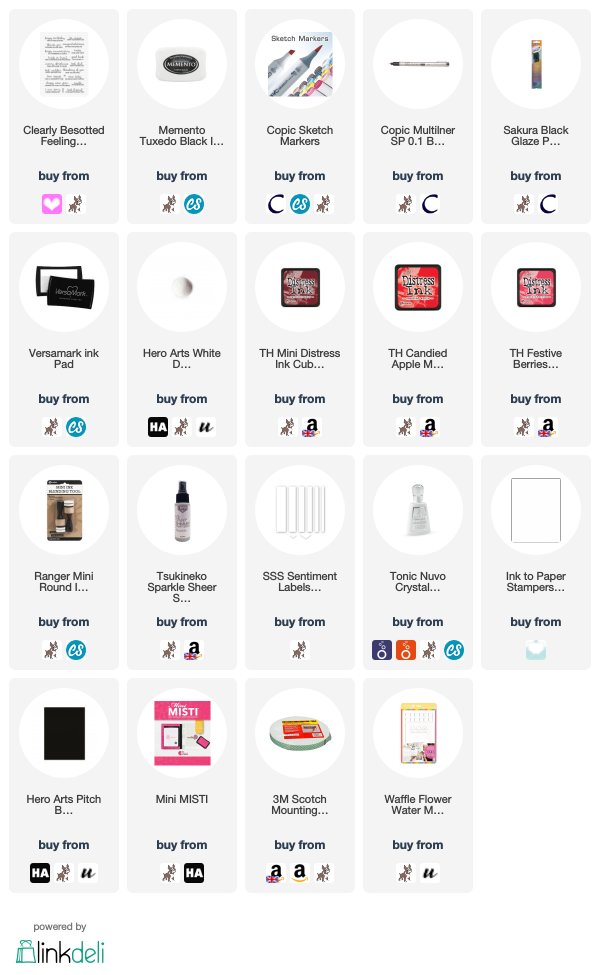
I started off by stamping the hippo on the right from the Clearly Besotted Love Notes Stamp Set on to white cardstock with Memento Tuxedo Black Ink. I then mirror stamped this to get the hippo on the left. For this, I stamped the image on to the Waffle Flower Water Media Mat and then placed the cardstock on top. The ink then transfers to the cardstock to give a mirror image. The lines are not perfect but I went over them with a black Copic Multi-liner. I coloured them with Copic Markers (the colours that I used are listed below the supplies area) and fussy cut them out with scissors.
 
 
I then stamped the heart image that the hippos are painting and fussy cut that out too. I took the sentiment from the Clearly Besotted Feeling Sentimental Stamp Set and stamped this on to black cardstock with Versamark Ink. I applied detail white embossing powder and heat set. This was cut in to a strip and set aside while I worked on the background.
 
 
I took a panel of white cardstock and masked off the bottom portion. I took Distress Inks in Aged Mahogany, Candied Apple and Festive Berries and blended these on to the top of the panel. I then spritzed it heavily with Sparkle Sheer Shimmer Spritz and set it aside to dry. Once dry, I added the sentiment strip below the inking, cut the edges and added it to a white A2 card base with tape runner. The hippos and heart were then added on top with foam tape. To finish off, I added Nuvo Crystal Glaze to the paint on the brushes and the heart.
 
SUPPLIES:

Here are the links to what I have used on the card. Affiliate links are used on some products. This means that if you make a purchase after clicking on my link, I receive a small commission with no extra cost to you. I truly appreciate your support when using these links. Please click on the logo below the product to shop at your favourite store. All products were personally purchased except those from Clearly Besotted, Hero Arts or those marked with an asterisk (*) which were kindly sent to me to use. You can read my full disclosure here.
 
 
COPIC MARKERS: Hippos - W7, W5, W4, W3, W1. Paintbrushes - R89, R9, R27, R24, C5, C1, E55, E53, E50.
 
I ended up colouring the hippos a bit darker than I would have liked really, but I didn't want to waste them after colouring. I initially coloured the paintbrushes in blue and then decided that I wanted them red. I managed to colour over the top but that is why they look even darker! For more inspiration using the new release, please head over to the Clearly Besotted Blog, Keren and Lisa. Thanks so much for visiting me in blogland today. I will be back tomorrow with my release preview video. Have a fabulous day!

29 November 2019

Clearly Besotted Teasers | Love Story

Hello there and welcome to day three of the Clearly Besotted December 2019 Teasers. The new products release on Sunday and today I have a card to share using the new Love Story set. It is such a cute set consisting of a film strip with different landscapes that can go inside, along with lots of adorable skunks. Although the set is geared towards sending cards to your significant other, I thought it would work well for an anniversary card too.
 

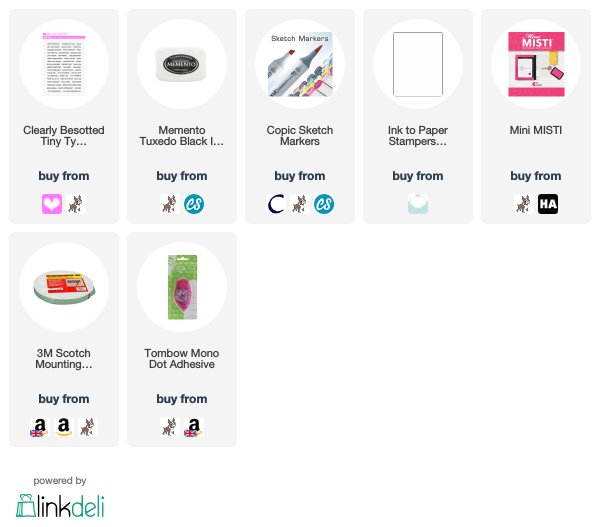
I started off my card by stamping the film strip from the Clearly Besotted Love Story Stamp Set on to a panel of white cardstock with Memento Tuxedo Black Ink. I then stamped the cityscape image inside each of the windows. The sunset sky was added with Copic Markers (the colours used are listed below the supplies area).
 
 
On a separate piece of cardstock, I stamped two of the skunks and coloured them with Copic Markers before fussy cutting out with scissors. I took the 'happy anniversary' sentiment from the Clearly Besotted Tiny Type Stamp Set and stamped this below the film strip. The panel was adhered flat to an A2 white card base and then the skunks added on top with foam tape.
 
SUPPLIES:

Here are the links to what I have used on the card. Affiliate links are used on some products. This means that if you make a purchase after clicking on my link, I receive a small commission with no extra cost to you. I truly appreciate your support when using these links. Please click on the logo below the product to shop at your favourite store. All products were personally purchased except those from Clearly Besotted, Hero Arts or those marked with an asterisk (*) which were kindly sent to me to use. You can read my full disclosure here.
 
 
COPIC MARKERS: Sunset - R24, YR18, YR15, Y17, Y15. Skunks - T7, T6, T5, T4, T3, T3, T1. Heart - R89, R39, R27, R24.
 
Although skunks are usually darker in colour than I have coloured them, I went with greys as there is already a lot of black on the card. I do think the greys work quite well for them though. They are adorable! For more inspiration using the new release, please head over to the Clearly Besotted Blog, Keren and Lisa. Thanks so much for stopping by today, I very much appreciate it. See you tomorrow for day four. Have a wonderful day!

28 November 2019

Clearly Besotted Teasers | Hugs

Hello there and welcome to day two of the Clearly Besotted December 2019 Teasers. Today I am using a really fun new set called Picture Perfect. The little critters in the set are made to fit inside the polaroid photo frame stamp - so cute!
 

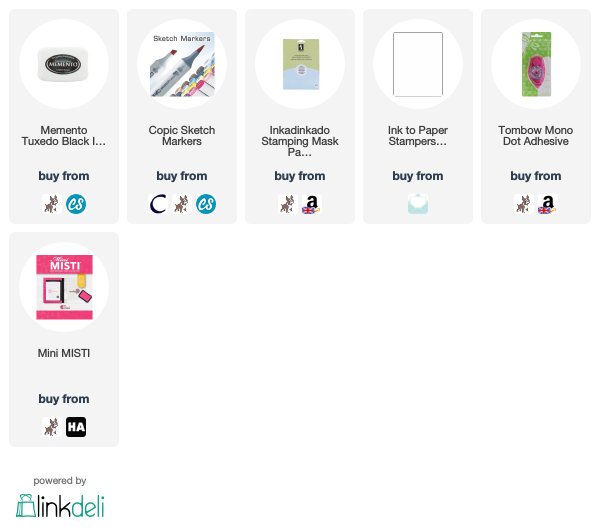
I started off my card by taking a panel of white cardstock and stamping the polaroid photo frame from the Clearly Besotted Picture Perfect Stamp Set, with Memento Tuxedo Black Ink. I stamped the one on the left first, made a mask for it and stamped the one in the middle to overlap slightly. I then stamped the one on the right. The critters were then stamped inside each of the frames. There are five sets of critters but I went with the foxes, rabbits and cats for my card today.
 
 
I took the sentiment from the new Clearly Besotted Festive Flourish Stamp Set and stamped this on to the middle photo. There are lots of sentiments in the Picture Perfect set but I thought the hugs would work nicely for my card. The photos were then coloured using Copic Markers (the colours that I used are listed below the supplies area). Because the critters were kept neutral in colour, I decided to add some spots in rainbow colours (using Copic Markers) behind the photos for some added interest. The panel was then simply adhered flat to an A2 white card base.
 
SUPPLIES:

Here are the links to what I have used on the card. Affiliate links are used on some products. This means that if you make a purchase after clicking on my link, I receive a small commission with no extra cost to you. I truly appreciate your support when using these links. Please click on the logo below the product to shop at your favourite store. All products were personally purchased except those from Clearly Besotted, Hero Arts or those marked with an asterisk (*) which were kindly sent to me to use. You can read my full disclosure here.
 
 
COPIC MARKERS: Foxes - E18, E09, E13, E11, E30. Bunnies - W6, W5, W3, W2, W1, R12, R00, R0000. Cats - C10, C8, C7, C6, C5, C3, C1, R00. Shadow on photo frames - C5, C3, C1. Background - BG11, BG10, BG000, BG0000. Bubbles - R85, R83, R81. YR16, YR15, YR12. Y15, Y13, Y11. YG25, YG03, YG01. B02, B00, B000. V17, V15, V12.
 
There are lots of other images and accessories in the set. I just love all the critters though! For more inspiration using the new release, please had over to the Clearly Besotted Blog, Keren and Lisa. Thanks so much for stopping by today, I really do appreciate it. See you tomorrow for day three. Have a great day!

27 November 2019

Clearly Besotted Teasers | Piggy Mail

Hello there and welcome to day one of the Clearly Besotted Teasers for the December 2019 release. I cannot believe that we are on the December release already, this year has flown by! Anyway, the new products release on the 1st December 2019 at 8pm GMT. From now until then, we will be sharing teasers with you using the new sets. My card and tag today use the new Love Letters set.
 

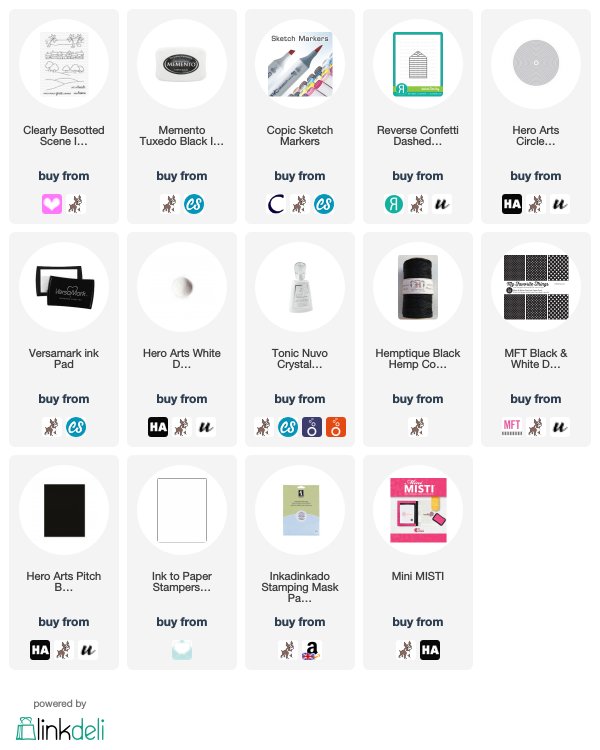
I started off by creating my card. I took a panel of white cardstock and stamped the letter/envelope outline image from the Clearly Besotted Love Letters Stamp Set on to my panel using Memento Tuxedo Black Ink. I masked off the first one and then stamped it again on the right hand side. This set is geared towards love letters (as the name suggests), but I thought it would be fun to use the set to resemble a post card.

 
For the front of the postcard, I took one of the pigs from the set (there are a few different ones) and stamped this in the left hand side outline. I made a mask for him and then stamped the beach scene image from the Clearly Besotted Scene It More Stamp Set on top. The mask was then removed to reveal the pig sitting on the beach. I then stamped the sentiment above. I took the postage stamp from the Love Letters set and stamped this on to what is the back of the postcard.
 
 
I stamped the pig face inside and then the lines to represent the franking of the postage stamp. The postcards were then coloured using Copic Markers (the colours that I used are listed below the supplies area). The panel was adhered to an A2 black card base with foam tape.

I couldn't resist creating a little tag with this set too. I took one of the other pig images from the Clearly Besotted Love Letters Stamp Set and stamped this on to white cardstock with black ink. He was coloured with Copic Markers and fussy cut out with scissors. I took the Reverse Confetti Dashed Line Tag Die and cut this from white cardstock twice (for the front and back). I took the front piece and cut an aperture from it using the Hero Arts Nesting Circle Infinity Dies.
 
 
I placed a piece of MFT Black & White Dots Paper Pad behind and then added the other tag on to the back to finish it off. The pig was added to the centre of the window with foam tape. I white heat embossed the sentiments from the Love Letters set on to black cardstock, cut in to strips and added to the tag with more foam tape. To finish off, I added a twine bow and a mini clothes pin.


SUPPLIES:

Here are the links to what I have used on the card. Affiliate links are used on some products. This means that if you make a purchase after clicking on my link, I receive a small commission with no extra cost to you. I truly appreciate your support when using these links. Please click on the logo below the product to shop at your favourite store. All products were personally purchased except those from Clearly Besotted, Hero Arts or those marked with an asterisk (*) which were kindly sent to me to use. You can read my full disclosure here.
 
 
COPIC MARKERS: Pig - R21, R30, R00. Heart - V17, V15, V12. Sand - E44, E43, E42, E41. Rocks - E49, E47, E44, E43. Palm Trees - YG17, YG25, YG03, YG01. E57, E55, E53, E50. Sea - B18, B16, B14, B12. Sky - B01, B00, B000, B0000. Pig on tag - R12, R30, R01, R00.
 
I just love these baby piggies so much! They are absolutely adorable. Although this set is geared towards Valentine's, as you can see, you can use it in other ways too. For more inspiration using the new release, please head over to the Clearly Besotted Blog and my teamies Keren and Lisa. Thanks so much for stopping by today, see you tomorrow for day two!

26 November 2019

Pop Up Present

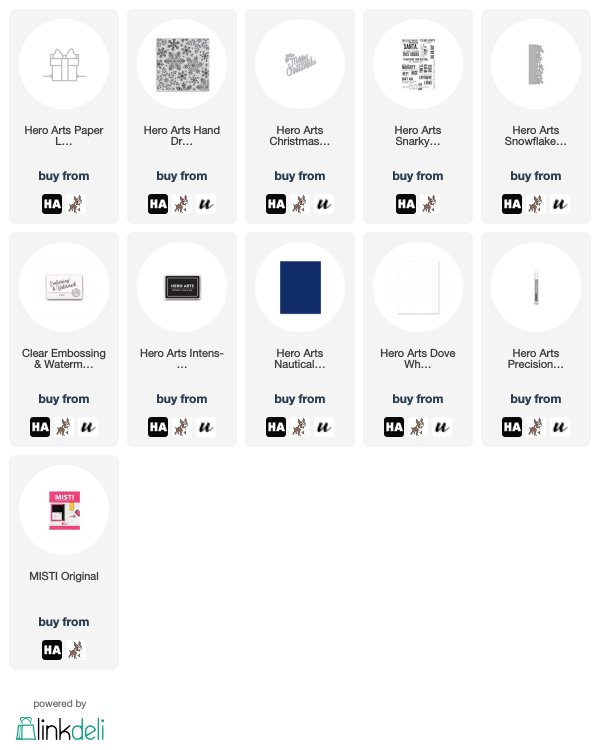
Hello there, I am over on the Hero Arts Blog today, sharing a card using the wonderful Paper Layering Present Gift Card Fancy Die. This die is wonderful! You can use it as a pop up on the inside of your cards and it is perfectly sized so that you can fit in a gift card inside.
 

I kept the front of the card very simple so that I could concentrate on the inside. I used the Hand Drawn Snowflakes Bold Prints for a subtle tone-on-tone look, and layered the Christmas Message Fancy Die on top.
 
 
For the inside, I embellished the present using blue cardstock, as well as some silver glitter paper for the bow. The sentiment is from the Snarky Christmas Messages set and I think the Snowflake Edge Fancy Die finishes it off perfectly.
 

SUPPLIES:

Here are the links to what I have used on the card. Affiliate links are used on some products. This means that if you make a purchase after clicking on my link, I receive a small commission with no extra cost to you. I truly appreciate your support when using these links. Please click on the logo below the product to shop at your favourite store. All products were personally purchased except those from Clearly Besotted, Hero Arts or those marked with an asterisk (*) which were kindly sent to me to use. You can read my full disclosure here.
 
 
For more details on how I made the card, please head over to the Hero Arts Blog Post. Thank you so much for stopping by today, I really do appreciate it. I hope you have a great day!
23 November 2019

Reindeer Fun!

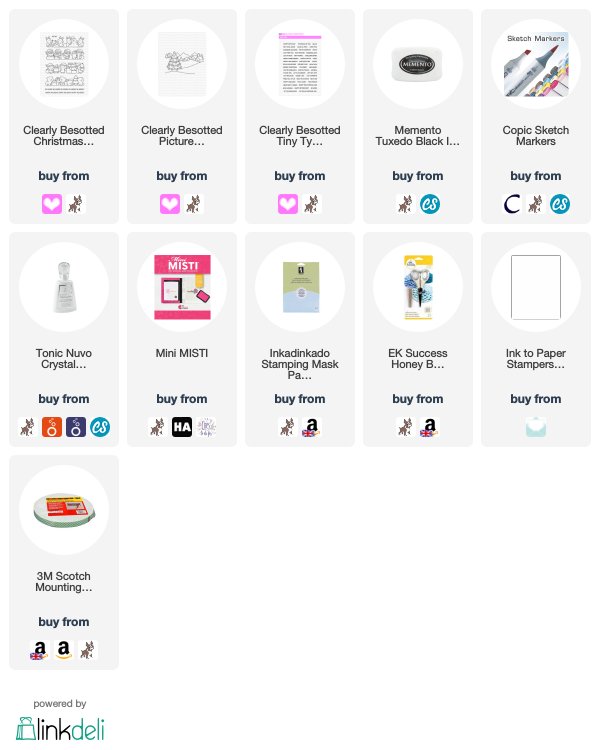
Hello there, I finally have another card to share with you! Following on from my last post, I am still struggling with migraines but I am trying to do a bit of card making when I can at the moment. I still have tons of Christmas cards to make, so I thought that I would use the Clearly Besotted Christmas Line Up Stamp Set for my card today.
 

To start of with, I took a panel of white cardstock and stamped the reindeer and snowman image from the Clearly Besotted Christmas Line Up Stamp Set towards the top, with Memento Tuxedo Black Ink. I then stamped the image again on to mask paper, cut out with scissors and place this over the stamped image.
 
 
I took the Clearly Besotted Picture It Christmas Stamp Set and stamped this towards the top of the panel. I removed the mask and touched up any areas that didn't line up correctly with a Copic Multiliner. I then took the sentiment from the Clearly Besotted Tiny Type Stamp Set and stamped this below the image.
 
 
The panel was then coloured using Copic Markers. I coloured the background first and then the reindeer and snowmen. All of the colours that I used are listed below the supplies area. The panel was adhered to an A2 white card base with foam tape. To finish off, I added Tonic Nuvo Crystal Glaze to the reindeer's noses and to the star at the top of the tree.
 
SUPPLIES:

Here are the links to what I have used on the card. Affiliate links are used on some products. This means that if you make a purchase after clicking on my link, I receive a small commission with no extra cost to you. I truly appreciate your support when using these links. Please click on the logo below the product to shop at your favourite store. All products were personally purchased except those from Clearly Besotted, Hero Arts or those marked with an asterisk (*) which were kindly sent to me to use. You can read my full disclosure here.
 
 
COPIC MARKERS: reindeer - E59, E57, E55. Noses - E49, E57/R89, R37, R27, R24. Snow/Snowmen - BG11, BG10, BG0000. Hat - C10, C7, C5. Scarf & ornaments on tree - R89, R37, R24. Trees - G29, G46, G43. Star - Y15. Houses - E49, E59, E57, E55. Mountains - B45, B41, B0000. Sky - B06, B04, B02, B00.
 
Although I did mask the whole line up image, I love that you do not need to mask the individual characters in the line up set. Makes it a bit quicker to create scenes! Thank you so much for stopping by today, I hope you are well and have a wonderful weekend! Ill be back next week and hopefully back to normal scheduling!

7 November 2019

VIDEO | Card Making Haul - October 2019

Hello there, today I have a haul to share with you for items that I purchased in October. I am a little late in sharing it as I have had a run of other blog posts to put up. I actually filmed this back in October before I had my second round of Botox.
 
 
I didn't purchase a huge amount in October but I did buy a few stamps and dies plus some paste and a stencil. I got a couple of Christmas sets. I have tried not to buy that many this year as I have a big collection from past years but there is usually something that I will want each year! Here is a look at everything I got:


If you are viewing this post via email subscription, you can watch the video HERE on YouTube.
 
SUPPLIES:

Here are the links to what I have used in the video. Affiliate links are used on some products. This means that if you make a purchase after clicking on my link, I receive a small commission with no extra cost to you. I truly appreciate your support when using these links. Please click on the logo below the product to shop at your favourite store. All products were personally purchased except those from Clearly Besotted, Hero Arts or those marked with an asterisk (*) which were kindly sent to me to use. You can read my full disclosure here.
 
 
As mentioned above, this video and post were created before I had my second round of Botox. I am having Botox for chronic migraine. Sadly, the first round didn't help but I am hoping that the second will. Fingers crossed! Because of this, my posts this month have been scheduled in advance, so you may not see as many as usual. I am hoping to be back creating soon though! Thanks so much for popping by, see you soon and I hope you have a wonderful day!

6 November 2019

Welcome Baby

Hello there, today I have a card using the new release from Clearly Besotted that I shared in my release video last week. I had originally made the focal image to go with the background on this card but it didn't work so ended up creating two different cards.


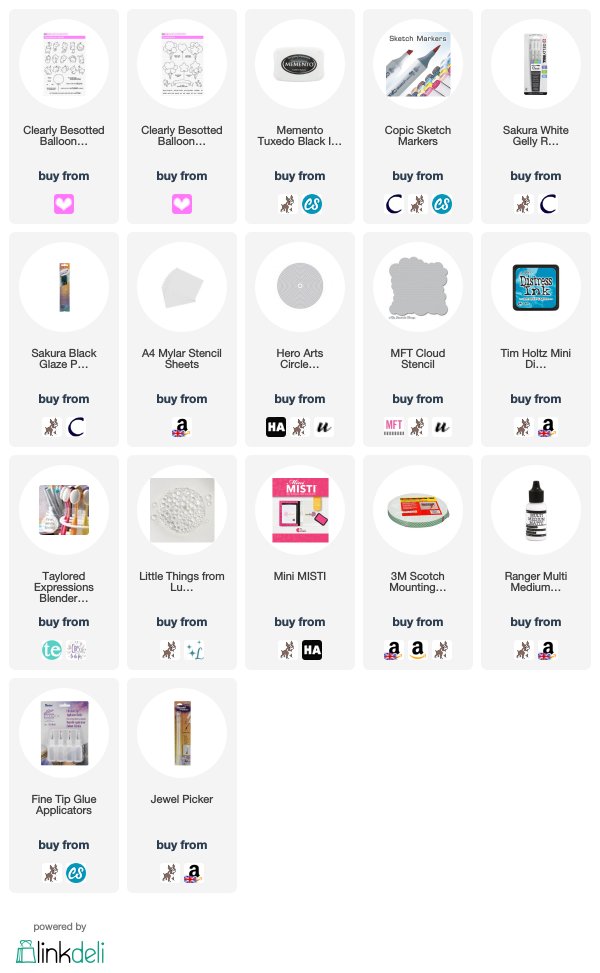
I started off my card by stamping the balloons from the Clearly Besotted Balloon Bunch Stamp Set on to white cardstock with Memento Tuxedo Black Ink. I then stamped the elephant from the Clearly Besotted Balloon Bunch Buddies Stamp Set underneath so that it looked like he was hanging from the balloons. They were then coloured using Copic Markers (the colours that I used are listed below the supplies area) before fussy cutting out with scissors.
 
 
I took an A2 white card base and added a piece of Mylar over the top that I had cut using a Hero Arts Nesting Circle Infinity Die (to create a mask/stencil) and then placed the MFT Cloud Stencil on top. Using Mermaid Lagoon Distress Ink, I blended clouds into the circle to create a sky. The masks were removed and the sentiment from the Clearly Besotted Balloon Bunch Stamp set stamped on top with black ink.
 
 
The elephant and balloons image was adhered on top with foam tape. I then added a few Lucy's Raindrops using Multi Medium Matte glue. To finish off, I added white gel pen highlights to the balloons and black glaze pen to the elephant's eyes.
 
SUPPLIES:

Here are the links to what I have used on the card. Affiliate links are used on some products. This means that if you make a purchase after clicking on my link, I receive a small commission with no extra cost to you. I truly appreciate your support when using these links. Please click on the logo below the product to shop at your favourite store. All products were personally purchased except those from Clearly Besotted, Hero Arts or those marked with an asterisk (*) which were kindly sent to me to use. You can read my full disclosure here.
 

COPIC MARKERS: Elephant - W5, W3, W2, W1. Balloons - Y17, Y15, Y13, Y11/R85, R83, R81/B04, B02, B00, B000/YG17, YG25, YG03, YG01/YR18, YR16, YR15, YR12.
 
I thought this would make a nice gender neutral baby card, which are always helpful to have in your stash! Thank you so much for stopping by today, I really do appreciate it. I hope you have a wonderful day!
4 November 2019

Hero Arts My Monthly Hero | Holiday Treat Bag

Hello there, the Hero Arts November 2019 My Monthly Hero Kit releases today at 1pm EST/6pm GMT. Sadly, I am unable to take part in the hop this month due to taking some time off for a medical procedure. I did want to share the project that I made for the Hero Arts Blog though, as I love how it turned out!
 

I used the dies from the main kit, as well as the glassine bags that you get in the kit, to create a cute treat bag. This house die is fabulous as it cuts out the windows, creates texture for the bricks and it cuts out the door so that it opens! Using Dove White Cardstock, I cut the house with frame for the front of the treat bag and then just the frame for the back. They were adhered together at the bottom and the roof pieces added at the top for the handles.
 
 
The panels were coloured with Copic Markers and I also die cut the wreath and plants and coloured these with Copics too. They were added to the front of the bag with foam tape for some added dimension. The letters were die cut and popped through the letterbox. So cute!
 
 
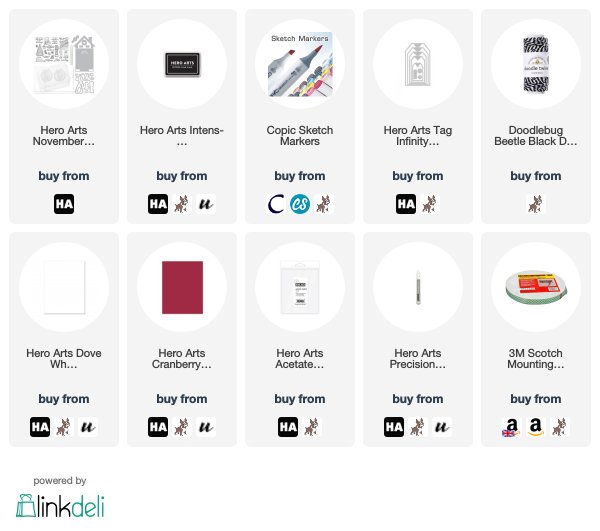
I also created a little tag using the Tag Infinity Dies so that I could stamp the sentiment on to it from the main kit stamp set, using Intens-ified Black Ink. This was tied around the handles with twine to help close the treat bag. I added the glassine bag inside the back portion of the bag with tape runner so that the candy/chocolate could be added inside.
 
SUPPLIES:

Here are the links to what I have used on the card. Affiliate links are used on some products. This means that if you make a purchase after clicking on my link, I receive a small commission with no extra cost to you. I truly appreciate your support when using these links. Please click on the logo below the product to shop at your favourite store. All products were personally purchased except those from Clearly Besotted, Hero Arts or those marked with an asterisk (*) which were kindly sent to me to use. You can read my full disclosure here.
 
 
COPIC MARKERS: Bricks - C2, C00. Roof, door frame and step - C5, C3, C1, C0. Door, windows and lights - C8, C7, C6, C5. Plants and wreaths - YG17, YG25, YG03, YG01, R89, R37, R27, R24. Door mat - R89, R37, R27, R24.
 
This did take some time to assemble but I do think it was worth it. I really like how it turned out and I think you could also decorate the house for different occasions too. That would be fun! For more details on how I made it, please head over to the Hero Arts Blog. Thanks so much for stopping by today.

3 November 2019

Purple Onion Designs | Snow Much Fun

Hello there, I am back to day to share my final card with you using the new Pine Cone Trail release from Purple Onion Designs (but I will be making more cards using it in the future, they are too cute not to!). Today's card uses Blaze (Skiing Skunk) and isn't she just so cute!
 

I started off by stamping Purple Onion Designs Blaze (Skiing Skunk) on to white cardstock with Memento Tuxedo Black Ink. I then coloured her using Copic Markers (the colours that I used are listed below the supplies area) and fussy cut her out with scissors. She was then set aside while I worked on my background.
 
 
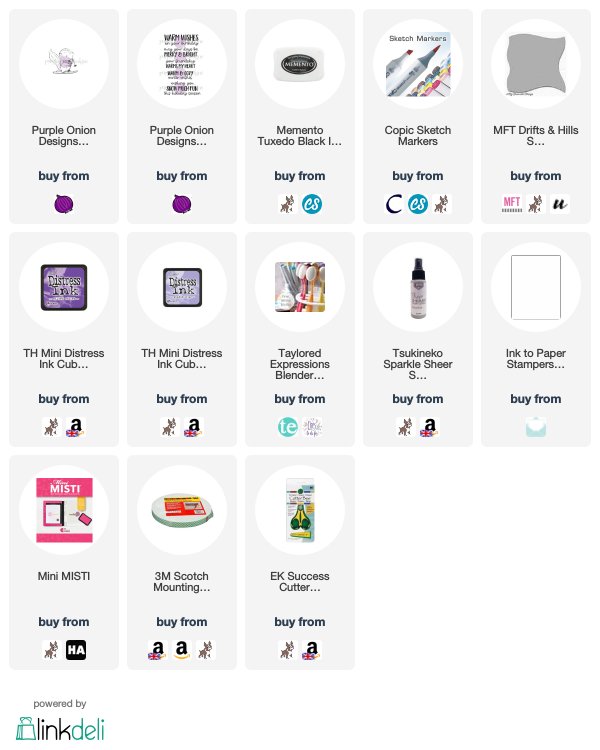
I took a panel of white cardstock and placed the MFT Drifts & Hills Stencil at the bottom for a snow bank. I then blended Distress Inks above it. I used Wilted Violet and Shaded Lilac. I then spritzed the panel with Sparkle Sheer Shimmer Spritz and set it aside to dry.
 
 
Once dry, I took the sentiment from the Purple Onion Designs Warming Winter Thoughts Sentiment Set and stamped it in to the top right hand corner. The panel was adhered to an A2 white card base with foam tape. I then added the skunk on with more foam tape to finish.
 
SUPPLIES:

Here are the links to what I have used on the card. Affiliate links are used on some products. This means that if you make a purchase after clicking on my link, I receive a small commission with no extra cost to you. I truly appreciate your support when using these links. Please click on the logo below the product to shop at your favourite store. All products were personally purchased except those from Clearly Besotted, Hero Arts or those marked with an asterisk (*) which were kindly sent to me to use. You can read my full disclosure here.
 
 
COPIC MARKERS: Skunk - C9, C7, C6, C5, C3, C1, C00. Skis - E57, E55, E53. Scarf - V17, V25, V22, V20.
 
I think she looks so cute skiing down the hill! For more inspiration using the new release, please head over to the Purple Onion Design Blog. Thank you so much for stopping by today. I really do appreciate it. I hope you have a great day!

1 November 2019

VIDEO | Clearly Besotted November 2019 Release Preview

Hello there and welcome to the Clearly Besotted November 2019 Release Day! The new sets will release tonight at 8pm GMT. There is definitely a celebration/balloon theme to this release but I think the sets can be used all year round which is great.

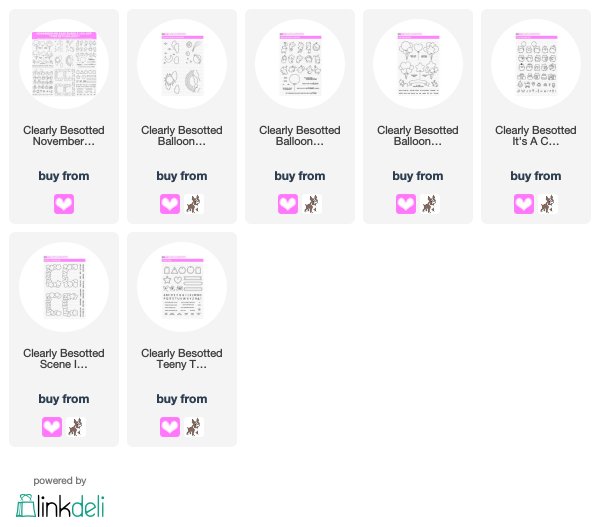
You can purchase the new sets directly from Clearly Besotted (UK based) or from Simon Says Stamp (US based). Here is a look at the new sets:


If you are viewing this post via email subscription, you can watch the video here on YouTube.
SUPPLIES:

Here are the links to what I have shared in the video. Affiliate links are used on some products. This means that if you make a purchase after clicking on my link, I receive a small commission with no extra cost to you. I truly appreciate your support when using these links. Please click on the logo below the product to shop at your favourite store. All products were personally purchased except those from Clearly Besotted, Hero Arts or those marked with an asterisk (*) which were kindly sent to me to use. You can read my full disclosure here.
I would love to hear your thoughts on the release. What is going on your shopping list? I especially love the Balloon Bunch Buddies set and see myself using that a lot! For more inspiration using the new sets, please head over to the Clearly Besotted Blog, Keren and Lisa. Thank you so much for stopping by, I very much appreciate it. Have a great day!
End of code