22 November 2023

VIDEO | Reverse Embossing

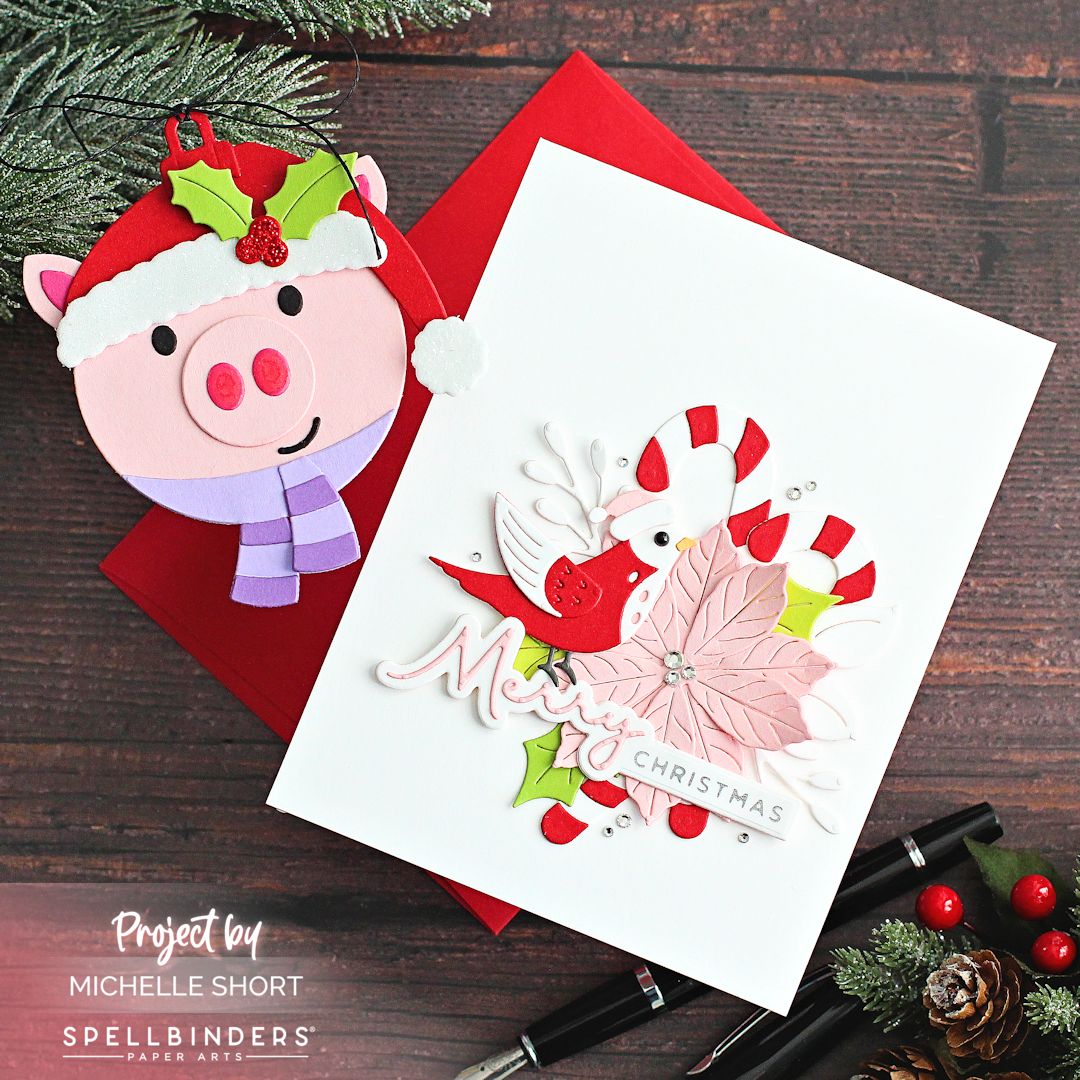
Hello there, today I have a tag to share using a technique that I learnt from my amazing Altenew teamie Erum Tasneem. It is reverse embossing - so using the back or the debossed side of an embossing folder, rather than the front or embossed side. 

PLEASE NOTE: This post contains affiliate links. Please see below for my full disclosure.


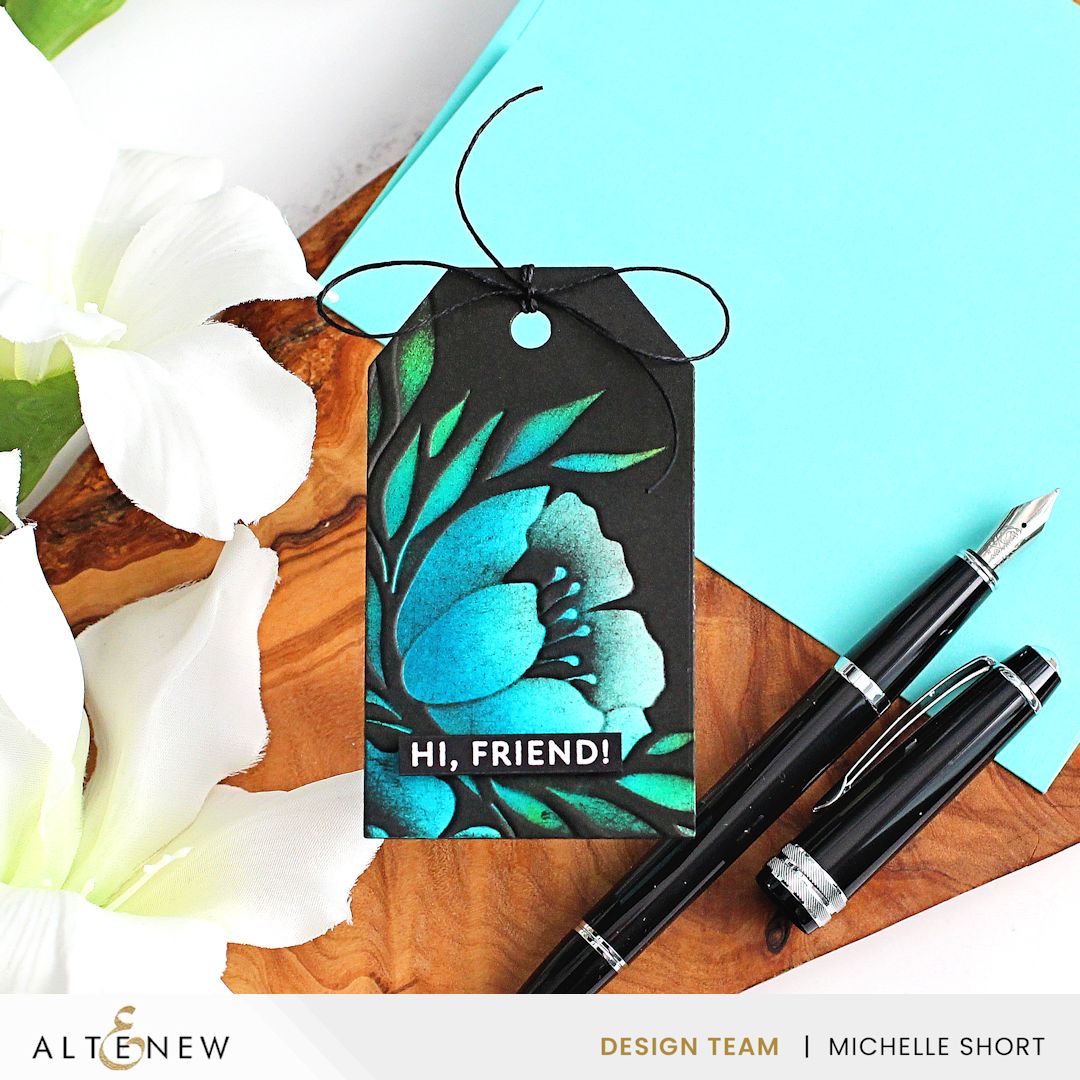
I started off by die cutting an Altenew Terrific Tags Die from Classic Crest 110lb Solar White Cardstock. I took the Altenew Whimsy Motif 3D Embossing Folder, turned it over so that the reverse side was facing upwards and placed my tag inside. I then ran it through my die cutting machine. 


With the debossed side facing upwards, I adhered the tag to an Altenew Sticky Mat to hold it in place while I added ink blending. I blended Altenew Sweet Dreams Fresh Dye Inks on top, focussing the darker colour towards the base of the flower and the base of the leaves. I then added the two lightest green shades from the Altenew Green Valley Crisp Dye Inks to the tips of the leaves. 


I took the Altenew Obsidian Pigment Ink and going direct to paper, I swiped the ink onto the tag. Where the areas are raised the black ink covers, where the areas are debossed, the ink blending shows. How much pressure you use on the ink pad does depend on the finished look. Erum shows how to do this with an ink blending tool which is a little less scary than going direct to paper! I like the coverage of direct to paper though. 


I cut another tag from black cardstock and adhered it to the back of the tag with Altenew Glue Tape. I threaded twine through the top of the tag and tied in a bow. I then stamped a sentiment onto black cardstock from the Altenew Sincere Sentiments Stamp Set using Altenew Embossing Ink. I applied Altenew Pure White Crisp Embossing Powder and heat set. It was cut into a strip and adhered to the tag with Altenew Instant Dimension Foam Tape

VIDEO:

Here is the video sharing how I made the tag:


If you are viewing this blog post via email subscription, you can watch the video HERE on YouTube. 
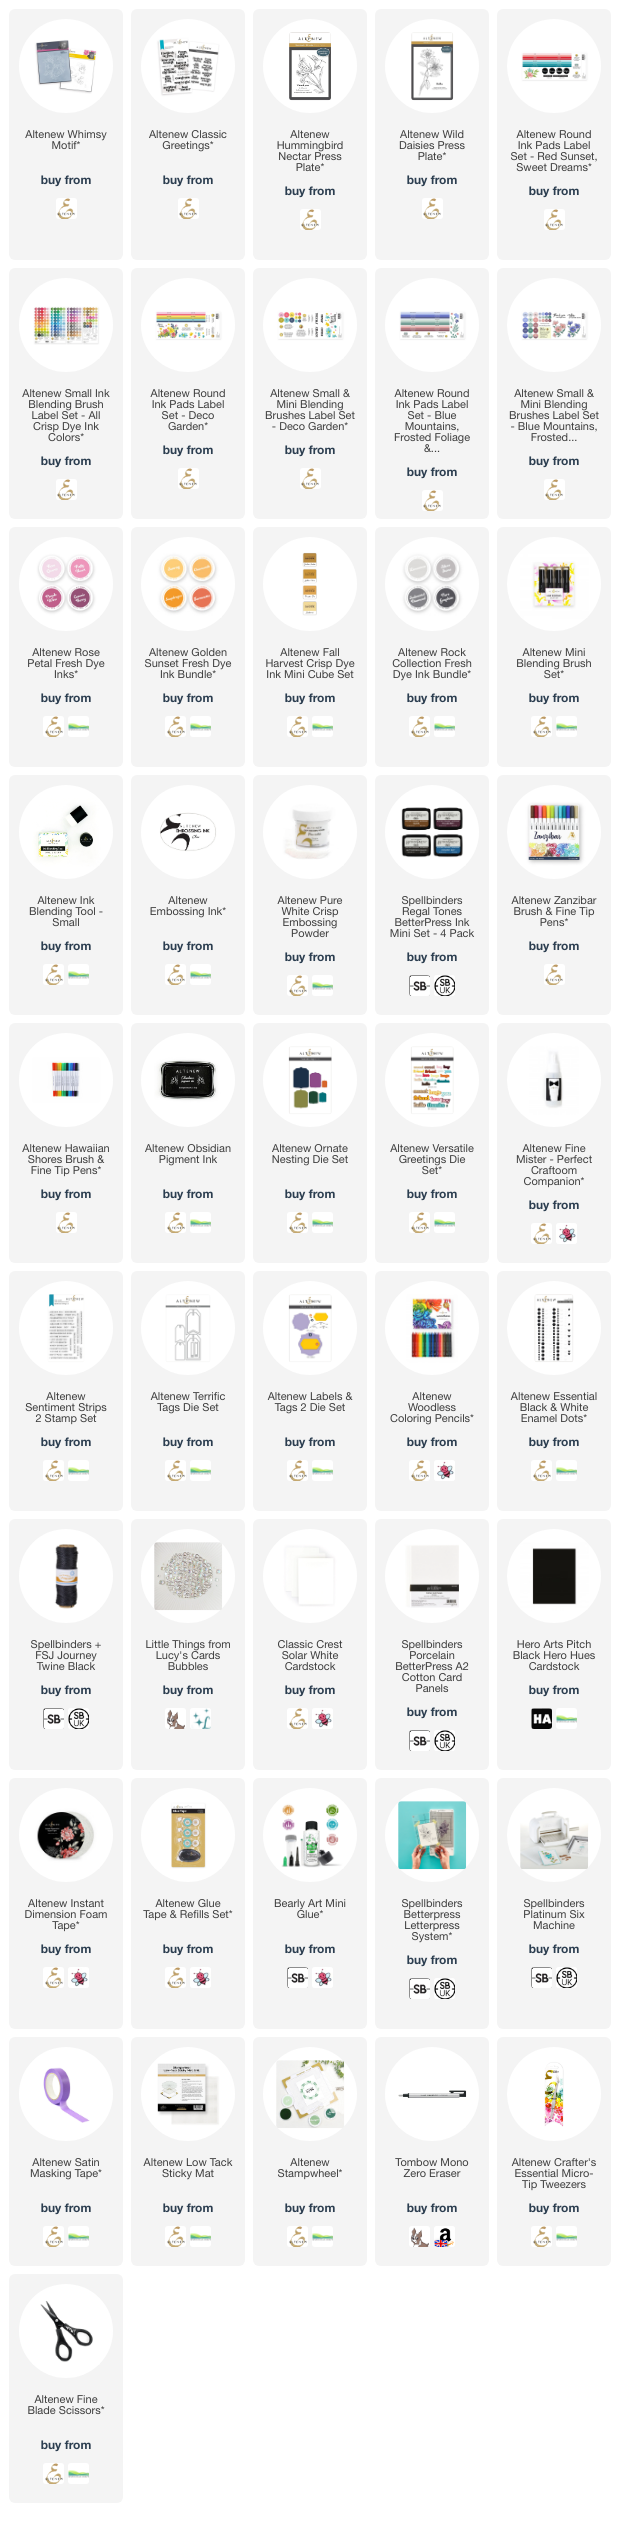
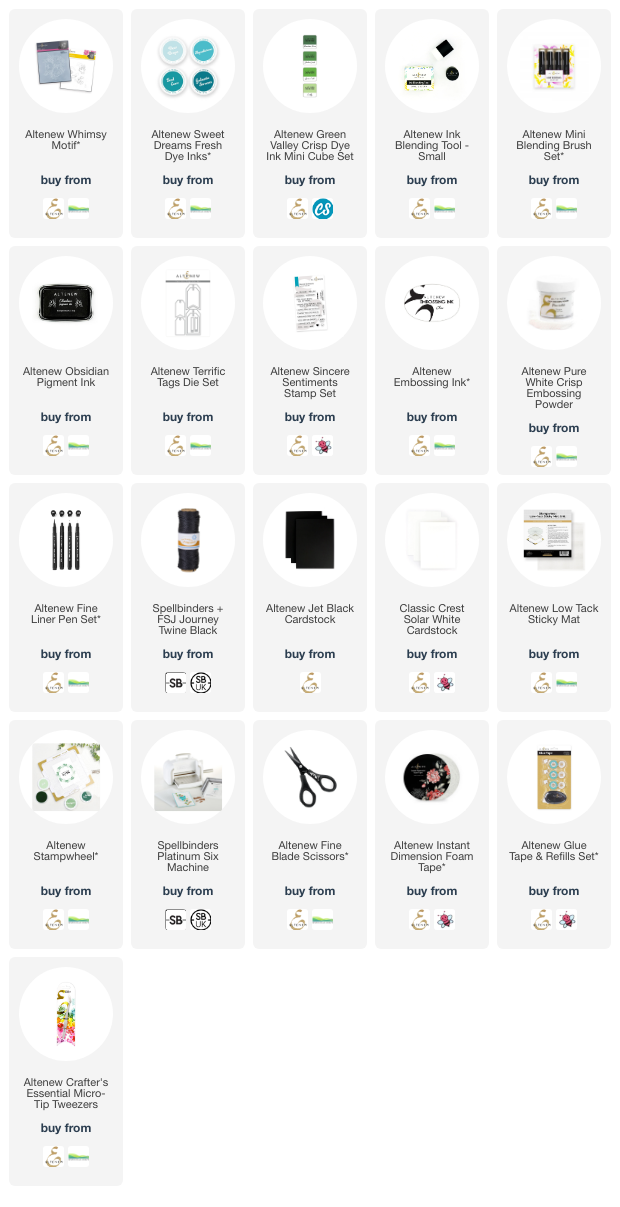
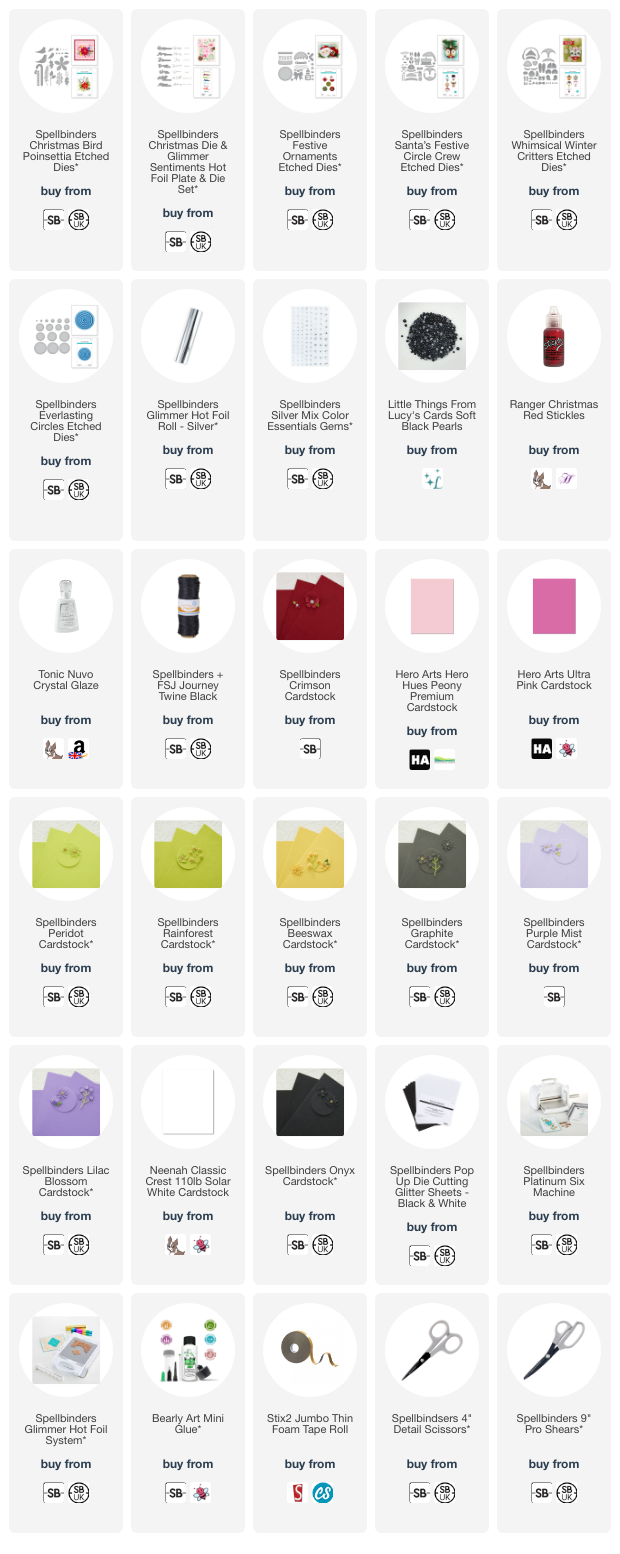
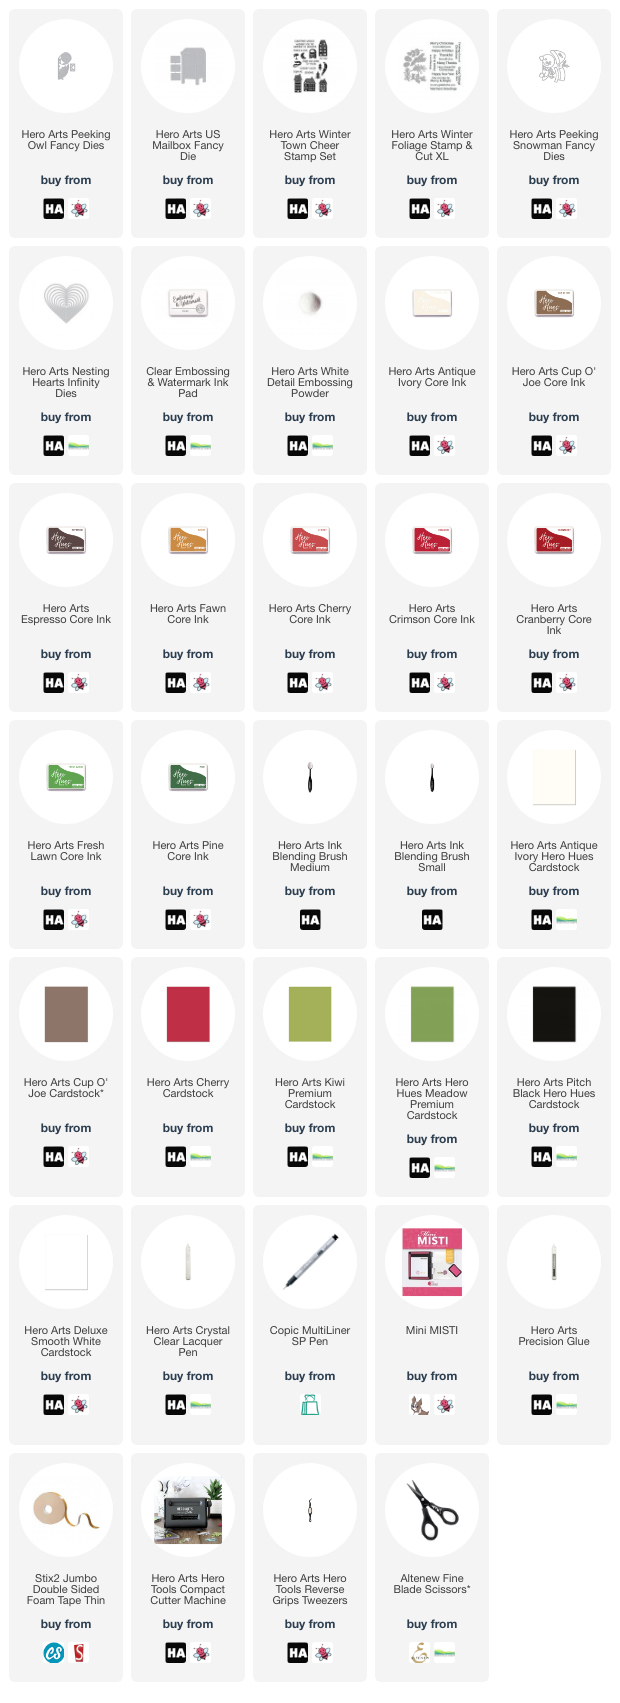
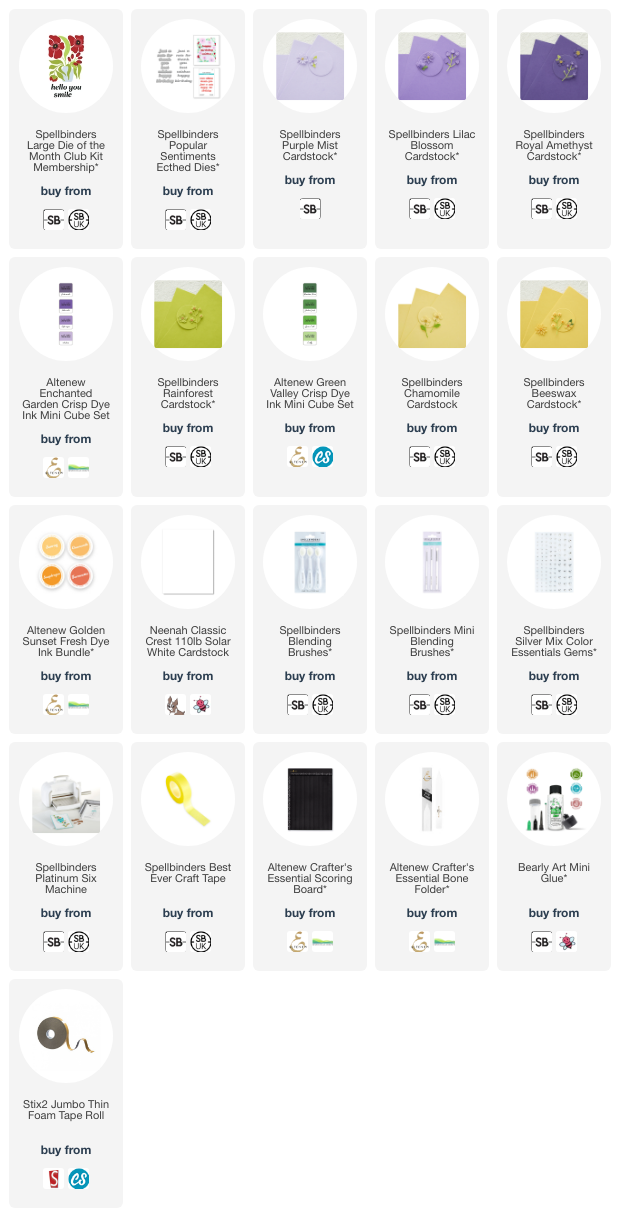
SUPPLIES:


Here are the links to what I have used on the project. Affiliate links are used on some products. This means that if you make a purchase after clicking on my link, I receive a small commission with no extra cost to you. I truly appreciate your support when using these links. Please click on the logo below the product to shop at your favourite store. All products were personally purchased except those from Clearly Besotted, Hero Arts or those marked with an asterisk (*) which were kindly sent to me to use. You can read my full disclosure here.


You really do need to see the technique in action to appreciate how cool it is! Thank you so much for stopping by today, I really appreciate it. I hope you have a wonderful day! 

18 November 2023

VIDEO | A Waddle and a Wave

Hello there, I am delighted to be over on the My Favorite Things YouTube Channel today, sharing a card using a couple of products from the November 2023 release. 

PLEASE NOTE: This post contains affiliate links. Please see below for my full disclosure.


For my card, I actually started out by creating the background, so that it had time to dry while I was colouring my images. I took a 4 1/4" x 5 1/2" panel of white cardstock and stamped the sentiment from the MFT North Pole Pals Stamp Set towards the bottom, using Versafine Clair Nocturne Ink. 


I then placed the MFT Heavy Snowfall Stencil on top (holding it in place with a sticky mat) and using a palette knife, applied Tim Holtz Sparkle Texture Paste over the top. I removed the stencil, washed my stencil, palette knife and sticky mat and set the panel aside to dry. 


I stamped the polar bear and penguins from the MFT North Pole Pals Stamp Set onto white cardstock using Memento Tuxedo Black Ink and coloured them using Copic Markers (the colours that I used are listed below the supplies list). They were then die cut out using the MFT North Pole Pals Die-namics


Once dry, the stencilled panel was adhered to a US A2 sized white card base with tape runner adhesive. The polar bear and penguins were adhered on top with thin foam tape. To finish off, I added white gel pen highlights to their scarves and glaze pen to the nose and beaks. 

VIDEO:

Here is the video showing how I made the card:


If you are viewing this post via email subscription, you can watch the video HERE on YouTube. 

SUPPLIES:


Here are the links to what I have used on the project. Affiliate links are used on some products. This means that if you make a purchase after clicking on my link, I receive a small commission with no extra cost to you. I truly appreciate your support when using these links. Please click on the logo below the product to shop at your favourite store. All products were personally purchased except those from Clearly Besotted, Hero Arts or those marked with an asterisk (*) which were kindly sent to me to use. You can read my full disclosure here.


COPIC MARKERS: Penguins - BV29, BV25, BV23/C3, C0, 0/Y11, Y000/YR15, Y15. Bear - BV25, BV23, BV20, 0. Scarves - V09, V17, V15, V12. 

Those tiny penguins are just too cute for words! I love them! Thank you so much for stopping by today, as always, I really do appreciate it. I hope you have a wonderful rest of the weekend! 

17 November 2023

Spellbinders | 2023 Holiday Blog Hop

Hello there, I am delighted to be joining Spellbinders today for a fun blog hop. This blog hop celebrates the 2023 holiday releases. I have loved all of the releases this season but two really stood out to me - Classic Christmas and Merry Mug & Circle Delights. I have used both of these collections already but wanted to create another two projects using them today.

PLEASE NOTE: This post contains affiliate links. Please see below for my full disclosure.


I started off my card (Classic Christmas Collection) by die cutting the elements from the Spellbinders Christmas Bird Poinsettia Etched Dies from cardstock. I used Spellbinders Crimson, Beeswax and Graphite for the bird, along with white and Hero Arts Peony for the hat. I cut the poinsettia from Hero Arts Peony Cardstock and the foliage from white cardstock. The holly leaves were cut from Spellbinders Peridot and Rainforest Cardstock. The candy canes were cut from white cardstock and Spellbinders Crimson Cardstock


I foiled the 'Christmas' sentiment from the Spellbinders Christmas Die & Glimmer Sentiments Hot Foil Plate & Die Set onto white cardstock using Spellbinders Silver Foil Hot Foil. It was cut out using the die and then the 'merry' word cut from Peony Cardstock and adhered on top. 


I adhered the candy canes and foliage onto a US A2 sized white card base with Bearly Art Glue. The poinsettia was adhered on top, followed by the bird (with a little thin foam tape). The sentiment was then adhered below for the bird to perch on. To finish off, I added a few Spellbinders Silver Mix Color Essentials Gems


My next project uses the Merry Mug & Circle Delights Collection. I made lots of tags using this collection already (which you can see here) but I saw that Rachel Alvarado made a pig from the sets and since pigs are my favourite, I had to make one too! 


The base is made using the Spellbinders Festive Ornaments Etched Dies cut from Hero Arts Peony Cardstock. The snout was cut using Spellbinders Everlasting Circles Etched Dies and one of the oval dies in the Spellbinders Santa's Festive Circle Crew set (from Hero Arts Ultra Pink Cardstock), which is also where the ears are from. 


The hat is also from this set, cut from Spellbinders Crimson Cardstock and Spellbinders White Pop-Up Die Cutting Glitter Sheets. The eyes and mouth, from the Spellbinders Whimsical Winter Critters Etched Dies, are cut from Spellbinders Onyx Cardstock. The scarf is also from this set and was cut from Spellbinders Purple Mist and Lilac Blossom Cardstock. 


All of the layers/parts were assembled and then adhered using Bearly Art Glue. The holly (from the Spellbinders Festive Ornaments Etched Dies) was cut from Spellbinders Rainforest and Crimson Cardstock and adhered to the hat. To finish off, I added Red Stickles to the berries and Crystal Glaze to the snout. 

BLOG HOP:


As mentioned, this post is part of a fun, inspirational blog hop with prizes. For the hop, you should have arrived here from the amazing Bonnie Crane. Next on the hop is the fabulous Lien Leysen. If you get lost along the hop, or want to start from the beginning, please head over to the Spellbinders Blog

GIVEAWAY:

To celebrate this release, Spellbinders are giving away a $25 gift certificate to 3 lucky blog readers – selected from the comments on the blog. Giveaway closes on Sunday, November 19th, 11:59 pm MST. The winner will be announced on the Spellbinders blog the following Wednesday. The winner is responsible for shipping costs, duties, and taxes. Please note, store credit (gift certificate) cannot be applied to Club Subscriptions. Store credit can be applied to shop past Club products, Club extras and regular releases.

SUPPLIES:


Here are the links to what I have used on the projects. Affiliate links are used on some products. This means that if you make a purchase after clicking on my link, I receive a small commission with no extra cost to you. I truly appreciate your support when using these links. Please click on the logo below the product to shop at your favourite store. All products were personally purchased except those from Clearly Besotted, Hero Arts or those marked with an asterisk (*) which were kindly sent to me to use. You can read my full disclosure here.


Thank you so much for stopping by today, I really do appreciate it. I hope you have a wonderful day! 

15 November 2023

Hero Arts | Sending Christmas Wishes

Hello there, I am over on the Hero Arts Blog today sharing a card using the new Peeking Owl Fancy Die, from the November 2023 My Monthly Hero release. 

PLEASE NOTE: This post contains affiliate links. Please see below for my full disclosure.


Although it doesn't quite work size wise (the owl looks giant!), I paired the Peeking Owl Fancy Die with the US Mailbox Fancy Dies, as I thought it looks cute that he is about to post a letter! For some added greenery, I die cut the Winter Foliage Stamp & Cut dies and added ink blending to all the die cuts with Hero Core Inks. 


The sentiment is from the Winter Town Cheer set. Although the owl isn't just for holidays/Christmas, I did think it would work well for a Christmas card. Our post boxes are red here in the UK, I believe they are blue in the US, but went with red for that added Christmas look! 

SUPPLIES:


Here are the links to what I have used on the project. Affiliate links are used on some products. This means that if you make a purchase after clicking on my link, I receive a small commission with no extra cost to you. I truly appreciate your support when using these links. Please click on the logo below the product to shop at your favourite store. All products were personally purchased except those from Clearly Besotted, Hero Arts or those marked with an asterisk (*) which were kindly sent to me to use. You can read my full disclosure here.


For more details on how I made the card, please head over to the Hero Arts Blog. Thank you so much for stopping by today, I really appreciate it. I hope you have a wonderful day!  

8 November 2023

Spellbinders | Towering Blooms

Hello there, today I have a card to share using the Spellbinders November 2023 Large Die of the Month Club Kit. The kit this month is called Towering Blooms. There are flowers, stems, leaves, a plant pot and sentiments in the kit which can be used in lots of different ways. 

PLEASE NOTE: This post contains affiliate links. Please see below for my full disclosure.


I started off my card by die cutting the leaves and stems from the Spellbinders November 2023 Large Die of the Month Club Kit from Spellbinders Rainforest Cardstock. I added ink blending to them with Altenew Green Valley Crisp Dye Inks. I then die cut the flowers from Spellbinders Purple Mist and Lilac Blossom Cardstock. I added ink blending to them using Altenew Enchanted Garden Crisp Dye Inks


The flowers centres were cut from Spellbinders Chamomile and Beeswax Cardstock and I added ink blending with  Altenew Golden Sunset Fresh Dye Inks. I assembled the flowers using Bearly Art Glue. I took a US A2 sized white card base and added score lines to the front panel using a score board and bone folder (sadly these can't be seen in the photos but in real-life, they do add something extra to the card).


I adhered the leaves on top with Bearly Art Glue and the flowers with thin foam tape. I die cut the 'happy birthday' from the Spellbinders Popular Sentiments Etched Dies. I cut the shadow piece twice from white cardstock and layered them up with Bearly Art Glue. The words were cut from Spellbinders Royal Amethyst Cardstock. I adhered them together and then onto the card. 

SPELLBINDERS CLUB KITS

I hope that you will check out the Spellbinders Club Kits. It is a wonderful monthly subscription where you receive the kit each month. Designers like myself share inspiration using the kit at the beginning of the month to show you lots of different ways that you can use it. 

There are also lots of other club kits too, like the Small Die of the Month, Clear Stamp & Die of the Month, Embossing Folder of the Month (plus lots more!), so there is something for everyone! If you do subscribe, you will get other benefits from Spellbinders too. Please see here for more information. You can also buy older kits here too. 

To buy the kit - if you are a current subscriber to the Large Die of the Month Club Kit (or any kit), you do not need to do anything. You will be charged as normal on the 5th of the month and your kit will be shipped to you. If you are a new subscriber, you can purchase the kit from the 6th - 27th of November 2023. Members can cancel their membership at any time.


SUPPLIES:


Here are the links to what I have used on the project. Affiliate links are used on some products. This means that if you make a purchase after clicking on my link, I receive a small commission with no extra cost to you. I truly appreciate your support when using these links. Please click on the logo below the product to shop at your favourite store. All products were personally purchased except those from Clearly Besotted, Hero Arts or those marked with an asterisk (*) which were kindly sent to me to use. You can read my full disclosure here.


This is such a fun set, I really like the shape of the flowers. Something a bit different! As mentioned, there are great sentiments in the kit, but I wanted a 'happy birthday' one, so that's why I used a different set today but I love that Spellbinders sets can easily be mixed and matched! Thank you so much for stopping by to see me today, I really do appreciate it. I hope you have a wonderful day!

6 November 2023

Hero Arts | My Monthly Hero November 2023 Release Blog Hop + Giveaway

Hello there and welcome as we celebrate the release of the Hero Arts November 2023 My Monthly Hero Kits and add-on products. The release this month is all about holiday mail art. It is definitely geared towards decorating envelopes but as you will see, you can create cards, tags, envelopes plus lots more!

PLEASE NOTE: This post contains affiliate links. Please see below for my full disclosure.


My first card uses the Hero Arts November 2023 My Monthly Hero Classic Kit. I started off by stamping the owl, gift/present and branch from the main kit stamp set onto Hero Arts Deluxe Smooth White Cardstock using Hero Arts Intens-ified Black Ink. I then coloured them using Copic Markers, adding in some shading to the owl with Polychromos Pencils. 


They were die cut out using the coordinating dies and set aside while I worked on my background. I took a panel of Hero Arts Deluxe Smooth White Cardstock and added ink blending to the top using Hero Arts Passion Flower, Orchid, Amethyst and Grape Juice Core Inks. I splattered on Hero Arts White Glimmer Metallic Ink and set it aside to dry. 


Once dry, it was adhered to a US A2 sized white card base with tape runner adhesive. I adhered the owl, gift and branch on top with foam tape. I stamped a sentiment from the set onto Hero Arts Deluxe Smooth White Cardstock using Hero Arts Intens-ified Black Ink and die cut it out. I die cut another two of the sentiment die, stacked them up and adhered to the card with Hero Arts Precision Glue


For the envelope, I placed one of the Color Layering Snowflake Stencils from the Hero Arts November 2023 My Monthly Hero Premium Kit on to the back flap and blended Orchid, Amethyst and Grape Juice Inks on top. The stencils are designed to be used on the front of the envelope but I quite liked just having the design on the back! 


In case you missed it, for my countdown project I created three tags using the Hero Arts November 2023 My Monthly Hero Premium Kit. You can see how I made them HERE


My second card today uses a new add-on set called Winter Mail Critters. I first stamped the bear holding the envelope image from the Hero Arts Winter Mail Critters Stamp Set onto Hero Arts Deluxe Smooth White Cardstock using Hero Arts Intens-ified Black Ink. I coloured it using Copic Markers and then die cut it out using the coordinating dies


I then took a panel of Hero Arts Passion Flower Cardstock and added ink blending to the outside edges using Hero Arts Passion Flower, Orchid, Amethyst, Grape Juice and Pitch Black Core Inks. I splattered on Hero Arts White Glimmer Metallic Ink and set it aside to dry. Once dry, it was adhered to a US A2 sized white card base with tape runner adhesive. 


I adhered the bear on top using foam tape. I stamped the sentiment from the Hero Arts Winter Town Cheer Stamp Set onto Hero Arts Pitch Black Cardstock using Hero Arts Clear Embossing & Watermark Ink. I applied Hero Arts White Detail Embossing Powder and heat set. It was cut into a strip and adhered to the card with more foam tape. 


To finish off, I die cut a Hero Arts Nesting Hearts Infinity Die from Hero Arts Cherry Cardstock. It was adhered to the envelope and finished with Hero Arts Clear Lacquer Pen. For the envelope, I stamped the envelope and snowflake stamp from the Hero Arts Winter Mail Critters Stamp Set onto the back flap using Hero Arts Amethyst Core Ink

MY MONTHLY HERO KITS:


• Mail Art Clear Stamp Set, 6" x 8" • 28 Coordinating Dies • 2 Postage Stamp Frame Fancy Dies • 1 Sheet of Message Hero Transfers, 6" x 8" • 27 Assorted Envelopes in Red, Kraft and White (A1, A2, A7 sizes) • 10 Sheets of Blank Washi Sticker Paper, 6" x 6" • 4 Wax Seal Stickers

The kit is valued at $73 but you can get it for $36.99 ($34.99 if you are a monthly subscriber, $32.99 if you subscribe for 6 months). 


• Mail Art Clear Stamp Set, 6" x 8" • Peeking Critters Clear Stamp Set, 3" x 4" • 28 Coordinating Dies • 2 Postage Stamp Frame Fancy Dies • 2 Color Layering Snowflake Stencils, 5.25" x 6.5" • 1 Sheet of Message Hero Transfers, 6" x 8" • 2 Sheets of Gift Hero Transfers, 6" x 8" • 2 Ink Cubes (Pool Party Reactive Ink, Mist Core Ink) • 27 Assorted Envelopes in Red, Kraft and White (A1, A2, A7 sizes) • 10 Sheets of Blank Washi Sticker Paper, 6" x 6" • 4 Wax Seal Stickers

The kit is valued at $103 but you can get it for $49.99 ($47.99 if you are monthly subscriber, $45.99 if you subscribe for 6 months).


You can also now purchase the Premium Kit Elements separately. This includes just the extra elements in the Premium Kit. It does not include the Classic Kit elements. 

ACCESSORY BUNDLE:


There is also an Accessory Bundle this month too. These products compliment the kit nicely and help to increase creativity!

ADD-ONS:

There are lots of add-on products released each month. These work alongside the kit, or work on their own too. These can be purchased from Hero Arts when you order a kit, on their own or from your favourite Hero Arts retailer (these are not exclusive (unlike the kit) and are restocked if sold out). Here is a look at them:

BLOG HOP:

This post is part of a fun, inspirational blog hop with prizes. For the hop, you should have arrived here from the fantastic Lydia. Next on the hop is the amazing Mindy. If you get lost along the hop, or want to start it from the beginning, please head over to the Hero Arts Blog

GIVEAWAY:

Hero Arts are giving away a $50 gift card to the Hero Store, drawn from the comments left across all the stops in the hop. Enter by 12th November 2023 at 11.59pm PT. The winner will be announced on the Hero Arts Blog the following week. 

SUPPLIES:


Here are the links to what I have used on the projects. Affiliate links are used on some products. This means that if you make a purchase after clicking on my link, I receive a small commission with no extra cost to you. I truly appreciate your support when using these links. Please click on the logo below the product to shop at your favourite store. All products were personally purchased except those from Clearly Besotted, Hero Arts or those marked with an asterisk (*) which were kindly sent to me to use. You can read my full disclosure here.


Thank you so much for stopping by today, I really do appreciate it. I hope you have a wonderful time on the rest of the hop and a great rest of the day too! 

Altenew | November 2023 Release Blog Hop + Giveaway

Hello there, I am delighted to be joining Altenew today to celebrate the November 2023 release, which is out now! There are lots of stamps, dies, embossing folders, Press Plates and organisational labels. 

I have a lot to share today, so I hope you will grab a drink and a snack and enjoy the inspiration! 

PLEASE NOTE: This post contains affiliate links. Please see below for my full disclosure.


I started off my first card by taking a panel of white cardstock and placing it inside the Altenew Whimsy Motif 3D Embossing Folder and running it through my die cutting machine. I placed it on my Sticky Mat and then placed the Altenew Whimsy Motif Simple Coloring Stencil Set on top (one by one).


I added ink blending with Altenew Mini Ink Blending Tools to colour the flowers and leaves. I used Altenew Rose Petal Fresh Dye Inks for the flowers, Sunray (Altenew Golden Sunset Fresh Dye Inks) and Pumpkin (Altenew Fall Harvest Crisp Dye Inks) for the stamens and Altenew Rock Collection Fresh Dye Inks (Limestone and Silver Stone) for the leaves. 


The panel was adhered to a US A2 sized white card base with foam tape. I then stamped a sentiment from the Altenew Classic Greetings Stamp Set onto black cardstock using Altenew Embossing Ink. I applied Altenew Pure White Crisp Embossing Powder and heat set. It was cut into a strip and adhered to the card with more foam tape. To finish off, I added a few Bubbles embellishments.


My next few projects use new Press Plates that work with the Spellbinders Betterpress Letterpress System. For my first card, I pressed the Altenew Hummingbird Nectar Press Plate using the cardstock and ink that come with the Betterpress System.


Using Altenew Hawaiian Shores and Zanzibar Brush & Fine Tips Pens, I watercoloured the hummingbird and flowers. I used Teal Cave, Ocean Waves, Ultramarine and Nimbus for the hummingbird and Ultraviolet, Ultramarine, Maple Yellow, Firefly and Teal Cave for the flowers and leaves.


I fussy cut the images out using Altenew Fine Blade Scissors and adhered them onto a US A2 sized white card base with Altenew Instant Dimension Foam Tape. I stamped a sentiment from the Altenew Classic Greetings Stamp Set onto white cardstock using Altenew Obsidian Pigment Ink. I die cut it out using the Altenew Classic Greetings Die Set. It was adhered to the card and to finish, I added a few Bubbles embellishments.


For my next card, I pressed the Altenew Wild Daisies Press Plate using the same cardstock and ink. I die cut the panel using an Altenew Ornate Nesting Die and then added ink blending to the panel with Altenew Golden Sunset Fresh Dye Inks and an Altenew Small Ink Blending Tool.


I splattered on some water and once dry, adhered it to a US A2 sized white card base with Altenew Instant Dimension Foam Tape. I die cut the 'hugs' word from the Altenew Versatile Greetings Die Set three times from black cardstock. I adhered them together one on top of another and then onto the card. To finish off, I added a few Bubbles embellishments.  


I have also since made another project using the Altenew Wild Daisies Press Plate (shown on the Altenew blog on Saturday), so thought I would share that here too. I pressed the plate using the same cardstock and ink that comes with the Spellbinders Betterpress Letterpress System


I then die cut the panel using an Altenew Terrific Tags Die. I coloured the image using Altenew Woodless Coloring Pencils. I used Midnight Violet, Rubellite and Sapphire for the petals, Maple Yellow, Ochre and Fresh Lemon for the centres and Grass Field, Limeade and Shadow Creek for the leaves and stems. 


I cut the hole reinforcer piece from the Altenew Labels & Tags 2 Die Set from black cardstock and adhered it to the tag. I die cut another tag and adhered that to the back (for added stability and also to have somewhere clean to write a personal message). I stamped a sentiment from the Altenew Sentiment Strips 2 Stamp Set onto black cardstock using Altenew Embossing Ink


I applied Altenew Pure White Crisp Embossing Powder and heat set. It was cut into a strip and adhered to the card tag using Altenew Instant Dimension Foam Tape. To finish off, I added a few Essential Black & White Enamel Dots (just the black ones), followed by twine through the top of the tag and tied in bow. 

VIDEO:

Here is the video showing how I made the tag:


If you are viewing this post via email subscription, you can watch the video HERE on YouTube. 

Before I go, I have some organisational products to share with you. You may or may not know that I am a huge fan of organising craft supplies. So when I saw that Altenew was releasing new ink pad and blending tool labels, I was super excited! 


There are labels for the new round ink pads - Red Sunset & Sweet Dreams, as well as Small Ink Blending Tool Label Set (all Crisp Dye Ink colors). 


These labels are vinyl so hard wearing. They also remove easily, so if you change your mind or need to move the label for perfect placement, it is easy to do! 


There are also new round ink pad labels, as well as mini and small blending tool labels for the Deco Garden Collection.


As well as round ink pad labels and mini & small blending brush labels for Blue Mountains, Frosted Foliage & Woodland Escape Collections.

Plus lots more including mini ink cubes labels, mini blending brush labels, labels for the Amy Tangerine colours (round and mini cubes) and alcohol marker labels too! 

BLOG HOP:


This post is part of  a fun, inspirational blog hop with prizes. Please click the links/pictures below for all the participants in the hop.

You are invited to the Inlinkz link party!

Click here to enter

GIVEAWAY:

$300 in total prizes! To celebrate this release, Altenew is giving away a $100 gift certificate to 1 lucky winner and a $50 gift certificate to 4 winners! Please leave a comment on the Altenew Card Blog and/or each designer’s blog post on the blog hop list below by 12th November 2023 for a chance to win. Altenew will draw 5 random winners from the comments left on each stop of this blog hop and announce the winners on the Altenew Winners Page on 14th November 2023*The winners of the $100 gift certificate will be chosen from comments left on the Altenew blog. 


SUPPLIES:


Here are the links to what I have used on the projects. Affiliate links are used on some products. This means that if you make a purchase after clicking on my link, I receive a small commission with no extra cost to you. I truly appreciate your support when using these links. Please click on the logo below the product to shop at your favourite store. All products were personally purchased except those from Clearly Besotted, Hero Arts or those marked with an asterisk (*) which were kindly sent to me to use. You can read my full disclosure here.


If you have made it this far, thank you so much for sticking with me, I really appreciate it. I hope you have a wonderful time on the rest of the hop. I will be back later with another post but in the mean-time, I hope you have a great day! 
End of code