31 October 2018

Simple Silhouette Scene

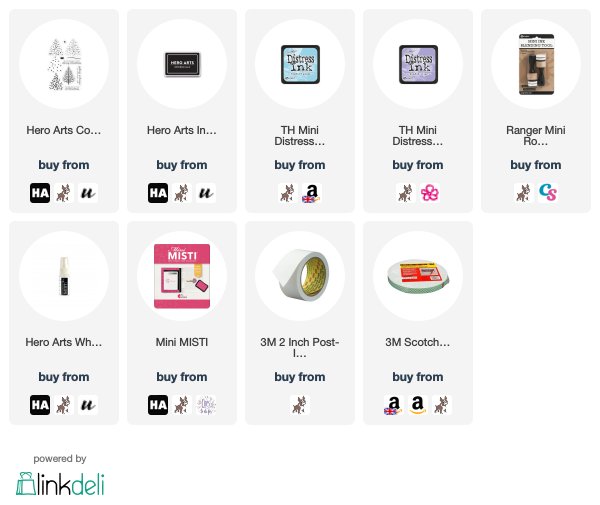
Hello there, today I am over on the Hero Arts Blog sharing a card I have made with the Color Layering Christmas Tree stamp set. Although this set is perfect for layering up to make a fun Christmas tree, I wanted to create a simple silhouette scene for my card today.
 
 
SUPPLIES:

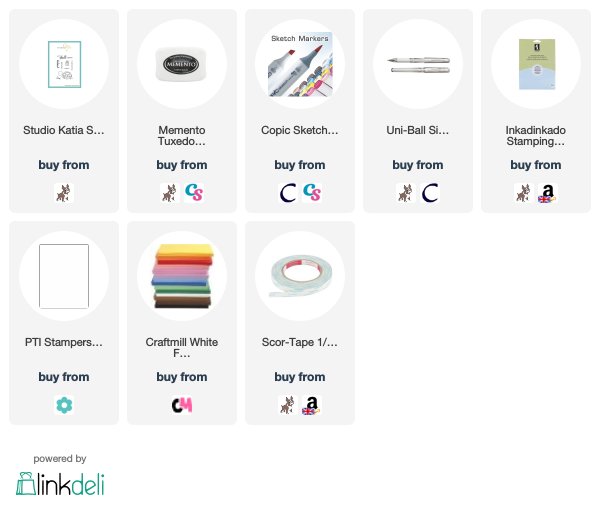
Here are the links to what I have used on the card. Affiliate links are used on some products. This means that if you make a purchase after clicking on my link, I receive a small commission with no extra cost to you. I truly appreciate your support when using these links. Please click on the logo below the product to shop at your favourite store. Products marked with an asterisk (*) were kindly sent to me to use.
 
 
I know that a lot of people struggle during Christmas and the holidays, so I thought this would be a nice card to send out. For more details on how I made the card, please see the blog post here. Thank you so much for stopping by today, have a great day!

29 October 2018

Christmas Bear

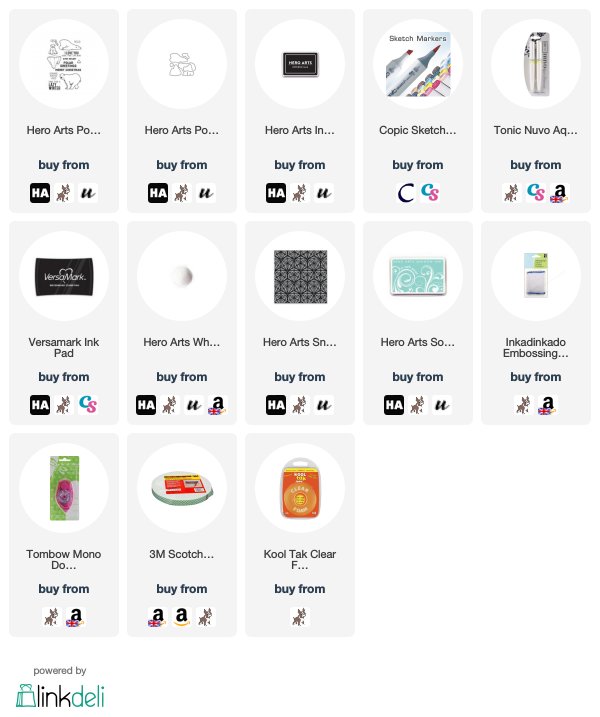
Hello there, today I have another Christmas card to share with you (sorry, I am hoping to get some other cards up soon but I am trying to make as many as possible at the moment!). Today I am using the super cute Polar Greetings set from Hero Arts, along with the Snowflake Pattern Bold Prints.


I started off by stamping the Snowflake Pattern Bold Prints on to aqua cardstock using Soft Pool ink. I cut this down and added it to the front of an A2 card base with tape runner. I thought this would make a nice background for the polar bear. I stamped the polar bear and hat from the Polar Greetings stamp set on to white cardstock with Intense Black Ink. I then coloured them using Copic Markers (the colours I used are listed below the supplies section).
 
 
I die cut the polar bear using the coordinating die and then fussy cut the hat. This does have a die to match but I thought it looked better on the bear without the white outline. I took the 'Merry Christmas' sentiment from the set and stamped this on to black cardstock with Versamark ink. I applied white embossing powder and heat set. This was cut in to a strip and added to the card with thin foam tape. I then added the bear on top with normal thickness foam tape, as well as the hat with tape runner and foam tape. To finish off, I added glitter pen to the hat.
 
SUPPLIES:

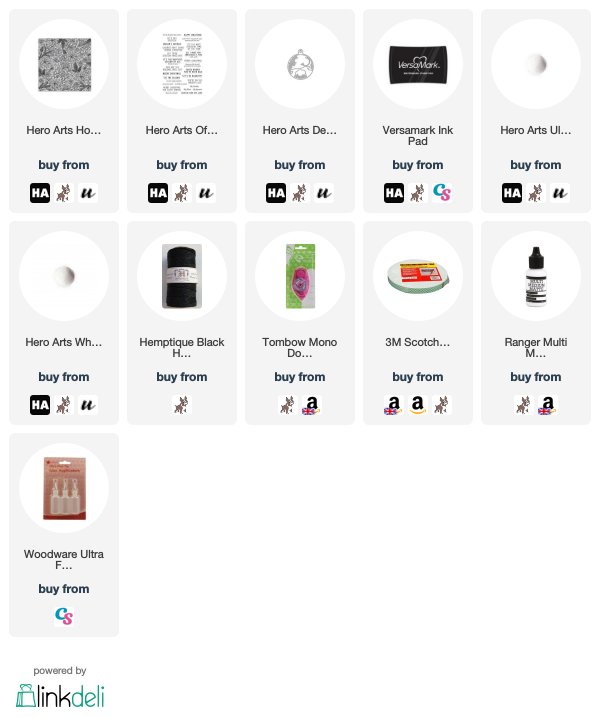
Here are the links to what I have used on the card. Affiliate links are used on some products. This means that if you make a purchase after clicking on my link, I receive a small commission with no extra cost to you. I truly appreciate your support when using these links. Please click on the logo below the product to shop at your favourite store. Products marked with an asterisk (*) were kindly sent to me to use.
 
 
COPIC MARKERS: Bear - E41, E40, 0. Hat - BG13, BG11, BG10.
 
I think the bear looks like he could be getting up to mischief this Christmas! ;) Thank you so much for visiting me today, I really do appreciate it. Have a great day!

26 October 2018

Christmas Deer

Hello there, today I have a card to share using the Hero Arts Deer and Ornament Fancy Die. I fell in love with it when I made this card and wanted to create another with a watercolour background.
 

I started off by creating the watercolour background. I took a panel of Fabriano watercolour paper and applied clean water to it. I then added in pink and purples, aqua and blues to create an interesting background. I let the colours mix and then set aside to dry. Once dry, I messily added another layer to create more interest and depth of colour and set aside to dry again.
 
 
I took a panel of white cardstock and cut the inside portion of the Deer and Ornament Fancy Die (I removed the ornament part) on to it. The middle pieces were removed and then I added foam tape to the back. I added the watercolour piece to an A2 card base with tape runner and then added the deer panel on top.
 
 
I took the 'Merry Christmas' sentiment from the Off-Beat Holiday Messages set and stamped this on to black cardstock with Versamark Ink. I applied white embossing powder and heat set. This was then cut in to a strip and added to the card with foam tape and tape runner. To finish off, I added a few Iridescent Jewels.
 
SUPPLIES:

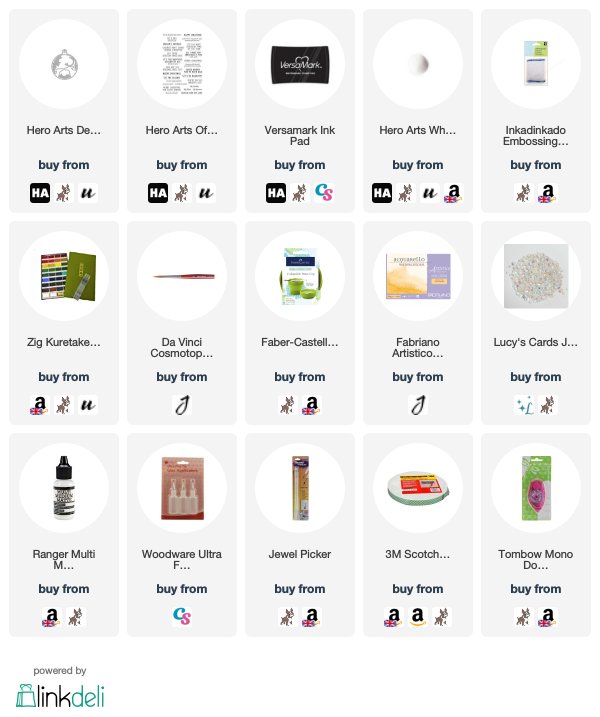
Here are the links to what I have used on the card. Affiliate links are used on some products. This means that if you make a purchase after clicking on my link, I receive a small commission with no extra cost to you. I truly appreciate your support when using these links. Please click on the logo below the product to shop at your favourite store. Products marked with an asterisk (*) were kindly sent to me to use.
 
 
I really like how this card came out. I love how the colours work nicely with the white panel. Thank you so much for visiting me today, I really do appreciate it. I hope you have a lovely day and a wonderful weekend.

24 October 2018

VIDEO | Embossing on Vellum

Hello there, today I have my last card to share as part of guest designing with WOW Embossing Powder. Today I am creating a Christmas card and embossing on to vellum.

 
For my card, I started off by creating the background. I took a panel of watercolour paper and masked off the edges with Post-It tape. I then blended Distress Inks in to the centre. I used Candied Apple, Festive Berries and Worn Lipstick. I spritzed the piece with Altenew Iridescent Spay before removing the Post-It tape and setting aside to dry.
 
 
Next, I took the Altenew Festive Poinsettia stamp set and stamped the poinsettia image on to vellum using WOW Clear Ultra Slow Drying Embossing Ink. I applied WOW Oyster Glintz Embossing Powder (a pretty shimmery cream colour) and heat set. The image was then die cut out using the coordinating die. I adhered the background piece on to a white A2 card base with tape runner and then added the vellum poinsettia on top with small dabs of Multi Medium Matte glue.
 
 
I took the 'Merry Christmas' sentiment from the Clearly Besotted Tiny Type stamp set and stamped this on to black cardstock with WOW Embossing Ink. I then applied WOW Opaque Bright White Superfine Embossing Powder and heat set. This was cut in to a strip and added to the card with foam tape. To finish off the card, I added a few Studio Katia White Diamond Crystals.
 
VIDEO:
 
Here is the video showing how I made the card:


 If you are viewing this blog post via email subscription, please watch the video here on YouTube.
 
SUPPLIES:

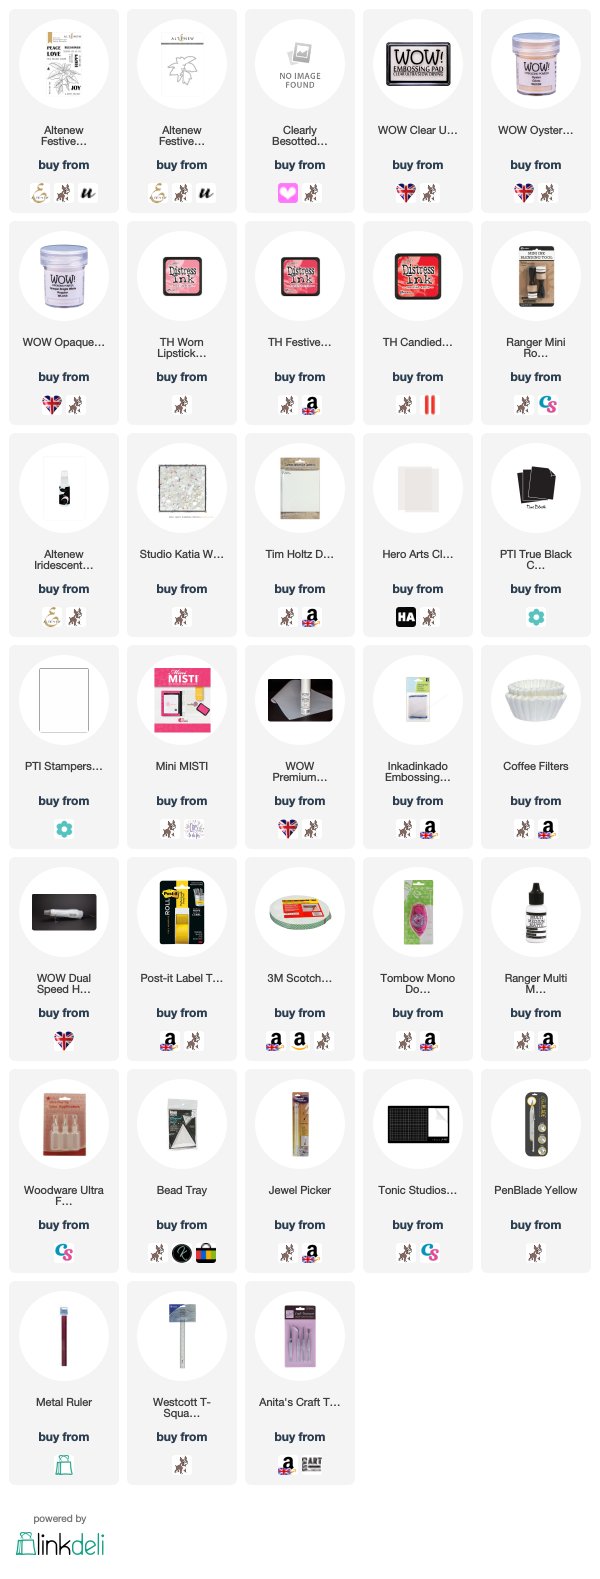
Here are the links to what I have used on the card. Affiliate links are used on some products. This means that if you make a purchase after clicking on my link, I receive a small commission with no extra cost to you. I truly appreciate your support when using these links. Please click on the logo below the product to shop at your favourite store. Products marked with an asterisk (*) were kindly sent to me to use.
 
 
I really love the cream colour embossing powder with the reds for Christmas. For more inspiration using WOW Embossing Powder products, please head over to their blog. A big thank you goes to WOW for having me guest with them this month. Thank you so much for visiting me today, I hope you have a great day!

22 October 2018

Birthday Peonies

Hello there, today I have a card to share that I made for my mum for her birthday to use as a gift voucher card. I purchased her a magazine subscription and I thought it would be nice to enclose the information in something, rather than just on a piece of paper.


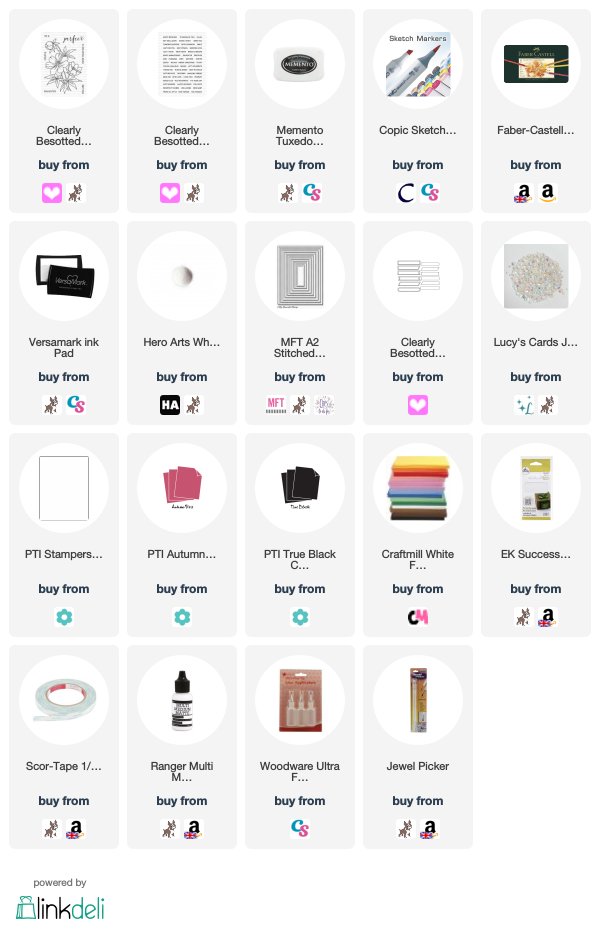
I started off by stamping the Clearly Besotted Perfect Peonies stamp set on to white cardstock with Memento Tuxedo Black. I then cut this out using an MFT Stitched Rectangle die. I first coloured the image with a layer of Copic Markers, I then went in with Polychromos Pencils to add some detail (the colours I used are listed below the supplies section). The panel was added to an A2 card base with foam sheet and DST.
 
 
I stamped the sentiment from the Clearly Besotted Tiny Type set with Versamark Ink on to black cardstock. I applied white embossing powder and heat set. I then die cut it out using one of the dies from the Flag It die collection. This was added to the card with thin foam tape. To finish off, I added a few Iridescent Jewels.
 
SUPPLIES:

Here are the links to what I have used on the card. Affiliate links are used on some products. This means that if you make a purchase after clicking on my link, I receive a small commission with no extra cost to you. I truly appreciate your support when using these links. Please click on the logo below the product to shop at your favourite store. Products marked with an asterisk (*) were kindly sent to me to use.
 
 
COPIC MARKERS/POLCHROMOS: Flowers - R85, R83, R81 + 142 Polychromos pencil. Leaves - YG17, YG23, YG03, YG01 + 267 Polychromos pencil.
 
I really like how the added detail with the pencils look on top of Copic Markers. Thank yuo so much for visiting me today, I really do appreciate it. I hope you have a wondaful day!

20 October 2018

VIDEO | Card Making Haul: October 2018 + Simon Says Stamp Haul #20

Hello there, today I am popping in quickly to share my haul video for October 2018. I didn't buy a huge amount this month, a few Christmas stamps mainly, because I made a large order for Papertrey Ink cardstock. I love this cardstock but it costs a lot to ship to the UK so I save up and make a big order every couple of years.
 
 
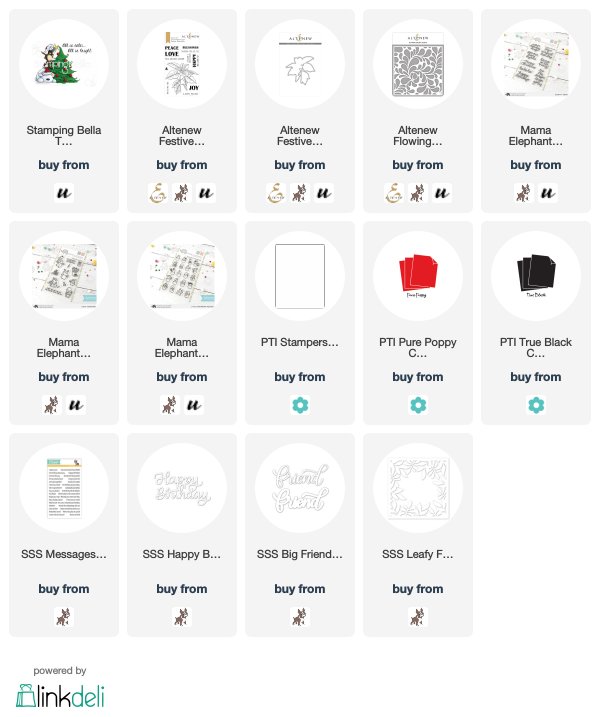
In the video, I am also sharing a small Simon Says Stamp haul with you from July. I had meant to film it separately but was unwell at the time so I thought I may as well pop it on the end of this one. Here is a look at everything I purchased:


 If you are viewing this blog post via email subscription, you can watch the video here on YouTube.
 
SUPPLIES:

Here are the links to what I shared in the video. Affiliate links are used on some products. This means that if you make a purchase after clicking on my link, I receive a small commission with no extra cost to you. I truly appreciate your support when using these links. Please click on the logo below the product to shop at your favourite store. Products marked with an asterisk (*) were kindly sent to me to use.
 
 
Thank you so much for stopping by to see me today, I really do appreciate it. I hope you have a wonderful weekend!

19 October 2018

WOW Embossing Powder with Pink & Main Blog Hop + Giveaway

Hello there, I am delighted to be taking part in the collaboration blog hop with WOW Embossing Powder and Pink & Main today. Both companies have wonderful products and it has been fun to combine them both. More info on the hop below :)
 

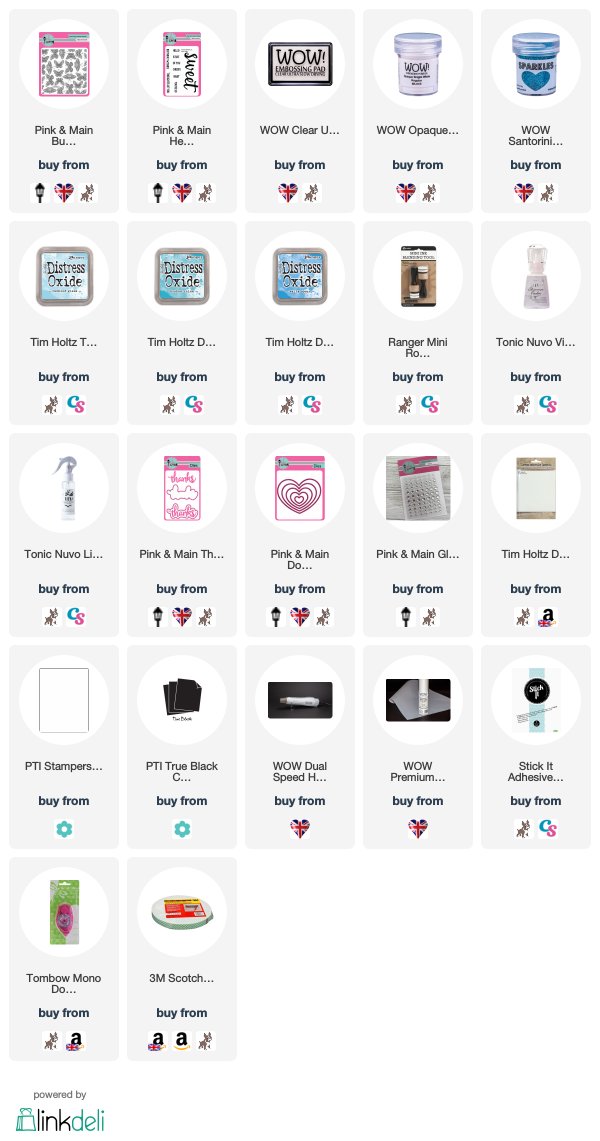
For my first card, I started off by stamping the Pink & Main Butterfly Background on to a piece of watercolour paper with WOW Clear Ultra Slow Drying Embossing Ink. I applied WOW Opaque Bright White Superfine Embossing Powder and heat set. I blended Distress Oxide Ink on to the piece, with Salty Ocean at the bottom, Broken China in the middle and Tumbled Glass at the top. This piece was cut down and added to an A2 white card base with foam tape.


I took a piece of white cardstock and added adhesive sheet to both sides. I took the backing paper off one side and applied WOW Santorini Sparkles glitter. I burnished this in to the adhesive and then die cut it using the Pink & Main Thanks die. I also die cut this another two times from white cardstock. They were stacked up with the glitter piece added to the top layer. This was then added to the card.


For my second card, I again stamped the Butterfly Background on to a piece of watercolour paper with WOW Clear Ultra Slow Drying Embossing ink. I applied WOW Opaque Bright White Superfine Embossing Powder and heat set. I then spritzed the piece with water and applied Tonic Nuvo Shimmer Powder in Violet Brocade. I let the powder combine with the water to create some shimmery loveliness and set aside to dry.
 
 
I took the second largest of the Pink & Main Double Stitched Heart Dies and embossed one of these on to an A2 white card base. Once the butterfly piece was dry, I die cut it using the same heart die and adhered this inside the embossed one on the card front with tape runner. I took the sentiments from the Pink & Main Hello Sweet stamp set and stamped this on to black cardstock with WOW Clear Ultra Slow Drying Embossing ink. I applied the same white embossing powder and heat set. This was cut in to a strip and added to the card with foam tape. To finish off, I added a few silver Glossy Dots.
 

SUPPLIES:

Here are the links to what I have used on the card. Affiliate links are used on some products. This means that if you make a purchase after clicking on my link, I receive a small commission with no extra cost to you. I truly appreciate your support when using these links. Please click on the logo below the product to shop at your favourite store. Products marked with an asterisk (*) were kindly sent to me to use.
 

BLOG HOP:
 
 
If you are following along in the hop, you should have arrived here from Lynnea. Next on the hop is Olga. If you get lost along the way, you can start here over on the WOW Embossing Powder blog.
 

GIVEAWAY:
 
WOW Embossing Powder are kindly giving away six embossing powders with carry case and Pink & main are kindly giving away a $25 gift certificate to their shop.  The winners will be picked from the comments left across all of the stops in the hop. The winners will be announced on Wednesday October 22nd at 9am EST on both the WOW Embossing Powder blog and the Pink & Main blog.
 
Thank you so much for visiting me today, I really do appreciate it. I hope you have a great time on the rest of the hop and have a wonderful day!

17 October 2018

With Thanks

Hello there, today I have another card to share with you that I have made as part of my guest designing with WOW Embossing Powder. Since the theme this month is shimmers, I wanted to use one of the Glintz powders. These have a beautiful pearlescent finish to them.


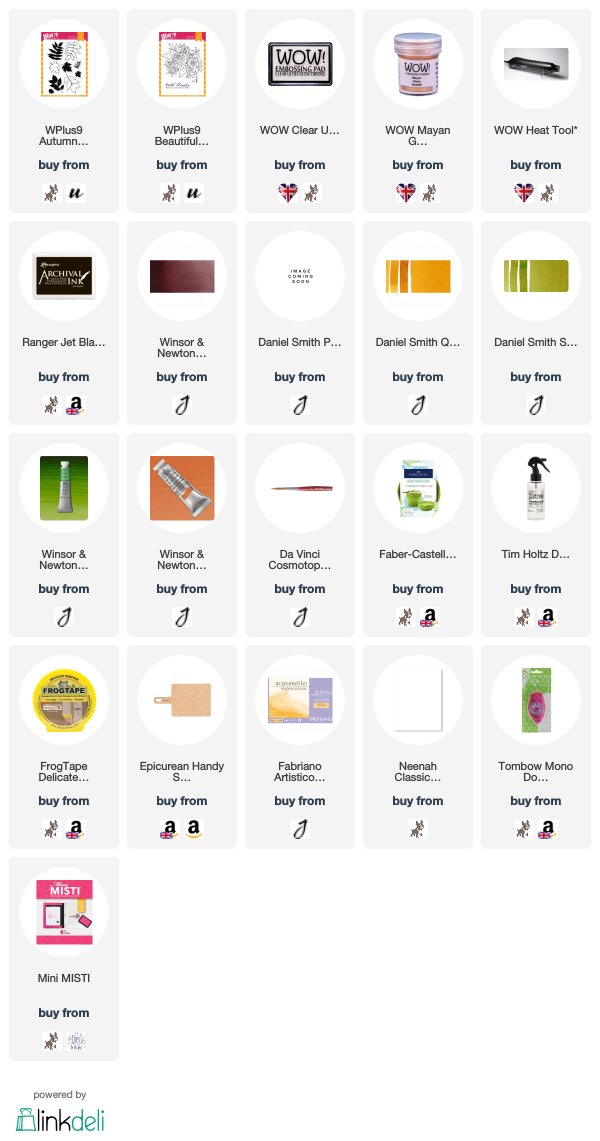
I started off with a panel of watercolour paper. I added masking tape to the edges to create my focal point in the centre. I took one of the leaves from the WPlus9 Autumn Leaves stamp set and stamped this three times on to the panel. I stamped it using WOW Clear Ultra Slow Drying Embossing Ink and then applied WOW Mayan Glintz Embossing Powder.
 
 
I then taped the piece down to a board and added the watercolour. I used purple going into pink/red that goes into yellow and finally green in the bottom right hand corner. I thought these colours would work well for an autumn card and also go well with the tone of the embossing powder. I added the watercolour in layers, deepening the colour as I went. I then set the piece aside to dry.
 
 
Once dry, I removed the masking tape and stamped the sentiment from the WPlus9 Beautiful Bouquets: Ranunculus set using Archival Ink. The piece was adhered flat to an A2 white card base with tape runner.
 
SUPPLIES:

Here are the links to what I have used on the card. Affiliate links are used on some products. This means that if you make a purchase after clicking on my link, I receive a small commission with no extra cost to you. I truly appreciate your support when using these links. Please click on the logo below the product to shop at your favourite store. Products marked with an asterisk (*) were kindly sent to me to use.
 
 
I am not usually a fan of gold tones but I really love the colour of this embossing powder, it is like a softer honey-ish tone of gold. Really pretty! For this card, I was inspired by a previous card that I had made as part of an Online Card Classes class. For more inspiration using WOW Embossing Powder, please do check out their blog. Thank you so much for visiting me today, I hope you have a great day!

16 October 2018

Let's Shellebrate

Hello there, today I have a card to share that I made back in August for my brother's birthday. I took inspiration from the Underwater Scenes class for this and used the super cute Shell-ebration stamp set from Studio Katia.
 

I started off by taking a panel of white cardstock. I stamped the turtle, sentiment and presents on to it using Memento Tuxedo Black ink. I then went ahead and coloured the rest of the panel using Copic Markers (the colours I used are listed below the supplies section). I coloured the background first, and then the stamped images. This did take quite some time but I really enjoyed it.
 
 
Once the colouring was complete I added dots of Colourless Blender to make bubbles, I then added a bit of white gel pen on to these to help them stand out more. I also added some white gel pen dots to the sand. The panel was added to a white A2 card base with foam tape. I stamped the 'let's shell-ebrate!' sentiment on the inside of the card to finish it off.  
 
SUPPLIES:

Here are the links to what I have used on the card. Affiliate links are used on some products. This means that if you make a purchase after clicking on my link, I receive a small commission with no extra cost to you. I truly appreciate your support when using these links. Please click on the logo below the product to shop at your favourite store. Products marked with an asterisk (*) were kindly sent to me to use.
 
 
COPIC MARKERS: Sand - E49, E47, E44, E43, E42, E33, E31. Sign - E57, E37, E55, E53. Cave - B99, T7. Water - BG11, BG21, B32, B45, B000. Presents - BG07, BG57, BG53, BG02, BG45, BG11, BG10, BG23. Turtle - BG78, BG57, BG53, G46, G43, YG01. Seaweed - YG01, YG11, YG99, YG03, YG61, YG25, YG67, G43, G46, YG23, G82, G20, YG63, YG17, G40.
 
I have really been enjoying colouring more scenes recently. I now need to go and refill my Copic Markers though! ;) Thank you so much for stopping by today, I really do appreciate it. I hope you have a great day!

15 October 2018

VIDEO | Using a Background Stamp as Part of a Focal Point

Hello there, I am over on the Hero Arts blog and YouTube channel today sharing a card using the Holiday Foliage Bold Prints. Instead of using it as a background, I wanted to use it as part of a focal point and combine it with the Deer and Ornament Fancy Die.
 
 
SUPPLIES:

Here are the links to what I have used on the card. Affiliate links are used on some products. This means that if you make a purchase after clicking on my link, I receive a small commission with no extra cost to you. I truly appreciate your support when using these links. Please click on the logo below the product to shop at your favourite store. Products marked with an asterisk (*) were kindly sent to me to use.
 
 
For more details on how I made the card, please head over to the blog post here or you can watch the video directly on YouTube here. Thank you so much for visiting me today. I hope you have a lovely day and a great week!

12 October 2018

Just A Note, Beautiful Girl

Hello there, today I am sharing a card using the Beautiful Girl - Karen stamp from Picket Fence Studios. She is so pretty and although I have coloured her with Copic Markers today, I think she would look wonderful with just her outline in black and white or embossed in a different colour.
 

I started off by taking a panel of white cardstock and stamping Karen on to it with Memento Tuxedo Black Ink. I took the second largest of the SSS Stitched Rectangles and cut the image out. I then coloured her with Copic Markers (the colours I used are listed below the supplies section). Since the image is sketchy, I decided to keep my colouring a bit more loose too.
 
 
I adhered the panel on to an A2 white card base with foam sheet and DST. I took the 'just a note' sentiment from the Clearly Besotted A Little Sentimental set and stamped this on to black cardstock with Versamark Ink. I applied white embossing powder and heat set. This was then cut in to a banner using one of the Clearly Besotted Flag It dies. The sentiment was added to the card with thin foam tape.
 
SUPPLIES:

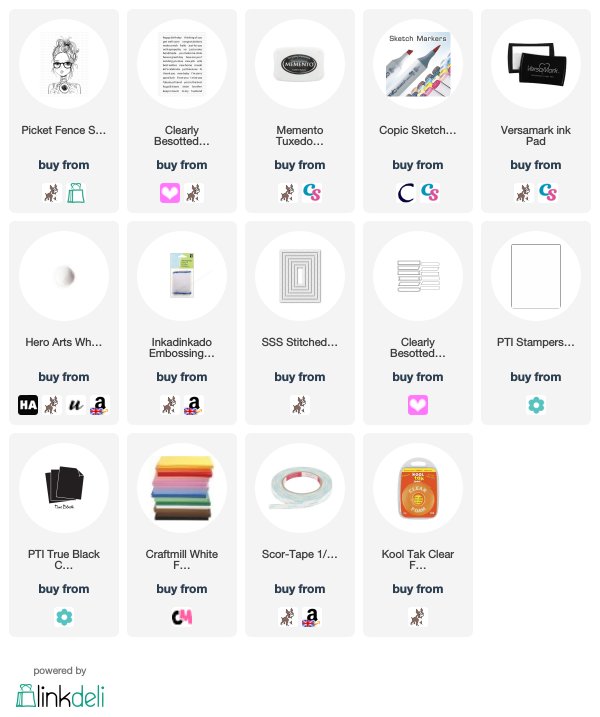
Here are the links to what I have used on the card. Affiliate links are used on some products. This means that if you make a purchase after clicking on my link, I receive a small commission with no extra cost to you. I truly appreciate your support when using these links. Please click on the logo below the product to shop at your favourite store. Products marked with an asterisk (*) were kindly sent to me to use.
 
 
COPIC MARKERS: Girl's skin - E13, E11, E00, E000, E50, R20. Hair - E47, E27, E25, E23, E21. Camera - C8, C6, C5, C3, C2, Y000.
 
There is a whole range of Beautiful Girl stamps from Picket Fence Studios. Do head over to their blog for more inspiration using their stamps. Thank you so much for visiting me today. I really do appreciate it. I hope you have a great day and a wonderful weekend!

11 October 2018

Hello, Amazing Friend

Hello there, today I am back to share my second card as a guest designer with Wow Embossing Powder this month. Today, I thought I would do something that I do not usually do and emboss an image and colour with colour pencils (usually I use watercolour with embossed images).
 

I started off by taking a panel of Fog cardstock and stamping the floral image from the Clearly Besotted Make A Wish stamp set on to it using WOW Clear Ultra Slow Drying Embossing Ink. I applied WOW Silver Pearl Embossing Powder and Heat Set. This is such a pretty powder as it picks up a lot of the colour from the cardstock and gives a lovely pearlescent look too. I then coloured the image using Polychromos Pencils (the colours I used are listed below the supplies section).

 
The panel was adhered to an A2 white card base with foam tape and DST. I took a piece of white cardstock and added an adhesive sheet on the top. I removed the backing paper off the adhesive sheet and then sprinkled over WOW Santorini Sparkles. I pressed the glitter into the adhesive sheet and burnished it in. I then die cut this using the Birch Press Design Sugar Script Hello die. I cut an additional two words from white cardstock and adhered these one on top of another to create a thicker die cut. This was added to the card with liquid glue.
 
 
I then took the Clearly Besotted Tiny Type set and stamped the sentiment on to black cardstock with WOW Clear Ultra Slow Drying Embossing Ink. I applied WOW Opaque White Superfine Embossing Powder and heat set. This was cut in to a strip and added to the card with thin foam tape. To finish off, I added a few Iridescent Jewels.
 
SUPPLIES:

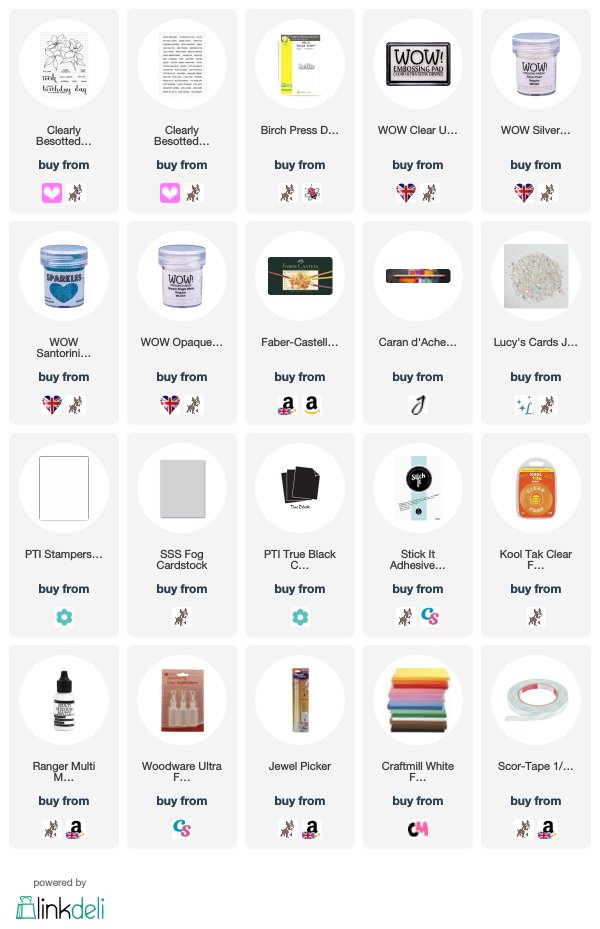
Here are the links to what I have used on the card. Affiliate links are used on some products. This means that if you make a purchase after clicking on my link, I receive a small commission with no extra cost to you. I truly appreciate your support when using these links. Please click on the logo below the product to shop at your favourite store. Products marked with an asterisk (*) were kindly sent to me to use.
 
 
POLYCHROMOS PENCILS: Petals - 156, 153, Luminance 001 White. Leaves - 267, 174, 168, 171. Branch - 274, 272, 271.
 
For more inspiration using WOW products, please do head over to their blog. Thank you so much for visiting me today. I hope you have an amazing day!

10 October 2018

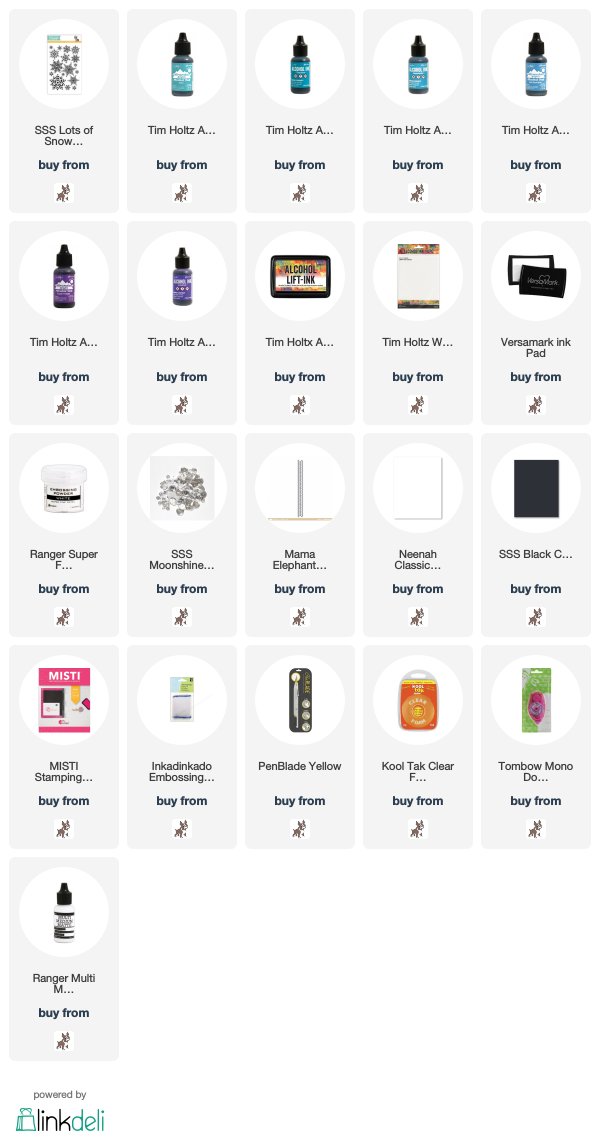
Lots of Snowflakes

Hello there, today is a special day as the new Fun & Festive release from Simon Says Stamp is out today! They kindly sent me the new Tiny Words Christmas set to have a play with and I love it! It is such a wonderful sentiment set. I thought I would combine it with the amazing Lots of Snowflakes set that is an oldie but goodie, for some alcohol ink fun!
 

I started off by creating an alcohol ink panel. I used some turquoises, blues and purples to create a background, sort of like the Northern lights. I set the piece aside to dry for a little while and then stamped the snowflakes from the Lots of Snowflakes set on top in a random pattern. I used Alcohol Lift Ink for this and after stamping, I used a soft cloth to wipe off any excess ink of the Yupo paper to reveal the snowflakes. I did this twice to get a good impression.
 
 
The panel was cut down and the left side edge cut with a stitched border die for some added interest. The panel was adhered flat to a white A2 card base with tape runner. I then took two of the sentiments from the Tiny Words Christmas set and stamped these on to black cardstock with Versamark Ink. I applied white embossing powder and heat set. These were cut in to thin strips and added to the card with clear foam tape. To finish off, I added a few Moonshine sequins.
 
 
The great thing with using Alcohol Lift Ink is that you can use the left over alcohol ink that is on the stamps to stamp off on to 'normal' cardstock. After stamping on to the alcohol ink piece, I then stamped on to white cardstock. The stamps were cleaned before inking up again to get a better impression. I then used the ink left on the stamps again to re-stamp the second piece. This stamping definitely isn't perfect, as you can see, but it still leaves a nice look and you can get two cards for one!
 
 
The panel was simply adhered to a white A2 card base with tape runner. I then stamped and heat embossed two more sentiments from the Tiny Words Christmas set and added these on with more clear foam tape. I also finished off with a few more Moonshine sequins.
 
SUPPLIES:

Here are the links to what I have used on the card. Affiliate links are used on some products. This means that if you make a purchase after clicking on my link, I receive a small commission with no extra cost to you. I truly appreciate your support when using these links. Please click on the logo below the product to shop at your favourite store. Products marked with an asterisk (*) were kindly sent to me to use.
 
 
I love the colours on these cards and the alcohol lift ink technique is really fun. Do check out the rest of the Fun & Festive release, it's a good one. Thank you so much for stopping by today, have a great day!

9 October 2018

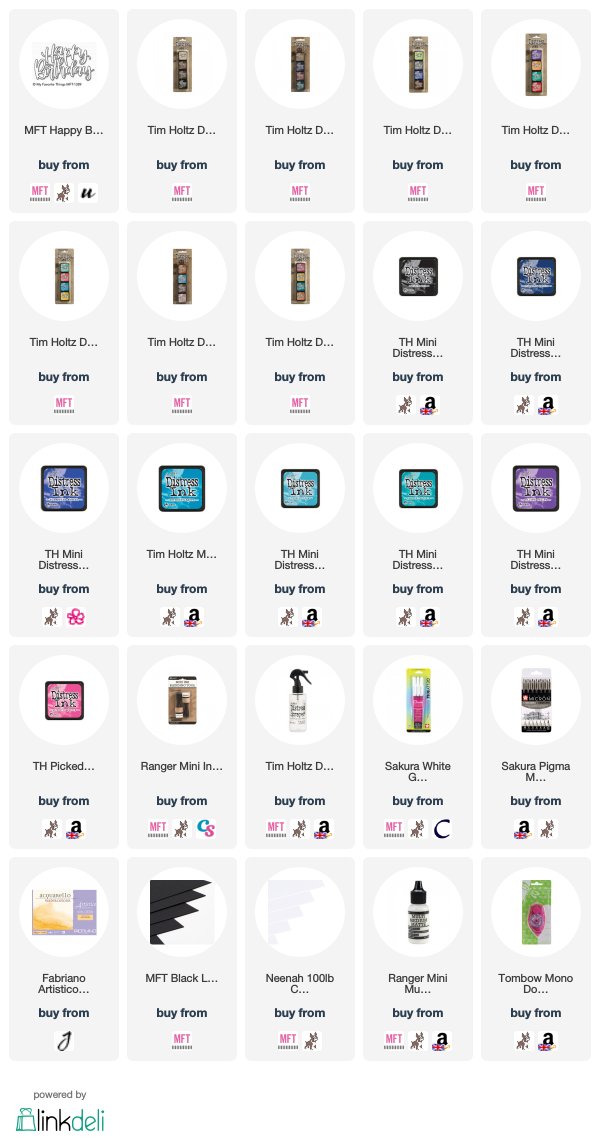
Birthday Night Sky

Hello there, today I have a card to share that I made for my mum for her Birthday. It is something a little different from me but I really love how it turned out. I was inspired by the amazing Jen Aranyi who I follow on Instagram. She creates the most amazing sky and tree scenes, so I wanted to give it a go in my own way.
 

I started off by taking a 5" x 7" piece of Fabriano Extra White Cold Pressed Watercolour paper. I then blended Distress Inks on to this. I kept the lighter colours at the bottom - Picked Raspberry and Peacock Feathers and then blended up to Wilted Violet, Broken China, Mermaid Lagoon and Blueprint Sketch. I then added Chipped Sapphire and Black Soot at the top. Taking black Pigma pens (I used 0.5 and brush), I drew some fir trees across the bottom of the piece. I then added some stars with white gel pen to the top of the sky.
 
 
Once the pen detail was dry, I ran this through my die cutting machine cutting the MFT Happy Birthday Script die in to the top of the panel. I made a 5" x 7" card base from white cardstock and then added the inked panel on top with tape runner. I die cut a further two of the Happy Birthday Script die from black cardstock. These were stacked up with liquid glue and then the panel piece die cut added on top. They were added to the card with more liquid glue and the inside pieces of the letters added back in.
 
SUPPLIES:

Here are the links to what I have used on the card. Affiliate links are used on some products. This means that if you make a purchase after clicking on my link, I receive a small commission with no extra cost to you. I truly appreciate your support when using these links. Please click on the logo below the product to shop at your favourite store. Products marked with an asterisk (*) were kindly sent to me to use.
 
 
I really like how the die cut wording looks on the top of the panel. Thank you so much for stopping by to see me today, I really do appreciate it. I hope you have a wonderful day!

8 October 2018

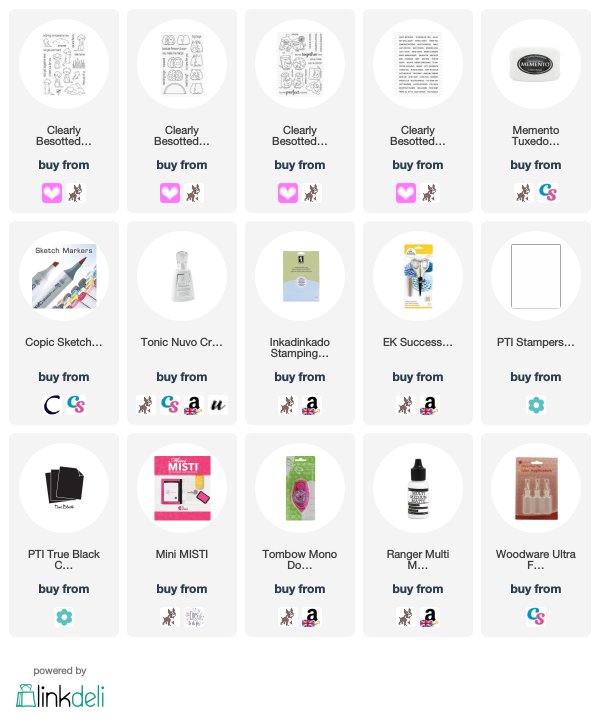
Anniversary Meerkats

Hello there, today I have a card to share that I made for my brother and sister-in-law for their wedding anniversary. It might seem a bit odd, but I went with meerkats for their card this year. They are just so cute and since by brother and SIL are a fun couple, I thought they might like it.
 

I started off by stamping two of the meerkats from the Clearly Besotted Got Your Back stamp set on to a panel of white cardstock. I then stamped a little heart from the We Go Together stamp set above them. They were masked off and then sun image from the Happy Hugs stamp set stamped so that it looks like it is behind them. The masks were then removed and the top part of the panel coloured with Copic Markers (the colours I used are listed below the supplies area). I took inspiration for the colouring from this card by Clearly Besotted.
 
 
I stamped the sentiment from the Tiny Type set below where the colouring stopped. To neaten up the edge of the colouring, I added a thin strip of black cardstock below the scene. I think this helped to ground it too. The panel was adhered flat to an A2 white card base with tape runner. To finish off, I added Crystal Glaze to the heart.  
 
SUPPLIES:

Here are the links to what I have used on the card. Affiliate links are used on some products. This means that if you make a purchase after clicking on my link, I receive a small commission with no extra cost to you. I truly appreciate your support when using these links. Please click on the logo below the product to shop at your favourite store. Products marked with an asterisk (*) were kindly sent to me to use.
 
 
COPIC MARKERS: Meerkats - E17, E08, E13, E11, E31, E30. Heart - R89, R37, R27, R24. Ground - E47, E44, E43, E42, E41, E40. Sunset/sunrise - YR09, YR18, YR16, YR15, YR12, Y19, Y18, Y15, Y13, Y11, Y00, Y000.
 
I am not sure whether this is technically a sunset or a sunrise but I enjoyed colouring it none-the-less! Thank you so much for stopping by to see me today, I really do appreciate it. I hope you have a wonderful day!
End of code