31 December 2018

Clearly Besotted Teasers | Happy Mail

Hello there and welcome to day four of the Clearly Besotted January 2019 teasers. Not long to wait now, the new sets release tomorrow at 8pm GMT. Today I am using the new Snail Mail stamp set. This is perfect for decorating envelopes and parcels but can be used equally as well for cards and tags. I thought I would make some tags with it today.


I started off by die cutting two tags using the Tag Along die set. I then took the grass image from the set and stamped this on to them using black ink. The image is slightly shorter than the width of the tag, so I stamped it once, masked it off and stamped it again to the side. I then took the MFT Mini Cloud stencil and placed this over the top, I blended on Tumbled Glass Distress Oxide Ink to create a sky. I then coloured the grass with Copic Markers.
 
 
I took the happy mail sentiment from the Snail Mail set and stamped this on to one tag. For the other one, I used a sentiment from the Tiny Type set. I then stamped the turtles/tortoises from the set on to white cardstock, I coloured them with Copic Markers (the colours I used are listed below the supplies section) and then fussy cut out with scissors, but there will be coordinating dies available to purchase.
 

I added the tortoises on to the tags with foam tape. For the happy mail one, I die cut a SSS Mini Heart from white cardstock and coloured it with Copic Markers and added it below the sentiment. To finish off, I added hemp twine to the tops of both.
 
SUPPLIES:

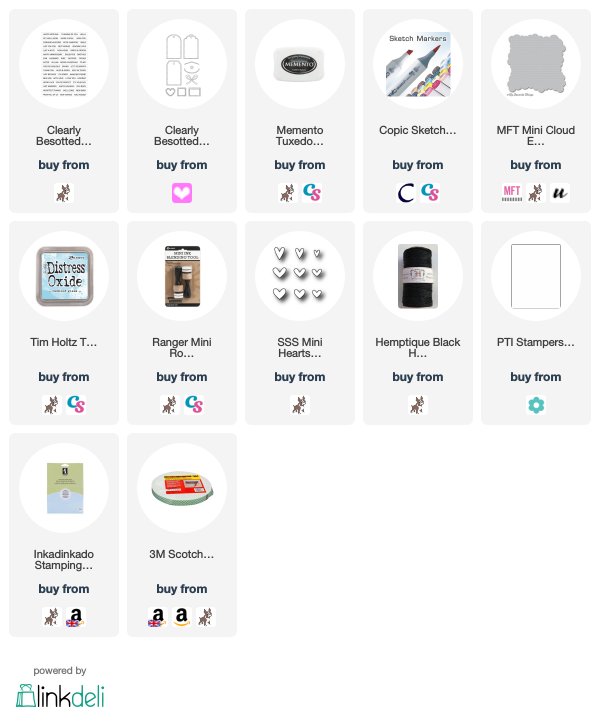
Here are the links to what I have used on the tags. Affiliate links are used on some products. This means that if you make a purchase after clicking on my link, I receive a small commission with no extra cost to you. I truly appreciate your support when using these links. Please click on the logo below the product to shop at your favourite store. Products marked with an asterisk (*) were kindly sent to me to use.
 
 
COPIC MARKERS: Grass - YG17, YG23, YG03, YG01. Tortoises - BG78, BG75, BG72, G46, G24, G21, G20. Heart - R89, R37, R24.
 
Aren't they just adorable? There is snails in the set too, as well as lots of sentiments and postage stamps. For more inspiration using the new sets, please visit my teamies Stephanie, Keren and Lisa. Thank you so much for visiting me to day, I really do appreciate it. See you tomorrow for release day! Have a great day and a very happy New Year's Eve.

30 December 2018

Clearly Besotted Teasers | Perfect Pair

Hello there and welcome to day three of the Clearly Besotted January 2019 teasers. Today I am using the wonderful Apples & Pears set that will be released on January 1st.
 

I started off by stamping the pears on to a panel of white cardstock with Memento New Sprout Ink. I used this colour to get a no-line colouring look. I then coloured the pears using Copic Markers (the colours that I used are listed below the supplies section). The panel was cut down and then I took an A2 white card base. I added a strip of black and white patterned paper on the left hand side. I then added the image panel to the right with tape runner.
 
 
I cut a thin strip of black cardstock and added this at the side of the image panel with liquid glue. I took the sentiments from the Apples & Pears stamp set and stamped them on to black cardstock with Versamrk Ink. I applied white embossing powder and heat set. These were cut in to strips and added to the card with foam tape.
 
SUPPLIES:

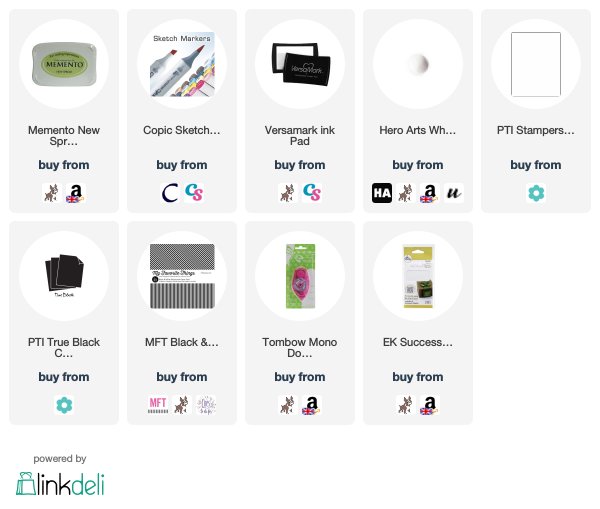
Here are the links to what I have used on the card. Affiliate links are used on some products. This means that if you make a purchase after clicking on my link, I receive a small commission with no extra cost to you. I truly appreciate your support when using these links. Please click on the logo below the product to shop at your favourite store. Products marked with an asterisk (*) were kindly sent to me to use.
 
 
COPIC MARKERS: Pears - E43, E42, YG21, YG00, YG000. Stem - E44, E43, E42, YG01. Leaves - YG17, YG23, YG03, YG01.
 
As you can probably tell from the name of the set, there is also a bunch of apples in it. There is also lots of different sentiments that work well with both of the images. For more inspiration using the new sets, please visit my teamies Stephanie, Keren and Lisa. Thank you so much for visiting me today, see you tomorrow for the last day of teasers.

29 December 2018

Clearly Besotted Teasers | Tutu Sweet

Hello there and welcome to day two of the Clearly Besotted January teasers. Today I am using the new Twinkle Toes stamp set which will be released on January 1st 2019. What an adorable set!
 

I started off by stamping one of the hippos from the Twinkle Toes stamp set on to a panel of white cardstock. I drew a line towards her feet and then cut this with a craft knife before and after her (so that she stays part of the panel), I then fussy cut around the image with scissors. If you had the dies, you could partially cut it, which would save the fussy cutting. I then coloured the hippo with Copic Markers (the colours I used are listed below the supplies section) and stamped the sentiment from the set beside her.
 
 
I took an A2 white card base and blended Shaded Lilac Distress Oxide on to the top portion. I wanted more colour at the bottom and lighter at the top. I then placed the Basic Spots II Stencil on top and blended more ink over. Again, I kept the higher saturation of colour at the bottom blending lighter towards the top. I then adhered the image panel on top with foam tape.
 
SUPPLIES:

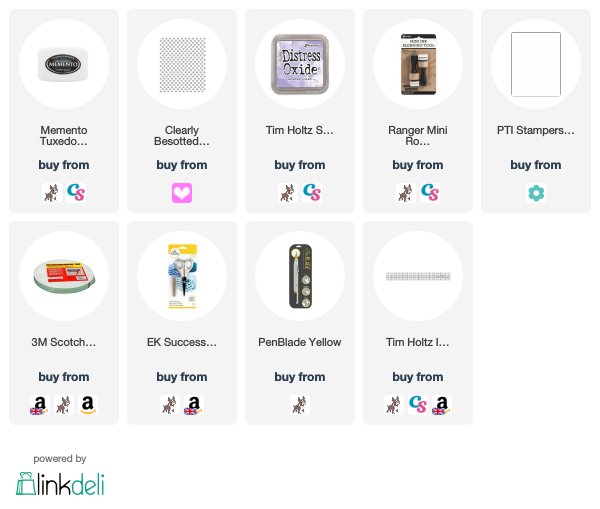
Here are the links to what I have used on the card. Affiliate links are used on some products. This means that if you make a purchase after clicking on my link, I receive a small commission with no extra cost to you. I truly appreciate your support when using these links. Please click on the logo below the product to shop at your favourite store. Products marked with an asterisk (*) were kindly sent to me to use.
 
 
COPIC MARKERS: Hippo - W7, W5, W3, W2, W1. Tutu - BV13, BV11, BV01, BV000.
 
I absolutely adore these hippos and dancing ones are a perfect addition to the line. For more inspiration using the new sets, please check out what my teamies Stephanie, Keren and Lisa have been up to. Thanks so much for visiting me today, see you tomorrow for day three. Have a great day!

28 December 2018

Clearly Besotted Teasers | Finstastic Day

Hello there and welcome to day one of the Clearly Besotted teasers for January 2019. The new products will release on the 1st January 2019 and from now until then, we (the DT) are sharing sneak peeks with you. Today I am using two new sets, Water Plushies and Picture It Ocean.
 

I started off by stamping the Water Plushies on to a panel of white cardstock with Memento Tuxedo Black. I made masks for these and then stamped the Picture It Ocean on top. This creates the most wonderful background for underwater scenes. I removed the masks and then coloured the panel with Copic Markers (the colours that I used are listed below the supplies section).
 
 
I coloured the animals first and then the background. Once finished I added some water bubbles with the colourless blender and a white gel pen. I took the sentiment from the Water Plushies set and stamped this on to black cardstock with Versamark Ink. I applied white embossing powder and heat set. This was cut in to a strip. I added the image panel flat to a white A2 card base and then added the sentiment strip on top with foam tape.
 
SUPPLIES:

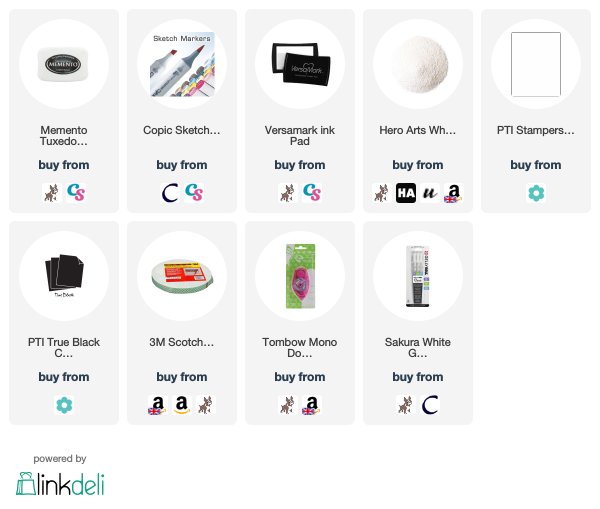
Here are the links to what I have used on the card. Affiliate links are used on some products. This means that if you make a purchase after clicking on my link, I receive a small commission with no extra cost to you. I truly appreciate your support when using these links. Please click on the logo below the product to shop at your favourite store. Products marked with an asterisk (*) were kindly sent to me to use.
 
 
COPIC MARKERS: Whale - B99, B97, B95, B93, B91. Jellyfish - V17, V15, V12. Turtle - BG78, BG75, BG72, YG01, G46, G24, G21. Sand - E47, E44, E43, E42, E41, E31. Rocks - W7, W5, W3, E43. Water - B45, B34, B32, B02, B01, B00, B0000.
 
Aren't those plushies adorable? and they work so perfectly with the background stamp. For more inspiration using the new release, please head over to my teamies Stephanie, Keren and Lisa. Thank you so much for stopping by today, I hope you have a great day!

25 December 2018

Merry Christmas & Happy Holidays!


I wanted to take this time to wish everyone a very Merry Christmas, Happy Yule, Happy Kwanzaa, Happy Hanukka, Happy Saturnalia .. whatever you celebrate, or if you are not celebrating at all, I hope you have a wonderful and peaceful few days. See you on the 28th for the start of the Clearly Besotted January teasers :)

24 December 2018

VIDEO | Tone-on-Tone Mandala Background

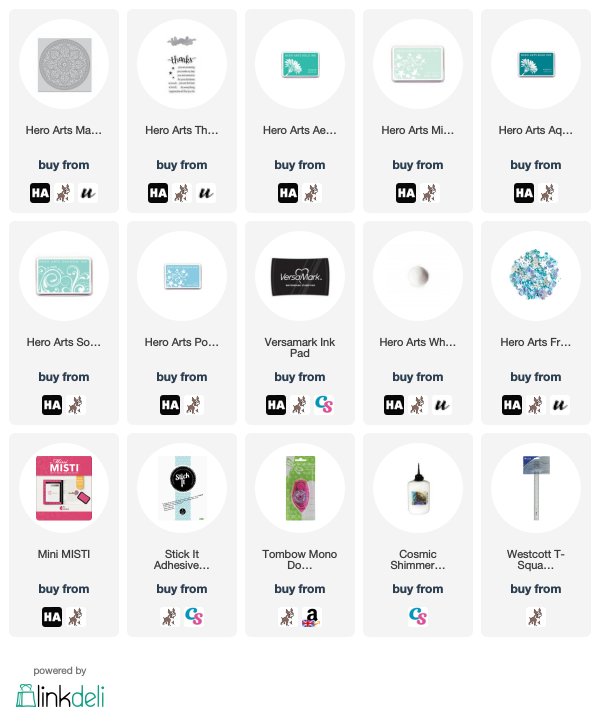
Hello there, I am over on the Hero Arts blog and You Tube channel today, sharing a card using the Mandala Bold Prints with a tone-on-tone look.
 
 
SUPPLIES:

Here are the links to what I have used on the card. Affiliate links are used on some products. This means that if you make a purchase after clicking on my link, I receive a small commission with no extra cost to you. I truly appreciate your support when using these links. Please click on the logo below the product to shop at your favourite store. Products marked with an asterisk (*) were kindly sent to me to use.
 
 
For more details on how I made the card, you can see the blog post here and watch the video directly on You Tube here. Thanks so much for stopping by today, I hope you have a wonderful Christmas Eve!

22 December 2018

VIDEO | Craft Room Tour 2018

Hello there, today I have my craft room tour of 2018 to share with you. I usually do these every year and so I wanted to get one in before the year is over.

 
As I have mentioned before, the room looks a lot bigger on camera than it is in real-life. It is really quite small but I am incredibly grateful for it. Craft storage and organisation is one of my favourite things and I am always trying to find new ways to improve the work flow of my room. For me, organisation is very important. It means that I can grab things easily when crafting and also put them back easily too. I like to keep things tidy but you need to find out what works best for you.


VIDEO:

Here is a look at my tour for 2018:


If you are viewing this post via email subscription, you can watch the video here on YouTube.


CRAFT ROOM DETAILS:


I have two large desks which take up the length of the room on one side. I use one for crafting and one for office type stuff. Under my desk, I have drawer units. I have three Helmer units from Ikea and one Alex unit (also from Ikea). These hold a lot supplies that I grab for often.


I try to keep my main crafting desk clutter free but I do keep some things on there all the time. I have a shelf from Ikea that I use to create extra space. On the shelf I have some Scotch tape, my Copic Markers in Color Cubbies from Studio 3 Solutions (these are unfortunately discontinued but I will link to something similar below), and my mini score boards and a notebook that I use to write supplies in.
 
Under the shelf I have little bowls that I use to hold various things, one magnetic one that I hold my most use sentiment strip dies in, two ramekin dishes that hold baby wipes and my absorber cloth when in use, I have one that currently has lots of little die cuts in and two spare that I use for the backs of adhesive so that they do not end up all over the floor!
 
 
In the corner, I have my tool carousel. This holds all of my main used small tools like rulers, bone folders, tweezers, adhesive, scissors, palette knives, corner rounder punch etc. In the drawers are things like extra blades for my craft knives, erasers, Copic nibs etc. Next to that I have a container that I use for new items (mainly stamps and dies) that I want to use or for Design Team projects. I also have my Tim Holtz Media Mat on my desk (I have a review of that here, if you are interested).
 

Above my desk are two shelves. These are mainly decorative but I do store my washi tape in containers from Ikea and my paint brushes in jars.
 
 
Above that is my camera mount. I have a Manfrotto Variable Friction Arm that I mount my camera to so that I can film from above. You can see more about that in my FAQ section here.
 
As I mentioned, under my desks I have drawer units from Ikea (Helmer and Alex). These hold colouring supplies, stamping supplies, basic tools, alcohol inks, foil, envelopes, mixed media supplies, adhesives and my Distress Inks and ink blending tools.
 
 
I have my ink blending tools in nail polish holders. I have individual ink blending tools for my most used colours of Distress Inks and Distress Oxide Inks. I label to the top of the tool with labels I printed off from the Ranger website (I used the ones for the Distress Spray Stains). Inside the holders I have larger labels and for these I have adhered them to a piece of white cardstock and laminated it. This way, I know where the ink tool should go but I will not get ink on the holder.
 
 
Above my computer desk on the wall to the side, I have Picture Ledges that I hold my liquid paints on. On the top shelf I have stencil brushes, a card from my friend Lisa (I do rotate the cards during the year) and a frame that my friend Sarah made for me (which reads 'I just want to make beautiful things, even if nobody cares').
 
 
The two shelves below hold Dr Ph Martin's Radiant watercolours, Hydrus watercolours, Bombay ink and Hero Arts Liquid Watercolours. I think they look so pretty all lined up like that!
 
 
Back to the other side of my room and I have a new addition on the wall. A pegboard from Ikea. I love this! On the top section I have my Mini MISTI and Tim Holtz Platform. Both are in cases made by my friend Ruth. Next to that I have spray bottles and stamp cleaner. Below I have Distress Reinkers, Altenew Marker Refills, Nuvo Shimmer Powders and glitter paste.
 
 
Below that is my favourite piece of furniture, my Raskog! This holds so much stuff! The top tier holds colour pencils, pens, two of my swatch binders and colour charts. The second tier holds more pens (Zigs, Arteza, Altenew and Tonic), as well as Distress Markers and Hero Arts Glimmer Paints. The bottom tier holds spray adhesive, MISTI cleaner, rubbing alcohol, my Copic refills  and Airbrush supplies (my actual airbrush compressor now lives in my bedroom under a cabinet). I also have my heat tools attached to the side of it with 3M command hooks.
 
 
I keep my Copic Refills in a Really Useful Box (3L) they fit in really nicely but as you can see, I have run out of space now, so will need another one. I keep track of which refills I have by marking them on a blank Copic colour chart.
 
 
The other side of my room has a large Hemnes cabinet as well as my embellishment drawers. I store all of my stamps and dies in the cabinet, along with cardstock, paper and my die cutting machines. Right at the top of my cabinet I have round boxes from Ikea that hold my wood mounted stamps in.
 
 
The top shelf holds larger stamps. I have them in boxes from Ikea. I have my larger stamp sets in Avery Elle Extra Large Stamp & Die Pockets. My background stamps are in WRMK 6x6" sleeves. The next shelf down holds my Clearly Besotted stamps. These are in containers from Muji which are sadly now discontinued. Since I am on the Design Team, I keep these stamps separated by category - sentiments, floral, animals etc. The dividers are made from clear plastic swing clip files. The box to the left is for Clearly Besotted overflow (new release etc.) and the box to the right holds any new items that I have just purchased.
 
 
The next shelf down holds my Hero Arts stamps and dies. These are again in Ikea boxes and divided by category. I am on the Creative Team, so I find this works well for me to find the set that I need. As with the rest of my 'normal sized' stamps, these are in the Avery Elle Large Stamp & Die Pockets. If I have a die set to match, these are kept behind the stamp set in the same pocket.
 
 
The next shelf holds my 8.5" x 11" cardstock (and some A4). I have the cardstock in magazine files and divided with labels so that I can easily grab the colour that I need. I keep the cardstock in 9" x 12" grip seal bags and just cut off the top. I find these work really well and keep my cardstock contained and easy to get in and out of the magazine files.
 
 
To the side of the cardstock I have EZ Mount Binders that I use to keep my dies in. On the bottom shelf, I have die cutting machines and their cutting plates, envelope punch board and my 6" x 6" paper pads.
 
 
To the side of my cabinet I have The Best Organiser drawer cabinets. On the top of it I have 12" x 12" cardstock and paper in a Cropper Hopper paper holder. Next to that I have another swatch binder and then my stencil binders.


In the drawers of the top cabinet, I have ink pads, embossing powders and Nuvo Drops. In the bottom drawers I have sequins and embellishments, stickers, felt, ribbon and glitter. Beside the cabinets I have my tripod for my camera and a drawing board.

One thing that I didn't mention in the video is that I do have some supplies that are not in the room. I have a Cricut that I keep in my bedroom, as well as my Copic compressor. I also have the Gemini FoilPress that I got recently, I haven't quite found a space for that yet. I also have a cupboard on my landing where I have extra adhesives, photo props, Christmas stamps and the cards that I have made.


SUPPLIES:

Here are the links to what I use in my craft room for storage. Affiliate links are used on some products. This means that if you make a purchase after clicking on my link, I receive a small commission with no extra cost to you. I truly appreciate your support when using these links. Please click on the logo below the product to shop at your favourite store. Products marked with an asterisk (*) were kindly sent to me to use.
 

If you have made it this far, thank you so very much for sticking with me! I really do appreciate it. I hope you have enjoyed looking around my room and maybe have got some ideas for your own space. Thank you so much for visiting me today, have a great day!

21 December 2018

Fairy Window

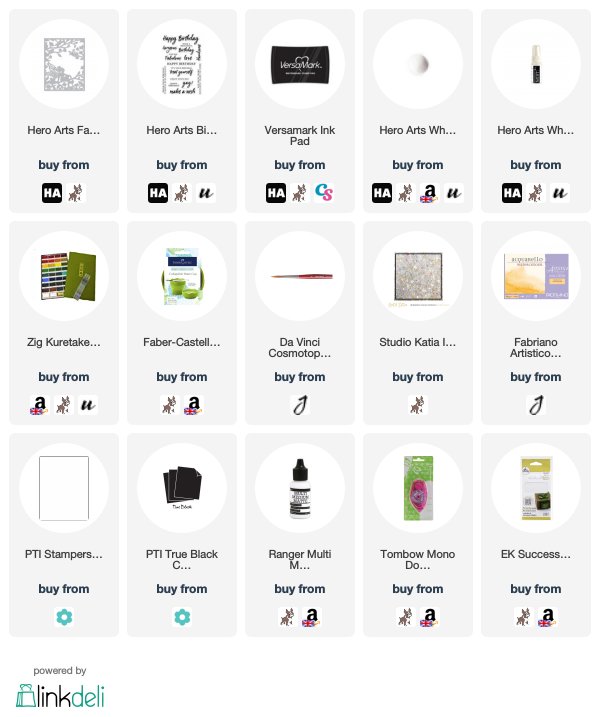
Hello there, today I have a card to share using the beautiful Fairy Window Fancy Die from Hero Arts. This was released as an add-on for the December 2018 My Monthly Hero Kit.
 

I started off by die cutting the window from white cardstock and set that aside. For the background I first took some watercolour paper and added Gansai Tambi watercolours to it. I took inspiration for the colours from this card. I wanted to create a bit of a magical/fairy sky background. Once dry, I spritzed on White Iridescent Shimmer Spray for some added sparkle and set aside to dry again.
 
 
The background piece was added flat to a white A2 card base with tape runner and then I added on the die cut window on top with liquid glue. I took the sentiment from the Birthday Messages stamp set and stamped it on to black cardstock with Versamark Ink. I applied white embossing powder and heat set. This was cut down and added to the card with foam tape. To finish off, I added a few iridescent jewels.
 
SUPPLIES:

Here are the links to what I have used on the card. Affiliate links are used on some products. This means that if you make a purchase after clicking on my link, I receive a small commission with no extra cost to you. I truly appreciate your support when using these links. Please click on the logo below the product to shop at your favourite store. Products marked with an asterisk (*) were kindly sent to me to use.
 
 
I think this die would work with so many different backgrounds. Thank you so much for visiting me today, I really do appreciate it. Have a great day!

20 December 2018

Sweet Holiday Penguins

Hello there, every year I tend to mass produce a Christmas card. I very rarely make more than one card with the same design during the year but at Christmas, when I have so many to make, I like to make the same design in bulk. Today I am sharing that card, I did do another set with the same design but a different penguin in the set, unfortunately I sent them all out before I managed to take a photo of it!
 

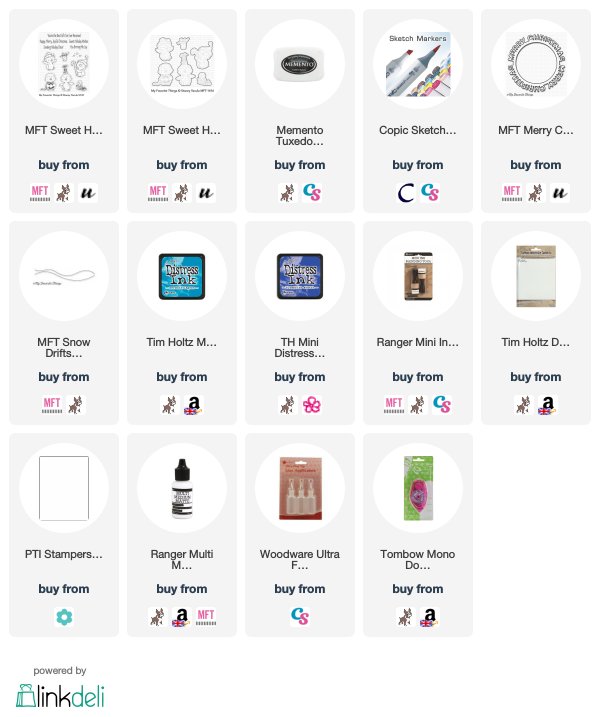
I started off by stamping the penguins from the MFT Sweet Holiday Penguins set on to white cardstock with Memento Tuxedo Black Ink. I coloured them with Copic Markers and die cut out with the coordinating dies. I then die cut the MFT Merry Christmas Circle Frame die from white cardstock. I used the left over circle from the middle and cut this down further with the MFT Snow Drifts die to create a snow bank.
 
 
I also cut the middle from watercolor cardstock and blended ink on to it for the sky. I used Mermaid Lagoon and Blueprint Sketch Distress Inks. I took A2 white card bases and adhered the circle frame on top first, using liquid glue. I then added in the sky piece with tape runner followed by the snow bank. To finish off, I added the penguin with foam tape.
 
SUPPLIES:
 
Here are the links to what I have used on the card. Affiliate links are used on some products. This means that if you make a purchase after clicking on my link, I receive a small commission with no extra cost to you. I truly appreciate your support when using these links. Please click on the logo below the product to shop at your favourite store. Products marked with an asterisk (*) were kindly sent to me to use.
 
 
COPIC MARKERS: Penguin - BV29, BV25, BV23, YR65, YR31, YR30, C2, C0. Hat - R89, R37, R29, R27, R24, C5, C3, C1.
 
I ended up making about 30 of these, I think. I really love how the turned out, those penguins are adorable! As always, thank you so much for visiting me, I really do appreciate it. I hope you have a wonderful day!

19 December 2018

Christmas Penguin

Hello there, I am back to share another Christmas card with you that I made a little while ago and only just now getting around to blogging it. I love these little penguins from MFT, they are so cute!
 

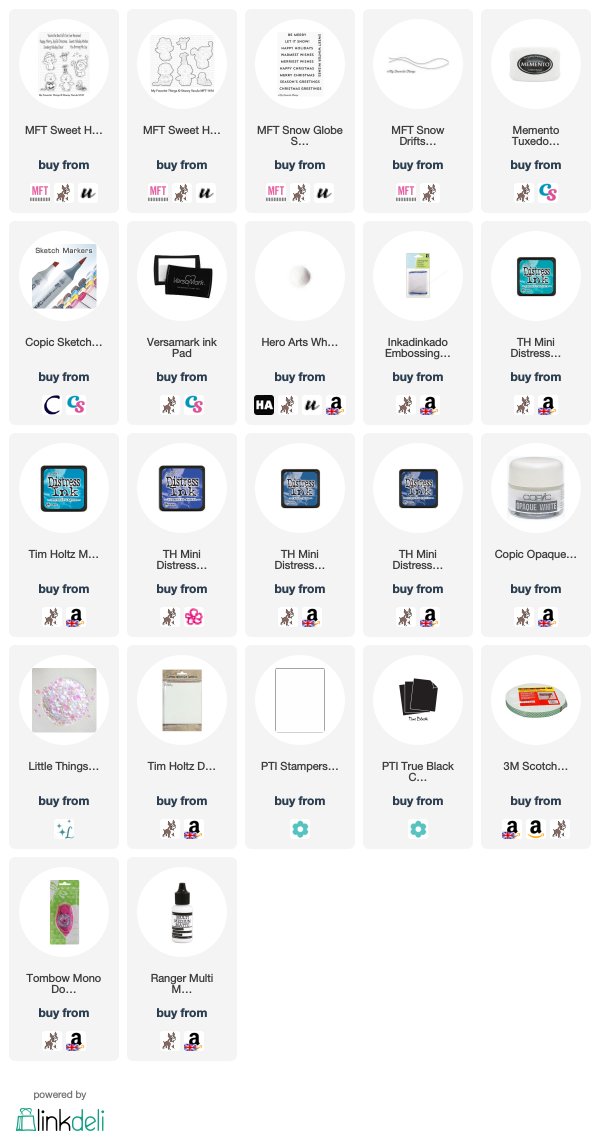
I started off by stamping the penguin on to white cardstock with Memento Tuxedo Black Ink. He was coloured with Copic Markers and then die cut out with the coordinating dies and set aside. I then worked on my background. I took a piece of TH watercolor cardstock and blended Distress Inks on to it for a night sky. I used Peacock Feathers, Mermaid Lagoon, Blueprint Sketch, Faded Jeans and Chipped Sapphire at the top. I splattered it liberally with Copic Opaque White to create some snow.
 
 
Once the piece was dry, it was cut down and added to an A2 white card base with tape runner. I then created a snow bank from white cardstock using the MFT Snow Drifts die. This was added to the card with more tape runner and the penguin added on top with foam tape. I took the sentiment from the MFT Snow Globe Sentiments set and stamped it on to black cardstock with Versamark Ink. I applied white embossing powder and heat set. This was cut in to a strip and added to the card with foam tape. To finish off, I added a few Moonstone sequins.
 
SUPPLIES:

Here are the links to what I have used on the card. Affiliate links are used on some products. This means that if you make a purchase after clicking on my link, I receive a small commission with no extra cost to you. I truly appreciate your support when using these links. Please click on the logo below the product to shop at your favourite store. Products marked with an asterisk (*) were kindly sent to me to use.
 
 
COPIC MARKERS: Penguin - BV29, BV25, BV23, YR65, YR31, YR30. Presents - R89, R37, R24, BG13, BG11, C1.
 
Thank you so much for popping by to see me today. I really do appreciate it. I hope you have an excellent day!

18 December 2018

Christmas Owl

Hello there, I am back today to share one of the Christmas cards that I have been busy making behind the scenes. At the time of writing this, I have two more to make. Every year I say that I will start earlier and every year I fail!
 

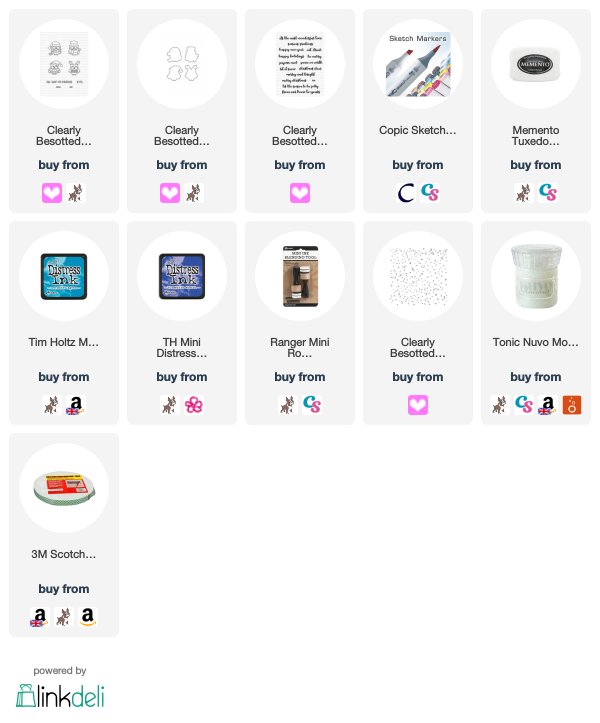
I started off by taking one of the owls from the Clearly Besotted Christmas Hoot set and stamped it on to white cardstock with Memento Tuxedo Black Ink. I coloured it with Copic Markers and fussy cut out with scissors (but there are coordinating dies available). I then set him aside to work on my background. I took a panel of white cardstock and masked off the bottom section so that I could ink blend above. I blended Mermaid Lagoon and Blueprint Sketch Distress Inks on to the panel and then placed the Clearly Besotted Snow Day stencil on top.
 
 
I then applied a good layer of Nuvo Moonstone Glimmer Paste on top. I removed the stencil and set the panel aside. I took a strip of cardstock and stamped the sentiment from the Clearly Besotted Cheerful Calligraphy set on to it with Memento Tuxedo Black Ink. Once dry, I adhered the background panel to an A2 card base with tape runner and added the sentiment strip with foam tape. I then added the owl on top with more foam tape.
 
SUPPLIES:

Here are the links to what I have used on the card. Affiliate links are used on some products. This means that if you make a purchase after clicking on my link, I receive a small commission with no extra cost to you. I truly appreciate your support when using these links. Please click on the logo below the product to shop at your favourite store. Products marked with an asterisk (*) were kindly sent to me to use.
 
 
COPIC MARKERS: Owl - E47, E44, E43, E42, E41, YR26. Hat and scarf - R89, R37, R29, R27, R24, C5, C3, C1.
 
How are you all doing with your Christmas prep? Better than me, I hope! Thank you so much for stopping by to see me today, I really do appreciate it. Have a great day!
End of code