31 July 2019

Heffy Doodle Friends Blog Hop + Giveaway

Hello there, I am delighted to be joining Heffy Doodle for their Heffy Doodle Friends July Blog Hop today. We are using the new products from their July release. For the hop, you should have arrived here from the amazing Alberto but if you get lost along the way, I have the full list of participants below.
 
 
My first card uses the fabulous Heffy Doodle Absotoothly Awesome Stamp Set and dies. As the name suggests, this set is geared towards the tooth fairy but I thought that it would work just as well for 'normal' fairies too. I started off by creating my background. I took a panel of TH watercolor paper and blended Distress Inks on to it. I used Mermaid Lagoon at the bottom, followed by Wilted Violet and then Black Soot at the top. I placed the Heffy Doodle Twinkle Twinkle Stencil on top and added on a layer of Nuvo Moonstone Glimmer Paste. The stencil was removed and the panel set aside to dry.
 
 
I took the Heffy Doodle Absotoothly Awesome Stamp set and stamped two of the fairies on to white cardstock with Memento Tuxedo Black Ink. They were coloured with Copic Markers (the colours that I used are listed below the supplies area) and die cut out with the coordinating dies. I then took the Heffy Doodle Fairy Heffy Cut and cut this on to the background panel. I also cut it a further three times from white cardstock., which were stacked up using liquid glue.
 
 
I added the background panel flat on to a white A2 card base with tape runner and then added the white die cut fairy word into the aperture left by die cutting the panel. The inked piece was then added on top for an eclipse look. I took the accompanying sentiments from the Heffy Doodle Absotoothly Stamp Set and stamped these on to black cardstock with Versamark Ink I applied white detail embossing powder and heat set. These were then cut in to strips and added to the card base along with the fairies using foam tape. To finish off, I added Aqua Shimmer Pen to the fairies wings.
 

While I was making this card, I decided to stamp and colour another fairy and make a little tag. I took another piece of TH watercolor paper and this time blended on Distress Inks in Seedless Preserves and Dusty Concord. Keeping the colour more saturated at the top. I again used the Heffy Doodle Twinkle Twinkle Stencil and applied a layer of Nuvo Moonstone Glimmer Paste.
 
 
Once dry, the panel was cut using the Heffy Doodle Stitched Stars Dies. I also cut another star from white cardstock to add to the back. These were adhered together and a hole added to the top. The fairy was added with foam tape and twine was added to the top. To finish off, I added more Aqua Shimmer Pen to the fairy's wings.
 

My next card uses the adorable Heffy Doodle Quack Me Up Stamp Set and Dies. I first cut a panel of masking paper using a Hero Arts Nesting Circle Infinity Die. This was placed on top of an A2 white card base. I then took Distress Inks in Twisted Citron and Mowed Lawn and blended these at the bottom of the circle window for the grass. Using the Heffy Doodle Cloudy Skies Stencil I blended Mermaid Lagoon Distress Ink to the top of the circle for the sky. The mask was then removed.
 

I took one of the duck's, plus the clouds and sun from the Heffy Doodle Quack Me Up Stamp Set and stamped these on to white cardstock with Memento Tuxedo Black Ink. I coloured them using Copic Markers (the colours that I used are listed below the supplies area) and die cut them using the coordinating dies.
 
 
I took the sentiment from the set and stamped this on to the card using Memento Tuxedo Black Ink. The images were then added on top using  a combination of tape runner and foam tape. To finish off, I added a few white gel pen highlights.
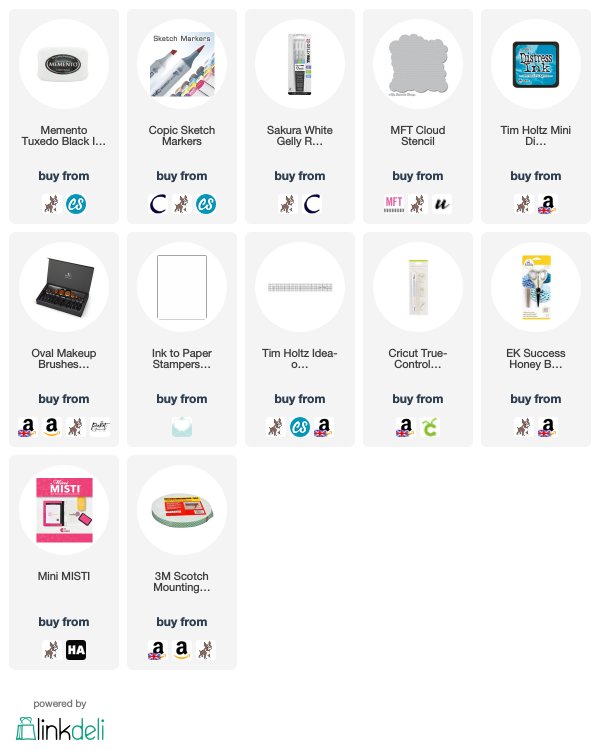
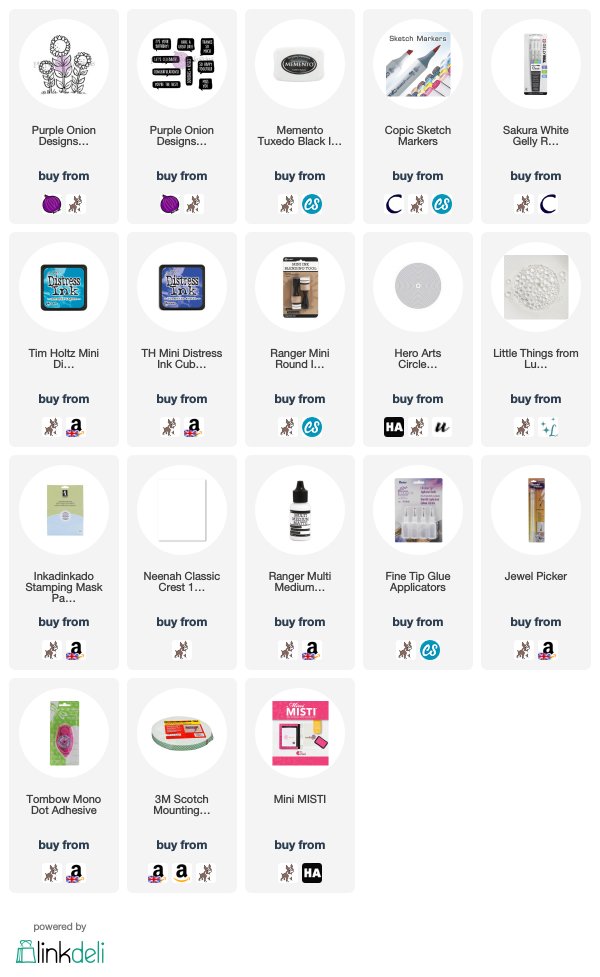
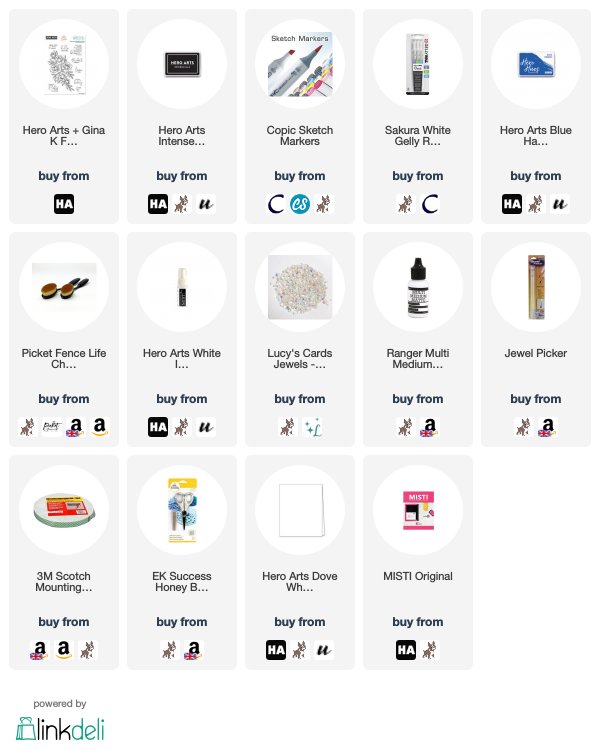
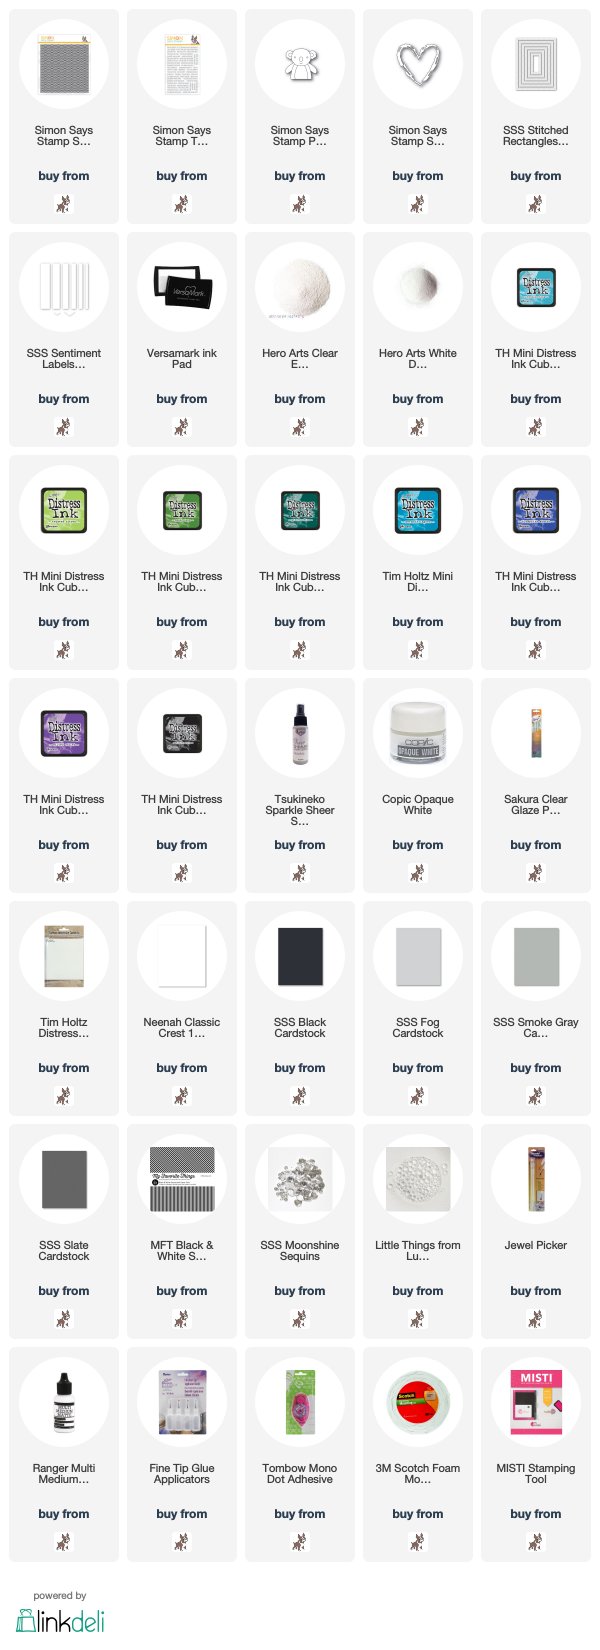
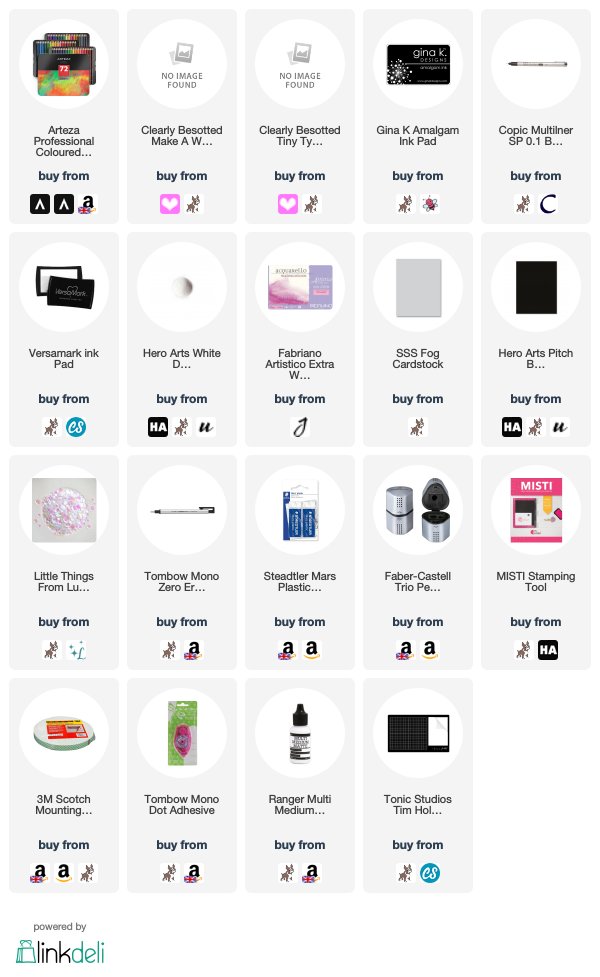
 
SUPPLIES:

Here are the links to what I have used on the card. Affiliate links are used on some products. This means that if you make a purchase after clicking on my link, I receive a small commission with no extra cost to you. I truly appreciate your support when using these links. Please click on the logo below the product to shop at your favourite store. All products were personally purchased except those from Clearly Besotted, Hero Arts or those marked with an asterisk (*) which were kindly sent to me to use. You can read my full disclosure here.
 
 
COPIC MARKERS: Fairies skin - E13, E11, E00, E50. Hair left fairy and tag - E29, E27, E25, E23. Right fairy - E37, E34, E33, E31. Left fairy dress and shoes - BV17, BV13, BV11, BV01, BV0000. Left fairy wings - B00, B0000. Right fairy dress and shoes - B02, B00, B0000. Right fairy wings - BV01, BV0000. Tag fairy dress and shoes - V09, V06, V05, V04.Wings - V04, V01, V0000. Duck - Y17, Y15, Y13, Y11, Y00, YR16, YR15, YR12. Sun - Y17, Y15, Y13, Y11. Clouds - BG11, BG10.
 
BLOG HOP:
 
 
Here is the full list of participants in the hop:
 
Michelle Short - you are here!
 
GIVEAWAY:
 
Heffy Doodle are giving away a $50 gift voucher to the Heffy Doodle store. All you need to do is leave a comment on every stop in the hop for a chance to win. Winners will be announced on 5th August 2019 on the Heffy Doodle Blog. Good luck!
 
Next on the hop is the fantastic Ilda. Thank you so much for visiting me today, I hope you have a great time on the rest of the hop and a great rest of the day!

Clearly Besotted Teasers | Belated Birthday Wishes

Hello there and welcome to day four of the Clearly Besotted August 2019 Release Teasers. Release day is tomorrow but I have one last teaser to share with you today and we have gone back to summer! This time I am using the summer critters from the Seasonal Line Up Set, along with another new sentiment set.
 

I started off my card by stamping the summer critters from the Seasonal Line Up Stamp Set on to white cardstock with Memento Tuxedo Black Ink. I then drew a faint pencil line to the sides and cut this line with a craft knife and ruler, I then fussy cut around the images so that the top part of the cardstock panel was removed, leaving the critters connected to the panel.
 
 
I took the sentiment from the new Laugh out Loud Belated Stamp Set and stamped this below the critters. The critters were then coloured using Copic Markers (the colours that I used are listed below the supplies area) as well as adding dots of colour to represent sand for them to be standing on.
 
 
I took an A2 white card base and blended clouds on to the top half of the front using the MFT Cloud Stencil and Mermaid Lagoon Distress Ink. The image panel was then added on top with foam tape. To finish off, I added a few white gel pen highlights to the images.
 
SUPPLIES:

Here are the links to what I have used on the card. Affiliate links are used on some products. This means that if you make a purchase after clicking on my link, I receive a small commission with no extra cost to you. I truly appreciate your support when using these links. Please click on the logo below the product to shop at your favourite store. All products were personally purchased except those from Clearly Besotted, Hero Arts or those marked with an asterisk (*) which were kindly sent to me to use. You can read my full disclosure here.
 
 
COPIC MARKERS: Hippos - W7, W5, W4, W3, W2, W1. Whales - N8, N7, N5, N4, N3, N2, N1. Rubber ring - V17, V15, V12, V01. Seal's hat - E55, E53, E51, C7, C5. Ball and parasol/umbrella - R89, R37, R27, R24, YR18, YR16, YR15, YR12, Y17, Y15, Y13, Y11, YG17, YG23, YG03, YG01, B02, B00, B000, V17, V15, V12, V01. Sand - E44, E43, E42, E41.
 
I do still have one last card to share with you but I will share that in my release video tomorrow and then a blog post after the release. For more inspiration using the sets, please head over to the Clearly Besotted Blog, Keren and Lisa. Thanks so much for visiting me today, I very much appreciate it. See you tomorrow for release day. Have a great day!

30 July 2019

Clearly Besotted Teasers | Pumpkins Please

Hello there and welcome to day three of the Clearly Besotted August 2019 Release Teasers. Not long to wait now until the release on Thursday. Today I have gone all autumnal using three new sets - Scene It Seasons and Seasonal Line Up, plus the Seasonal Sentiments set that I used on day one. As you may have guessed it, the other images in the sets correspond to the other seasons.
 

I started off by stamping a portion of the autumn image from the Seasonal Line Up Stamp Set. There are another two critters in the image but I masked them off so the image would fit better in my scene. I made masks for these and then stamped the autumn scene from the Scene It Seasons Stamp Set behind. I did extend the fence downwards slightly using a black Copic Multiliner, as well as the ground on the right hand side.
 

I took the Seasonal Sentiments Stamp Set and stamped the sentiment underneath the images and removed the mask. I then drew faint pencil lines around the image to create an area to colour. Using Copic Markers, I first coloured the background, followed by the fence, characters and then the ground. The colours that I used are listed below the supplies area.
 
 
The pencil lines were erased and the panel was then simply adhered to a white 5"x5" card base with foam tape. I thought the image/scene looked a bit like a story book illustration, which I always love!
 
SUPPLIES:

Here are the links to what I have used on the card. Affiliate links are used on some products. This means that if you make a purchase after clicking on my link, I receive a small commission with no extra cost to you. I truly appreciate your support when using these links. Please click on the logo below the product to shop at your favourite store. All products were personally purchased except those from Clearly Besotted, Hero Arts or those marked with an asterisk (*) which were kindly sent to me to use. You can read my full disclosure here.
 
 
COPIC MARKERS: Foxes - E19, E09, E08, E13, E53, E50. Scarf - R89, R37, R24. Bear - E79, E77, E74, E71. Wood stump, E59, E57, E55. Mushroom/toadstool - E53, E51, R89, R37, R24. Pumpkin - YR27, YR24, YR18, G63. Fence - E44, E43, E42. Tree - E57, E55. Leaves - YG63, YR24. Ground - YG67, YG63, YG61. Sky - RV69, R24, R14, YR18, YR16, YR15, Y17, Y15, Y13.
 
I love that the characters come on a line, no masking required! Well unless you want to mask a couple off like I did! For more inspiration using the new sets, please head over to the Clearly Besotted Blog, Keren and Lisa. Thanks so much for stopping by today, see you tomorrow for day four.

29 July 2019

Clearly Besotted Teasers | Do What You Love

Hello there and welcome to day two of the Clearly Besotted August 2019 Release Teasers. Today I am using a fun new set called Shelve It. The set consists of different images that can be added on to a shelf. I decided it would be fun to use the craft/art items but not have them on the actual shelf.


I started off by taking the craft items image (it is all one stamp) from the Shelve It Stamp Set and stamped it on to vellum using Versamark Ink. I applied Detail White Embossing Powder and heat set. I then fussy cut the image out with scissors and set it aside while I worked on my background.

 
I took a panel of Yupo paper and added Tim Holtz Alcohol inks on top. I wanted to create a fun, bright rainbow look to contrast against my vellum image. I used Watermelon, Peach Bellini, Lemonade, Citrus, Clover, Sailboat Blue, Amethyst and Purple Twilight inks. I added one colour at a time and moved the ink around using an air spritzer tool. I then flicked on some Alcohol Ink Blending Solution with a paintbrush and set aside to dry.

 
The alcohol ink piece was cut down and adhered to the front of an A2 white card base with tape runner. I then cut two panels of white cardstock using the Mama Elephant Landscape Border Trio Dies and added these to the card with foam tape. The vellum piece was then popped behind the bottom edge and adhered with small dots of Multi Medium Matte glue. To finish off, I white heat embossed the sentiment from the same Shelve It Stamp Set on to black cardstock, cut it down and added it to the card with more foam tape.


SUPPLIES:

Here are the links to what I have used on the card. Affiliate links are used on some products. This means that if you make a purchase after clicking on my link, I receive a small commission with no extra cost to you. I truly appreciate your support when using these links. Please click on the logo below the product to shop at your favourite store. All products were personally purchased except those from Clearly Besotted, Hero Arts or those marked with an asterisk (*) which were kindly sent to me to use. You can read my full disclosure here.
 

I really like the contrast between the bright background and the image in vellum. Craft supplies always scream rainbows to me! For more inspiration using the new sets, please head over to the Clearly Besotted Blog, as well as Keren and Lisa. Thanks so much for visiting me today, I really do appreciate it. Have a great day!

28 July 2019

Clearly Besotted Teasers | Sunshine Is the Best Medicine

Hello there and welcome to day one of the Clearly Besotted teasers for the August 2019 release. Release day is 1st August and until then, we are sharing teasers with you using the new sets. It is all about the different seasons this month. Most of the sets have images that can be used for all of the seasons, including the aptly named All Four Seasons set. This set contains lots of different penguins, geared up spring, summer, autumn and winter.
 

As you can see, I went with the summer season for my card today. I started off by taking a panel of white cardstock and stamping the penguin holding the surfboard, as well as the bucket and spade from the All Four Seasons Stamp Set, on to it with Memento Tuxedo Black Ink. They were masked off and the beach scene from the Scene It More Stamp Set stamped behind in MFT Grout Gray Hybrid Ink (sadly now discontinued).
 
 
The masks were removed and the scene coloured with Copic Markers (the colours that I used are listed below the supplies area). I thought the no-line look would work well for the background but I wanted the penguin and bucket and spade to still have the black lines. I am hoping that it works! I coloured the sea, and palm trees first then added in a sun and sky. The penguin and bucket and spade were then coloured, followed by the sand.
 
 
I took the sentiment from the new Seasonal Sentiments Stamp Set and stamped this with Memento Tuxedo Black Ink. The panel was then simply added flat to an A2 white card base with tape runner.
 
SUPPLIES:

Here are the links to what I have used on the card. Affiliate links are used on some products. This means that if you make a purchase after clicking on my link, I receive a small commission with no extra cost to you. I truly appreciate your support when using these links. Please click on the logo below the product to shop at your favourite store. All products were personally purchased except those from Clearly Besotted, Hero Arts or those marked with an asterisk (*) which were kindly sent to me to use. You can read my full disclosure here.
 
 
COPIC MARKERS: Penguin - BV29, BV25, BV23, C2, C0, Y11, Y000, YR23, YR2. Bucket - Y17, Y15, Y13, Y11. Spade - B02, B00. Palm Trees - E57, E55, E53, E51, E50, YG17, YG25, YG03, YG01. Sea - B18, B16, B14, B12, B00. Sun - Y17, Y15, Y13, Y11, Y00, Y000. Sky - B02, B00, B000, B0000, Y000. Rocks - W5, W3, W2, W1. Sand - E43, E42, E41, E40.
 
Although I added that sentiment, I am of the belief that sunshine really is not the best medicine! Haha! Don't get me wrong, I like seeing the sun but it can get a bit too hot, like the heatwave we have been having here in the UK. For more inspiration using the new release, please head over to the Clearly Besotted Blog, Keren and Lisa. Thanks so much for stopping by today, see you tomorrow!

27 July 2019

Have A Great Day!

Hello there, I am back today to share a card using Purple Onion Designs stamps. Although I love all the cute critters, for my card today, I thought I would use the beautiful Sunflowers stamp.
 

I started off by taking a panel of mask paper and cutting a Hero Arts Nesting Circle Infinity Die from it. I placed this over a panel of white cardstock and then stamped the Purple Onion Designs Sunflowers Stamp inside the opening with black ink. I then made a mask for the sunflowers and placed them on top of the image.

 
Using an ink blending tool, I blended on Distress Inks in Mermaid Lagoon and Blueprint Sketch. I then took a paintbrush and water and flicked on some water to great the reaction on the inks. I removed all the masks and the panel was set aside to dry. Once dry, I coloured the sunflowers using Copic Markers (the colours that I used are listed below the supplies area).


The panel was then added to an A2 white card base with tape runner. I took the sentiment from the Purple Onion Designs Everyday Blurb Stamp Set and stamped this on to a separate piece of white cardstock with more black ink. It was then cut out and added to the card with foam tape. To finish off, I added a few Raindrops as well as white gel pen dots on the sunflowers.
 
SUPPLIES:

Here are the links to what I have used on the card. Affiliate links are used on some products. This means that if you make a purchase after clicking on my link, I receive a small commission with no extra cost to you. I truly appreciate your support when using these links. Please click on the logo below the product to shop at your favourite store. All products were personally purchased except those from Clearly Besotted, Hero Arts or those marked with an asterisk (*) which were kindly sent to me to use. You can read my full disclosure here.
 
 
COPIC MARKERS: Y19, Y15, Y11, E79, E77, E74, E71, YG17, YG23, YG03, YG01.
 
 
The Purple Onion Designs Anniversary sale is still going on. All stamps are 25% off until 29th July. There isn't much time left so I hope that you will check it out. For more inspiration using their stamps, please head over to the Purple Onion Designs Blog.
 
This card is winging it's way to a sunflower loving friend as we speak and I hope that it will brighten up her day when she receives it! Thank you so much for stopping by to see me today, I really do appreciate it. I hope you have a great weekend!

26 July 2019

Hero Arts + Gina K Designs Partner Release Blog Hop + Giveaway

Hello there, have you seen that Hero Arts is collaborating with fantastic companies this month to celebrate their 45th anniversary? Today, Hero Arts is partnering with Gina K Designs to release a gorgeous new stamp set called Friendship Blooms. This set was designed by Gina K Designs but has a Hero Arts twist to it. To celebrate the collaboration, we are having a fun blog hop. More on that below :)
 

For my card, I started off by stamping the Friendship Blooms Stamp Set on to white cardstock using Intense Black Ink. I then coloured it using Copic Markers (the colours that I used are listed below the supplies area) and fussy cut it out with scissors.
 
 
I took an A2 white card base and using a blending brush, I blended a soft layer of Blue Hawaii Reactive Ink on the front. I then spritzed this with White Iridescent Shimmer Spray and set aside to dry. Once dry, I stamped the sentiment from the Friendship Blooms set on to the top right hand side using Intense Black Ink.
 
 
I adhered the floral image on top using foam tape. To finish off, I added white gel pen dots to the flowers and leaves and added a sprinkling of Lucy's Iridescent Jewels around the flowers.
 
SUPPLIES:

Here are the links to what I have used on the card. Affiliate links are used on some products. This means that if you make a purchase after clicking on my link, I receive a small commission with no extra cost to you. I truly appreciate your support when using these links. Please click on the logo below the product to shop at your favourite store. All products were personally purchased except those from Clearly Besotted, Hero Arts or those marked with an asterisk (*) which were kindly sent to me to use. You can read my full disclosure here.
 
 
COPIC MARKERS: Flowers - B39, B28, B26, B24, B00. Leaves - YG67, YG17, YG25, YG03, YG01.
 
BLOG HOP:
 
 
For the blog hop, you should have arrived here from the amazing Yana Smakula and the next stop in the hop is the fantastic Jessica Frost-Ballas. If you get lost along the way, you can find all of the stops over on the Hero Arts Blog.
 
GIVEAWAY:
 
Hero Arts are kindly giving away the Hero Arts + Gina K Friendship Blooms set to one lucky winner. The winner will be drawn from the comments left across all of the stops in the hop, so the more you comment, the more chance there is to win! The giveaway closes Sunday August 4th at 11.59pm PST. The winner will be announced over on the Hero Arts Blog shortly afterwards.
 
Isn't the set beautiful? I am looking forward to colouring it in lots of different ways. Thank yuo so much for visiting me today, I hope you enjoy the rest of the hop and have a great day!

25 July 2019

Simon Says Stamp Believe In You

Hello there, today I have two cards to share with you using the Scallop Waves stamp from the new Simon Says Stamp Believe In You release which is out today. Although this background stamp is called Scallop Waves, I think you can use it for lots of different designs, not just water. I actually think it looks like little rainbows!


For my first card, I blended Distress Inks in Broken China, Twisted Citron, Mowed Lawn and Pine Needles on to a panel of Tim Holtz Watercolor Paper. I left them to dry for a while and then stamped the Simon Says Stamp Scallop Waves Stamp on to it using Versamark Ink. I applied Clear Embossing Powder and then heat set. I then sprayed the panel liberally with Sparkle Sheer Shimmer Spritz and dabbed off the excess ink. This lightens the ink and adds shimmer.


Once dry, the panel was cut down using the Simon Says Stamp Stitched Rectangle Die Set and added to a white A2 card base with foam tape. I took the Simon Says Stamp Picture Book Koala Die and die cut this from Fog, Smoke, Slate and Black cardstock. I adhered the pieces on to white scrap paper and then cut around them.


The sentiment from the Simon Says Stamp Tiny Words Stamp Set was stamped on to black cardstock with Versamark Ink, Detail White Embossing Powder was applied and heat set. This was cut in to a strip using the Simon Says Stamp Sentiment Label Dies. I also die cut another strip from MFT Black & White Stripes Paper. The paper strip was added to the card with tape runner and the sentiment one with foam tape. The koala was then added on top, popped under the sentiment using more foam tape. To finish off, I added a few Lucy's Raindrops and added Glaze Pen to the koala's eyes and nose.


My next card uses the same design but with different colours and elements. For the background I blended Distress Inks on to more watercolour paper. This time I used Mermaid Lagoon, Blueprint Sketch, Wilted Violet and Black Soot. I stamped the Simon Says Stamp Scallop Waves Stamp over the top with Versamark Ink and again applied Clear Embossing Powder and heat set. I then added the shimmer spray and die cut as before. This time I added a few splatters of Copic Opaque White for some added detail.


For this card, I die cut the Simon Says Stamp Sketch Heart Die from white cardstock and added this to the card with liquid glue. The sentiment from the Simon Says Stamp Tiny Words Stamp Set was again white heat embossed on to black cardstock and cut out. This was added with foam tape. To finish off, I added a few Simon Says Stamp Moonshine Sequins.
 

SUPPLIES:

Here are the links to what I have used on the card. Affiliate links are used on some products. This means that if you make a purchase after clicking on my link, I receive a small commission with no extra cost to you. I truly appreciate your support when using these links. Please click on the logo below the product to shop at your favourite store. All products were personally purchased except those from Clearly Besotted, Hero Arts or those marked with an asterisk (*) which were kindly sent to me to use. You can read my full disclosure here.
 
 
I do think that this background stamp would look good as waves on an ocean themed card too but it was nice to use it in a different way today. Thank you so much for visiting me today. I really do appreciate it. Have a great day!

24 July 2019

VIDEO | Arteza Coloured Pencils - Colouring & Review

Hello there, following on from my previous post, I am back to share another review with you using Arteza products. This time, I am looking at the Arteza Professional Coloured Pencils. Although I received these from the company in exchange for a review, all opinions, as always, are my own.


I received the Arteza Professional Coloured Pencils (being an American brand they are spelt 'colored' pencils but being English myself, I am using the English spelling) in a 72 set. They do also have a 48 set. These are a wax based pencil that retail in the UK for approximately £28 and $29 in the US. For that price, you may be thinking that these are not going to be very professional at all, but let me tell you, these are great!


The pencils themselves have a coloured wax based core, the wood exterior has the colour on it, to represent the colour of the core. There were a few colours where the colour on the barrel did not match up, but for the most part, they do. The pencils have the name and number for their colouring system printed on the barrel and these are very easy to read. They also have the lightfast rating printed on them. All of the pencils are lightfast. Arteza have a system of plus marks. The more plus marks printed on the pencil, the more lightfast the pencil is. These range from three to one.


The colour selection is good in the 72 set. There are not a huge amount of greys, but I often find this with colour pencil sets in general. Although these are a wax based pencil, I did find that these behave similar to an oil based pencil (which is usually my personal preference with colour pencils). The core has a strength to it and I have found to have no breaking. They also layer up really well with little to no wax bloom (at least with the amount of layers I use).


I tried the pencils out on a number of different cardstock and papers. As with all colouring mediums, the paper that you use really does make a difference. I did find, however, that they work well on all of the papers that I tried. Obviously there will always be an element of personal preference to this, though. Personally, I like to have some tooth to the paper but it not be too textured. The pencils also worked perfectly blending out with Gamsol/odourless mineral sprits.


For my project, I started off by stamping the magnolia image from the Clearly Besotted Make A Wish Stamp Set. I stamped it on to Fabriano Artistico Extra White Hot Pressed Watercolour Paper using Gina K Amalgam Ink. I picked two shades of pink and a cream colour for the petals of the flowers. I added the darkest shades first, blended out a little with the mid-tone and then used the lighter shade over the whole petal. I often added a layer of white too. I did find that although the Arteza Professional Coloured Pencils have a lot of different shades of light, medium and dark colours, most of these were not in the same colour tone.
 

I usually gravitate towards the same colour tone when using colouring mediums so this really got me out of my comfort zone and actually, I really enjoyed it! I then moved on to the leaves and the branch. I again used three shades of colour for the leaves (plus the white) and three shades for the branch too. All of the colours that I used are listed below the supplies area.


To finish off the card, I white heat embossed the sentiment from the Clearly Besotted Tiny Type Stamp Set on to black cardstock and cut this out. The image panel was added to an A2 Fog card base with foam tape and the sentiment added on top with more foam tape. To finish off, I added a few Lucy's Pink Moonstone Sequins.


VIDEO:

Here is a look at the colouring of the image:


If you are viewing this post via email subscription, you can watch the video HERE on YouTube.


SUPPLIES:

Here are the links to what I have used on the card. Affiliate links are used on some products. This means that if you make a purchase after clicking on my link, I receive a small commission with no extra cost to you. I truly appreciate your support when using these links. Please click on the logo below the product to shop at your favourite store. All products were personally purchased except those from Clearly Besotted, Hero Arts or those marked with an asterisk (*) which were kindly sent to me to use. You can read my full disclosure here.
 

Arteza Coloured Pencils: Petals - A080 Fruit Punch, A083 Pink Macaroon, A022 Peaches & Cream, A024 White Quartz. Leaves - A094 Emerald, A093 Basil, A006 Matcha, A024 White Quartrz. Branch - A071 Espresso, A036 Cocoa, A113 Burnt Ochre.

My final thoughts on the pencils is that they are great. They were very easy to use and they blend out nicely using various different techniques. They have a good colour selection and are lightfast. The downside to them is that they do not have open stock, however, considering the price point on these I am not surprised at all. I think these pencils are great for beginners especially but also good for more experienced crafters/colourists.

If you like the look of the pencils and want to make a purchase, I do have a code for my readers for 10% off any order made on the Arteza US Website or on the Arteza UK/EU Website before 25th November 2019. Use the code: MichelleShort3
 
Have you tried these pencils? What do you think? I would love to hear your thoughts on them. Thank you so much for visiting me today, I really appreciate it. I hope you have a great day!
End of code