30 May 2025

Simon Says Stamp | Bold Bird Branches

Hello there, I am back today to share another project using the Simon Says Stamp Moments in Time release. Today I am using the Bold Bird Branches Embossing Folder & Die Set. The dies cut out the birds so that you can pop them up on top of the background or you can use them separately on other projects. 

PLEASE NOTE: This post contains affiliate links. Please see below for my full disclosure.


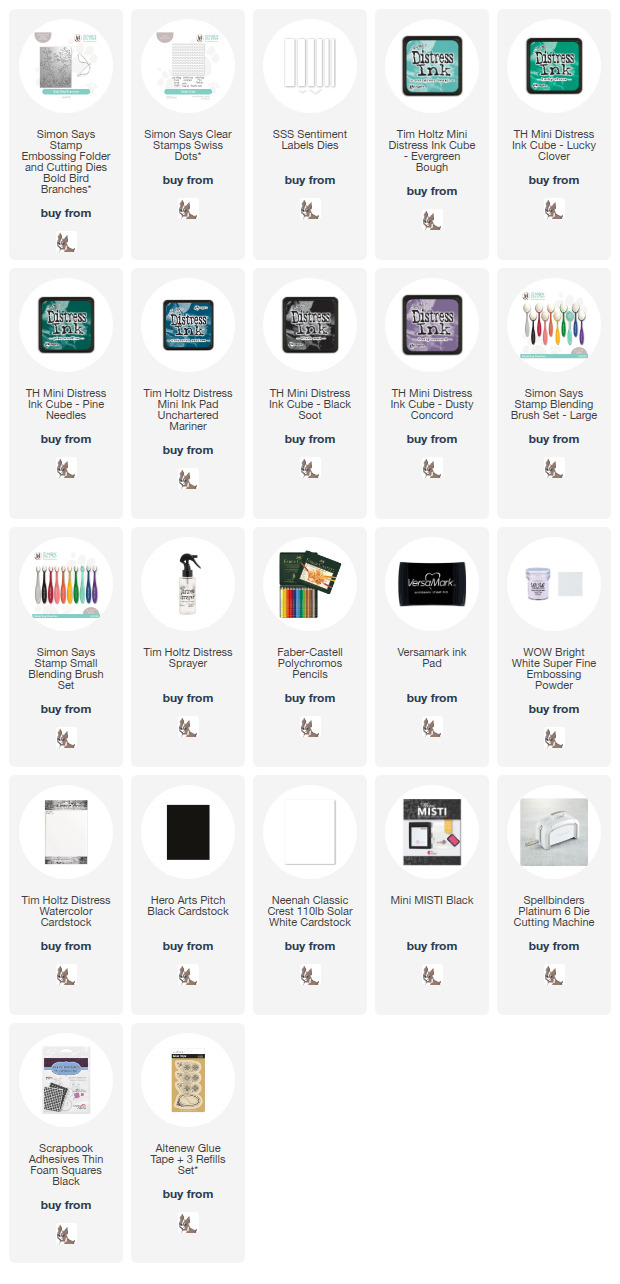
I started off my card by placing a panel of Tim Holtz Distress Watercolor Cardstock inside the Simon Says Stamp Bold Bird Branches Embossing Folder. I ran it through my die cutting machine to emboss the image onto the cardstock. I then added ink blending on top using Distress Inks and Ink Blending Brushes


I will be honest with you, I am not sure what order I added the Tim Holtz Distress Inks in, as I was playing around a bit! However, I know that I used Evergreen Bough, Lucky Clover and Pine Needles initially. I wanted the corners to be darker, so I added ink some Unchartered Mariner. I then added a little Black Soot to the bottom corners too, to darken them further. As I was going, I spritzed on water using the Tim Holtz Distress Sprayer


For the birds, I die cut them first and then placed them inside the folder before running through my die cutting machine. I added ink blending to them with Dusty Concord and Evergreen Bough Distress Inks. I used Polychromos Pencils to fill in the eyes and beaks. The panel was adhered to an US A2 sized white card base with tape runner adhesive and the birds adhered on top with thin foam squares. 


I took the 'hello friend' sentiment from the Simon Says Stamp Swiss Dots Set and stamped the 'hello' and 'friend' separately onto black cardstock using Versamark Ink. I applied white embossing powder and heat set. They were cut into strips using the Simon Says Stamp Sentiment Labels Dies and adhered to card using thin foam squares. 

SUPPLIES:


Here are the links to what I have used on the project. Affiliate links are used on some products. This means that if you make a purchase after clicking on my link, I receive a small commission with no extra cost to you. I truly appreciate your support when using these links. Please click on the logo below the product to shop at your favourite store. All products were personally purchased except marked with an asterisk (*) which were kindly sent to me to use. You can read my full disclosure here.


It was nice to get my inks out and play around a bit on this card. There are so many different ways to add colour to embossing folder panels and usually I like to highlight the raised areas, but for today's card, I like the more moody darker look! Thank you so much for stopping by today, I really do appreciate it. I hope you have a great day! 

29 May 2025

Simon Says Stamp | Birthday Dragons

Hello there, today I have three tags to share with you using the new Simon Says Stamp Birthday Dragons Stamp Set from the Moments in Time release which is out now. I paired the set with the new Swiss Dots Stamp Set to create birthday tags. 

PLEASE NOTE: This post contains affiliate links. Please see below for my full disclosure.


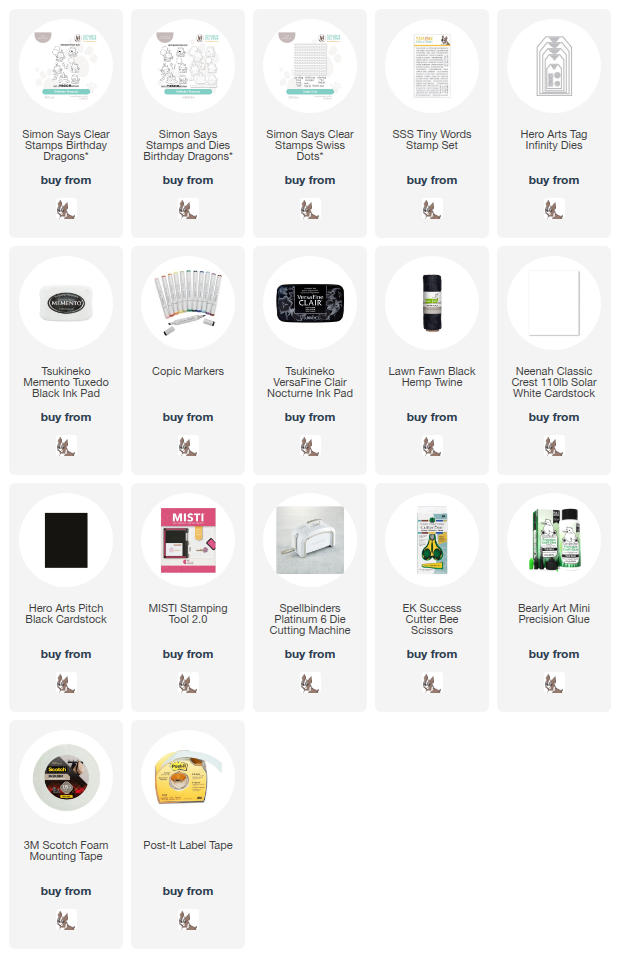
I started off my tags by stamping three of the dragons from the Simon Says Stamp Birthday Dragons Stamp Set onto white cardstock using Memento Tuxedo Black Ink


I coloured them using Copic Markers (the colours that I used are listed below the supplies area) and then fussy cut them out using scissors, however, there are dies available if you are not keen on fussy cutting! 


I die cut one of the tags from the Hero Arts Tag Infinity Dies Set three times from white cardstock. I then cut them down so that they were slightly less tall. I took the dotty background from the Simon Says Stamp Swiss Dots Stamp Set and stamped it onto a panel of white cardstock using Versafine Clair Nocturne Ink


Once it was dry, I die cut the bottom of the tag from the panel three times. These pieces were then adhered to the bottom of the white die cut tags using liquid glue. 


I took the 'happy birthday' sentiment from the Simon Says Stamp Tiny Words Stamp Set and stamped the 'happy' first (masking off the 'birthday' with Post-It tape) onto the tags using Versafine Clair Nocturne Ink


I cleaned my stamp thoroughly and then stamped the 'birthday' underneath (masking off the 'happy'). I cut strips of black cardstock and adhered them at the top of the dotted pieces, cutting the excess off from the sides with scissors. 


The dragons were adhered on top with foam tape. I die cut the hole reinforcers for the tags from black cardstock and adhered them around the holes with liquid glue. To finish, I threaded twine through and tied in bows at the front. 

SUPPLIES:


Here are the links to what I have used on the projects. Affiliate links are used on some products. This means that if you make a purchase after clicking on my link, I receive a small commission with no extra cost to you. I truly appreciate your support when using these links. Please click on the logo below the product to shop at your favourite store. All products were personally purchased except marked with an asterisk (*) which were kindly sent to me to use. You can read my full disclosure here.


COPIC MARKERS: Purples - V09, V17, V15, V12, V01, V00. Aquas - BG49, BG13, BG11, BG10. 

Thank you so much for stopping by to see me today, I really do appreciate it. I will be back tomorrow with some more inspiration using the release but for now, I hope you have a great day! 

28 May 2025

Hero Arts | Miss Detective

Hello there, I am over on the Hero Arts Blog today sharing a card using the new Miss Detective Stamp & Cut Set that is part of the new Case Closed Collection. You can see my first card using this collection here

PLEASE NOTE: This post contains affiliate links. Please see below for my full disclosure.


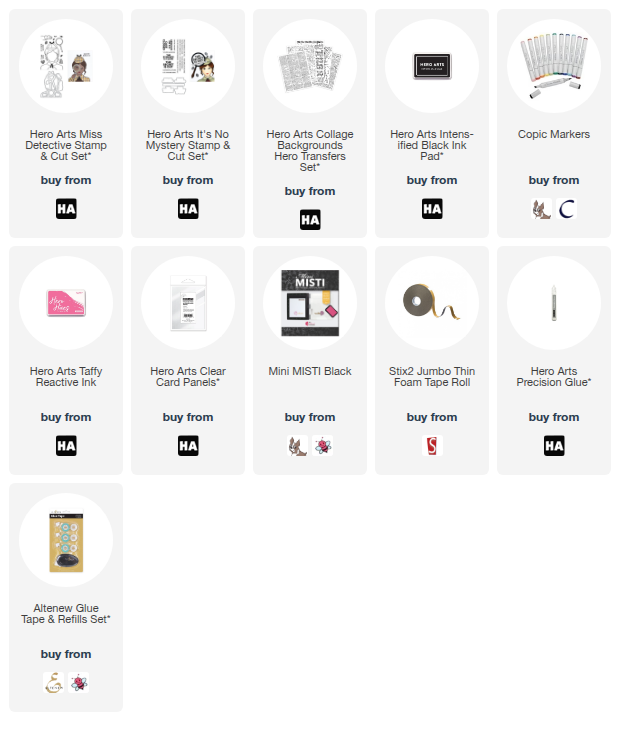
My card uses the Hero Arts Miss Detective Stamp & Cut Set, that I stamped and coloured using Copic Markers (the colours that I used are listed below the supply section for reference) before die cutting out. 


I created a quick and easy background using the Hero Arts Collage Backgrounds Hero Transfers and the sentiment is from the Hero Arts It's No Mystery Stamp & Cut Set

SUPPLIES:


Here are the links to what I have used on the project. Affiliate links are used on some products. This means that if you make a purchase after clicking on my link, I receive a small commission with no extra cost to you. I truly appreciate your support when using these links. Please click on the logo below the product to shop at your favourite store. All products were personally purchased except marked with an asterisk (*) which were kindly sent to me to use. You can read my full disclosure here.


COPIC MARKERS: Skin - E13, E11, E00, E000, R20. Hair - E29, E27, E25, E23, E21. Hat & Coat - V09, V17, V15, V12, V01. Shirt - C3, C1, C0. Magnifying glass - C8, C6, C5, C4. 

For more information on how I made the card, please head over to the blog post here. Thank you so much for stopping by today, I hope you have a great day! 

27 May 2025

Spellbinders | Anemones

Hello there, I am delighted to be over on the Spellbinders Blog today sharing a step by step tutorial on how to shape the Anemones that are part of the Summer Solstice Garden Collection by Susan Tierney Cockburn. Susan creates these flowers so that they look realistic and she shares how to do it over on the Spellbinders YouTube Channel. I used a simplified version of this to shape mine. 

PLEASE NOTE: This post contains affiliate links. Please see below for my full disclosure.


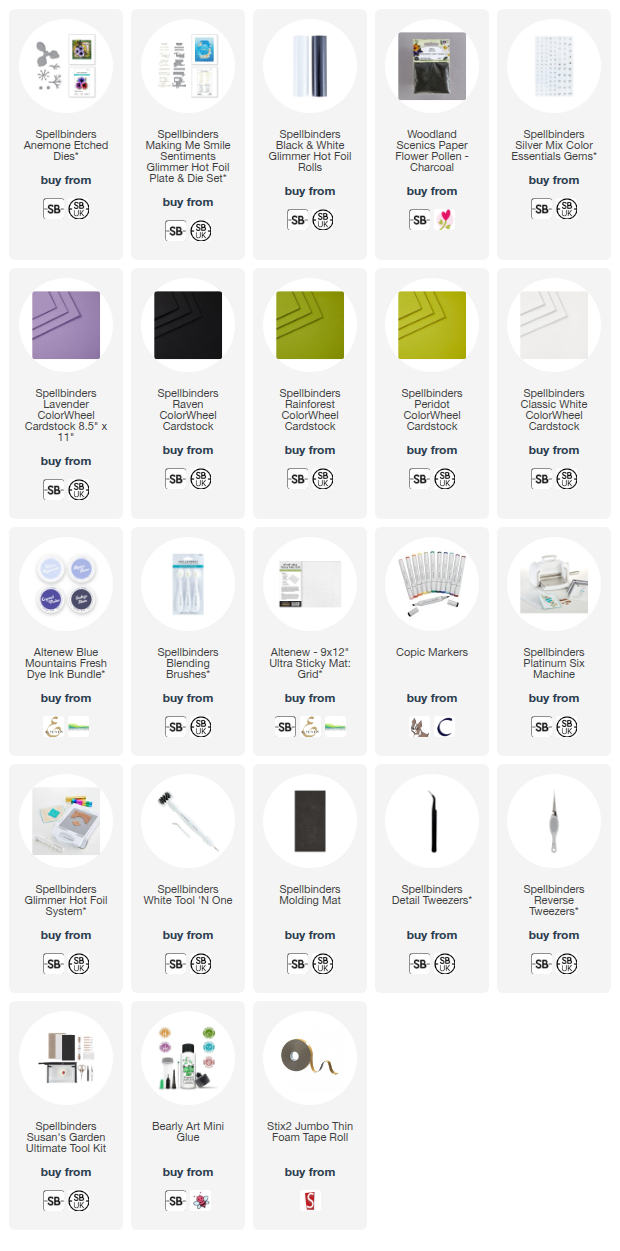
The peek above shows the finished card with the Spellbinders Anemone Etched Dies shaped using Susan's Garden Ultimate Tool Kit, which sadly, I do not think is available any more (but you may still find it at some retailers). However, as you will see from the photos over on the blog, I mainly used tweezers and a stylus, so if you have those, you are good to go! The sentiment is from the Spellbinders Making Me Smile Sentiments Glimmer Hot Foil Plate & Die Set.

SUPPLIES:


Here are the links to what I have used on the project. Affiliate links are used on some products. This means that if you make a purchase after clicking on my link, I receive a small commission with no extra cost to you. I truly appreciate your support when using these links. Please click on the logo below the product to shop at your favourite store. All products were personally purchased except marked with an asterisk (*) which were kindly sent to me to use. You can read my full disclosure here.


I hope you will check out the full photo tutorial over on the Spellbinders Blog for how I made this card. Thank you so much for stopping by today, I really do appreciate it. I hope you have a wonderful day! 

23 May 2025

Spellbinders | Kokeshi Dolls

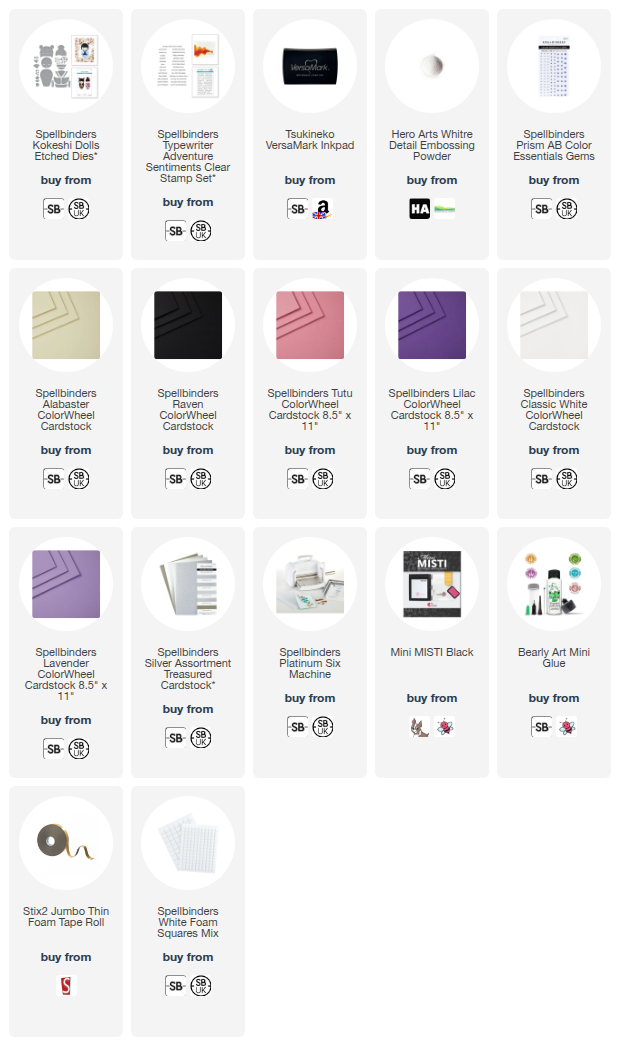
Hello there, today I have a card to share using the beautiful Spellbinders Kokeshi Dolls that are part of the Spring in Kyoto Collection by Alex Syberia. These hand painted wooden dolls often symbolise good luck and protection in Japan, so I wanted to create a simple card to send to someone with one of the dolls to send them best wishes. 

PLEASE NOTE: This post contains affiliate links. Please see below for my full disclosure.


I started off my card by die cutting the Spellbinders Kokeshi Dolls Etched Dies from Spellbinders ColorWheel Cardstock. I cut the head and neck part from Alabaster, the main body and hair from Raven and the trim and hair accessories from Lilac. The dies cut pieces to adhere behind the face to add colour to the lips and eyes. I cut the eye piece from Raven and the lips piece from Tutu


I adhered the hair on top (there are actually two hair designs in the set). I added the band for the bottom of the bun and then die cut the hair pins from Spellbinders Matte Silver Treasured Cardstock. I adhered the Lilac pieces to the ends of the pins and then adhered them to the back of the head. I adhered the body pieces together first and then adhered the flowers on top that were die cut from Lilac and Classic White. The fan was cut from Classic White and Lavender


Once assembled, I adhered the head to the body with a little liquid glue and added tape at the back to secure in place. I adhered a panel of white cardstock to a black US A2 sized base and then adhered the doll on top with thin foam tape for the body and foam squares for the head. 


I stamped a sentiment from the Spellbinders Typewriter Adventure Sentiments Clear Stamp Set onto Spellbinders Raven ColorWheel Cardstock using Versamark Ink. I applied Detail White Embossing Powder and heat set. It was cut into a strip and adhered to the card with more thin foam tape. To finish, I added a Spellbinders Prism AB Color Essentials Gem to the flower hair pin. 

SUPPLIES:


Here are the links to what I have used on the project. Affiliate links are used on some products. This means that if you make a purchase after clicking on my link, I receive a small commission with no extra cost to you. I truly appreciate your support when using these links. Please click on the logo below the product to shop at your favourite store. All products were personally purchased except marked with an asterisk (*) which were kindly sent to me to use. You can read my full disclosure here.


Thank you so much for stopping by today, I really do appreciate it. I hope you have a wonderful rest of the day and a great weekend! Take care!

21 May 2025

Spellbinders | Lisa Horton Wildflowers

Hello there, I am delighted to be over on the Spellbinders Blog today sharing three cards using the new Wildflowers Collection by Lisa Horton. This is a really pretty collection featuring wildflowers, oval dies, script backgrounds, butterflies, splatters and more! I already shared one card using this collection which you can see here

PLEASE NOTE: This post contains affiliate links. Please see below for my full disclosure.


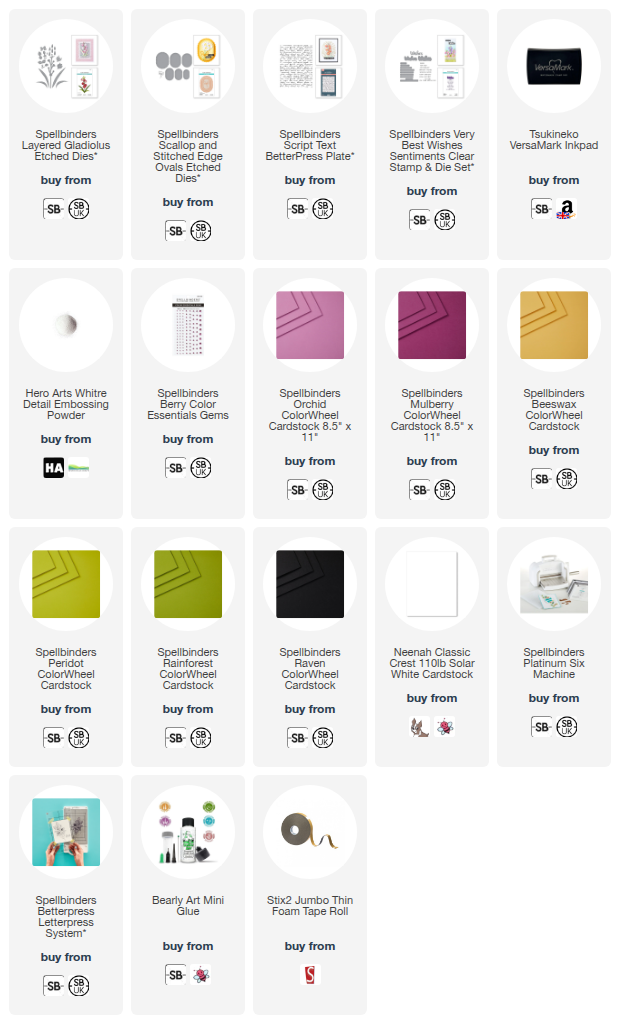
The peek above is a card I made using a few of the new products. I used the Spellbinders Layered Gladiolus Etched Dies cut from Spellbinders ColorWheel Cardstock. It is adhered to a card with an oval cut from the Spellbinders Scallop and Stitched Ovals Etched Dies that I debossed the Spellbinders Script Text BetterPress Plate (one of my favourite ways to use BP plates!) on to. The sentiment is from the Spellbinders Very Best Wishes Sentiments Clear Stamp & Die Set

SUPPLIES:


Here are the links to what I have used on the project. Affiliate links are used on some products. This means that if you make a purchase after clicking on my link, I receive a small commission with no extra cost to you. I truly appreciate your support when using these links. Please click on the logo below the product to shop at your favourite store. All products were personally purchased except marked with an asterisk (*) which were kindly sent to me to use. You can read my full disclosure here.


For more information on how I made the card, as well as the other two that I made, please head over to the Spellbinders Blog. Thank you so much for stopping by today, I very much appreciate it. I hope you have a wonderful day! 

20 May 2025

Hero Arts | Case Closed

Hello there, I am delighted to be joining Hero Arts today for a fun Instagram hop to celebrate the Case Closed Collection which is out now. The collection is a fun mystery/detective one - think Sherlock Holmes! For my card today, I am using a couple of the new sets. 

PLEASE NOTE: This post contains affiliate links. Please see below for my full disclosure.


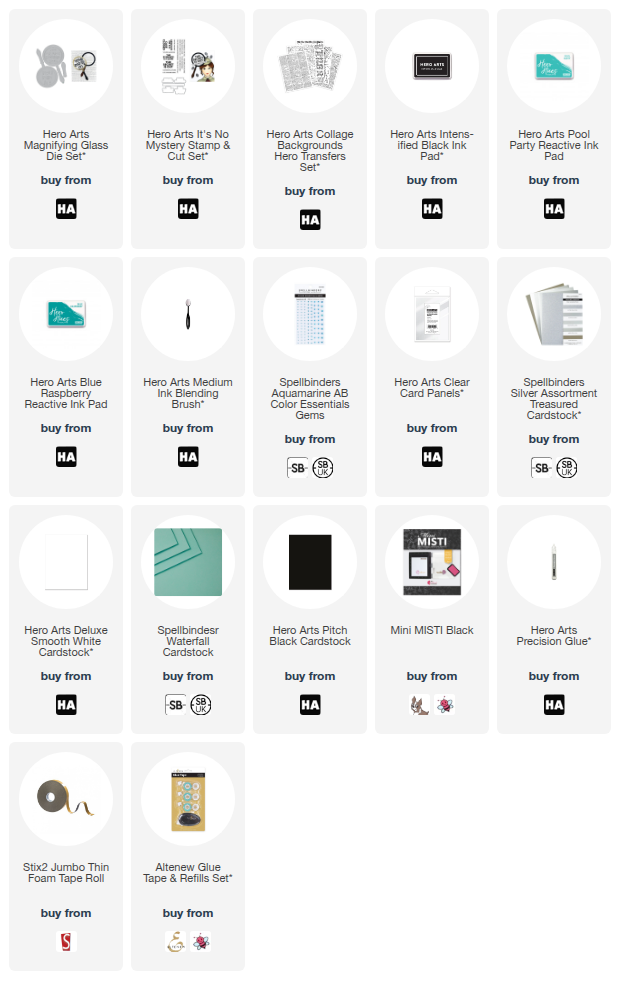
I started off my card by die cutting the Hero Arts Magnifying Glass Die Set. This set has 3 pieces for the magnifying glass - the base layer, the top layer and the handle. I cut the bottom layer first from white cardstock. I then cut the top layer multiple times from white cardstock and once from silver matte cardstock

I added Hero Arts Collage Background Transfers to the base layer and then added ink blending around the edges with Hero Arts Pool Party Reactive Ink. The transfers resist the ink added on top. I added a few layers of the top layer cut from white cardstock on top of that and then cut another layer from acetate. This was added on top, followed by one more white one and then the silver one. 

The handle piece was die cut from Spellbinders Waterfall Cardstock and I added ink blending to it with Hero Arts Blue Raspberry Reactive Ink before adhering it on top. I then adhered the magnifying glass to a US A2 sized black card base, cutting off the excess handle with a craft knife (this would have been easier if I had done it in layers as I went but never mind!). 

I stamped two sentiments from Hero Arts It's No Mystery Stamp & Cut Set onto white cardstock using Hero Arts Intens-ified Black Ink. They were die cut out using the coordinating dies and adhered to the card with foam tape. To finish, I embellished with Spellbinders Aquamarine Color Essentials Gems

SUPPLIES:


Here are the links to what I have used on the project. Affiliate links are used on some products. This means that if you make a purchase after clicking on my link, I receive a small commission with no extra cost to you. I truly appreciate your support when using these links. Please click on the logo below the product to shop at your favourite store. All products were personally purchased except marked with an asterisk (*) which were kindly sent to me to use. You can read my full disclosure here.


All the fun for the hop is happening over on Instagram. You can visit my Instagram profile here and Hero Arts here. I will be sharing another card using this collection next week. Thank you so much for stopping by today, I hope you have a great day! 

16 May 2025

Spellbinders | Hello Lovely

Hello there, as mentioned on Monday's post, I am back today to share another card using the beautiful Cherry Blossoms BetterPress Plate & Die Set from Spellbinders and Alex Syberia Designs. I once again hot foiled the plate (this is the larger image of the two, I used the smaller one on my previous card) but they can be pressed as well! 

PLEASE NOTE: This post contains affiliate links. Please see below for my full disclosure.


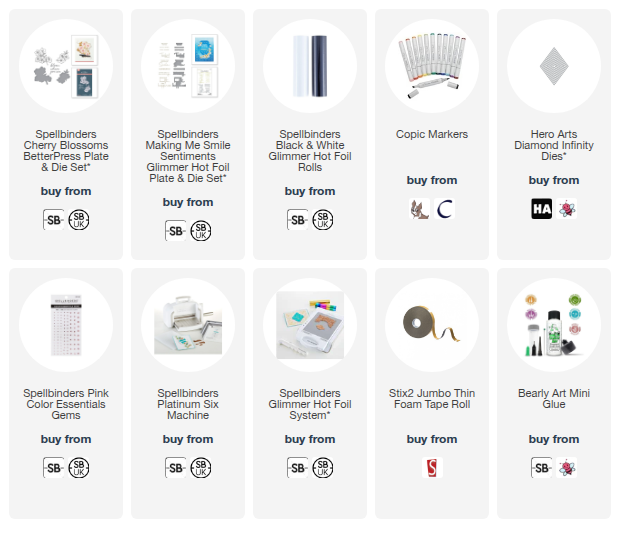
I started off my card by hot foiling the cherry blossoms image from the Spellbinders Cherry Blossoms BetterPress Plate & Die Set onto white cardstock using Spellbinders Opaque Black Foil and the Spellbinders Glimmer Hot Foil System. I then coloured the image using Copic Markers (the colours that I used are listed below the supplies). 

It was die cut out using the coordinating die. I die cut the second largest diamond die from the Hero Arts Diamond Infinity Dies Set three times from white cardstock. I adhered them one on top of another (for dimension) and then adhered them onto a US A2 sized white card base. 

The cherry blossoms were then adhered on top using thin foam tape. I hot foiled the Spellbinders Making Me Smile Sentiments Glimmer Hot Foil Plate & Die Set using the same Spellbinders Opaque Black Foil and then die cut them out. I adhered the 'hello lovely' one onto the card with thin foam tape. To finish, I embellished with Spellbinders Pink Color Essentials Gems

SUPPLIES:


Here are the links to what I have used on the project. Affiliate links are used on some products. This means that if you make a purchase after clicking on my link, I receive a small commission with no extra cost to you. I truly appreciate your support when using these links. Please click on the logo below the product to shop at your favourite store. All products were personally purchased except marked with an asterisk (*) which were kindly sent to me to use. You can read my full disclosure here.


COPIC MARKERS: RV66, RV55, RV52, 0/G29, YG17, YG23, YG01/E57, E55, E53. 

The Spring in Kyoto collection is really pretty and I just fell in love with these cherry blossoms! Thank you so much for stopping by today, I really do appreciate it. I hope you have a wonderful day! 
15 May 2025

Spellbinders | May 2025 Clubs Blog Hop + Giveaway

Hello there, I am delighted to be joining Spellbinders today to celebrate the May 2025 Clubs with a fun, inspirational blog hop. Each designer along the hop is sharing a different club. I am sharing a card using the Small Die of the Month Club Kit which is called Classroom Chronicles. I already made one card using the set, which you can see here.

PLEASE NOTE: This post contains affiliate links. Please see below for my full disclosure.


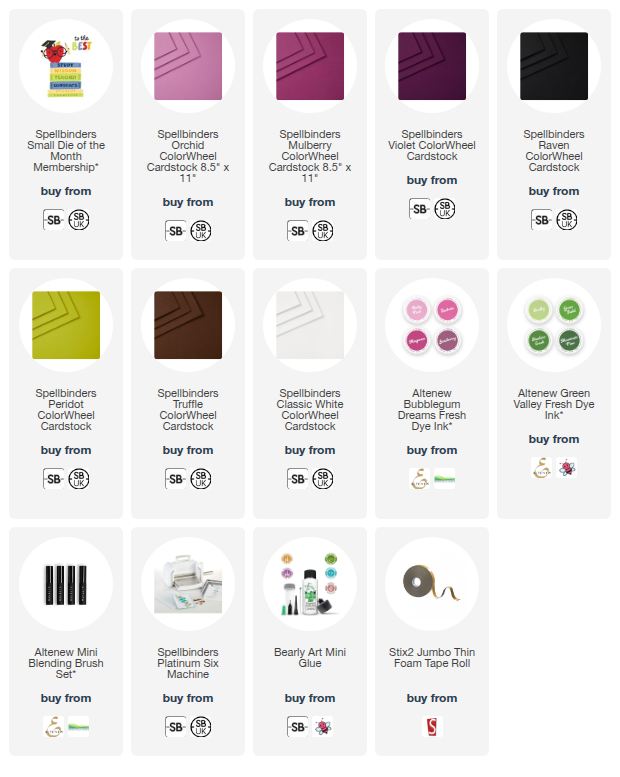
I started off my card by die cutting the apple from the Spellbinders May 2025 Small Die of the Month Club Kit from Spellbinders Mulberry ColorWheel Cardstock. I added ink blending to it with Altenew Bubblegum Dreams Fresh Dye Inks. I then added a little Spellbinders Raven ColorWheel Cardstock to the back for the eyes and nose and added Spellbinders Orchid ColorWheel Cardstock for the mouth.


I cut the leaf from Spellbinders Peridot ColorWheel Cardstock and added ink blending with Altenew Green Valley Fresh Dye Inks. The stalk was cut from Spellbinders Truffle ColorWheel Cardstock. Both were adhered behind the top of the apple. I then cut the glasses from Spellbinders Violet Cardstock three times and adhered them one on top of each other before adhering to the apple. 


The graduation cap/mortarboard was cut from Spellbinders Raven ColorWheel Cardstock, and the tassel from Spellbinders Violet ColorWheel Cardstock. The tassel was adhered to the cap and then the cap adhered to the apple with thin foam tape. The arms were cut from Spellbinders Raven ColorWheel Cardstock and adhered behind the apple. 


I die cut the book that says 'congrats' from Spellbinders Classic White Cardstock for the base layer and the top layer from Spellbinders Violet, Orchid and Classic White Cardstock. I adhered the violet piece onto the base layer and then popped out the letters from the white one and adhered them inside the violet one as inlay. I did the same thing for the two end pieces from orchid. The book was adhered flat to an A2 sized white card base and the apple popped on top with thin foam tape. 

BLOG HOP:


As mentioned, this post is part of a fun, inspirational hop with prizes. For the hop, you should have arrived here from the Spellbinders Blog. Next on the hop is the amazing Allison Frazier, who is using the Large Die of the Month Club Kit. 

GIVEAWAY:

To celebrate this release, Spellbinders are giving away a $25 gift certificate to 3 lucky blog readers - selected from the comments on our blog. Giveaway closes Sunday, 18th May 2025 at 11.59pm MST. The winners will be announced on the Spellbinders blog the following Wednesday. The winners will be responsible for shipping costs, duties and taxes. 

SUPPLIES:


Here are the links to what I have used on the project. Affiliate links are used on some products. This means that if you make a purchase after clicking on my link, I receive a small commission with no extra cost to you. I truly appreciate your support when using these links. Please click on the logo below the product to shop at your favourite store. All products were personally purchased except marked with an asterisk (*) which were kindly sent to me to use. You can read my full disclosure here.


Thank you so much for stopping by today, I hope you have a great time on the rest of the hop and a wonderful rest of the day! 

13 May 2025

Simon Says Stamp | Birthday Flowers

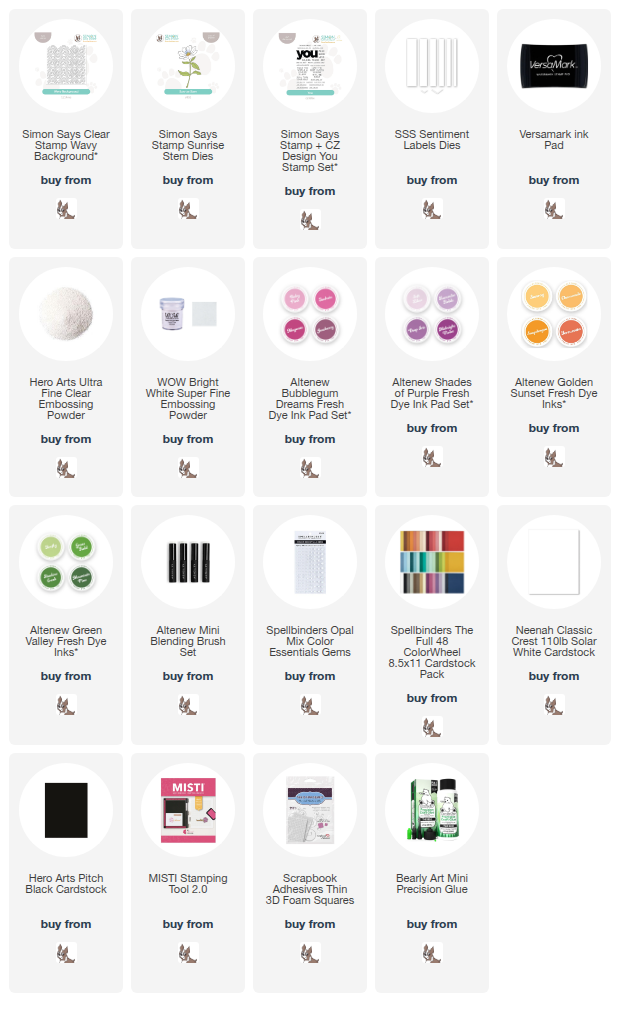
Hello there, I hope you are well. Today I have a card to share using the Simon Says Stamp Wavy Background Stamp that was released as part of their You Are My Favorite release. You can see the other projects I made using the release here and here. I will admit, I am a person who likes more of a subtle background, so that is what I did today. 

PLEASE NOTE: This post contains affiliate links. Please see below for my full disclosure.


I started off by stamping the Simon Says Stamp Wavy Background Stamp onto a panel of Spellbinders Fog ColorWheel Cardstock using Versamark Ink. I applied Hero Arts Fine Clear Embossing Powder and heat set. This gives a lovely tone-on-tone look with the added shine of the embossing powder. 


It was adhered flat to a US A2 sized white card base with tape runner adhesive. I then die cut the Simon Says Stamp Sunrise Stem Dies twice. I added ink blending to the flower petals using Altenew Bubblegum Dreams Fresh Dye Inks, plus a little Midnight Violet Fresh Dye Ink


I used Altenew Golden Sunset Fresh Dye Inks for the flower centres and Altenew Green Valley Fresh Dye Inks for the leaves. I adhered the petal layers together and then adhered the flower centres on top. I cut apart the leaves using scissors and arranged everything on my card. I adhered the leaves with liquid glue, followed by the flowers with thin foam tape. 


The sentiment, from the Simon Says Stamp You Stamp Set, was stamped onto black cardstock using Versamark Ink. I applied White Embossing Powder and heat set. It was cut into a strip and adhered to the card with more thin foam tape. To finish, I embellished with Spellbinders Color Essentials Opal Gems

SUPPLIES:


Here are the links to what I have used on the project. Affiliate links are used on some products. This means that if you make a purchase after clicking on my link, I receive a small commission with no extra cost to you. I truly appreciate your support when using these links. Please click on the logo below the product to shop at your favourite store. All products were personally purchased except marked with an asterisk (*) which were kindly sent to me to use. You can read my full disclosure here.


I love that using the tone-on-tone method for the background stamp that it is there but not too in your face! Thank you so much for stopping by today, I really do appreciate it. I hope you have wonderful day! Take care! 

12 May 2025

Spellbinders | Cherry Blossoms Birthday Wishes

Hello there, I am delighted to be over on the Spellbinders Blog today, sharing a card using the beautiful new Cherry Blossoms BetterPress Plate & Die Set from the Spring in Kyoto Collection by Alex Syberia Designs. 

PLEASE NOTE: This post contains affiliate links. Please see below for my full disclosure.


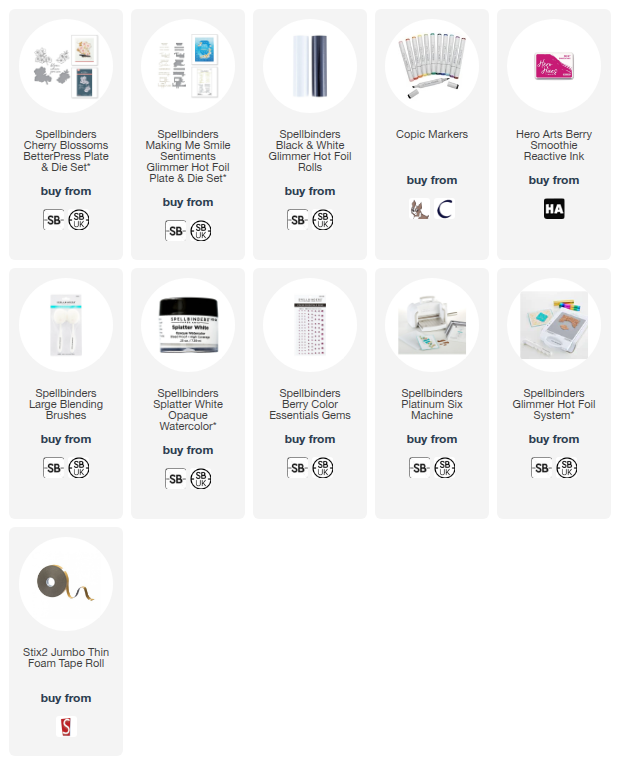
This is such a pretty set! You can press the Spellbinders Cherry Blossoms BetterPress Plates or you can hot foil them, which is what I did, so that I could colour the flowers and leaves with Copic Markers. I added ink blending to the background using Hero Arts Berry Smoothie Reactive Ink and added Spellbinders Splatter White Opaque Watercolor on top. The sentiment is from the Spellbinders Making Me Smile Sentiments Glimmer Hot Foil Plate & Die Set

SUPPLIES:


Here are the links to what I have used on the project. Affiliate links are used on some products. This means that if you make a purchase after clicking on my link, I receive a small commission with no extra cost to you. I truly appreciate your support when using these links. Please click on the logo below the product to shop at your favourite store. All products were personally purchased except marked with an asterisk (*) which were kindly sent to me to use. You can read my full disclosure here.


I am sharing a step-by-step photo tutorial of how I made this card over on the Spellbinders Blogso I hope you will pop over and take a look! I also have another card to share using this set on Friday. Thank you so much for stopping by today, I really do appreciate it. I hope you have a great week ahead! 

10 May 2025

Spellbinders | Wildflower Daisies

Hello there, I hope you are well. Today I have a card to share using the Layered Wildflowers Die Set from Lisa Horton and Spellbinders, which is part of the new Wildflowers Collection which is out today, along with lots of other new collections. 

PLEASE NOTE: This post contains affiliate links. Please see below for my full disclosure.


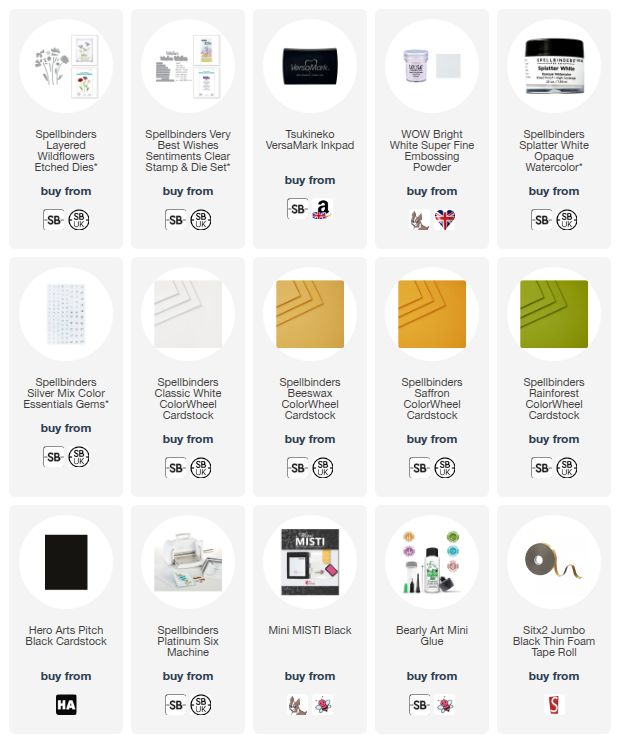
I started off my card by die cutting the daisies from the Spellbinders Layered Wildflowers Etched Dies using Spellbinders ColorWheel Cardstock. I die cut the petals from Classic White, the centres from Beeswax and Saffron, and the stems and leaves from Rainforest


I adhered the flower centre pieces together first and then onto the petals using liquid glue. I took a US A2 size black card base and splattered on Spellbinders Splatter White Opaque Watercolor. I let it sit to dry and then once dry, I adhered the stems and leaves on first, using liquid glue. 


The flower heads were adhered using thin foam tape. I stamped the stamp set from the Spellbinders Very Best Wishes Sentiments Clear Stamp & Die Set (this is one of the sets that you stamp all the sentiments in one go and then die cut all in one go) onto black cardstock using Versamark Ink


I applied white embossing powder and heat set. The sentiments were then die cut out using the coordinating die. I cut the ends off (as I did not want the rounded edges for this card) and then adhered it to the card using thin foam tape. To finish, I embellished with a few Spellbinders Silver Mix Color Essentials Gems

SUPPLIES:


Here are the links to what I have used on the project. Affiliate links are used on some products. This means that if you make a purchase after clicking on my link, I receive a small commission with no extra cost to you. I truly appreciate your support when using these links. Please click on the logo below the product to shop at your favourite store. All products were personally purchased except marked with an asterisk (*) which were kindly sent to me to use. You can read my full disclosure here.


I will be sharing more inspiration using this collection later in the month but until then, I hope you will check it out as it is a really pretty collection! Thank you so much for stopping by today, I really do appreciate it. I hope you have a wonderful weekend! 
End of code