Hello there, today I am delighted to be taking part in the Spellbinders 2018 February Blog Hop. Spellbinders have had two new releases in the last couple of days -
Handmade by Stephanie Low and
Die D-Lites (Feb) and we are showcasing those today. If you are following along in the hop, you should have arrived here from
Erum, but if you get lost along the way, I have the full list of hoppers below.
For my projects today. I am using the new Die D-Lites (Feb) range. I wanted to show four different ways to use the dies. These ways are nothing ground breaking, but it is nice to revisit different ways of using dies. My first way is to use coloured cardstock and felt, which is probably the most common way of using dies.
How adorable is the new Die D-Lites Build A Panda Etched Dies set? I thought I would make the panda into a girl and she would be perfect for a baby girl card. I cut the panda using white and black cardstock, as well as a little pink felt for the bow on her hair (or is it fur?!).
She was simply added to a white base cut using the Nestabilities Pierced Squares Dies. I added soft ink blending behind her with Victorian Velvet Distress Ink, to help her pop. The sentiment is made using a Dymo Embossing Label Maker. The panel was then added to a white 4.25" x 4.25" card base with foam tape.
My second card uses the new Die D-Lites Build A Terrarium Etched Dies. I decided to die cut these using white cardstock and added colour to them with Copic Markers. I think this adds a lot of dimension to the die cuts. I also added highlights to the cacti with a white gel pen.
To create the card, I cut the larger of the bell jar terrarium piece directly on the white card base, and a white cardstock panel. I added acetate behind the panel piece and then added this on to the card base. This sandwiches the acetate between the card base and the panel on top. The cacti were then added on top. The sentiment was again made with the Dymo Embossing Label Maker.
My third card uses the Die D-Lites Sketched Blooms 2 Etched Dies. For this card, I thought I would die cut using foil. I added Deco Foil to some adhesive sheet, removed the top plastic sheet from the foil and ran this through the Platinum 6 Die Cutting Machine. This gives a bit of textured, slightly duller look to the foil. In the video, I show how you can also get a shiny look, if that is what you are going for.
I took a white A2 card base and scored lines on to it using a score board and bone folder. This gives some nice detail without adding any extra bulk or taking away the focus from the die cut. I added the die cut flower on top with liquid glue. I stamped the sentiment from the Clearly Besotted Tiny Type set on to white cardstock with black ink and cut this in to a strip. This was added to the card with foam tape. To finish off, I added a few Iridescent Jewels.
My final card uses the new Die D-Lites Sketch Blooms Etched Dies. For this card, I thought I would use up some of the scraps that I have. I keep all of the background pieces that I make and so I thought die cutting from them would be perfect. In this case, I had three pieces of backgrounds that I made using Copic Refills. If you are interested in how I made the purple piece, you can find the information
HERE.

I die cut the flowers again from white cardstock and layered these behind the alcohol ink pieces (to give extra stability). I took a white card base and scored horizontal lines on to this using a score board and bone folder. Sadly this does not show up in the photos, bit it does add nice detail in real life. The flowers were added on top with liquid glue. I stamped the sentiment from the Clearly Besotted Tiny Type stamp set using Versamark Ink, on to black cardstock. I applied white embossing powder and heat set. This was cut in to as strip and added to the card with foam tape. the card was finished off with Iridescent Jewels.
VIDEO:
Here is the video showing how I made the die cut elements:
SUPPLIES:
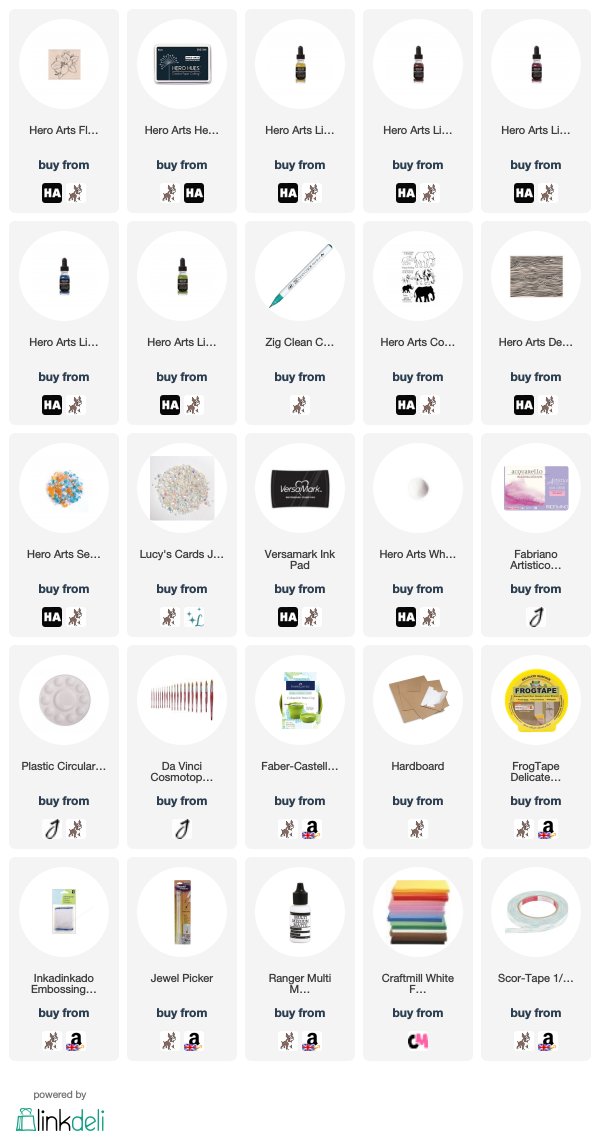
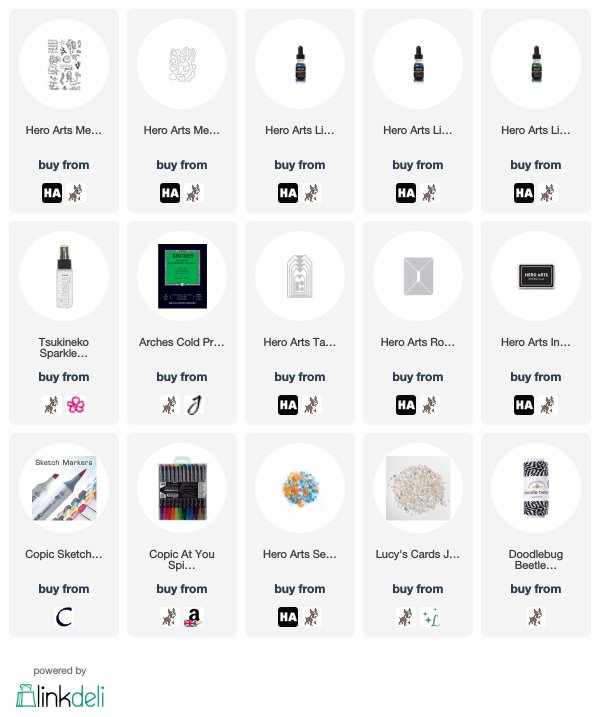
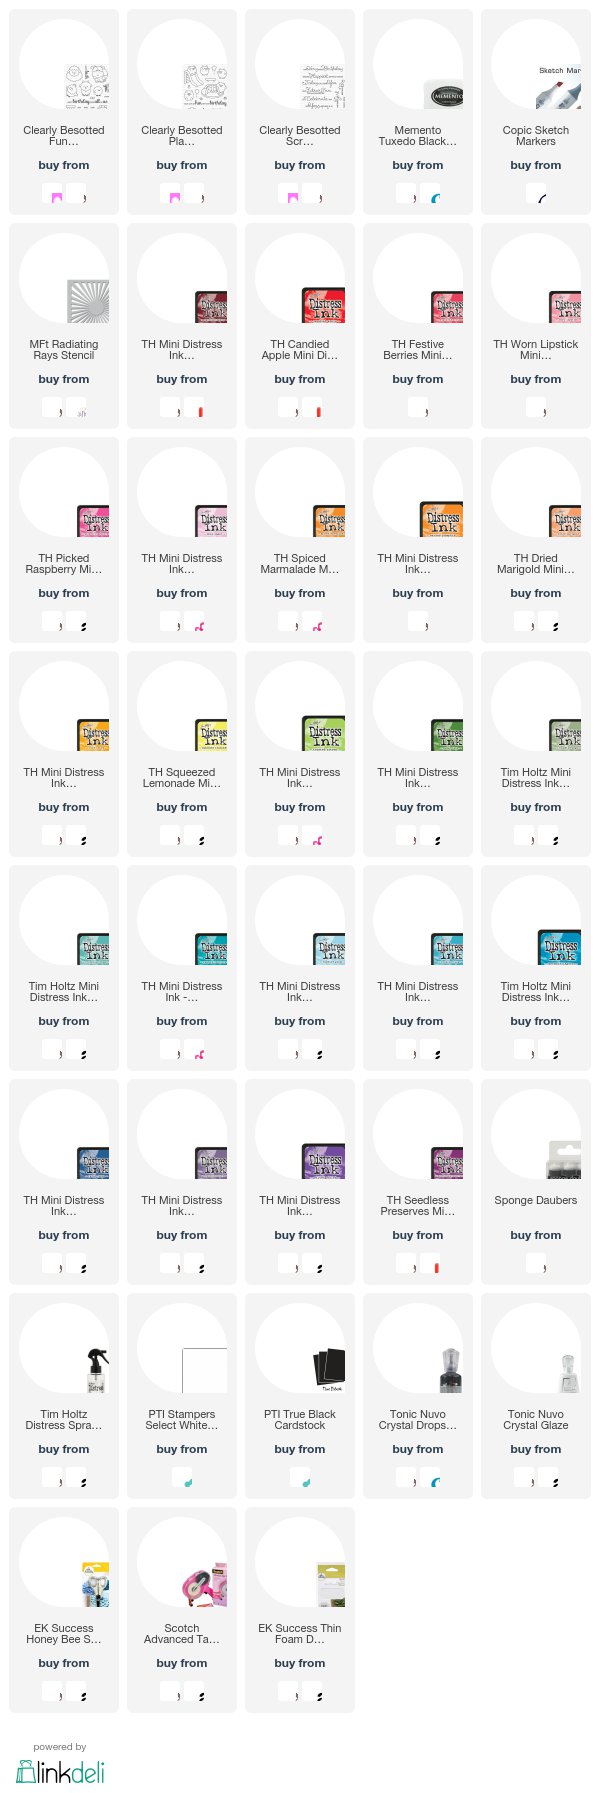
Here are the links to what I have used on the card and in the video. Affiliate links are used on some products. This means that if you make
a purchase after clicking on my link, I receive a small commission with no
extra cost to you. I truly appreciate your support when using these links.
Please click on the logo below the product to shop at your favourite store. Products
marked with an asterisk (*) were kindly sent to me to use.
BLOG HOP:
Here is the full list of participants taking part in the hop:
Michelle Short - you are here!
GIVEAWAY:
To celebrate this release, Spellbinders is giving away a $50 gift certificate to THREE lucky winners. Please leave a comment on the Spellbinders blog by Wednesday, February 21st at 11.59 pm EDT for a chance to win. The winners will be announced in the blog hop post on the Spellbinders blog the following day.
But that is not all! I also have a $25 gift certificate to give away to Spellbinders. To enter, just leave a comment on this blog by 20th February 11am EST/4pm GMT. I will announce the winner shortly afterwards.
I am the last on the hop but if you missed any of the stops, please do go back and have a look at the inspiration. Thank you so much fro visiting me today. I hope you have a great day!


