Hello there, I am delighted to be joining Alex Syberia Designs today to celebrate the Thank You For Being My Friend Release with a fun blog hop. I have two projects to share with you today and I will have another soon.
PLEASE
NOTE: This post contains affiliate links. Please see below for my full
disclosure.
For my projects today, I am using the new Spring Garden collection. There is a stamp set, die set and coordinating stencils to colour the images in. I am also using the fabulous new Speckled Background Stencil in two different ways.
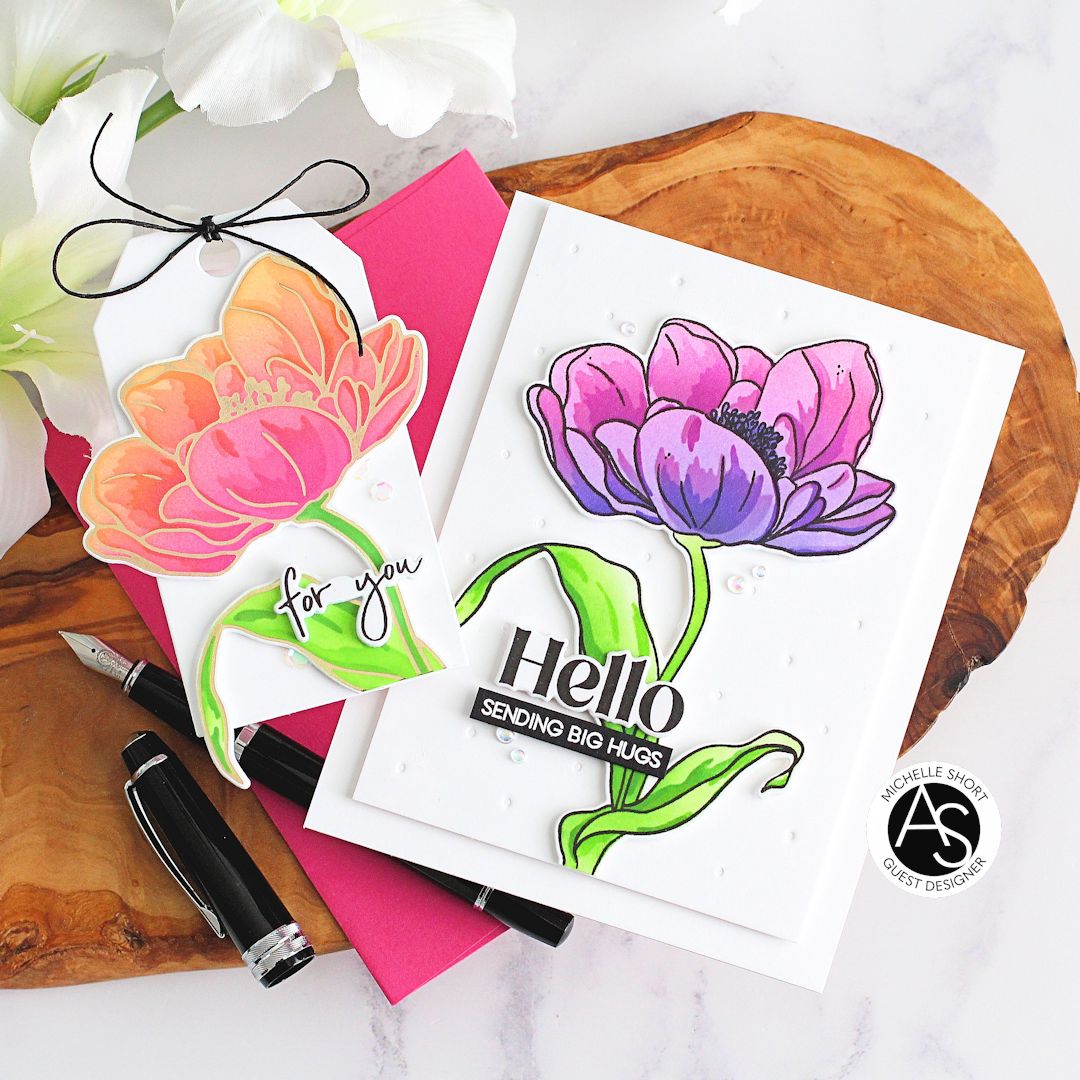
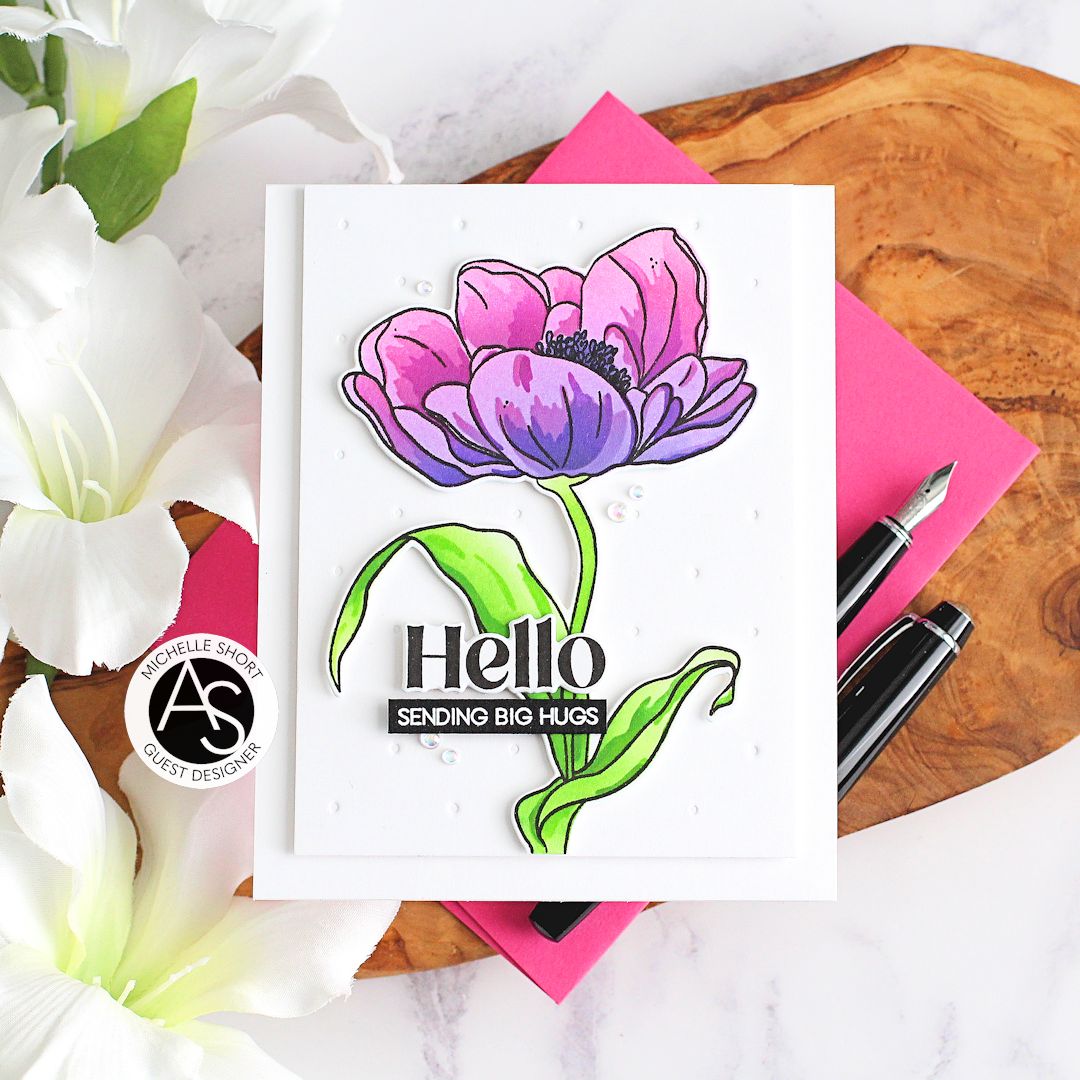
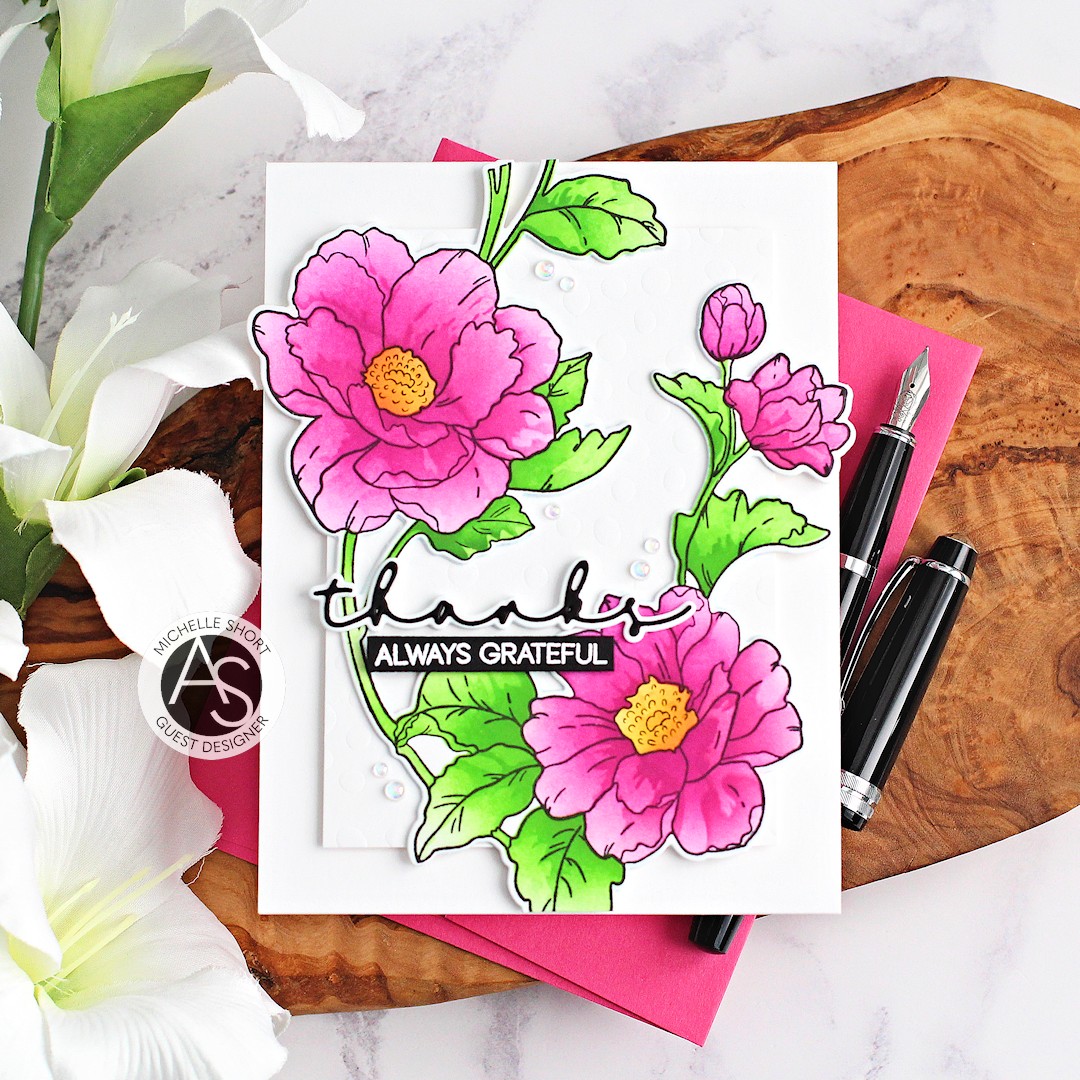
For the card, I started off by stamping the main floral image from Alex Syberia Designs Spring Garden Stamp Set on to white cardstock using Altenew Permanent Black Ink. I placed the Alex Syberia Designs Spring Garden Layering Stencil Set on top (one by one) and added ink blending to the image. I used Altenew Cherry Blossom Inks for the petals, Altenew Golden Sunset Inks for the flower centres and Altenew Green Valley Inks for the leaves and stems.
I then die cut the image out using the Alex Syberia Spring Garden Die Set. I did cut the die again from white cardstock and adhered it behind the stamped one for some added dimension and stability. I took a panel of white cardstock and ran it through my die cutting machine with the Alex Syberia Designs Speckled Background Stencil to emboss it. Difficult to see in the photos, but looks lovely in real-life!
The image was adhered on top and then the panel adhered to a US A2 sized white card base with thin foam tape. I took the Alex Syberia Designs Thanks Die and cut the shadow from white cardstock and the word itself from black cardstock. They were layered up and adhered to the card.
The sentiment from the Alex Syberia Designs Spring Garden Set was stamped on to black cardstock using Versamark Ink. I applied white embossing powder and heat set. It was die cut using the coordinating die and adhered to the card. To finish off, I added a few Iridescent Bubbles.
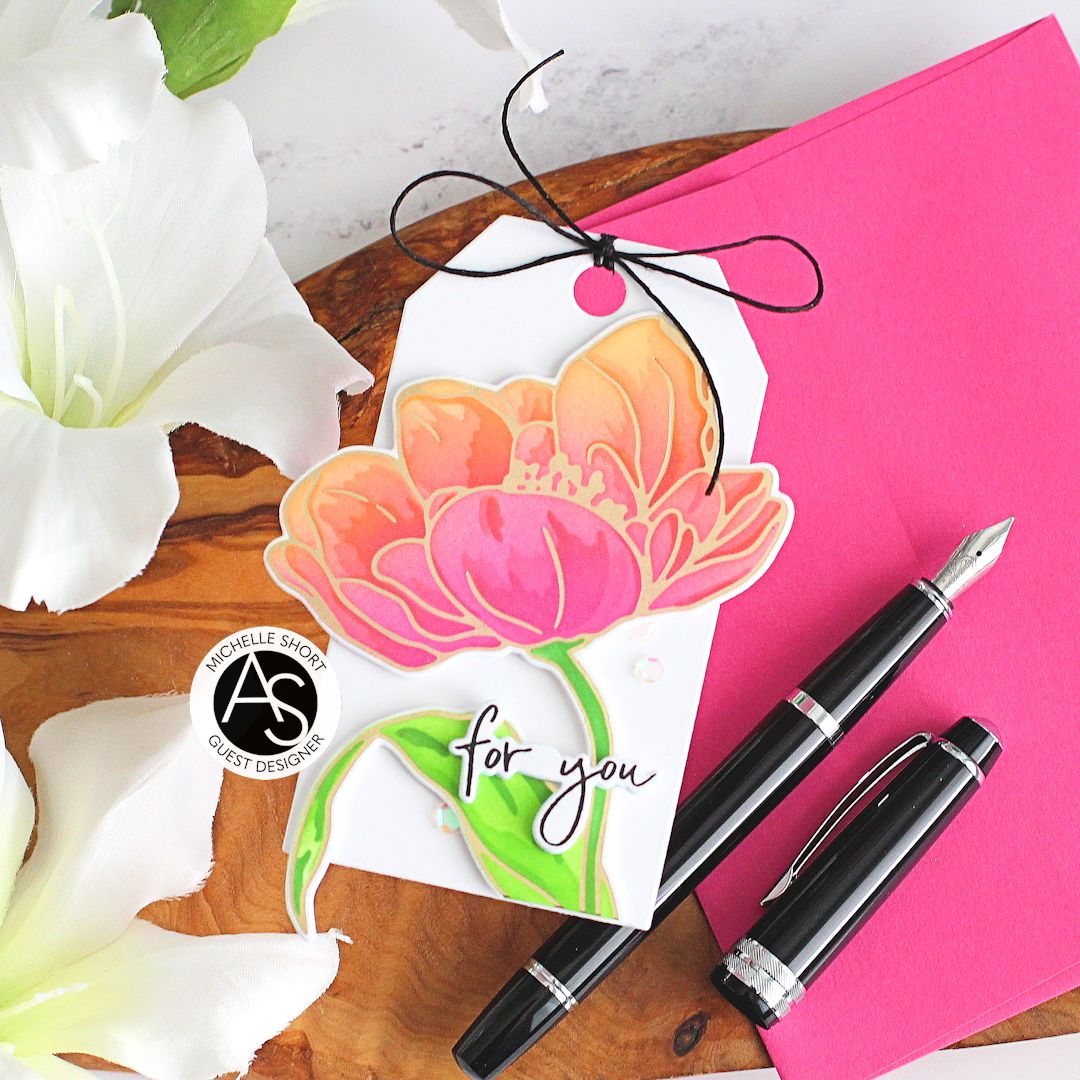
For my next project, I created tag using the same products but with a different look. I started off by die cutting a tag from white cardstock and then placed the Alex Syberia Designs Speckled Background Stencil on top. I added ink blending through the dots with Altenew Jet Black Ink. I then stamped the image from Alex Syberia Designs Spring Garden Stamp Set on to vellum using Versamark Ink.
I applied white embossing powder and heat set. It was die cut out with the coordinating die and then adhered to the tag with tiny dabs of glue behind the embossed lines. I heat embossed a sentiment from the set on to black cardstock, die cut out out with coordinating die and adhered it to the tag with thin foam tape. To finish off, I added twine through the top of the tag and tied in a bow and to embellish, I added a few enamel dots.
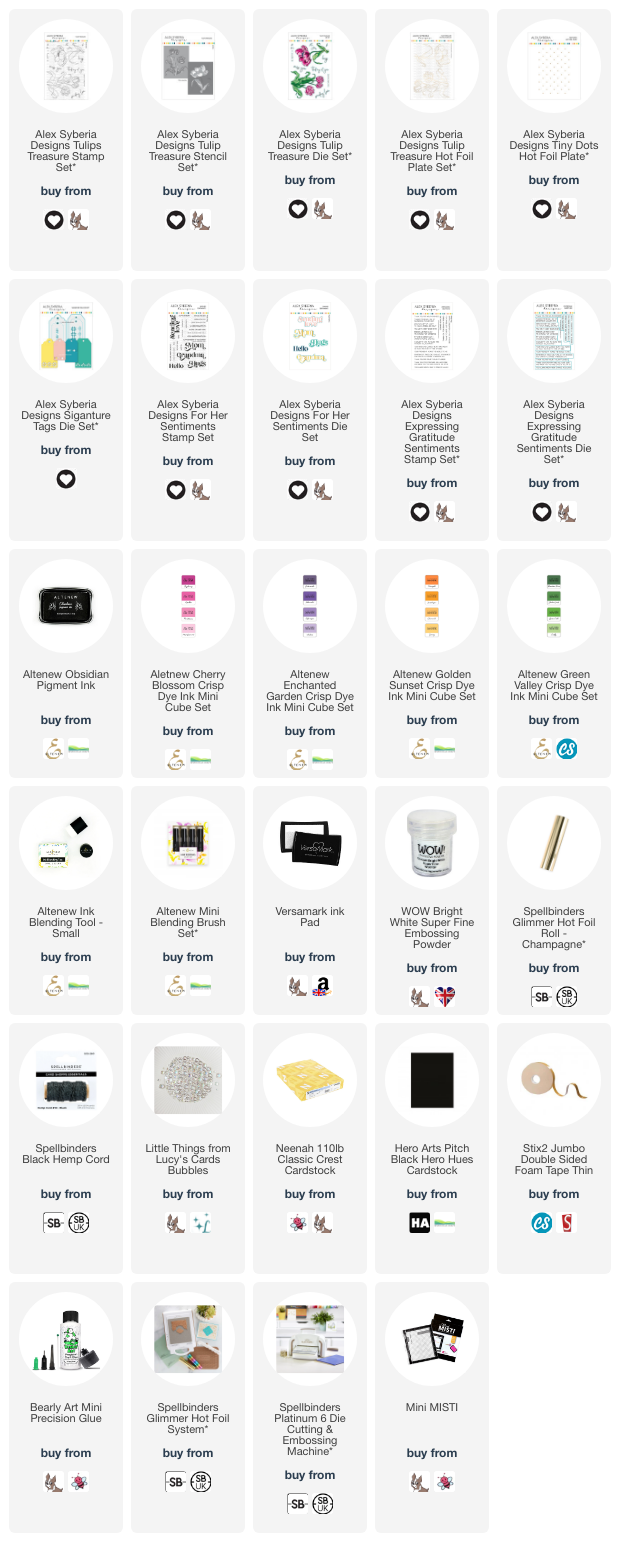
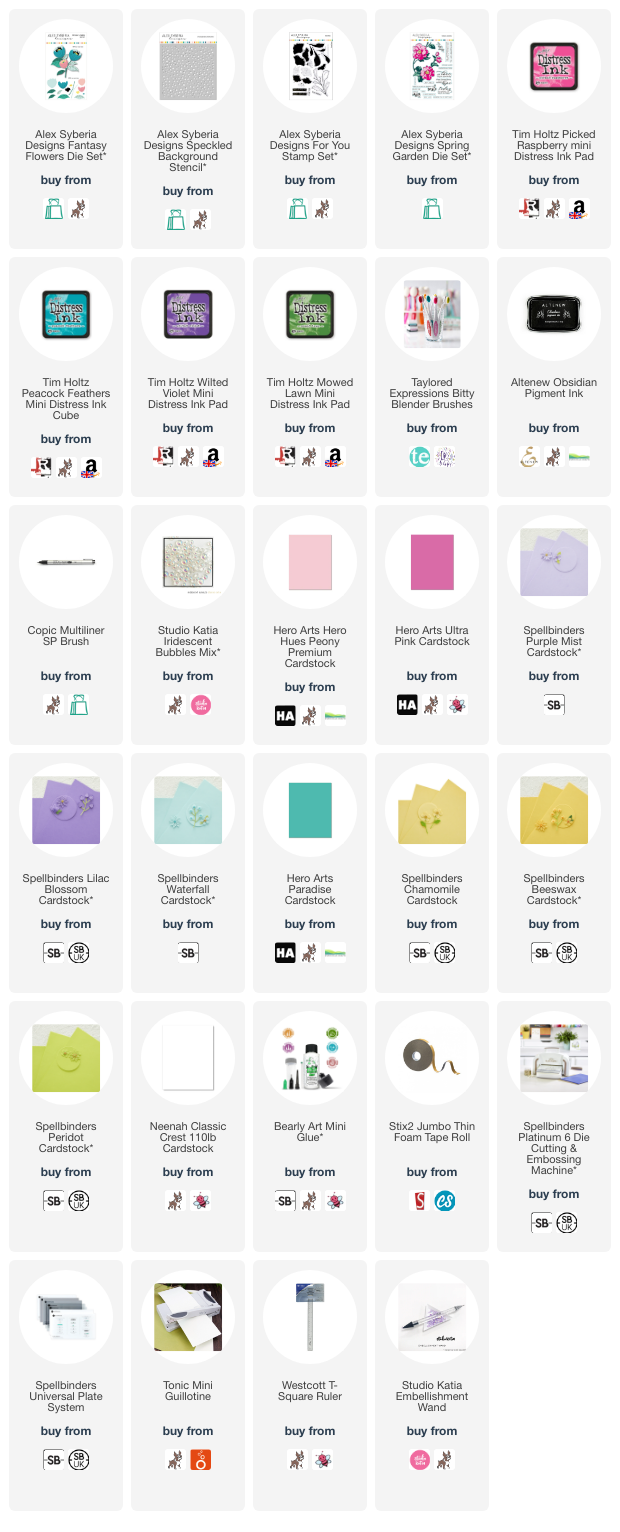
SUPPLIES:
Here are the links to
what I have used on the projects. Affiliate
links are used on some products. This means that if you make a purchase after
clicking on my link, I receive a small commission with no extra cost to you. I
truly appreciate your support when using these links. Please click on the logo below
the product to shop at your favourite store. All products were personally
purchased except those from Clearly Besotted, Hero Arts or those marked with an
asterisk (*) which were kindly sent to me to use. You can read my full
disclosure here.
BLOG HOP:
As mentioned this blog post is part of a fun blog hop with prizes. For the hop, you should have arrived here from the amazing Lien Leysen. Next up is the fabulous Mindy Eggen. If you get lost along the way, or want to start the hop from the beginning, please head over to the Alex Syberia Designs Blog.
GIVEAWAY:
Alex Syberia Designs is giving away the full release bundle (valued at £280/$340) and giving away a £15 gift card to two lucky winners. Winners will be picked from the comments left across all the stops in the hop. Giveaway closes 19th February 2023 at midnight GMT. Winners will be announced on the Alex Syberia Designs Blog on 20th February 2023.
It is such a wonderful release, so I hope you will check it out! Thank you so much for stopping by today, I really do appreciate it. I hope you have a wonderful time on the rest of the hop and a great rest of the day!


.jpg)