30 November 2021

Clearly Besotted Teasers | Santa Claws

Hello there and welcome to day four of the Clearly Besotted December 2021 Release Teasers. 

Before we get started with today's card, I wanted to leave a little message here. I am deeply sorry if anyone was offended by my card yesterday. Whilst it was never my intention for it to represent a nativity scene, I can absolutely see why not only could it come across that way but why people would be offended by it. I hope that if you have followed me for a while, you would know that I would never intentionally offend anyone and once again, I apologise from the bottom of my heart. I have removed the post as to not cause any further offence and hope that you will accept my sincere apologies. 

Release day is tomorrow so only one more sleep to go! Today I have a card to share with you using the new Santa Claws set. What an adorable set! I have to admit that they are not my favourite animal in real-life but these ones are super cute and it was fun creating a Christmas underwater scene!

PLEASE NOTE: This post contains affiliate links. Please see below for my full disclosure.


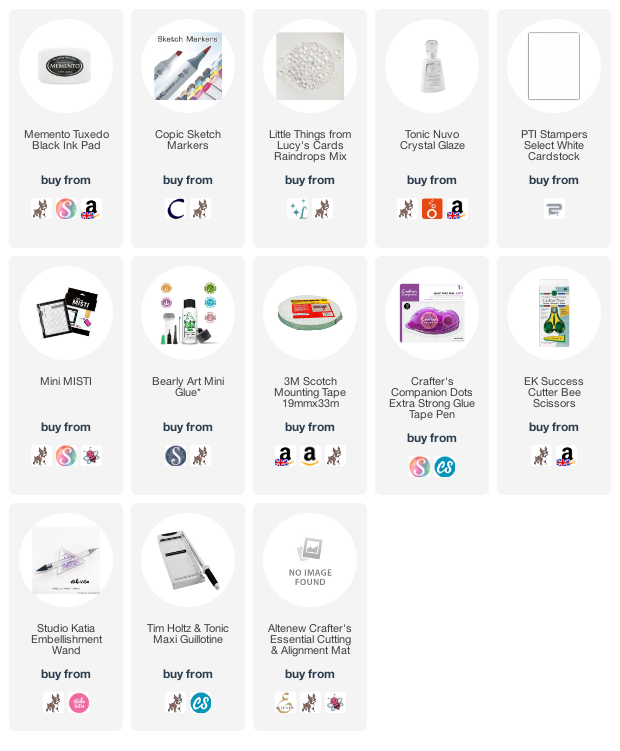
I started off my card by stamping the coral reef image from the Clearly Besotted Santa Claws Stamp Set on to a panel of white cardstock using Memento Tuxedo Black Ink. I then stamped the crab holding the Christmas pudding on to a separate piece of cardstock with the same ink. The sentiments were then stamped on to the panel.

the background was coloured using Copic Markers, adding in dot detail for the sand/sea bed and the water. The crab was then coloured and fussy cut out with scissors. The colours that I used for colouring are listed below the supplies area for reference. 

The panel was adhered flat to an A2 white card base with tape runner. I then added the crab on top with foam tape. To finish off, I added Tonic Nuvo Crystal Glaze to the ornament on the seashell and the berry on the pudding. I also added Lucy's Raindrops to the background to represent bubbles in the water. 

SUPPLIES:


Here are the links to what I have used on the project. Affiliate links are used on some products. This means that if you make a purchase after clicking on my link, I receive a small commission with no extra cost to you. I truly appreciate your support when using these links. Please click on the logo below the product to shop at your favourite store. All products were personally purchased except those from Clearly Besotted, Hero Arts or those marked with an asterisk (*) which were kindly sent to me to use. You can read my full disclosure here.


COPIC MARKERS: Crab - R35, R32, R30, R22, R21, R20, E55, E53, E51, E02, E01, E00. Pudding - E29, E27, E25, E23, E53, E51, E50, G29, YG17, YG23, YG01, R37, E35. Green seaweed - G28, YG17, YG23, YG01. Rocks - N6, N4, N3, N1. Purple sea plants - V09, V17, V15, V12. Pink seashell - RV69, RV66, RV55, RV52. Stars - YR24, YR23, Y08. Ornament - V17, V15, V12. Ground/sand - E44, E43, E42, E41. Water - B02, B00, B000, B0000. 

There are lots of other crabs in the set. One with a Christmas hat on, one with a star on, one holding a present etc. You could definitely use the scene image all year round though with different critters. For more inspiration using the new sets, please head over to the Clearly Besotted BlogKeren and Lisa plus our wonderful guests AlbertoFrancine and Kitty. Thank you so much for stopping by today, I really do appreciate it. I hope you are having a great week so far. take care!

28 November 2021

Clearly Besotted Teasers | Joyeux Noel

Hello there and welcome to day two of the Clearly Besotted December 2021 Release Teasers. As you may have guessed it's another holiday/winter release but there is one non-holiday set too plus a couple that could be adapted for all year round as well. Today I have a card to share with you using Snow Scenes II. Similar to Snow Scenes but this time with the Paris and New York skylines. 

PLEASE NOTE: This post contains affiliate links. Please see below for my full disclosure.


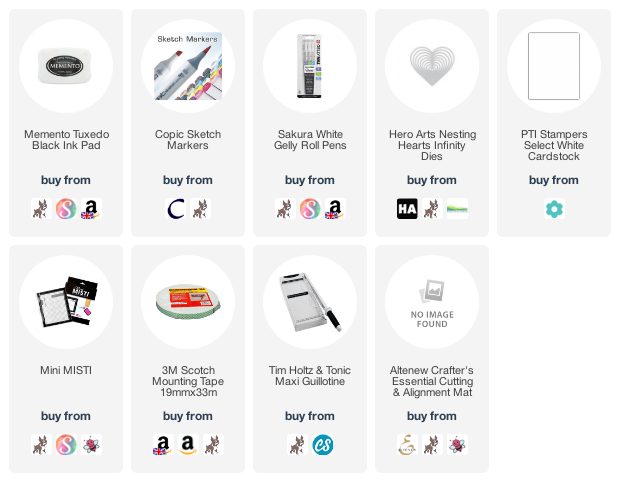
I started off by stamping the Paris skyline from the Clearly Besotted Snow Scenes II Stamp Set on to white cardstock with Memento Tuxedo Black Ink. I then die cut the panel using a Hero Arts Nesting Hearts Infinity Dies. The heart panel was then coloured using Copic Markers. For the sky, I mapped out a moon shape and then coloured around it, adding a slight glow and then darker the further away from it. 

The colours that I used are listed below the supplies list for reference. I then took the sentiment from the set and stamped it on top of the moon with more black ink. The heart was adhered to an A2 white card base with foam tape. To finish off, I added snow and stars to the sky with a white gel pen

SUPPLIES:


Here are the links to what I have used on the project. Affiliate links are used on some products. This means that if you make a purchase after clicking on my link, I receive a small commission with no extra cost to you. I truly appreciate your support when using these links. Please click on the logo below the product to shop at your favourite store. All products were personally purchased except those from Clearly Besotted, Hero Arts or those marked with an asterisk (*) which were kindly sent to me to use. You can read my full disclosure here.


COPIC MARKERS: Building and ground - B39, B37, B34, B32. Sky - B99, B97, B95, B93, B91. Snow - B00, B0000. 

I think the blues work well for the snowy night time scene. having said that, I think it looks better in real-life than it does in the photos, I think it has more impact in real-life! For more inspiration using the new sets, please head over to the Clearly Besotted BlogKeren and Lisa plus our wonderful guests AlbertoFrancine and KittyThank you so much for stopping by today, I really do appreciate it. I hope you have a wonderful day. Take care!

27 November 2021

Clearly Besotted Teasers | Merry Christmouse

Hello there and welcome to day one of the Clearly Besotted December 2021 Release Teasers. Release day is Wednesday 1st December and from now until then, we will be sharing teasers with you using the new sets. Today I am using the new Squeak It's Christmas set which features the most adorable singing mice!

PLEASE NOTE: This post contains affiliate links. Please see below for my full disclosure.


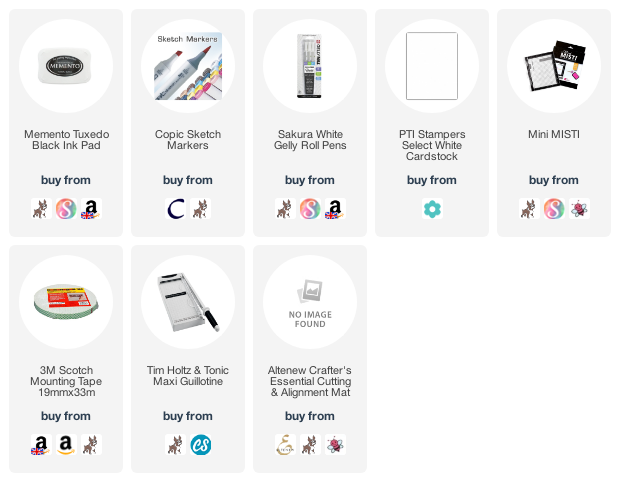
I started off by stamping the mice from the Clearly Besotted Squeak It's Christmas Stamp Set on to a 3.5" x 4.75" panel of white cardstock with Memento Tuxedo Black Ink. I then added in my background with Copic Markers. 


I followed Sandy Allnock's Copic Winter Enchantment Class but changed a few things here and there to suit my card and style. I added in the trees first with BV Copic Markers and then added in the snow below, followed by coluring the mice. I have all of the colours that I used listed below the supplies section for reference. 


I stamped the sentiment from the set above and then adhered the panel to a white A2 card base with foam tape. To finish off, I added white gel pen dots, sparkles and snow details to the scene. 

SUPPLIES:


Here are the links to what I have used on the project. Affiliate links are used on some products. This means that if you make a purchase after clicking on my link, I receive a small commission with no extra cost to you. I truly appreciate your support when using these links. Please click on the logo below the product to shop at your favourite store. All products were personally purchased except those from Clearly Besotted, Hero Arts or those marked with an asterisk (*) which were kindly sent to me to use. You can read my full disclosure here.


COPIC MARKERS: Mice - W7, W5, W3, W1, W0, R00. Hats and scarves - V09, V17, V15, V12, V01. Trees - BV11, BV02, BV000, BV0000. Sky glow - Y0000. Snow - BV02, BV000, BV0000, Y0000, B0000, V0000. 

Aren't those mice adorable? There are also previously released singing dogs and cats too if mice are not your thing! For more inspiration using the new sets, please head over to the Clearly Besotted Blog, Keren and Lisa plus our wonderful guests Alberto, Francine and Kitty. Thank you so much for popping by today, I really do appreciate it. I hope you have a wonderful day! 

25 November 2021

VIDEO | Adhering Vellum to Projects

Hello there, I was over on the Altenew YouTube channel last week sharing how to add vellum to tags. I thought that I would share it over here on my blog and channel too. It's no secret that it is difficult to adhere vellum without the adhesive showing. I have shared this before but it is worth sharing again I thought! 

PLEASE NOTE: This post contains affiliate links. Please see below for my full disclosure.


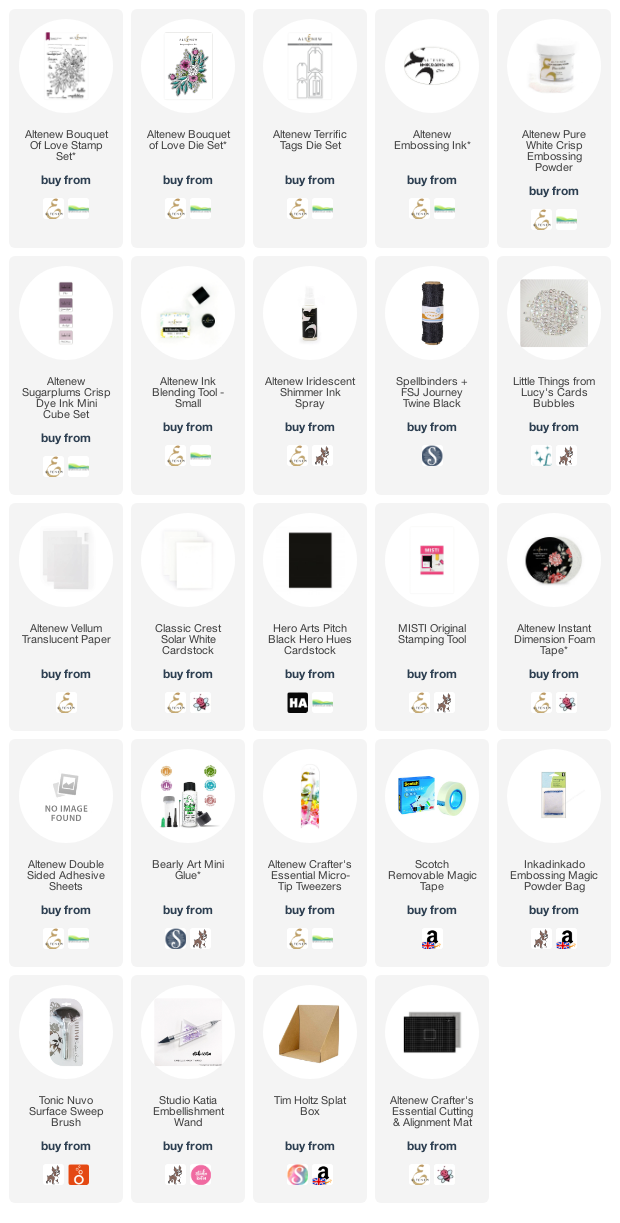
For my tag, I started of by die cutting white cardstock twice using the Altenew Terrific Tags Dies. One for the front of the tag and one for the back. With the one for the front, I added ink blending to it using an Altenew Small Ink Blending Tool. I used Altenew Sugarplums Crisp Dye Inks and added all four colours from the collection, starting with the lightest at the top, moving down to the darkest at the bottom.


I then took it to my Splat Box and spritzed Altenew Iridescent Shimmer Ink Spray on top. I then let it sit to dry. I took the image from the Altenew Bouquet of Love Stamp Set and stamped it on to Altenew Vellum Translucent Paper with Altenew Embossing Ink. I applied Altenew Pure White Crisp Embossing Powder and heat set. 


I added a sheet of Altenew Double-sided Adhesive Sheet to the back and then ran it through my die cutting machine with the Altenew Bouquet of Love Die Set. I removed the backing from the adhesive sheet and adhered the image to the tag, cutting the excess off at the bottom and sides, apart from one leaf that I left intact. For that I added anti-static powder to the back to remove the stickiness. 


The sentiment was stamped on to black cardstock with Altenew Embossing Ink and Altenew Pure White Crisp Embossing Ink applied. I heat set it and cut it in to a strip before adhering to the tag with Altenew Instant Dimension Foam Tape. To finish off, I added the other tag to the back (so that the back was clean), twine through the top of the tag and Iridescent Bubbles to the front of the tag. 

VIDEO:

Here is the video showing how I made the tag:


If you are viewing this blog post via email subscription, you can watch the video HERE on YouTube. 

SUPPLIES:


Here are the links to what I have used on the project. Affiliate links are used on some products. This means that if you make a purchase after clicking on my link, I receive a small commission with no extra cost to you. I truly appreciate your support when using these links. Please click on the logo below the product to shop at your favourite store. All products were personally purchased except those from Clearly Besotted, Hero Arts or those marked with an asterisk (*) which were kindly sent to me to use. You can read my full disclosure here.


As I say in the video, it is really where there is no adhesive that the adhesive shows. If there is adhesive covering the entire piece, you cannot actually see it and it looks like the texture of the vellum. I love adhering vellum with adhesive sheet! Thanks so much for stopping by to see me today, I really do appreciate it. I hope you have a wonderful day! 

22 November 2021

Altenew | Paint-A-Flower Himalayan Poppy & Coloring Pencils & More Release Blog Hop + Giveaway

Hello there, there are lots of fun things happening over at Altenew today. There is the release of the new Paint-A-Flower Himalayan Poppy Outline Stamp Set as well as the new Hawaiian Shores Brush & Fine Tip Pens, Woodless Coloring Pencils, Monochrome Shading Pencils and Masking Fluid. We are celebrating the release with a fun blog hop, more on that below. 

PLEASE NOTE: This post contains affiliate links. Please see below for my full disclosure.


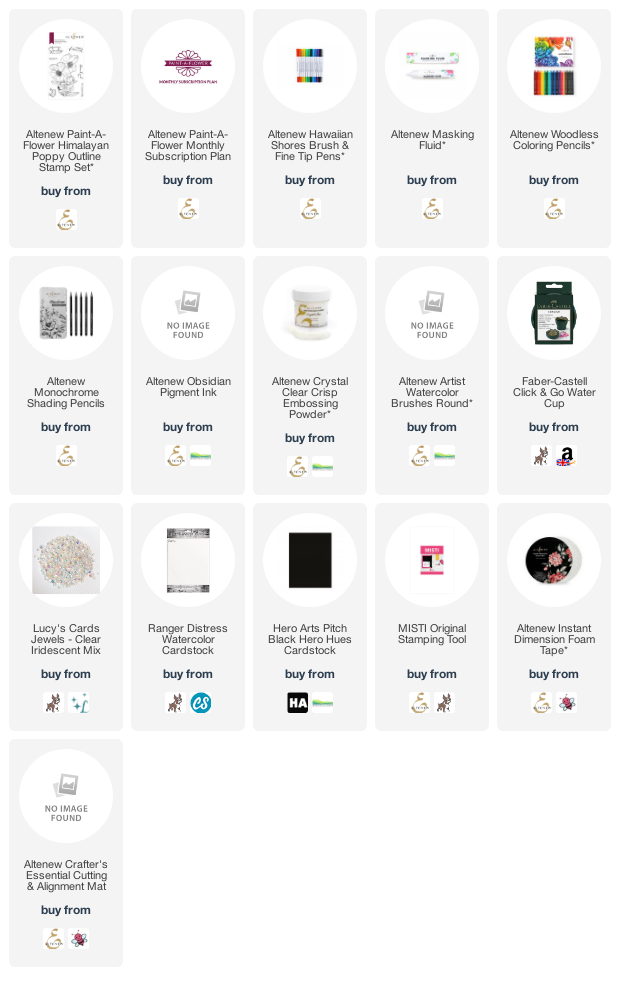
For my card today, I started off by stamping the main image from the new Altenew Paint-A-Flower Himalayan Poppy Outline Stamp Set on to a panel of watercolour paper with Altenew Obsidian Ink. I applied Altenew Crystal Clear Crisp Embossing Powder and heat set. 


The image was coloured with the new Altenew Hawaiian Shores Brush & Fine Tip Pens. These pens are water based and work lovely on their own or blended with water for a watercolour look, which is what I did today. There are 12 colours in the set and these can be blended together to make more too! The pens have a brush end and a fine tip end. 


For the petals, I used Turquoise, Persian Blue and Ultraviolet. For the inside of the flowers, I used Maple Yellow and for the leaves and stems, I used Firefly, Just Green and Evergreen. For the shadow outside of the image, I used Turquoise and Silver Stone. For some of the image, I went direct to the paper and then blended out with Altenew Artist Watercolor Brushes Round and other times, I applied a little of the pen on to an acrylic block and picked it up with a wet paintbrush to add to the image.


The image was left to dry and then I cut it down. I stamped the sentiment from the set beside the image with more Obsidian Ink and then added the panel to a black A2 card base with Altenew Instant Dimension Foam Tape. To finish off, I added a few Iridescent Jewels. 


I wanted to share with you the new Altenew Masking Fluid too as it would work perfectly with the pens, as well as any watercolour paints. The masking fluid comes in a 30ml tube with a fine tip applicator. It is white in colour and dries quickly. Once dry, you can paint over it and it will protect underneath. Once the colour is dry, you can peel it away easily with your fingers or an eraser. 

*DISCOLURE - for full disclosure purposes, I did not use the masking fluid on my project. Unfortunately, I am allergic to it so I had a family member test it out for me. They reported that it was easy to apply, dried quickly and was easy to remove. 


I also wanted to share with you the new Altenew Woodless Coloring Pencils. These wax based pencils come packaged in a beautiful carboard flip-top box with a magnetic closure. 


The pencils coordinate with the existing Altenew colour palette/ink families and are all highly vibrant in colour and easy to blend. They behave more like oil-based pencils to me (although I am no expert!) and are easy to layer. 


Although I did not use them on my project today, I did use them about a week and a half ago on this card using the Altenew Craft Your Life Elegant Motifs Project Kit. You can see more about that project in the blog post here. I used mainly blues and greens for the colouring, adding in black for the shadows. 

Last but not least are the new Altenew Monochrome Shading Pencils. These 5 pencils are packaged in a beautiful tin and range in softness. There is 10B, 6B, 4B, HB and 2H in the set. I do not have these to share with you but they look beautiful and I am looking forward to trying them out!

SUPPLIES:


Here are the links to what I have used on the project. Affiliate links are used on some products. This means that if you make a purchase after clicking on my link, I receive a small commission with no extra cost to you. I truly appreciate your support when using these links. Please click on the logo below the product to shop at your favourite store. All products were personally purchased except those from Clearly Besotted, Hero Arts or those marked with an asterisk (*) which were kindly sent to me to use. You can read my full disclosure here.


BLOG HOP:


As mentioned, this post is part of  a fun, inspiration filled blog hop with prizes. For the hop, you should have arrived here from the wonderful Colleen Balija. Next on the hop is the fabulous Joy Baldwin. If you get lost along the way or want to start the hop from the beginning, please head over to the Altenew Blog

GIVEAWAY:

$200 in total prizes! To celebrate this release, Altenew is giving away a $50 gift certificate to 2 lucky winners and a $20 gift certificate to 5 winners! Please leave a comment on the Altenew Card Blog and/or each designer’s blog post on the blog hop list below by 28th November 2021 for a chance to win. Altenew will draw 7 random winners from the comments left on each stop of this blog hop and announce the winners on the Altenew Winners Page on 30th November 2021.

BLACK FRIDAY OFFERS:

Before I go, I wanted to mention that Altenew have some early Black Friday offers starting today. There are so many and I am not going to name them all, but there is 45% off alcohol markers and alcohol inks, 45% off washi tape, 35% large blending tools plus offers on storage pouches, Fine Liner Pen set, stamps and dies. See them all here!


There is also free US shipping on orders over $29 using the code USFREE2N and $10 off international orders over $129 using the code TENOFF2N


Thanks so much for stopping by today, I really do appreciate it. I hope you have a wonderful time on the rest of the hop and a great rest of the day! Take care. 

16 November 2021

Altenew | Glint & Glimmer Release Blog Hop + Giveaway

Hello there, today see's the release of the new Glint & Glimmer Collection from Altenew. This release is packed full of lovely new hot foil plates, embossing folders and stencils. Today I have two cards to share with you focusing on two of the new hot foil plates. We are celebrating the release with a fun, inspiration filed blog hop with prizes. Please see below for more details. 

PLEASE NOTE: This post contains affiliate links. Please see below for my full disclosure.


My first card uses the new Sparkle Bright stamp, die and hot foil plate. I found it was easier to line up by foiling first and then stamping, so I started off by foiling the Altenew Sparkle Bright Hot Foil Plate on to white cardstock with Spellbinders Rose Gold Foil and the Glimmer Hot Foil System. I then lined up the image from the Altenew Sparkle Bright Stamp Set on top and stamped it with Altenew Obsidian Black Ink

I die cut it using the Altenew Sparkle Bright Die Set. The image is one piece but I thought it would be fun to cut it in to sections and have it cascading from the top of a card base. The pieces were adhered with Altenew Instant Dimension Foam Tape on to a black A2 card base. I took the sentiment from the Altenew Sentiment Strips Stamp Set and stamped it on to black cardstock with Altenew Embossing Ink

I applied Altenew Pure White Crisp Embossing Powder and heat set. It was then cut in to a banner using the new Altenew Sentiment Banners Cover Die. This also has a coordinating hot foil plate but I just used the die on it's own. It was adhered to the card with more foam tape and then I finished off with a few black pearls. 

My next card uses the new Gilded Rose plate. This is absolutely stunning and quite large in size so makes a big impact! I first foiled the Altenew Gilded Rose Hot Foil Plate on to white cardstock with Spellbinders Silver Foil and the Glimmer Hot Foil System. I then added ink blending on top. There is a stencil that you can use with the plate too. 

I blended Altenew Cool Summer Nights Crisp Dye Inks on top using an Altenew Large Ink Blending Tool. I spritzed on Altenew Iridescent Shimmer Ink Spray and let it sit to dry. The panel was cut down at an angle and added to a white A2 card base with Altenew Instant Dimension Foam Tape.

The sentiment, from the Altenew Sentiment Strips Stamp Set was white heat embossed on to black cardstock. It was then cut out again using the Altenew Sentiment Banners Cover Die and added to the card with more foam tape. To finish off, I added a few Altenew Essential Black & White Enamel Dots

SUPPLIES:


Here are the links to what I have used on the projects. Affiliate links are used on some products. This means that if you make a purchase after clicking on my link, I receive a small commission with no extra cost to you. I truly appreciate your support when using these links. Please click on the logo below the product to shop at your favourite store. All products were personally purchased except those from Clearly Besotted, Hero Arts or those marked with an asterisk (*) which were kindly sent to me to use. You can read my full disclosure here.


BLOG HOP:

As mentioned, this blog post is part of a fun, inspiration filled hop with prizes. For the hop, you should have arrived here from the amazing LauraJane. Next on the hop is the fabulous Kari VanNoy. If you get lost along the way or want to start the hop from the beginning, please head over to the Altenew Blog

GIVEAWAY:

$300 in total prizes! To celebrate this release, Altenew is giving away a $50 gift certificate to 2 lucky winners and a $25 gift certificate to 8 winners! Please leave a comment on the Altenew Card Blog and/or each designer’s blog post on the blog hop list below by for a chance to win. Altenew will draw 10 random winners from the comments left on each stop of this blog hop and announce the winners on the Altenew Winners Page on 24th November 2021.

Thanks so much for stopping by today. I really do appreciate it. I hope you have a wonderful day! 

15 November 2021

VIDEO | MFT Simple Snowy Backdrop with Stencils and Non-Traditional Colours

Hello there, I am over on the My Favourite Things YouTube Channel today, sharing a card using stencils to create a simple snowy backdrop, along with non-traditional colours. 

PLEASE NOTE: This post contains affiliate links. Please see below for my full disclosure.


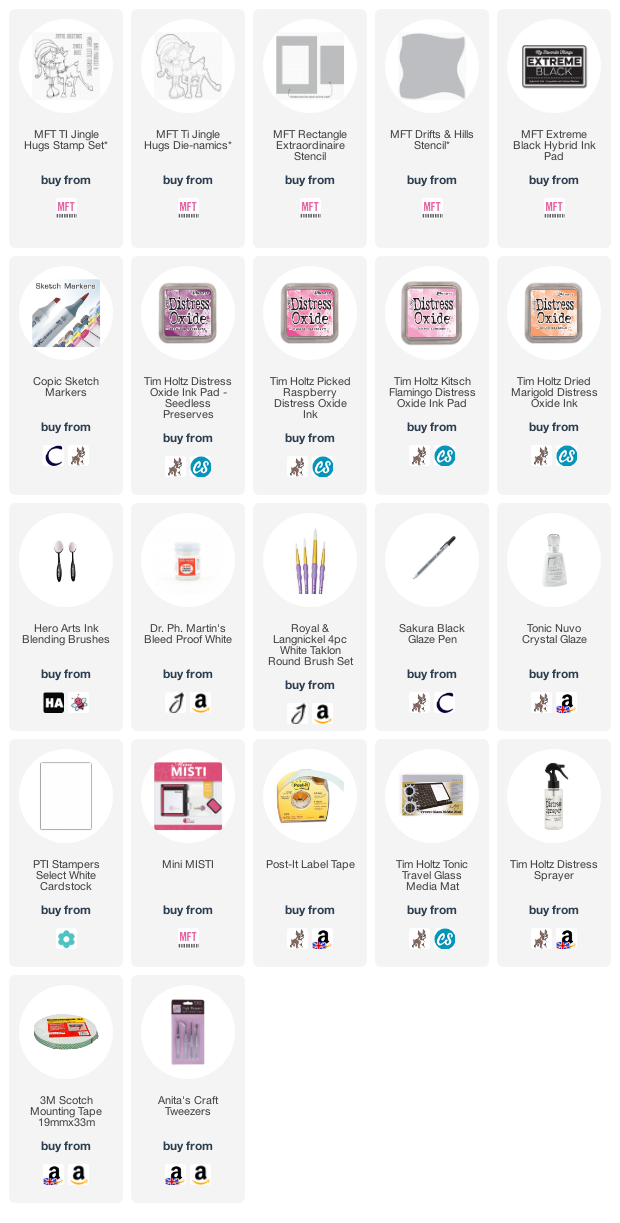
I started off my card by creating the background. I placed the MFT Rectangle Extraordinaire Stencil on top of a panel of white cardstock, securing in place with low tack tape. I then placed the MFT Drifts & Hills Stencil towards the bottom to create the illusion of a snowbank for my characters to stand on. 


Inside the window I created, I blended Distress Oxide Inks. I used (bottom to top) Seedless Preserves, Picked Raspberry, Kitsch Flamingo and Dried Marigold. Before removing the stencils, I splattered on Dr. Ph. Martin's Bleed Proof White for snow. I removed the stencils and let the panel sit to dry. 


I stamped the image from the MFT Jingle Hugs Stamp Set on to white cardstock with MFT Extreme Black Ink. I coloured the image with Copic Markers (the colours that I used are listed below the supplies area) and then die cut it out using the MFT Jingle Hugs Die-namics


I stamped the sentiment from the set on to the panel and then adhered it on to an A2 white card base with tape runner. The image was popped on top with foam tape. To finish off, I added Black Glaze Pen to the reindeer's eyes and Tonic Nuvo Crystal Glaze to the bells and the reindeer's nose. 

VIDEO:

Here is the video showing how I made the card:


If you are viewing this blog post via email subscription, you can watch the video HERE on YouTube. 

SUPPLIES:


Here are the links to what I have used on the project. Affiliate links are used on some products. This means that if you make a purchase after clicking on my link, I receive a small commission with no extra cost to you. I truly appreciate your support when using these links. Please click on the logo below the product to shop at your favourite store. All products were personally purchased except those from Clearly Besotted, Hero Arts or those marked with an asterisk (*) which were kindly sent to me to use. You can read my full disclosure here.


COPIC MARKERS: Girl's skin - E13, E11, E00, E50, R20. Hair - E49, E27, E25, E23, E21. Dress & hat - R89, R39m, R37, R35, R32. Hat fluff - C5, C3, C1. Bells - YR27, YR23, Y08. Reindeer - E49, E59, E57, E55, E53, E50, R12, R00, E77, E74, E71. 

Thank you so much for stopping by today, I really do appreciate it. I hope you have a wonderful week ahead! 

13 November 2021

VIDEO | Eclipse Technique with Embossing Folders

Hello there, today I have a card and video to share with you where I am creating an eclipse look with 3D embossing folders. I have done this technique with stamps and dies but I have never tried it with embossing folders ... spoiler alert! I love it! 

PLEASE NOTE: This post contains affiliate links. Please see below for my full disclosure.


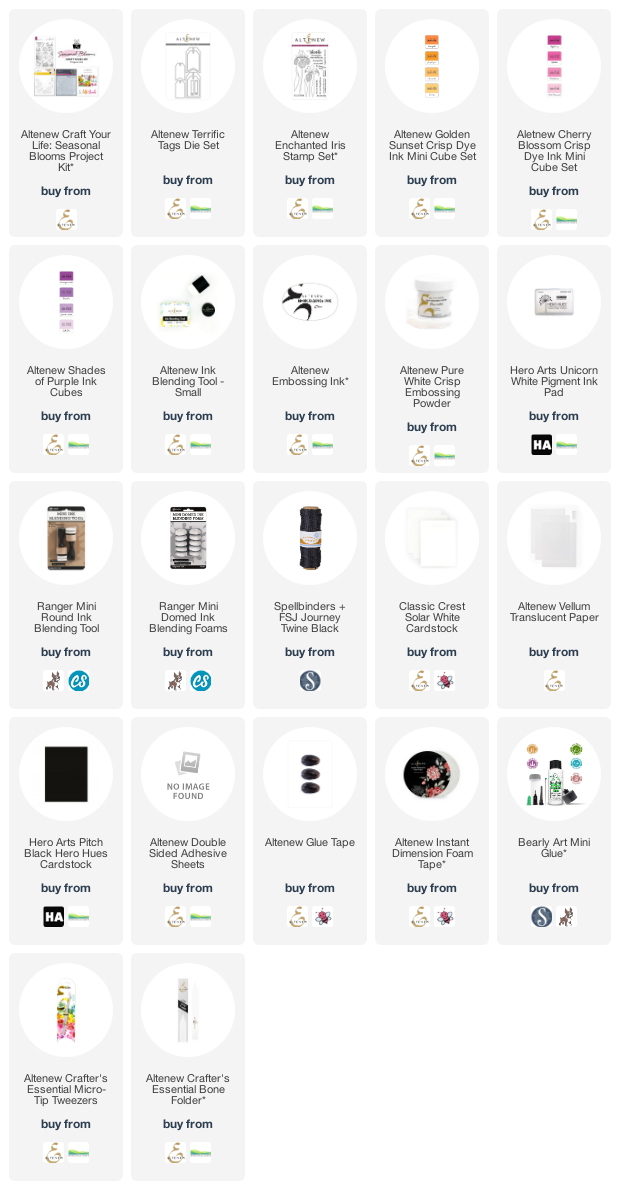
I started off by taking a panel of white cardstock and running it through my die cutting machine with the embossing folder in the Altenew Craft Your Life Seasonal Blooms Project Kit. I then ran it back through my die cutting machine with the Altenew Terrific Tags Die. I added ink blending to the tag with Altenew Inks and Altenew Small Ink Blending Tools.


I used Sunray and Snapdragon from the Altenew Golden Sunset Crisp Dye Ink set, Rubellite and Razzleberry from the Altenew Cherry Blossom Crisp Dye Ink set and Midnight Violet from the Altenew Shades of Purple Crisp Dye Inks set. I ran the tag back through my die cutting machine with the embossing folder to really enhance that embossing. I then added white pigment ink on top with a foam ink blending tool.


I added the background panel on to an A2 white card base with tape runner. I then cut the tag a further four times from white cardstock and adhered them on on top of another for dimension. They were added on to the card and then the embossed tag on top. I added twine through the top and tied in a bow. I die cut the thanks sentiment from the die set in the Altenew Craft Your Life Seasonal Blooms Project Kit from white cardstock with Altenew Double-Sided Adhesive Sheet on the back.


I cut that twice and popped one on top of another for more dimension. This was added to the shadow cut from vellum. It was added to the card with tiny dabs of glue. I stamped the accompanying sentiment from the Altenew Enchanted Iris Stamp Set on to black cardstock with Altenew Embossing Ink. I applied Altenew Pure White Crisp Embossing Powder, heat set and cut it in to a strip. It was adhered to the card with Altenew Instant Dimension Foam Tape

VIDEO:

Here is the video showing how I made the card:


If you are viewing this blog post via email subscription, you can watch the video HERE on YouTube. 

SUPPLIES:


Here are the links to what I have used on the project. Affiliate links are used on some products. This means that if you make a purchase after clicking on my link, I receive a small commission with no extra cost to you. I truly appreciate your support when using these links. Please click on the logo below the product to shop at your favourite store. All products were personally purchased except those from Clearly Besotted, Hero Arts or those marked with an asterisk (*) which were kindly sent to me to use. You can read my full disclosure here.


I really loved this technique and I am definitely going to try it again! Thanks so much for stopping by today, I really do appreciate it. I hope you have a wonderful day and a great weekend! 

12 November 2021

Altenew | Craft Your Life Project Kit: Elegant Motifs Release Blog Hop + Giveaway

Hello there, today sees the release of this month's Altenew Craft Your Life Project Kit. This month is called Elegant Motifs and features floral motifs with lovely ornate details. I will talk more about the kit later but it consists of a stamp set, die set, slimline embossing folder and stencils. We are celebrating the release with a fun blog hop, more details on that below.

PLEASE NOTE: This post contains affiliate links. Please see below for my full disclosure.


I created a card using the stamp set and dies, and a tag using the embossing folder and the stamp set for the sentiment. As mentioned, there are simple coloiring stencils in the kit so that you can use them to colour the images with ink blending but I chose to use colour pencils for mine.


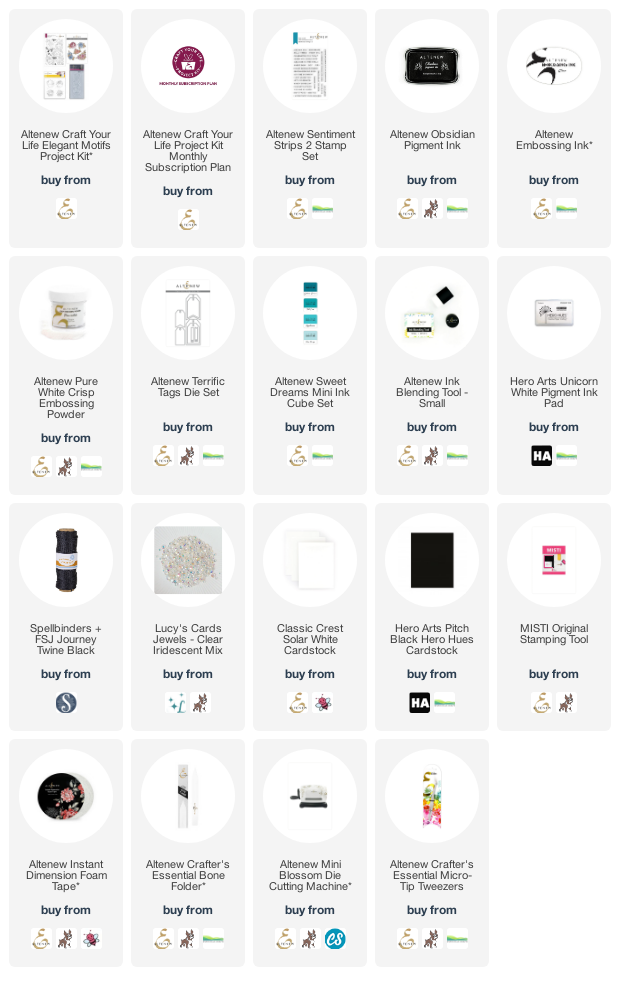
For the card, I started off by stamping one of the images from the stamp set in the Altenew Craft Your Life Project Kit: Elegant Motifs. I stamped it on to white cardstock with Altenew Obsidian Pigment Ink and then let the ink sit to dry. Once dry, I coloured it using colour pencils. Keep your eyes peeled for more information on which ones I used later in the month ;)


I then took the coordinating dies and die cut the image out. I took a panel of white cardstock and adhered the image on top with Altenew Instant Dimension Foam Tape. I cut off the excess from the corner but left the top and side piece overhanging slightly. The panel was then adhered to an A2 white card base with more foam tape.


I took the sentiment from the Altenew Sentiment Strips 2 Stamp Set and stamped it on to black cardstock with Altenew Embossing Ink. I applied Altenew Pure White Crisp Embossing Powder and heat set. It was cut in to a strip and added to the card. I then embellished with a few Iridescent Jewels. 


Next up I wanted to create a tag using the embossing folder. This folder is slimline in size and fitted beautifully on the tag with the design in the centre. I started off by die cutting two white tags using the Altenew Terrific Tags Die Set. On one, I blended Altenew Sweet Dreams Crisp Dye Inks on top and then ran it through my die cutting machine with the 3D Embossing Folder. 


I took white pigment ink and blended this on top, just touching the raised areas. The clean white tag was adhered to the back. I took the sentiment from the kit stamp set and stamped it on to black cardstock with Altenew Embossing Ink. I applied Altenew Pure White Crisp Embossing Powder and heat set. It was cut in to a strip and added to the tag with Altenew Instant Dimension Foam Tape. To finish off, I added a few jewels and then twine through the top. 

SUPPLIES:


Here are the links to what I have used on the projects. Affiliate links are used on some products. This means that if you make a purchase after clicking on my link, I receive a small commission with no extra cost to you. I truly appreciate your support when using these links. Please click on the logo below the product to shop at your favourite store. All products were personally purchased except those from Clearly Besotted, Hero Arts or those marked with an asterisk (*) which were kindly sent to me to use. You can read my full disclosure here.


CRAFT YOUR LIFE KIT: ELEGANT MOTIFS

Stay awesome in your craft room with some delightful eye-catching designs!  Enjoy our Craft Your Life Project Kit, an exciting monthly package that is sure to get the creative juices flowing! Featuring a 6x8 stamp set, coordinating die set, as well as a stencil and embossing folder to fit the theme, this project kit has almost everything you need to start crafting. Just add ink and cardstock, and you'll be good to go!

This kit features a stamp set including five gorgeous floral motifs that will add a touch of classic elegance to any of your projects. The set also includes a detailed coloring layer for the leaves alone and five versatile greetings. The stencil set is perfect for quickly and efficiently adding color to the Elegant Motifs Stamp Set images! Add a base layer and details to the flowers, leaves, and decorative swirl images with your favorite ink colors. The accompanying embossing folder is perfectly sized for slimline cards or borders for scrapbook layouts.

BLOG HOP:


As mentioned, this post is part of a fun, inspiration filled blog hop with prizes (see below!). For the hop, you should have arrived here from the wonderful Terri Koszler. Next on the hop is the amazing Seeka. If you get lost along the way, or want to start the hop from the beginning, please head over to the Altenew Blog

GIVEAWAY:

$300 in total prizes! To celebrate this release, Altenew is giving away a $50 gift certificate to 2 lucky winners and a $ 25 gift certificate to 8 winners! Please leave a comment on the Altenew Card Blog and/or each designer’s blog post on the blog hop list below by 18th November 2021 for a chance to win. Altenew will draw 10 random winners from the comments left on each stop of this blog hop and announce the winners on the Altenew Winners Page on 20th November 2021. 


Thanks so much for stopping by to see me today. I am sure you will agree, it is another beautiful kit! I hope you enjoy the rest of the hop and have a wonderful rest of the day too! 
End of code